
Bursting with the flavors of seasonal apples and a touch of spice, this rustic apple galette is a delightful treat that embodies the warmth and comfort of fall. Whether you’re a seasoned baker or a beginner in the kitchen, this recipe promises simplicity and big rewards!
Why You’ll Love This Apple Galette Recipe
Prepare to fall in love with this delightful apple galette recipe that combines the flavors of the season with a touch of spice and a rustic charm. Let’s look at some of the reasons why you won’t be able to resist making this galette a new favorite in your baking repertoire.
- Simplicity. This is everything you love about apple pie in simplified form. It’s perfect for both beginner and experienced bakers!
- Warm and comforting. The amazing smell that fills your kitchen as you make this galette will evoke plenty of cozy feelings. And that warm, cozy feeling continues in every bite!
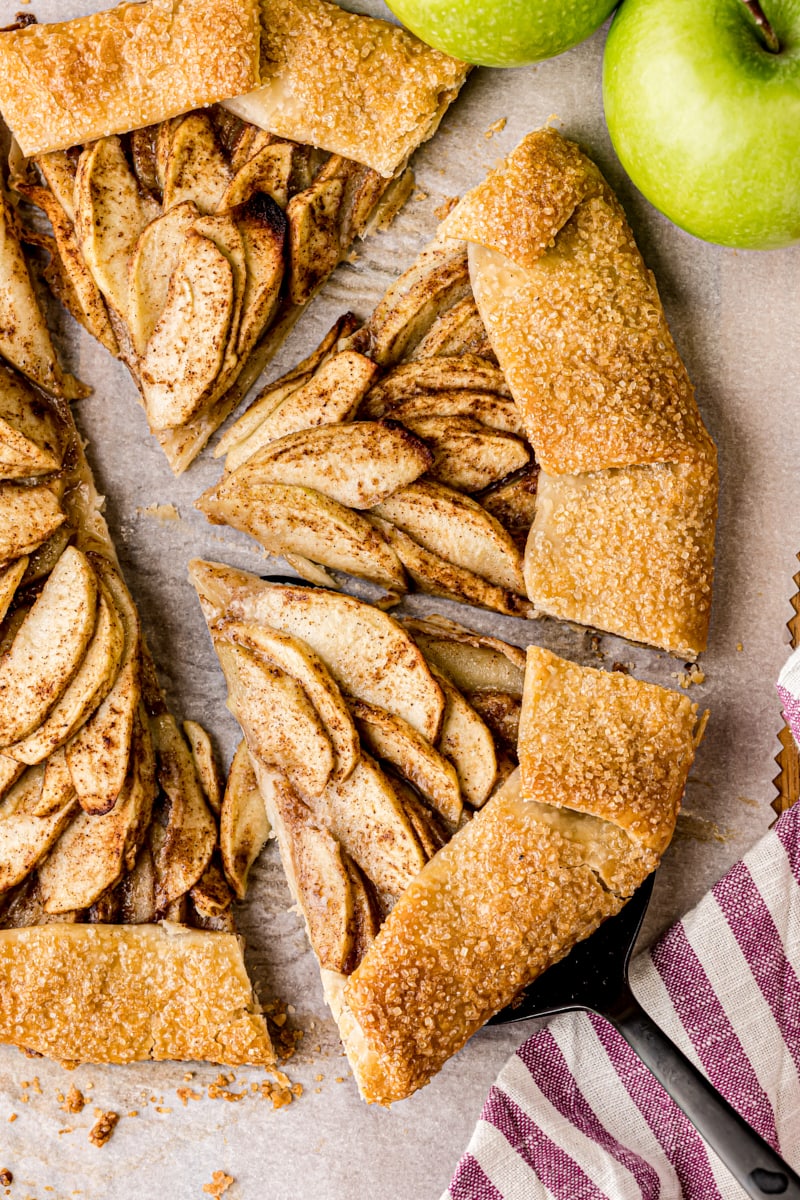
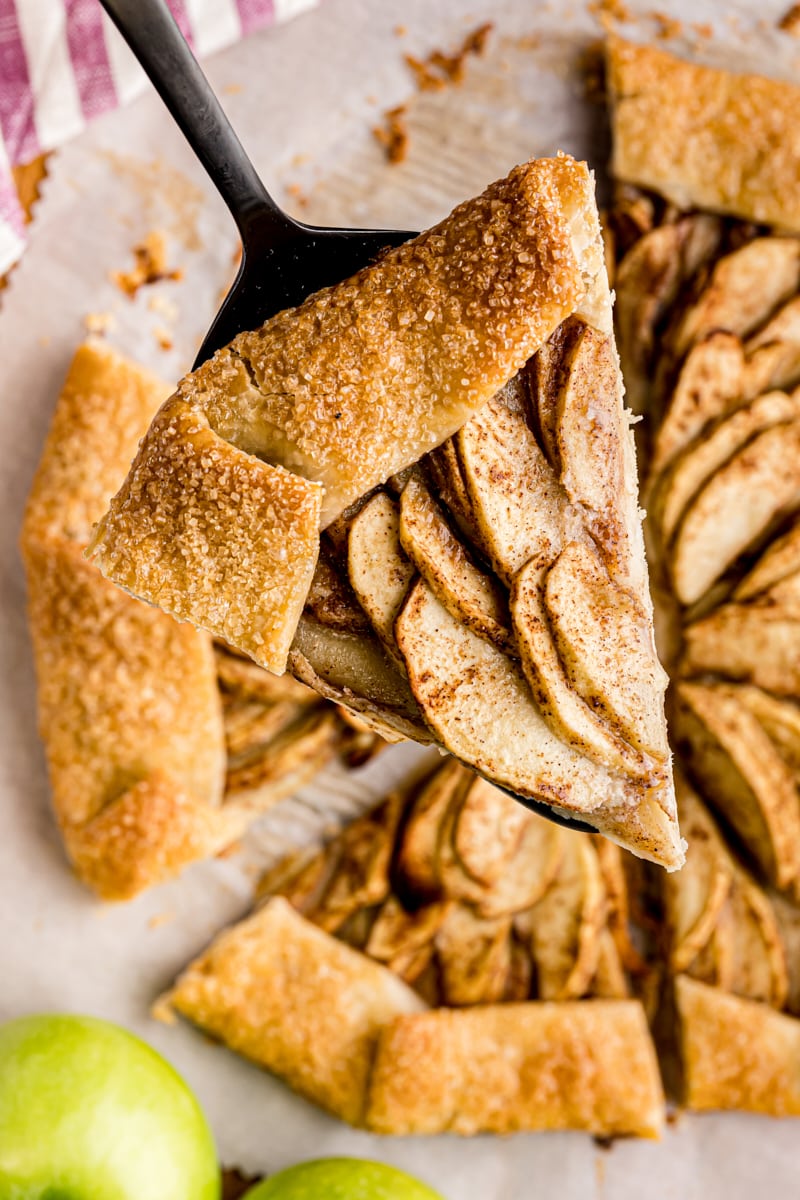
- Beautiful presentation. While this doesn’t have the look of a traditional pie, its rustic appearance in no less impressive.
- Buttery finish. The addition of butter just before baking adds richness and flavor you’ll love.
What’s the Difference Between a Pie and a Galette?
A pie is usually made in a pie plate and may have just a bottom crust or also include a top crust. A galette, on the other hand, features a single sheet of pastry that’s folded around a filling. It has a more rustic and freeform appearance.
It’s also worth noting that the term galette is of French origin. They are quite similar to the Italian crostata, and you may see those two terms used interchangeably.
What You’ll Need
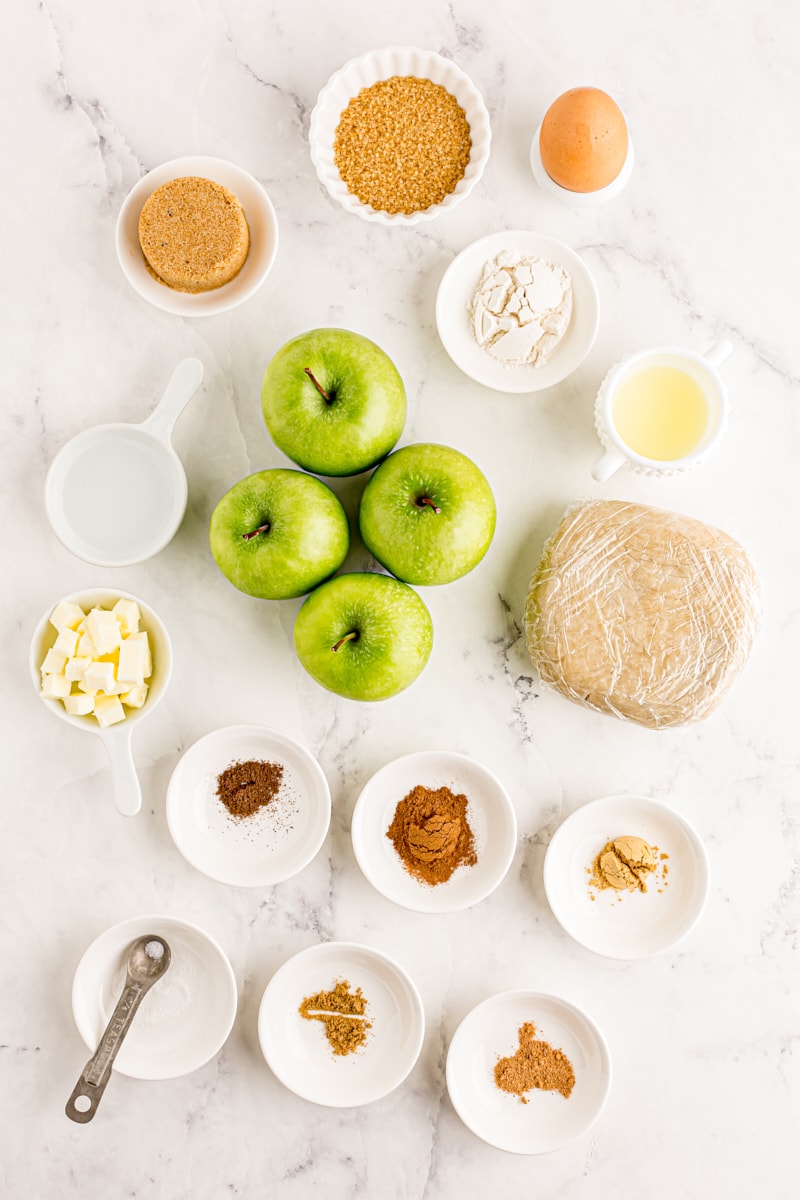
See the recipe card below for ingredient quantities and full instructions. Here are some notes about the ingredients needed to make your apple galette.
- Apples – Peel and slice the apples into 1/4-inch slices. (See my tips section below for more on how to choose apples for baking.)
- Brown sugar – You can use either light or dark brown sugar, depending on how strong you want that molasses flavor.
- Lemon juice – Fresh lemon juice is almost always best for baking.
- All-purpose flour – This helps thicken the filling. You can use cornstarch instead, if you prefer.
- Cinnamon – Check all of your spices for freshness before baking. Giving them a quick smell is usually sufficient. They should have a strong, fragrant aroma.
- Ginger
- Nutmeg
- Allspice
- Cardamom
- Salt
- Pastry for a 9-inch pie – I prefer using an all-butter pie crust, but feel free to use your favorite traditional crust or go with a good quality store-bought pie dough if you want a time saver.
- Egg – You’ll combine the egg with a bit of water to make an egg wash to brush over the crust.
- Unsalted butter – Cut this into small cubes that you’ll dot over the top of the filling before baking.
- Coarse sugar – Sprinkling some coarse sugar over the crust adds a sweet crunch. For this pie, I recommend turbinado or demerara sugar.

How to Make Apple Galette
The simple steps for making this pie are part of what makes it a favorite. Here’s what you’ll need to do.


- Prepare for baking. Heat the oven to 375°F. Line a baking sheet with parchment paper or a silicone liner.
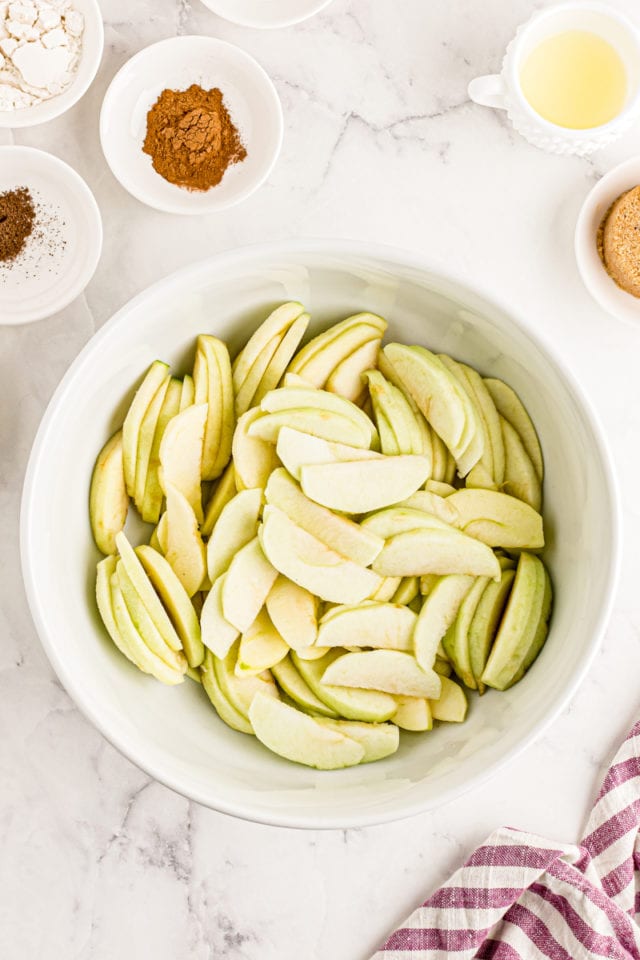
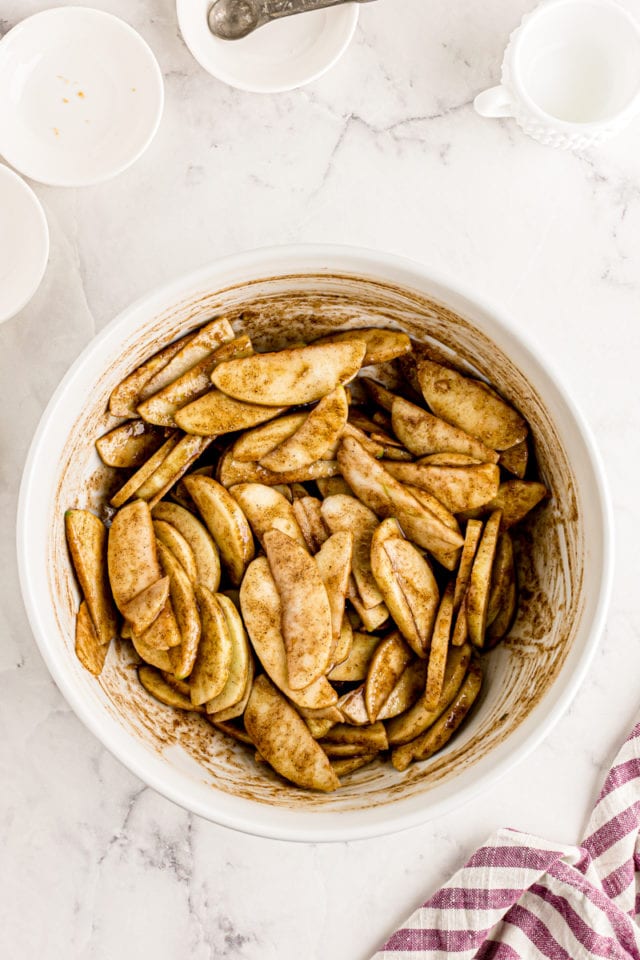
- Make the filling. Combine the sliced apples, brown sugar, lemon juice, flour, all of the spices, and the salt in a large bowl. Stir to combine.
- Roll out the crust. Place the pastry on a lightly floured surface, and use a rolling pin to roll the dough into a circle about 13 inches in diameter and between 1/8- and 1/4-inch thick. You can trim it into a nice circle or leave the edges rough. Carefully transfer the dough to the lined pan.
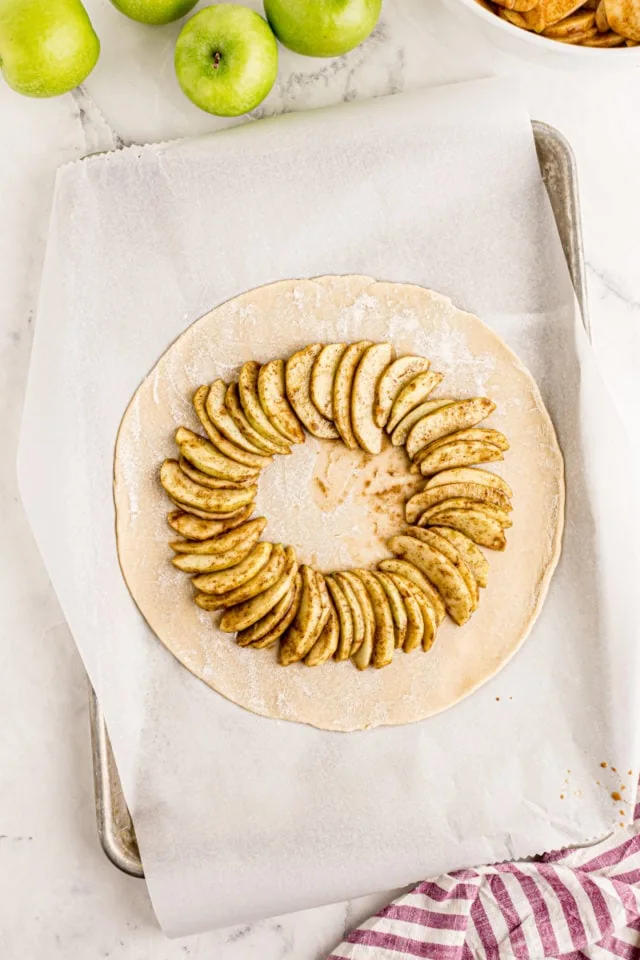
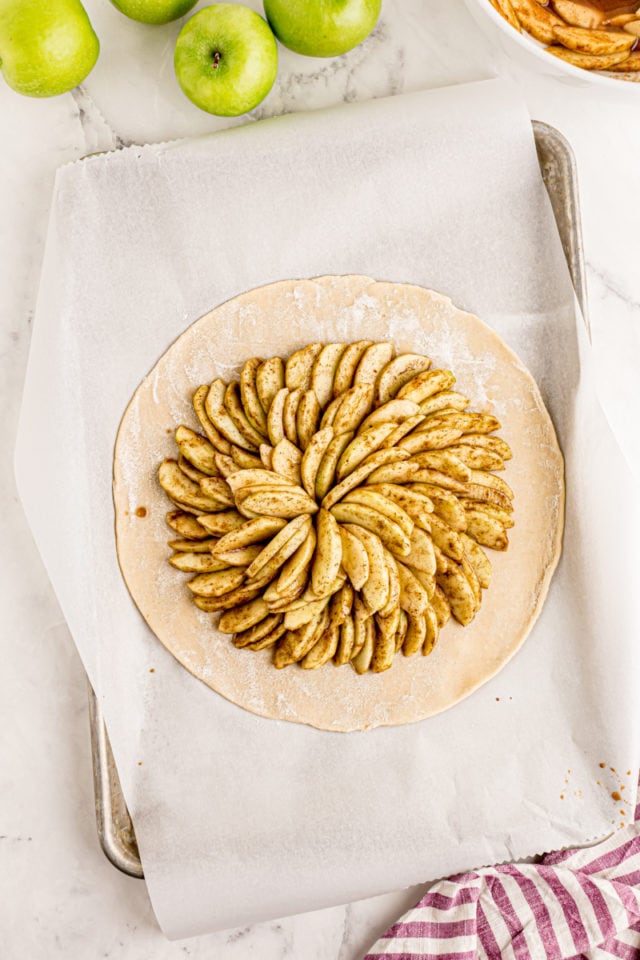
- Assemble the pie. Arrange the apples however you like on top of the rolled crust, making sure to leave a 2-inch border around the edge. Leave any excess liquid in the bowl.
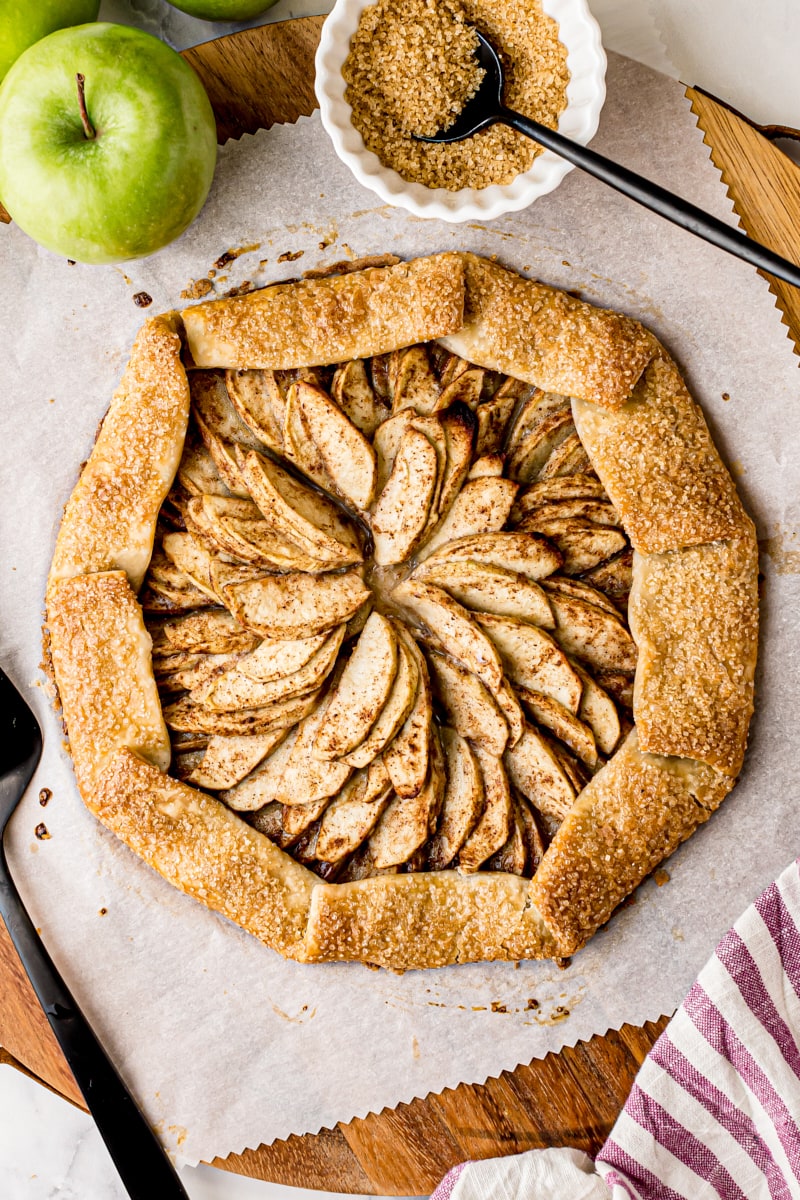
- Finish the edges. Fold the edges of the crust about 2 inches over the filling. Work all the way around the entire galette, pleating the dough together when needed.
- Finish assembling. Combine the egg and water, and then brush it over the top of the crust. You won’t use all of it. Generously sprinkle the crust with sugar, and add a light sprinkling over the filling if you like. Place the pieces of butter over the top of the filling.
- Bake. Place the pie (still on the pan) in the heated oven, and bake for 35 to 40 minutes. The crust should be golden brown and the filling should be bubbly.
- Cool. Place the pan on a wire rack, and allow it to cool before serving.
Tips for Success
You’ll absolutely love how easy it is to make this beautiful, delicious apple galette! Here are a few tips to help make sure yours turns out perfectly.
- Choose the right apples. Pick firm, ripe apples that will hold up well through baking. While not a requirement, using a mixture of sweet and tart apples will create a more flavorful galette. Some of my favorites are Gala, Pink Lady, Honeycrisp, and Granny Smith. Learn more: The Best Apples for Baking
- Keep the dough cold. Ensure the pastry dough stays cold throughout the process to achieve a flaky crust. You can even chill it for a few minutes in the fridge if it becomes too soft while working with it.
- Pleat the crust neatly. When folding the edges of the crust over the filling, make neat pleats to secure the apples. This not only looks appealing but also prevents the filling from spilling out.
- Brush with egg wash. It adds a beautiful shine and color to the galette.
Variations
This simple apple galette can be easily customized to suit your tastes and preferences. Here are a few ideas to get you started.
- Use a spice blend. If you have a spice blend you like to use for baking (like my fall spice blend), feel free to swap that for the individual spices listed in this recipe. Just keep the total amount roughly the same.
- Add nuts. A handful of chopped nuts (like pecans, almonds, or walnuts) is a nice addition to this filling. You can instead sprinkle a thin layer of ground nuts on the crust dough before adding the filling. That adds flavor and also helps keep the bottom of your galette from getting soggy. Keep that in mind if you won’t be serving it the same day it’s baked.
- Make it boozy. For an adult twist, toss the apple slices with a splash of rum, bourbon, or brandy for a boozy flavor infusion.
- Add more citrus. Add an extra pop of citrus flavor by incorporating orange or lemon zest into the apple filling.

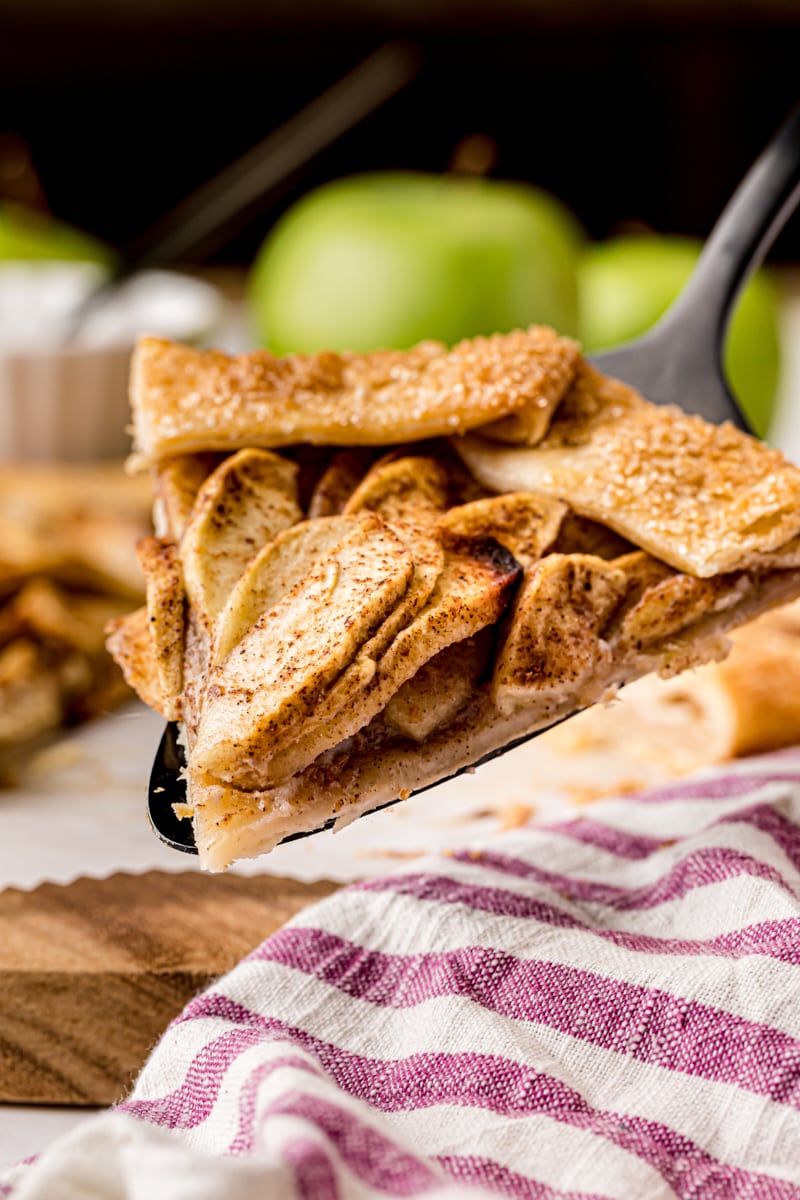
Serving Suggestions
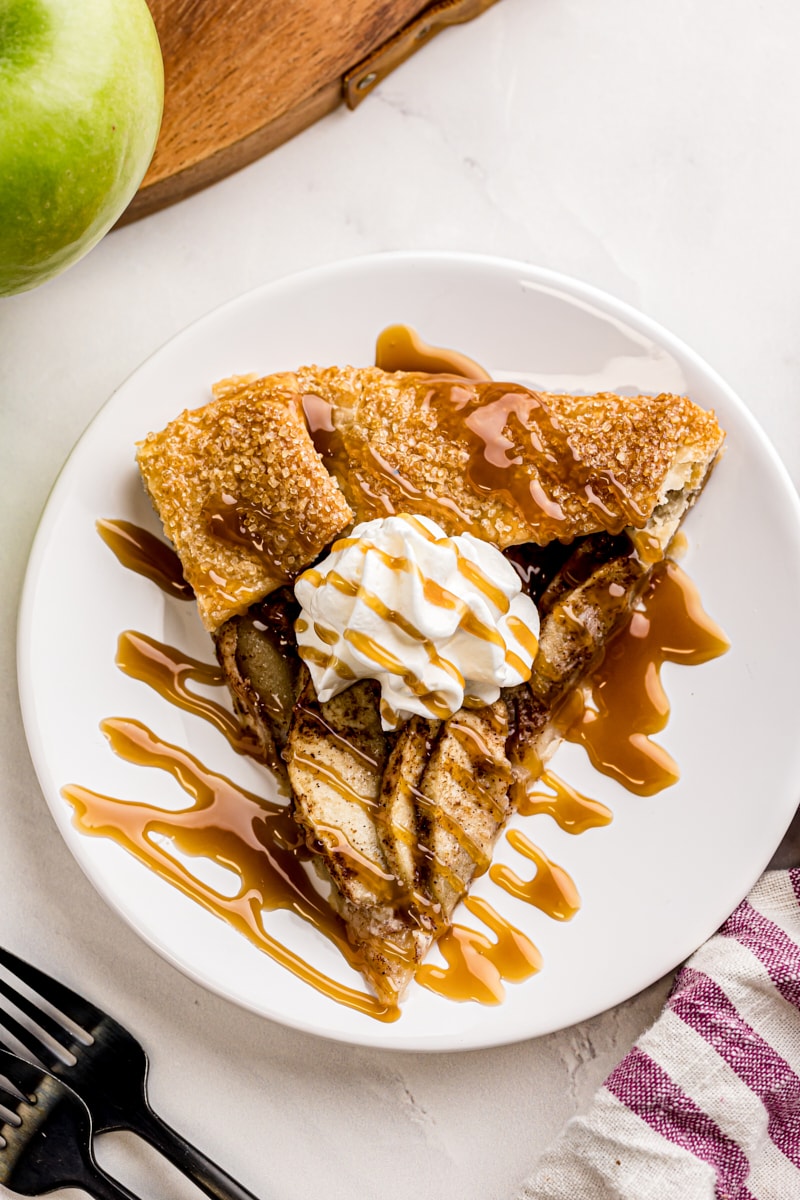
When it’s time to serve your apple galette, there are lots of options. Keep it simple with a dollop of sweetened whipped cream or a scoop of vanilla ice cream. You can dress it up further with a drizzle of caramel sauce, toasted nuts, toffee bits, or glazed pecans.
How to Store
After allowing your apple galette to cool completely, store any leftovers either tightly wrapped in plastic wrap or in an airtight container in the refrigerator. That will help keep it fresh longer and also help prevent the crust from getting soggy. It should keep in the refrigerator up to 3 or 4 days, although it will be at its best within a day or two. You can reheat slices in the oven or microwave for a warm treat.
Can This Apple Galette Be Frozen?
Yes, you can freeze this apple galette. After it has completely cooled, wrap the galette or individual slices tightly and securely in plastic wrap. You can also use aluminum foil in addition to plastic wrap for extra protection. Try to lay it flat in the freezer to prevent the filling from shifting during freezing. Properly stored, it should keep in the freezer up to 2 months.
When you’re ready to enjoy the galette, remove it from the freezer and let it thaw in the refrigerator for a few hours or overnight. Once thawed, you can reheat it in a preheated oven at a low temperature (around 300°F) until it’s warmed through.
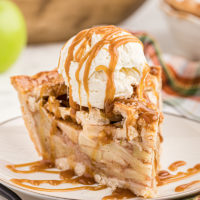
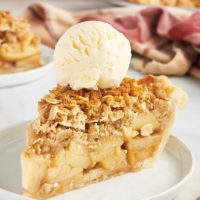
More Apple Pie Recipes


Apple Galette
Ingredients
- 4 cups peeled, sliced apples, (about 3 medium apples)
- ¼ cup (50 g) firmly packed light or dark brown sugar
- 1 tablespoon (15 ml) lemon juice
- 1 tablespoon all-purpose flour
- 1 teaspoon ground cinnamon
- ¼ teaspoon ground ginger
- ⅛ teaspoon ground nutmeg
- ⅛ teaspoon allspice
- ⅛ teaspoon cardamom
- large pinch of salt
- pastry for a 9-inch single crust pie
- 1 large egg
- 1 tablespoon (15 ml) water
- 2 tablespoons (28 g) unsalted butter, cut into small cubes
- Coarse sugar, such as sparkling sugar or turbinado sugar
Recommended Products
Instructions
- Preheat oven to 375°F (150°C). Line a baking sheet with parchment paper or a silicone liner.
- Place the sliced apples in a large bowl. Add the brown sugar, lemon juice, flour, cinnamon, ginger, nutmeg, allspice, cardamom, and salt. Stir to combine.
- Place the pastry dough on a lightly floured surface, and roll it into a circle about 13 inches (33cm) in diameter. It should be between 1/8- and 1/4-inch (0.3-0.6cm) thick. If you like, trim any excess dough to make a more uniform circle. Carefully transfer the dough onto the prepared pan.
- Arrange the apples on top of the rolled crust, leaving a 2-inch (5cm) border all the way around the edge. Be careful not to transfer much of the liquid when transferring the apple mixture to the crust.
- Carefully fold the edges of the crust about 2 inches over the filling. Work around the entire galette, pleating the dough as needed to secure.
- Combine the egg and water to make an egg wash. Brush over the top crust. (You won’t use all of the egg wash.) Sprinkle the crust generously with coarse sugar, and also lightly sprinkle over the filling if you like.
- Place the pieces of butter over the top of the filling.
- Bake 35 to 40 minutes, or until the crust is golden brown and the filling is bubbly.
- Cool the galette on the baking pan on a wire rack. Serve warm or at room temperature.
Video
Notes
- Store in an airtight container in the refrigerator up to 4 days, although it will be best within a day or two.


