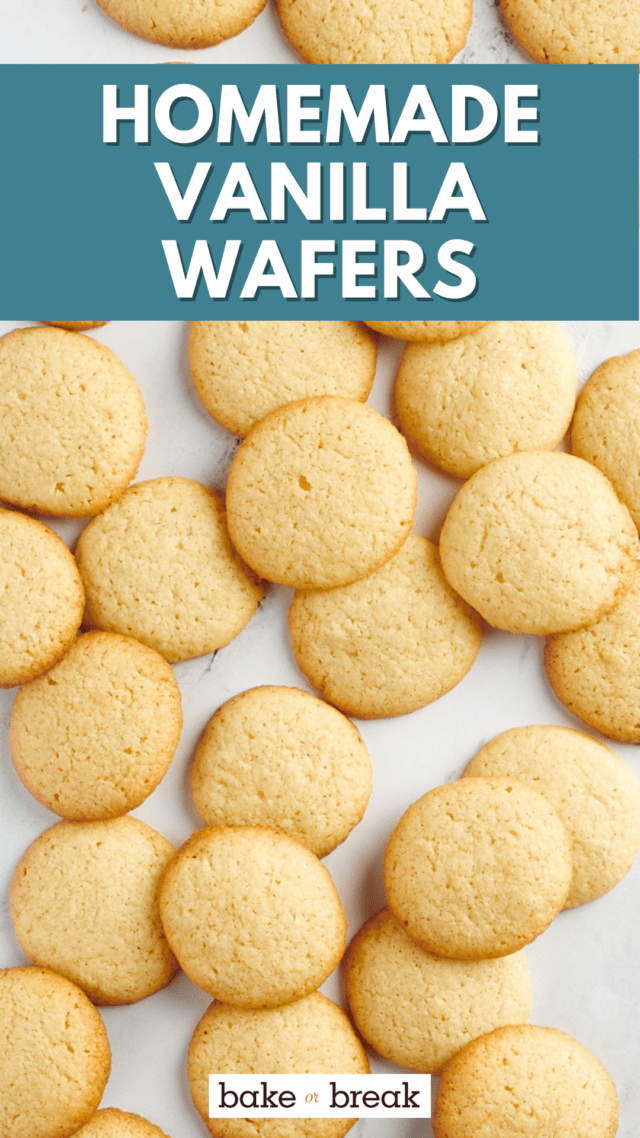
Homemade vanilla wafers are easy to make and so much more delicious than the store-bought version. You’ll never buy them in a box again!
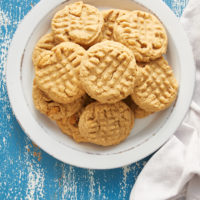
Looking for more fun, easy cookie recipes? Check out these sprinkle crinkle cookies, southern tea cakes, and soft and chewy snickerdoodles!

Most of us are familiar with store-bought vanilla wafers. Even if we don’t keep a box of Nilla Wafers on hand for snacking, you’ve likely used them to make a pie crust or banana pudding at some point in your life. What you might not know is that vanilla wafer cookies are a cinch to make at home!
Why You’ll Love These Vanilla Wafers
Vanilla wafer cookies are a must-have for your recipe box! Here’s why I think you’ll be such a big fan of them:
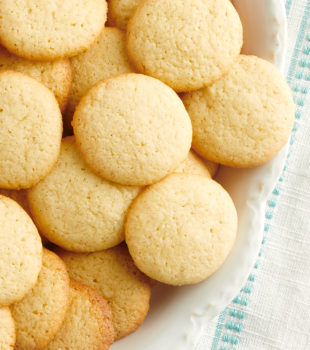
- Sweet vanilla flavor. These vanilla wafers are a simple, sweet cookie made from a combination of flour, sugar, eggs, cream, and butter, with a full tablespoon of vanilla bean paste or extract to really bring out that delicate, almost floral vanilla flavor.
- Quick and easy. From start to finish, it only takes 30 minutes to make these vanilla cookies!
- Simple ingredients. With the exception of heavy cream, all of the ingredients used in this recipe are baking basics that you probably have in your pantry already.

What You’ll Need
Scroll down to the recipe card to find the ingredient quantities and recipe instructions.
- All-purpose flour – Learn more by reading up on how to measure flour.
- Baking powder – To help your cookies spread and rise a little while baking.
- Salt – You can use table salt, sea salt, kosher salt, etc.
- Unsalted butter – Learn more by checking out this guide on unsalted or salted butter: which is better for baking?
- Vanilla bean paste or vanilla extract – You can use store-bought or homemade vanilla extract.
- Sugar – Regular old granulated sugar is all you need today!
- Egg – This will bind the cookie dough together.
- Heavy cream – Don’t substitute milk here; the fat in the heavy cream will give these cookies a richer flavor and texture.
Is Vanilla Bean Paste Better Than Vanilla Extract?
If you can, opt for vanilla bean paste over extract. It has a more intense flavor, as it contains small flecks of real vanilla bean seeds. Vanilla is the star of this vanilla wafer recipe and using vanilla bean paste will really make sure it shines.

How to Make Vanilla Wafers
As promised, this is a very simple cookie recipe. There’s no chilling or cutting—just roll the dough into small balls, flatten them, and bake.


- Prepare the oven. Preheat the oven to 350°F and line baking sheets with parchment paper or silicone liners.
- Mix the dry ingredients. Whisk the flour, baking powder, and salt in a mixing bowl.


- Mix the wet ingredients. Use an electric hand mixer or stand mixer on medium speed to beat the butter and vanilla bean paste in another bowl, until the mixture is well-blended. Beat in the sugar until the mixture is light and fluffy, followed by the egg and cream.


- Finish the dough. Reduce the mixer speed to low and beat in the dry ingredients, mixing just until combined.


- Form the cookies. Roll 2 teaspoons of dough into a ball and place it on one of the prepared pans. Repeat with the remaining dough, and slightly flatten the top of each cookie.
- Bake the cookies. Place the first pan in the oven and bake for 12 to 15 minutes, or until the cookies are golden brown. Repeat with the next pan, until all of the cookies are baked.


- Let the cookies cool. Let the vanilla wafers cool on the pans, set on wire racks, for 5 minutes. Then, remove the cookies and let them finish cooling directly on the racks. (Learn more by investigating why every baker needs wire cooling racks.)
Tips for Success
If you’re a new baker, read over my baking tips for beginners to start. Here are some additional hints and pointers for this vanilla wafer recipe.
- Set out the butter and egg. Taking the time to soften the butter and let the egg come to room temperature allows them to mix into the ingredients more evenly. Softened, rather than melted, butter also helps your cookies hold their shape better. Check out this guide on how to soften butter for more information.
- Don’t put dough on a hot pan. If you don’t have enough baking sheets for all of the dough, allow the baking sheet to cool between batches. This will keep your cookies from spreading and prevents the bottoms from over-baking.
- Allow the cookies to cool completely before storage. Vanilla wafers have a delicately crisp texture. To maintain this, the cookies need to be cool before they are stacked or transferred to a sealed container.

Substitutions & Recipe Variations
If you’d like to give your vanilla wafer cookies a bit of a twist, here are some variations to try:
- Add nuts. Press sliced almonds into the tops of the cookies after flattening the dough.
- Change up the extract. Use almond extract instead of vanilla for a completely different spin on this recipe.
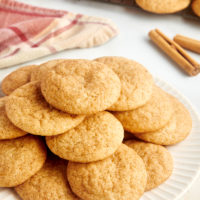
- Add cinnamon-sugar. Roll the dough balls in a mixture of cinnamon and sugar before baking them.
- Melt some chocolate. Dip the cooled cookies in melted dark chocolate for an extra special treat.
Serving Suggestions
Serve your homemade vanilla wafers as a snack with coffee or tea, use them to make mini ice cream sandwiches or banana pudding, or set them inside a muffin tin as a “crust” for mini cheesecakes.

How to Store
Store these vanilla wafers in an airtight container at room temperature for up to a week. I don’t recommend storing them in the fridge, as this will affect the texture.
Can I Freeze Homemade Vanilla Wafers?
Once the vanilla wafer cookies have cooled completely, transfer them to an airtight container or freezer bag and freeze them for up to 3 months. When you’re ready to enjoy, simply thaw the wafers at room temperature before serving.

More Classic Cookie Recipes


Vanilla Wafers
Ingredients
- 1 ½ cups (180 g) all-purpose flour
- ¾ teaspoon baking powder
- ½ teaspoon salt
- ½ cup (113 g) unsalted butter, softened
- 1 tablespoon vanilla bean paste or vanilla extract
- ⅔ cup (133 g) granulated sugar
- 1 large egg
- 1 tablespoon heavy cream
Recommended Products
Instructions
- Preheat the oven to 350°F (175°C). Line baking sheets with parchment paper or silicone liners.
- Whisk together the flour, baking powder, and salt. Set aside.
- Using an electric mixer on medium speed, beat the butter and vanilla bean paste until blended. Add the sugar, and mix until light and fluffy. Mix in the egg and cream.
- Reduce the mixer speed to low, and add the flour mixture. Mix just until combined.
- Using 2 teaspoons of dough at a time, roll the dough into balls and place on the prepared pans. Flatten the top of each cookie slightly.
- Bake one pan at a time for 12 to 15 minutes or until the cookies are golden brown.
- Place the pans on wire racks. Allow the cookies to cool for 5 minutes before transferring them from the pans directly onto a wire rack to cool completely.
Video
Notes
- Yield: Makes about 48 cookies.
- To store. Store these vanilla wafers in an airtight container at room temperature for up to a week. I don't recommend storing them in the fridge, as this will affect the texture.
- To freeze. Once the vanilla wafer cookies have cooled completely, transfer them to an airtight container or freezer bag and freeze them for up to 3 months. When you’re ready to enjoy, simply thaw the wafers at room temperature before serving.


8 Comments on “Homemade Vanilla Wafers”
Hi, if I don’t have heavy cream, can I substitute for equal amount cream cheese ?
Thank you very much.
Hi, Caryn. I would just use milk or half-and-half. They won’t be quite the same, but they’ll be pretty close.
Are these crunchy like the nabisxo nilla wafers?
They are!
They’re so good! And very easy to make! Thank you for sharing the recipe!
Thanks for baking them, Eve! I’m thrilled they were a hit.
Have you tried a version that uses less sugar?
Hi, Marie. I haven’t tried with less sugar. Reducing it will affect not just the taste but the structure. If you should try it, I’d love for you to let me know how it works.