No-churn vanilla ice cream is supremely rich and creamy, with bold vanilla flavor that stands out on its own—no add-ins or toppings needed!
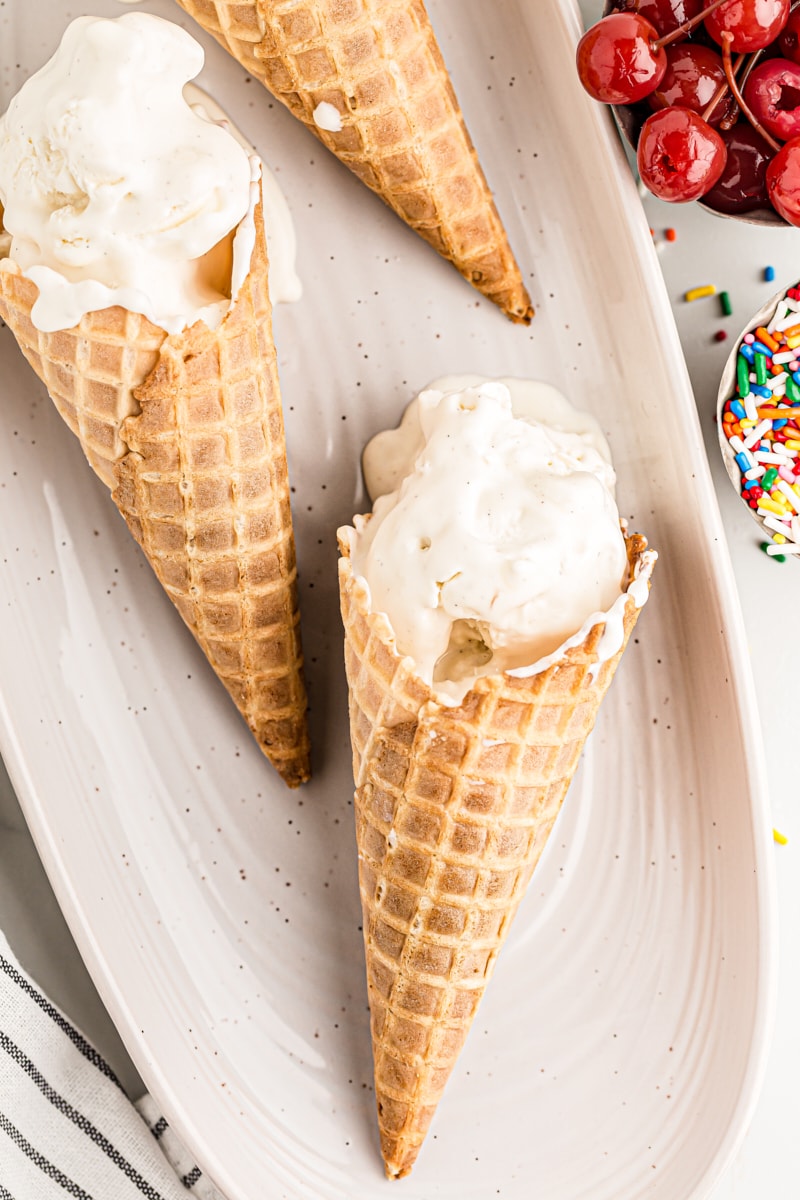
Vanilla Ice Cream Recipe With Condensed Milk
Vanilla is often synonymous with boring, but if you ask me, it’s gotten a bad rap. Sure, it’s often used as a base for other flavors, but when done right, it can be the star of the show. And there’s no better way to celebrate the flavor than with this no-churn vanilla ice cream recipe.
This delicious treat is made with just four basic ingredients and, as you might guess from the name, it requires zero churning. That means you don’t have to wait overnight or buy an ice cream maker! All you’ll need is a hand mixer and a loaf pan.
The result? Smooth, creamy, dreamy vanilla ice cream made from scratch.
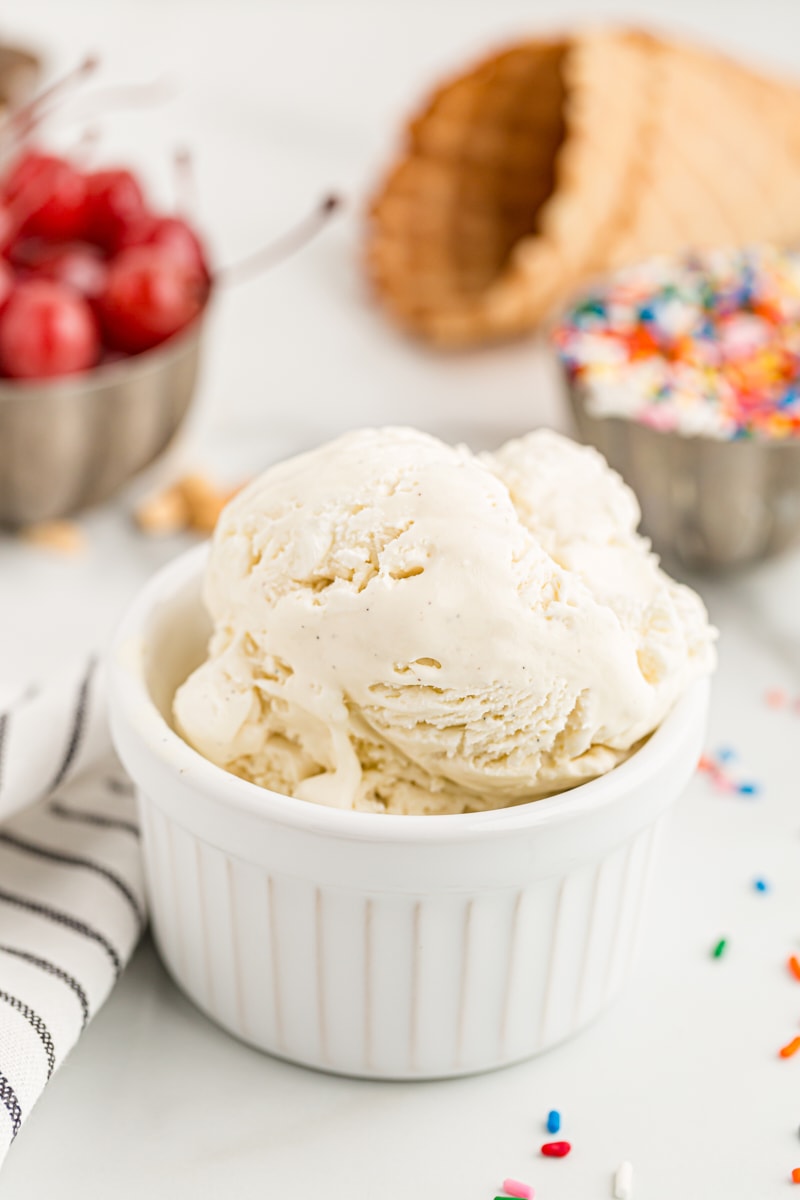
Why You’ll Love This No-Churn Vanilla Ice Cream Recipe
If you’re not sold yet, here’s why you’re going to flip for this no-churn vanilla ice cream:
- Bold vanilla flavor. Vanilla is the standout here, and you can really taste it in all its glory with every spoonful.
- Surprisingly creamy. You’ll notice that no-churn ice cream (not only this recipe, but also my No-Churn Chocolate Brownie Ice Cream, Cheesecake Ice Cream, and No-Churn Chocolate Peanut Butter Swirl Ice Cream) is much richer and creamier than traditional churned ice cream. That’s thanks to the sweetened condensed milk!
- Quick and easy to make. You can whip this up in no time flat—and you don’t even have to remember to freeze the ice cream maker drum ahead of time.

What Is the Difference Between Churned and No-Churn Ice Cream?
Churned ice cream has air whipped into it, which gives it a smooth, fluffy texture. This no-churn ice cream recipe replicates that texture by incorporating whipped cream, which allows us to get that airiness without the churning.
That’s not the only difference, though. No-churn ice cream is also made without eggs and without cooking, which means it’s much less labor-intensive than a traditional ice cream recipe.
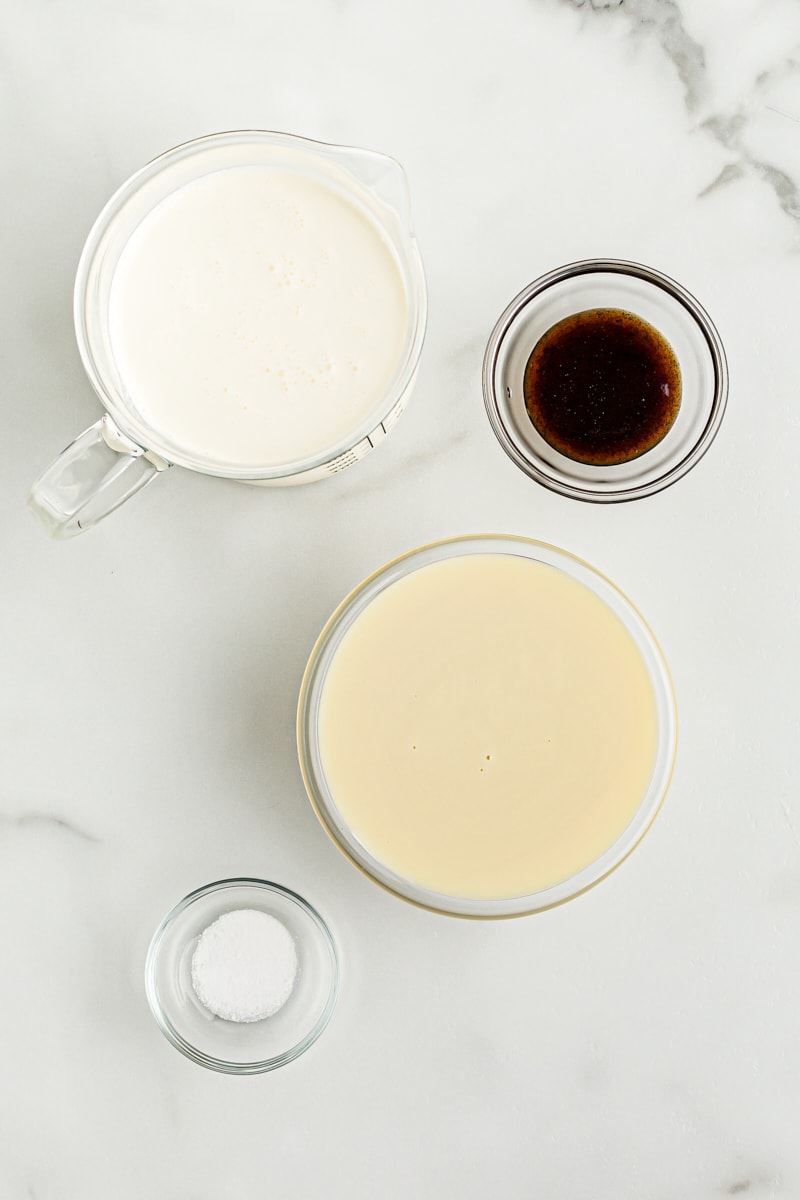
What You’ll Need
Scroll down to the recipe card to find the ingredient quantities and recipe instructions.
- Sweetened condensed milk – Not to be confused with evaporated milk, which is unsweetened.
- Vanilla extract or vanilla bean paste – You can use my homemade vanilla extract, or choose vanilla bean paste if you want flecks of vanilla.
- Salt
- Heavy cream – For making whipped cream. This may also be labeled as heavy whipping cream.
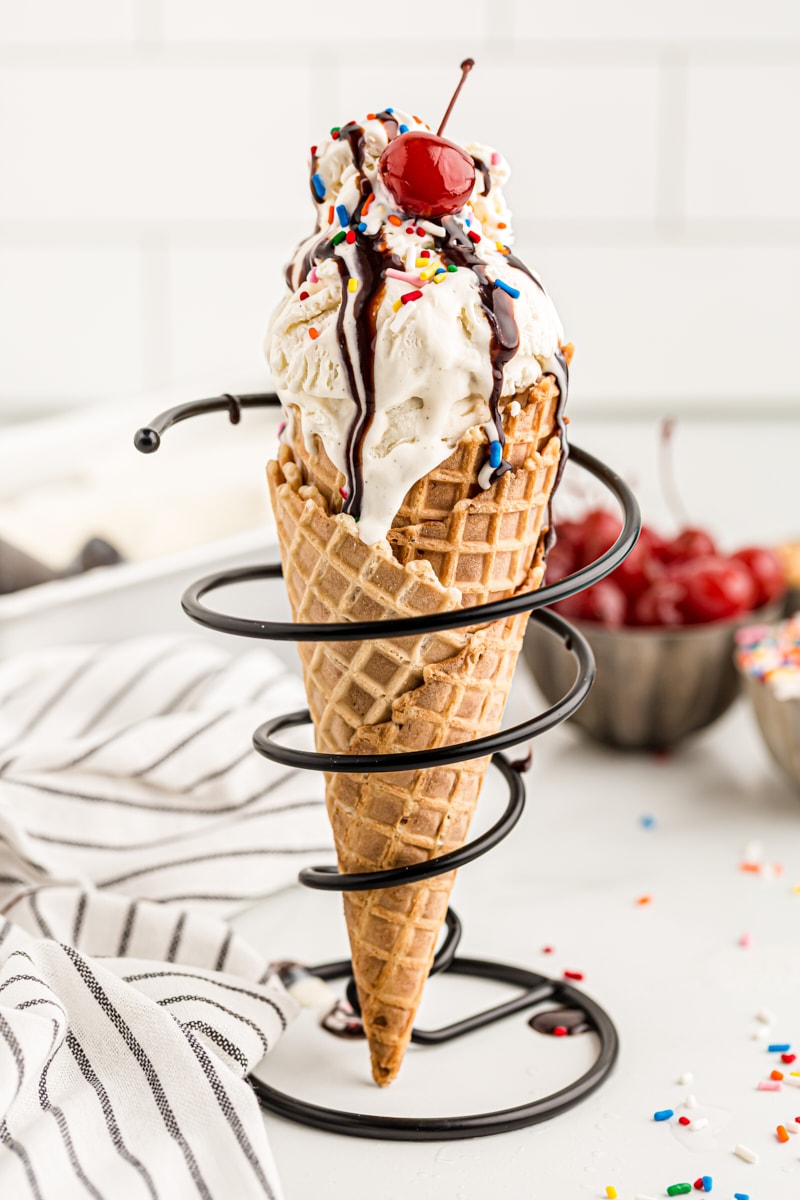
- Your favorite toppings – I know I said this ice cream is delicious enough to eat on its own (and it is!), but what’s ice cream without some fun toppings?
What Is Vanilla Bean Paste?
Vanilla bean paste is a mixture of pure vanilla extract and ground vanilla beans. It has a strong flavor and adds lots of little flecks of vanilla beans to your desserts. It’s great for this recipe because it gives the ice cream an extra boost of vanilla flavor. (Learn more: Types of Vanilla: A Home Baker’s Guide)
How to Make No-Churn Vanilla Ice Cream
Here’s what you’ll need to do to make your own vanilla ice cream at home.
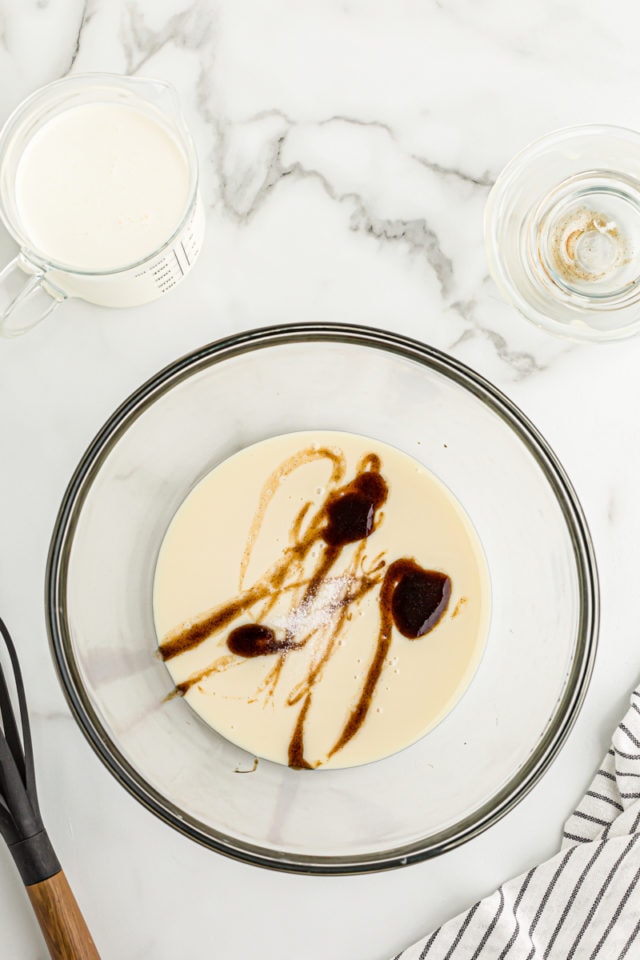
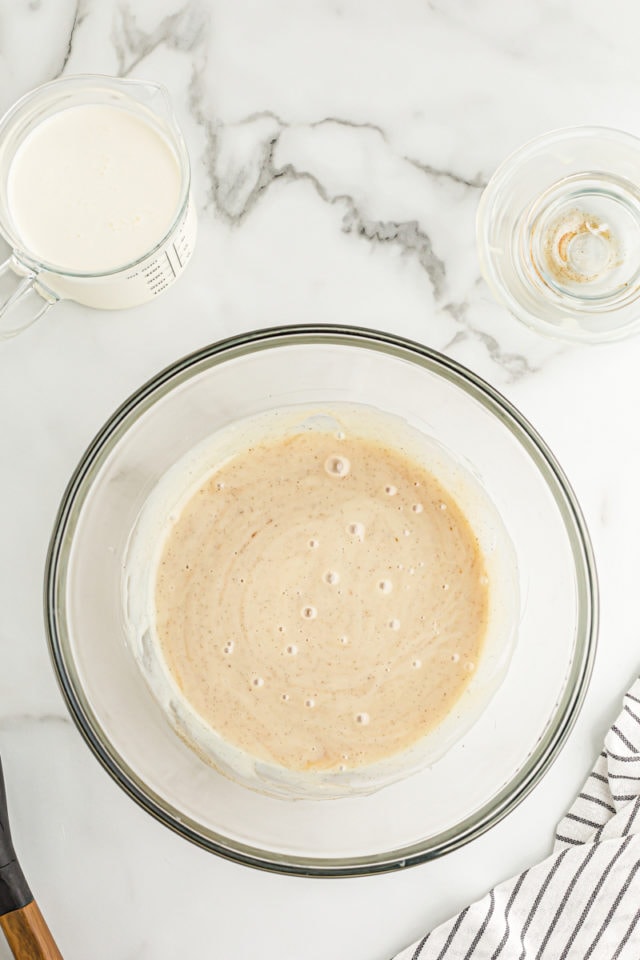
- Prepare. Chill a 9” x 5” x 3” metal loaf pan (or other similarly sized freezer-safe container) in the freezer.
- Mix the first 3 ingredients. Whisk the condensed milk, vanilla, and salt in a large bowl.
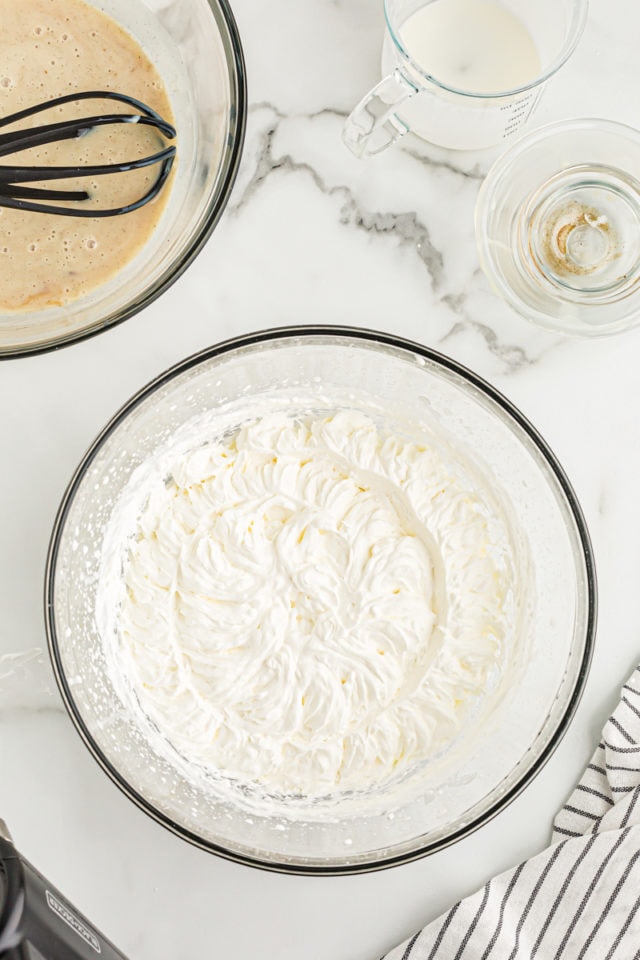
- Whip the cream. In a separate bowl, use an electric mixer fitted with a whisk attachment to whip the cream at medium-high speed until it forms stiff peaks.
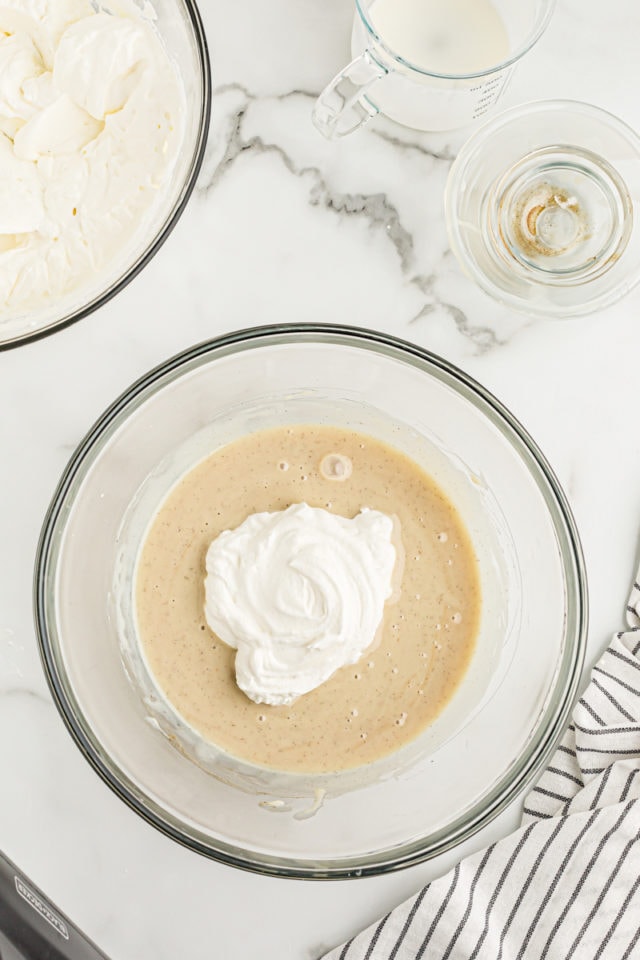
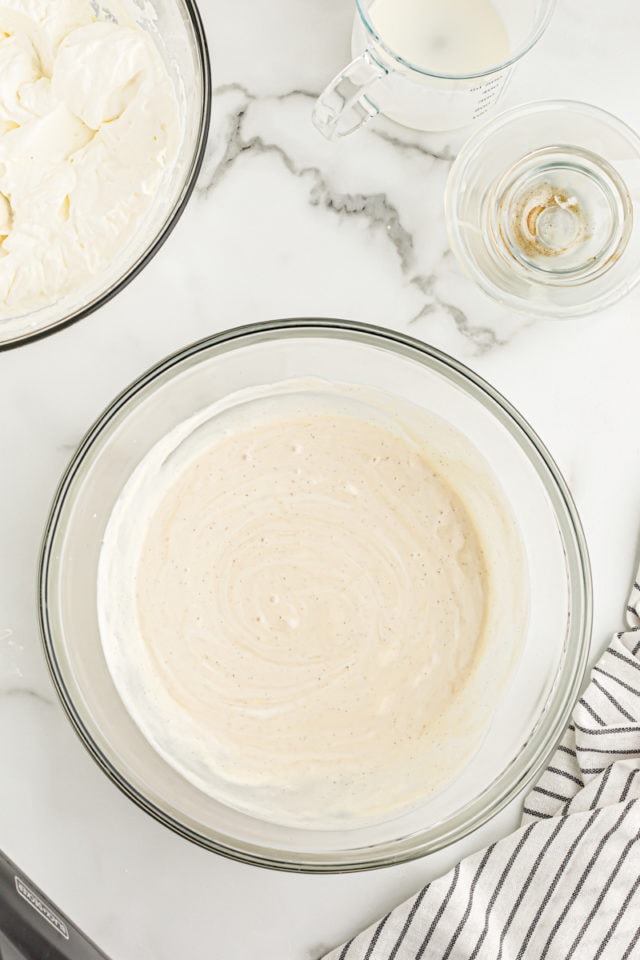
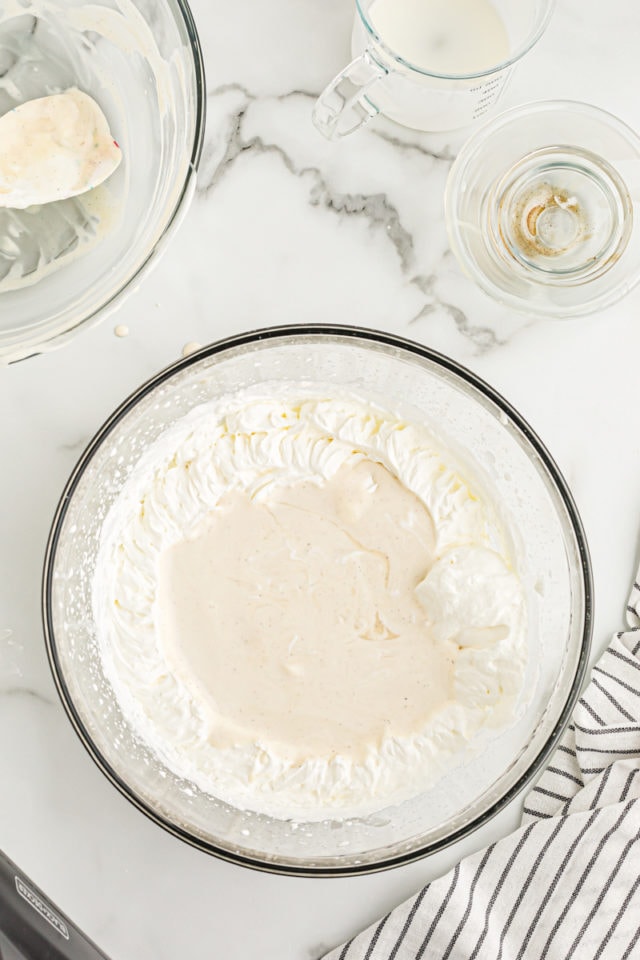
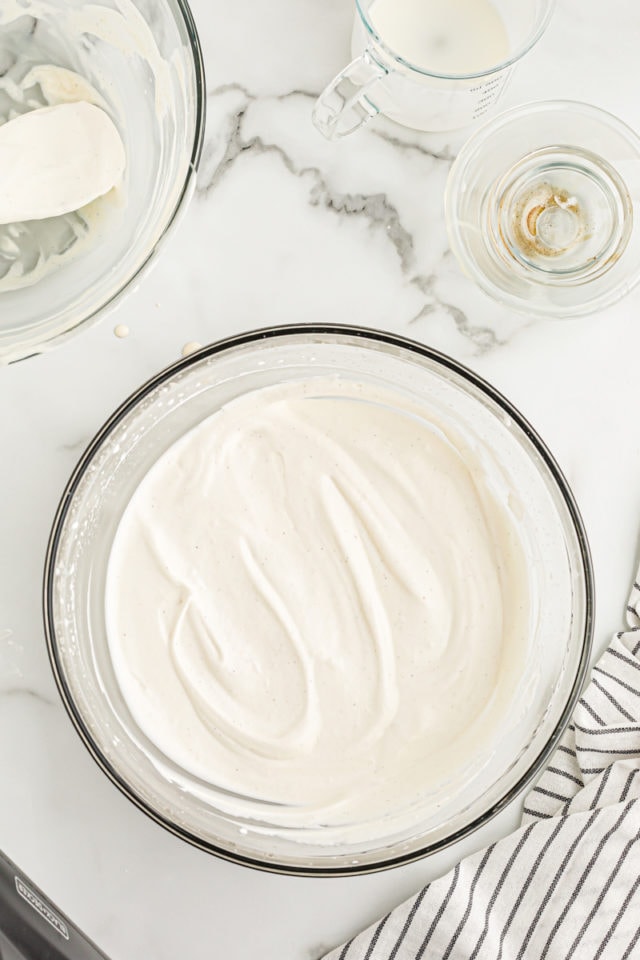
- Combine. Fold about 1 cup of the whipped cream into the condensed milk mixture. Then, transfer the milk mixture to the bowl of whipped cream. Gently fold to combine.
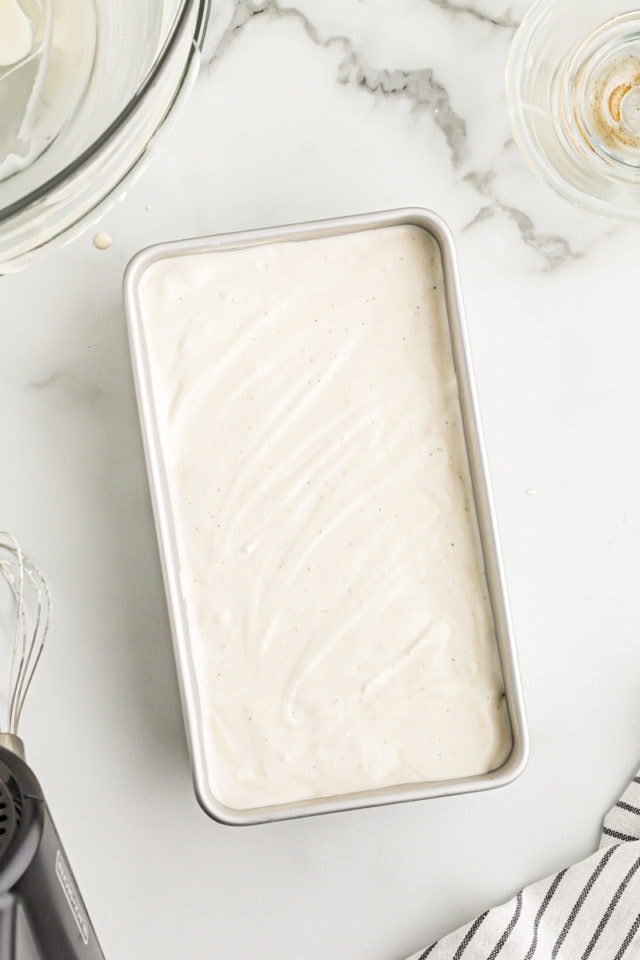
- Chill. Pour the ice cream mixture into the chilled loaf pan and cover it tightly with plastic wrap. Freeze for at least 5 hours, or until the ice cream is scoopable.
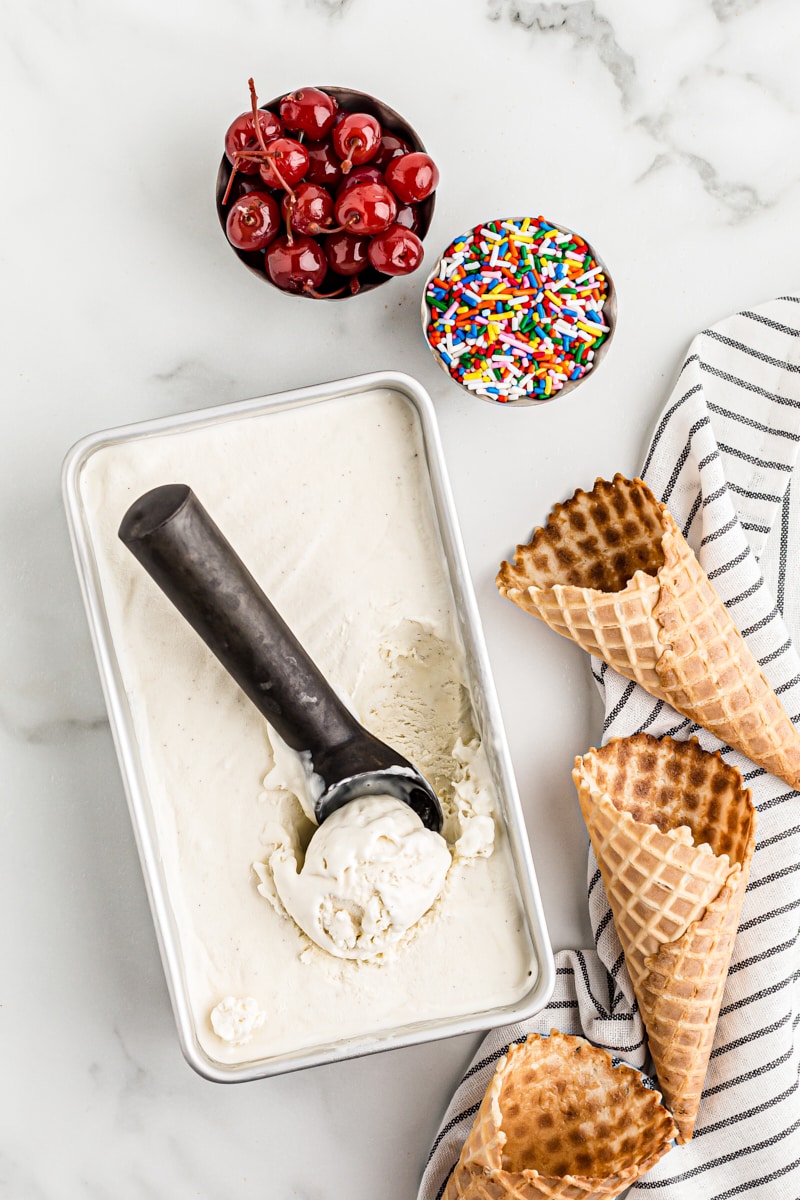
- Serve. Scoop the ice cream and serve it with your favorite toppings.
Tips for Success
Follow these tips for perfect no-churn vanilla ice cream:
- Use high-quality vanilla. Whether you use extract or paste, a high-quality product really makes a difference in the flavor. This is neither the time nor the place for imitation vanilla!
- Know when you’ve reached stiff peaks. You’ve got stiff peaks when you can lift the beater and the whipped cream stands up on its own without drooping.
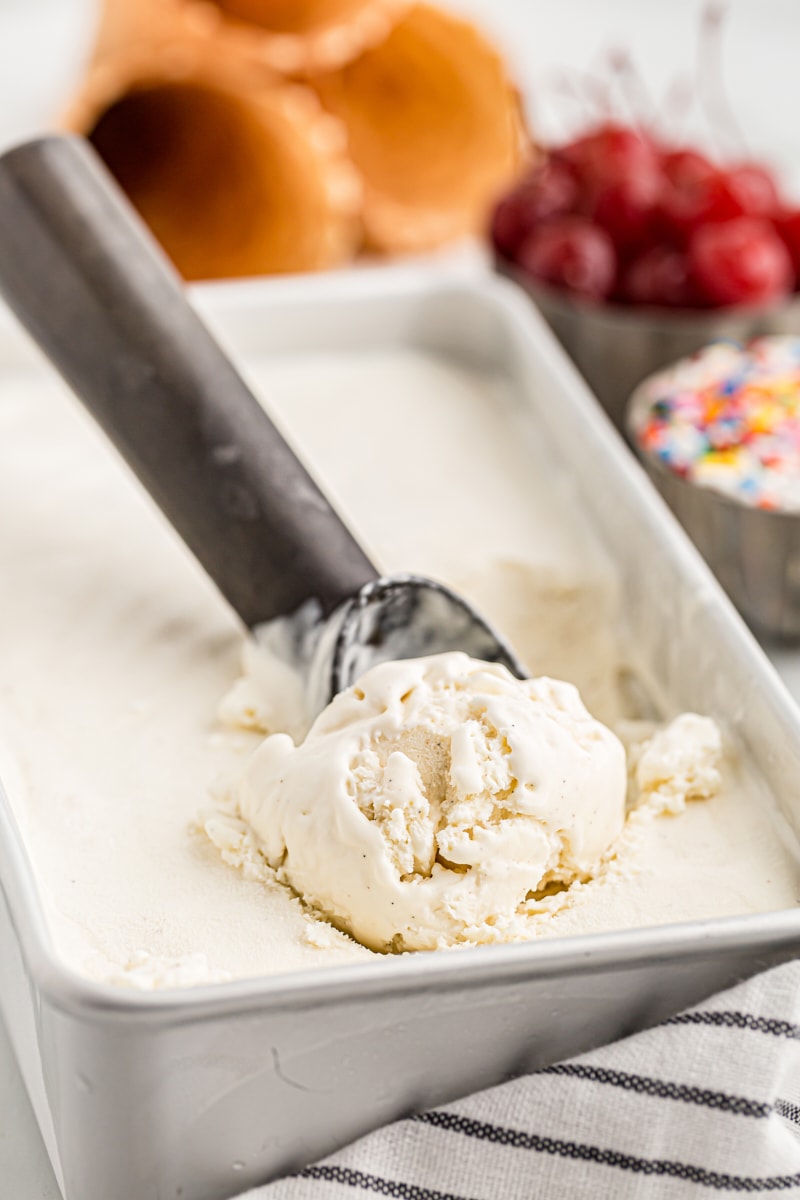
- Let the ice cream sit for a few minutes before serving. Once it’s removed from the freezer, it might be too hard to scoop immediately. Letting it sit out for a few minutes will make it easier to dish out.
Variations
Add some mix-ins to this recipe for a whole new flavor. Chocolate shavings, chopped nuts, or crushed Oreo cookies are all great choices, or try adding a ribbon of salted caramel or chocolate fudge.
Solid add-ins should be folded into the mixing bowl after you’ve incorporated the whipped cream; liquid add-ins like caramel sauce can be layered into the loaf pan as you add the ice cream mixture.
Serving Suggestions
A scoop of this no-churn vanilla ice cream is always a welcome addition to the top of a warm Dark Cocoa Powder Brownie or Apple Crumb Pie. Or, for something lighter, try topping it with fresh fruit and a drizzle of honey. Caramel sauce, hot fudge sauce, or raspberry coulis are always good ideas, too. You can also sandwich it between two Chocolate Wafer Cookies for a delicious ice cream sandwich. For a can’t-miss party dessert, try making Ice Cream Nachos.
How to Store
Store this vanilla no-churn ice cream in an airtight container in the freezer for up to 2 weeks. Let it sit out at room temperature for a few minutes before serving for the best texture.
More Recipes for Vanilla Lovers
- Homemade Vanilla Wafers
- Vanilla Pudding Cake
- No-Bake Black Bottom Vanilla Bean Cheesecake
- Vanilla Cake with Vanilla Frosting
- Berry Vanilla Cake
No-Churn Vanilla Ice Cream
Ingredients
- 14 ounces (397 g) sweetened condensed milk
- 2 teaspoons vanilla extract or vanilla bean paste
- ¼ teaspoon salt
- 2 cups (480 ml) heavy cream
- your favorite toppings, for serving
Recommended Products
Instructions
- Place a 9” x 5” x 3” metal loaf pan or other similarly sized freezer-safe container in the freezer.
- Whisk together the condensed milk, vanilla, and salt in a large bowl.
- Place the cream in a separate bowl. Use an electric mixer with a whisk attachment to whip the cream at medium-high speed until stiff peaks form.
- Fold about 1 cup of the whipped cream into the milk mixture. Transfer that mixture to the remaining whipped cream, and gently fold until combined.
- Transfer to the chilled pan and cover tightly. Freeze for at least 5 hours, until the ice cream has a scoopable texture.
- Serve with your favorite toppings.
Notes
- Store in an airtight container in the freezer up to 2 weeks.

