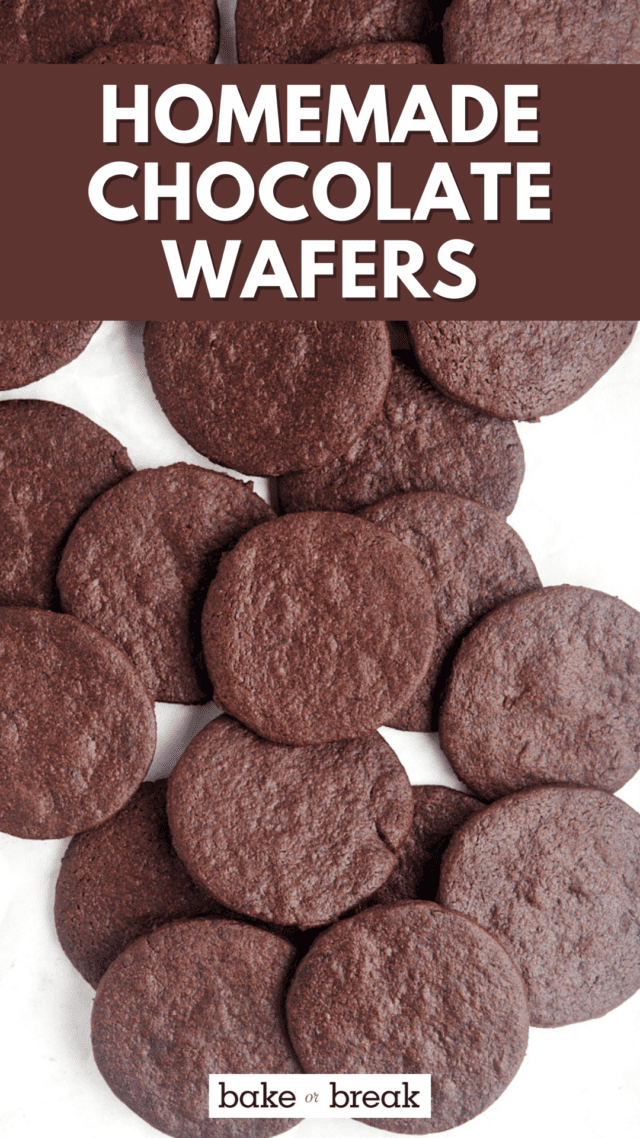
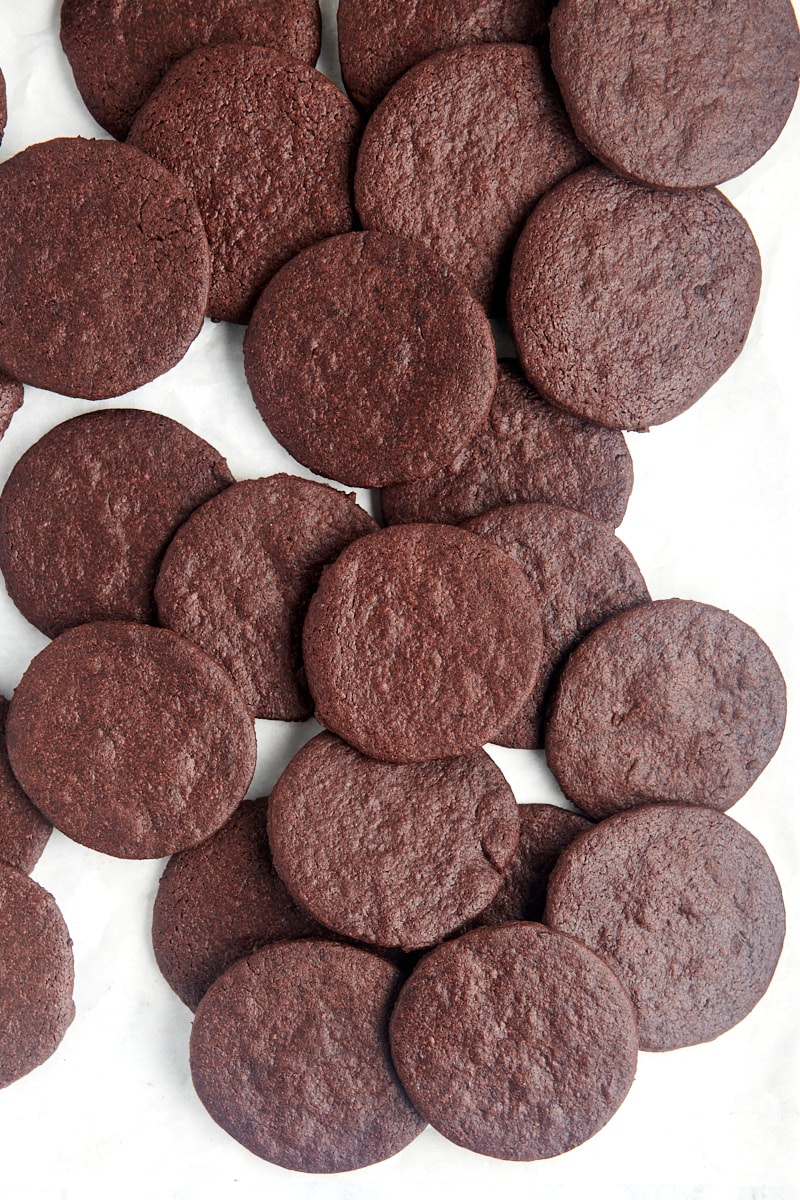
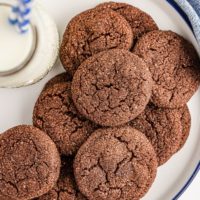
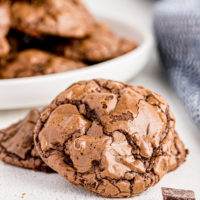
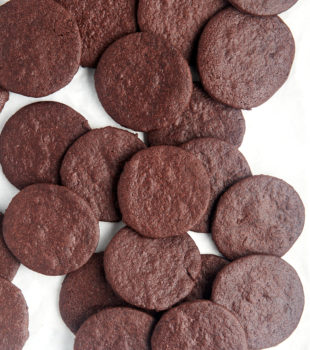
These thin, crisp chocolate wafer cookies are rich, deeply chocolatey, and perfect for everything from icebox cakes to cookie crusts. If you’ve ever loved those classic store-bought chocolate wafers, this easy homemade version is even better.
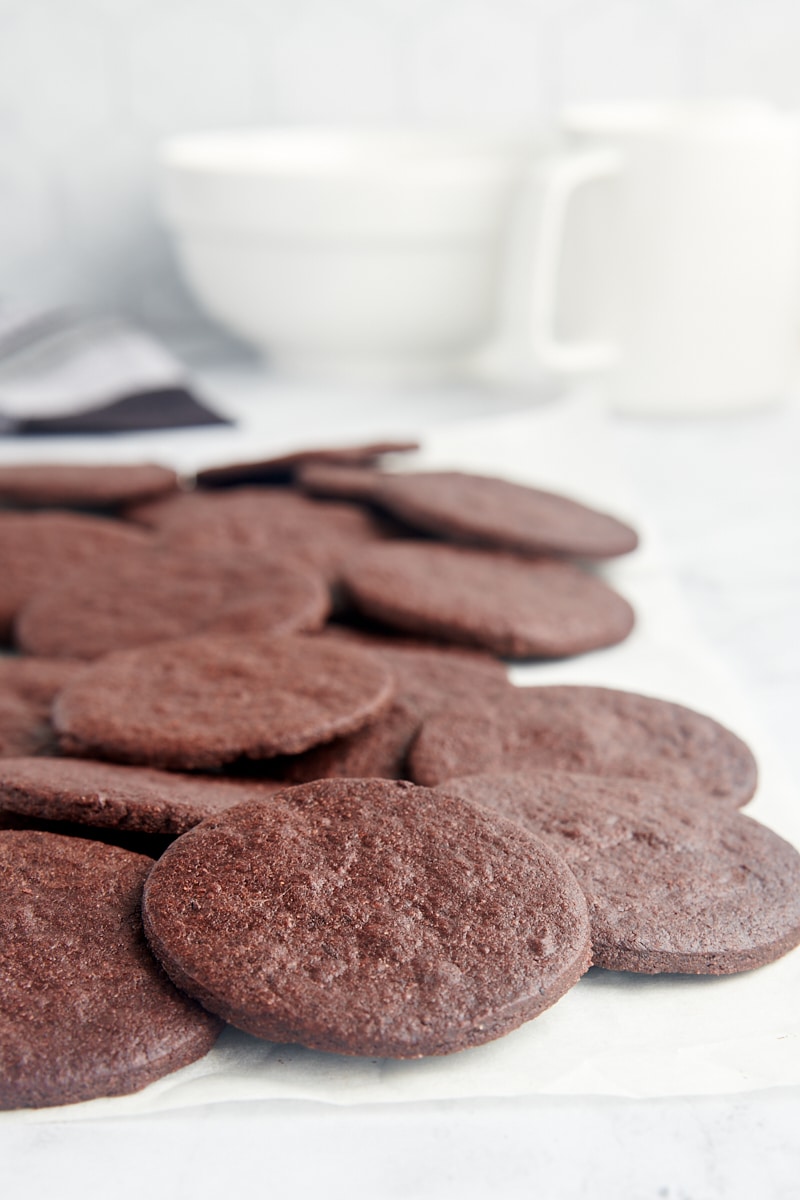
These chocolate wafer cookies are a simple, from-scratch version of the classic thin chocolate cookies that were once a staple for icebox cakes and cookie crusts. They’re crisp, deeply chocolatey, and surprisingly easy to make at home.
If you remember Nabisco Famous Chocolate Wafers, these are a great homemade alternative. They have that same thin, crisp texture and rich cocoa flavor, but with the added bonus of being easy to make whenever you need them.
Why You’ll Love This Chocolate Wafer Cookie Recipe
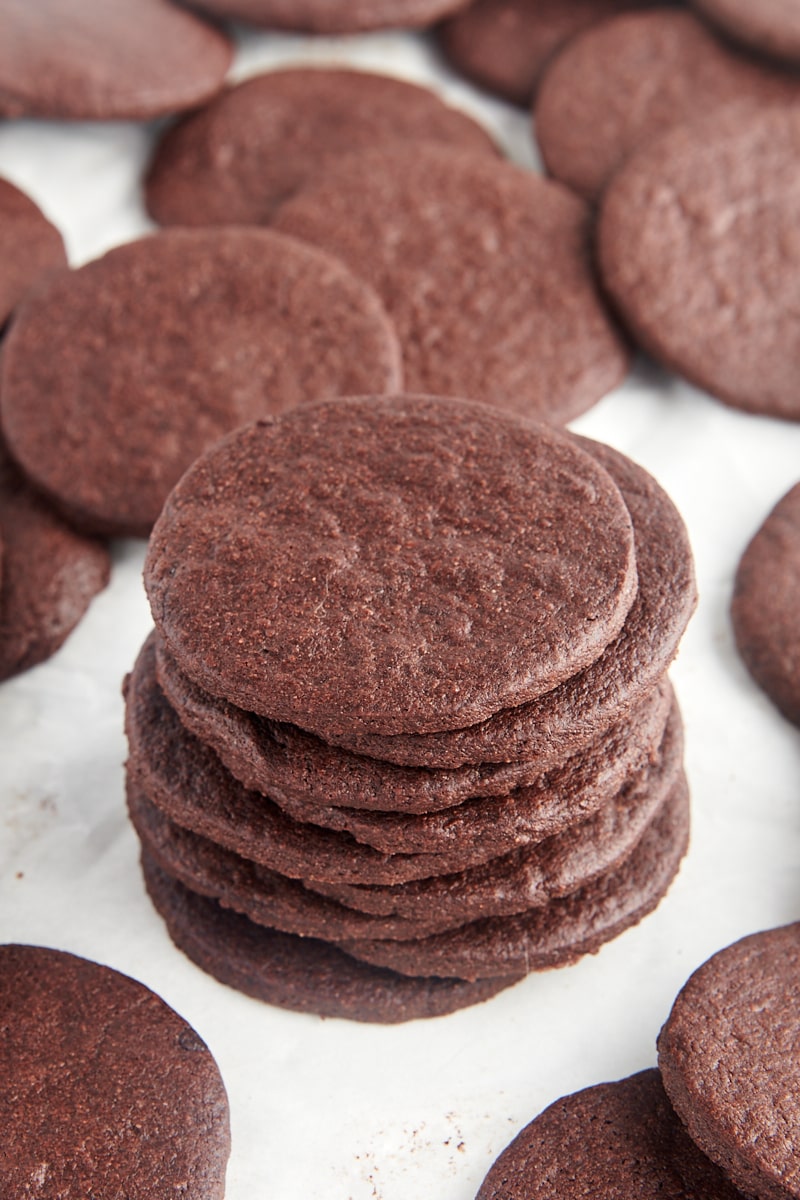
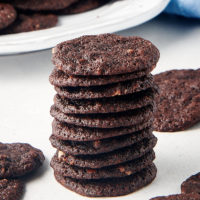
- Thin, crisp, and deeply chocolatey. These cookies bake up with a delicate crunch and a rich cocoa flavor, thanks to Dutch-process cocoa.
- Perfect for icebox cakes and crusts. Their thin, sturdy texture makes them ideal for layering or crushing into cookie crusts.
- An easy homemade alternative. If you’ve missed those classic chocolate wafer cookies, this version is simple to make with basic ingredients.
- Great on their own, too. While they’re often used in other desserts, they’re just as good as a simple, crisp chocolate cookie.
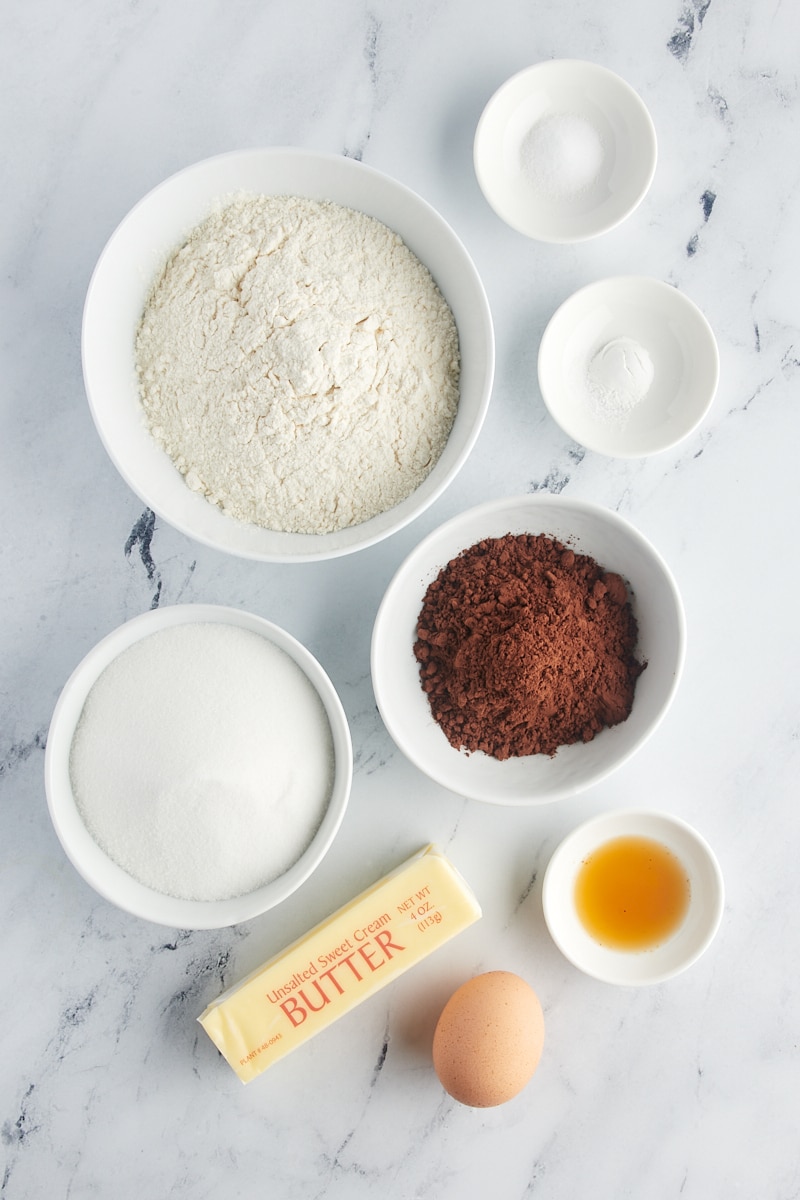
What You’ll Need
Scroll to the recipe card at the bottom of this post for ingredient quantities and full instructions. Here are some notes about the ingredients needed to make homemade chocolate wafer cookies.
- All-purpose flour – Measure by weight or use the spoon and sweep method. Learn more: How to Measure Flour
- Dutch-process cocoa powder – Use this type of cocoa for that deep chocolate flavor and dark color. (See my note below.)
- Baking powder
- Salt
- Unsalted butter – Let the butter soften at room temperature before mixing. It should be soft but hold a thumbprint when pressed. Learn more: How to Soften Butter
- Granulated sugar
- Egg – Set out the egg along with the butter so it can come to room temperature.
- Vanilla extract
What Kind of Cocoa Powder Should I Use for Chocolate Wafer Cookies?
To get deep, rich chocolate flavor, use Dutch process cocoa powder to make chocolate wafers. That type of cocoa powder has been treated to be made more neutral than the usual acidity of cocoa powder. That process gives it a smoother flavor and a darker color.
There’s also a cocoa called black cocoa. That type of cocoa has had additional processing done that makes it ultra-Dutch processed. The result is a deep chocolate flavor and a very dark color. Many people like it for these kinds of cookies, but I find that regular Dutch process cocoa powder works well and provides a nice, dark color. If you do want to use black cocoa powder, try using a combination of equal volumes of it and Dutch process cocoa for a more pleasing, balanced flavor.
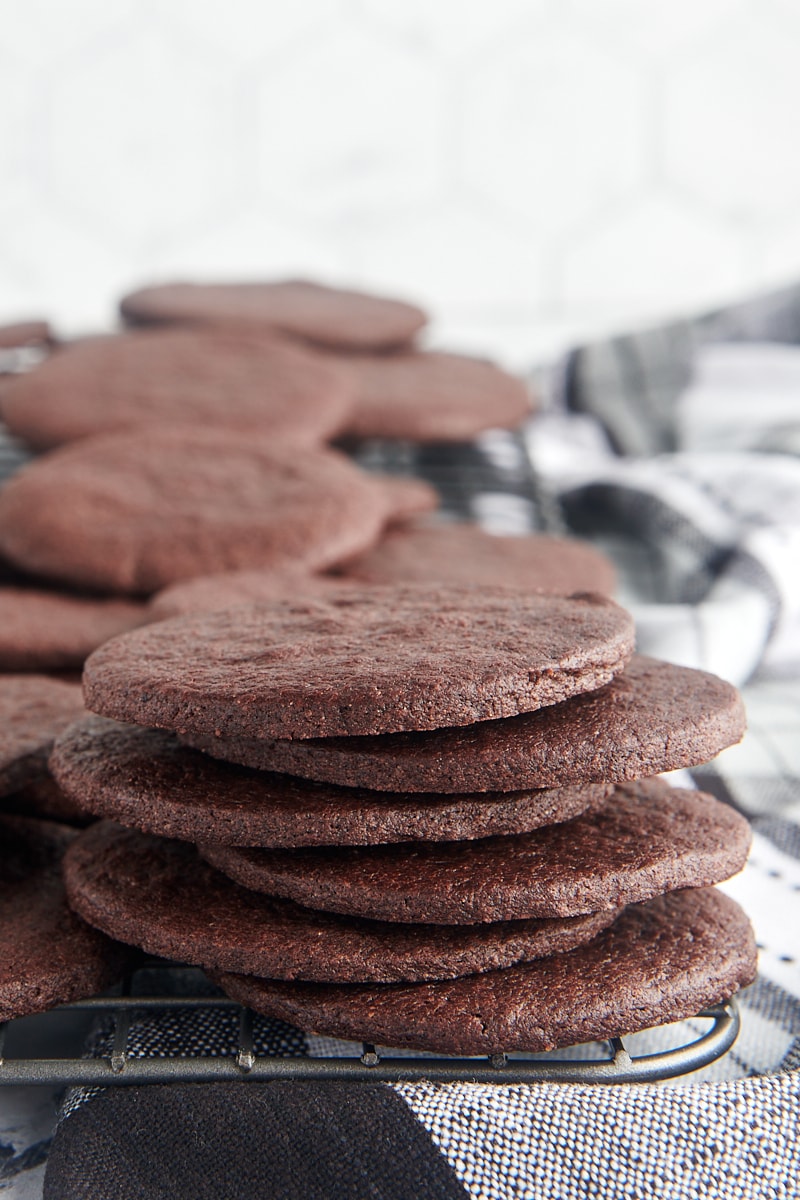
How to Make Chocolate Wafers
These chocolate cookies are easy to make, and the dough is a dream to roll and cut. Be sure to allow time for chilling when making your baking plans. Here’s what you’ll need to do:
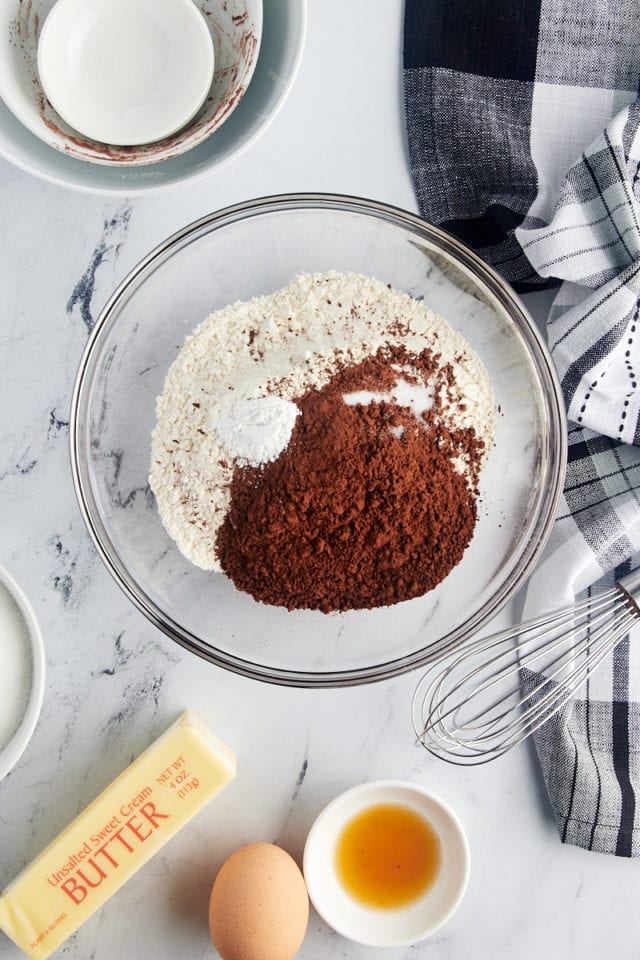
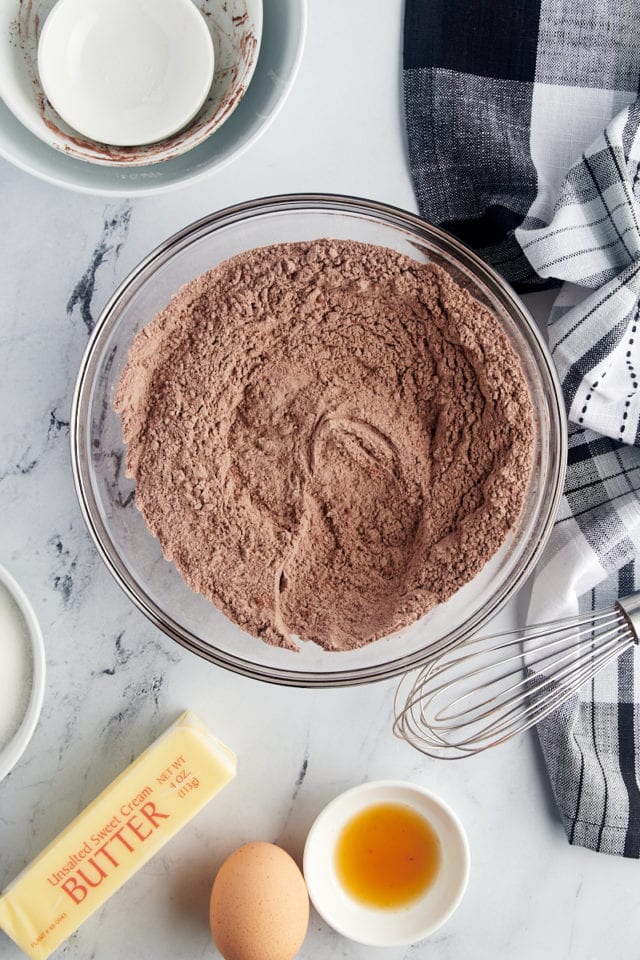
- Combine the dry ingredients. Whisk together the flour, cocoa powder, baking powder, and salt.
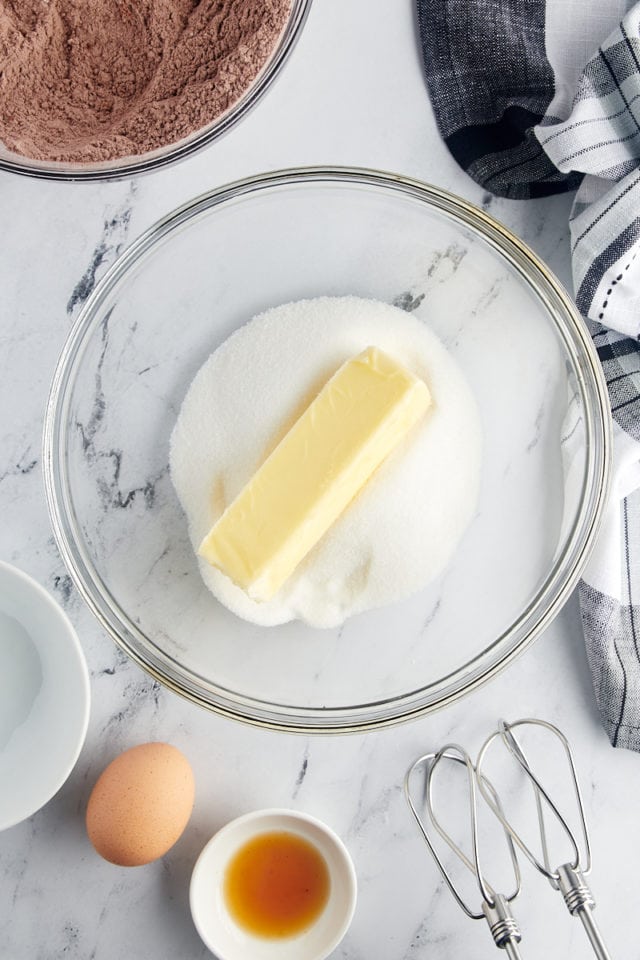
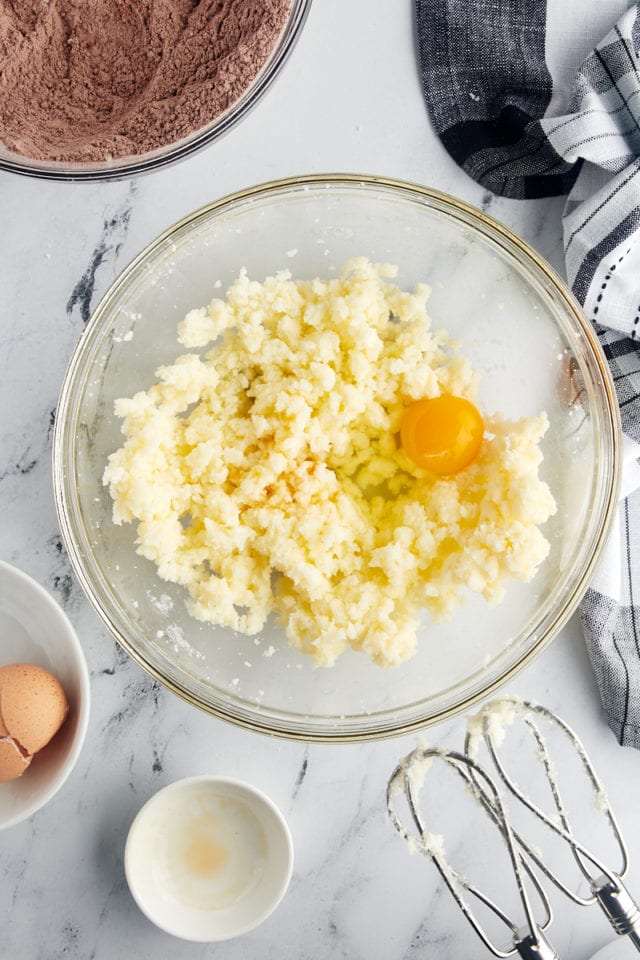
- Combine the wet ingredients. Using an electric mixer on medium speed, beat the butter and sugar until fluffy and lightened in color. Mix in the egg and vanilla.
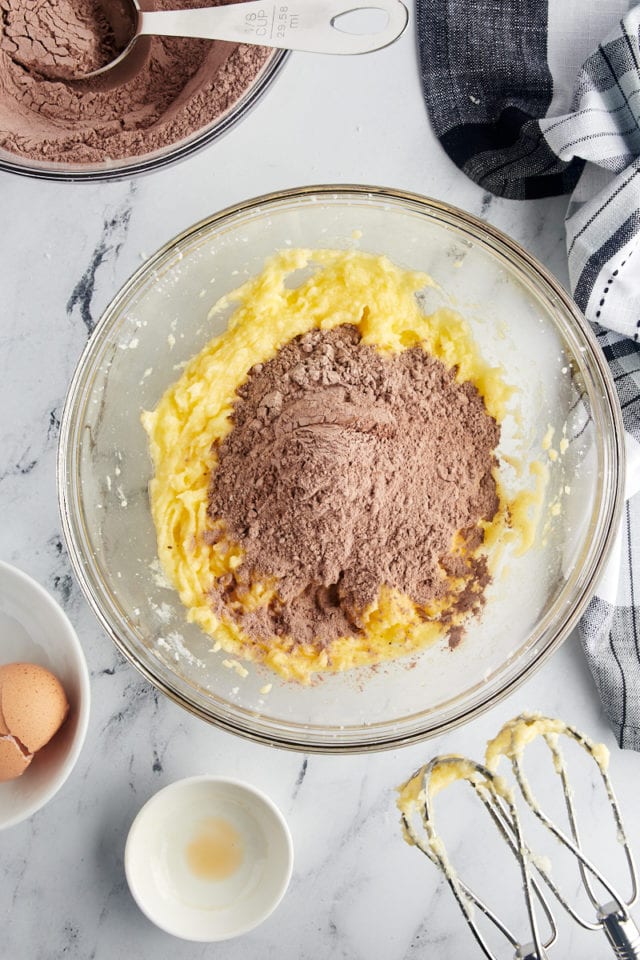
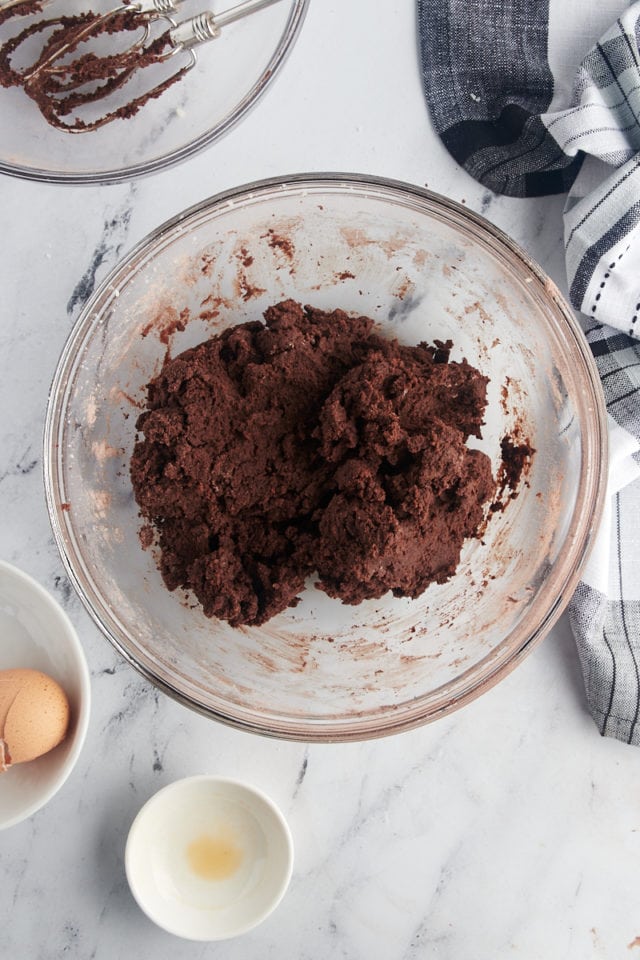
- Finish mixing. With the mixer on low speed, gradually add the flour mixture, and mix just until combined.
- Chill. Cover the dough, and refrigerate for 30 minutes. You can chill it longer, but you may need to let it sit at room temperature before rolling it.
- Prepare for baking. Heat the oven to 350°F. Line baking sheets with parchment paper or silicone liners.
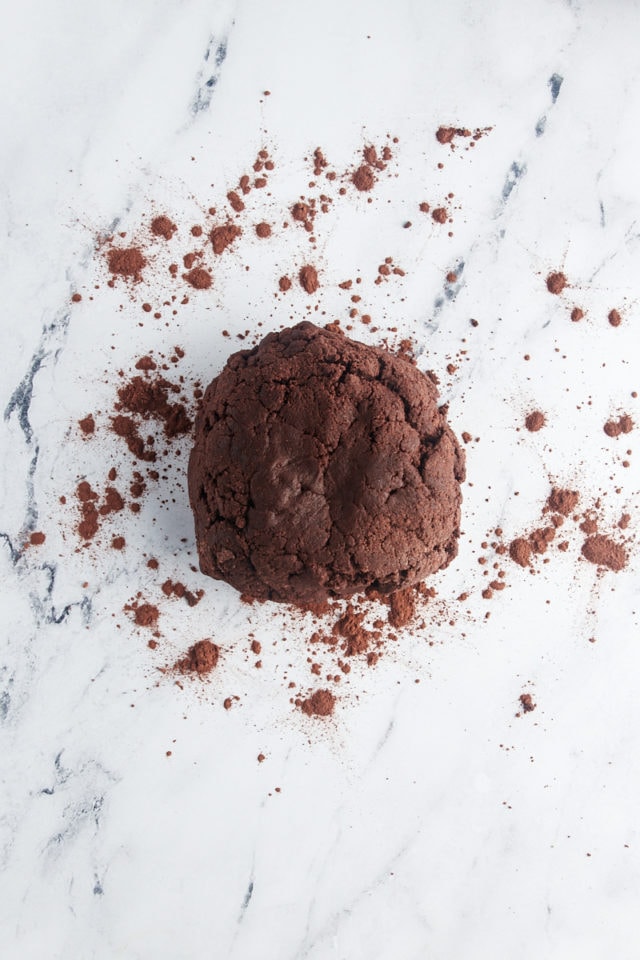
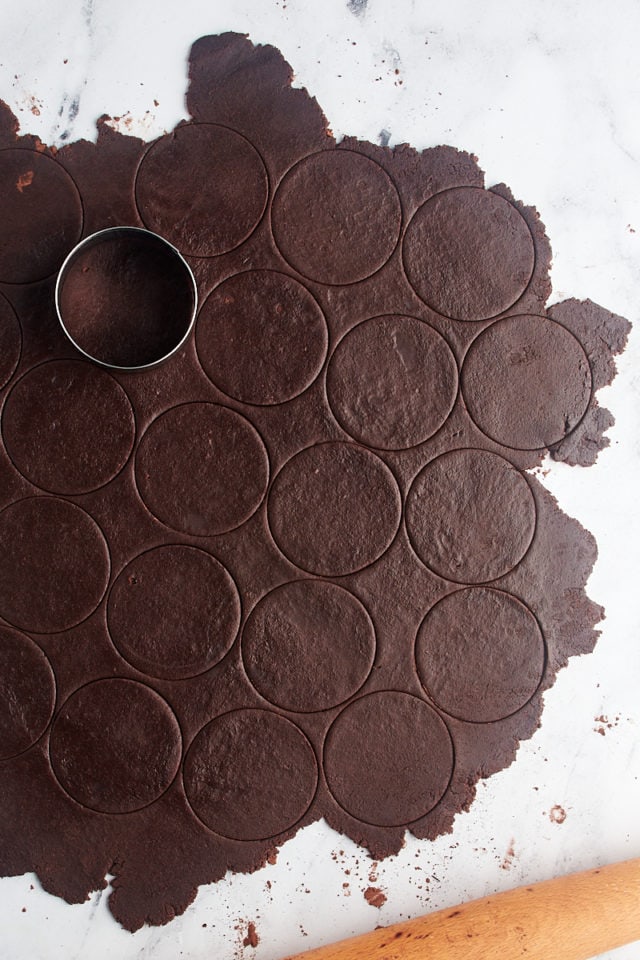
- Roll and cut the dough. Lightly dust a work surface and a rolling pin with cocoa powder. Place the cookie dough on the surface, and roll to about 1/8-inch thick. Use a 2 & 1/2-inch round cookie cutter to cut the dough into rounds. Gather and re-roll the dough, and continue cutting out cookies.
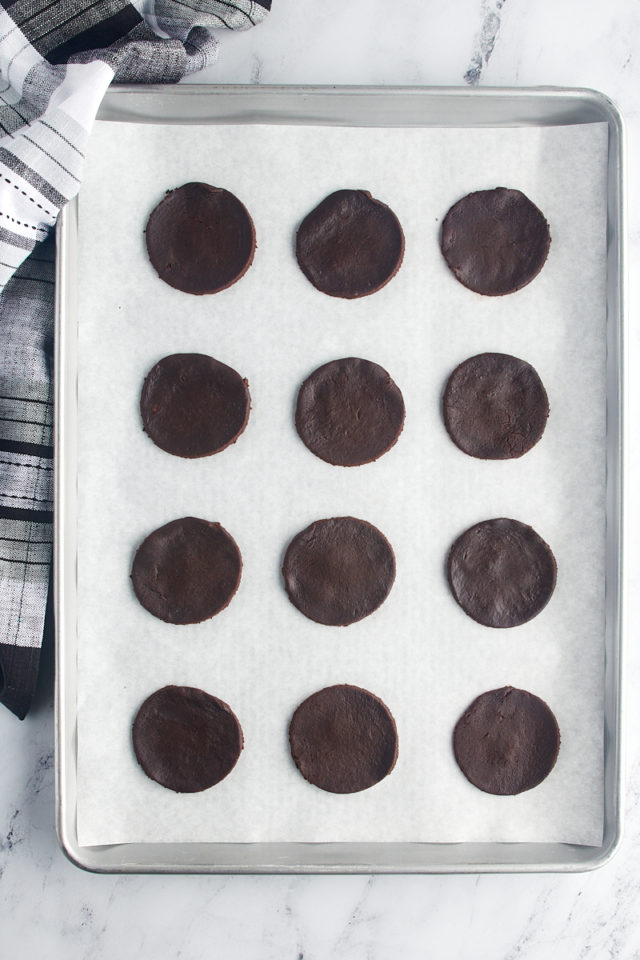
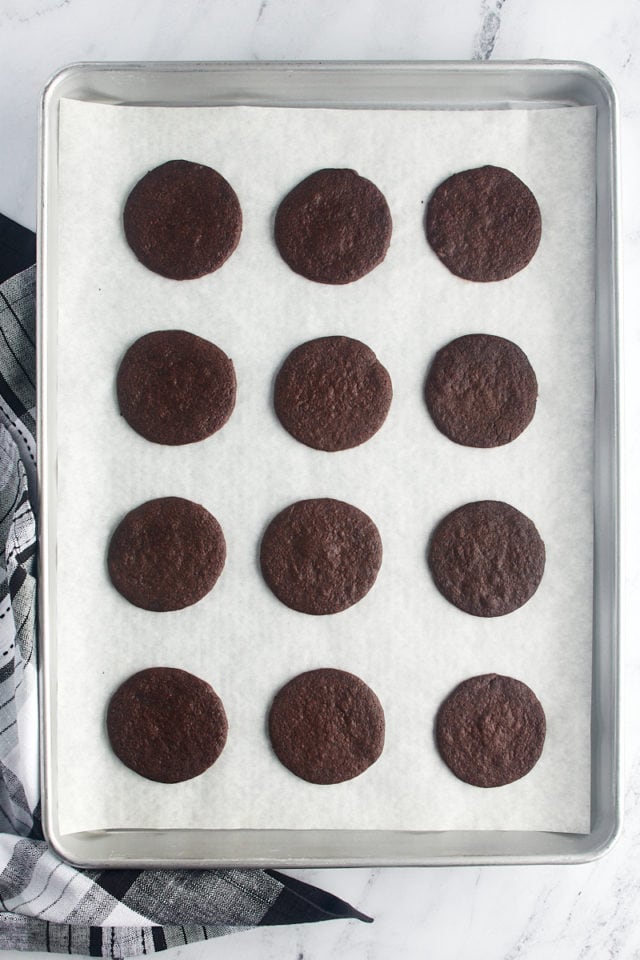
- Bake. Place the cut cookies on the prepared pans. Bake one pan at a time for 15 to 18 minutes, or until the cookies appear just set.
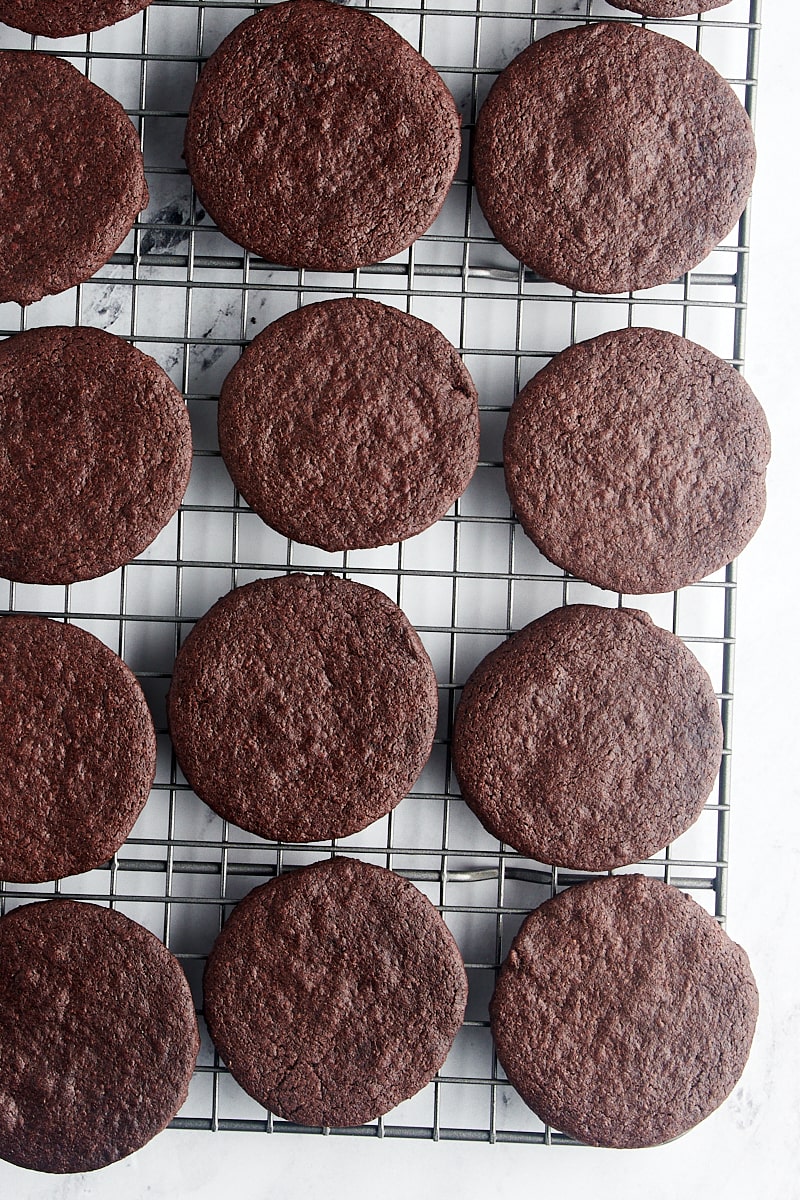
- Cool. Place the pans on wire racks, and allow the cookies to cool completely.
Tips for Success
Here are some tips to help ensure chocolate wafer cookie success!
- Use good quality cocoa powder. With the flavor focus solidly on chocolate, using a good quality cocoa powder will provide the best result.
- Don’t skip the chilling time. That time in the refrigerator lets the dough relax so your cookies won’t be tough, and it also helps the dough be more easily handled. If you need to chill the dough longer than 30 minutes, you will likely need to let it sit at room temperature for a few minutes before rolling and cutting it.
- Watch the thickness of the dough. Use a ruler to check how thick the dough is when rolling it. Aim for 1/8-inch thick or slightly thicker. Thinner dough won’t hold together well.
- Don’t over-bake. The dark color of these cookies can make it difficult to tell when they’re done. The tops should look just set or almost set. Also, use your nose! When you start to smell the chocolate strongly, they’re likely ready to come out of the oven.
Serving Suggestions and Uses for Chocolate Wafer Cookies
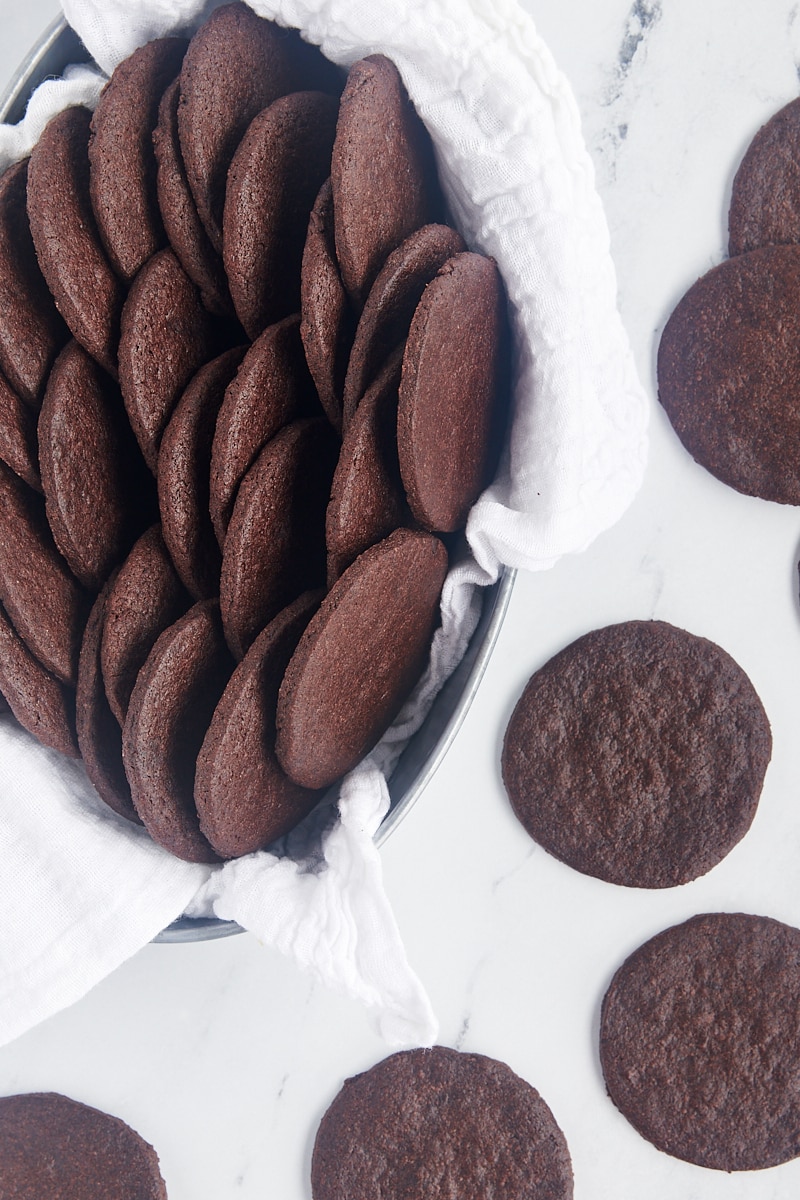
These thin, crispy cookies are certainly tasty on their own, but they also lend themselves to many other uses. If you’re looking for a substitute for Nabisco chocolate wafers, you can use these cookies much like you would use those. That means treats like the classic chocolate icebox cake, cheesecake, and cookie crusts, just to name a few. You can also use these cookies to make homemade Oreos!
How to Store
Room temperature: Place the cooled cookies in an airtight container, and store at room temperature up to 5 days. They’ll be at their best within a couple of days, but they should be useful for icebox cakes and cookie crusts a bit longer.
Freezer: These chocolate wafer cookies freeze quite well. Place them in an airtight, freezer-safe container. Properly stored, they should keep in the freezer up to 3 months.
More Chocolate Cookie Recipes
Chocolate Wafer Cookies
Ingredients
- 1 ½ cups (180 g) all-purpose flour
- ½ cup (42 g) Dutch process cocoa powder
- ½ teaspoon baking powder
- ½ teaspoon salt
- ½ cup (113 g) unsalted butter, softened
- 1 cup (200 g) granulated sugar
- 1 large egg
- 1 teaspoon vanilla extract
Recommended Products
Instructions
- Whisk together the flour, cocoa powder, baking powder, and salt. Set aside.
- Using an electric mixer on medium speed, beat the the butter and sugar until light and fluffy. Add the egg and vanilla, and mix well.
- Reduce the mixer speed to low. Gradually add the flour mixture, mixing just until combined.
- Cover and refrigerate the dough for 30 minutes.
- Preheat the oven to 350°F (175°C). Line baking sheets with parchment paper or silicone liners.
- Place the dough on a work surface lightly dusted with cocoa powder. Roll the dough to 1/8-inch thick, and then use a 2 & 1/2-inch round cookie cutter to cut into rounds.
- Transfer the cut cookies to the prepared pans. Bake, one pan at a time, for 15 to 18 minutes, or until the cookies just appear set.
- Place the pans on wire racks, and allow the cookies to cool completely.
Video
Notes
- Store in an airtight container at room temperature up to 5 days.
- Recipe adapted from King Arthur Baking.


25 Comments on “Homemade Chocolate Wafer Cookies”
Thank you so much for this recipe. I couldn’t believe that Nabisco discontinued the wafer cookies. What were they thinking? No worries now that I have your recipe:)
My pleasure! I hope they work well for you!
Well, perhaps my egg was too small, but my dough was a bit dry, horrible to roll out, broke, stuck to the rolling pin etc. and yes, I dusted with the cocoa. After the first few rolls, I decided to use waxed paper over the dough. Worked like a charm. So if anyone is having trouble rolling, use waxed paper!
P.s. I am not a novice, I happen to be quite a good baker. Been at it for about 50 years.
Hi, Mary Ann. I’m sorry you had troubles with the dough! A splash of water may help if you think the dough is dry. And waxed paper is a good trick for rolling delicate doughs!
Thank you so much for this recipe! I wanted to make the ice box cake but was not sure what I was going to use since Nabisco discontinued their chocolate wafers.
You’re welcome, Carol! Enjoy your icebox cake!
Yayy! They were fantastic chocolate wafer cookies. Thanks for sharing.
I’m glad you liked them!
Can you use this as a pie crust or tart shell, or is it better to bake the cookies and then process them into a crust?
Hi, Moira. I’m not sure the dough would hold up as a crust, but I’ve not tried doing that. I do have a chocolate pie crust recipe that works really well. You can find it with this coconut chess pie.
We found it was easiest to roll the dough between two sheets of waxed paper. That allowed us to lift up the sheet to get the cookies off with our them becoming misshapen Also, we cooked them for about 10 minutes and they were done just right. I’m so glad you posted this recipe because the cookies are part of our holiday traditions and I was very sad to see they were discontinued.. We really like the Holiday Log made with these and whipped cream. Thank you gaind for the recipe.
I’m glad you enjoyed them, Mary! Thanks for sharing your rolling tips, too.
So frustrating that you publish recipes with no “jump to” option. I will never open a link to your advertisers, or read your recipes again. You have no respect for the readers’time.
Hi, Patricia. There’s a “jump to recipe” button at the top of every recipe post.
That’s harsh. Especially since there is a jump to recipe button AND it takes 30 seconds to scroll. A lot of time and effort goes into these sites, there’s no need to say such critical things.
Wow….Could just move on. But thanks for sharing!
Great flavour- really problematic to roll. As an experienced baker- I eventually resorted to making a log and slicing them. Had hoped to avoid that. which is why I tried your recipe. And for a change- I followed the recipe exactly. Really mixed feelings- glad they were for an ice box cake so the appearance din’t matter too much.
I’m sorry you had troubles, Anna! I’ve found that this dough is a bit sticky but still capable of being rolled. Another reader suggested rolling it between sheets of wax paper to make it easier. Maybe that would help?
Thank you for this recipe! I’m excited to make a batch! I’m curious though, do these come out really crispy? I’m hoping for a snap! 🤷♀️
Hello! Yes, these are crispy cookies with a texture very much like Nabisco’s chocolate wafers.
Good for you!
OMG… you are the best. Yes I definitely miss the nabisco chocolate wafers. I used to make stack-ups a recipe my grandmother used to make. 3 wafers with homemade whip cream between each wafer top with more and then top with a cherry on top. Let set over night to soften and girl nothing but deliciousness. Thanks for this recipe.
Amy, thank you so much! I love hearing about your grandmother’s stack-ups. What a sweet memory! Those Nabisco wafers were such a staple for desserts like that, and I’m so glad this recipe brings a little of that nostalgia back. Your version sounds absolutely delicious, especially with the cherry on top!
Can you make the dough ahead and roll it out later?
Yes! You can make the dough ahead and refrigerate it for up to a couple of days. Just let it sit at room temperature for a bit before rolling. It’ll be too firm straight from the fridge.