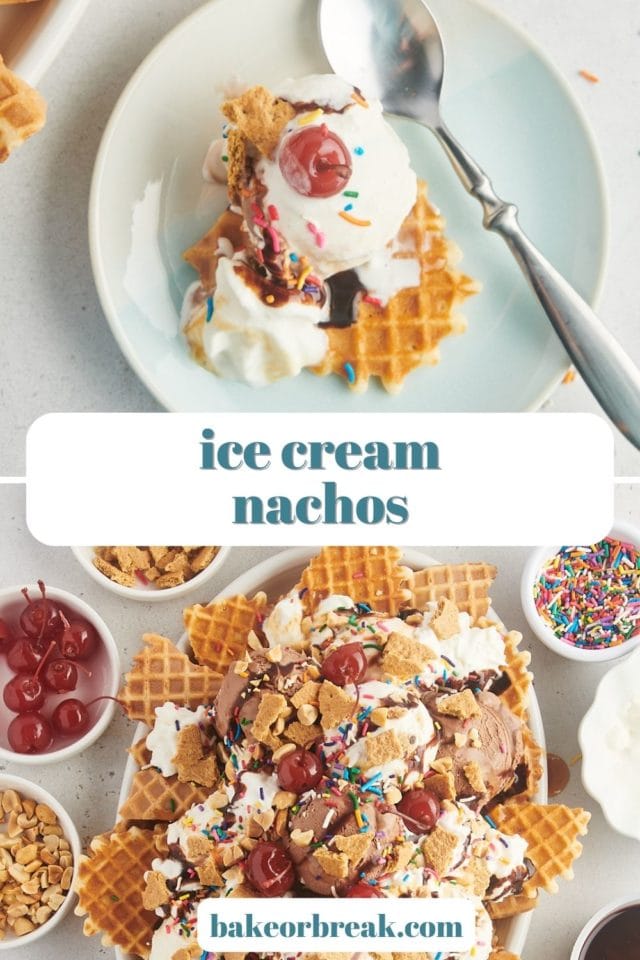
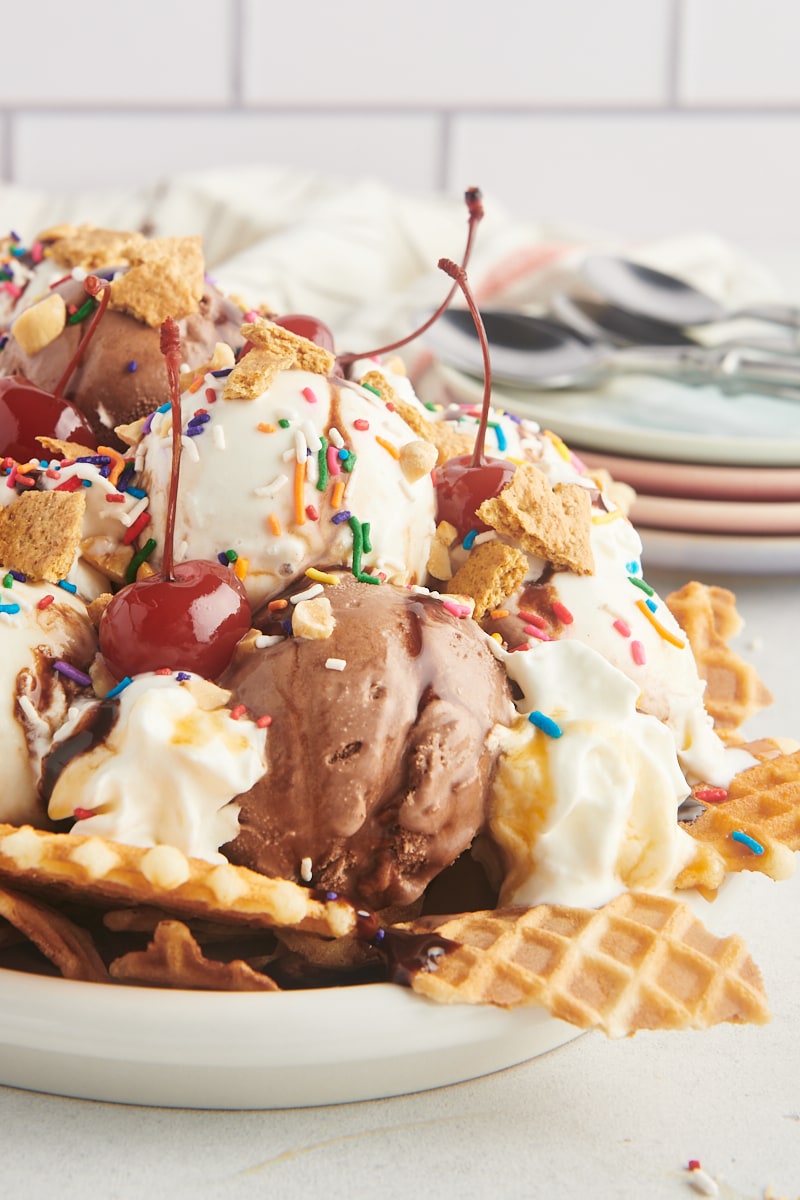
Transform dessert time with these playful and delicious ice cream nachos, a unique twist that combines the crunch of waffle cones with your favorite ice cream flavors and toppings for an unforgettable treat.
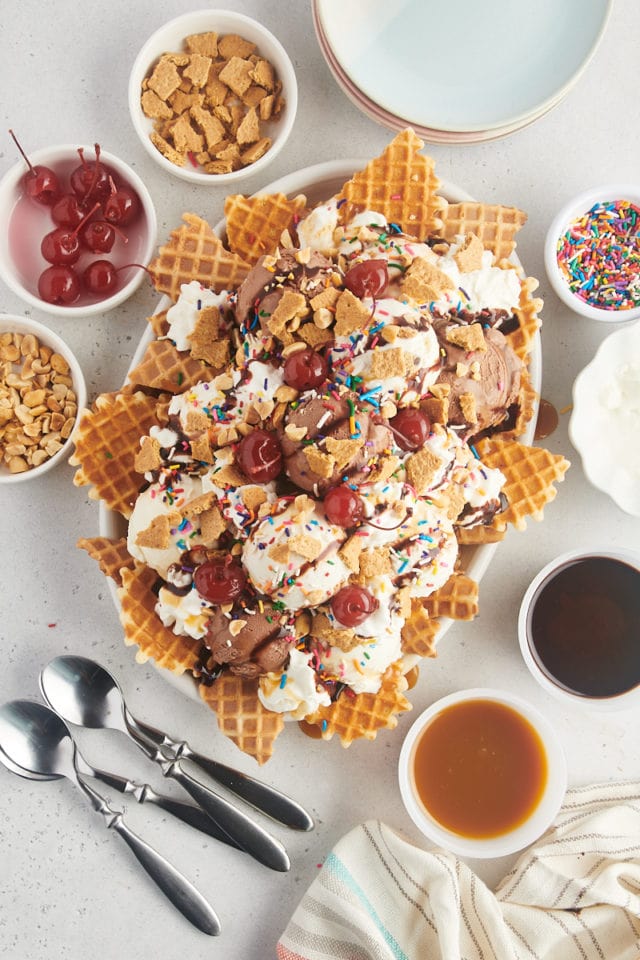
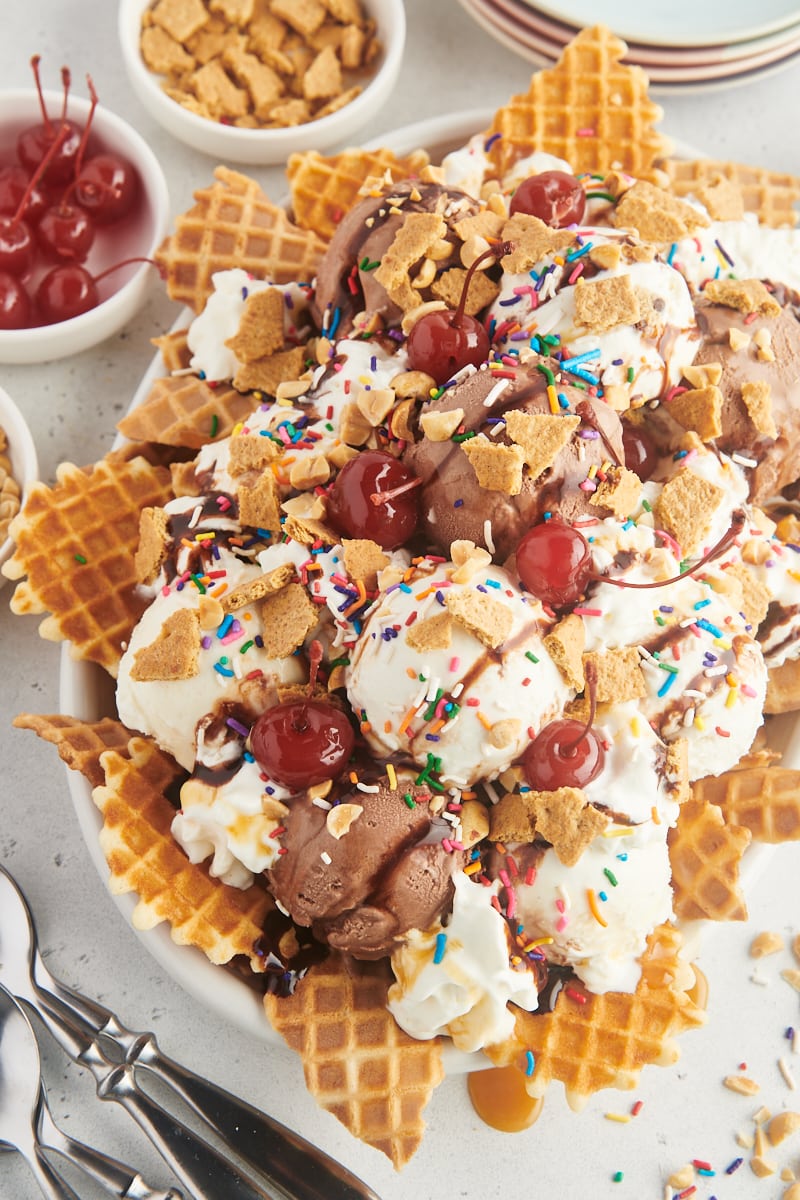
Ice cream nachos combine the crispy crunch of waffle cone chips, layered with luscious scoops of your favorite ice creams, and topped with an array of delectable toppings. This playful dessert is not only a feast for the taste buds but also a visually stunning centerpiece for any gathering.
Why You’ll Love These Ice Cream Nachos
- Uniquely fun. Ice cream nachos are a delightful twist on traditional desserts. They combine the crunchy texture of waffle cone chips with the creamy goodness of ice cream, creating a fun and unique treat that’s sure to impress for a family-friendly dessert, an easy summer treat, or just because.
- Customizable. One of the best parts about ice cream nachos is how customizable they are. Whether you’re a fruit fanatic, a chocolate lover, or nuts about nuts, you can tailor them to suit your taste buds. Everyone can create their perfect dessert!
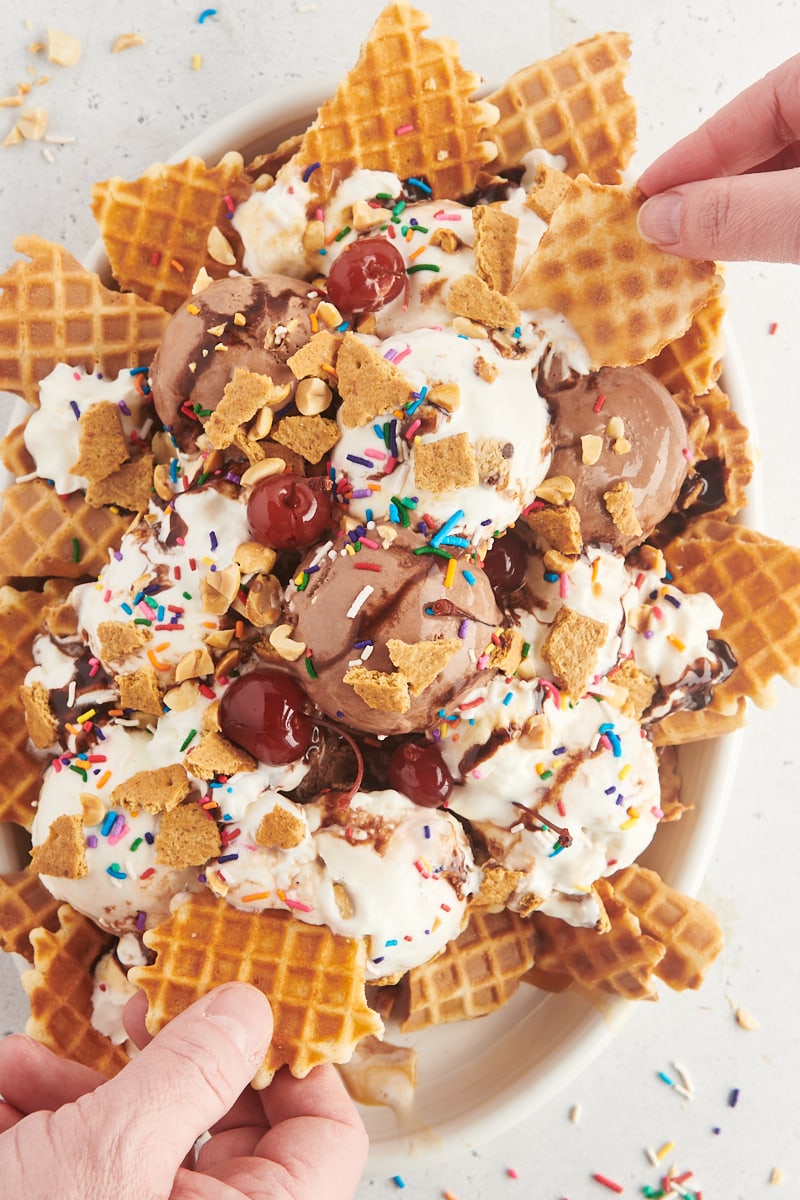
- Perfect for sharing. These nachos are made for sharing, making them ideal for parties, family gatherings, or a fun night at home. It’s a social dessert that gets everyone digging in and enjoying together.
- Easy and quick. No need for fancy baking skills or hours in the kitchen. This recipe is super easy and quick to put together, which means more time enjoying and less time preparing.
What You’ll Need
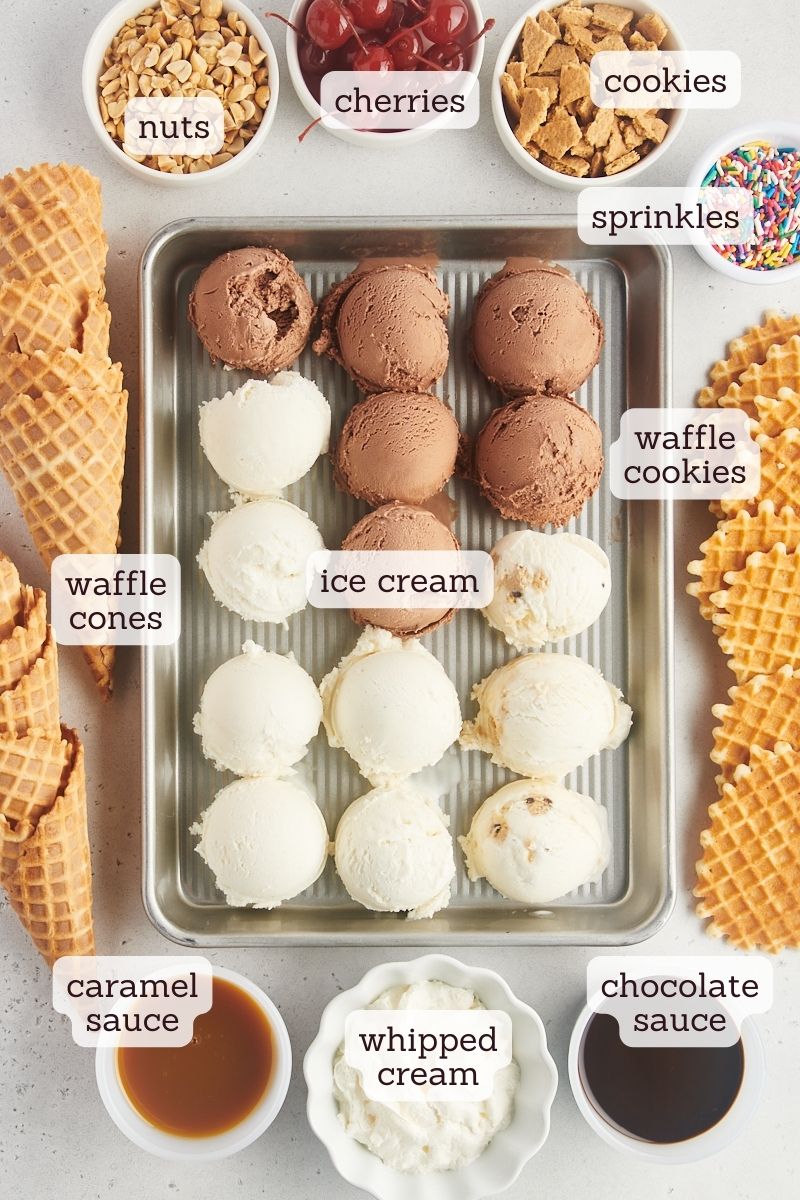
See the recipe card below for the full recipe with ingredient quantities. Here’s a brief rundown of what you’ll need to make your ice cream nachos.
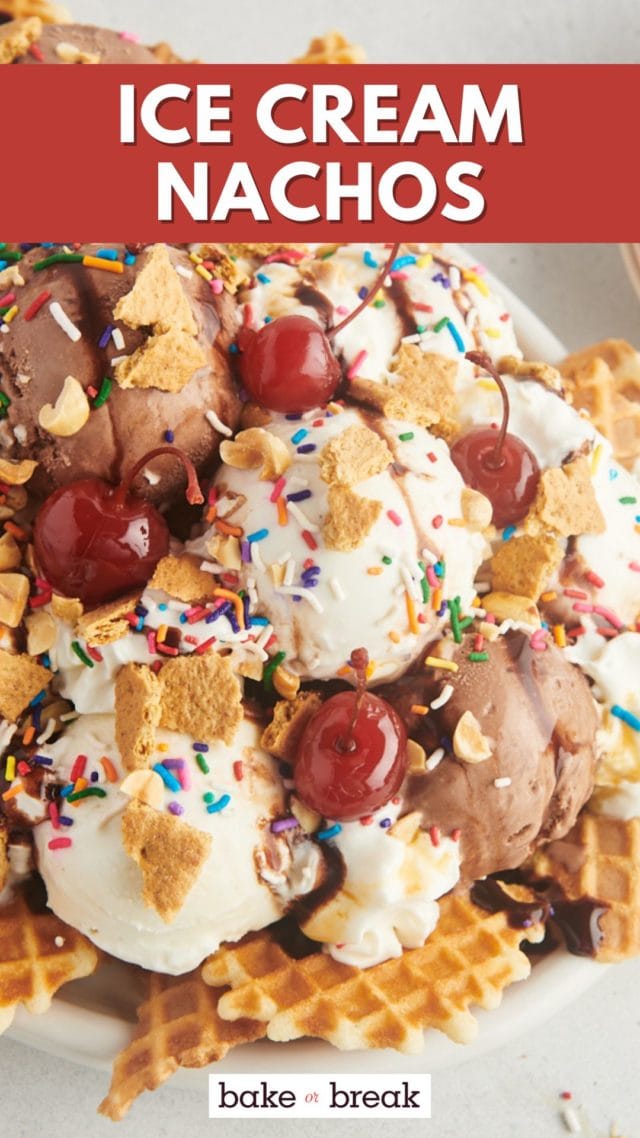
- Ice cream cones – Waffle cones work well, or you can use sugar cones if you prefer. Crisp waffle cookies are a good fit, too. The nachos you see here were made with a combination of waffle cones and waffle cookies.
- Ice cream – Use your favorite kind or go with a variety of store-bought or homemade ice creams. For the nachos pictured here, I used chocolate, vanilla, and cookie dough. See the variations section below for lots of irresistible flavor combination ideas.
- Toppings – Get creative and have fun with your favorite ice cream toppings! See below for some suggestions to get you started.
Topping Ideas for Ice Cream Nachos
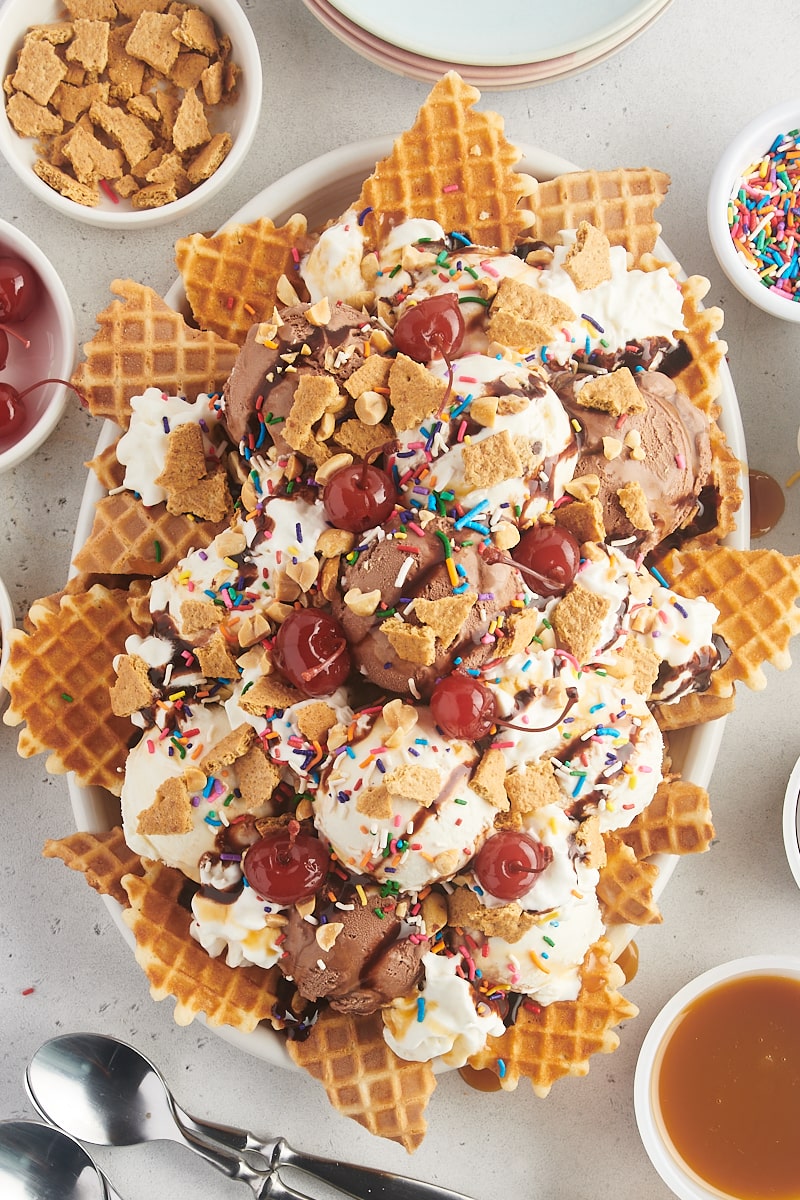
Half the fun of making these is adding the toppings! If you’re like me, then you likely have lots of topping options already in your pantry. Here are some of my favorite toppings:
- Sauces: Chocolate, caramel, butterscotch, and berry varieties.
- Fresh fruit: Banana slices, berries, maraschino cherries.
- Nuts: Almonds, pecans, peanuts, or walnuts for a nice crunch.
- Sweet treats: Mini marshmallows, chocolate chips, or crushed candy bars like Butterfinger or Reese’s.
- Whipped cream: A classic that goes with everything.
- Sprinkles: Traditional rainbow sprinkles for color and fun, or go with chocolate sprinkles or themed colors and designs.
- Cookie crumbles: Like Oreo or graham cracker pieces.
- Drizzles: Honey, peanut butter, or Nutella.
How to Make Ice Cream Nachos
This is one of the easiest desserts you’ll ever make, especially if you use store-bought ice cream. Gather your ingredients and get scooping!
- Scoop the ice cream. Place scoops of your desired ice creams on a rimmed baking sheet and freeze for 30 to 45 minutes. That should help firm up the scoops without making them too hard.
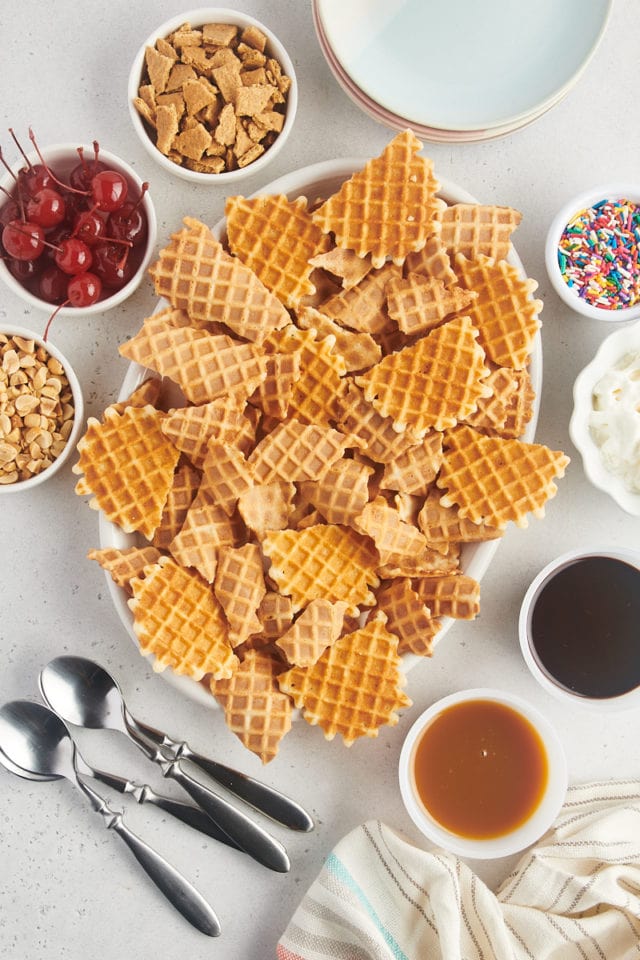
- Prep the cones. Break the waffle cones into pieces, but not too small – you want them big enough to scoop up the ice cream.
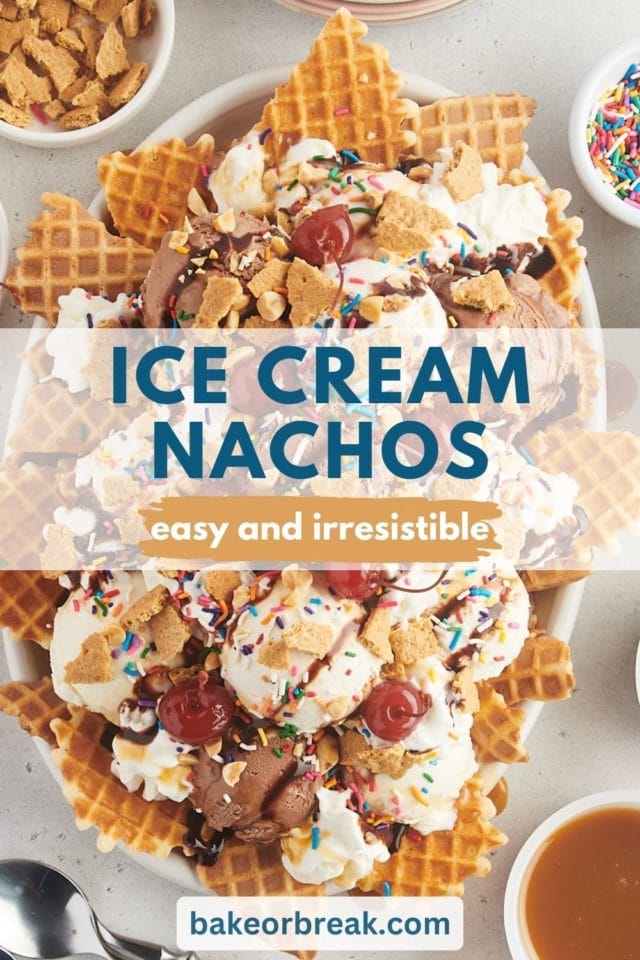
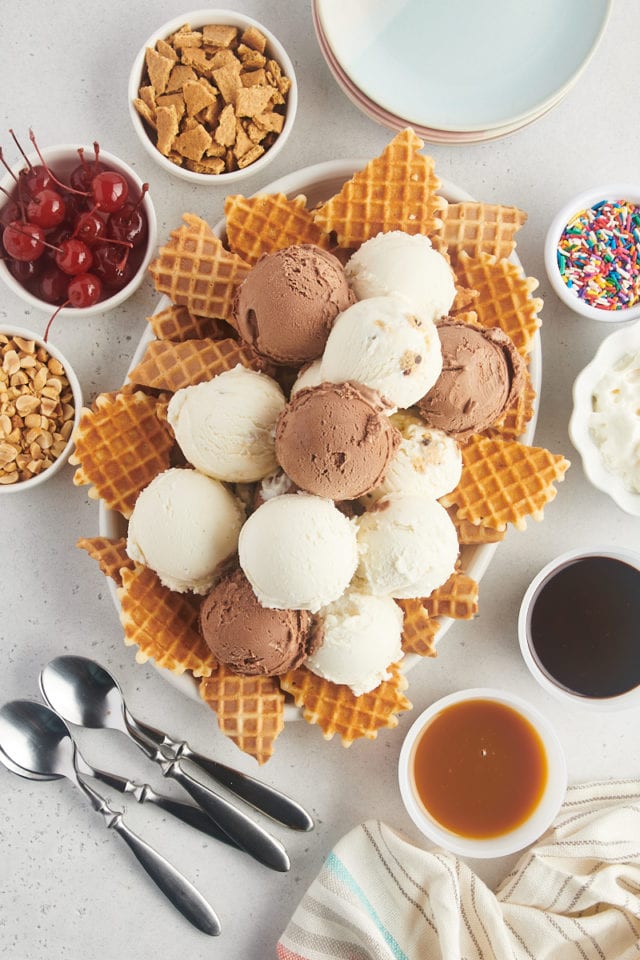
- Start layering. Add a layer of waffle cone “chips” to a large platter or rimmed pan. Top with scoops of ice cream. You can repeat these layers if you want or go with a single layer of cones topped with all the ice cream.
- Add toppings. Top the ice cream with your desired toppings.
- Serve. Now it’s time for everyone to dig in and enjoy!

Tips for Success
These ice cream nachos are a breeze to put together. And I’ve got a few tips to help make the process go as quickly and smoothly as possible.
- Scoop and freeze ahead of time. Take the time to scoop the ice cream and place on a rimmed baking sheet. Then place the pan in the freezer to let the scoops freeze and solidify for 30 to 45 minutes. When you’re ready to assemble, having the scoops ready to go will help assembly go more quickly and help slow down melting.
- Work quickly. When it’s time to assemble, you’ll want to have everything ready to go to keep your ice cream nachos in perfect, delicious shape.
- Serve immediately. Ice cream melts quickly, so it’s best to assemble the nachos and serve them immediately to enjoy the best texture.
- Use cold plates. To slow down the melting of the ice cream, you can serve the nachos on plates that have been chilled in the freezer. I also like to place the serving tray in the freezer if I’m serving family-style.
- Scale as needed. You can easily make as much or as little as you like!
Variations
The possibilities are endless when it comes to making ice cream nachos! By simply changing the ice cream flavors and toppings, you can create so many different delicious combinations. Here are some suggestions to get you started:
- Classic comfort – You can’t go wrong with the classics – chocolate and vanilla ice cream. Not only are they crowd-pleasers, they’re also a great base for classic ice cream sundae toppings like chocolate sauce, nuts, and colorful sprinkles.
- Chocolate lovers – Start with chocolate and chocolate brownie ice cream. Top with hot fudge sauce, brownie pieces, mini chocolate chips, and chocolate sprinkles. A chocolate lover’s dream!
- Berry delight – Pick strawberry, blueberry, blackberry or other berry flavors and add whipped cream, nuts, and cookie crumbs (I like golden Oreos or shortbread). A fruity and refreshing combo that’s great with fresh berries on top, too.
- Choco-mint – For the chocolate mint lovers, chocolate and chocolate mint ice creams are a cool and indulgent mix. Add a drizzle of chocolate syrup and some chocolate sprinkles or shavings.
- Coffee twist – Try a combination of coffee and caramel ice creams. Add some chocolate ice cream, too, if you like. This sophisticated combination pairs well with nuts and a drizzle of caramel sauce.
- Tropical flair – Go tropical with coconut and pineapple ice creams. Perfect with mango, bananas, and coconut shavings.
- Cheesecake delight – Start with cheesecake ice cream, and then add vanilla or a berry flavor. Add a berry compote, whipped cream, and crushed graham crackers for a creamy, dreamy cheesecake spin.
- Go nuts – Choose nutty ice creams like butter pecan and chocolate peanut butter. Amazing with chopped nuts and chocolate sauce!
- Cookie heaven – Go with scoops of cookies and cream and chocolate chip cookie dough topped with cookie crumbles. A dream for cookie lovers!
Serving Tips
The key to enjoying ice cream nachos at their best is to serve them immediately, ensuring the perfect balance of crispy cone chips and creamy ice cream. Here’s how you can serve them up for maximum enjoyment:
- Family-style platter: Assemble a generous platter with layers of ice cream and toppings. It’s a great way to present the nachos for gatherings, allowing everyone to dig in and share the fun and flavors together.
- DIY nacho bar: Set up a build-your-own ice cream nacho station with different flavors of ice cream, a variety of toppings, and plenty of cone chips. This interactive option lets guests get creative and tailor their nachos to their taste preferences.
- Individual portions: For a more formal or controlled serving, you can prepare individual bowls or plates for each person. This is especially handy if you have guests with specific dietary preferences or restrictions. It allows for personalization and ensures everyone gets a fair share of this delightful dessert.
Remember, the charm of Ice Cream Nachos lies in their playful and customizable nature, so feel free to get creative with how you serve them!

Ice Cream Nachos
Ingredients
- about 1.5 quarts ice cream, I recommend using 2 or 3 different flavors
- 12 to 15 large waffle cones, sugar cones or crisp waffle cookies work well, too
- toppings – chocolate, caramel, whipped cream, sprinkles, etc.
Recommended Products
Instructions
- Scoop the ice cream and place on a rimmed baking sheet. Place in the freezer for 30 to 45 minutes.
- Break the waffle cones into pieces about the size of tortilla chips. Place them on a platter or divide them among individual serving plates or bowls.
- Top the cones with the scoops of ice cream.
- Add your desired toppings or set up a DIY ice cream nachos bar.
- Serve immediately.
Notes
- The ingredient quantities listed are suggestions, as you can easily scale or tweak this recipe as you like.


