
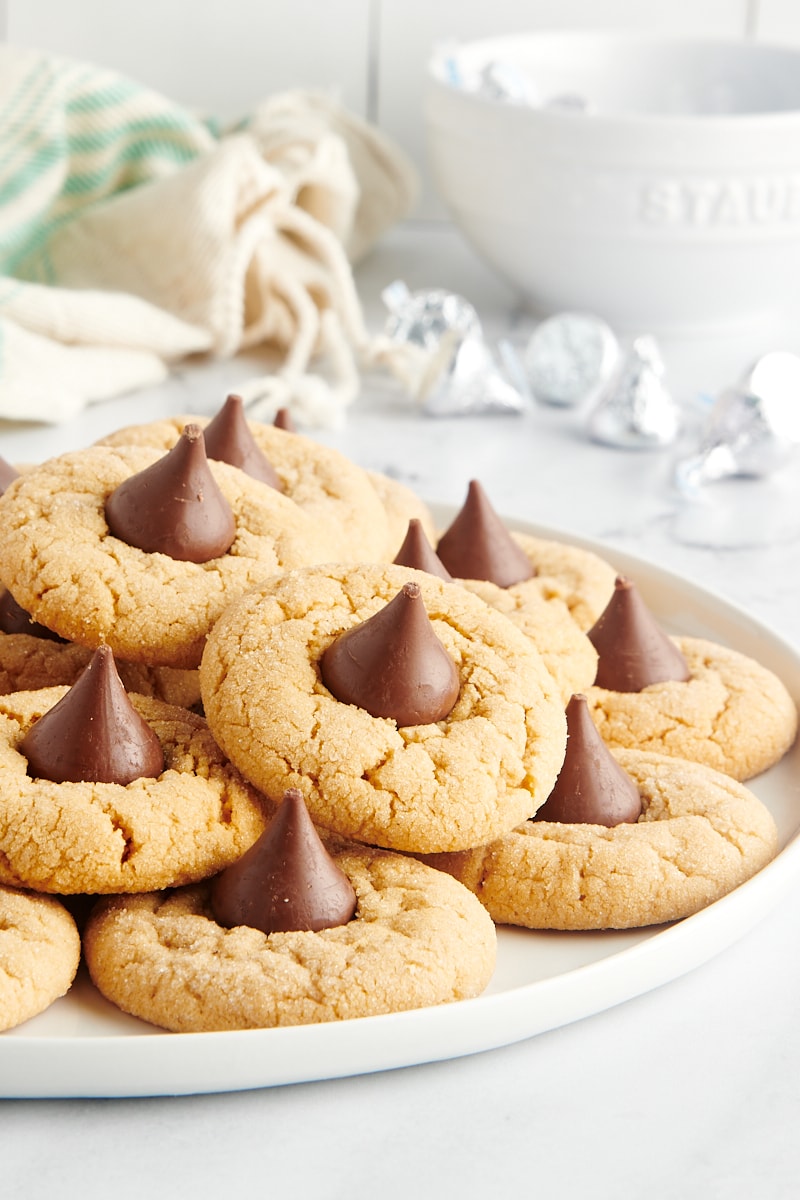
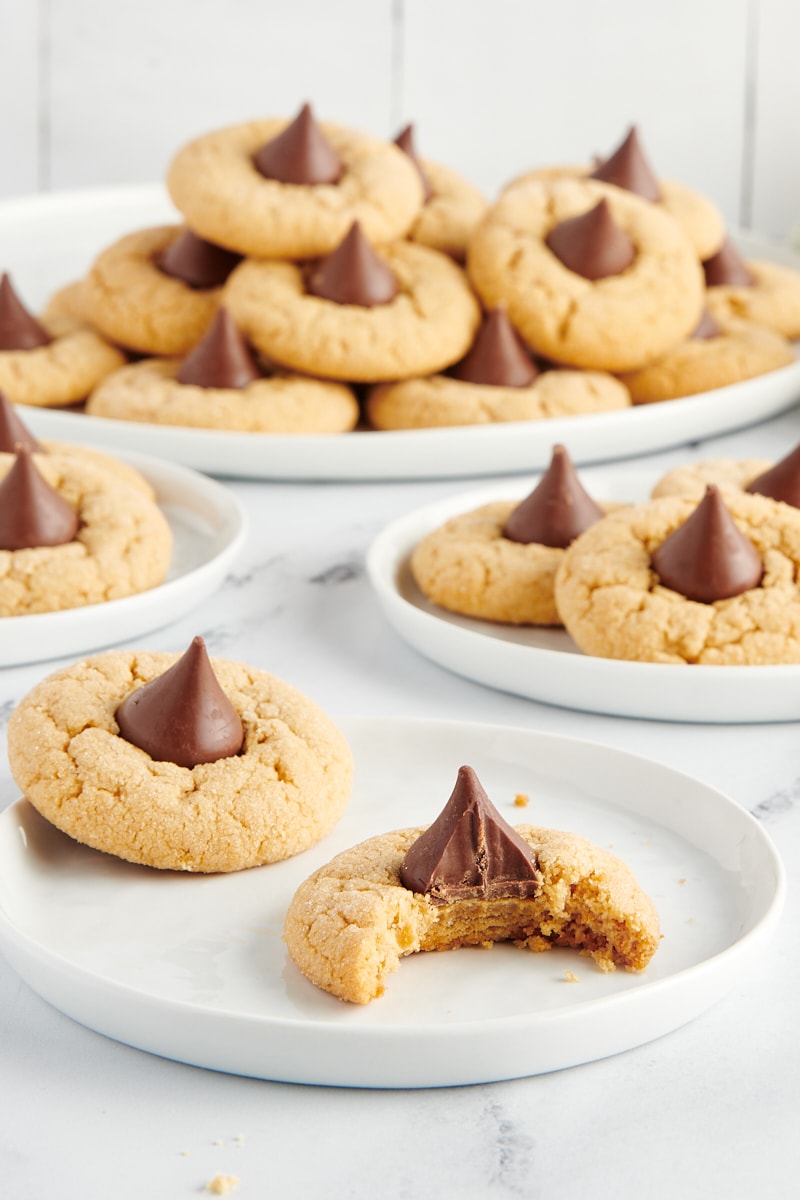
Classic Peanut Butter Blossoms are both delicious and pretty! They feature wonderful flavor in a nostalgic treat that’s always a favorite for sharing with family and friends.
Classic Peanut Butter Blossoms – A Nostalgic Favorite!
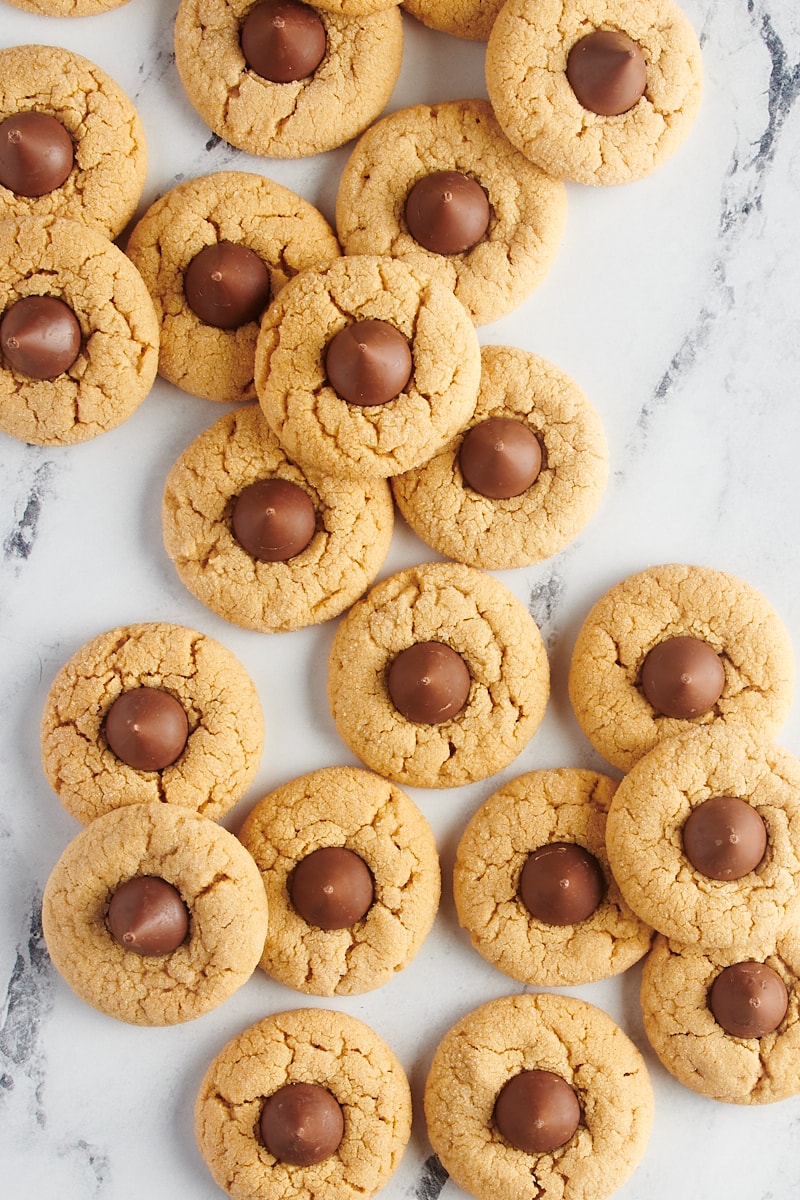
For fans of all things peanut butter and chocolate, classic Peanut Butter Blossoms are pretty tough to beat. They combine the familiar flavor of peanut butter cookies with a big bite of milk chocolate. These cookies always get devoured!
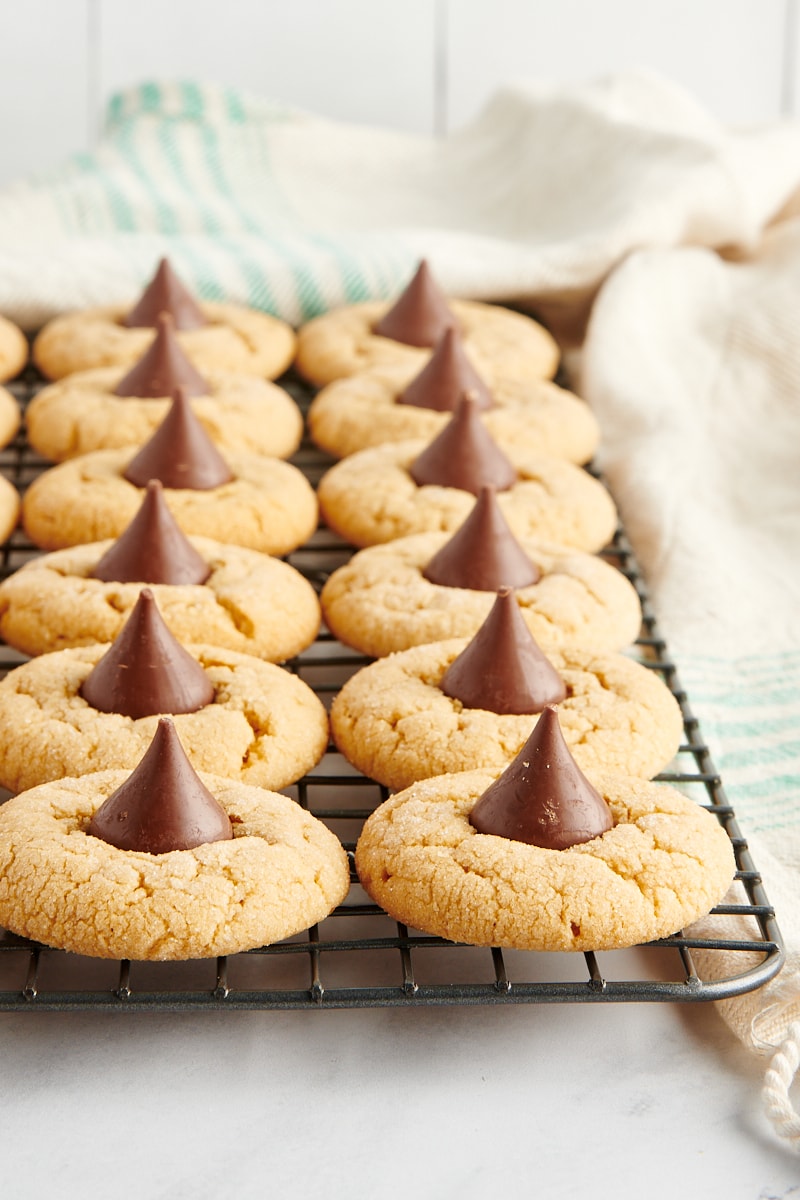
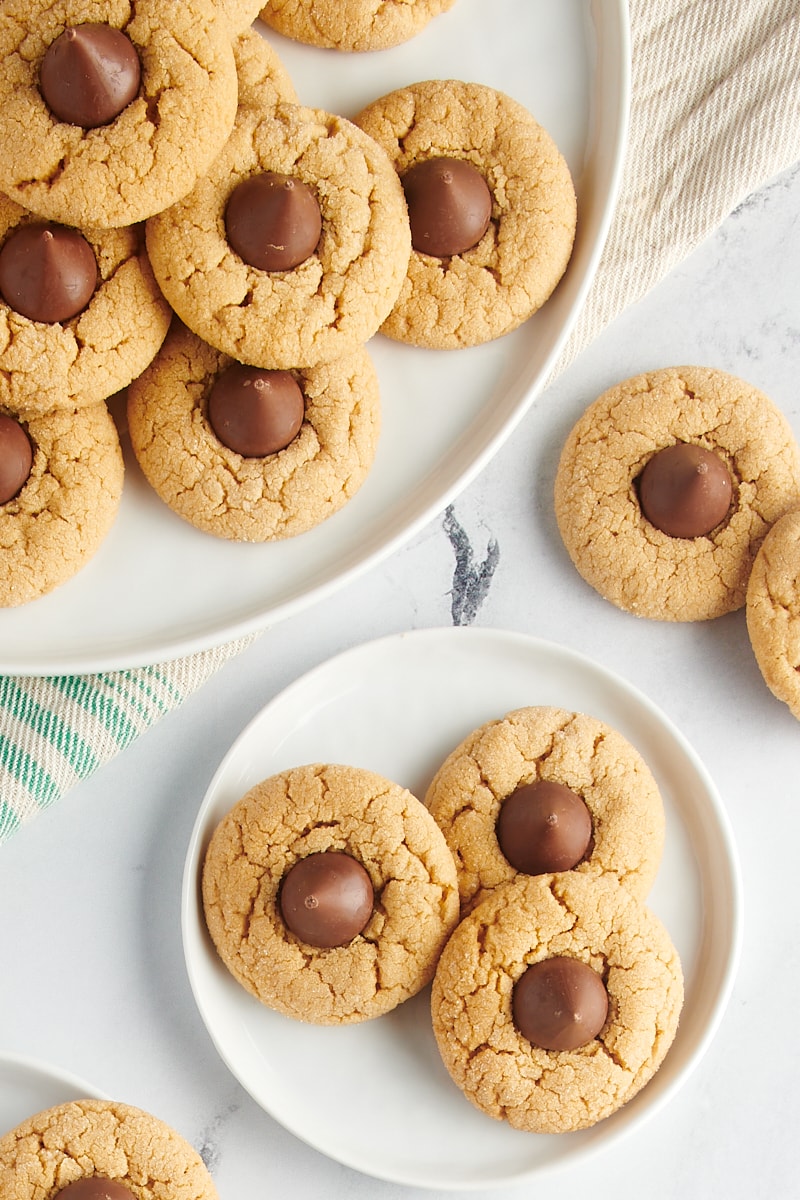
We begin with my classic peanut butter cookie recipe. Instead of making them with the traditional fork marks, the dough is rolled into balls and then coated in sugar before baking. After baking, the simple addition of a milk chocolate kiss in the center of each cookie is the perfect finish.
Make a batch of these Peanut Butter Blossom cookies anytime you’ve got a craving for that perfect flavor pairing. They’re perfect for everything from a little weekend baking fun to a treat for sharing and gifting. And they’ll certainly be a hit at a cookie swap or as part of a Christmas cookie tray!
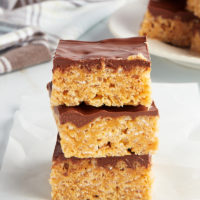
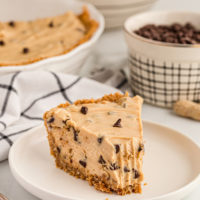
If you love these cookies, try Chocolate Peanut Butter Swirl Cookies, Chocolate Peanut Butter Thumbprint Cookies, and Chocolate-Dipped Peanut Butter Meltaways next!
What You’ll Need
See the recipe card at the bottom of this post for ingredient quantities and full instructions. Here are some notes about the ingredients you’ll need to make these peanut butter cookies.

- All-purpose flour – As always, measure by weight for best results. If you aren’t using a digital kitchen scale, then use the spoon and sweep method to avoid over-measuring. Learn more: How to Measure Flour
- Baking powder
- Baking soda
- Salt
- Peanut butter – See my note below about what kind of peanut butter to use.
- Unsalted butter – Set out the butter to soften before baking. It should hold a thumbprint when pressed but still be cool. Learn more: How to Soften Butter
- Granulated sugar – Besides the sugar in the cookie dough, you’ll also need a bit more sugar for rolling the cookies before baking. If you prefer, you can use a coarse white or colored sugar for coating the cookies.
- Light brown sugar – Using some brown sugar in the dough helps to make the cookies soft. Make sure to pack it firmly into the measuring cup or measure by weight. I don’t recommend using dark brown sugar for this recipe, as the flavor can be overpowering.
- Egg – Set this out along with the butter for easier mixing.
- Vanilla extract
- Chocolate kisses – The classic Peanut Butter Blossoms feature milk chocolate kisses (like Hershey’s Kisses), but feel free to use a different variety of chocolate candies if you like.
What kind of peanut butter should I use for cookies?
I always recommend baking with traditional peanut butter instead of natural peanut butter. You’ll get consistent, reliable results from regular, shelf-stable peanut butter. The consistency and oil content of natural peanut butters varies so much between brands and sometimes even within the same jar, depending on how it’s stored and stirred.

How to Make Peanut Butter Blossoms
These classic cookies are easy to make with a simple peanut butter cookie dough. Remember to factor the chilling time when you’re getting ready to bake.
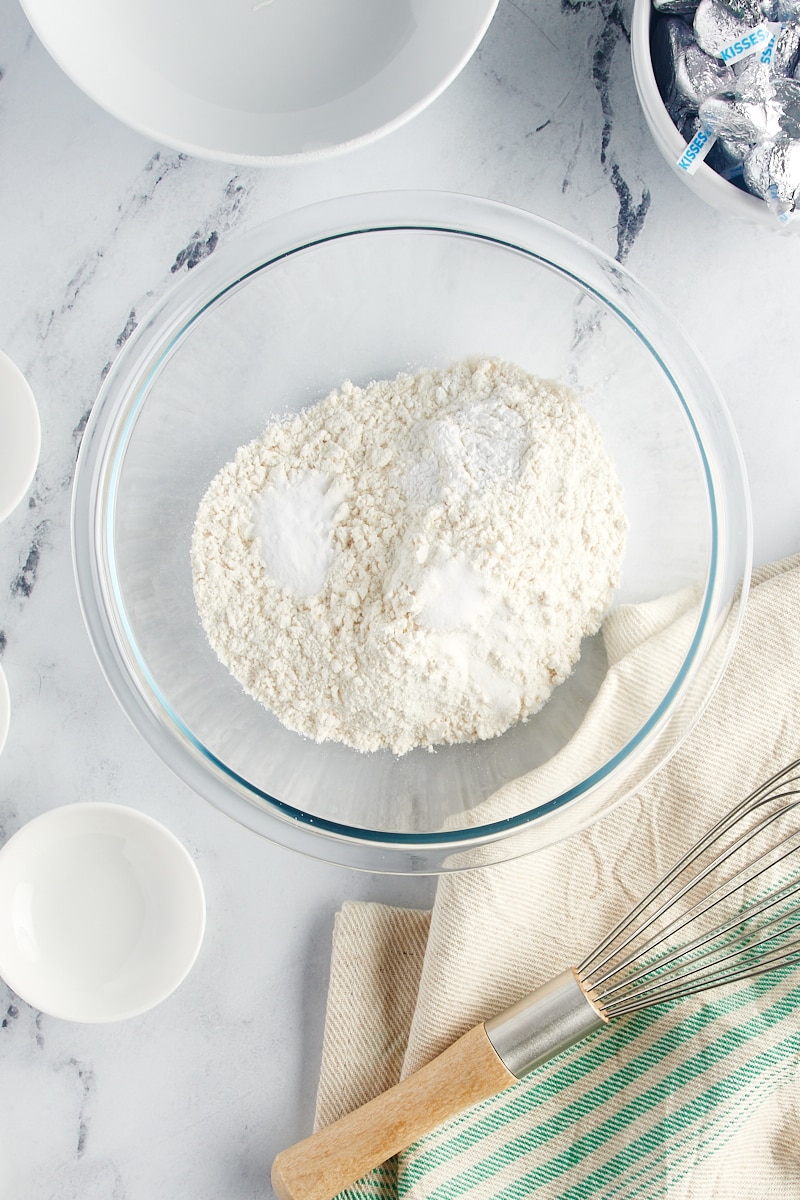
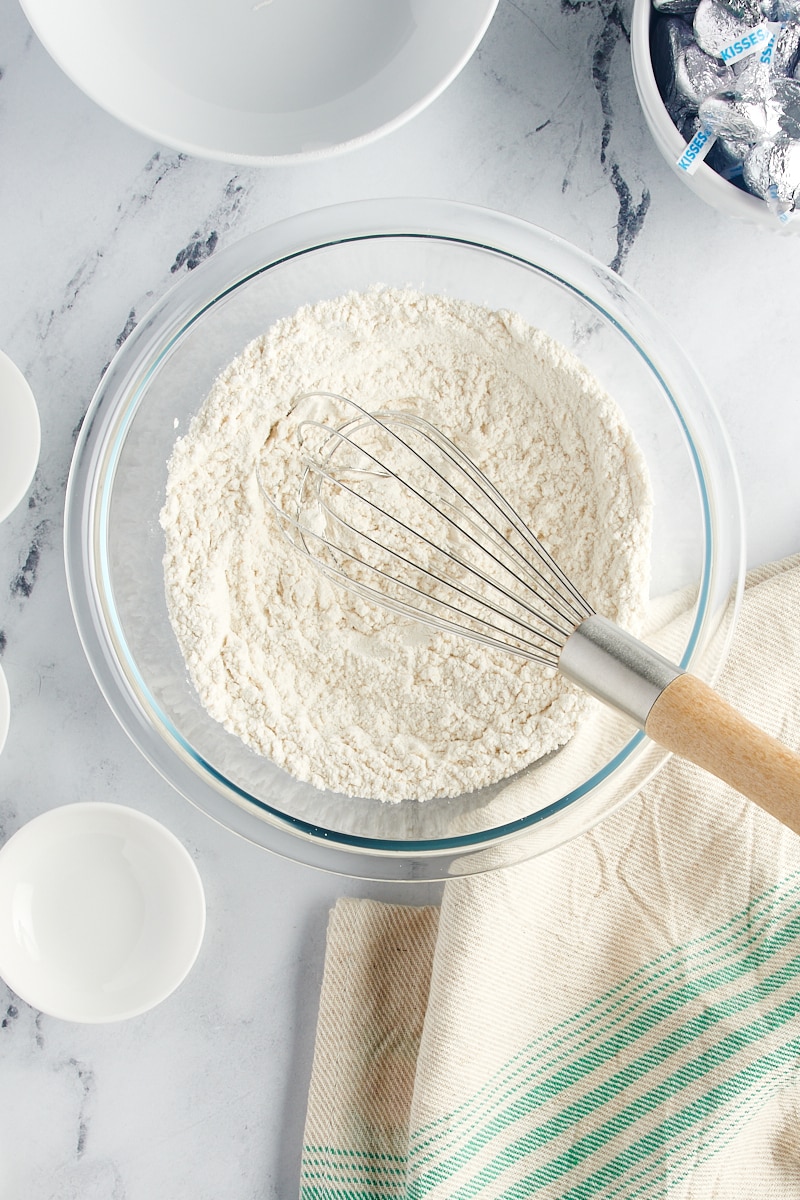
Combine the dry ingredients. Whisk together the flour, baking powder, baking soda, and salt in a medium bowl.
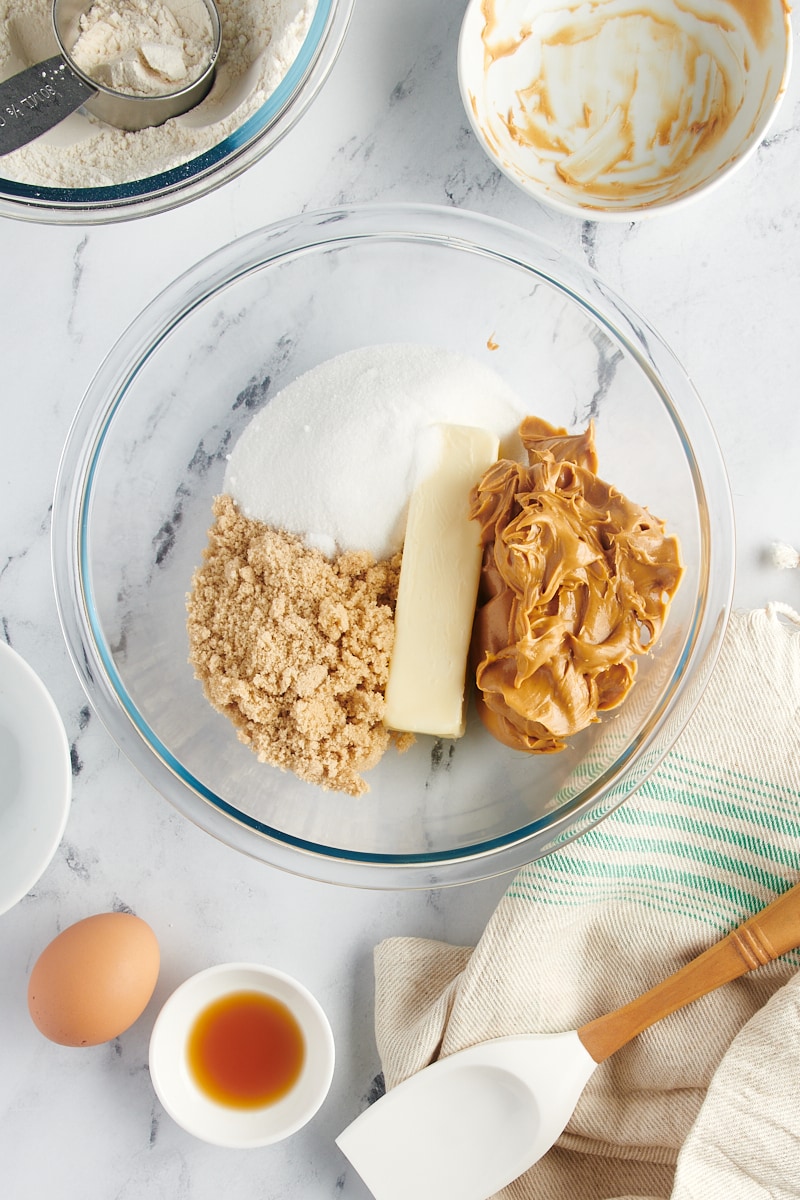
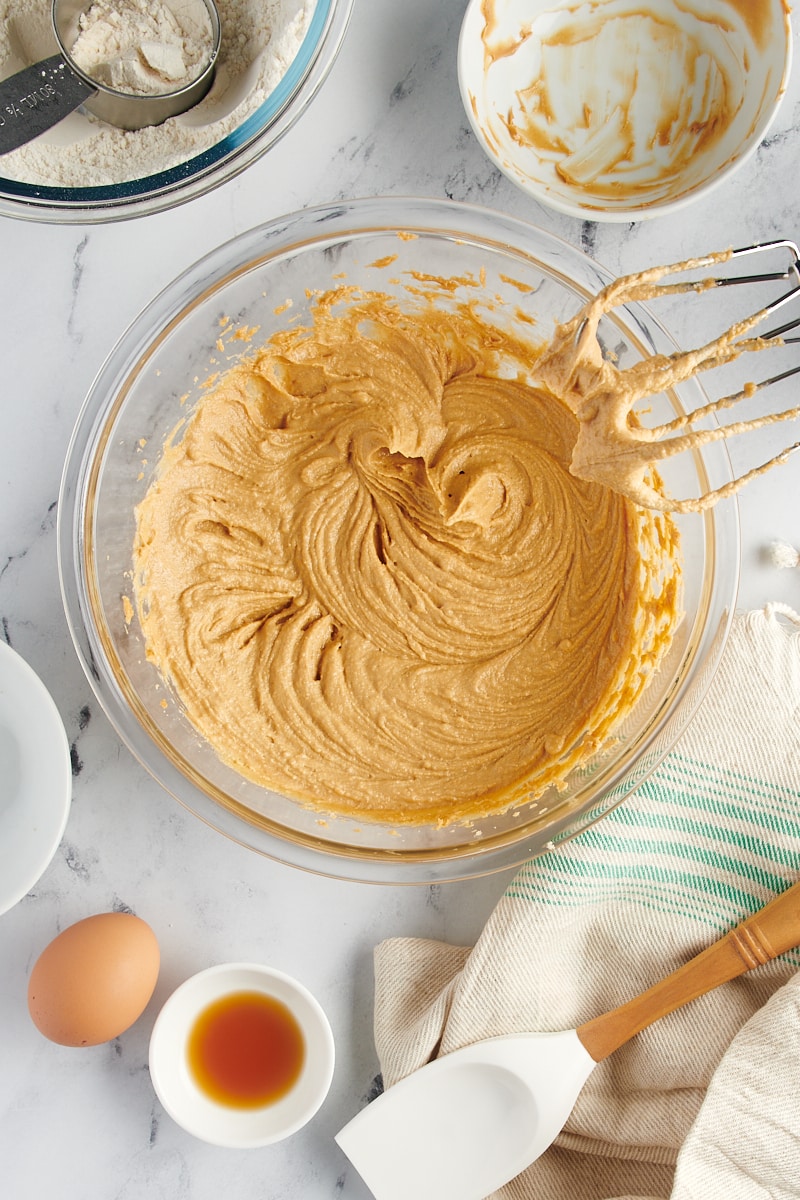
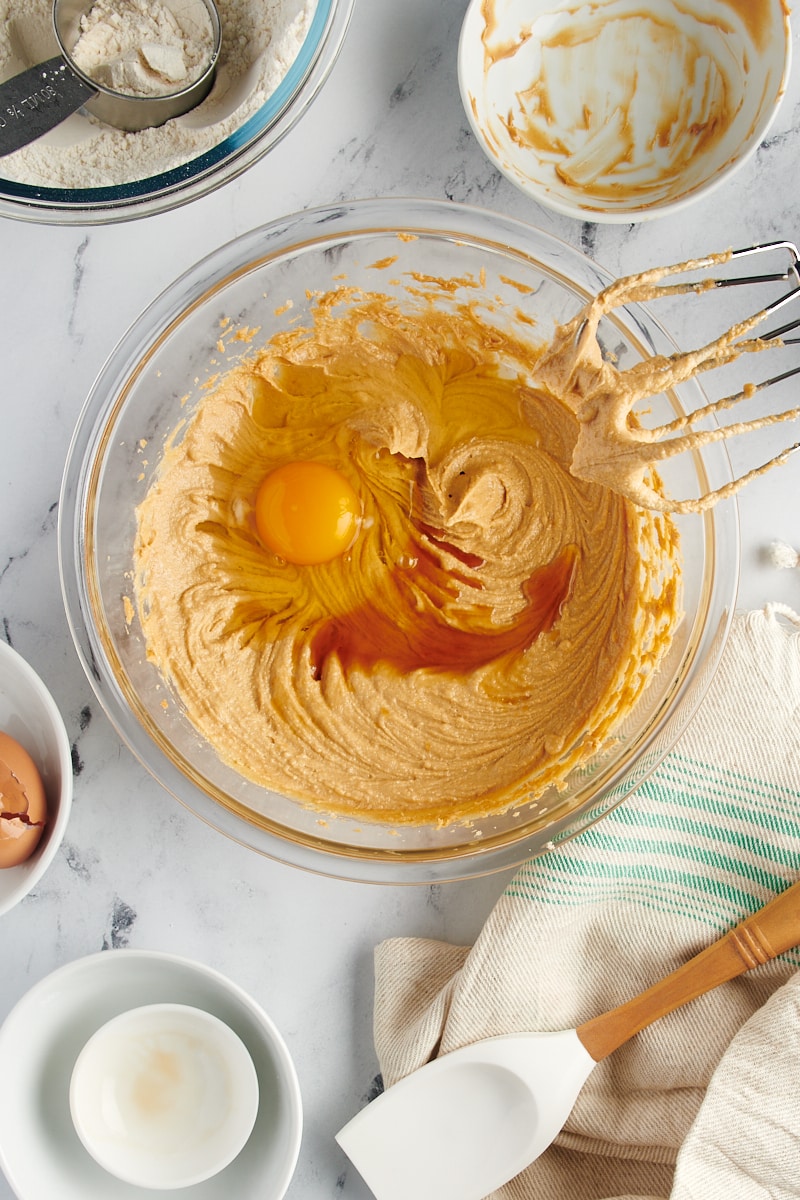
Combine the wet ingredients. Place the peanut butter, butter, sugar, and brown sugar in a large bowl. With an electric mixer on medium speed, beat these ingredients until they’re fluffy and lightened in color. Mix in the egg and vanilla.
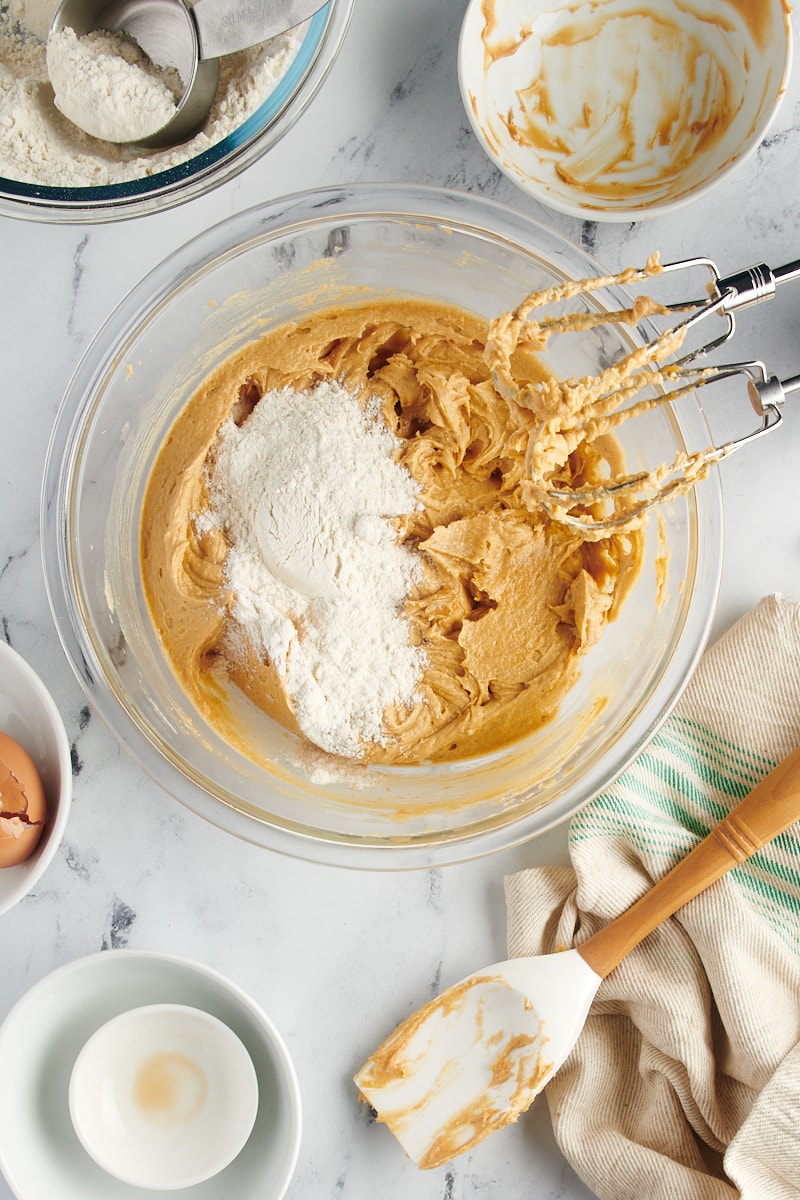
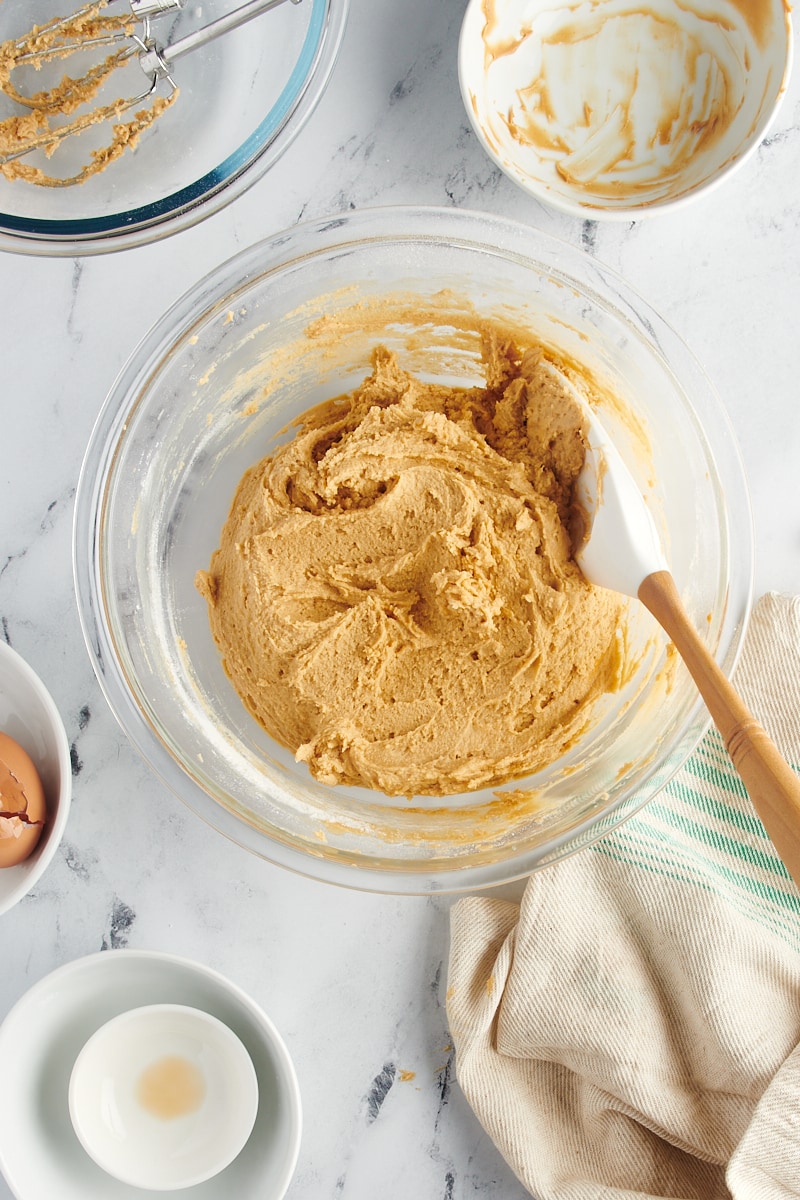
Add the dry ingredients to the wet ingredients. With the mixer on low speed, gradually add the flour mixture to the peanut butter mixture, mixing just until combined. Scrape down the sides of the bowl as needed.
Chill. Cover and chill the dough for 30 to 60 minutes. This will make the dough easier to roll and less likely to spread too much while baking.
Prepare for baking. Heat the oven to 350°F. Line baking sheets with parchment paper or silicone liners. Place a few tablespoons of granulated sugar or coarse sugar in a small bowl.
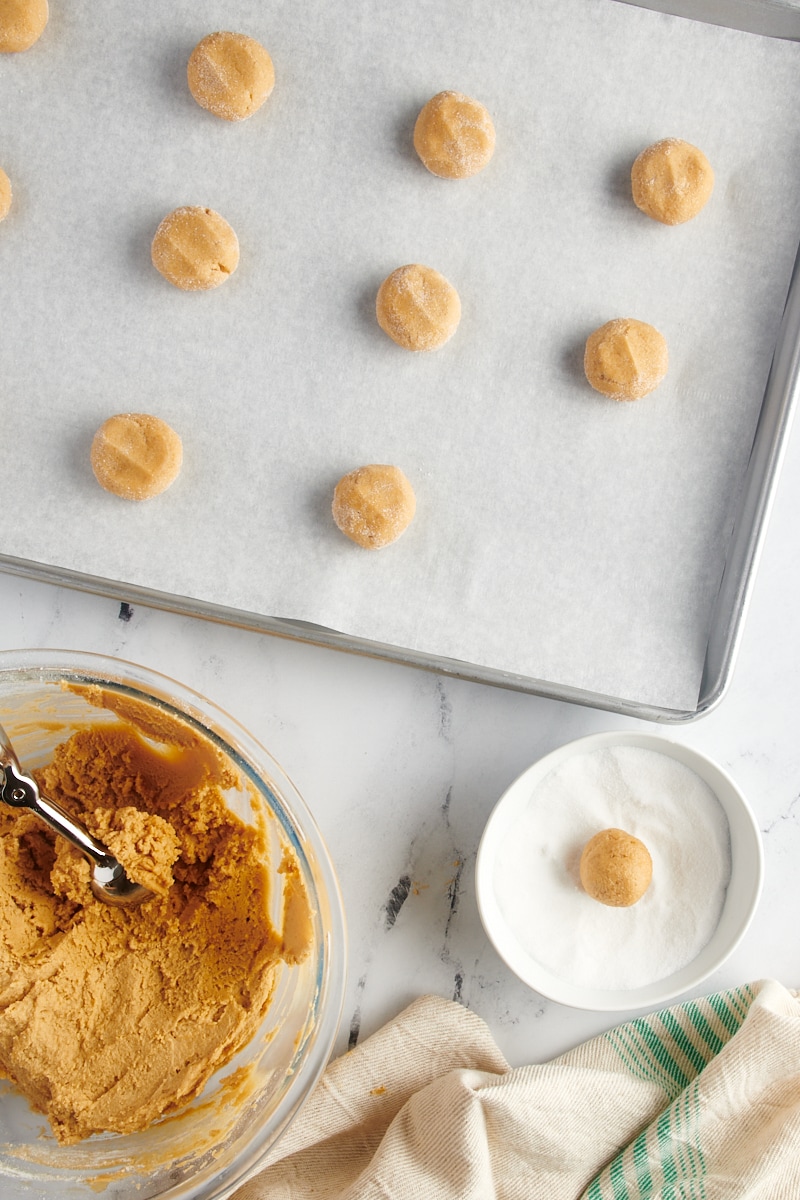
Portion the dough. Using about 1 & 1/2 tablespoons of dough at a time (I use a #50 scoop), roll the dough into balls. Then roll each cookie dough ball in sugar, coating thoroughly. Place the cookies on the prepared pans, leaving about 2 inches between each cookie. Flatten the top of each cookie slightly.
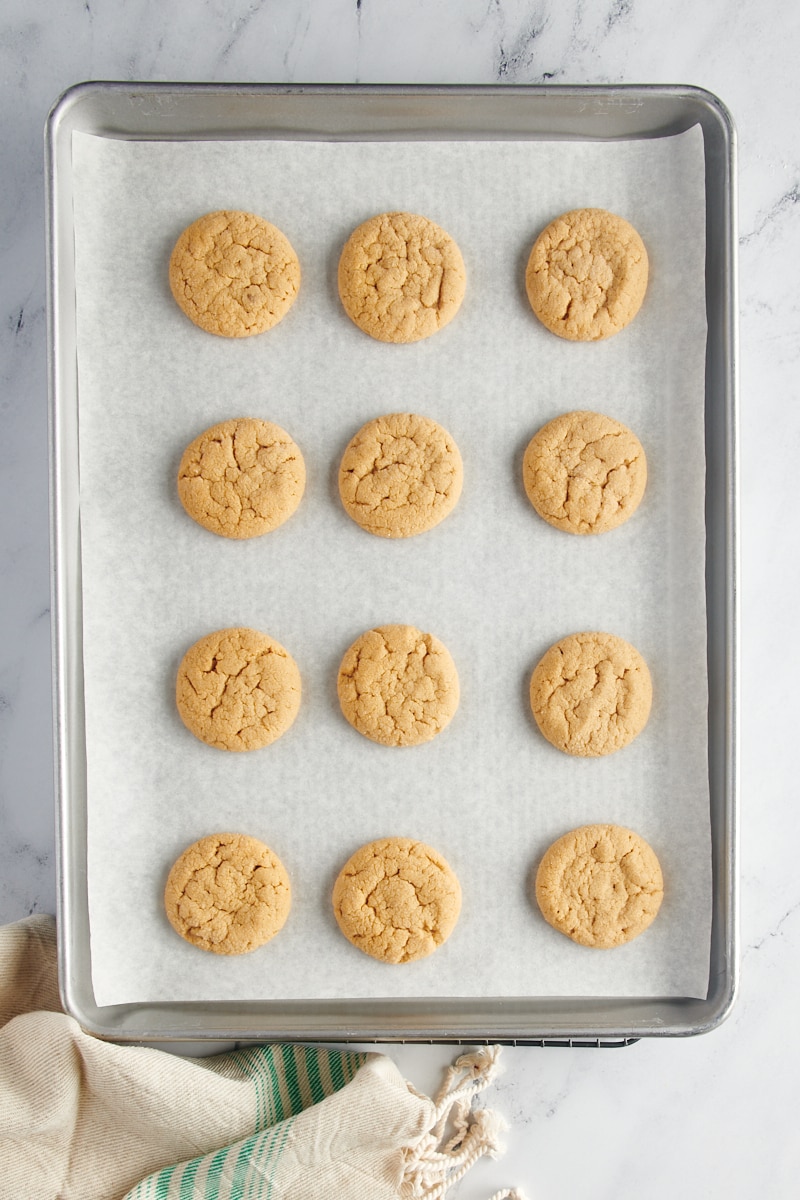
Bake. Place one pan at a time in the heated oven. (Refrigerate the remaining dough between batches.) Bake 12 to 15 minutes, or until the cookies are golden brown.
Cool. Place the pans on wire cooling racks, and allow the cookies to cool for 10 minutes.
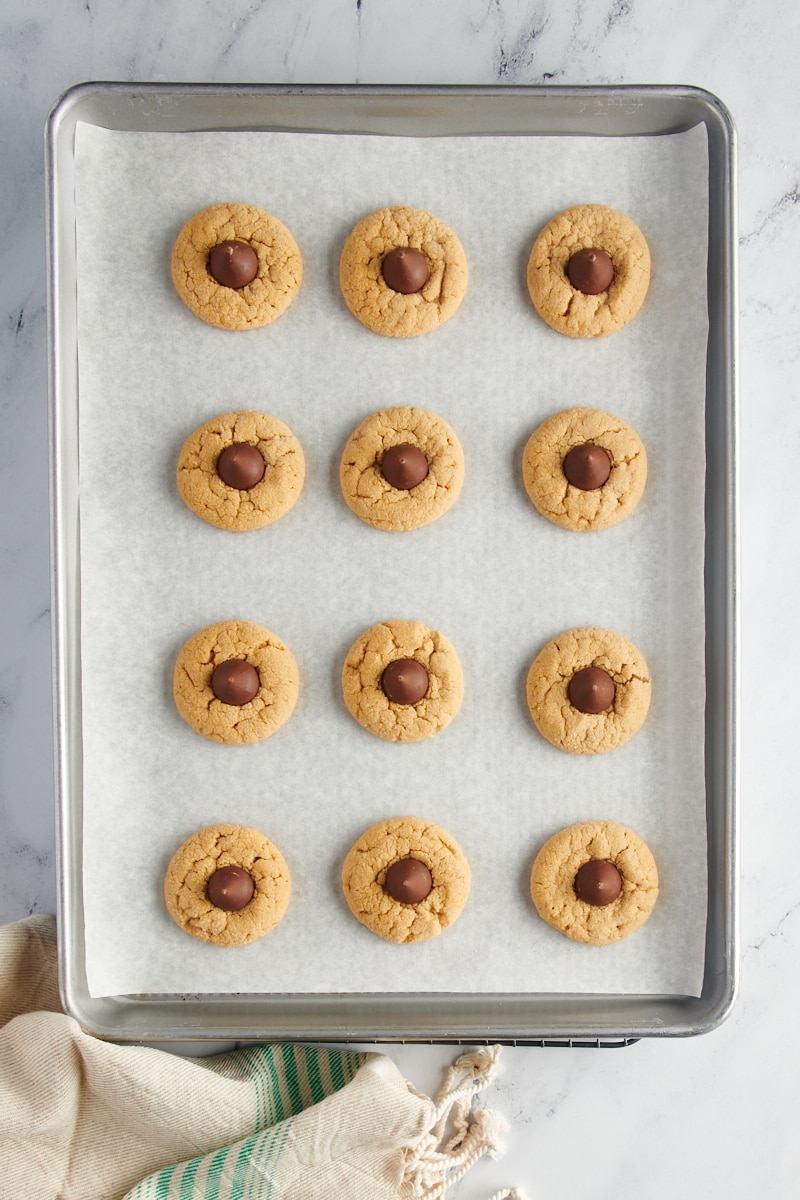
Add the kisses. After the cookies have cooled but are still warm, place a chocolate kiss in the center of each cookie, pressing down gently. Transfer the cookies from the pan to a wire rack to cool completely.
Tips for Success
You’ll love how easy it is to make these Peanut Butter Blossoms! Here are a few tips to help you get the best batch of cookies.
- Don’t skip the chilling time. That stint in the refrigerator will help keep your cookies from spreading too much. It also makes the dough easier to handle for portioning and rolling in sugar.
- Use a cookie scoop. A scoop makes the portioning step quicker and also helps ensure even baking by making all the cookies the same size. For these cookies, I like to use a #50 scoop because I like that ratio of cookie to chocolate. But you can go bigger or smaller if you prefer. Learn more: A Baker’s Guide to Cookie Scoops
- Need to reuse a baking sheet? Make sure it’s completely cooled before placing more cookie dough on it, even if it’s lined. That will help prevent spreading and over-baked bottoms.
- Watch the cooling time. If you add the kiss too soon, it will begin to melt. If you wait too long, it won’t stick. The cookies should still be warm but not hot. I’ve found that 10 minutes of cooling is just right, but that can vary a bit depending on the temperature of your kitchen, the spot you choose for cooling, etc. (Be sure to have your kisses unwrapped and ready!)
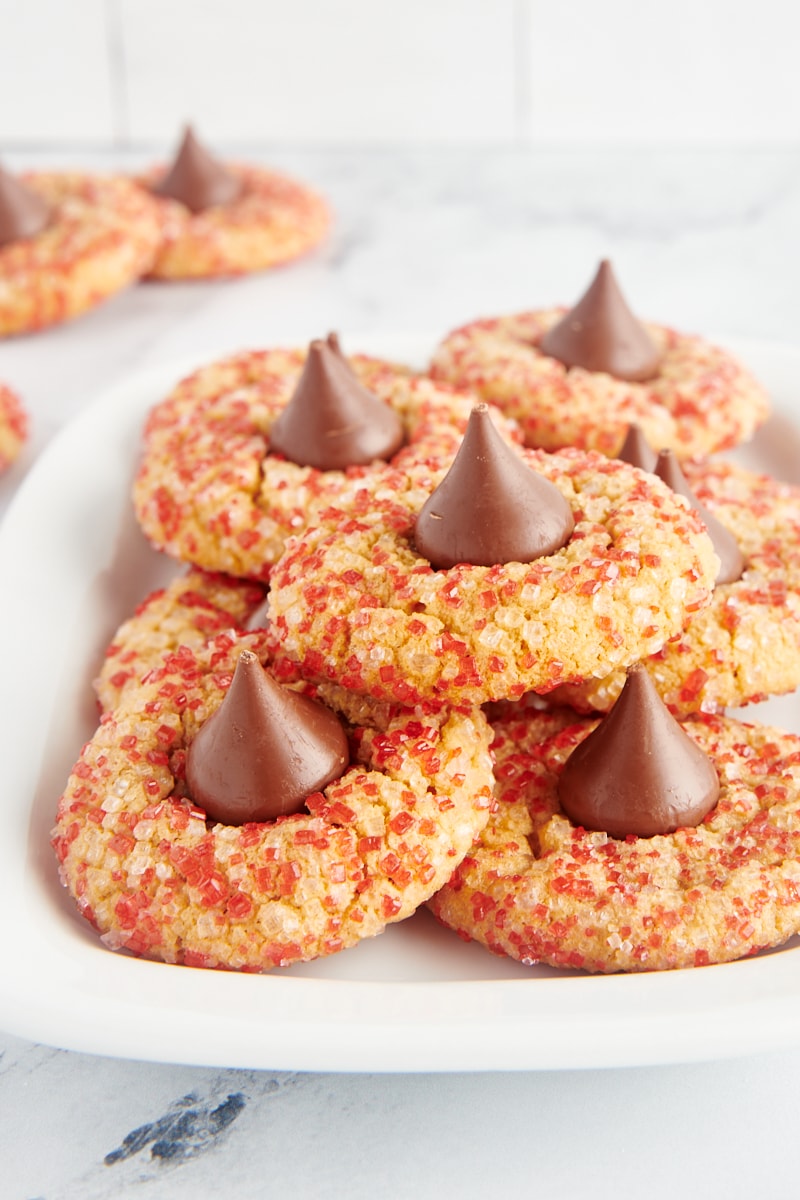
- Make them festive! Opt for colored sugar for rolling the cookies to add a festive touch.
How to Store
After the cookies have cooled, place them in an airtight container and store at room temperature up to 4 days. Because of their shape, they’ll likely store best in a single layer or with a good layer of waxed paper or parchment paper between multiple layers.
How to Freeze
Place the cooled cookies in an airtight, freezer-safe container or zip-top bag. For best results, store the cookies in a single layer. Properly stored, the cookies should keep in the freezer up to 3 months. Thaw at room temperature for an hour or two before serving. The chocolate may not hold up perfectly from an aesthetic viewpoint, but the taste shouldn’t be affected.
You can also freeze the unbaked cookie dough. Shape and roll the cookies as directed, and then place them in a single layer on a rimmed baking sheet. Place the pan in the freezer until the cookie dough is frozen solid (usually 3 or 4 hours). Then transfer the cookie dough to a freezer bag or container and store up to 3 months. When you’re ready to bake, place the frozen cookie dough on a baking sheet and add an extra minute or two to the baking time. Add the kiss as described in the recipe.
More Chocolate and Peanut Butter Treats

Peanut Butter Blossoms
Ingredients
- 1 ¼ cups (150 g) all-purpose flour
- ½ teaspoon baking powder
- ½ teaspoon baking soda
- ¼ teaspoon salt
- 1 cup (255 g) creamy peanut butter
- ½ cup (113 g) unsalted butter, softened
- ½ cup (100 g) granulated sugar, plus more for rolling the cookies
- ½ cup (100 g) firmly packed light brown sugar
- 1 large egg
- 1 teaspoon vanilla extract
- 36 chocolate kiss candies
Recommended Products
Instructions
- Whisk together the flour, baking powder, baking soda, and salt. Set aside.
- Using an electric mixer on medium speed, beat the peanut butter, butter, sugar, and brown sugar until light and fluffy. Add the egg and vanilla, and mix well.
- Reduce the mixer speed to low. Gradually add the flour mixture, mixing just until combined.
- Cover and chill the dough for 1 hour.
- Preheat the oven to 350°F (175°C). Line baking sheets with parchment paper or silicone liners. Place a few tablespoons of granulated sugar or coarse sugar in a shallow bowl.
- Scoop the dough in 1 & 1/2-tablespoon portions (I use a #50 scoop). Roll each dough ball in sugar. Then place the balls of dough on the prepared pans and flatten the tops slightly. Leave about 2 inches between each cookie on the pan.
- Bake (one pan at a time) 12 to 15 minutes, or until the cookies are golden brown. Refrigerate the remaining dough between batches.
- Cool the cookies on the pans on a wire rack for 10 minutes. Then place a chocolate kiss in the center of each cookie, pressing down gently. Transfer the cookies from the pan directly onto a wire rack to cool completely.
Notes
- Store the cookies in an airtight container at room temperature up to 4 days or in the freezer up to 3 months.


