New to baking? These beginner baking tips will help you avoid common mistakes, understand the basics, and feel more confident every time you bake.
Baking can feel a little intimidating when you’re just getting started. Maybe your cookies spread too much, your cake turned out dry, or your brownies somehow ended up both over-baked and under-baked at the same time.
The good news? Most baking problems come down to a handful of common issues, and once you understand the basics, everything gets much easier.
While baking does require a bit of precision, it doesn’t have to feel complicated. A few simple habits — like measuring ingredients accurately, using the right pans, and learning how to tell when something is done baking — can make a huge difference in your results.
These are the baking tips I come back to again and again, whether I’m making a quick batch of muffins or testing layer cakes for the blog. If you’re new to baking (or just want more reliable results), this is a great place to start.
Before You Start Baking
Before you preheat the oven or pull out the mixing bowls, take a few minutes to set yourself up for success.
- Read the recipe all the way through before starting.
- Check that your ingredients are at the correct temperature.
- Measure ingredients carefully.
- Prep your pans and tools ahead of time.
- Preheat the oven fully before baking.
These small steps may seem simple, but they can make a surprisingly big difference in how your baked goods turn out.
Read the Recipe Carefully
This may sound obvious, but one of the easiest ways to avoid baking mishaps is to read the recipe all the way through before you start.
Take note of anything that requires extra time or prep. Does the cookie dough need to chill? Do ingredients need to come to room temperature? Is there a specific pan size or mixing method involved? Knowing those details ahead of time makes the whole process smoother and far less stressful.
It’s also a good idea to check that you have all the ingredients and equipment you’ll need before you begin. Few things are more frustrating than realizing halfway through mixing a cake batter that you’re out of eggs or missing the right pan.
If a recipe calls for room temperature ingredients, don’t skip that step. Butter, eggs, cream cheese, sour cream, and similar ingredients mix together more easily and create a smoother batter when they’re closer in temperature. The same goes for melted ingredients like butter or chocolate — letting them cool slightly before mixing often leads to better texture and more even mixing.
Prep Your Ingredients and Equipment
You may have heard the French phrase mise en place, which simply means “everything in its place.” In baking, that means getting your ingredients and equipment ready before you start mixing.
Measure ingredients ahead of time, prepare your pans, and gather any tools you’ll need so you’re not scrambling in the middle of a recipe. This is especially helpful for beginner bakers because baking often moves quickly once mixing starts.
I like to prep baking pans first so they’re ready to go when the batter or dough is finished. Depending on the recipe, that may mean greasing the pan, lining it with parchment paper, or setting out silicone baking mats.
It’s also worth taking a minute to clear some counter space before you begin. A little organization makes baking feel much less chaotic — especially when you’re working with multiple bowls, mixers, pans, and ingredients.
This post contains affiliate links, which means I may earn a small commission if you purchase through those links.
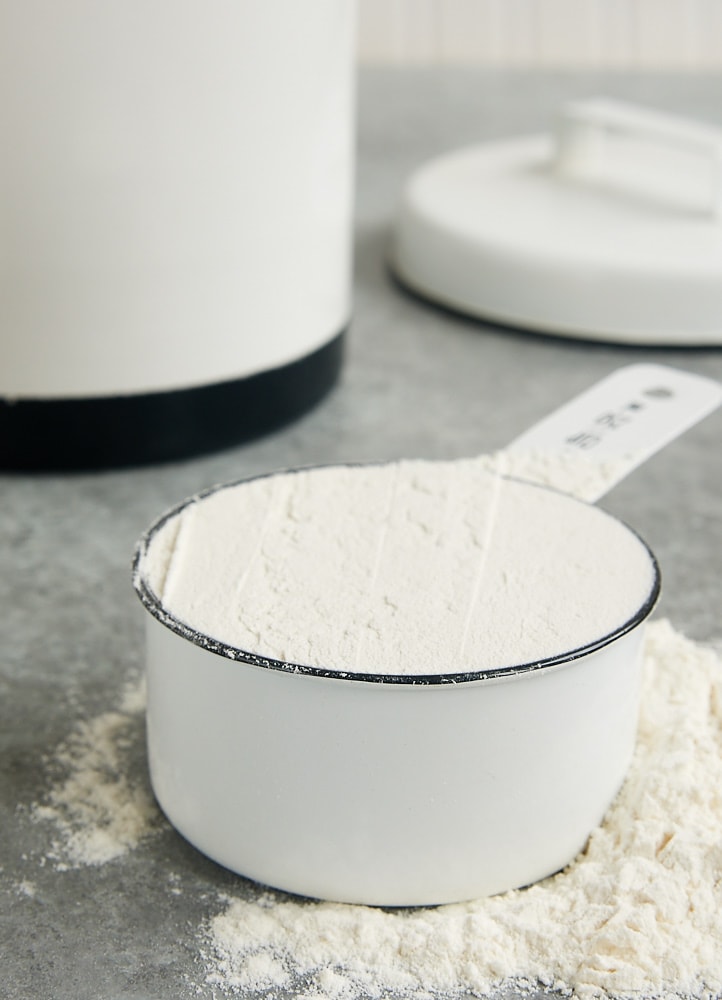
Measure Ingredients Accurately
If there’s one baking tip that will instantly improve your results, it’s this: measure ingredients accurately.
A surprising number of baking problems can be traced back to measurements, especially flour. Too much flour can lead to dry cakes, dense muffins, crumbly cookies, and doughs that feel stiff or hard to work with.
The easiest way to get consistent results is to use a digital kitchen scale. Measuring ingredients by weight is far more accurate than using measuring cups, and it helps recipes turn out more reliably every time.
If you’re using measuring cups instead, be especially careful with flour. Rather than scooping directly into the container, lightly spoon the flour into the measuring cup and level off the excess with a straight edge. Scooping straight from the bag often packs in more flour than intended. I go into this in more detail in my guide on how to measure flour correctly.
Brown sugar is one exception here. Most recipes mean firmly packed brown sugar unless they specify otherwise, so press it into the measuring cup before leveling it.
It’s also important to use the right measuring tools:
- Dry measuring cups for ingredients like flour and sugar
- Liquid measuring cups for milk, oil, and other liquids
- Measuring spoons for smaller amounts like baking powder, baking soda, salt, and extracts
When measuring liquids, place the measuring cup on a flat surface and check the measurement at eye level for the best accuracy. You can get more details in my guide to dry vs liquid measuring cups.
And if you’ve never used a kitchen scale before, don’t let it intimidate you. Once you start baking by weight, it quickly becomes faster, easier, and much more consistent.
Be Careful with Ingredient Substitutions
One of the most common beginner baking mistakes is changing ingredients before understanding what those ingredients actually do in a recipe.
Unlike many savory recipes, baking recipes are carefully balanced. Ingredients affect not only flavor, but also texture, structure, moisture, spread, rise, and baking time. Swapping ingredients — even small ones — can sometimes completely change the final result.
That doesn’t mean every substitution is a bad idea. Simple swaps, like using walnuts instead of pecans or changing the type of chocolate chips in a cookie recipe, are usually fine because they don’t affect the structure of the baked good.
But substitutions involving ingredients like flour, sugar, butter, eggs, or leavening agents are much trickier. Replacing one ingredient with another can affect everything from how a cake rises to how chewy a cookie becomes.
If you’re new to baking, your best bet is usually to make the recipe as written the first time. Once you understand how a recipe is supposed to look, feel, and taste, it becomes much easier to experiment successfully.
Get an Oven Thermometer
Your oven temperature may not be as accurate as you think.
Even a small temperature difference can affect how baked goods rise, brown, and bake through. Cookies may spread too much, cakes may dry out, or brownies may end up over-baked around the edges before the center is done.
An inexpensive oven thermometer is one of the easiest ways to improve baking consistency. Place it in your oven and compare the reading to your oven’s temperature setting. Many ovens run hotter or cooler than they indicate.
If you notice a consistent difference, you can often compensate by adjusting the oven temperature slightly when baking. When I replaced my oven a few years ago, I was surprised to find the temperature was noticeably off right from the start. Some ovens need professional calibration, but some can be calibrated manually through the oven settings.
This is one of those small baking tools that can make a surprisingly big difference over time.
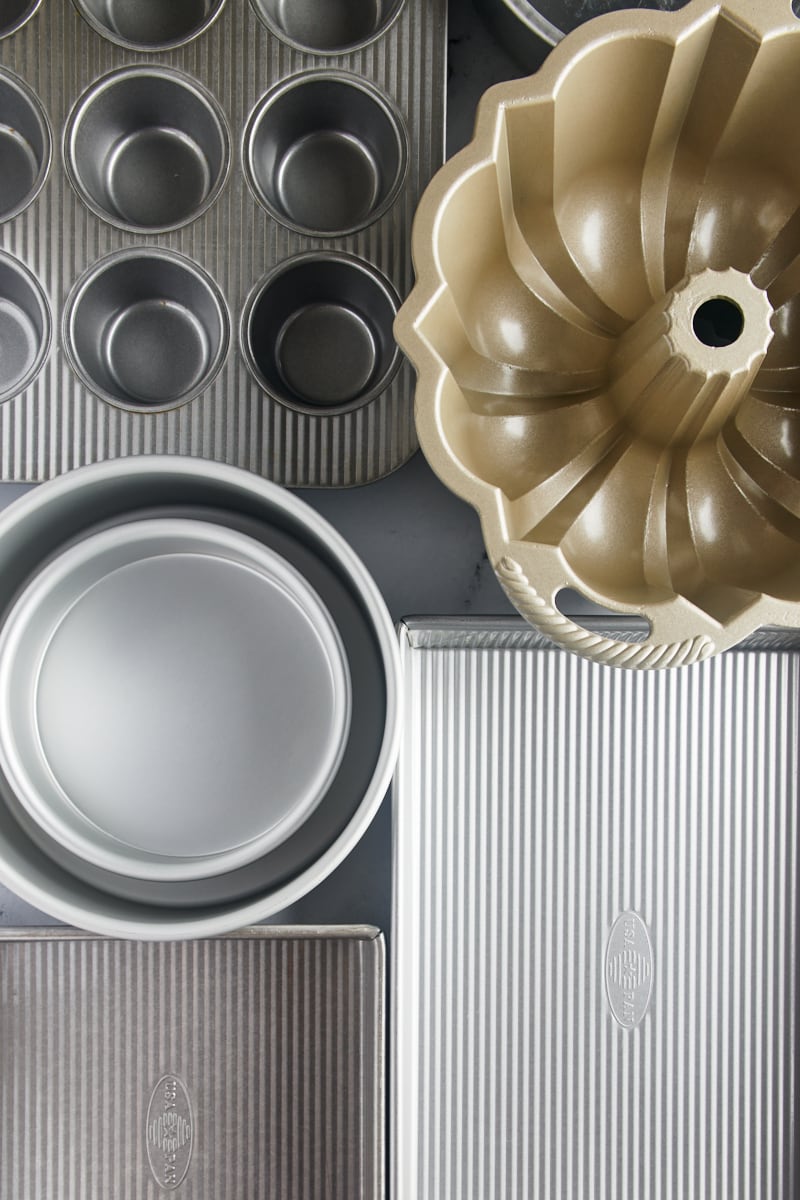
Use the Right Baking Pans
The type of baking pan you use can have a bigger impact than many beginner bakers realize.
Different pans conduct heat differently, which affects how baked goods bake, brown, and rise. That’s one reason a recipe may turn out differently even when you follow it carefully.
In general, I recommend using sturdy, light-colored metal baking pans whenever possible. They tend to bake more evenly and produce more consistent results than very thin pans, dark pans, glass pans, or stoneware.
Thin pans are especially frustrating because they often lead to over-browned edges and uneven baking. A heavier pan usually bakes more thoroughly and consistently.
Pan size matters, too. Changing the size of a cake pan or baking dish affects the thickness of the batter, which changes both the baking time and the final texture. For example, a cake baked in a larger pan will usually bake faster and thinner than intended.
That doesn’t mean you can never make adjustments, but if you’re new to baking, it’s best to stick with the pan size and type recommended in the recipe whenever possible.
If you’d like to learn more, see my guides to choosing baking pans and understanding sheet pans.
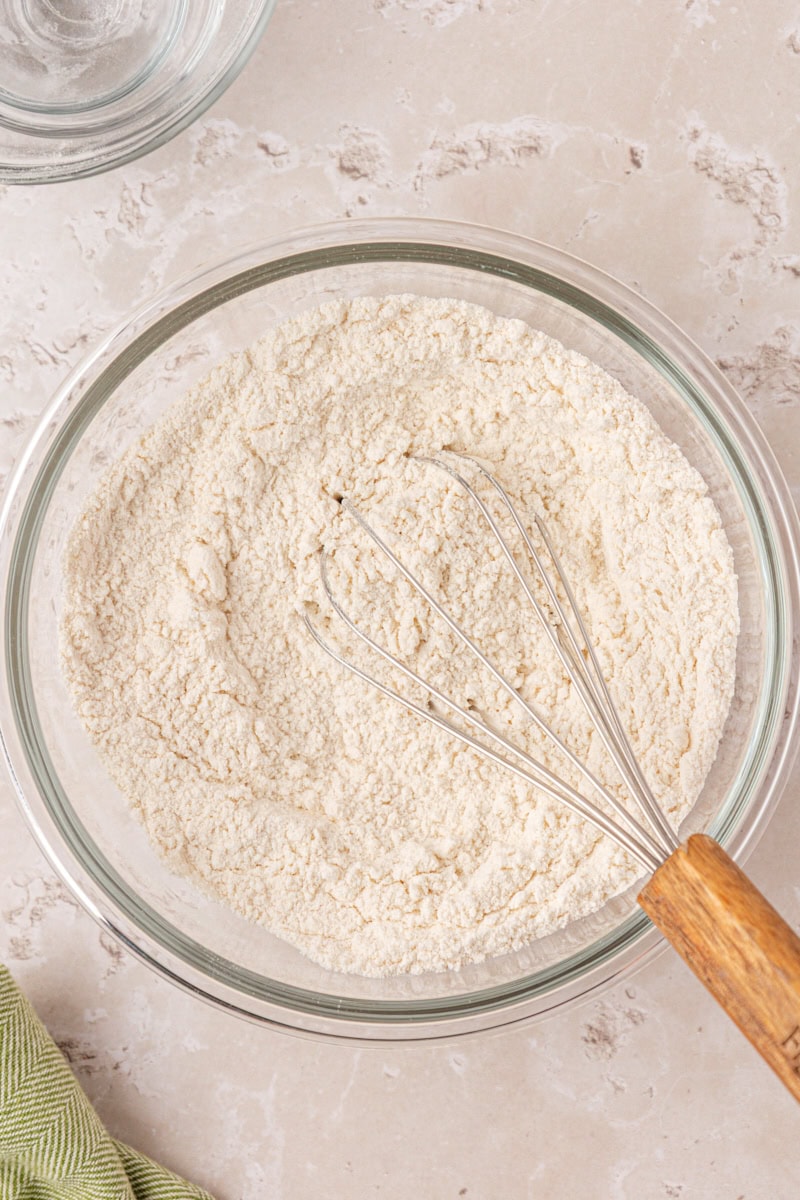
Don’t Over-Mix Your Batters and Doughs
If you’ve ever ended up with tough muffins, dense cakes, or chewy brownies that should have been soft and tender, over-mixing may be the reason.
Once flour is added to a batter or dough, mixing starts developing gluten. A little gluten is important for structure, but too much can make baked goods tough or heavy.
That’s why many baking recipes instruct you to mix “just until combined.” In most cases, once the dry ingredients disappear into the batter, it’s time to stop mixing.
This is especially important for cakes, muffins, quick breads, and scones, which are meant to have a softer texture.
Of course, every recipe is a little different, so follow the mixing instructions provided. But when in doubt, it’s usually better to slightly under-mix than over-mix.
Avoid Opening the Oven Door Too Often
It’s tempting to check on your baked goods constantly, especially when something smells amazing in the oven. But opening the oven door too often lets heat escape and can affect how evenly things bake.
That sudden drop in temperature can cause cakes to sink, cookies to bake unevenly, or baked goods to need extra time in the oven.
For most recipes, it’s best to rely on the oven light and window for quick progress checks whenever possible. Then, closer to the end of the baking time, you can open the oven briefly to test for doneness.
There are a few exceptions, of course. Some recipes call for rotating pans partway through baking for more even browning. The key is simply to avoid repeatedly opening the oven door earlier than necessary.
Learn How to Tell When Baked Goods Are Done
One of the trickiest parts of baking — even for experienced bakers — is knowing exactly when something is done.
Baking times in recipes are always estimates. Ovens vary, pan materials vary, and even small differences in batter temperature can affect how quickly something bakes.
That’s why it’s important to look for visual and texture cues instead of relying only on the timer.
For cakes, bars, brownies, and quick breads, recipes will often suggest a doneness test like inserting a toothpick or cake tester into the center. Depending on the recipe, it may come out:
- completely clean
- with a few moist crumbs
- or slightly fudgy
The appearance of the baked good matters, too. Look for signs like:
- lightly browned edges
- a center that looks set instead of wet
- a surface that springs back lightly when touched
And remember that baked goods continue to cook slightly after they come out of the oven. This is called carryover baking. A pan stays hot for several minutes after baking, so something that looks perfectly done in the oven may end up over-baked by the time it cools.
That’s one reason cooling racks are so useful. They help air circulate around the pan and allow baked goods to cool more evenly.
With experience, learning doneness becomes much more intuitive. The more you bake, the easier it becomes to recognize when something is ready to come out of the oven.
Common Beginner Baking Mistakes
If your baked goods don’t turn out perfectly every time, don’t get discouraged. Most beginner baking mistakes are incredibly common — and usually easy to fix once you know what to look for.
Here are a few of the issues I see most often:
Measuring flour incorrectly. Too much flour is one of the biggest causes of dry cakes, dense muffins, and cookies that don’t spread properly.
Over-mixing the batter. Mixing too much after adding flour can lead to tough cakes, muffins, and quick breads.
Using ingredients at the wrong temperature. Cold butter, eggs, or cream cheese often don’t mix smoothly and can affect the final texture of your baked goods.
Using the wrong pan size. Changing pan sizes affects baking time, thickness, texture, and browning.
Over-baking. Many baked goods continue cooking slightly after they come out of the oven, so leaving them in the oven too long can quickly dry them out.
Making too many substitutions. Ingredient swaps can affect much more than flavor. In baking, even small changes sometimes impact texture and structure.
The good news is that baking gets easier with practice. Every recipe teaches you something, and even baking mishaps help you become a better baker over time.
If you’d like more baking tips, troubleshooting help, and easy recipes delivered to your inbox, you can sign up for my email list here.
Beginner-Friendly Baking Recipes to Try
Once you’re ready to put these baking tips into practice, start with recipes that are simple, reliable, and rewarding to make. These are all great beginner baking recipes that will help you build confidence in the kitchen.
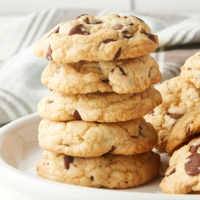
Chocolate chip cookies: A classic for a reason. Cookies are a great way to practice measuring, mixing, and recognizing doneness.
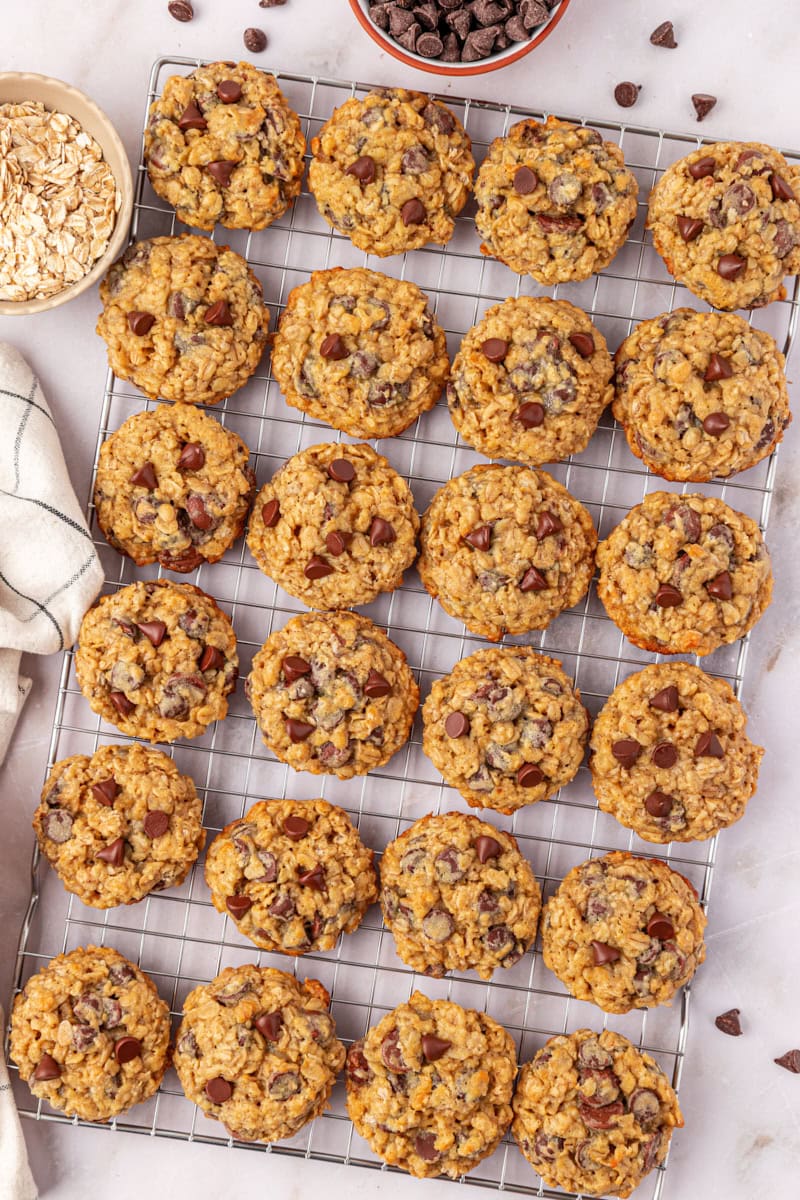
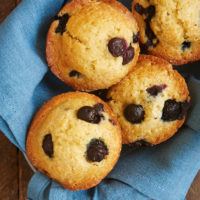
Easy muffins or quick breads: Muffins and quick breads help beginner bakers learn important techniques like properly mixing batter without over-mixing.
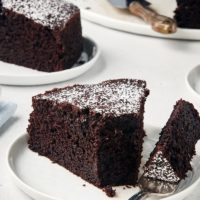
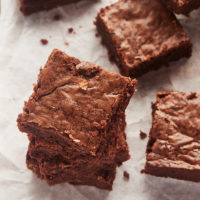
Brownies: Brownies are forgiving, approachable, and a great introduction to baking bars and learning texture cues.
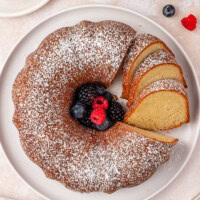
Simple layer cakes or snack cakes: Cakes teach useful baking basics like pan preparation, oven positioning, and checking for doneness.
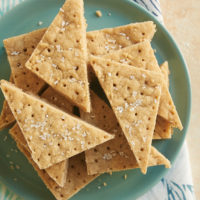
Shortbread cookies: With a short ingredient list, shortbread is a great way to learn how butter, flour, and mixing affect texture.
If you’re looking for specific recipes to start with, here are a few favorites from my kitchen:
Baking Recipes for Beginners
Keep Building Your Baking Skills
The more you bake, the more comfortable these techniques will become. And once you’ve mastered the basics, small details like mixing methods, ingredient temperatures, and pan choices start to make a big difference in your results.
If you’d like to keep learning, these baking guides are great next steps:
- The Creaming Method
- The Muffin Method
- How to Soften Butter
- Common Cookie Problems and How to Prevent Them
- Unlined vs Lined Baking Pans
And if you’re looking for inspiration, browse all of my baking tips and baking science posts for more practical baking help.
Happy baking!


7 Comments on “Baking Tips for Beginners”
Many cook books and recipes don’t have weight measurements for the ingredients. How do you calculate weight?
Hi, JoAnn. If it’s not provided, then you’ll have to go with accepted standard measurements. You can reference recipes that do provide weights for specific ingredients as a guideline.
My banana bread always sinks in the middle after iI take it from the oven . Any suggestions as to help prevent this problem Thanks
Hi, Donna! Most likely, it’s not getting thoroughly baked in the center. Your recipe should tell you how to check for doneness, which is probably with a long pick inserted into the center that comes out clean. If your loaf pan is dark, then that can cause the edges to bake faster while leaving the center under-baked. Another thing you might check is your oven’s temperature accuracy. I periodically check mine with an oven thermometer. If it’s not getting to the right temperature, you can either make an adjustment with the temperature setting or have the oven calibrated.
Great information! There is one thing I hope you can clarify about ingredients. Some flours have different weights per cup. So if I’m using a flour that weighs more, if I follow the recipe wouldn’t I actually be using less flour than the recipe calls for even though I’m weighing out the grams the recipe calls for?
Also, sometimes a recipe will have a gram and volume measurement, but then a different recipe will have a different gram measurement for the same volume as the other recipe.
I hope this makes sense and thank you for any clarification you can provide.
Hi, Laurel! Unfortunately, not everyone seems to agree on how to convert volume measurements to gram weights. If weights are listed, I assume that to be accurate regardless of minor differences in volume measurements. For instance, you may see recipes that have a cup of all-purpose flour weighing anywhere from 120g to 150g. If another recipe lists measurements in weights, I usually assume that’s what they used and measure by weight. I can only speak to my recipes to say that if a weight is listed then that is the exact weight used. I hope that helps!
Thank you!