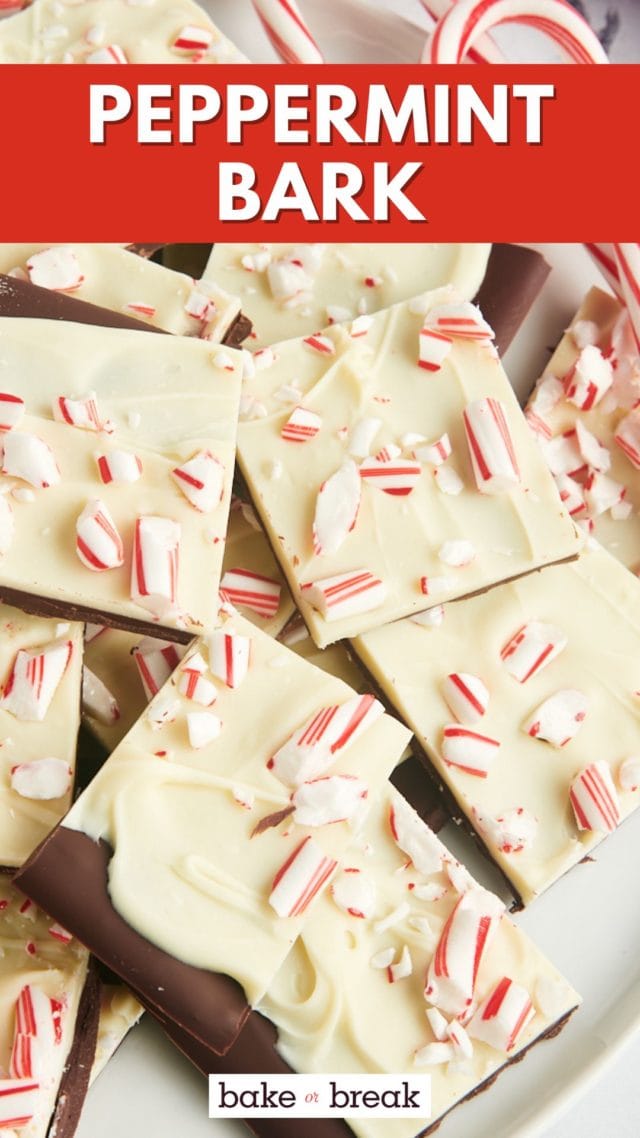
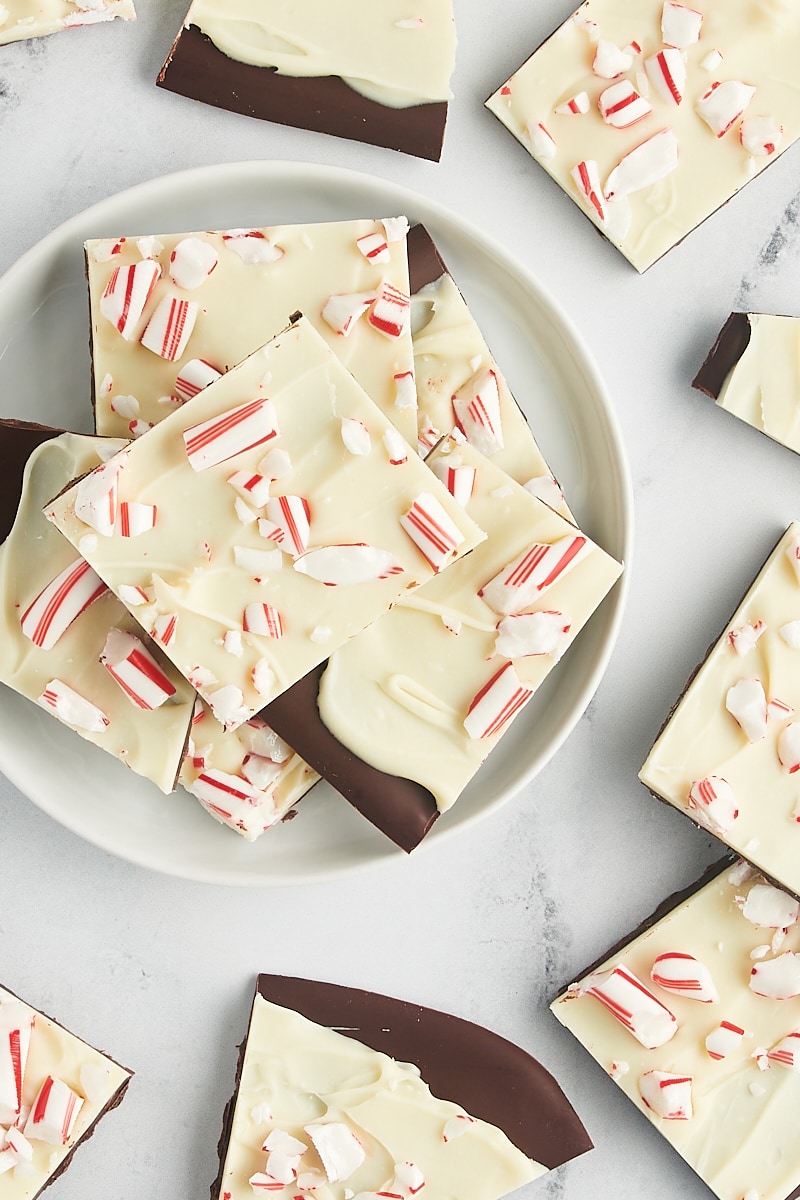
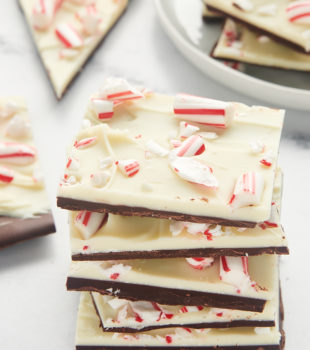
Craving a taste of the holidays? With its layers of decadent chocolate and a peppermint twist, Peppermint Bark is the perfect treat to celebrate the festive season!
Peppermint Bark is a holiday classic that’s as festive as it is delicious. This delightful treat, with its layers of rich dark chocolate and creamy white chocolate, topped with a sprinkle of peppermint candies, is not just a crowd-pleaser, it’s also a joy to make. Whether you’re a seasoned baker or trying your hand at confectionery for the first time, this recipe is wonderfully straightforward, yet the results are nothing short of spectacular!
Why You’ll Love This Peppermint Bark Recipe
- Perfect balance of flavors. The rich dark chocolate layer contrasts beautifully with the sweet white chocolate, offering a taste sensation that’s hard to resist.
- Festive and seasonal. With its peppermint flavor and red and white colors, it’s the perfect treat for Christmas and the holiday season.
- Easy to make. This recipe is incredibly simple, with just a few ingredients and steps, making it ideal for busy bakers.
- Great for gifting. Peppermint bark makes a wonderful homemade gift that friends and family will appreciate.
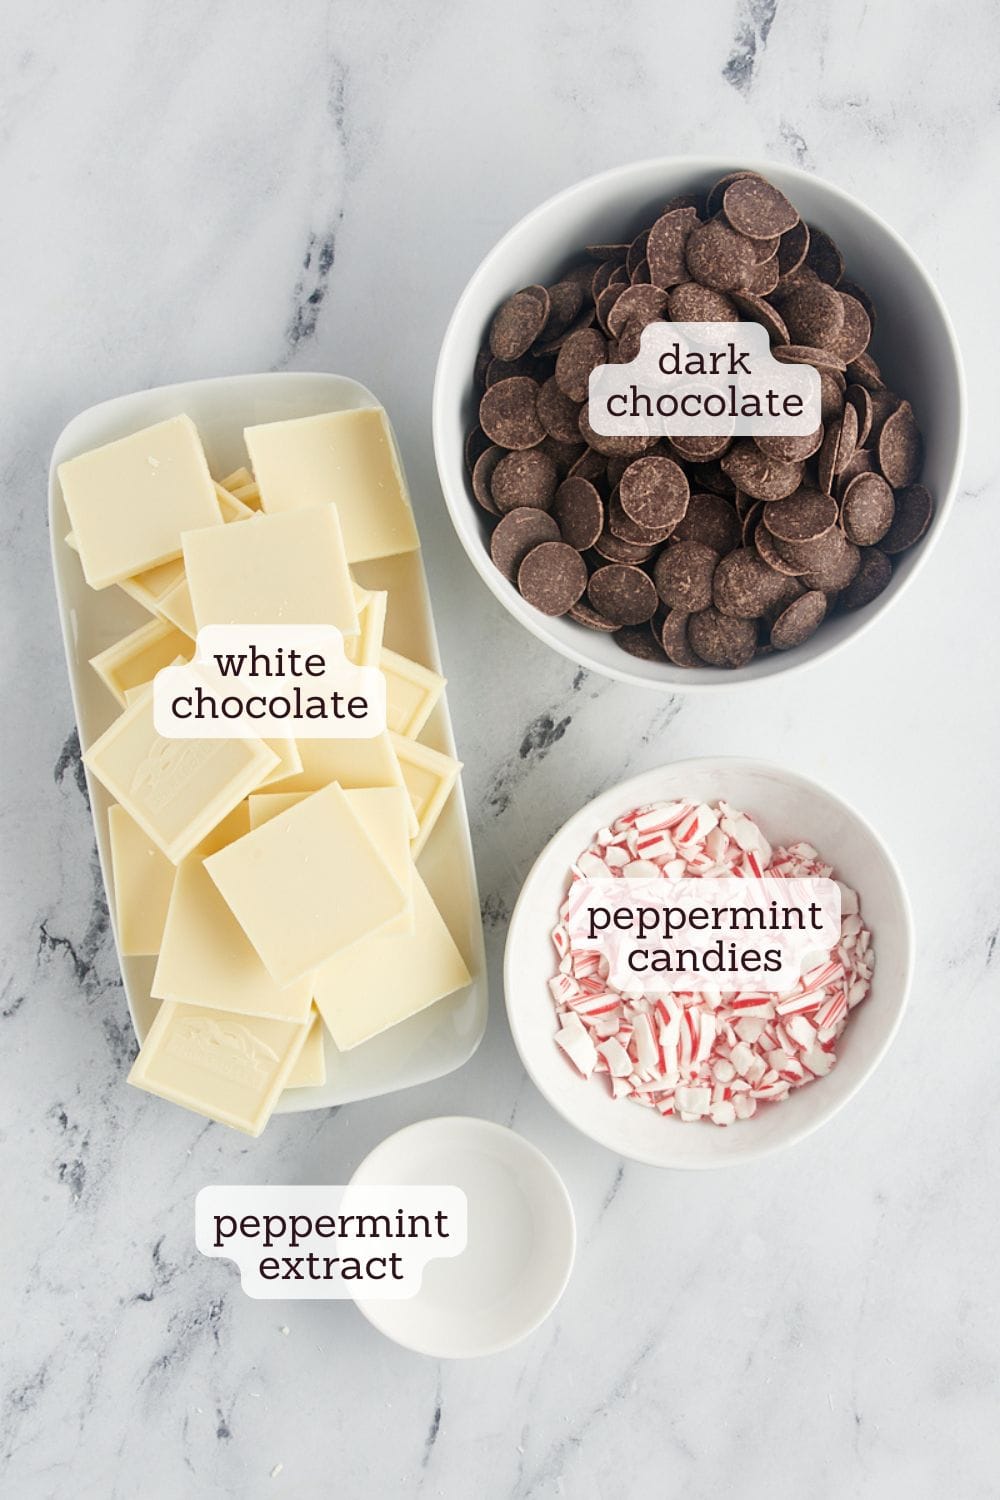
What You’ll Need
The ingredients list is wonderfully short and sweet! Scroll down to the recipe card for ingredient quantities and full instructions.
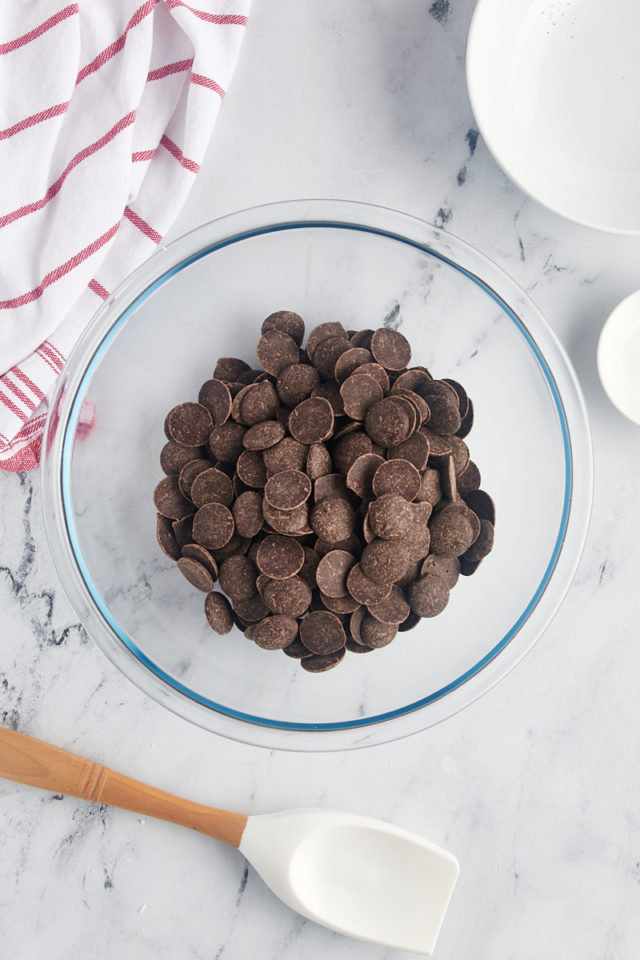
- Dark chocolate – Semisweet or bittersweet chocolate are good choices. I usually go with something in the 60-70% cacao range. Use a good quality chocolate for the best flavor.
- White chocolate – For the best flavor and smoothest melting, use real white chocolate. The main ingredient should be cocoa butter.
- Peppermint extract – Don’t confuse this with mint extract, which is quite a different flavor.
- Peppermint candies – You can use crushed candy canes, hard round peppermints, or candy cane crunch.
How to Make Peppermint Bark
Make the First Layer:
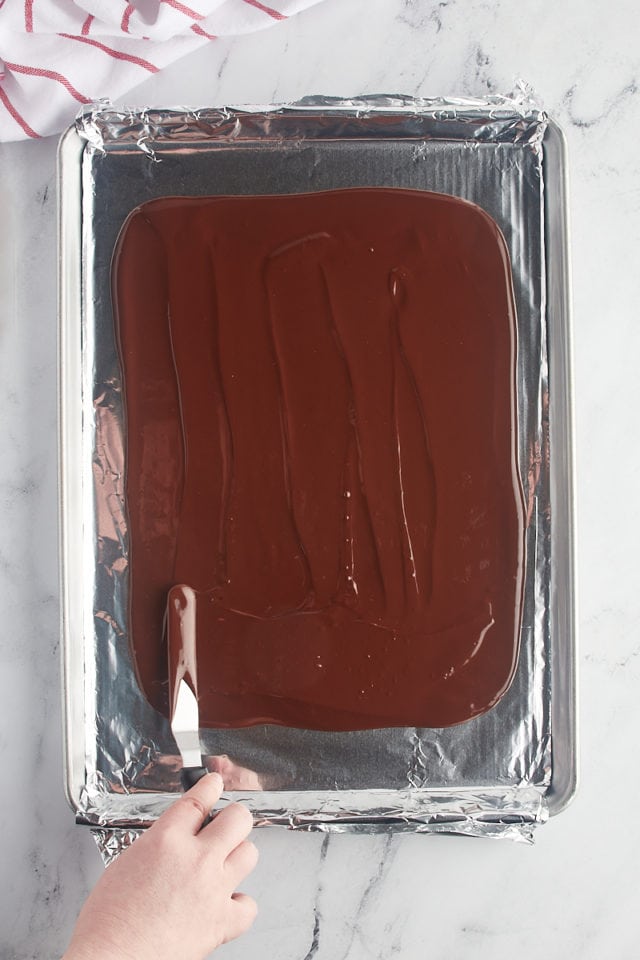
- Prepare the pan. Line a half sheet pan with aluminum foil, parchment paper, or a silicone liner. Make sure the lining is smooth.
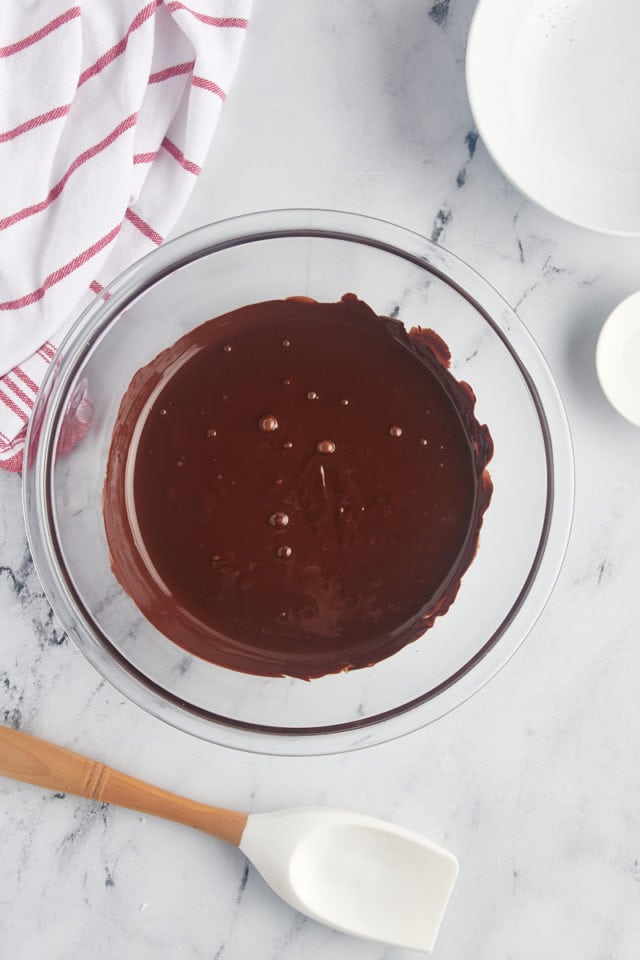
- Make the dark chocolate layer. Place the dark chocolate in a microwave-safe bowl, and heat at half-power in the microwave in 30-second increments until the chocolate melts when stirred. Or if you prefer, melt the chocolate in a double boiler. Mix in 1/4 teaspoon of the peppermint extract. Spread in an even layer on the prepared pan. (Aim for roughly 10″ x 15″.)
- Chill. Place the baking sheet in the refrigerator, and allow the chocolate to chill for 30 minutes.
Make the Second Layer and Assemble:
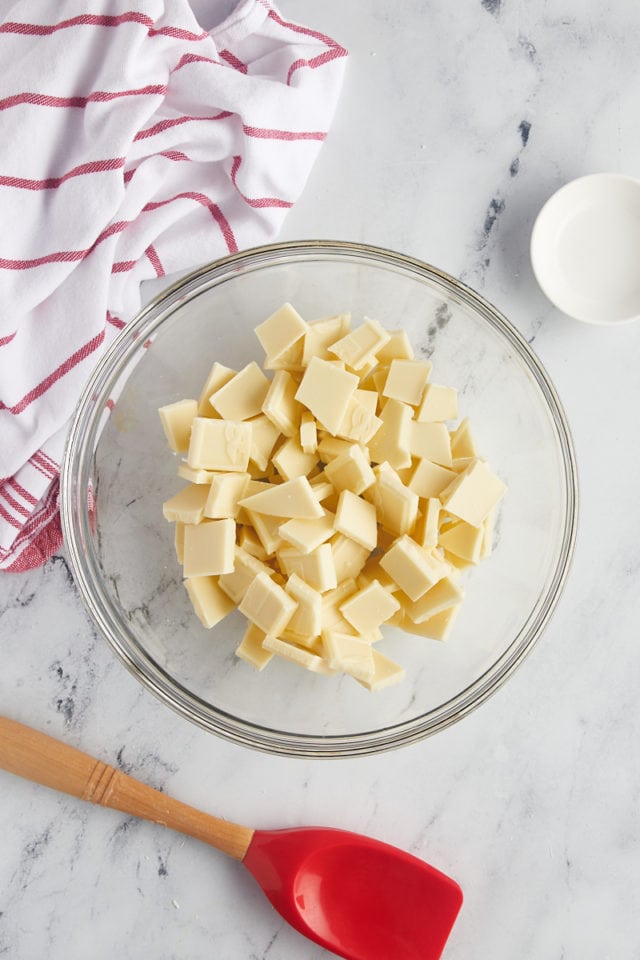
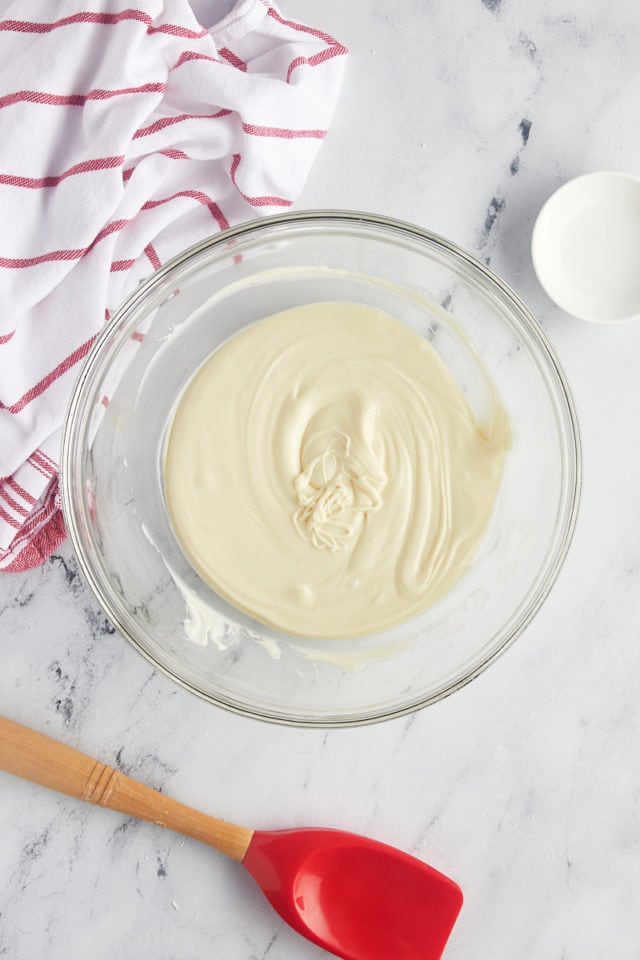
- Make the white chocolate layer. When the dark chocolate lacks about 5 minutes of chilling time, place the white chocolate in a microwave-safe bowl. Melt it using the same method as described above. Stir in 1/4 teaspoon of the peppermint extract.
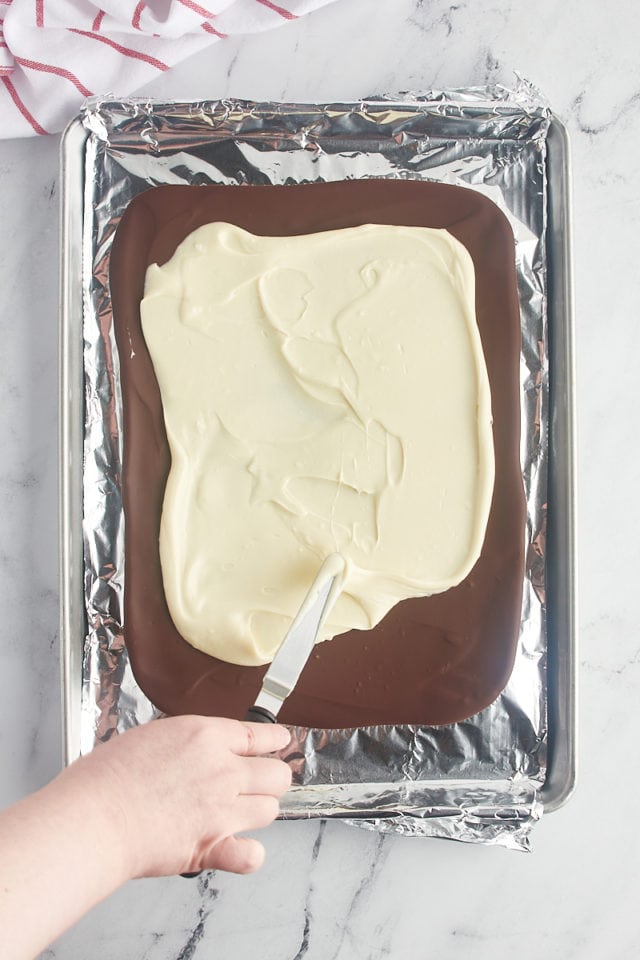
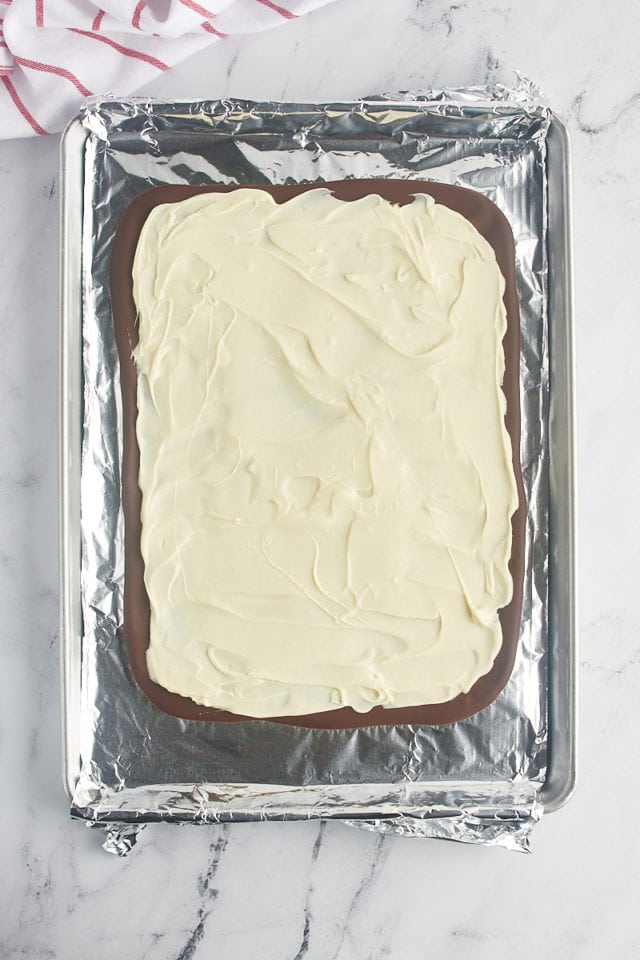
- Assemble the bark. Remove the chilled dark chocolate from the refrigerator, and pour the melted white chocolate over the top. Spread evenly, taking care not to mix it into the dark chocolate layer. Cover the dark chocolate as best you can, but don’t worry if it doesn’t go all the way to the edges.
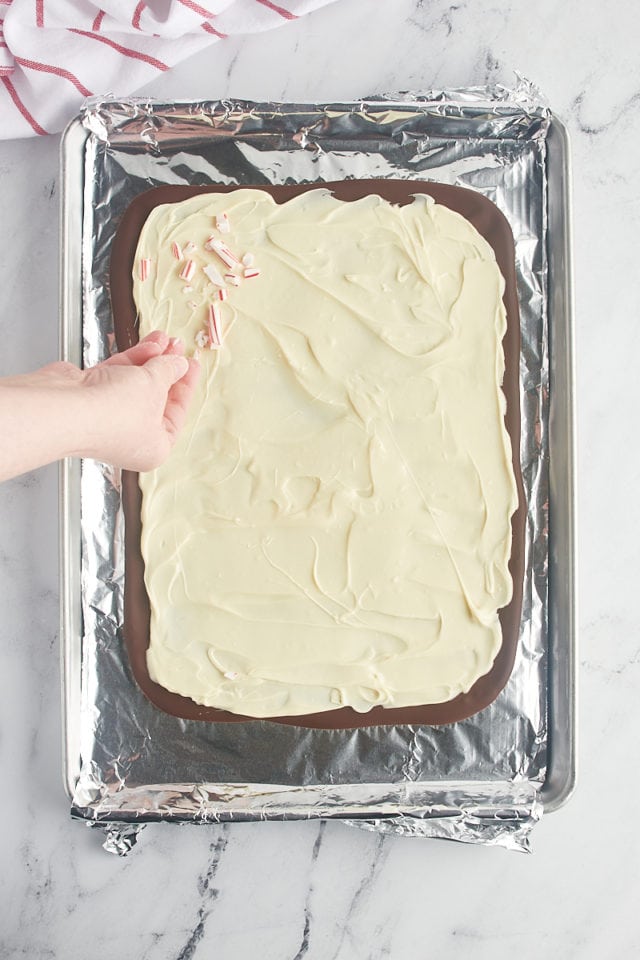
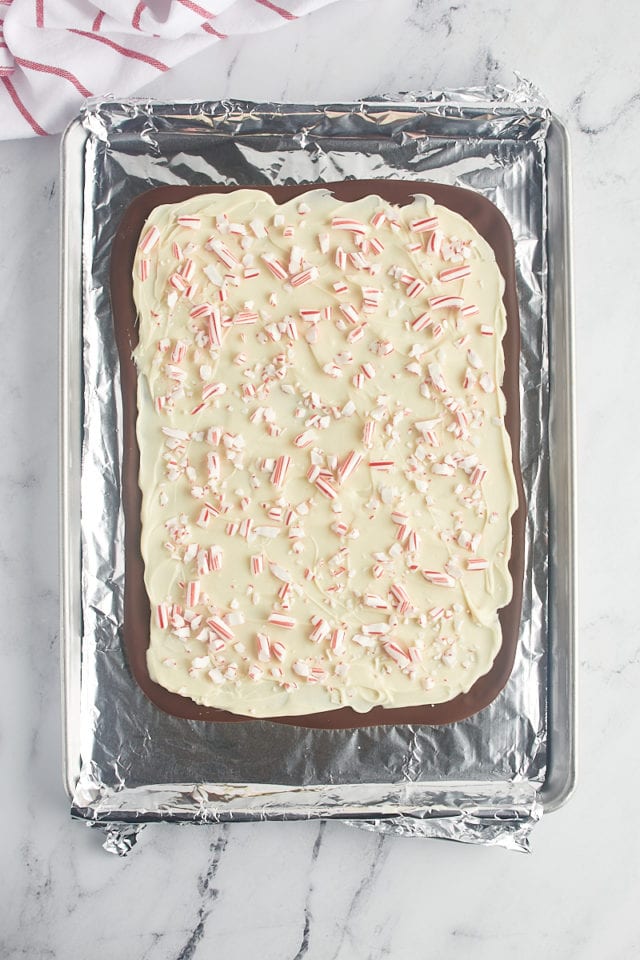
- Add peppermints. Sprinkle the peppermint candies over the top of the white chocolate. Gently press them into the top.
- Chill again. Return the pan to the refrigerator, and allow the bark to chill until set.
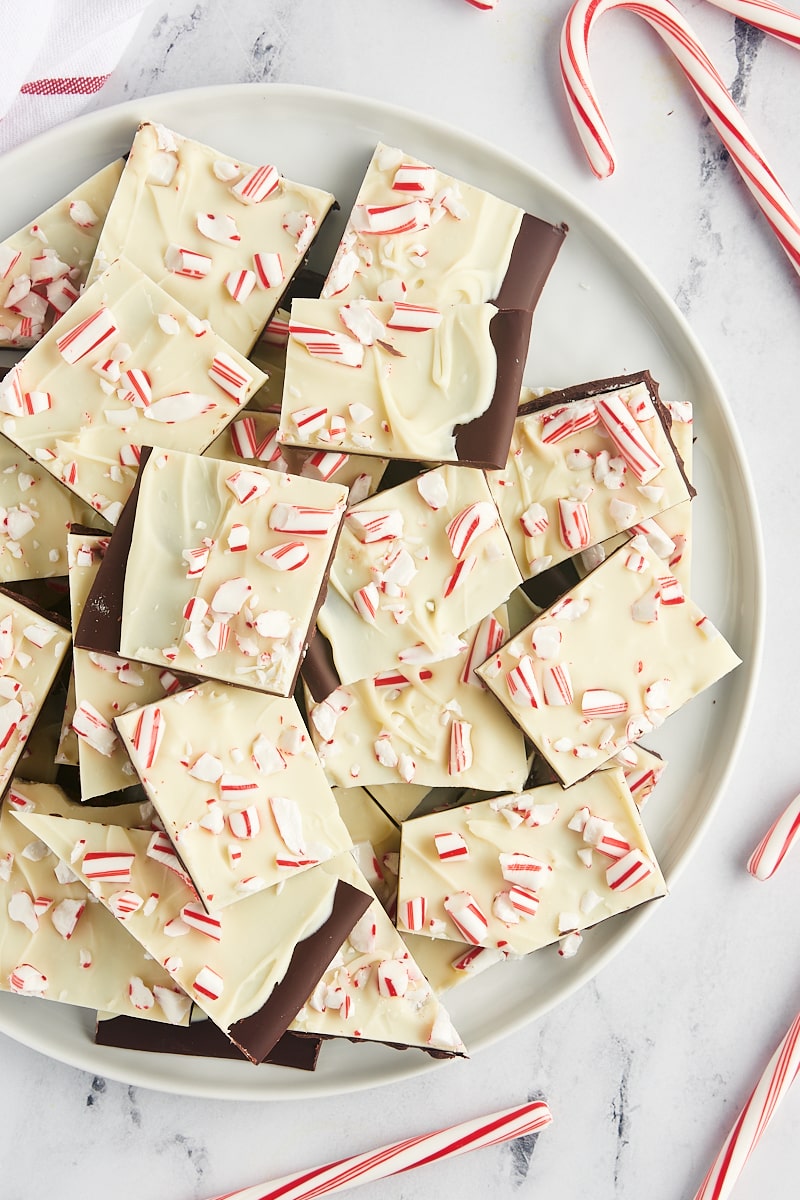
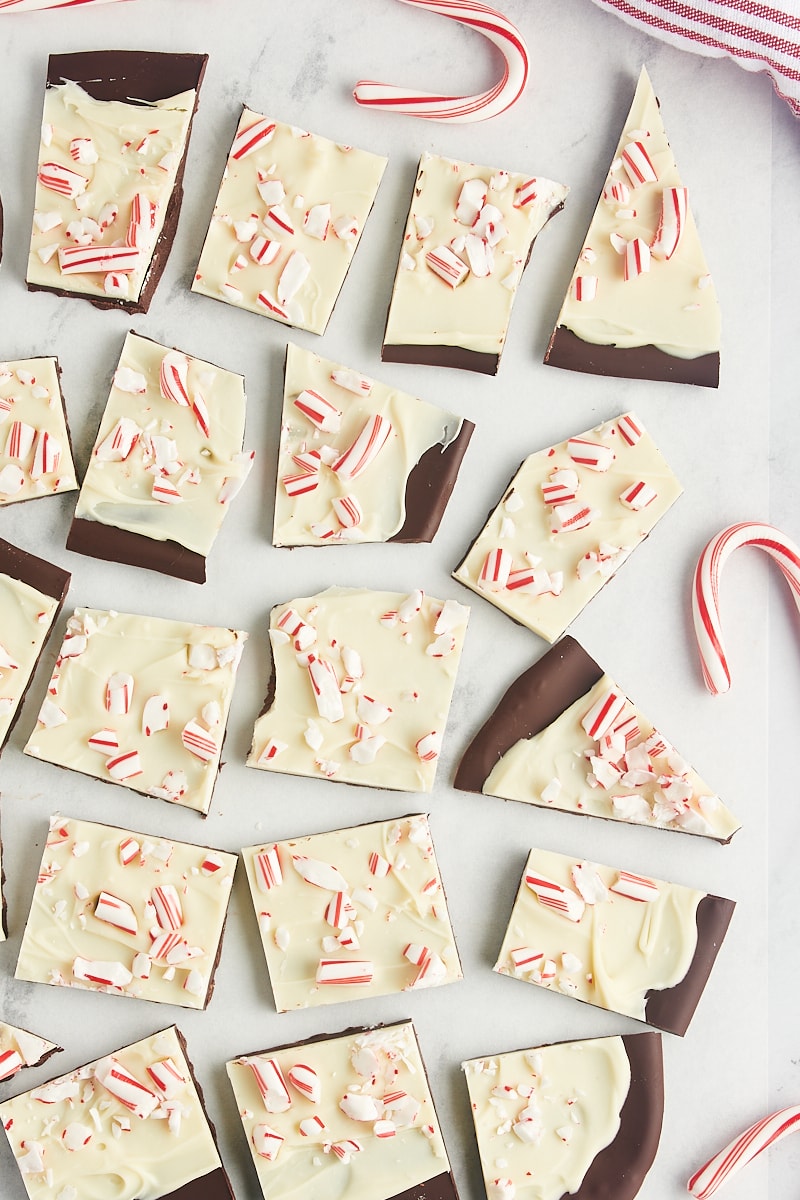
- Cut or break into pieces. Once the bark has set, use a sharp knife to cut it into pieces, or simply use your hands to break it into pieces.
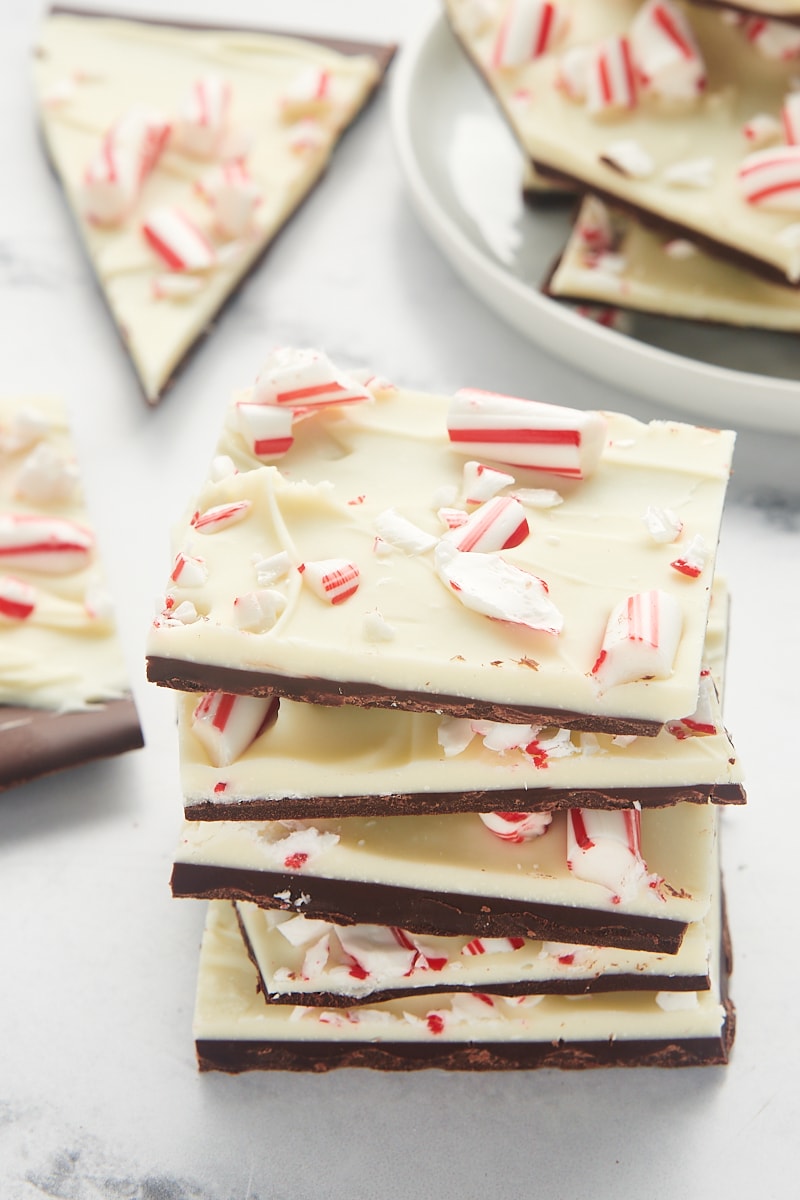
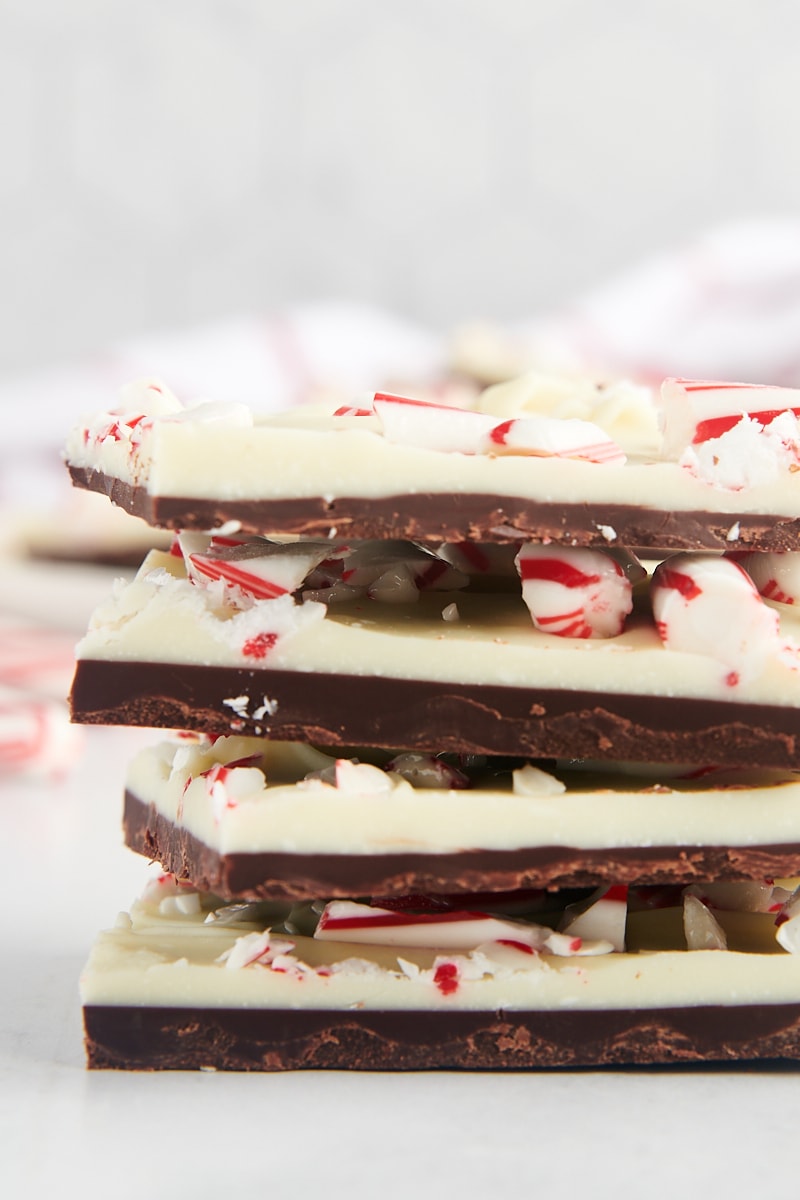
How Do I Prevent the Chocolate Layers from Separating When Breaking the Bark?
Ensure the first layer of chocolate is just set (not completely hard) before adding the white chocolate. Also, keep the layers thin. These two things help the layers adhere better.
From my experience, letting the first layer chill in the refrigerator for 30 minutes works very well, but you may prefer to let the chocolate set at room temperature which will take an hour or so depending on the environment. Check the firmness of the chocolate by lightly touching it. If it still feels tacky, give it more time.
Tips for Success
- Quality chocolate matters. Use good quality chocolate for the best flavor and texture. It melts more smoothly and tastes better. Choose chocolate bars or discs over chocolate chips for better melting and texture.
- Even spreading: Use an offset spatula to spread the chocolate evenly. This helps in achieving a uniform thickness.
- Layering technique. Allow the first layer of chocolate to set just enough before adding the second layer. This prevents the layers from mixing but ensures they stick together. About 30 minutes in the refrigerator should be just right.
- Crushing peppermint candies. Put the candies in a zip-top bag and use a rolling pin to crush them. This method gives you control over the size of your peppermint pieces.
- Scoring the bark. For cleaner breaks, score the top layer of chocolate lightly with a knife once it’s set but still soft. You can also use a sharp knife to cut it into pieces if you want more consistently-sized pieces.
Variations
- Milk chocolate. For a sweeter, creamier taste, replace the dark chocolate with milk chocolate.
- Nutty addition. Sprinkle chopped almonds, pecans, or walnuts on top for a crunchy texture.
- Sea salt sprinkle. A light sprinkle of sea salt on top of the white chocolate layer can balance the sweetness and add a gourmet touch.
- Marbled bark. Partially mix melted dark and white chocolate together before setting for a marbled effect. If you let the first layer chill about 10 minutes and then add the white chocolate, it’s easy to do this.
- A simpler approach. Skip the layering and use just one kind of chocolate.
- Chocolate drizzle. Add a drizzle of melted dark or white (or both!) chocolate over the top of the bark after it’s set for an extra layer of flavor and a decorative touch.

Serving Suggestions
Peppermint bark isn’t just a treat to enjoy on its own; it’s a versatile delight that can elevate many other treats and moments. Here are some serving suggestions to help you get the most out of this festive favorite:
- Hot beverages. Enjoy your peppermint bark with a warm mug of hot chocolate, coffee, or tea. The warmth of the drink can complement the cool mint flavor.
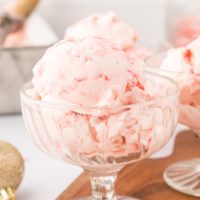
- Ice cream topping. Use broken pieces of peppermint bark as a crunchy topping for vanilla or chocolate ice cream. Or if you can’t get enough peppermint, go all out with peppermint ice cream!
- A topping for baked goods. Garnish cheesecake, chocolate pudding, cupcakes, and more with little pieces of bark.
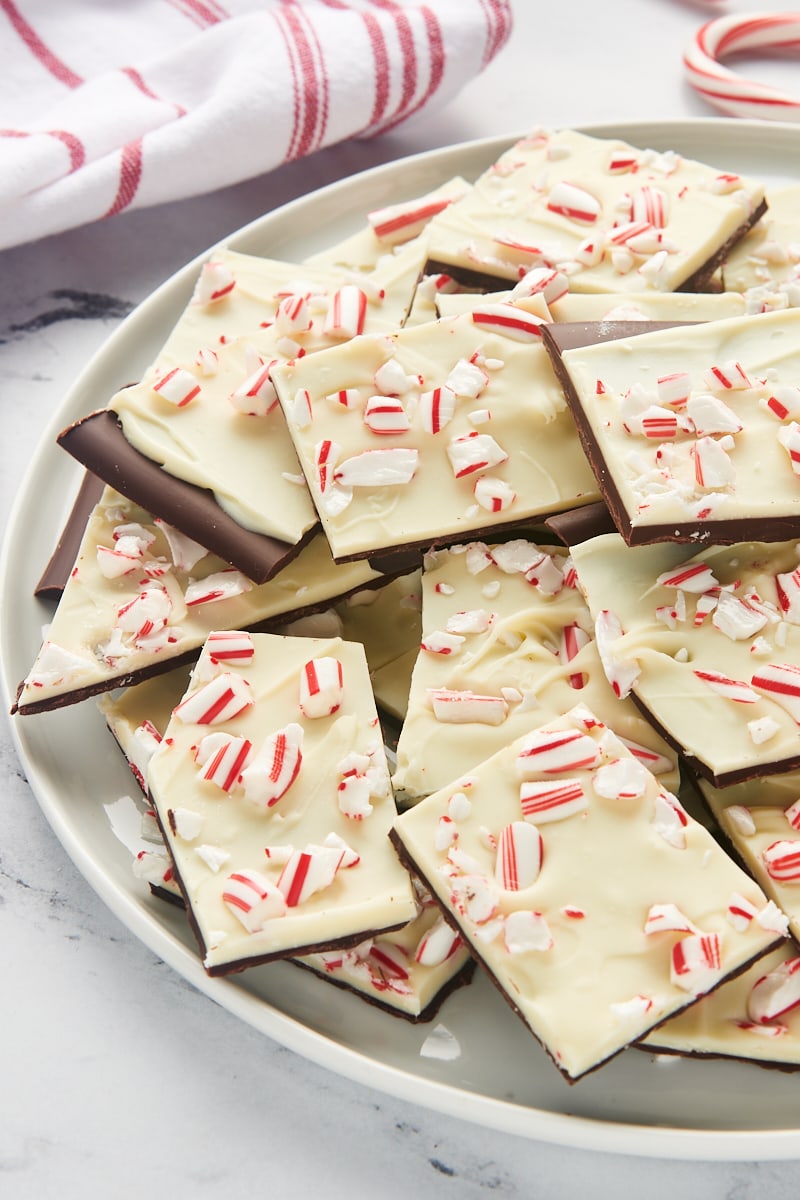
- Holiday gifting. Peppermint bark makes a lovely homemade gift during the holiday season, especially when packaged in festive boxes or tins.
- As part of a dessert platter. Serve your peppermint bark as part of a larger dessert platter with other holiday treats like shortbread, bourbon balls, and spritz cookies.
How to Store
- Room temperature: Store your peppermint bark in an airtight container in a cool, dry place. If you’re layering the pieces, place parchment paper between the layers to help prevent sticking. It can last up to two weeks stored at room temperature, although you may want to refrigerate the container if your kitchen is overly warm.
- Freezer: First, make sure your bark is completely cooled and set, and then wrap it tightly in plastic wrap or aluminum foil. Place the wrapped bark in an airtight, freezer-safe container or bag. Properly stored, it should keep in the freezer up to 2 months. When you’re ready to serve the bark, thaw it at room temperature for a few hours.
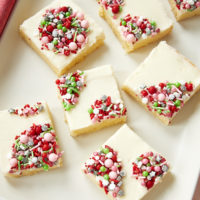
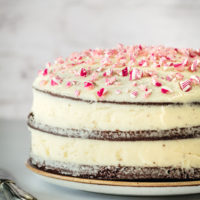
More Peppermint Treats

Peppermint Bark
Ingredients
- 12 ounces (340 g) semisweet or bittersweet chocolate, roughly chopped
- 12 ounces (340 g) white chocolate, roughly chopped
- ½ teaspoon peppermint extract, divided
- 1 ½ cups crushed peppermint candies
Recommended Products
Instructions
- Line a half sheet pan with aluminum foil, making sure to smooth the lining.
- Place the dark chocolate in a microwave-safe bowl. Heat in the microwave at half-power in 30-second increments until the chocolate melts when stirred.
- Add 1/4 teaspoon peppermint extract, and stir to combine.
- Spread the melted chocolate in an even layer on the prepared pan. (It should be roughly 10" by 15".) Place in the refrigerator for 30 minutes.
- With about 5 minutes left on the chill time for the dark chocolate, melt the white chocolate. Place it in a microwave-safe bowl. Heat in the microwave at half-power in 30-second increments until the chocolate melts when stirred.
- Add 1/4 teaspoon peppermint extract, and stir to combine.
- Remove the chilled dark chocolate from the refrigerator. Pour the white chocolate over the top of the dark chocolate. Working quickly and carefully, spread the melted white chocolate over the dark chocolate.
- Sprinkle the peppermint candies on top of the white chocolate. Gently press the candies into the chocolate.
- Place the pan in the refrigerator for an hour or until the bark has set.
- Remove the pan from the refrigerator, and cut or break the bark into pieces.
Notes
- The yield will vary depending on whether you want large or small pieces.
- Store in an airtight container at room temperature or in the refrigerator up to 2 weeks.


One Comment on “Peppermint Bark”
Great flavor, but I will add more peppermint oil on my next batch, as well as a few more candy canes. I like *peppermint* bark…!