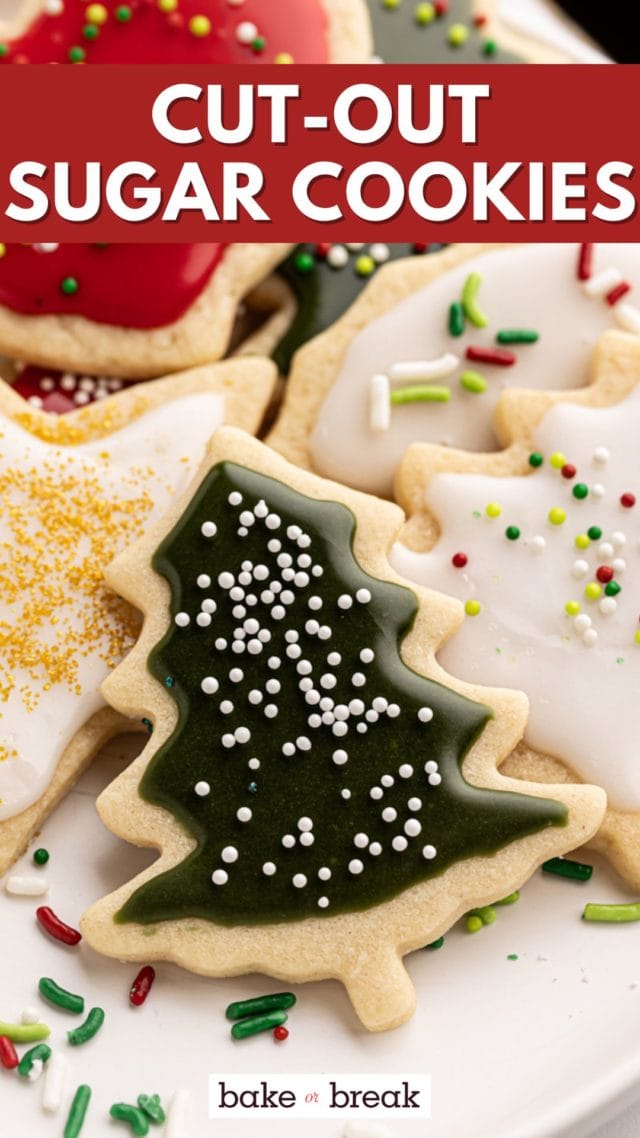
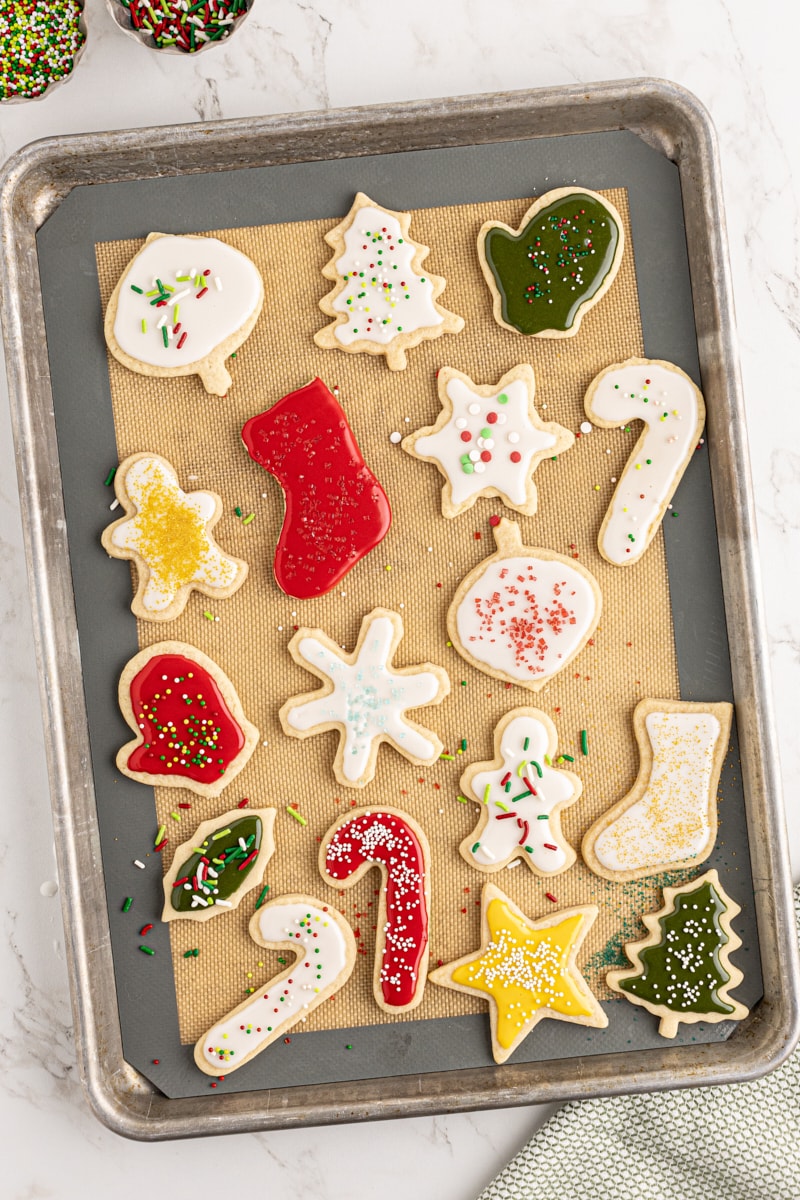
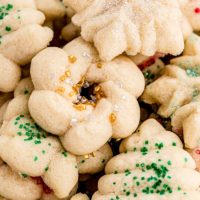
Baking cookies is a cherished Christmas tradition, and there’s nothing quite like the charm of cut-out sugar cookies shaped into festive holiday designs. Just one glimpse of these beautifully decorated Christmas cookies is enough to fill you with an unmistakable sense of holiday cheer!

There’s something magical about transforming simple ingredients into festive, delicious treats that bring smiles to everyone’s faces. Whether you’re a seasoned baker or trying your hand at these iconic cookies for the first time, this recipe for easy and delightful cut-out sugar cookies is sure to bring holiday cheer in every bite!
Why You’ll Love This Cut-Out Sugar Cookie Recipe
Get ready to spread some holiday joy with these delightful Christmas-themed sugar cookies. Here’s why you’ll absolutely love making (and eating!) these festive cookies:
- Festive and fun. These cookies are a perfect way to get into the holiday spirit! Whether you’re baking with family or prepping for a holiday party, they’re sure to add a touch of cheer.
- Easy to make. This recipe is wonderfully straightforward, making it ideal for bakers of all skill levels. You’ll get great results without any complicated steps.
- Customizable. The royal icing and sprinkles allow for endless creativity. You can decorate these cookies to suit your style or theme, making each batch uniquely yours!
- Delicious flavor. These cookies strike the perfect balance between sweet and buttery, with a delightful texture that’s just right for a sugar cookie.
- Great for sharing. Sugar cookies are a classic treat that everyone loves. They’re perfect for gifting, cookie swaps, holiday parties, or as a sweet treat for your friends and neighbors.
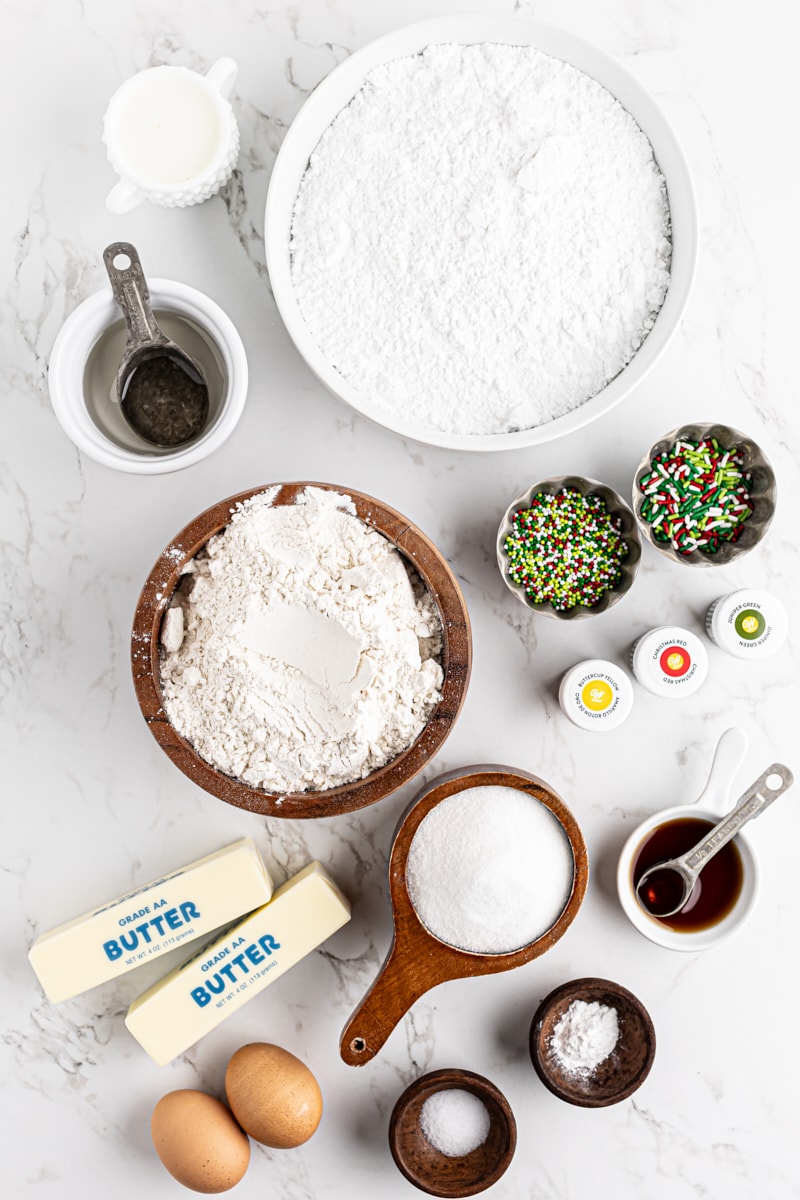
What You’ll Need
See the recipe card below for ingredient quantities and full instructions. Here are some notes about the ingredients required to make your cut out sugar cookies.
- Butter – While I usually recommend unsalted butter, I prefer salted butter here to balance the sweetness of the icing. Either type is fine, though. Let the butter soften without bringing it all the way to room temperature. Learn more: How to Soften Butter
- Granulated sugar
- Eggs – Set these out along with the butter to let them come to room temperature. I recommend baking with large eggs.
- Vanilla extract
- All-purpose flour – Be sure to measure the flour accurately. I highly recommend using a digital scale to measure by weight, but you can use the spoon and sweep method to approximate that accuracy. Learn more: How to Measure Flour
- Baking powder
- Salt
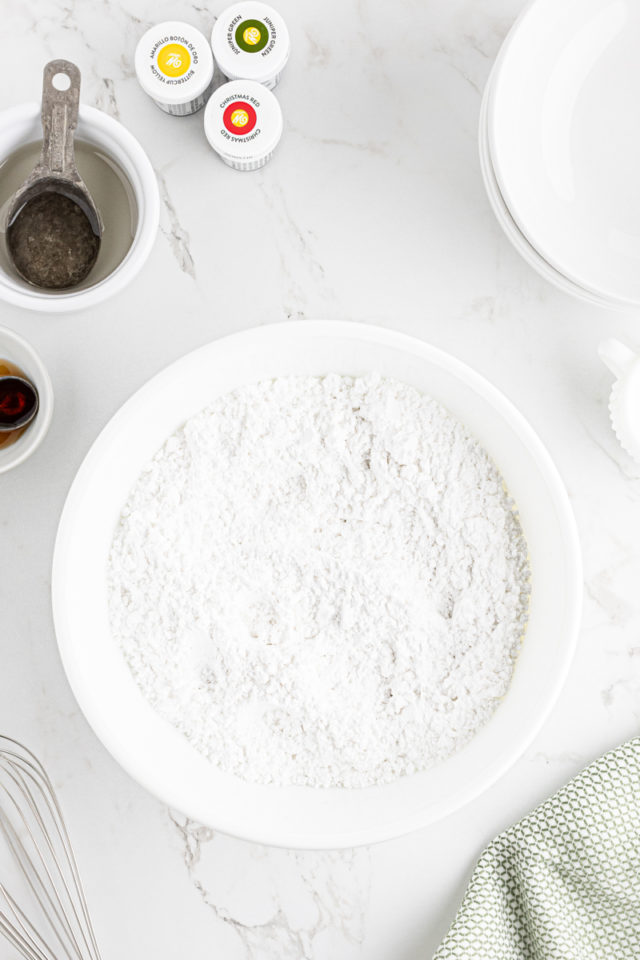
- Confectioners’ sugar – Also labeled as powdered sugar. Sift the sugar for a smooth icing.
- Milk – Whole milk will work best.
- Corn syrup – This gives the icing a glossy finish and helps it set well. If you don’t want to use it, you’ll need to add a bit more milk to get the consistency of the icing right.
- Food coloring – You can optionally add a bit of food coloring to the icing. I recommend gel food coloring for the best color without affecting the icing’s consistency.
- Sprinkles – Have fun adding colorful sprinkles to the iced cookies!
How to Make Cut Out Sugar Cookies
Be sure to plan ahead for the chilling time for the dough and the setting time for the icing. Now, let’s bake some cookies!
Make the Cookies
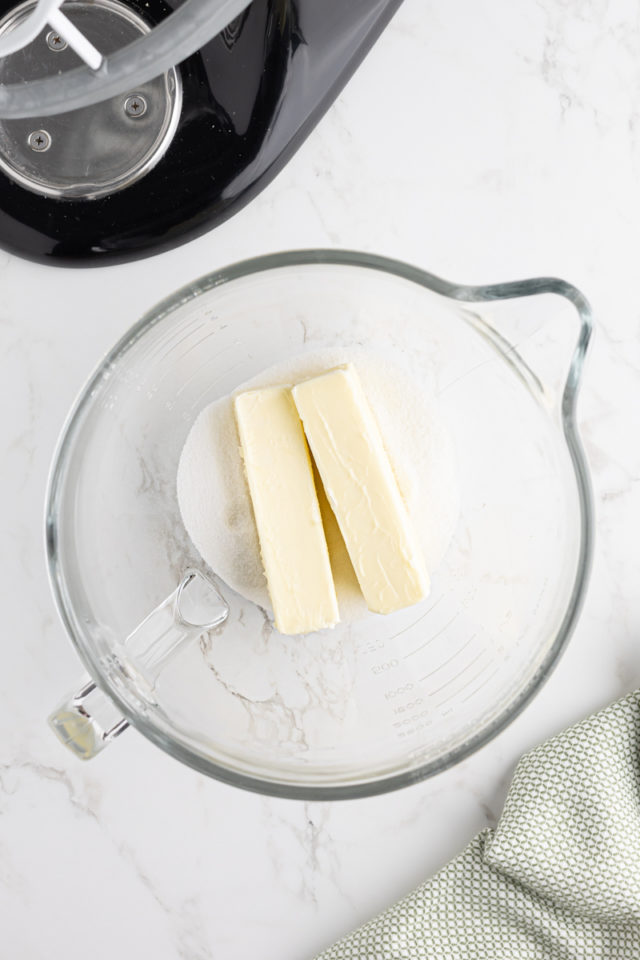
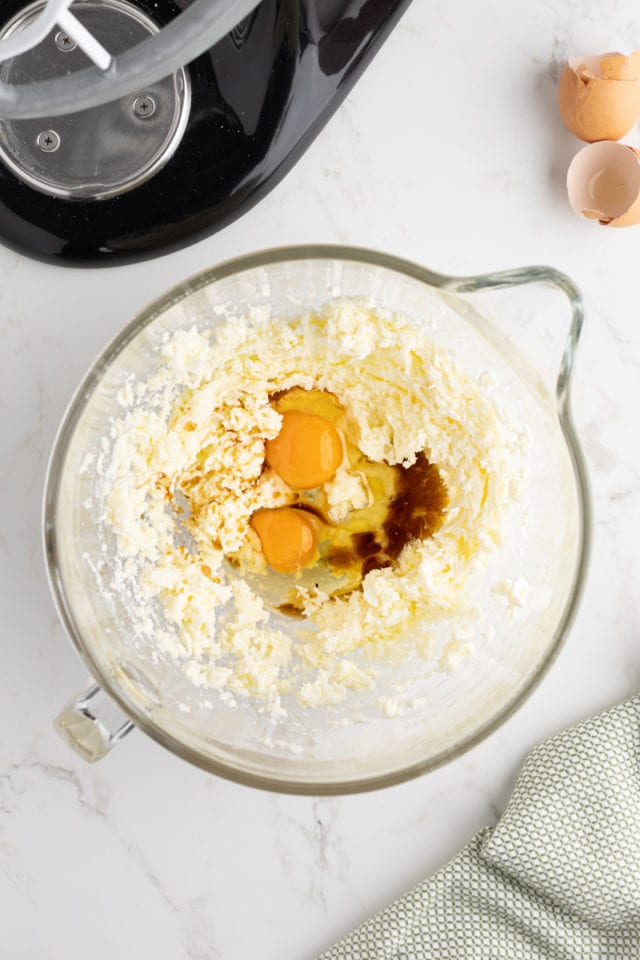
- Mix the wet ingredients. With an electric stand mixer (or heavy-duty hand mixer) on medium speed, beat the butter and sugar until fluffy and lightened in color. Mix in the eggs and vanilla.
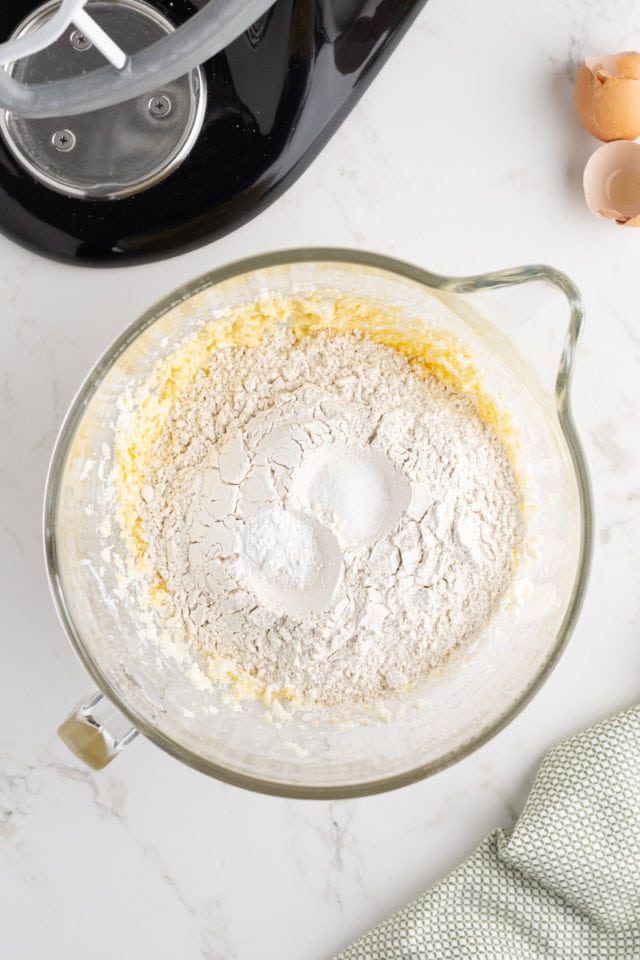
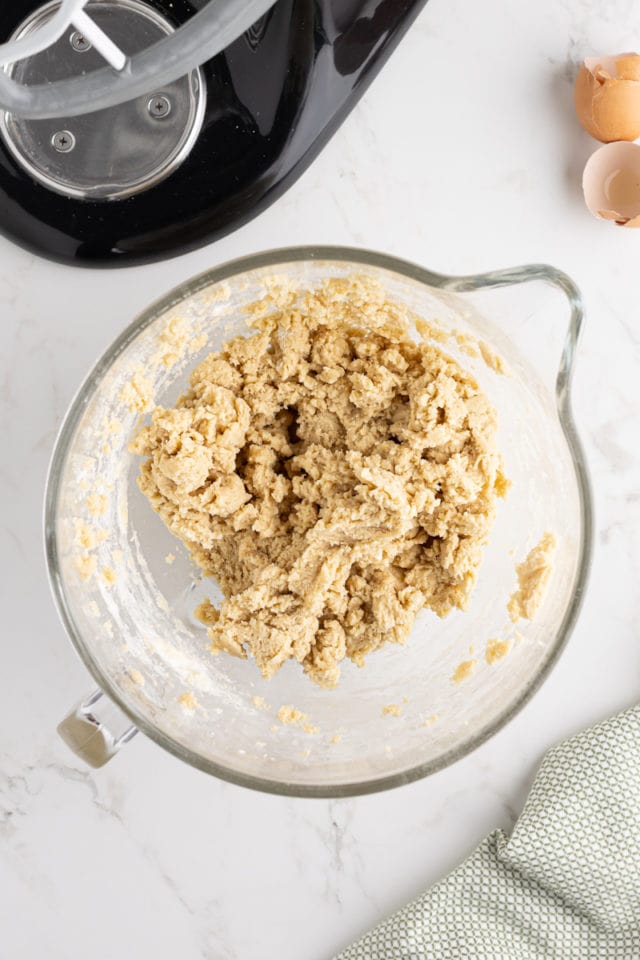
- Add the dry ingredients. Mix in the flour, baking powder, and salt.
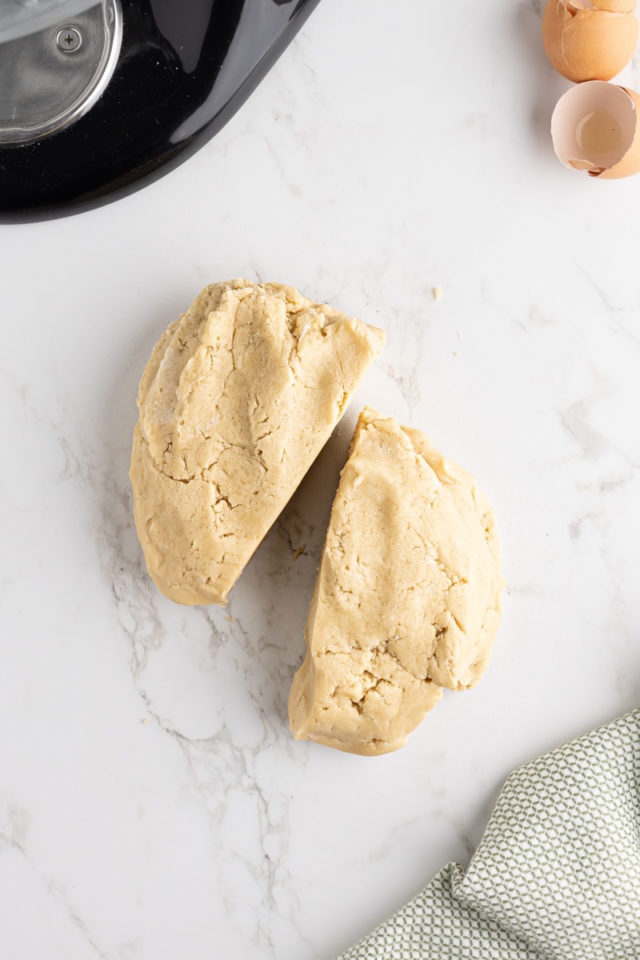
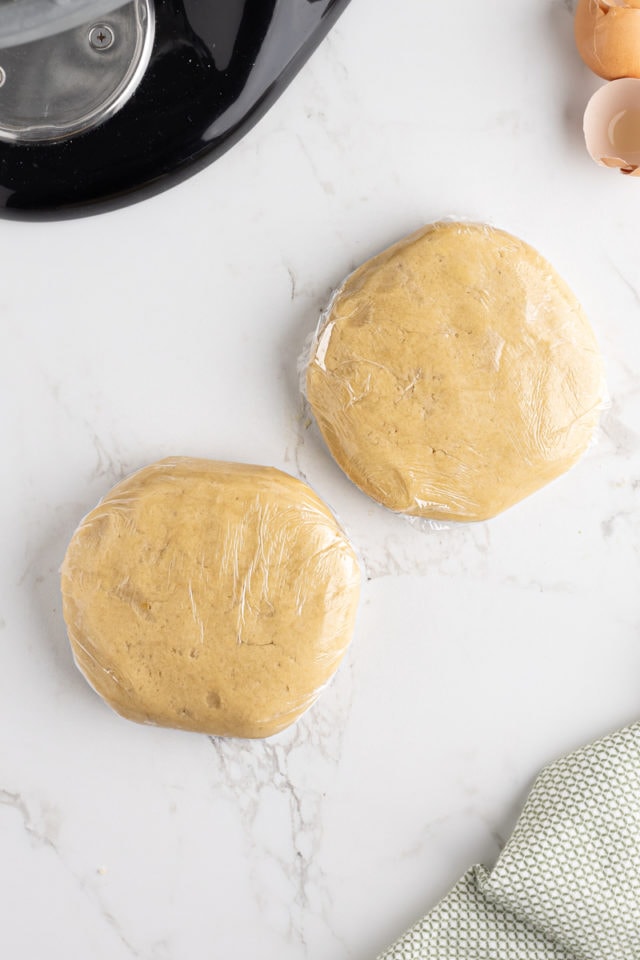
- Divide and chill the dough. Place the dough on a clean surface, and divide into two equal portions. Shape each portion into a disk, and wrap in plastic wrap. Refrigerate for at least 1 hour or up to 5 days. (See my tips section below.)
- Prepare for baking. Heat the oven to 350°F. Line baking sheets with parchment paper or silicone liners.
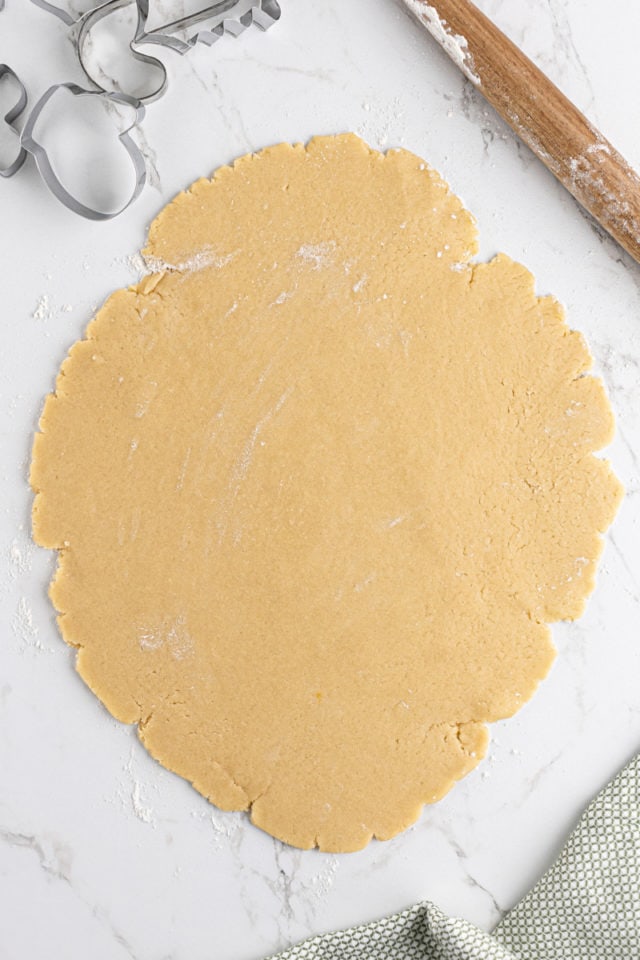
- Roll out the cookie dough. Place the chilled sugar cookie dough on a floured surface. Use a rolling pin to roll the dough to 1/4- to 1/2-inch thickness. If needed, add more flour to your rolling pin and the dough to prevent sticking.
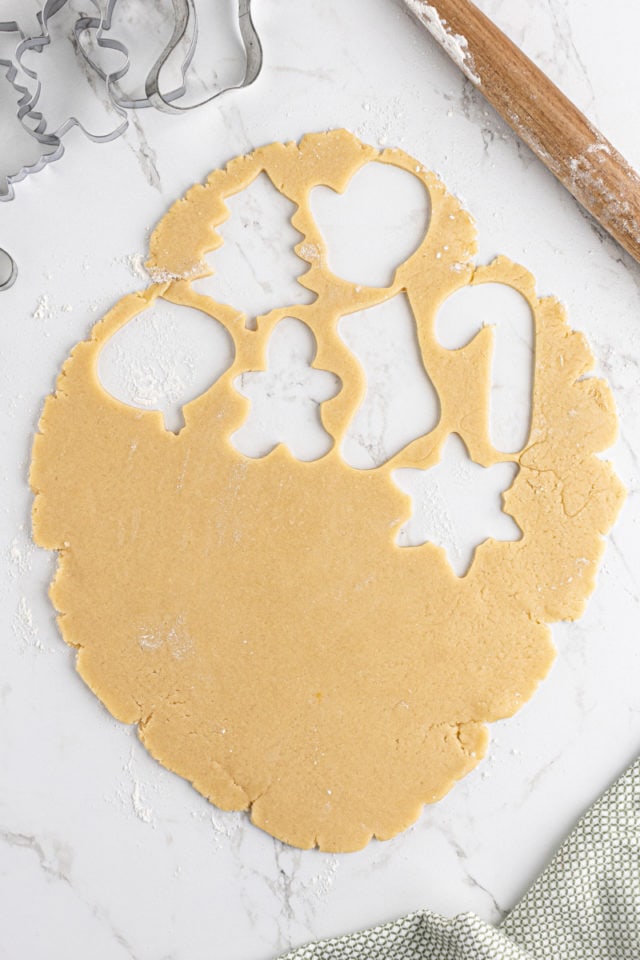
- Make the cutouts. Use cookie cutters to cut out the dough. Gather and re-roll the dough as needed.
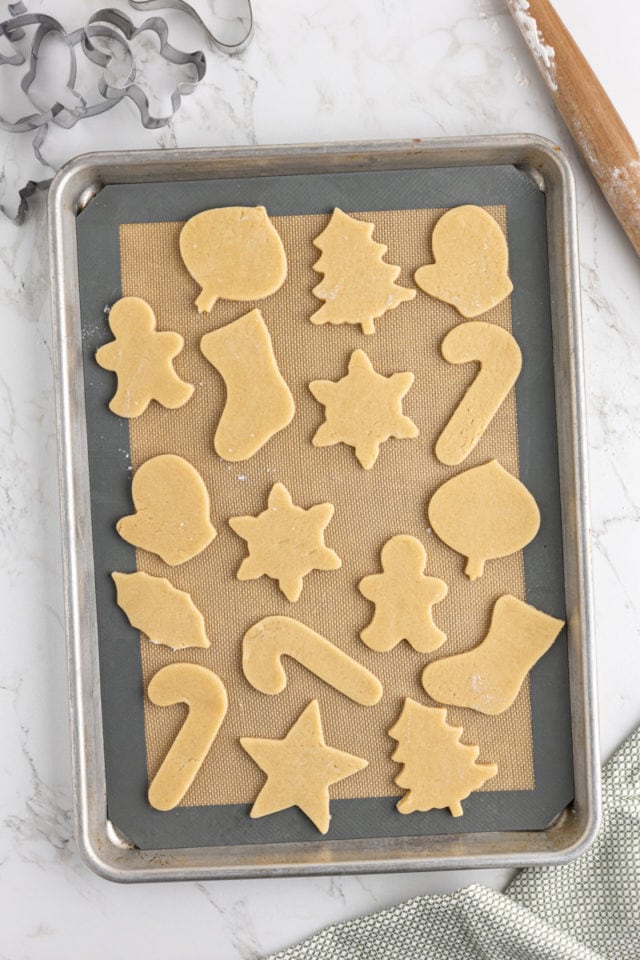
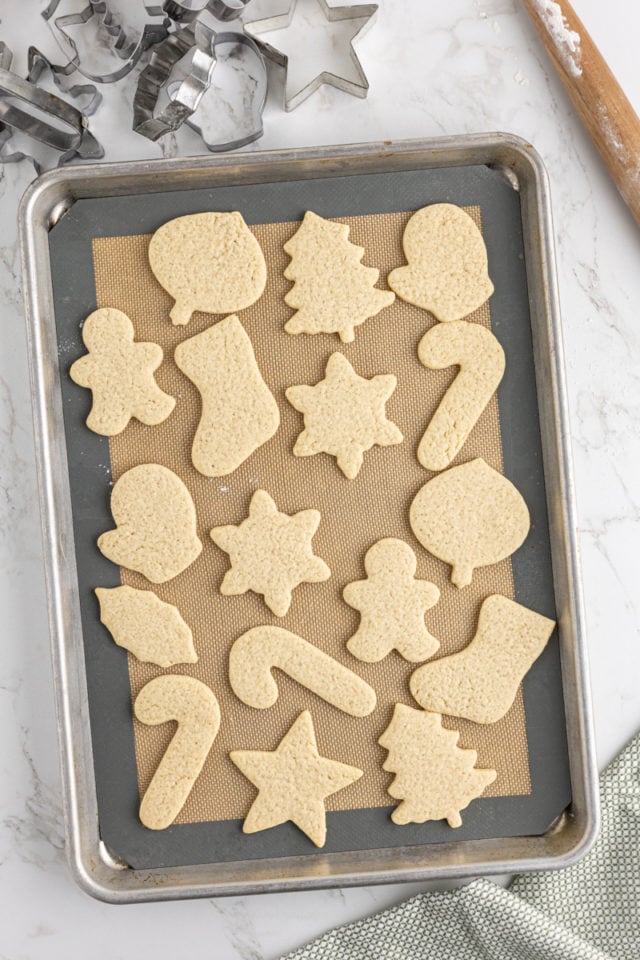
- Bake. Transfer the cookies to the prepared pans. Bake one pan at a time for 10 minutes, or until the edges are lightly browned. Repeat with the remaining cookies.
- Cool. Place the pans on a wire rack, and allow the cookies to cool completely.
Make the Icing and Decorate
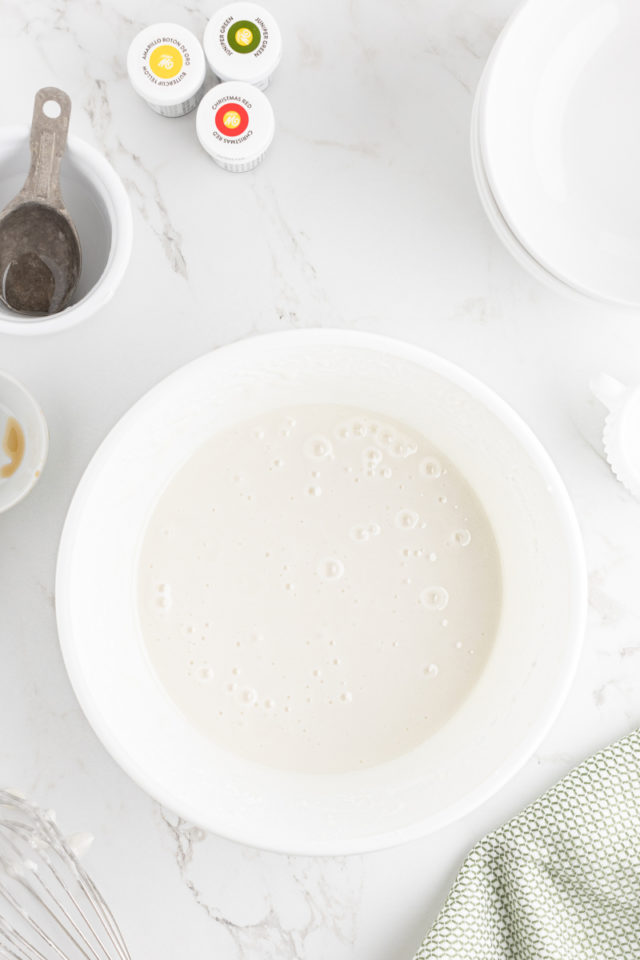
- Mix the icing. Combine the confectioners’ sugar, milk, corn syrup, and vanilla until the mixture is smooth.
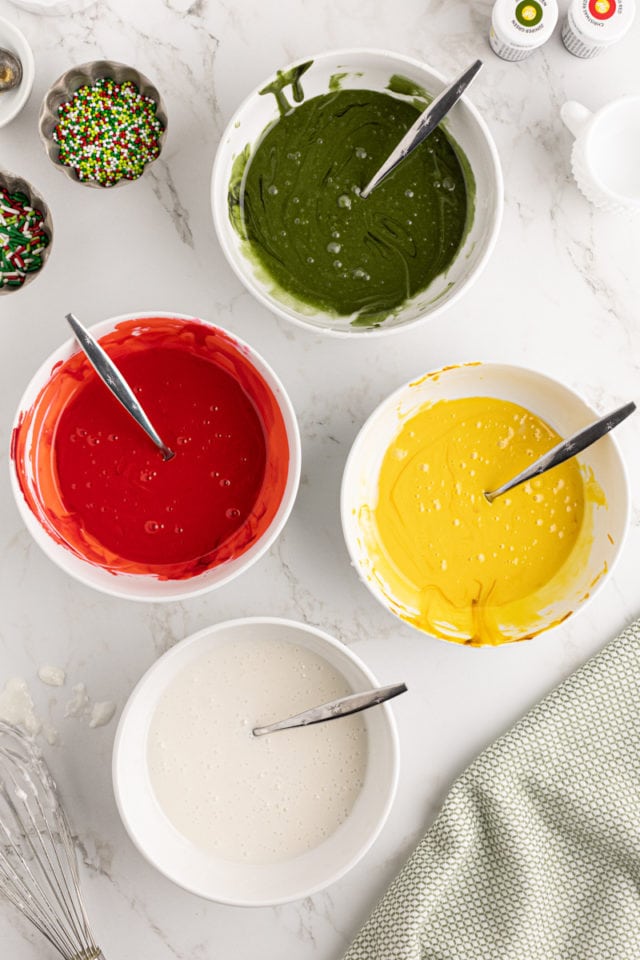
- Color the icing. If you like, divide the icing into separate bowls and add gel food coloring to get the colors you want for your cookies.
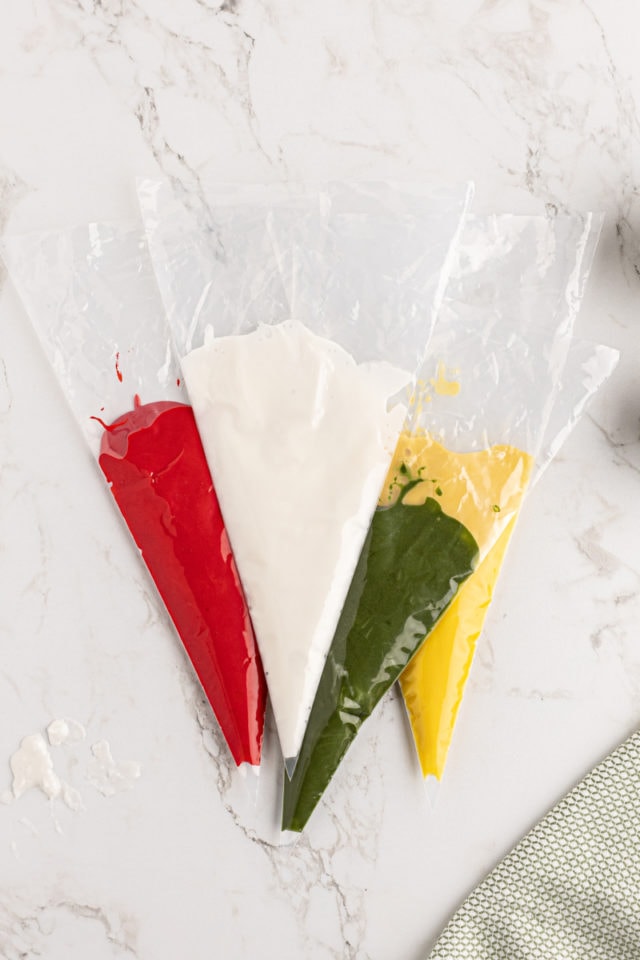
- Ice the cookies. Transfer the icing to piping bags, and cut the tip of the bags just enough so that the icing comes out of the bag with a small amount of pressure on the bag. Ice the cooled cookies.
- Add sprinkles. Decorate the iced cookies with your favorite sprinkles.
Tips for Success
This easy sugar cookie recipe is perfect for bakers of any skill level. Here are some tips to help make sure your cut-out sugar cookies turn out perfectly:
- Chill the dough. That keeps the cookies from over-spreading when they bake. It also makes the dough easier to handle.
- Roll evenly. Getting a uniform thickness of the dough helps ensure even baking.
- Working with royal icing. This icing pipes easily, spreads well, and sets nicely. Keep in mind that it will begin to set up at room temperature. Re-stir as needed until you can get the icing into the piping bags. I recommend icing the cooled cookies as soon as the icing is ready. Try outlining the area you want to ice, and then fill (or “flood”) the inside of the outline with more icing.
- Don’t aim for perfection. These cookies are a fun baking project to share and enjoy. If they don’t look absolutely perfect, no one will care one bit!
- Allow time for the icing to set. It can take a while for this type of icing to set, so be sure you’ve allotted plenty of time for that before stacking and storing the cookies.
- Want to prep in advance? The dough can store in the refrigerator up to 5 days, and the icing for a day or two.
- Not just for Christmas! Use any kind of cookie cutter you like to make these cookies suit any holiday or occasion. From simple round cookies to heart-shaped treats for Valentine’s Day to fall leaves for Thanksgiving, the possibilities are endless!
Variations
Try a simple tweak to make these cookies suit your tastes and preferences. Here are a few tasty ideas:
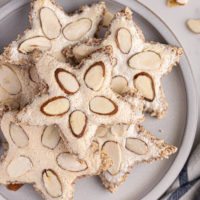
- Use a different extract. Vanilla is the traditional choice, but almond extract is a great alternative. Use it in place of some or all of the vanilla. Experiment with other extracts, too, if you like.
- Add a citrus twist. Incorporate a little lemon zest into the dough for a fresh, bright flavor.
- Change the icing. While royal icing is lovely on these cookies, you can use most any kind of frosting you like. A simple vanilla buttercream is a classic choice. Or try something fun like marshmallow frosting!
- Dip in chocolate. Instead of icing the cookies, dip them partially in melted dark chocolate or white chocolate. Add some fun sprinkles for a festive look!
- Stick with sprinkles. For a simpler cookie, you can just use sprinkles to decorate. Before baking, brush the tops of the cookies with a bit of milk and add sprinkles. Be sure to choose sprinkles like jimmies that will hold up well through baking. Learn more: Types of Sprinkles

How to Store Cut Out Sugar Cookies
These cookies can be stored in an airtight container at room temperature for up to a week. Layer the cookies on parchment paper to preserve the decorations.
Can These Cookies Be Frozen?
Yes, you can freeze the baked or unbaked cookies. Baked, un-iced cookies should store in an airtight container in the freezer for up to 2 months.
Freezing the iced cookies can be a little trickier. First, be sure the icing is completely set, and then place the cookies in a single layer on a rimmed baking sheet and freeze until firm. Next, place the cookies in an airtight container with parchment paper or wax paper between layers. Properly stored, they should keep in the freezer up to a month. Thaw the cookies in their container at room temperature to help prevent the formation of condensation which can make the colors bleed and the icing soften.
To freeze the unbaked cookie dough, wrap well in plastic wrap and place in a freezer bag or container. Properly stored, the dough can be frozen up to 3 months. Thaw the dough in the refrigerator for 24 hours or at room temperature for about an hour until it’s easily rollable.
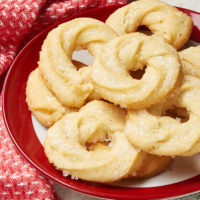
More Classic Christmas Cookies


Cut-Out Sugar Cookies
Ingredients
For the cookies:
- 1 cup (226 g) salted butter, softened*
- 1 cup (200 g) granulated sugar
- 2 teaspoons vanilla extract
- 2 large eggs
- 2 ½ cups (300 g) all-purpose flour
- ¾ teaspoon baking powder
- ¾ teaspoon salt
For the royal icing:
- 3 cups (330 g) confectioners’ sugar, sifted
- 3 tablespoons (45 ml) whole milk
- 2 tablespoons (30 ml) light corn syrup
- ½ teaspoon vanilla extract
- gel food coloring, optional
- sprinkles for decorating, optional
Recommended Products
Instructions
To make the cookies:
- Using an electric mixer on medium speed, beat the butter and sugar together for about 3 minutes until creamy.
- Add the eggs and vanilla, and mix until combined.
- Add the flour, baking powder, and salt, and mix until smooth.
- Place the dough on a clean surface, then divide into two equal portions. Shape each half into a flat disk and wrap tightly in plastic wrap. Chill for about 1 hour in the refrigerator.
- Preheat the oven to 350°F (175°C). Line baking sheets with silicone liners.
- Place the chilled dough on a floured surface. Roll the dough to 1/4- to 1/2-inch (0,25- to 0.5-cm) thick. (Thicker cookies will be softer.) Flour the dough and rolling pin as needed to prevent sticking.
- Use cookie cutters to cut out your desired cookie shapes. Gather and re-roll the dough as needed to use all remaining dough. If the dough is cracking, let it sit for 5 to 10 minutes more before rolling.
- Transfer the cut cookies to the prepared pans. Bake one pan at a time for 10 minutes, or until the edges are lightly browned. Then allow the cookies to cool completely before icing.
To make the royal icing:
- Combine the confectioners' sugar, milk, corn syrup, and vanilla until smooth.
- For colored icings, divide the icing into separate bowls and mix in gel food color to get your desired colors.
- Transfer the icing into piping bags, then cut the tip of the piping bag with a pair of scissors just enough to allow the icing to flow with a little pressure on the bag.
- Pipe the icing onto cookies and decorate with sprinkles.
Notes
- *I like salted butter in these cookies to balance the sweetness of the icing, but you can certainly use unsalted if you prefer. Be sure to soften the butter properly so it’s not too soft or warm. It should hold a thumbprint when pressed.
- The yield will vary depending on the size of your cookie cutters.
- Store in an airtight container at room temperature up to a week.


