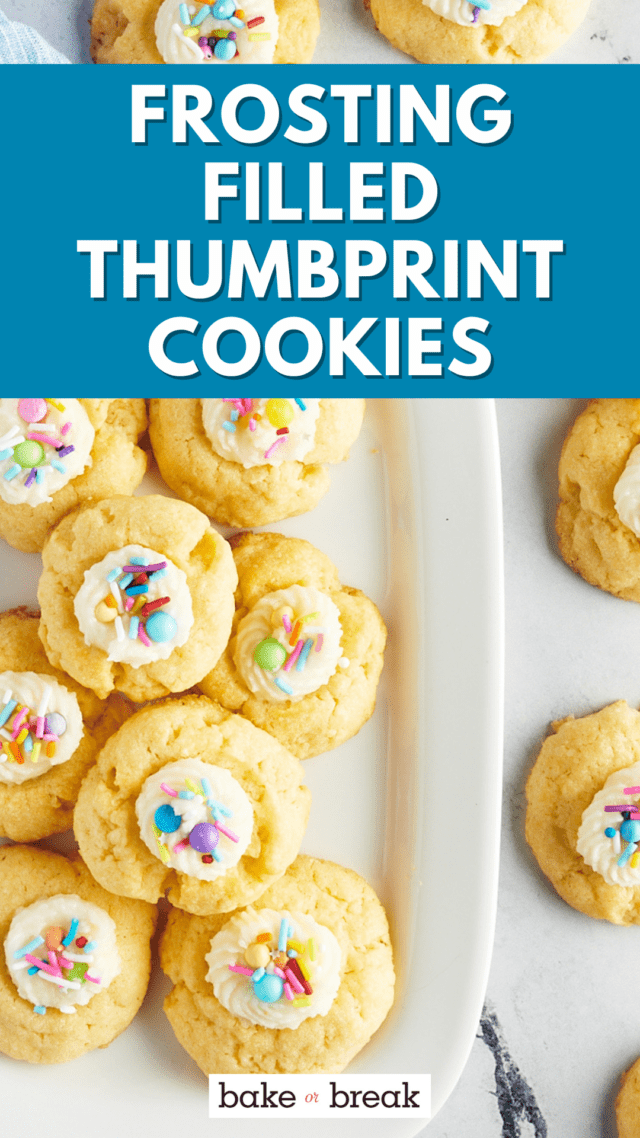
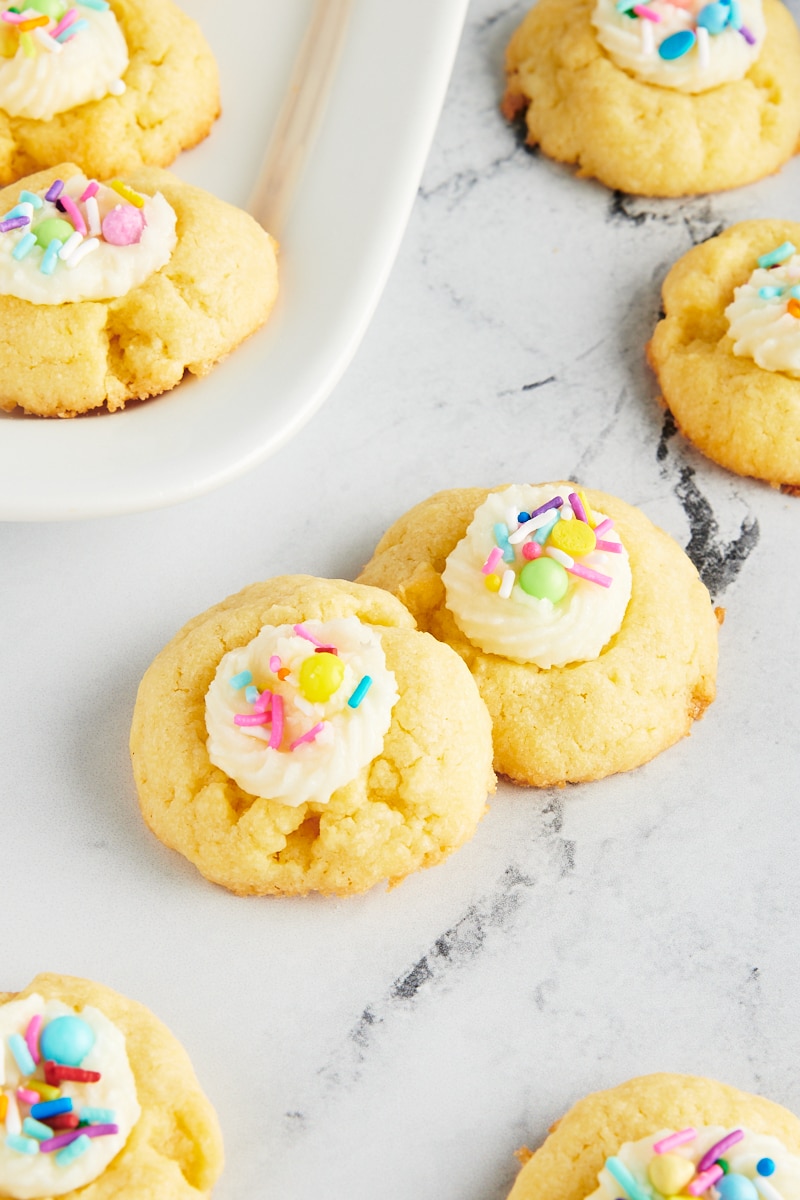
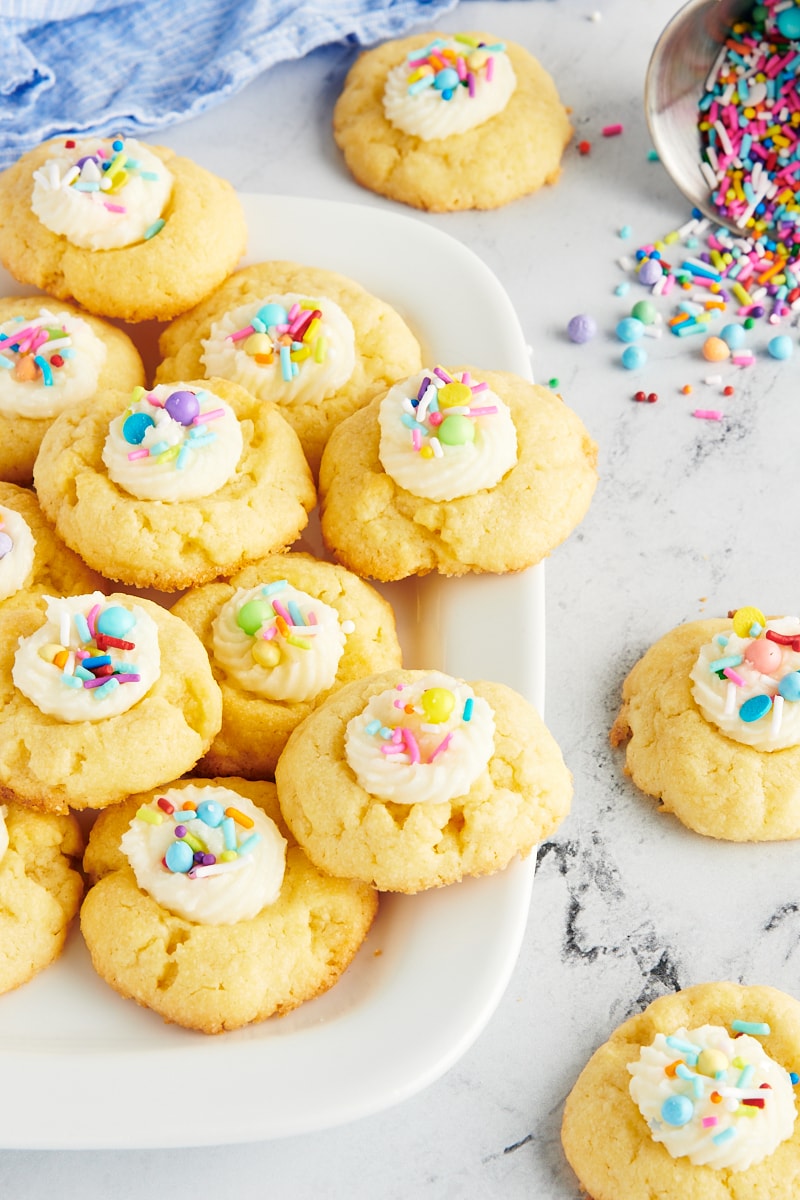
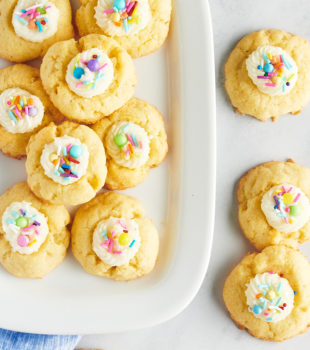
Made quickly and easily with a short list of ingredients, these buttery thumbprint cookies are perfect for any occasion. For an extra special touch, fill them with vanilla buttercream frosting and top with colorful sprinkles!

Easy Thumbprint Cookies with Frosting
Thumbprint cookies are one of the classics. There are so many versions out there, but this one is a favorite for a no-fuss cookie that’s sure to please.
These cookies have a lot of good things going for them. First of all, they’re made with a short list of ingredients that you’re likely to have in your kitchen right now. Secondly, the dough mixes quickly and easily. Add to that their buttery flavor, and you’ve got a real winner!
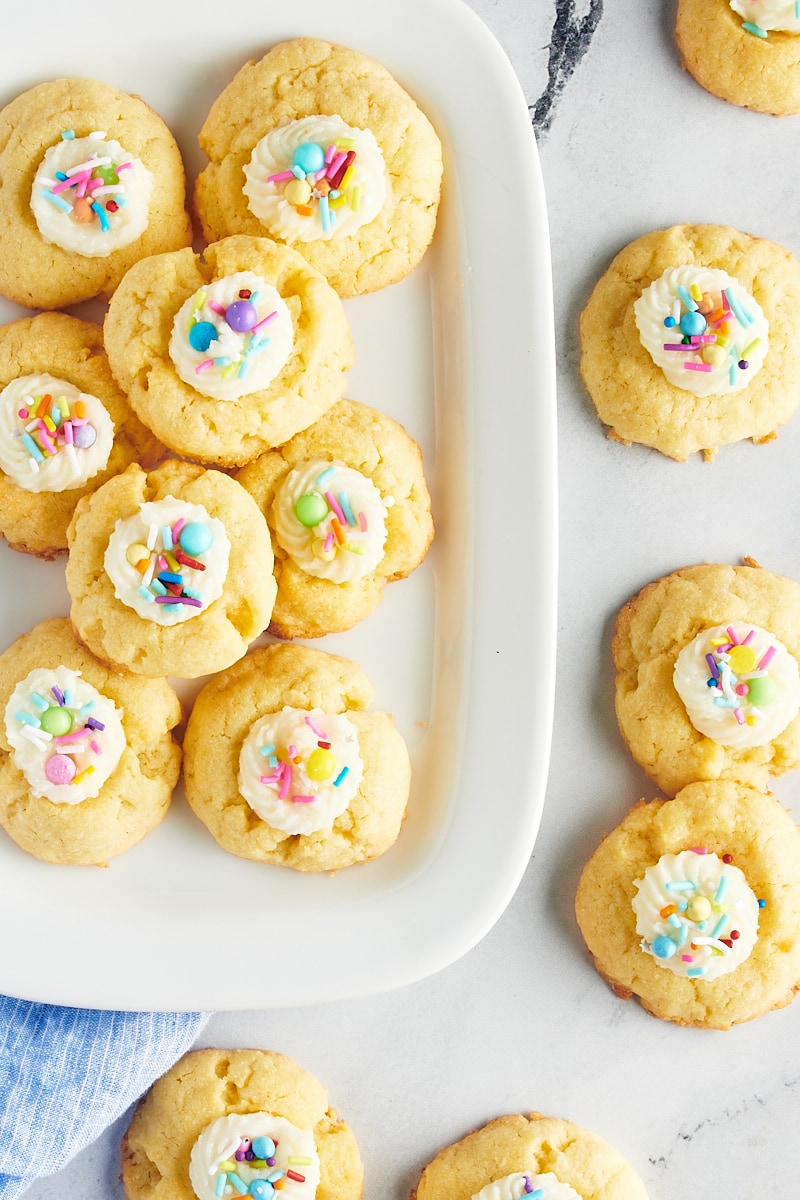
For a fun finish, I like to fill these buttery cookies with vanilla buttercream frosting. It adds a punch of sweetness that really makes them special. Top with your favorite happy sprinkles, and you’ve got a batch of cookies worthy of a celebration!
What You’ll Need
See the recipe card at the bottom of this post for ingredient quantities and full instructions. Here are some notes about the ingredients you’ll need to make these thumbprint cookies.
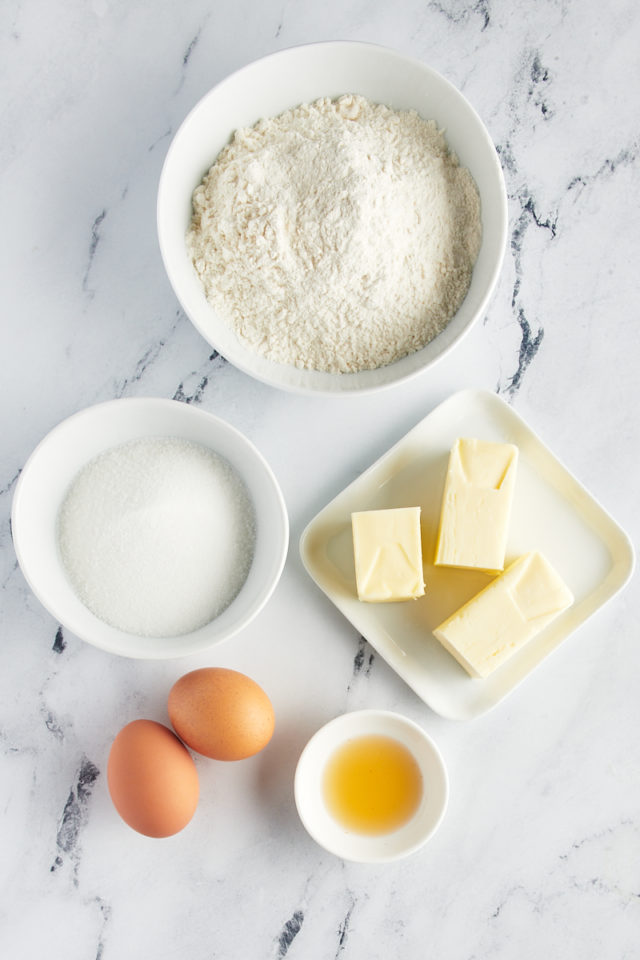
- Unsalted butter – You’ll need butter for both the cookies and the frosting. Set it out to soften before mixing. Learn more: How to Soften Butter
- Granulated sugar
- Egg yolks – Eggs separate more easily when they’re cold, so be sure to do that first. Then let the yolks come to room temperature before mixing. I recommend baking with large eggs. And if you need a use for those egg whites, make a batch of Coconut Macaroons!
- Vanilla extract – There’s a bit of vanilla in both the cookies and the frosting.
- All-purpose flour – Measure by weight or use the spoon and sweep method. Learn more: How to Measure Flour
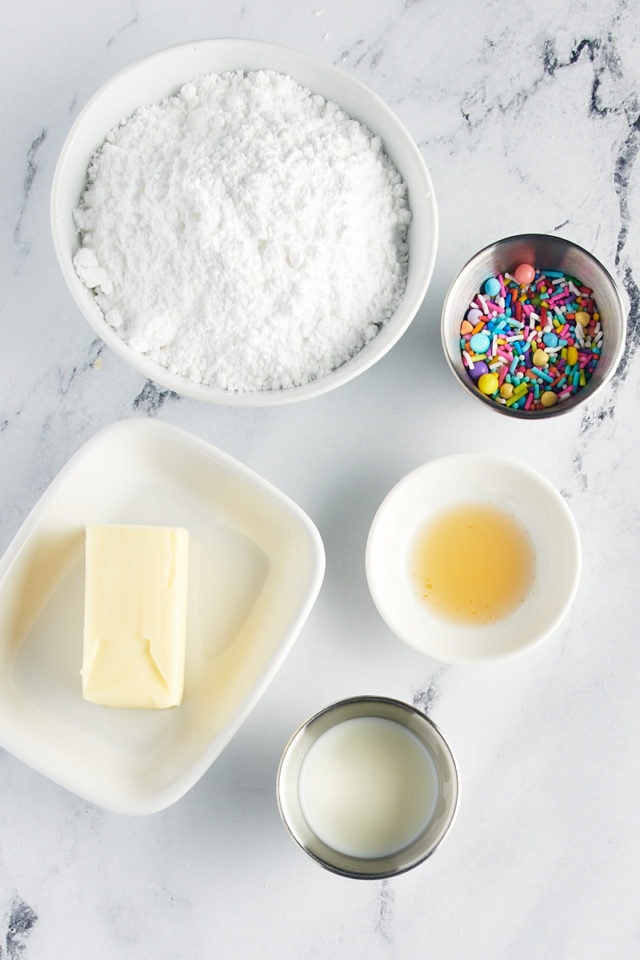
- Confectioners sugar – While it’s not a requirement, sifting the sugar will give you a smoother frosting.
- Milk – I’ve included a quantity range for the milk so you can adjust the consistency of the frosting to your liking.
- Sprinkles – For a fun bit of color, add sprinkles on top of the finished cookies.
How to Make Thumbprint Cookies
With a short list of ingredients and quick mixing time, this thumbprint cookie recipe is a cinch to make. Just be sure to consider the chilling time when planning to bake these cookies.
Make the Cookies
Cream the butter and sugar. Place those two ingredients in a large mixing bowl, and use an electric mixer on medium speed to mix until fluffy and lightened in color.

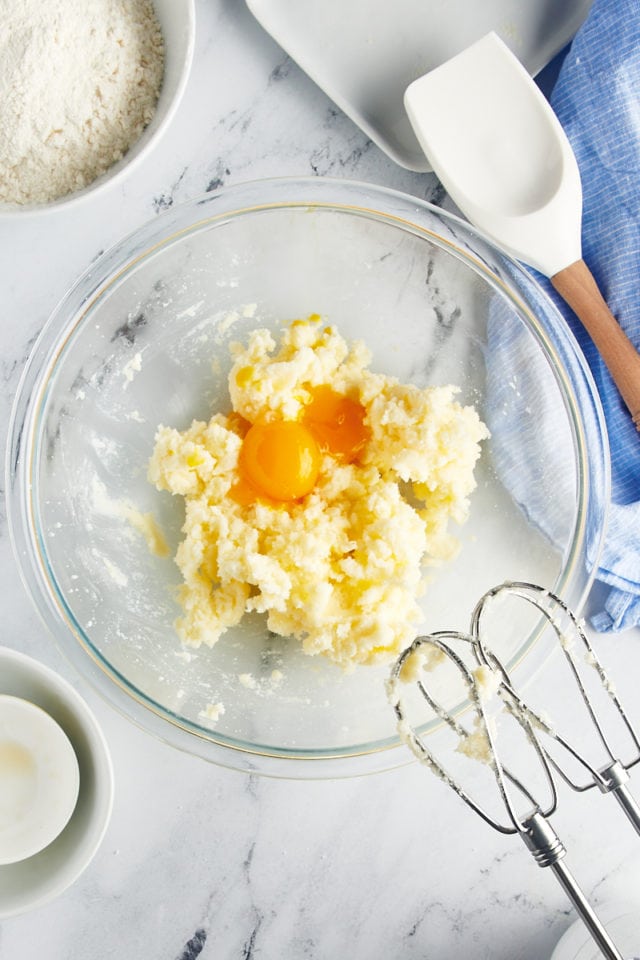
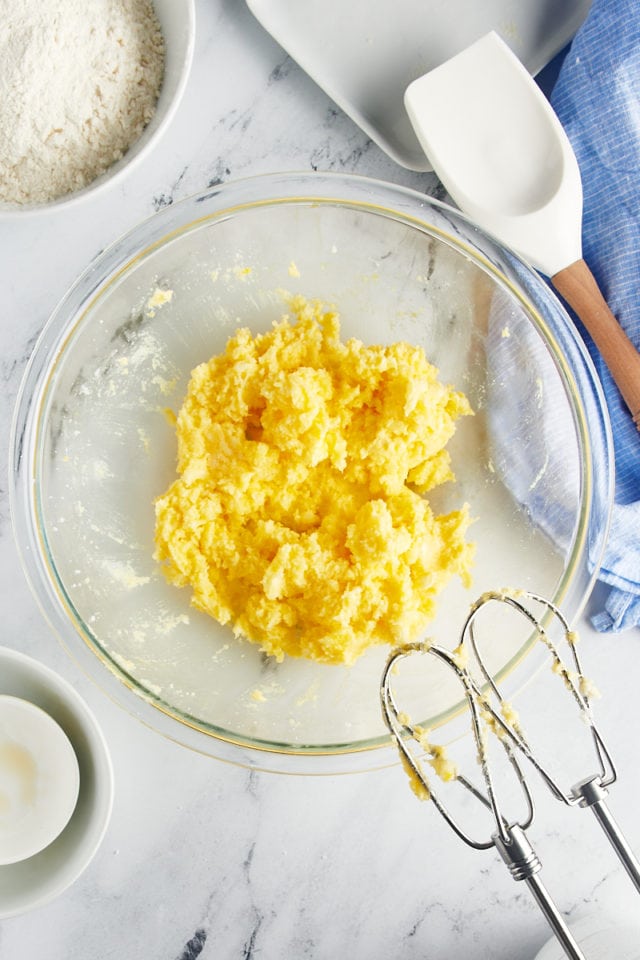
Add the eggs and vanilla. To the creamed butter and sugar, add the egg yolks and vanilla extract. Mix until combined.
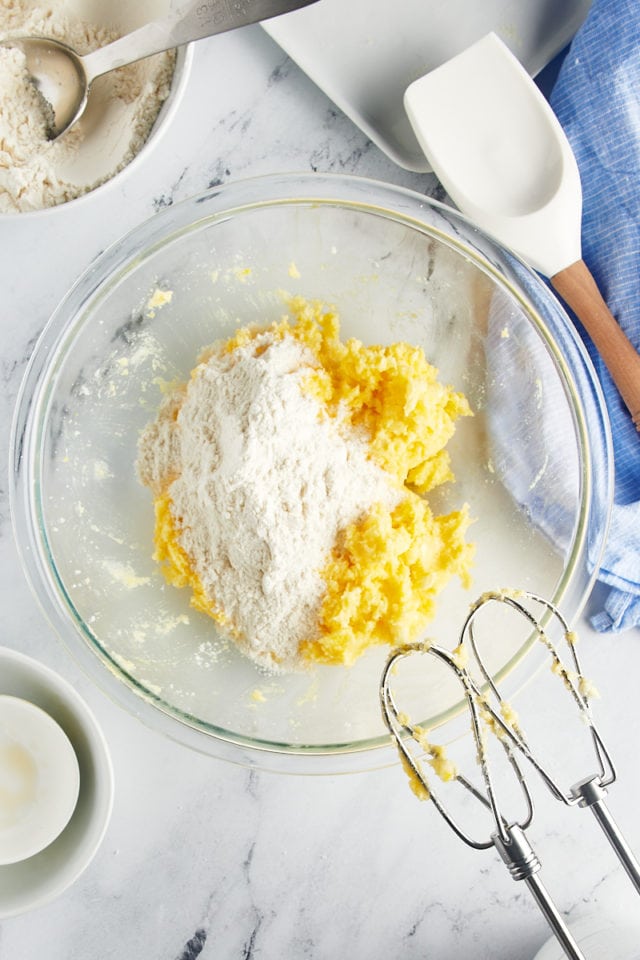
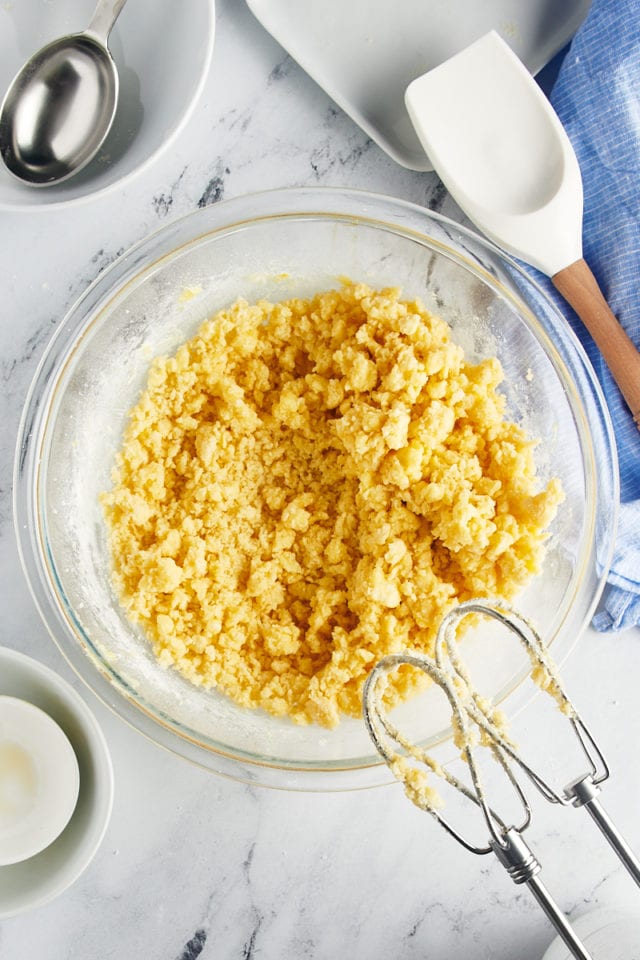
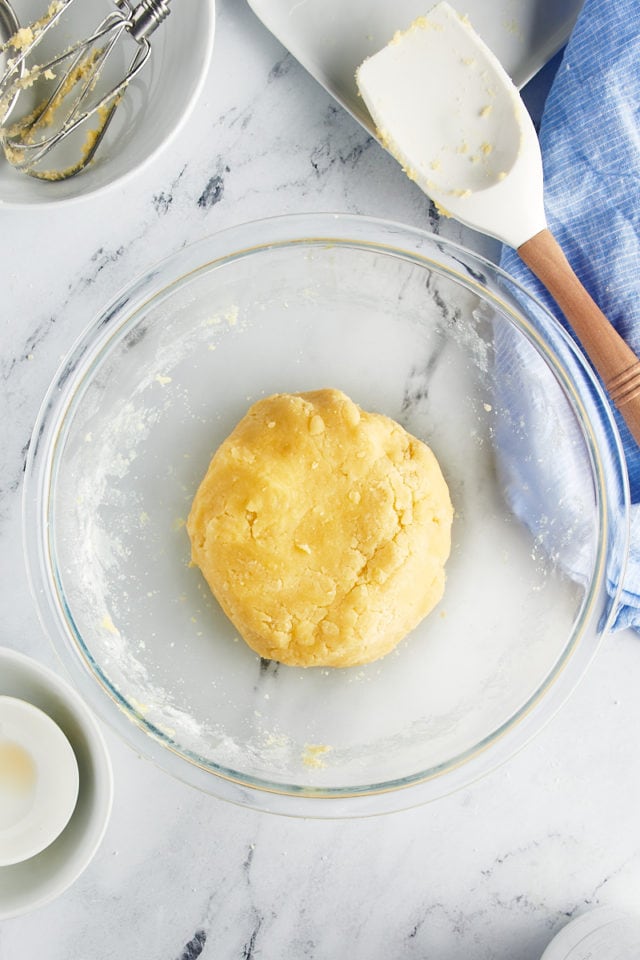
Finish mixing. With the mixer on low speed, gradually add the flour and mix just until combined. The dough will be crumbly. Finish mixing by hand or with a mixing spoon until a dough forms.
Chill. Cover and refrigerate the dough for 1 hour.
Prepare for baking. Heat the oven to 375°F. Line baking sheets with parchment paper or silicone liners.
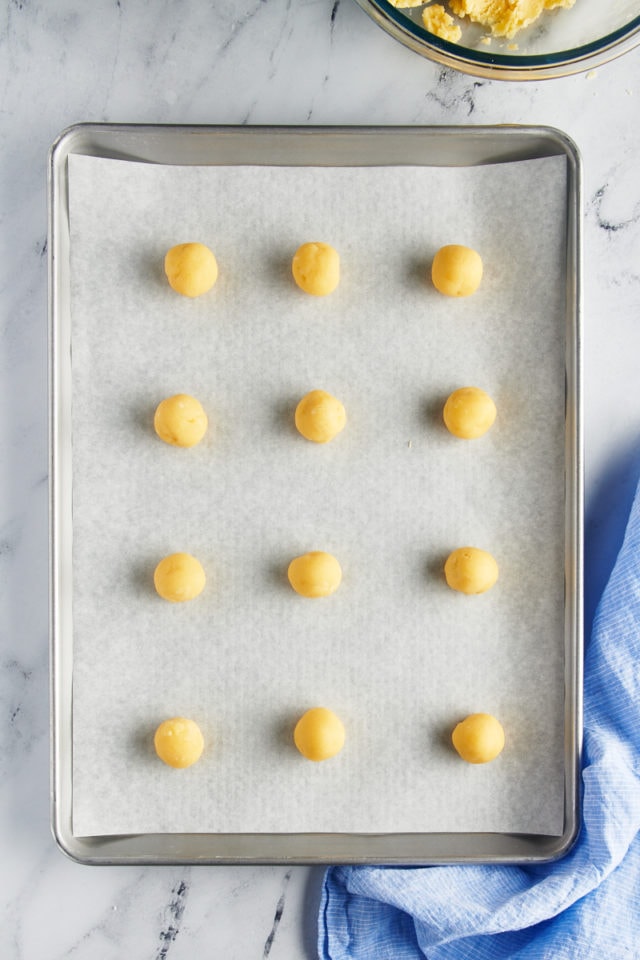
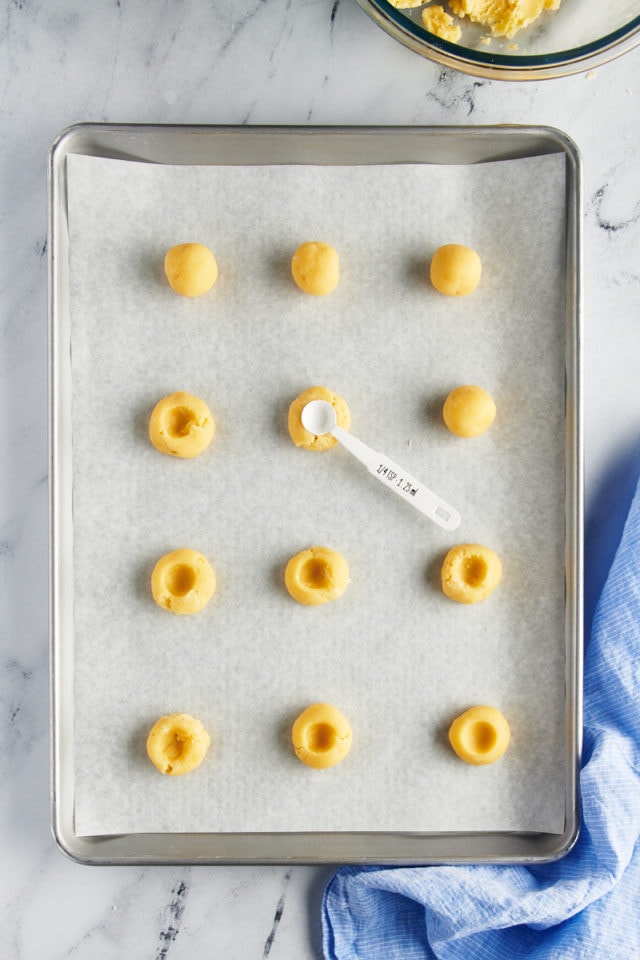
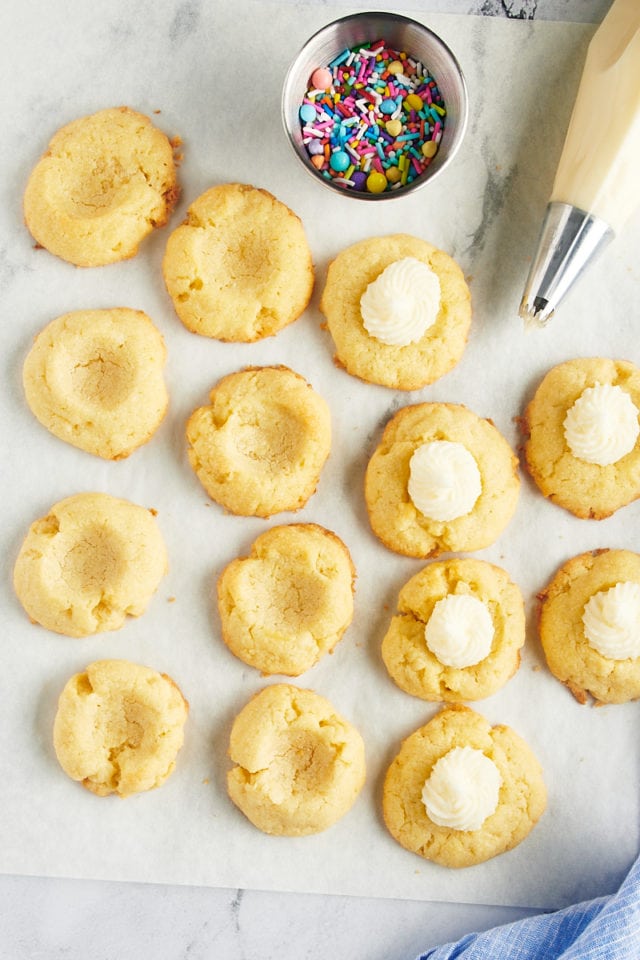
Portion and shape. Roll tablespoonfuls of dough firmly into balls and place on the prepared pans, leaving about 2 inches between the cookies. I use a #60 or #50 cookie scoop to portion the dough, and then roll the dough between my palms to form a sphere. Make an indentation in the center of each cookie, using your thumb, the end of a wooden spoon handle, or a small measuring spoon with a rounded bottom.
Bake. Place one pan at a time in the oven, and bake for 10 to 12 minutes or until lightly browned. Chill the remaining dough between batches.
Cool. Place the pans on wire racks. If needed, remake the indentation in the cookies with a spoon handle or a measuring spoon. After the cookies have cooled for about 5 minutes, transfer them from the pans directly onto a wire rack to cool completely.
Fill and Decorate the Cookies
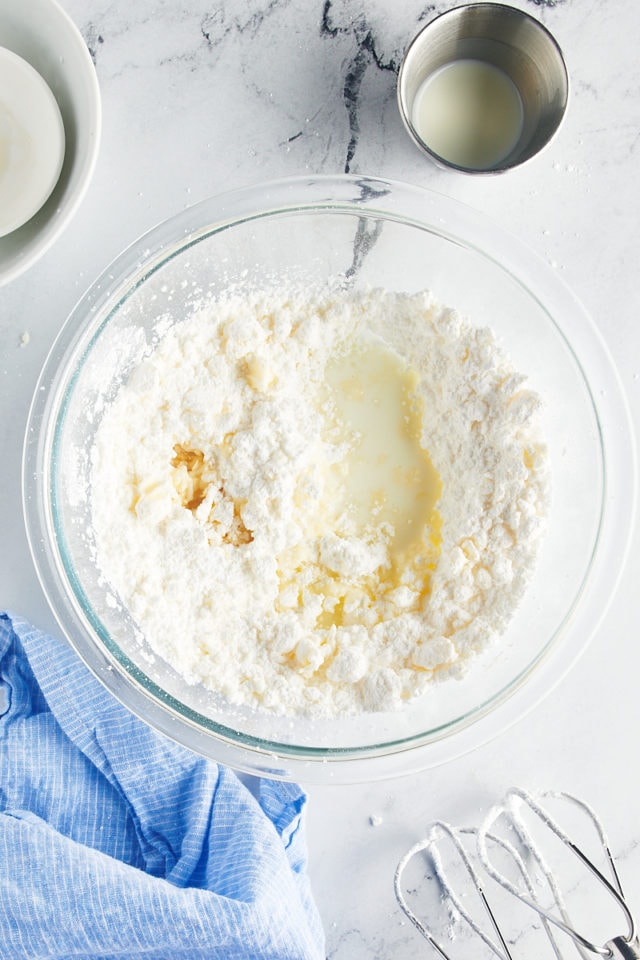
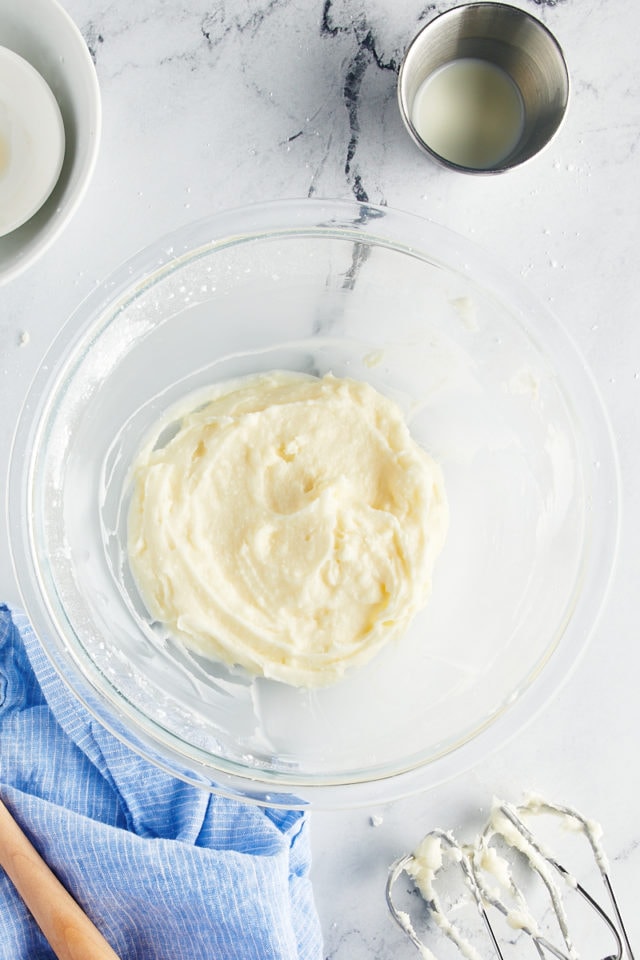
Make the frosting. With an electric mixer on medium speed, beat the butter and confectioners’ sugar until combined. Add 1 tablespoon of the milk and the vanilla, and mix until combined and smooth. Add more of the milk if necessary to get the frosting to the desired consistency.

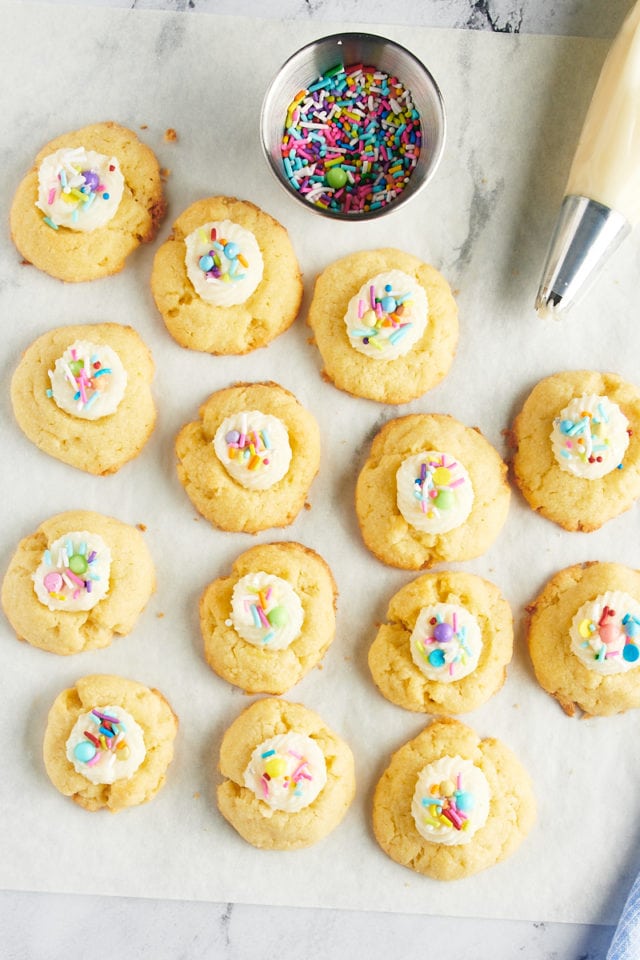
Fill the cookies. Transfer the frosting to a piping bag. Fill the indentations of the cookies with the frosting. Top with sprinkles.
Tips for Success
You’ll love how easy it is to make these thumbprint cookies! Here are some tips to help make sure yours turn out perfectly.
- Don’t fret over crumbly dough. When you first get the flour mixed into the dough, you’ll have a fairly crumbly dough. Finish mixing it by hand, and you’ll get a cohesive dough.
- Chill the dough. Take the time to chill the cookie dough so the cookies will hold their shape. It also gives the dough time to relax so the cookies won’t be tough.
- Roll into smooth balls. Be sure the portioned dough balls are even and smooth to minimize cracking.
- Be gentle when making the thumbprint. Press gently to make the indentation in the dough. If you’re too rough, the dough will crack and come apart. If that happens, you can usually repair it by pressing it back together or reforming the ball. These types of cookies tend to crack, so don’t fret over it too much.
- Pipe the frosting. You can simply spread the frosting in the thumbprints, but you can make them look fancy by piping the frosting. For the cookies in these photos, I used an open star 4B tip. If you don’t have a piping bag and tip, fill a zip-top bag with the frosting, and snip one corner of the bag to make a DIY version.
Ideas for Variations
These easy thumbprint cookies are the perfect starting point for so many variations! Here are some ideas to get you started.
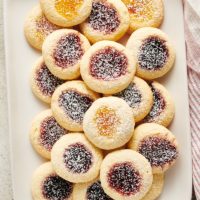
- Jam – For a traditional take on thumbprint cookies, fill the baked cookies with your favorite fruit jams. Raspberry jam is a popular choice, but try strawberry, apricot, or another favorite.
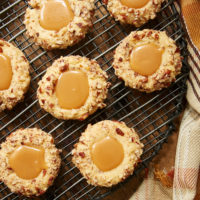
- Caramel – Spoon a store-bought or homemade thick caramel sauce into the cookies’ indentations.
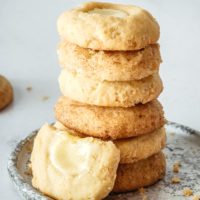
- Another frosting – Choose another favorite frosting instead of this vanilla frosting. Try a chocolate buttercream or a marshmallow frosting.
- Nuts – Instead of sprinkles, top the cookies with chopped nuts.
- Chocolate – A simple ganache or even just some melted and cooled chocolate is a great alternative to frosting.
- Different extracts – Try almond, lemon, coconut, or another flavor in place of the vanilla.
- Peanut butter or other spreads – Creamy or crunchy peanut butter will work well. Or try another nut butter, Nutella, lemon curd, or cookie butter.

How to Store
Store these frosting-filled thumbprint cookies in an airtight container in the refrigerator up to 5 days. Bring them to room temperature before serving. You can also opt to store the unfilled cookies at room temperature and fill with frosting when it’s time to serve them.
Can These Cookies Be Frozen?
Yes, you can freeze these thumbprint cookies! To freeze the frosted cookies, first place them in a single layer on a rimmed baking sheet, and freeze until the frosting is frozen solid (about 2-3 hours). Then transfer the cookies to a freezer-safe container. Place a layer of waxed paper or parchment paper between layers if you can’t store them in a single layer. Thaw overnight in the refrigerator and then bring to room temperature before serving.
Frosting-Filled Thumbprint Cookies
Ingredients
For the cookies:
- ⅔ cup (150 g) unsalted butter, softened
- ½ cup (100 g) granulated sugar
- 2 egg yolks
- 1 teaspoon vanilla extract
- 1 ½ cups (180 g) all-purpose flour
For the frosting:
- ¼ cup (56 g) unsalted butter, softened
- 1 cup + 2 tablespoons (124 g) confectioners' sugar, sifted
- 1 to 1 ½ tablespoons milk
- ¼ teaspoon vanilla extract
- sprinkles
Recommended Products
Instructions
Make the cookies:
- Using an electric mixer on medium speed, beat the butter and sugar until light and fluffy. Add the egg yolks and vanilla extract, and mix well.
- Reduce the mixer speed to low, and gradually add the flour. Mix just until combined. The dough will be crumbly. Use your hands or a mixing spoon to finish mixing until the a dough forms.
- Cover and refrigerate the dough for 1 hour.
- Preheat the oven to 375°F (190°C). Line baking sheets with parchment paper or silicone liners.
- Using a tablespoonful of dough at a time, roll the dough into smooth balls. Place on the prepared pans, leaving about 2 inches between the cookies. Use your thumb, the handle of a wooden spoon, or a small round measuring cups to make an indentation in the center of each cookie dough ball. (Dip whatever implement you're using into flour or just dampen with water if the dough is sticking.)
- Bake one pan at a time for 10 to 12 minutes, or until the cookies are golden brown. Refrigerate the remaining dough between batches.
- Place the pans on wire racks, and allow the cookies to cool for 5 minutes before transferring them from the pans directly onto a wire rack to cool completely. If necessary, use a spoon handle or a measuring spoon to remake the indentations in the cookies when they come out of the oven.
Make the frosting:
- Using an electric mixer on medium speed, beat the butter and confectioners' sugar until combined. Add 1 tablespoon of the milk and the vanilla, and mix until combined and smooth. If necessary, mix more milk into the frosting until it reaches the desired consistency.
- Fill the cooled cookies with frosting, and top with sprinkles.
Notes
- Store in an airtight container in the refrigerator up to 5 days.