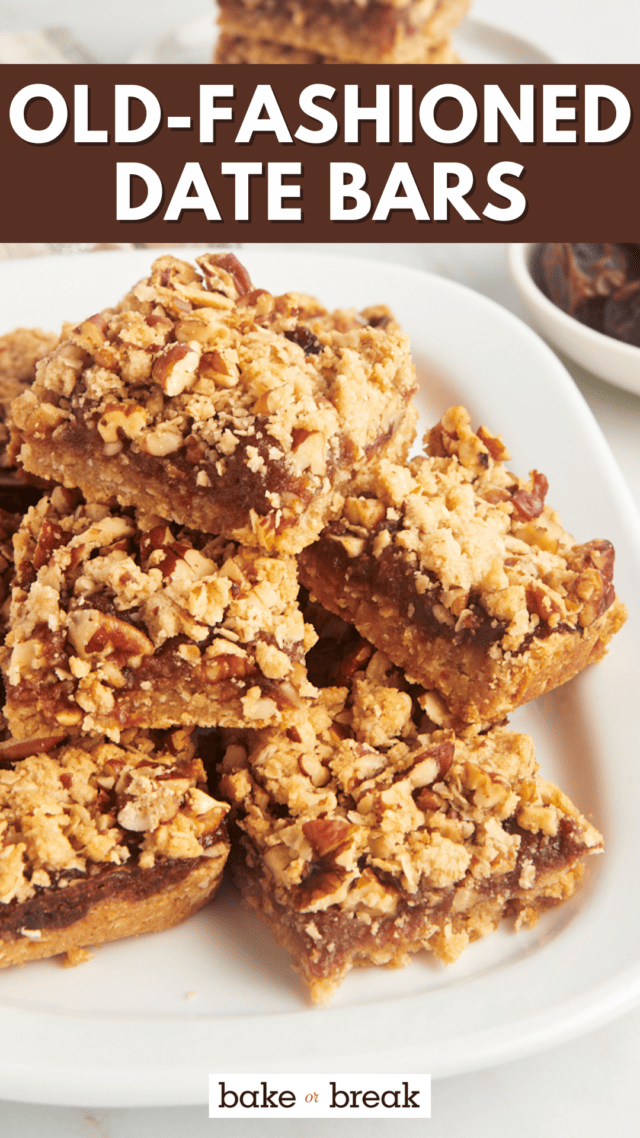
This easy date bar recipe pairs a nutty, buttery oat crust with a beautifully sweet date filling for an old-fashioned dessert that’s a definite keeper!
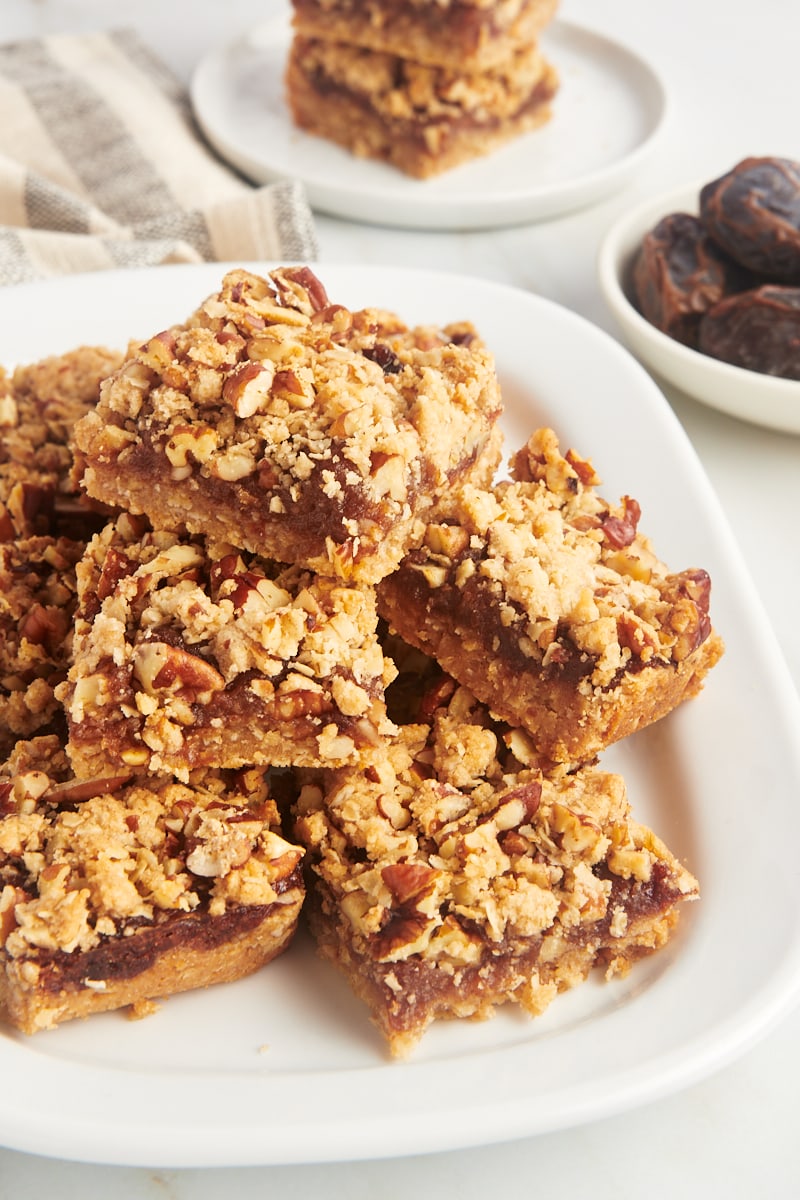
Simple Date Nut Bars
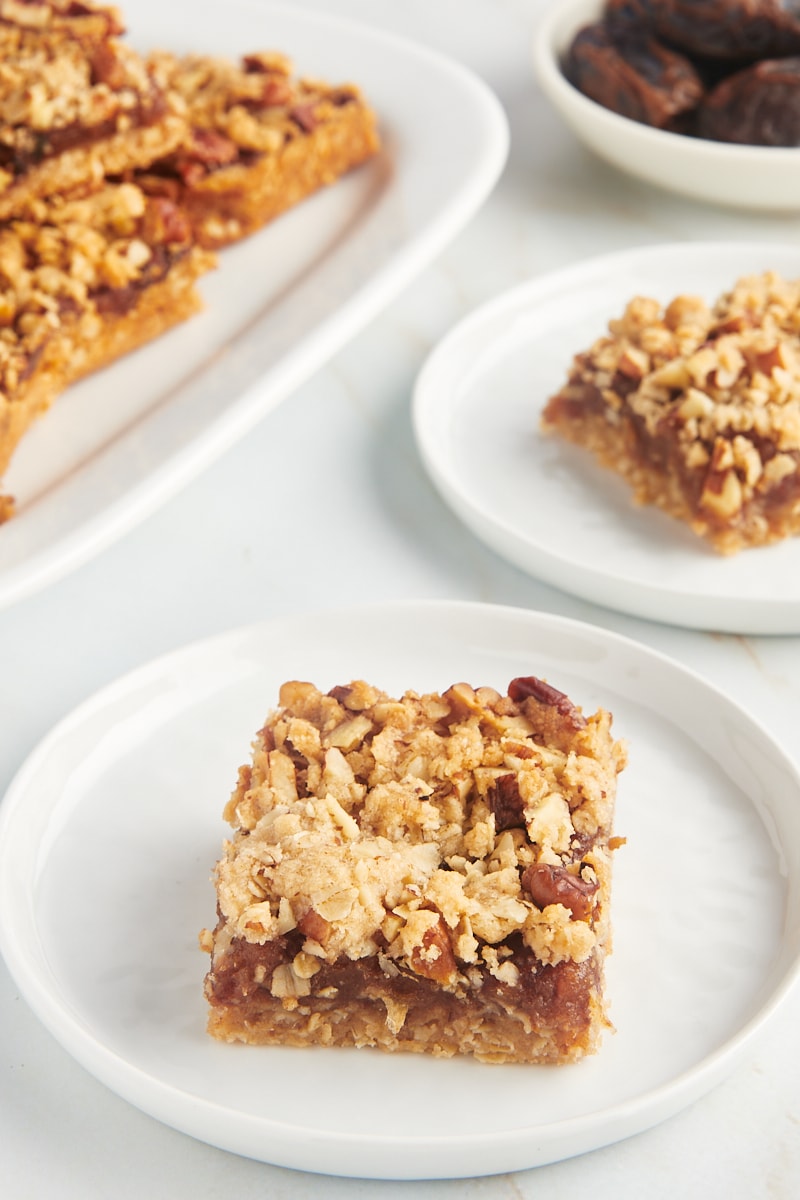
Many of my favorite bar recipes have a crust that doubles as a topping—berry crumb bars, carmelitas, pecan cheesecake bars. Like magic, the base bakes up chewy, while the remaining mixture sprinkled over the top is crisp and crumbly. These date bars are another example of this type of recipe.
Date bars feature a combination of sticky dates, a buttery oatmeal crust, and nuts, making them the perfect treat for those looking for something sweet with a bit of crunch. Not quite a dessert, but not quite a snack either, these bars fall somewhere in between—which I think means you can enjoy them any time of day!
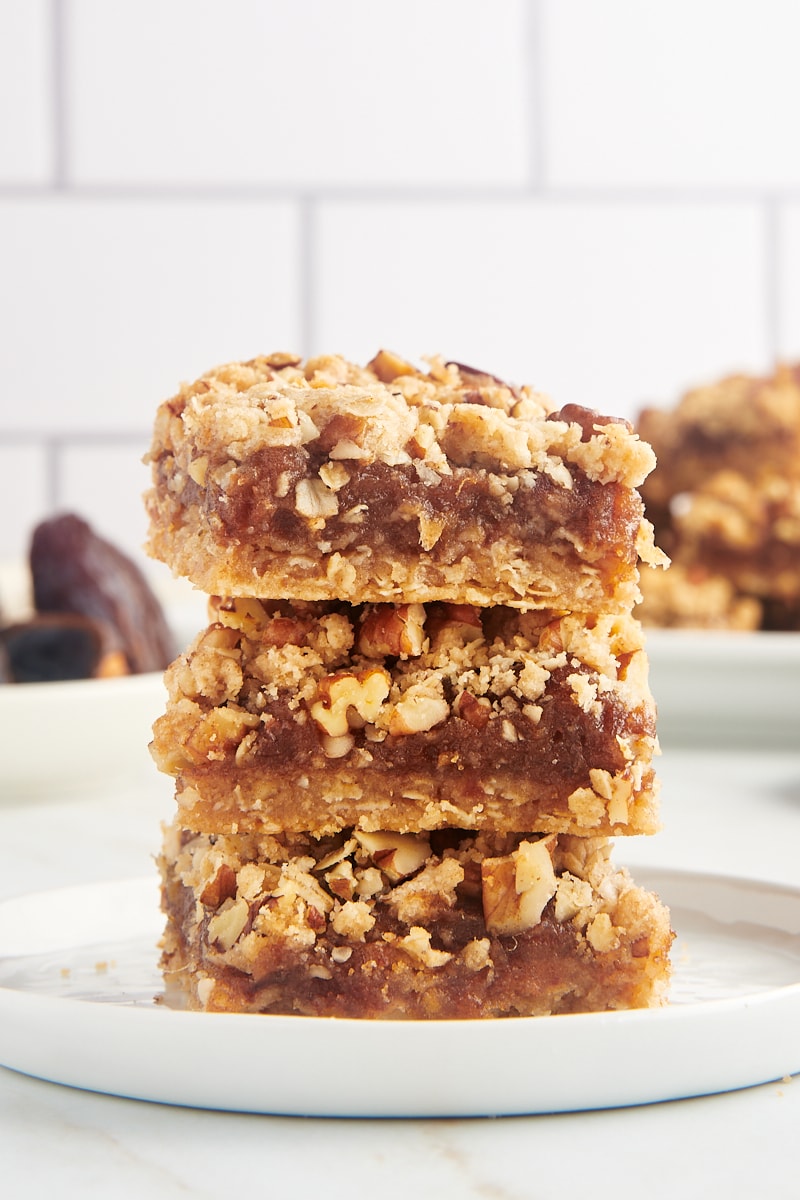
Why You’ll Love This Date Bar Recipe
Here’s what makes these date bars irresistible:
- Naturally sweet. Dates bring so much natural sweetness to the table that you only need to use a small amount of additional sugar in the filling, which has the flavor and texture of caramel.
- Easily customizable. You can get creative and put your own unique spin on this recipe—there are a lot of possibilities here.
- Simple to make. This date bar recipe doesn’t require any complicated steps or ingredients, so it’s the perfect treat to whip up on a whim.
- Something different. If you’re looking something other than the usual brownies and cookies, date bars are an excellent change of pace!
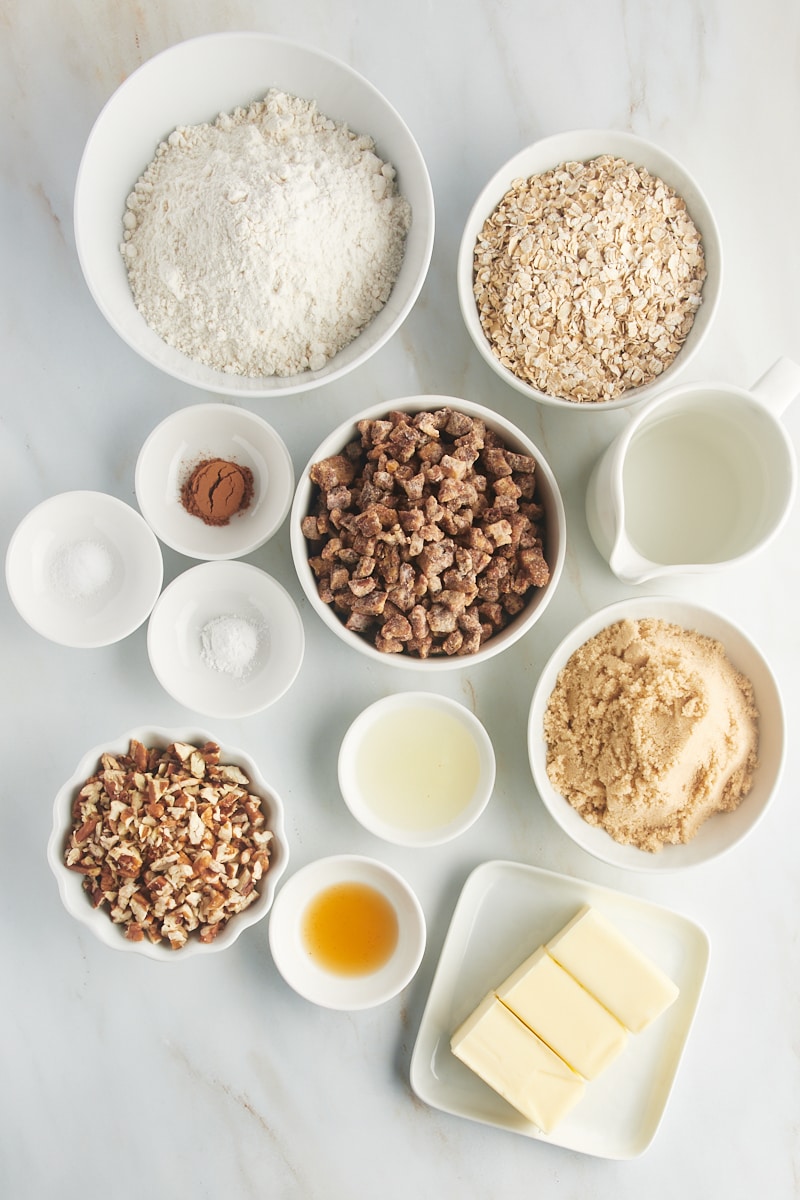
What You’ll Need
Scroll down to the recipe card to find the ingredient quantities and recipe instructions.
For the Filling:
- Dates – Chopped and pitted.
- Water
- Light brown sugar – Learn more: Light Brown Sugar vs Dark Brown Sugar: What’s the Difference?
- Lemon juice – The acid from the lemon juice balances the sweetness of the filling.
- Vanilla extract – Use store-bought or homemade vanilla extract.
For the Crust and Topping:
- All-purpose flour – Here’s how to measure flour for baking.
- Quick-cooking oats – You can use old-fashioned oats if that’s what you have on hand.
- Unsalted butter – Learn more: Unsalted or Salted Butter: Which is Better for Baking?
- Light or dark brown sugar
- Ground cinnamon – Cinnamon adds some cozy flavor to this date bar recipe without overwhelming it.
- Baking powder
- Salt
- Chopped nuts – I recommend pecans, walnuts, or hazelnuts.
What Is the Difference Between Regular Dates and Medjool Dates?
Dates are a type of fruit that grow on date palms. Regular dates are typically smaller and less sweet than Medjool dates, which tend to be larger and more succulent. You can use either option for this recipe.
How to Make Date Bars
Ready to get started? Here’s what you’ll need to do.
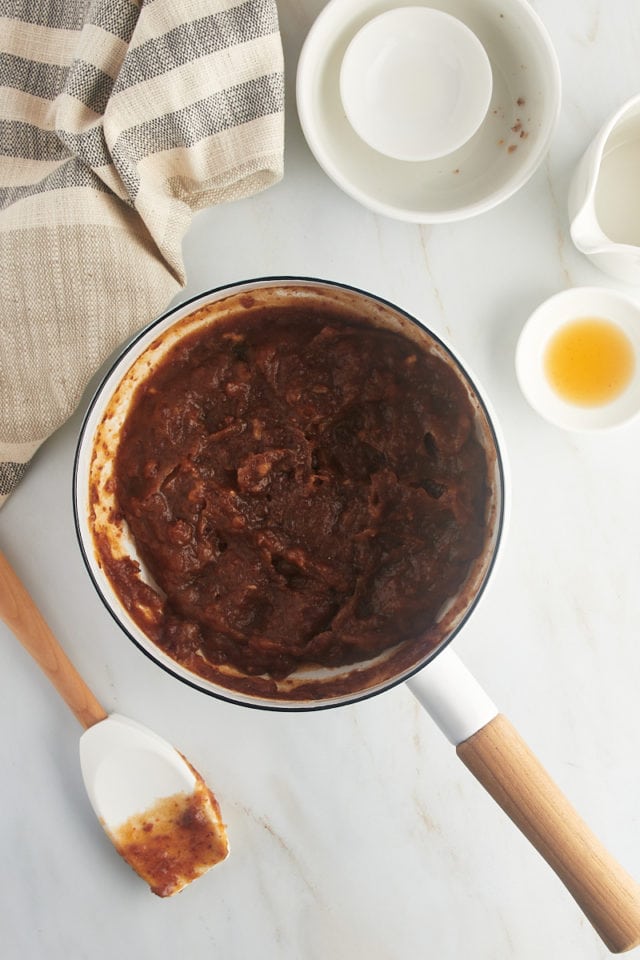
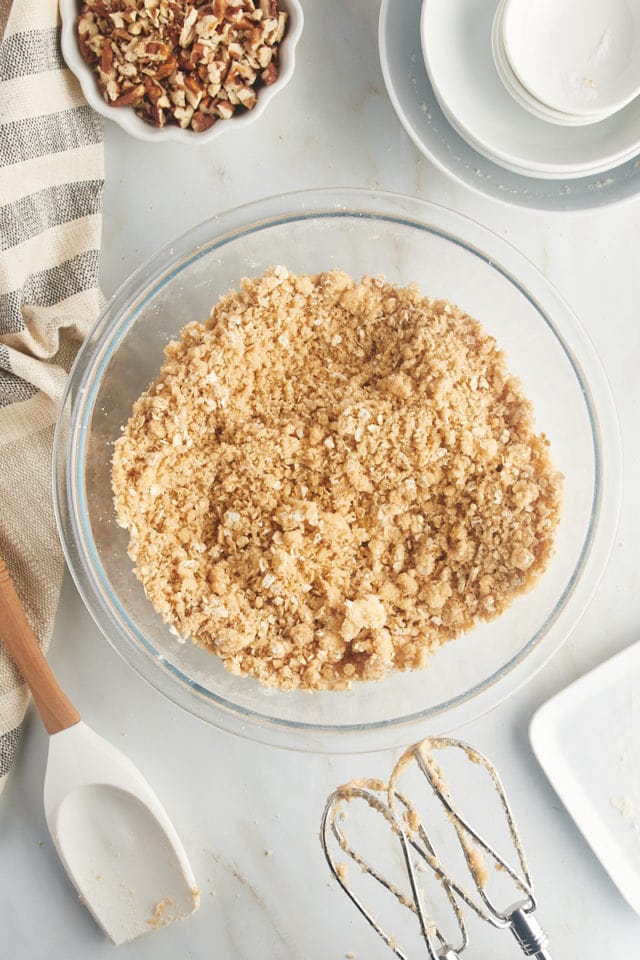
- Cook the filling. Combine the dates, water, brown sugar, and lemon juice in a heavy saucepan set over medium-high heat. Bring to a boil, stirring frequently, then reduce to a simmer over medium-low. Simmer until the water has been absorbed and the mixture has thickened, then remove the pan from the heat and stir in the vanilla.
- Prepare. Preheat your oven to 350°F and lightly grease a 9-inch square baking pan.
- Make the crust mixture. Use an electric mixer on medium speed to mix the flour, oats, butter, brown sugar, cinnamon, baking powder, and salt in a large mixing bowl.
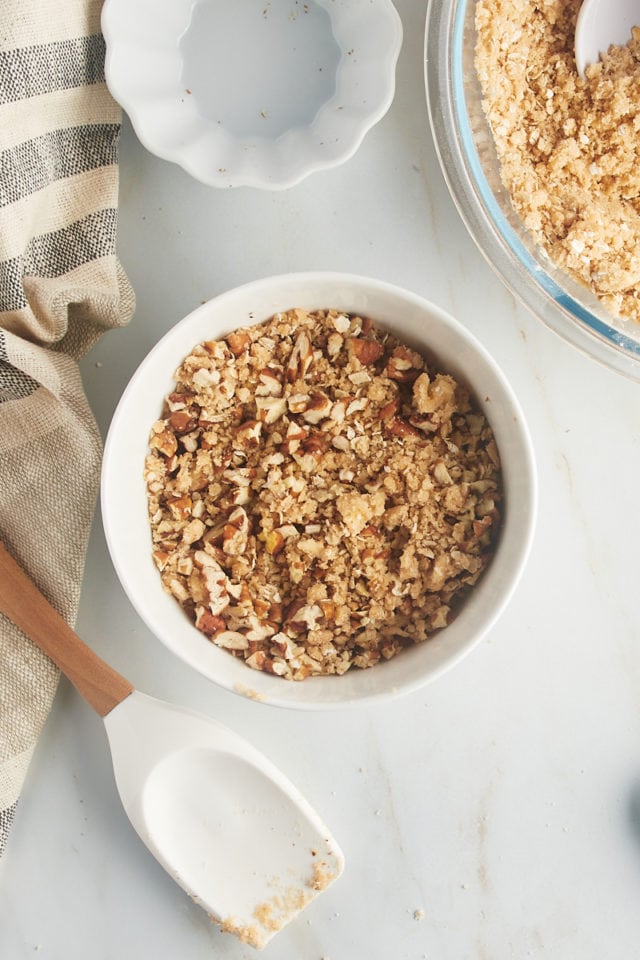
- Mix the topping. Combine 1 cup of the crust mixture with the nuts and set aside.
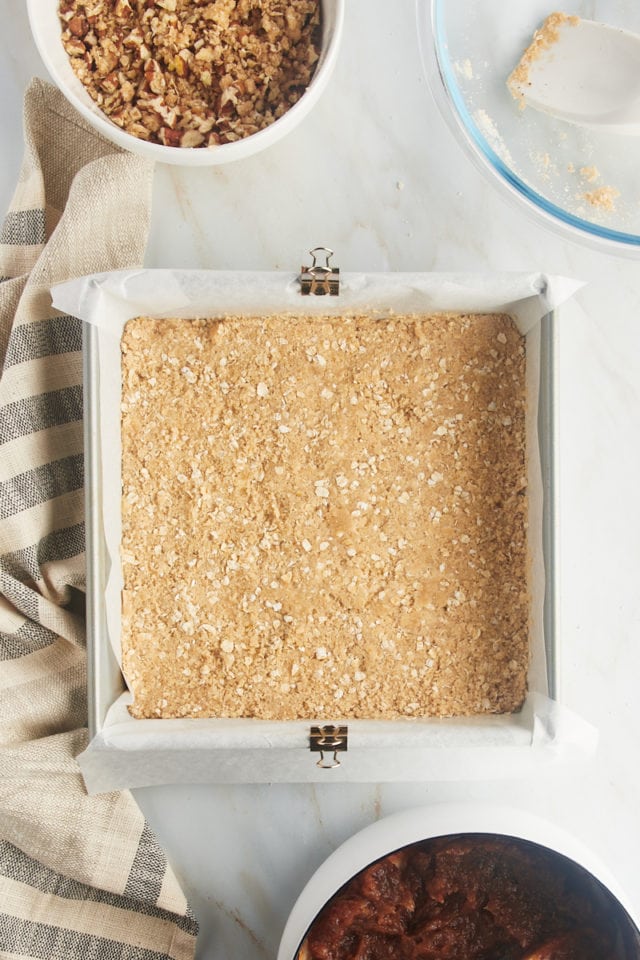
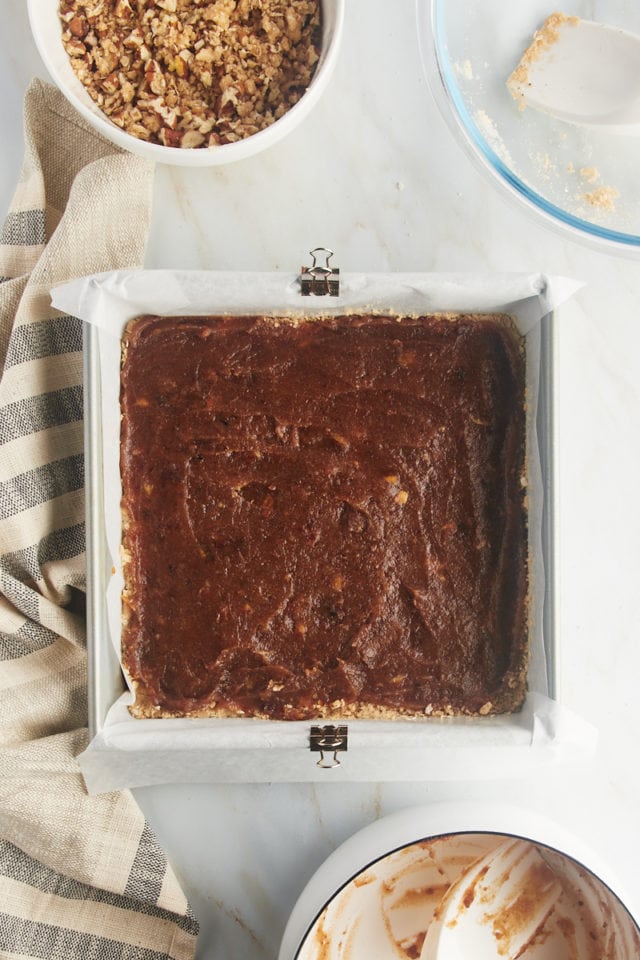
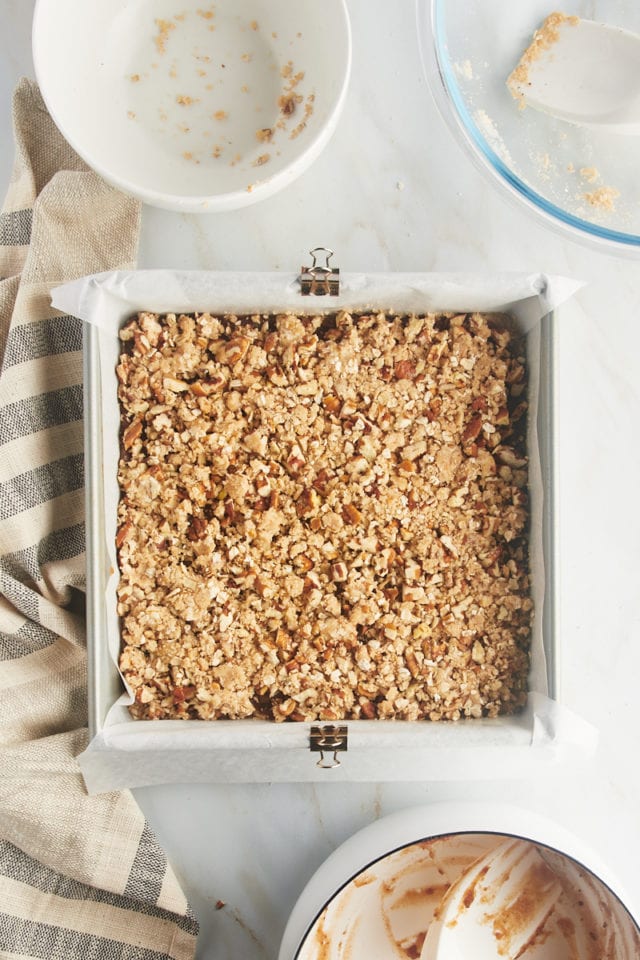
- Assemble. Press the remaining crust mixture into the bottom of the prepared pan. Spread the date filling over the top, then sprinkle the reserved crust mixture over the date layer, pressing it down lightly.
- Bake. Place the pan in the oven and bake for 30 to 35 minutes, or until the bars are golden brown.
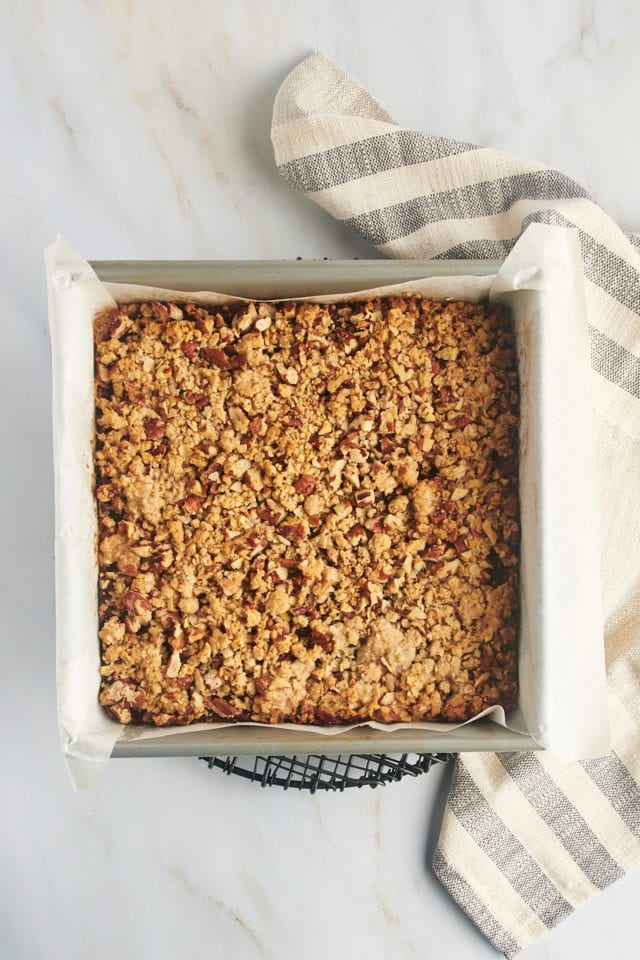
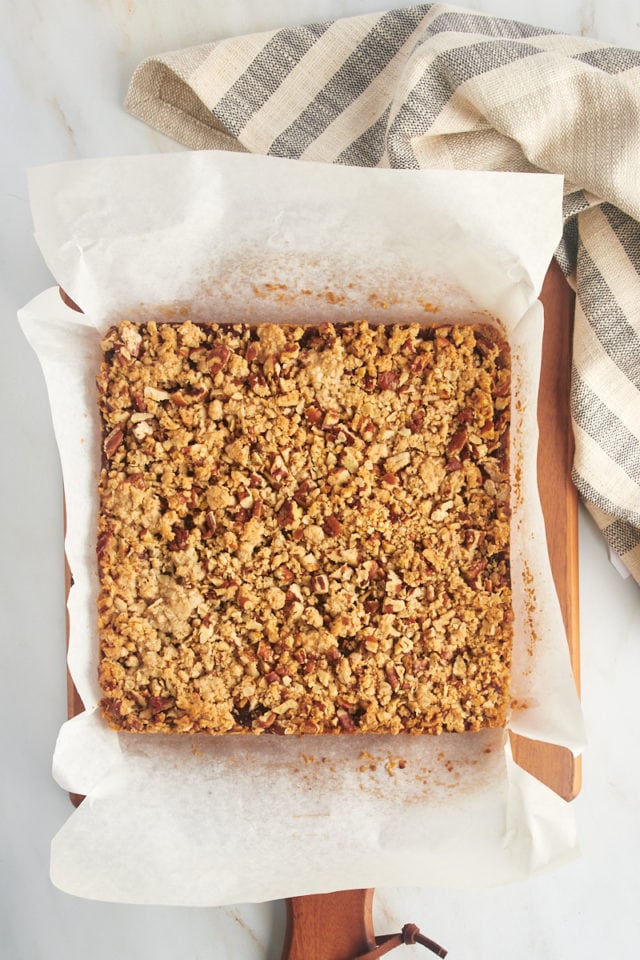
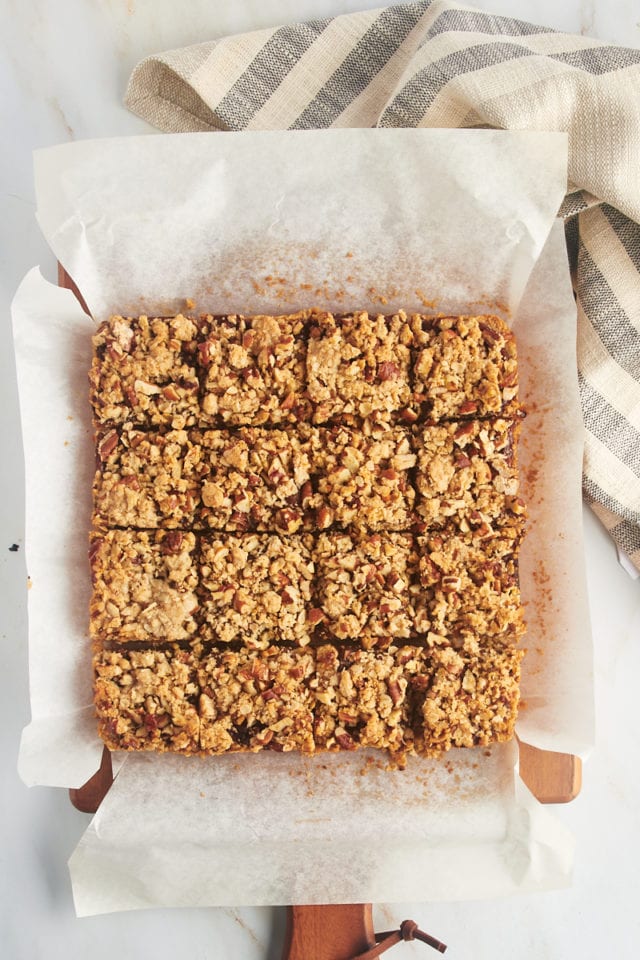
- Cool and cut. Let the bars cool completely in the pan on a wire rack, then cut and serve or store. (Learn more: Why Every Baker Needs Wire Cooling Racks.)
Tips for Success
Read over my baking tips for beginners, then follow these additional pointers for perfect, chewy date bars.
- Soften the butter. Let your butter sit at room temperature for about an hour before you begin. This will make it easier to combine with the other ingredients. (Learn more: How to Soften Butter.)
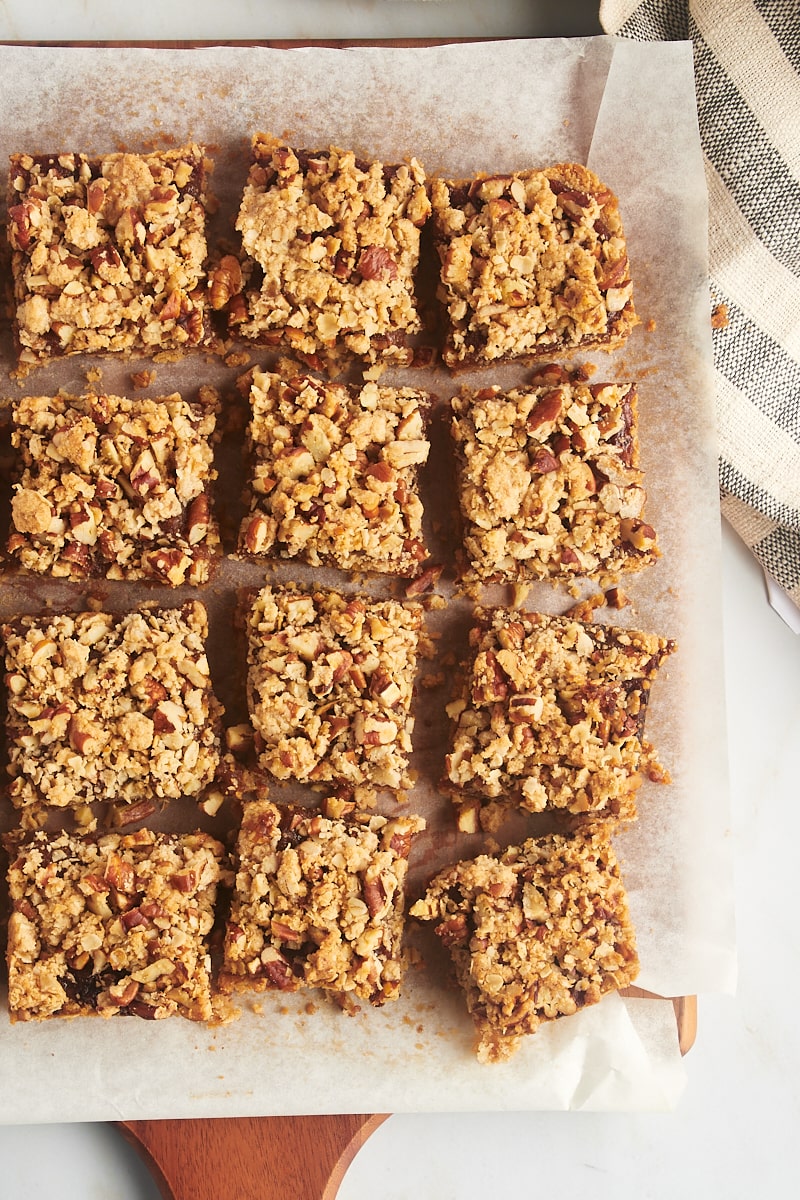
- Line the pan. For easier bar removal, you can line the pan with parchment paper. The parchment can then be used to lift the bars out of the pan after they’re done cooling so you can transfer them to a cutting board for perfect, even cuts.
- Let the bars cool completely before cutting. This will help keep your date squares from crumbling apart when sliced.
Variations
As long as you keep the filling and crust proportions as-is, you have some room to make this recipe your own. Here are a few ideas for how to customize your date bars:
- Make a nut-free version of this recipe by substituting pepitas, or omitting the nuts from the topping.
- Sprinkle some flaky sea salt over the top of the bars for a sweet and salty combination.
- Add dark or white chocolate chips to the topping mixture, or drizzle melted chocolate over the bars after they’ve cooled.
- Swap the dates for dried figs.
How to Store
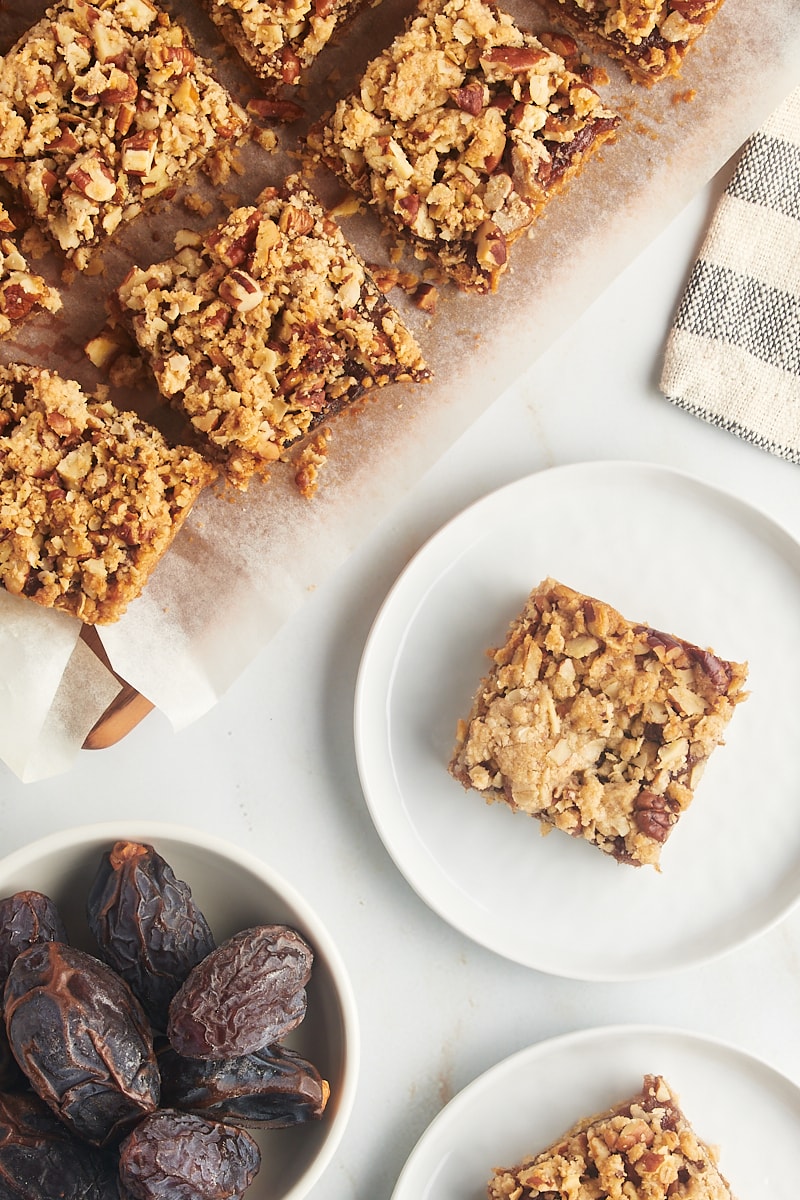
You can store these date bars is in an airtight container in the refrigerator for up to one week, or at room temperature for 3 to 4 days.
Can I Freeze This Recipe?
Freeze date bars in a zip-top freezer bag or an airtight storage container for up to 3 months. You can thaw them in the refrigerator or at room temperature before serving.
More Date Recipes
- Maple Date Bread Pudding
- Brown Butter Oatmeal Date Cookies with Maple Glaze
- Dulce de Leche Date Cream Pie
- Hazelnut Date Bread
- Oatmeal Date Cookies
Date Bars
Ingredients
For the filling:
- 8 ounces (226 g) chopped, pitted dates, about 2 cups
- ¾ cup (180 ml) water
- ¼ cup (50 g) firmly packed light brown sugar
- 1 tablespoon lemon juice, from about half of a medium lemon
- 1 teaspoon vanilla extract
For the crust and topping:
- 1 ½ cups (180 g) all-purpose flour
- 1 cup (80 g) quick-cooking oats, or substitute the same volume of old-fashioned oats
- ¾ cup (170 g) unsalted butter, softened
- ¾ cup (150 g) firmly packed light or dark brown sugar
- 1 teaspoon ground cinnamon
- ½ teaspoon baking powder
- ¼ teaspoon salt
- ½ cup chopped nuts, such as pecans, walnuts, or hazelnuts
Recommended Products
Instructions
To make the filling:
- Combine the dates, water, brown sugar, and lemon juice in a heavy saucepan. Stirring frequently, bring to a boil over medium-high heat. Then reduce to a simmer over medium-low heat, and cook until the water has been absorbed and the mixture has thickened. (This will take around 5 minutes.)
- Remove the pan from the heat, and stir in the vanilla. Allow the mixture to cool completely while you make the crust.
To make the crust and assemble:
- Preheat the oven to 350°F (175°C). Lightly grease a 9-inch square baking pan. If you like, first line the pan with parchment paper.
- Place the flour, oats, butter, brown sugar, cinnamon, baking powder, and salt in a large mixing bowl. Using an electric mixer on medium speed, mix until combined. (The mixture will be crumbly but should hold together when pinched.)
- Mix 1 cup of the crust mixture with the nuts. Set aside to use for the topping.
- Press the remaining crust mixture into the bottom of the prepared pan. Next, spread the cooled date mixture on top of the crust. Then, sprinkle the reserved crust mixture over the top of the date mixture, pressing down lightly.
- Bake 30 to 35 minutes or until the bars are golden brown.
- Cool completely in the pan on a wire rack before cutting into bars.
Notes
- Store in an airtight container at room temperature up to 3 or 4 days or in the refrigerator up to a week.



2 Comments on “Date Bars”
I love Date Bars and Date Bread. I have made these and replaced the date with Dried Apricot. I added a bit of Almond Extract along with the Vanilla. And used Almonds for the nuts. Amazing.
I guess you could do this bar with almost any dried fruit.
I’m thrilled they were a hit, Nikki. Thanks for baking along!