

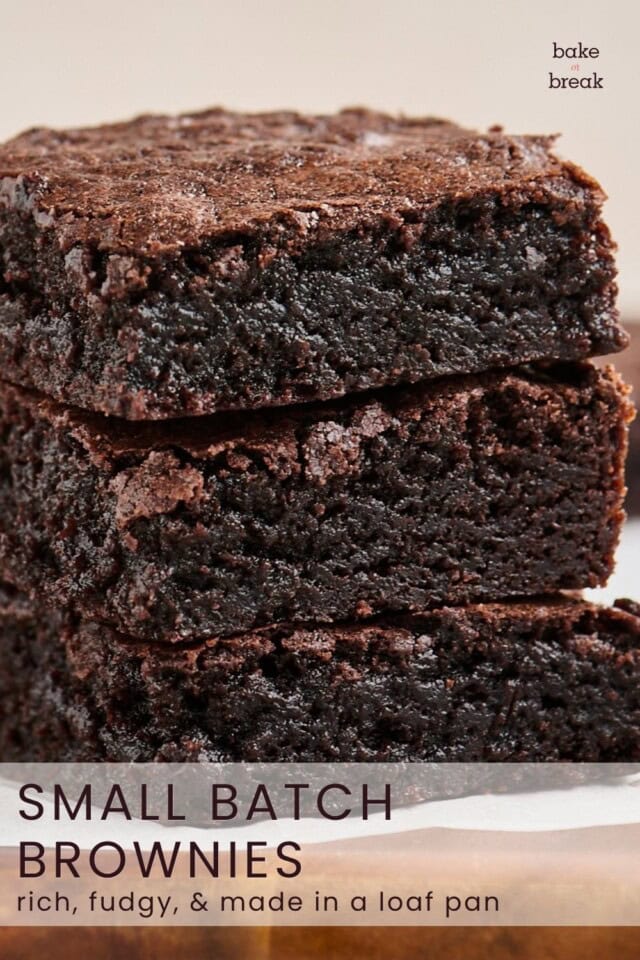
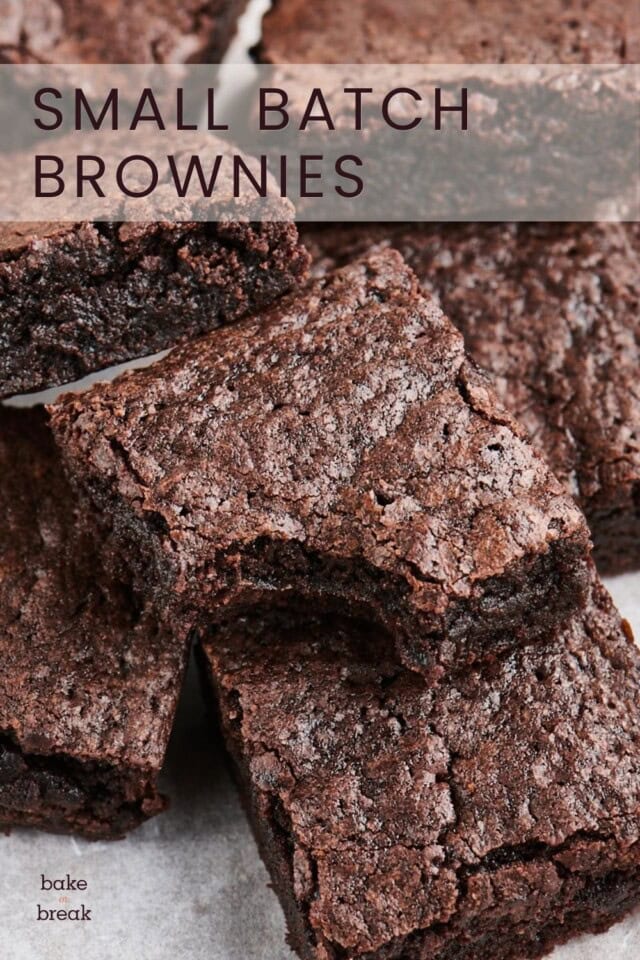
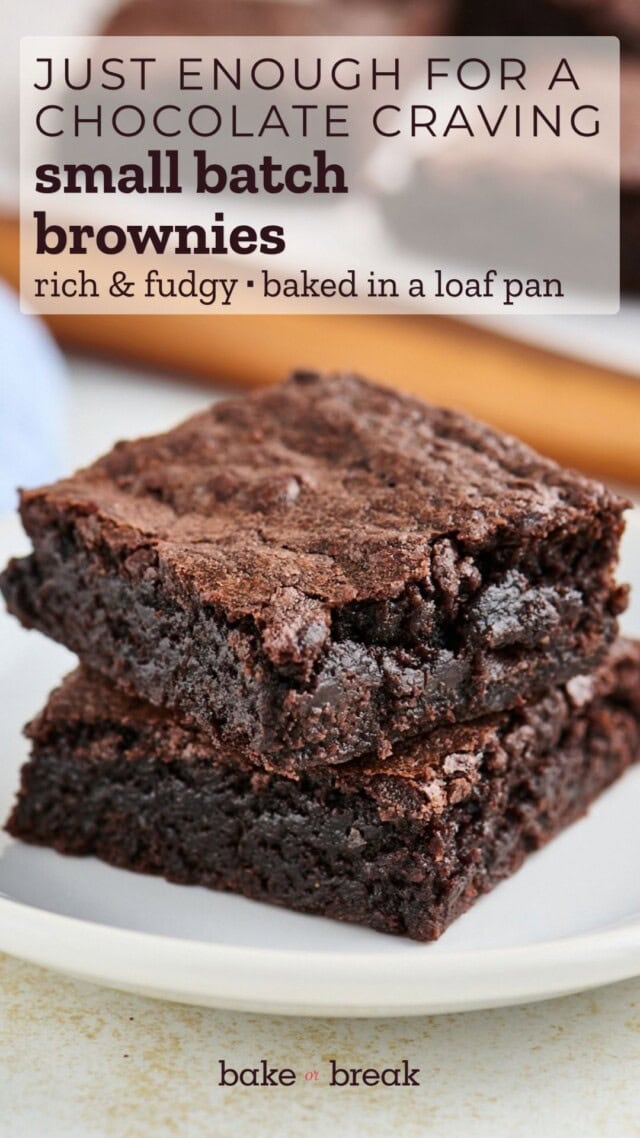
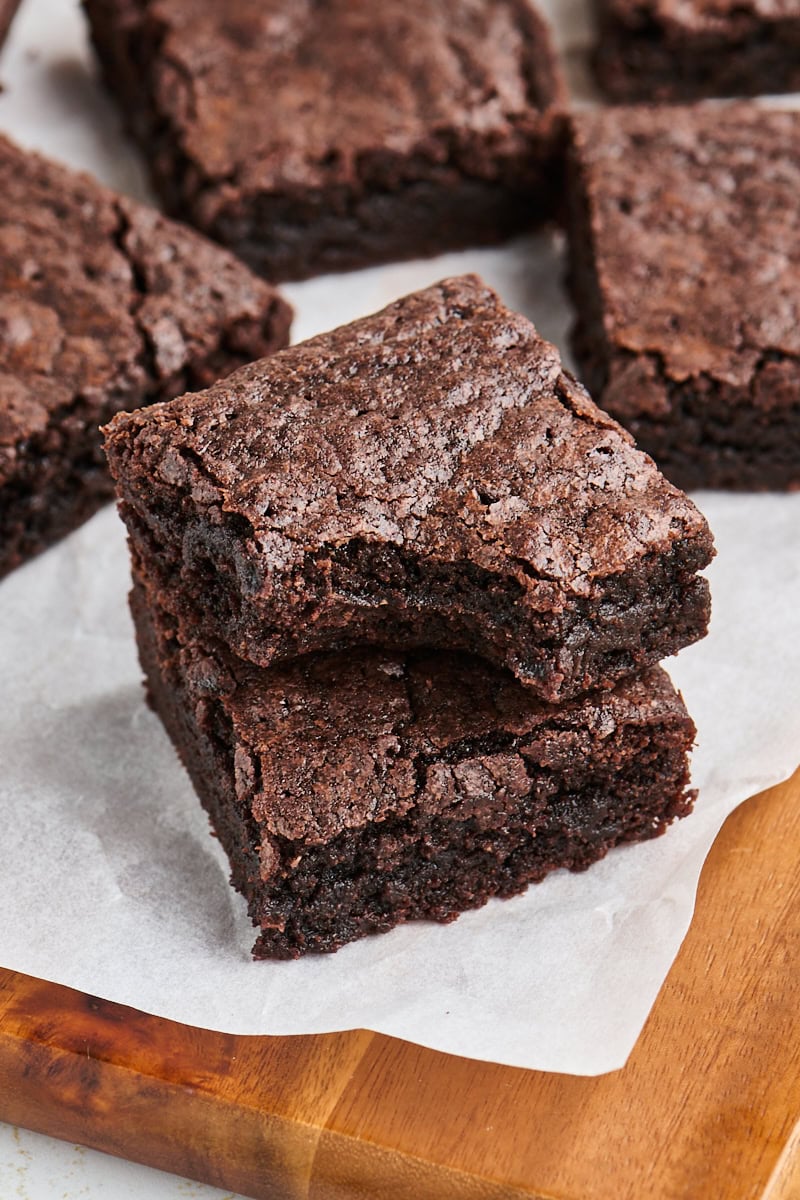
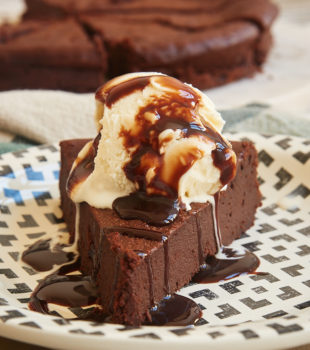
These small batch brownies are rich, fudgy, and wonderfully easy to make. They’re mixed in one bowl and baked in a loaf pan for a smaller batch when you don’t need a full pan of brownies.
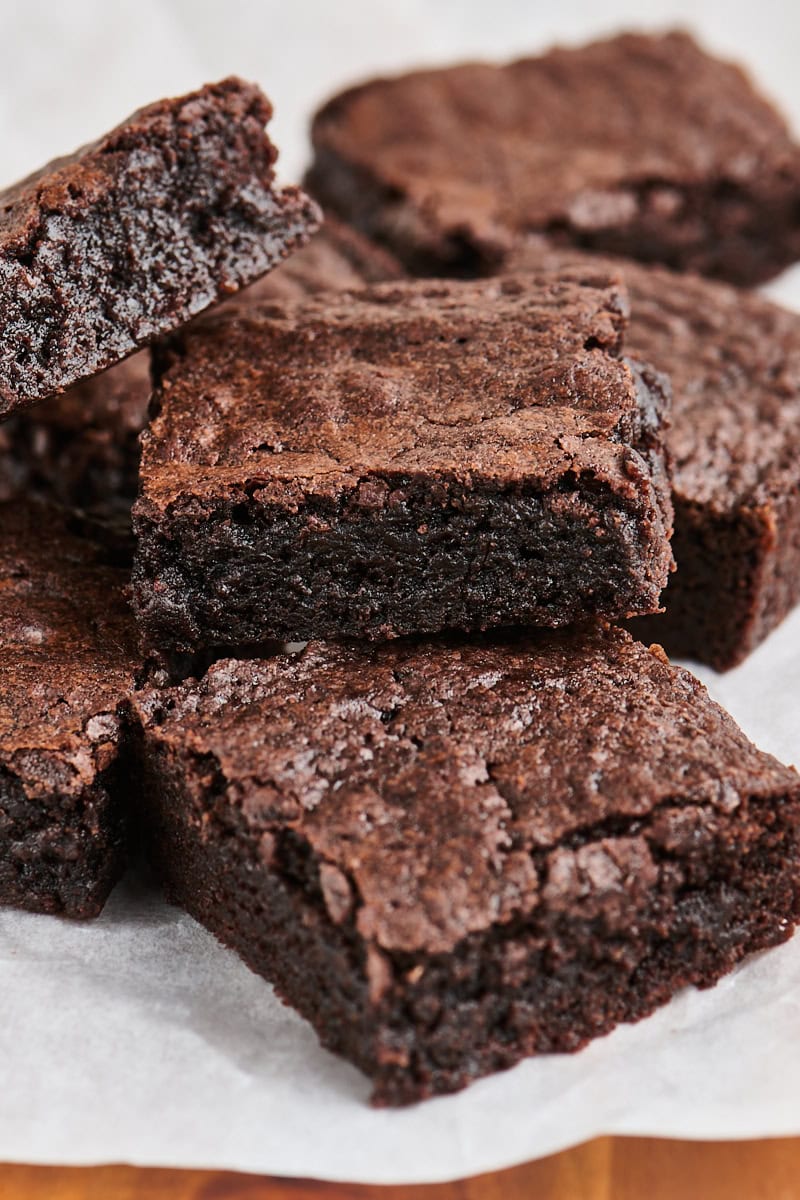
Sometimes you want homemade brownies without having a whole pan of them hanging around. That’s where these small batch brownies come in! They’re baked in a standard loaf pan for a manageable batch of rich, fudgy brownies with plenty of chocolate flavor.
They’re also wonderfully simple to make, with cocoa powder and a short list of basic ingredients. It’s just the thing when a brownie craving hits but a full batch feels like too much.
Recipe update: I’ve updated this recipe with a simpler cocoa-based brownie batter and fresh photos. If you’ve made the previous version, you’ll notice a few changes, but the goal is the same: a rich, fudgy batch of brownies made in a loaf pan.
Why You’ll Love This Small Batch Brownie Recipe
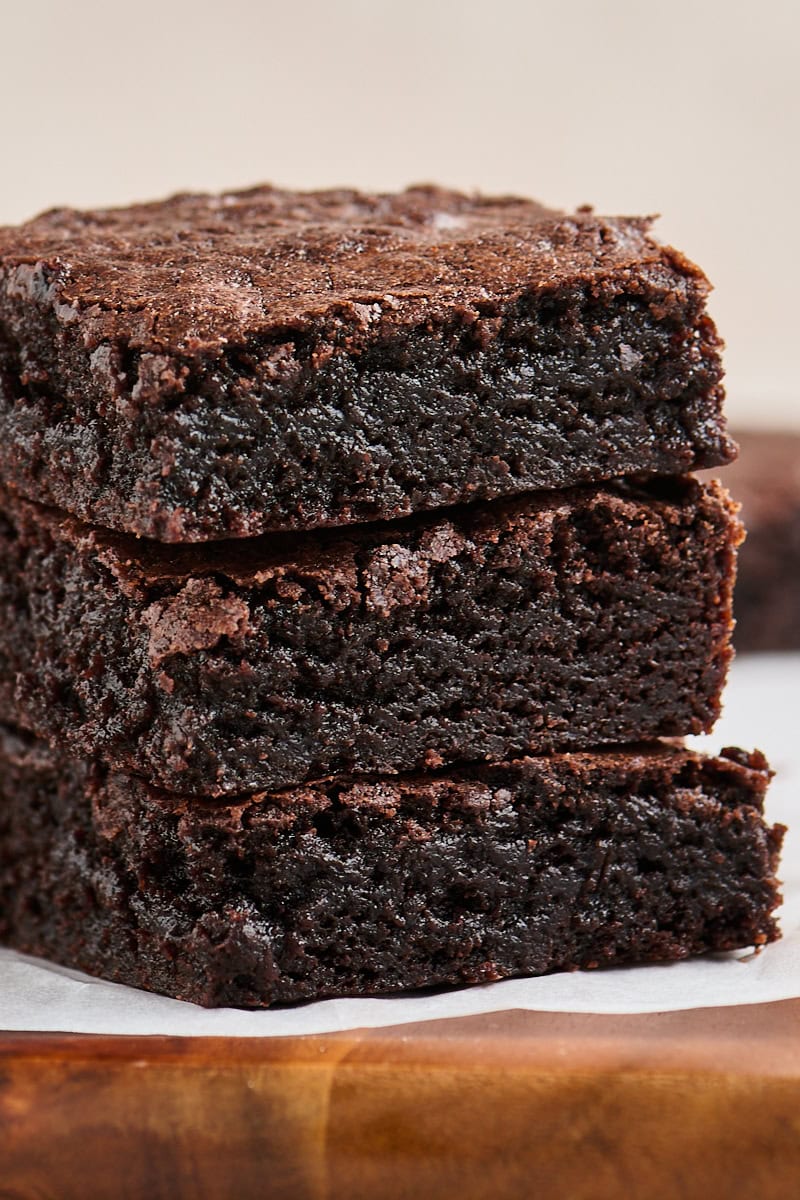
- Rich and fudgy. These brownies have plenty of deep chocolate flavor and that dense, fudgy texture brownie lovers crave.
- Quick and easy. The batter comes together in one bowl with just a handful of basic ingredients.
- No special pan needed. A standard 9×5-inch loaf pan is just right for making a smaller batch.
- Just enough brownies. You’ll get the perfect amount for when you want a homemade treat without making a full pan.
- Easy to customize. Keep them purely chocolate or add chocolate chips, nuts, or another favorite brownie add-in.
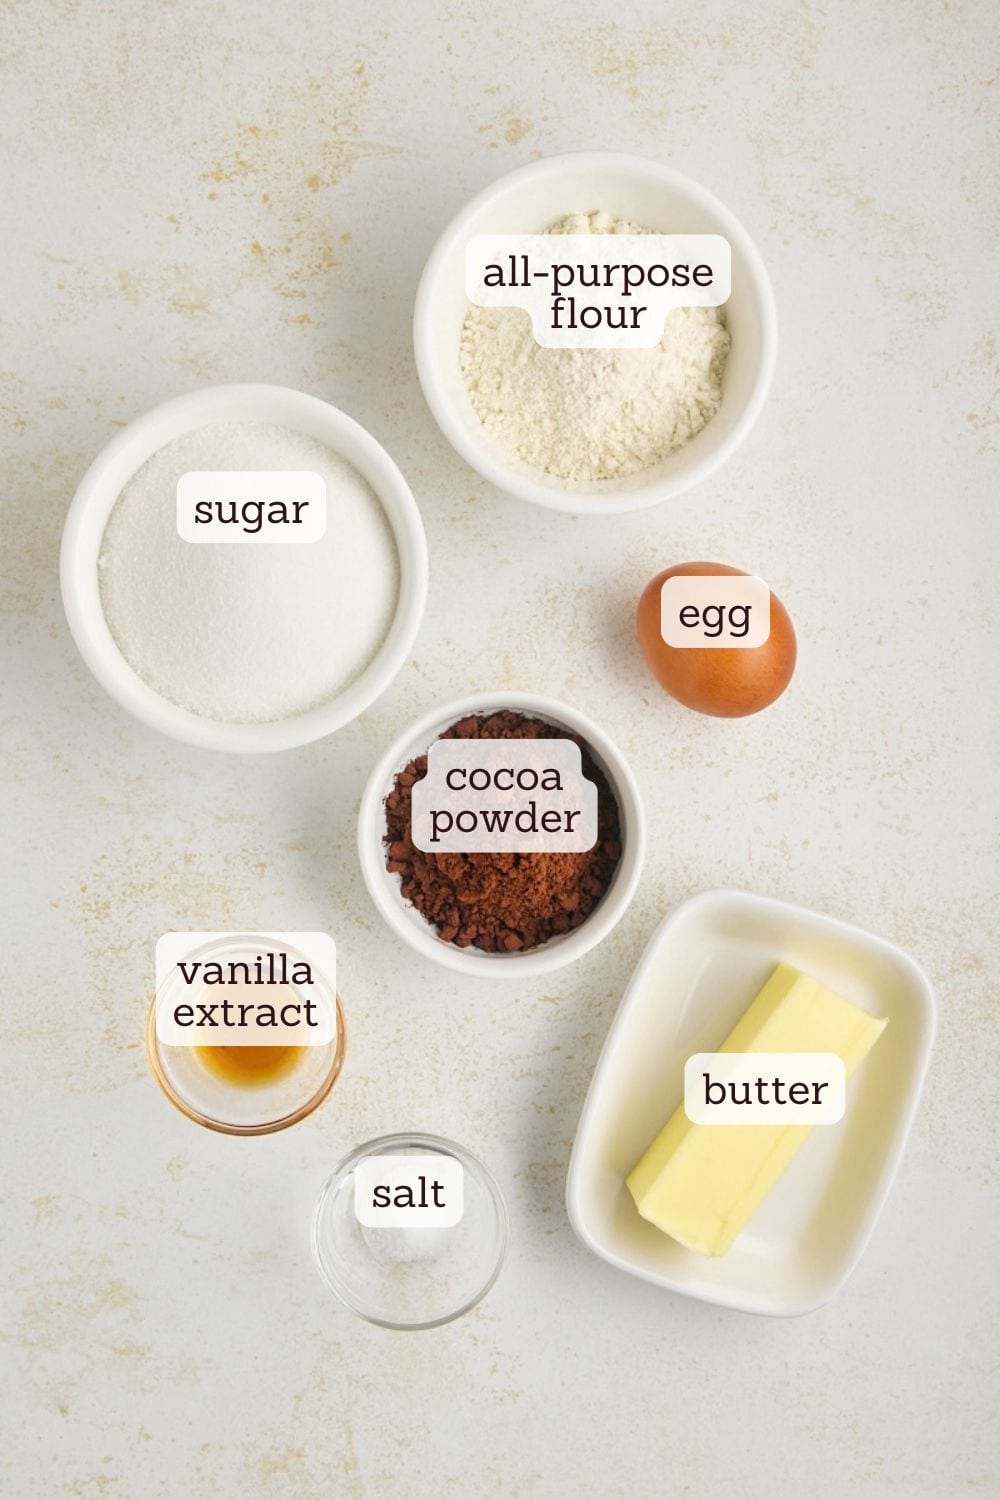
What Kind of Cocoa Powder Should I Use?
You can make these brownies with either natural or Dutch-process cocoa powder. Natural cocoa will give you a more traditional brownie flavor and texture, while Dutch-process cocoa makes them a bit fudgier with a deeper chocolate flavor. I prefer Dutch process for these brownies, but either works well.
How to Make Small Batch Brownies
This is a simple one-bowl brownie batter, but a few details will help you get that fudgy texture.
Start with the cocoa and butter.
Whisking the cocoa into the butter while it’s still warm helps it blend smoothly and brings out its chocolate flavor. Once you’ve added the sugar, give the mixture a few minutes to cool so the egg doesn’t hit piping-hot butter.
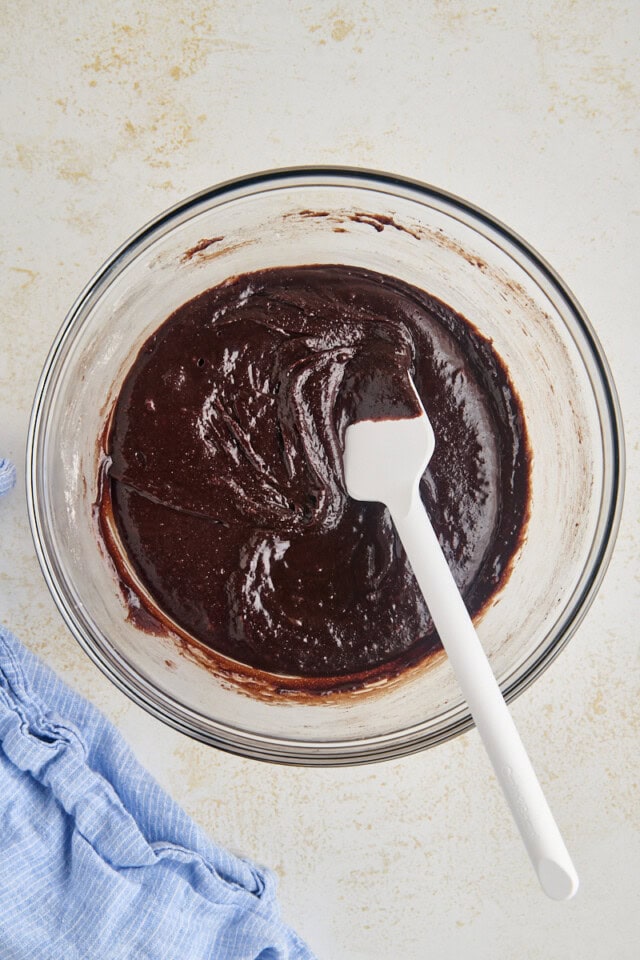
Mix gently once the flour goes in.
After adding the egg and vanilla, stir in the flour and salt just until everything is combined. There’s no need to beat the batter at this point. Stop once you no longer see streaks of flour.
Watch for signs of doneness.
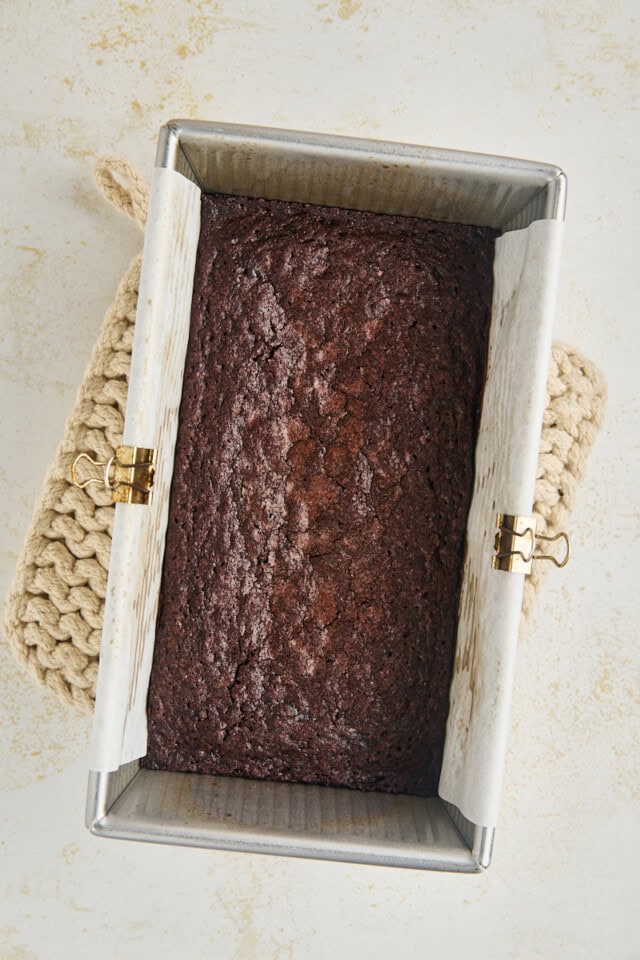
Spread the batter evenly in your lined loaf pan and bake until the brownies look set and a pick inserted in the center has a few moist crumbs attached. Don’t wait for a completely clean pick, which can mean your brownies have gone past that nice fudgy stage.
Tips for Success
- Use a light-colored metal pan. A light metal loaf pan will bake the brownies more evenly without the edges getting overdone before the center is ready.
- Measure the flour accurately. Too much flour can shift these brownies from fudgy toward dry. For the best accuracy, measure by weight. Otherwise, use the spoon-and-sweep method.
- Don’t over-bake. Look for a few moist crumbs on a pick inserted into the center. A completely clean pick is likely too far for the fudgy texture we’re after.
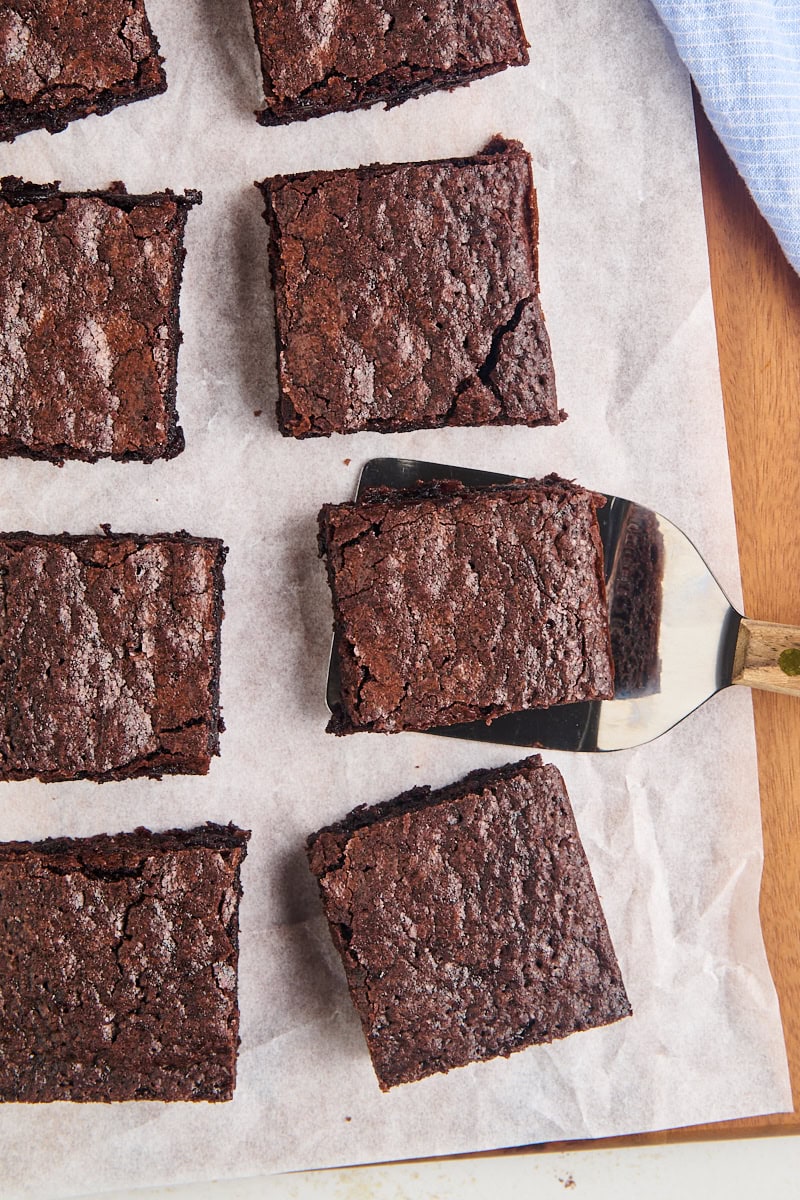
- Let them cool before cutting. The brownies continue to set as they cool, so waiting until they’re completely cool will give you cleaner cuts and the best texture.
Variations
These brownies are delicious just as they are, but the simple chocolate base makes them easy to customize.
- Chocolate chips – Fold in about 1/3 cup of semisweet, dark, or milk chocolate chips.
- Nuts – Add about 1/3 cup of chopped pecans or walnuts. Toast them first for more flavor.
- Chocolate + nuts – Use a combination of chocolate chips and chopped nuts, keeping the total amount around 1/3 to 1/2 cup.
- Espresso – Add 1/2 to 1 teaspoon of instant espresso powder for a deeper, more complex chocolate flavor.
- Finish with salt – Sprinkle a little flaky sea salt over the brownies right after they come out of the oven for a sweet-salty contrast.
Storage
Room temperature: Store the brownies in an airtight container at room temperature for up to 4 days. For the best texture, make sure they’re completely cool before storing.
Freezer: For longer storage, wrap the brownie individually and place them in an airtight freezer-safe container or bag. Freeze for up to 3 months. Thaw at room temperature before serving.
Small Batch, Big Chocolate Flavor
This is such a handy recipe for those times when a full pan of brownies feels like too much. With a short ingredient list, simple prep, and a standard loaf pan, homemade brownies are easy to make whenever the craving strikes.
If you should find yourself needing enough for a crowd, try my sheet pan brownies instead.
More Brownie Recipes
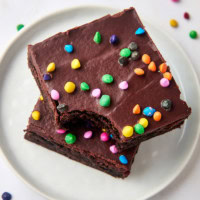
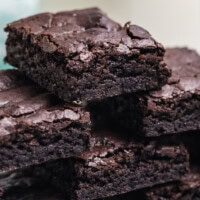
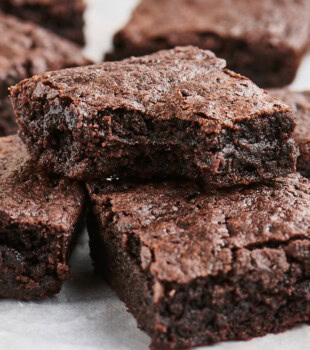
Small Batch Brownies
Ingredients
- 6 tablespoons (85 g) unsalted butter, melted
- 5 tablespoons (25 g) unsweetened cocoa powder
- ¾ cup + 2 tablespoons (175 g) granulated sugar
- 1 large egg, at room temperature
- 1 teaspoon vanilla extract
- ½ cup (60 g) all-purpose flour
- ½ teaspoon salt
Recommended Products
Instructions
- Preheat the oven to 350°F (175°C). Lightly grease a 9×5-inch loaf pan and line with parchment paper so that it overhangs by a couple of inches on the two long sides.
- Whisk the cocoa powder into the butter while it’s still warm. Then add the sugar, whisking until combined.
- Cool the mixture for a few minutes, then add the egg and vanilla, whisking until combined.
- Add the flour and salt, and stir just until combined.
- Transfer the batter to the prepared pan and spread it evenly.
- Bake 22 to 26 minutes, or until a pick inserted into the center comes out with a few moist crumbs attached.
- Allow the brownies to cool completely in the pan on a wire rack. Then use the overhanging parchment to lift them from the pan to a cutting board. Cut into bars.
Notes
- Cocoa powder: You can use either natural or Dutch-process cocoa powder. Natural cocoa gives the brownies a more traditional flavor and texture, while Dutch-process cocoa makes them a bit fudgier with a deeper chocolate flavor. I prefer Dutch process here, but either works well.
- Servings: I like to cut these into 8 brownies, which give you bars that are roughly 2 inches square. For larger brownies, cut the batch into 6 bars. You can even cut them into 4 generously sized brownies if you want a more substantial dessert-sized serving.
- Add-ins: If you’d like, add about 1/3 cup of chocolate chips, chopped nuts, or a combination. For a stronger chocolate flavor, you can also add 1/2 to 1 teaspoon of instant espresso powder.
- Storage: Keep in an airtight container at room temperature up to 4 days.
- Recipe update: This recipe was updated in September 2026 with a revised cocoa-based brownie batter.
4 Comments on “Small Batch Brownies”
These came out as described but why no leavening agent? Flat as pancakes. Did you intend to leave out baking soda or baking powder?
Hi, Lisa. Brownies don’t really require a leavening agent, as they don’t rise like cakes or cookies. If they were that thin (pancakes are about 1/4″ thick), then I don’t know what went wrong. That volume of batter alone should be thicker than that in the pan before baking. If you didn’t change anything at all about the recipe, then check the freshness of your ingredients, their quality, and measurement accuracy, and be sure not to over-mix.
Made these last night. Delicious. I did make a couple of changes (I never seem to be able to leave a rice alone). I used brown sugar instead of granulated white sugar and added 1 tsp expresso powder. Otherwise, followed all the rest of the instructions. They came out very well. Just bit fudgy, which I like a lot. Thanks so much. I can’t wait to try a few more of your recipes…Thanks so much.!
I’m so glad you enjoyed the brownies, Judy!