
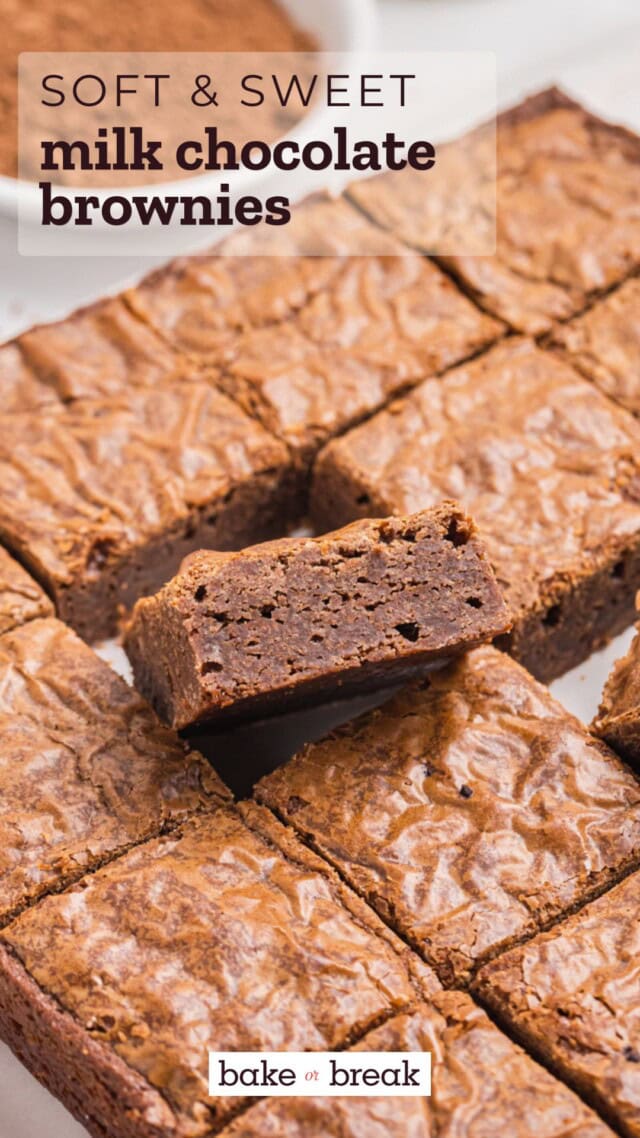
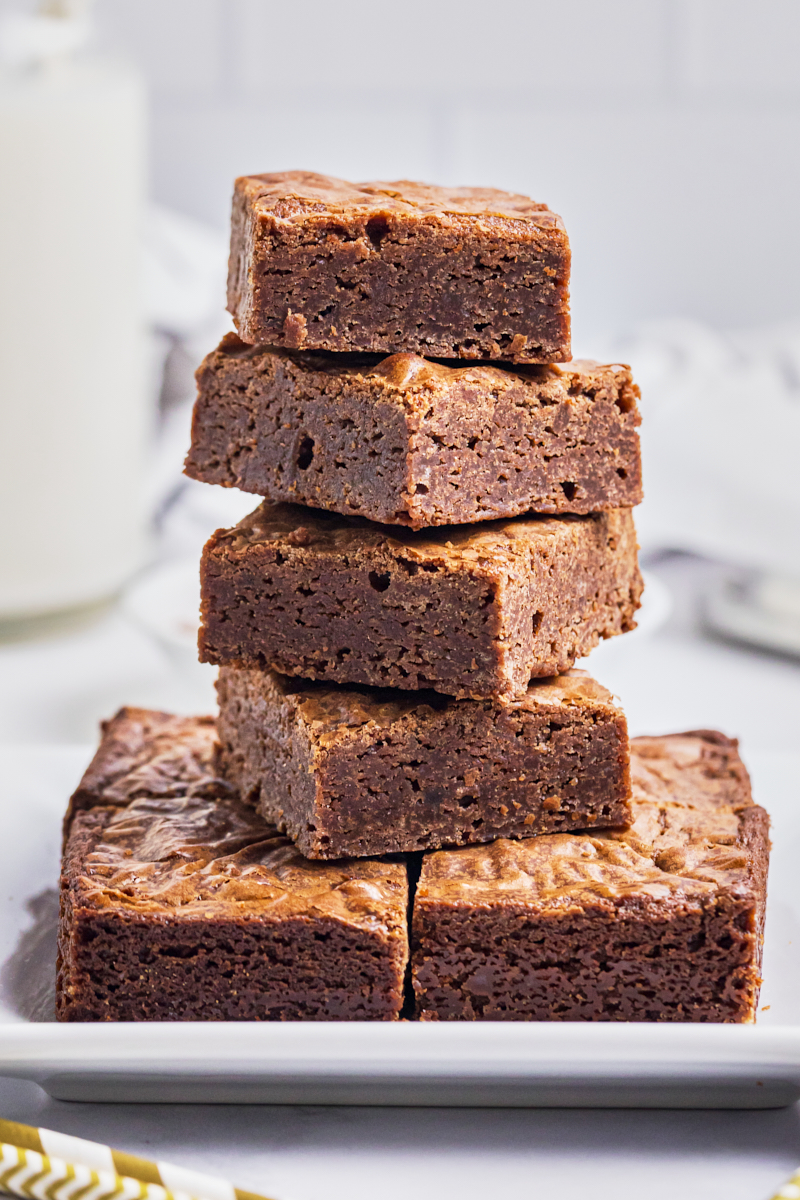
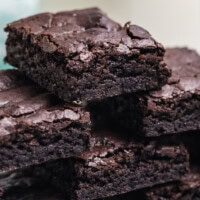
If you prefer brownies that are soft, fudgy, and not overly rich, these milk chocolate brownies are the perfect fit, with a smooth, sweet chocolate flavor that stands apart from the usual dark chocolate versions.
Milk chocolate brownies don’t always get the spotlight, but they should. While most brownie recipes (like my favorite fudgy brownies) lean into deep, intense chocolate flavor, these take a slightly different approach — one that’s a little softer, a little sweeter, and just as satisfying.
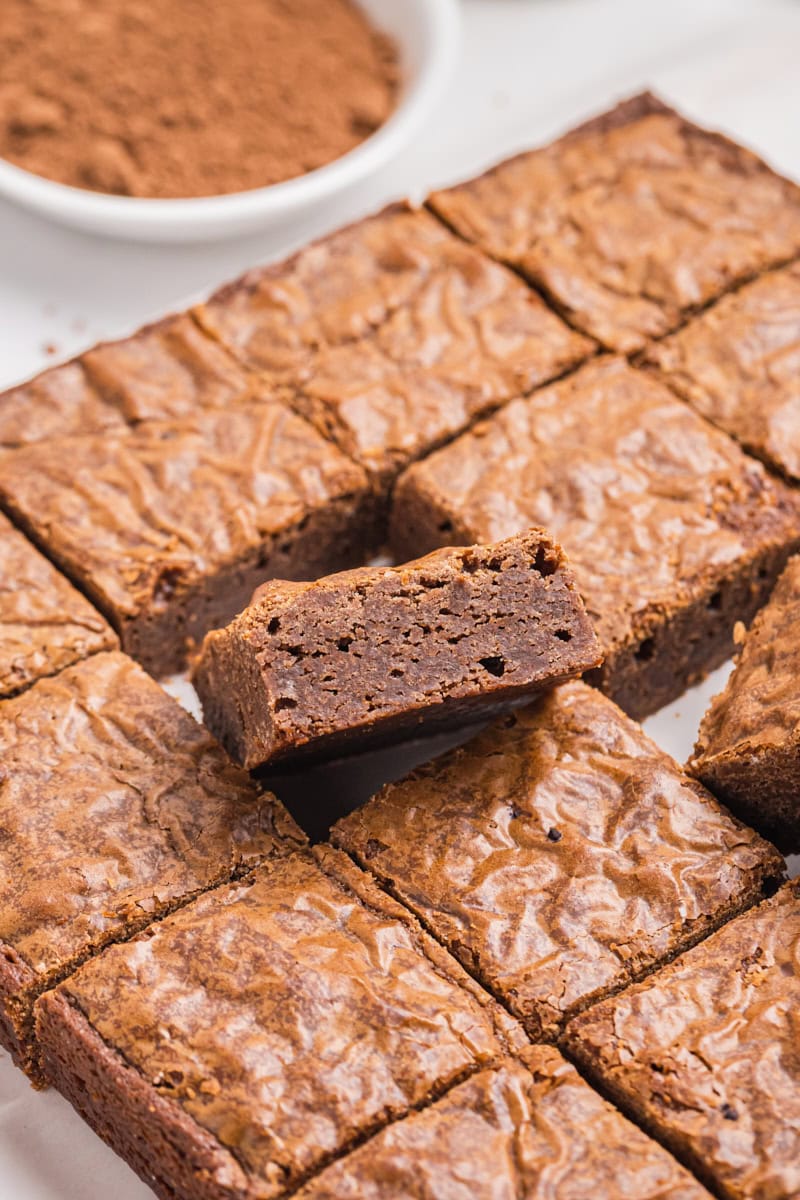
Using milk chocolate as the base gives these brownies a smooth, mellow flavor that feels rich without being overwhelming. A small amount of cocoa powder adds depth, so you still get that classic brownie taste in a more balanced way. The result is a pan of brownies that’s fudgy, flavorful, and easy to love.
They’re the kind of brownies that work for just about any occasion — simple enough for an everyday treat, but just as welcome on a dessert table. And if you’ve ever found traditional brownies a bit too intense, this version might be exactly what you’ve been looking for.
Why You’ll Love These Milk Chocolate Brownies
- Soft, fudgy texture. These brownies bake up moist and dense with just enough structure to slice cleanly, giving you that classic fudgy bite without being heavy.
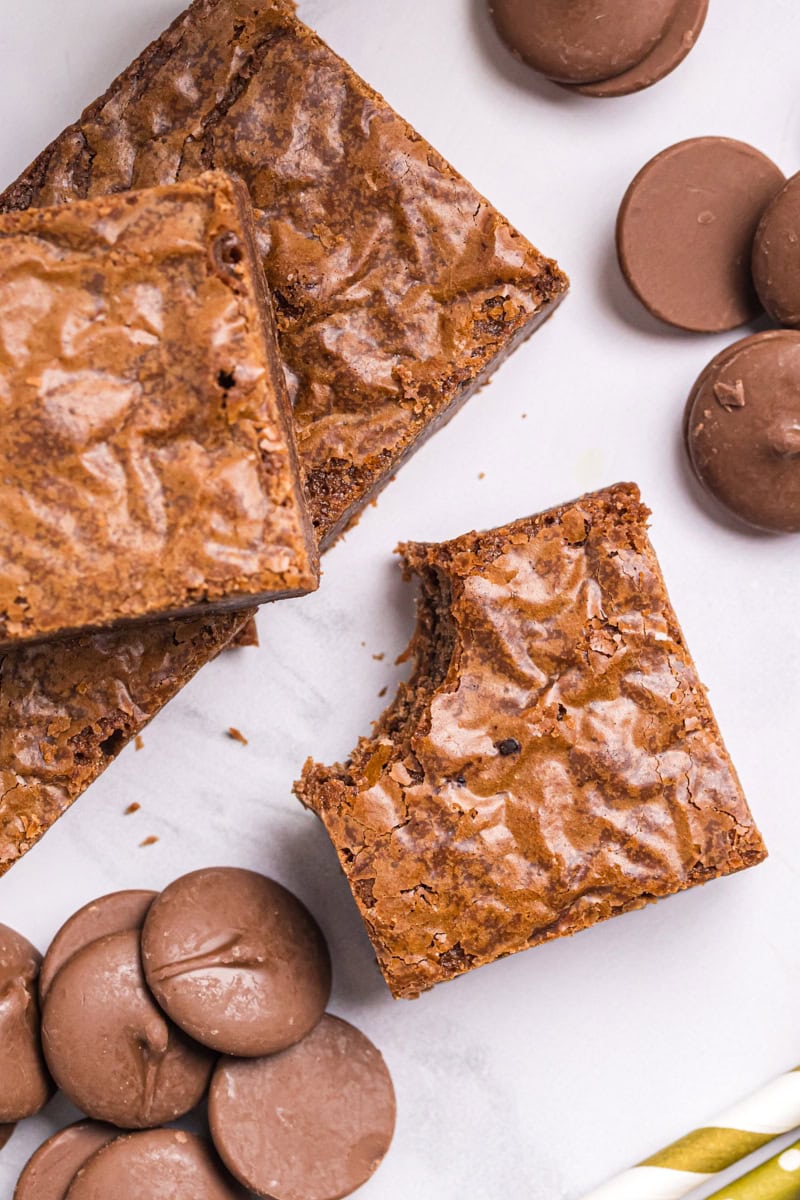
- A smoother, sweeter chocolate flavor. Made with milk chocolate, they have a mellow, creamy flavor that’s less intense than traditional brownies but still rich and satisfying.
- Balanced, not overly rich. A small amount of cocoa powder adds depth to the chocolate flavor, so they don’t taste flat or overly sweet — just well-rounded.
- Simple, no-fuss recipe. Everything comes together quickly with basic ingredients and a straightforward mixing method — no special techniques needed.
- A great alternative to classic brownies. If you prefer a softer chocolate flavor or want something a little different from the usual dark, intense brownies, this is a great go-to.
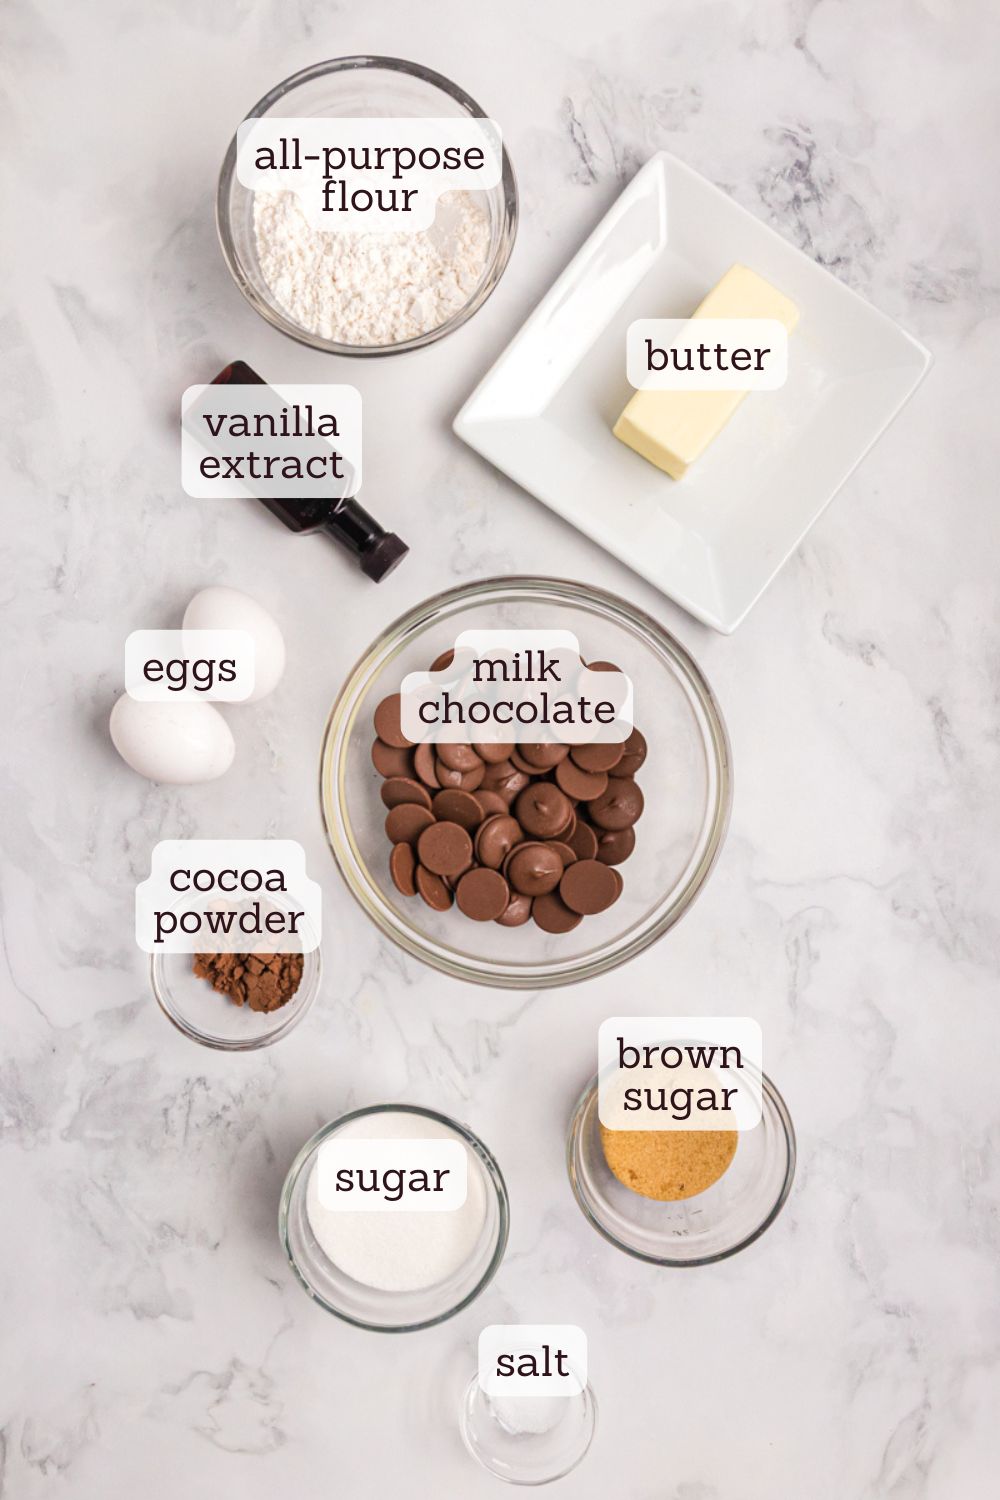
Key Ingredients
- Milk chocolate – This is the star of the recipe, so use a milk chocolate you enjoy eating on its own. Bars or discs will melt more smoothly than chips, but either will work. (Chips often contain stabilizers, so they won’t melt quite as smoothly.) Because milk chocolate is sweeter and milder than dark chocolate, it gives these brownies their signature soft, creamy flavor. (If you’d like to learn more about different types of chocolate, see my baker’s guide to chocolate.)
- Cocoa powder – Just a small amount adds depth and keeps the chocolate flavor from feeling flat. It balances the sweetness of the milk chocolate without making the brownies taste too dark or intense.
- Butter – Melted with the chocolate, butter adds richness and helps create that fudgy texture. It also keeps the brownies soft and moist.
- Granulated sugar + brown sugar – This combination gives you the best of both worlds — granulated sugar for structure and that classic shiny top, and brown sugar for a little extra moisture and a subtle caramel note.
- Eggs – Eggs provide structure and help create that dense, fudgy consistency. Mixing them well with the sugar helps give the brownies a smooth texture.
- Vanilla extract – A small addition, but it enhances the chocolate flavor and rounds everything out.
How to Make the Best Milk Chocolate Brownies
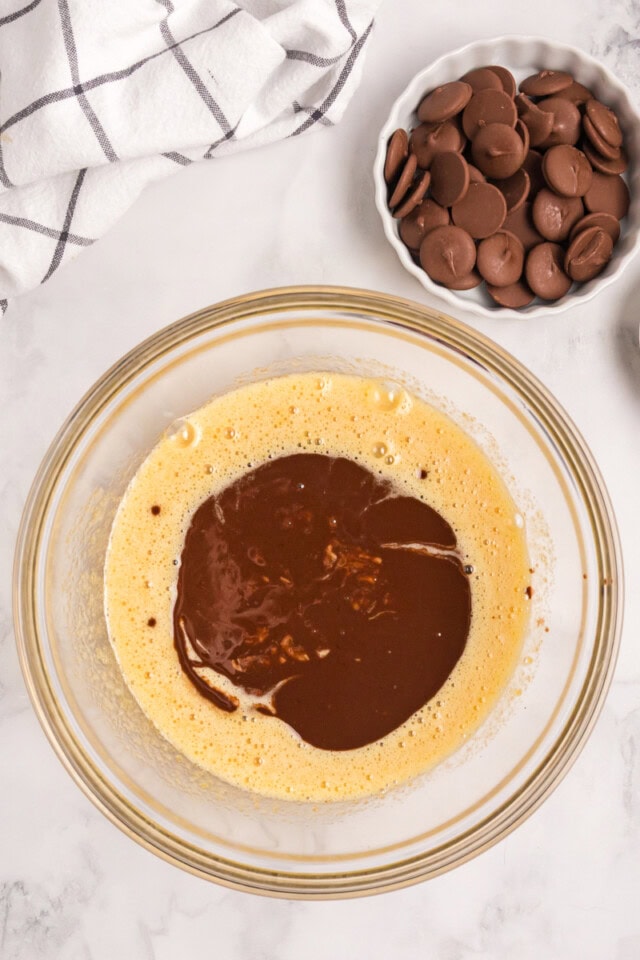
Melt the chocolate and butter.
Gently melt them together until smooth, then let the mixture cool slightly. This keeps the eggs from scrambling when everything is combined.
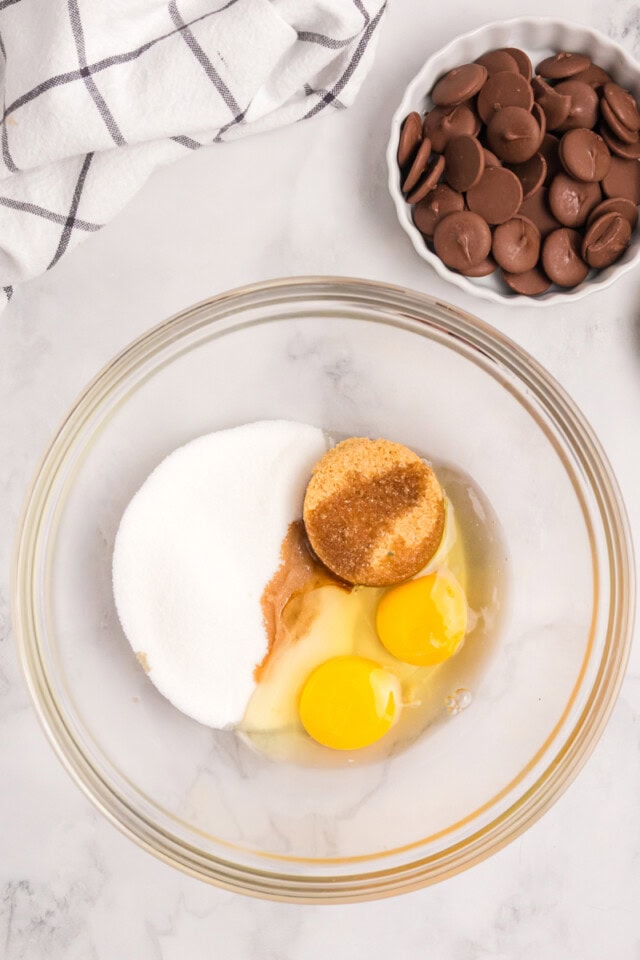
Whisk the sugars, eggs, and vanilla.
Mix until smooth and well-blended. This step helps create that classic brownie texture and a cohesive batter.
Combine with the melted chocolate mixture.
Stir everything together until smooth and glossy. At this stage, the batter should look thick and well-emulsified.
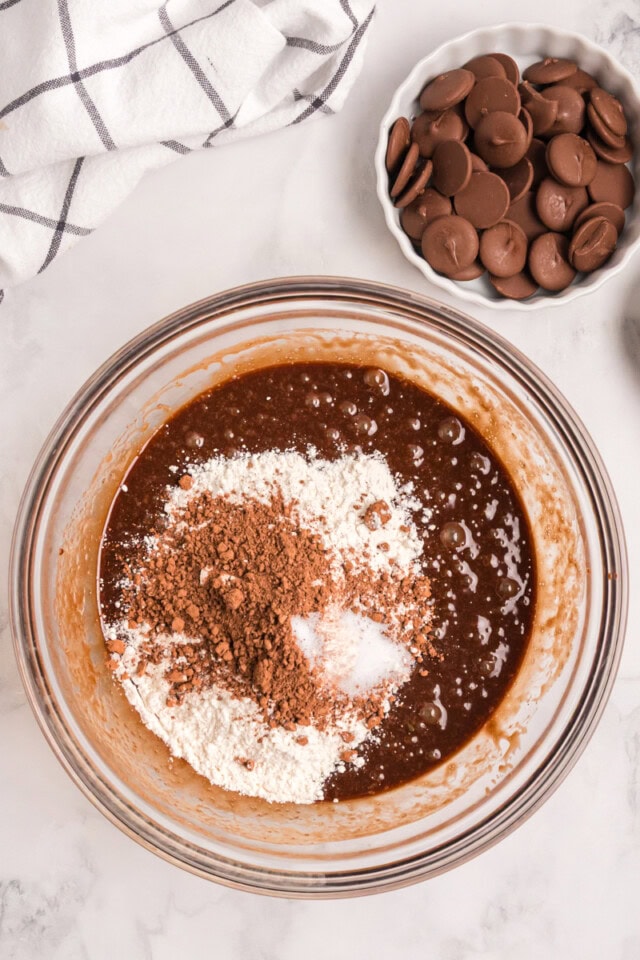
Add the dry ingredients.
Mix in the flour, cocoa powder, and salt just until combined. Avoid over-mixing here to keep the brownies tender.
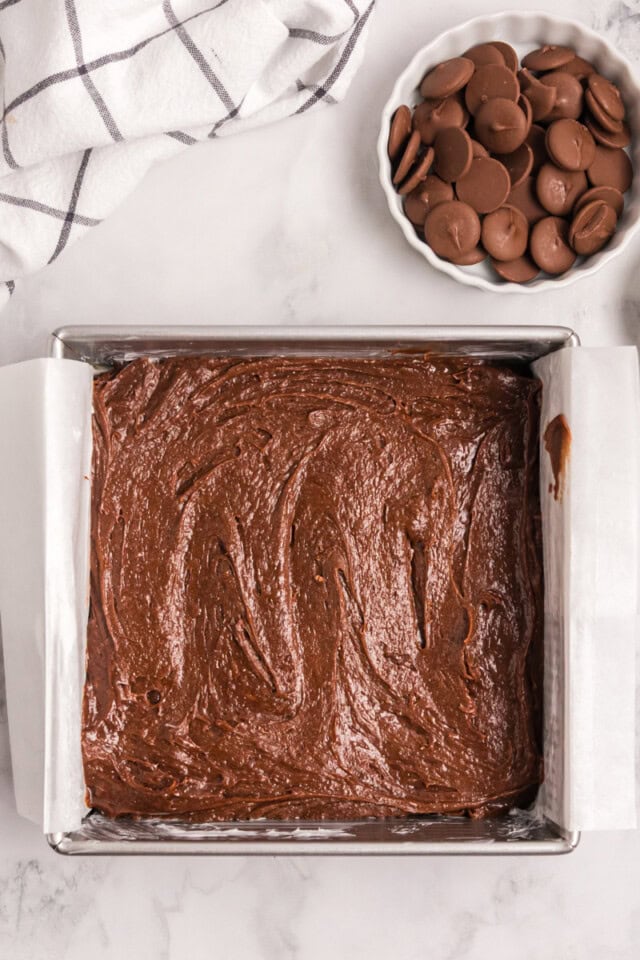
Spread and bake.
Transfer the batter to your prepared pan and spread evenly. Bake until a toothpick inserted in the center comes out with a few moist crumbs — this is the sweet spot for fudgy brownies.
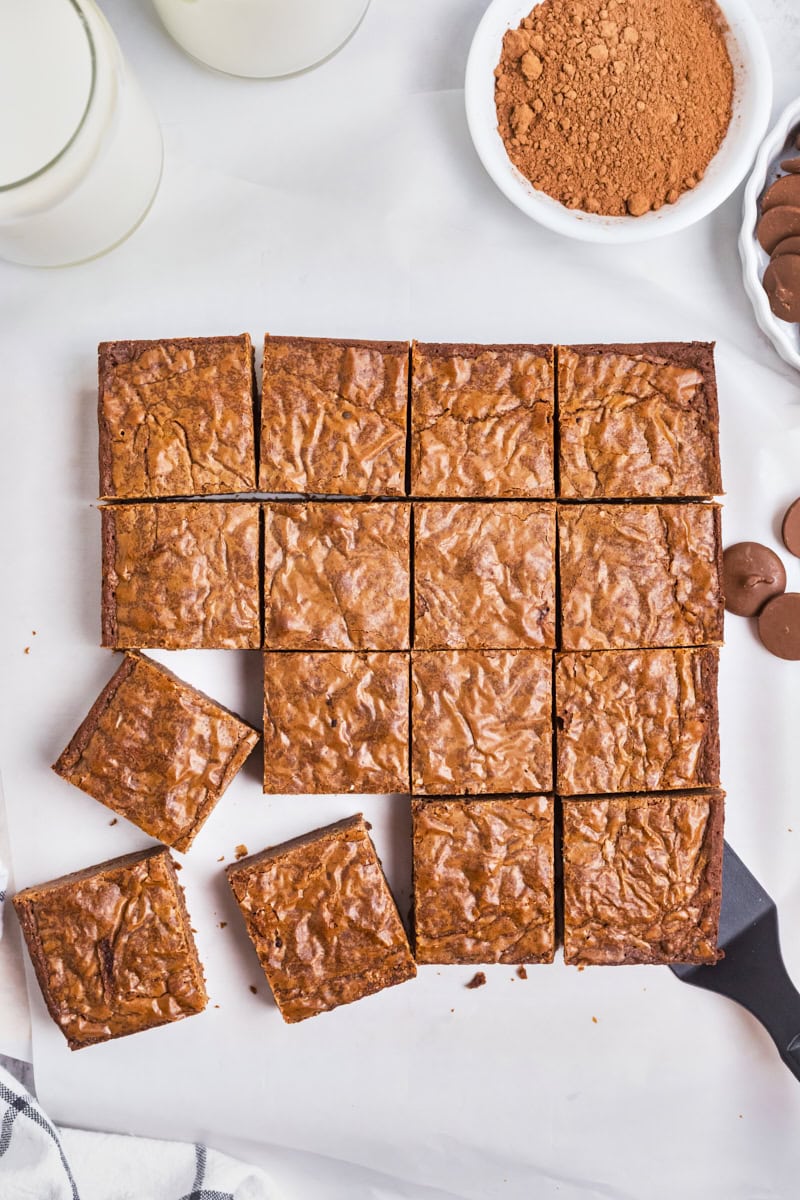
Cool before slicing.
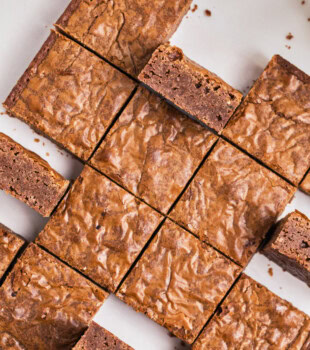
Let the brownies cool completely in the pan, then lift them out using the parchment overhang and cut into squares. Cooling helps them set and makes slicing much cleaner.
Tips for Success
- Use a milk chocolate you like. Since milk chocolate is the main flavor here, choose one you’d enjoy eating on its own. If you want a slightly less sweet result, look for a darker milk chocolate (around 40–45% cacao).
- Melt gently and stir until smooth. Heat the chocolate and butter in short bursts at reduced power, stirring well between each. The residual heat will finish melting the chocolate and help prevent scorching.
- Don’t over-mix after adding the flour. Mix just until the dry ingredients disappear. Over-mixing can lead to tougher brownies instead of that soft, fudgy texture.
- Watch the bake time closely. Because these brownies are meant to be fudgy, it’s better to slightly underbake than overbake. Look for moist crumbs on a toothpick rather than a completely clean center. The edges should look set while the center still looks slightly soft.
- Cool completely before cutting. It’s tempting to slice early, but letting the brownies cool fully helps them set and gives you cleaner, neater squares.
- Line the pan with parchment. Leaving an overhang on two sides makes it easy to lift the brownies out of the pan for slicing — no sticking, no mess.
Variations & Serving Ideas
- Add a little crunch. Stir in a handful of chopped nuts like pecans or walnuts for some texture to balance the soft, fudgy brownies.
- Mix in chocolate chips. For extra chocolate, fold in milk chocolate or semisweet chips just before baking. This adds pockets of melted chocolate throughout.
- Top with a sprinkle of salt. A light sprinkle of flaky sea salt after baking adds a nice contrast to the sweetness and makes the chocolate flavor pop.
- Serve warm with ice cream. These are especially good slightly warm with a scoop of vanilla ice cream for an easy, crowd-pleasing dessert.
- Dress them up for dessert. Add a drizzle of chocolate sauce or a dollop of whipped cream to turn these into a simple plated dessert.
How to Store
At room temperature: Store the brownies in an airtight container at room temperature for up to 3 days. They’ll stay soft and fudgy, especially if kept well-sealed.
In the freezer: Wrap individual brownies tightly in plastic wrap, then place them in a freezer-safe bag or container. Freeze for up to 2 months. Thaw at room temperature before serving.
To enjoy later: If you like them warm, a few seconds in the microwave will bring back that just-baked texture.
A Softer Take on Classic Brownies
If you’re used to rich, dark chocolate brownies, these milk chocolate brownies offer a slightly different experience — in the best way. They’re still fudgy and satisfying, but with a smoother, sweeter flavor that feels a little more relaxed and easygoing.
It’s the kind of recipe that doesn’t try too hard. Simple ingredients, a straightforward method, and consistently good results make these brownies an easy go-to whenever you’re craving something chocolatey without the intensity of a classic brownie.
Whether you’re baking for a casual treat, sharing with friends, or just want something a little different from the usual, these brownies are always a good idea.
More Brownies You’ll Love
Milk Chocolate Brownies
Ingredients
- 1 cup (170 g) milk chocolate baking squares, discs, or chips
- ½ cup (113 g) unsalted butter
- ½ cup (100 g) granulated sugar
- ¼ cup (50 g) firmly packed light brown sugar
- 2 large eggs
- 2 teaspoons vanilla extract
- 1 cup (120 g) all-purpose flour
- 1 tablespoon unsweetened cocoa powder
- ½ teaspoon salt
Recommended Products
Instructions
- Preheat oven to 350°F (175°C). Line an 8-inch square baking pan with parchment paper so that the paper overhangs by a few inches on two opposite sides.
- Place the chocolate and butter in a microwave-safe bowl. Heat in the microwave at half power in 30-second increments until the butter is melted and the chocolate melts when stirred. Stir until smooth. Set aside to cool slightly.
- Mix the sugar, brown sugar, eggs, and vanilla until well-blended. Add the chocolate-butter mixture, and mix until smooth.
- Add the flour, cocoa powder, and salt, and mix just until combined.
- Transfer the batter to the prepared pan and spread evenly. Bake 35-40 minutes, or until a pick inserted into the center comes out with a few moist crumbs attached. Run a knife along the non-lined sides of the pan. Cool in the pan on a wire rack.
- Using the overhanging parchment paper, lift the cooled brownies out of the pan and onto a cutting board. Use a sharp knife to cut into bars.
Video
Notes
- Use a milk chocolate you enjoy. Since milk chocolate is the main flavor, choose one you like eating on its own. Bars or discs will melt more smoothly, but chips work well, too.
- Don’t over-bake. For the best fudgy texture, look for a few moist crumbs on a toothpick rather than a completely clean center.
- Let them cool before cutting. Cooling helps the brownies set and makes slicing much cleaner. If you cut too soon, they’ll be softer and a bit messy (but still delicious!).
- For a less sweet version. Use a darker milk chocolate (around 40–45% cacao) to dial back the sweetness slightly while keeping the same texture.
- Pan size matters. An 8-inch square pan gives these brownies their thickness and fudgy texture. Using a larger pan will result in thinner brownies that bake more quickly.
- To store: Keep sealed tightly in an airtight container or ziplock bag at room temperature for up to 3 days.
- To freeze: Wrap individually in plastic wrap, then a double-lock freezer bag and freeze for up to 2 months. Let thaw fully before eating.


32 Comments on “Milk Chocolate Brownies”
I have to admit milk chocolate is not one of my favorite chocolates to bake with but I agree the quality makes all the difference. I love to tell the story of a fellow baker who apparently was a little insecure telling me my cake was wonderful “even if I did use milk chocolate” which was a bit of a backhanded compliment because at the time serious bakers tended to snub milk chocolate. Luckily our choices got better and it is more stable and less likely to scorch these days and can be a nice change from the darker chocolates (though you will never sway me from preferring dark). I tried some very high quality milk chocolates at a European chocolate shop and they were quite wonderful. I almost preferred the milk which is very unusual! I will have to try these and see what my treat-lovers think! Thanks for another good one to change things around.
Made these brownies last night as I had a lot of milk chocolate floating around the house. I made a couple of changes. I didn’t realize I was completely out of cocoa powder, so I swapped for a 1/3 oz square of dark chocolate. Also, I added a peanut butter swirl to the top–because who doesn’t love peanut butter. It was good for what it was, milk chocolate. Maybe it would’ve been better had the chocolate been of a higher quality? I used Cadbury and Ghirardelli.
Hi, Kayleen. Quality definitely makes a difference with chocolate. I like milk chocolate, but I love dark chocolate. Whichever way you lean in chocolate preference will matter, too.
I made these recently and I also didn’t have any cocoa in the house which was a first. I used a few more
Ghiradelli milk chocolate chips . Didn’t frost them although I usually do but they were sooo good and
Didn’t even need a frosting . The moistness and taste were to die for !! A big hit at my daughter in laws . Will definitely use this recipe again, so good !!!
I’m glad to hear they were a hit, Sharon!
These look amazing ! What if I wanted to make them in a 9 x 13 pan . What would you recommend the baking time be ?
Hi, Marisa. The baking time shouldn’t be more than a few minutes longer. I’d still test for doneness after the recommended time and then add more if needed.
Hi I’d like to know if you have this same recipe for a half sheet pan please and thank you
Hi, Lisa. You can try scaling the recipe for the volume of a half sheet pan. The brownies will need to be thinner for that size pan. Just as a guess, I’d try tripling the recipe and adjust from there if needed.
Delicious! I doubled the recipe and baked in a 9 x 13 pan for 35 min. They’re a tad dry so I’m gonna frost them but next time I’ll test after 30. I used Green & Blacks organic chocolate bars wow! I try to have nothing but organic in the house so everything was organic. Oh, and gluten free for my daughter, so I used oat flour instead of wheat. Oat bakes up just like wheat and isn’t grainy like the other flours. Also, I don’t need xanthum gum like you do with other flours. They may be a little moister tomorrow if they last that long, I’ve been munching them since they were hot and the cooler they get the milkier chocolatey they taste. Ty for this recipe😁
OOoo yea……milk chocolate frosting. 3.25 oz melted milk chocolate, 2 tbsp melted butter, scant cup of confectioners sugar, cream to desired consistency. Just enough for a glaze. Fabulous!
Yum!
Also, the brownies are more moist after they cool. These really didn’t need frosting, it a tasty milk chocolate glaze doesn’t exactly ruin them. 😁
Is it 6oz of milk chocolate or a cup??? A cup is 8oz so I’m a bit confused.
Hi, Brittney. A cup of chocolate is 6 ounces by weight.
This looks so delicious !
I want to make this milk chocolate brownies.
But can you give me the recipe in grams please ?
I’m from Belgium, we use grams not cups.
Thank you in advance.
Hope you can answer, so I can make these brownies ! 😍
Hi, Naiara. I’m in the process of adding weight measurements to all of my recipes, but I haven’t quite gotten to this one yet. If you want to bake them before I can add the additional information, try an online ingredient weight chart like the one at King Arthur Flour.
Just tried this recipe – my brownies are in the oven right now!
Just a note, when melting the chocolate, I feel 30 second increments Is far too long. I did this and my chocolate completely seized after only the second 30second period in the microwave. I would recommend doing it for 10 seconds at a time next time.
I had to reverse engineer my chocolate, which obviously added a lot more time to the recipe!
I’m sorry you had troubles, Bea. Every microwave is different, so the 30-seconds at half-power approach may not work for everyone. I’m glad you figured out a way to recover!
Where did I go wrong my brownies have gone rock solid only cooked for 30 mins ? Why so much flour aswell?
Be sure you’re not over-measuring your flour (See my tips for How to Measure Flour if you need a refresher.) or over-mixing the batter. Also, a dark or glass pan will tend to over-bake the brownies, which will make them hard. Use a light, non-shiny metal pan for best results.
This recipe is delicious. Sweet with mild chocolate flavor that is not overwhelming. Caution on the baking time though. I used a glass 8 inch square with parchment. I was concerned about the long baking time in the recipe. I started checking mine at 20 minutes and by 25 minutes they were cooked perfectly. Another 10 minutes would have created little chocolate rocks.
Hi, Sara. Glass pans bake very differently than metal. The edges get done much sooner than the center, so you end up with unevenly baked brownies that can be hard and tough. If you want to use a glass pan for baking, try lowering the oven temperature by 25 degrees.
These are delicious! I’ve made these many times now over the past year and this has become my go-to brownie recipe. (I’m really eager to make them tonight with some Kahlua buttercream on top!) I use the Ghiradelli brand milk chocolate chips and cocoa powder to make these and it’s always been a hit.
These look like the perfect brownie recipe for what I have been searching for. My husband really will only eat milk chocolate. I have tried about a dozen recipes, tweaking ever so slightly. He is SO particular and such a milk chocolate fan! I have one question I would love your advice on. If I add milk chocolate chips at the very end (hubby loves the mixed in chunks) should I reduce the chocolate chips that you melt in from 1 cup to a half cup and add in the second 1/2 cup at the end? OR keep your original recipe and add in an extra half cup chips at the end ? I am concerned about getting the bars too sweet. I appreciate your time. This looks like it might be the winner I have been searching for. Thank you. Also does the cocoa powder matter if you use Hershey’s regular or Dutch process?
Hi! You can add more chocolate chips, but you’ll need to keep the melted chocolate the same. Dutch process has different properties and flavor than natural unsweetened cocoa powder. It may work well enough, but you won’t get quite the same result.
I made the brownies earlier tonight and they were delicious. I used semi-sweet chocolate chips , which is what I had, even though I love milk chocolate.
I’m glad you liked them, Liana!
Just made these with all the leftover Easter eggs it was amazing thankyou
My new go-to milk chocolate brownie recipe! I love a good brownie that has a crackly top crust, is moist and has a mellow sweet flavor. I didn’t alter the recipe a bit and holy hannah it came out perfectly! The edges were chewy but not crisp – the middle was moist but not gooey – perfect brownie! Will be making these many times over the holidays. Thanks for the recipe!
I made these last week and they were so good! My kids absolutely loved them! I just wanted to ask would I have to triple the recipe or quadruple it if I want to make it in two 9×13 trays/tins?
Hi, Ani! I’m so these brownies were a hit for you. If you’re making two 9×13 pans, I’d recommend doubling the recipe and making it twice — once for each pan. That keeps the mixing simple, helps avoid over-mixing, and gives you more consistent results. They’ll be slightly thicker, so you may need to give them an extra minute or two on the bake time. Mixing the full amount all at once can easily lead to over-mixing and tough brownies. I think you’ll get the best results with dividing the mixing into two batches.