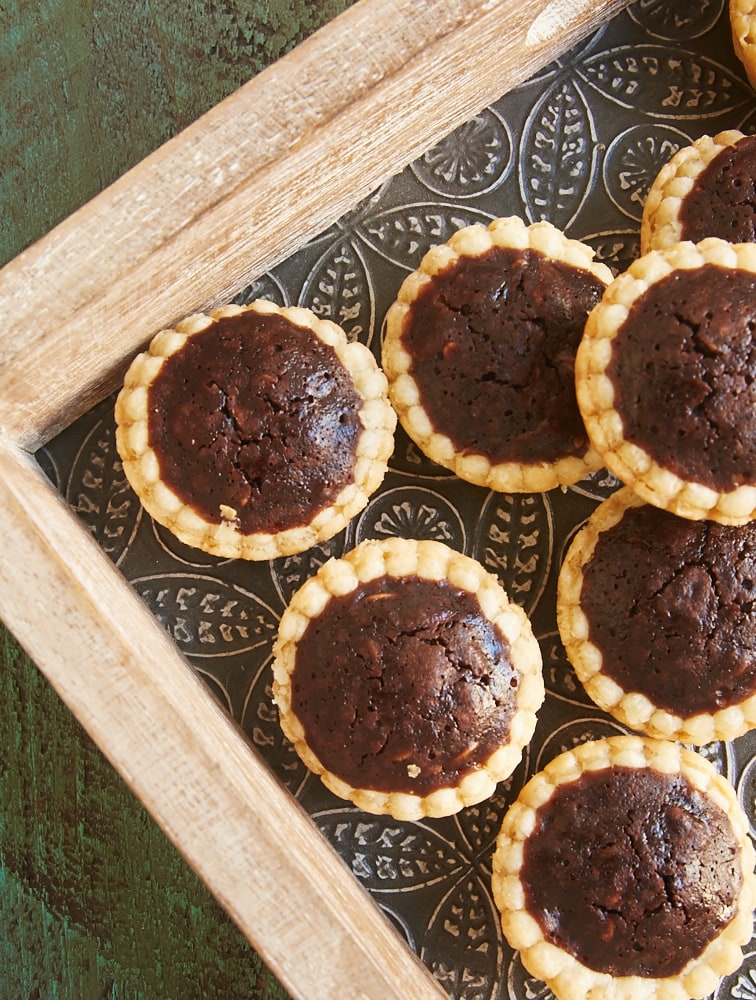
Chocolate Peanut Butter Tassies are tiny pies with big flavor. They’re such a great treat for easy sharing and serving!
Just this past weekend in my weekly newsletter, I shared some of my favorite mini desserts that are great for parties. I love little one-or two-bite desserts that can simply be placed on a tray for your guests to help themselves. It makes party food easier for everyone!
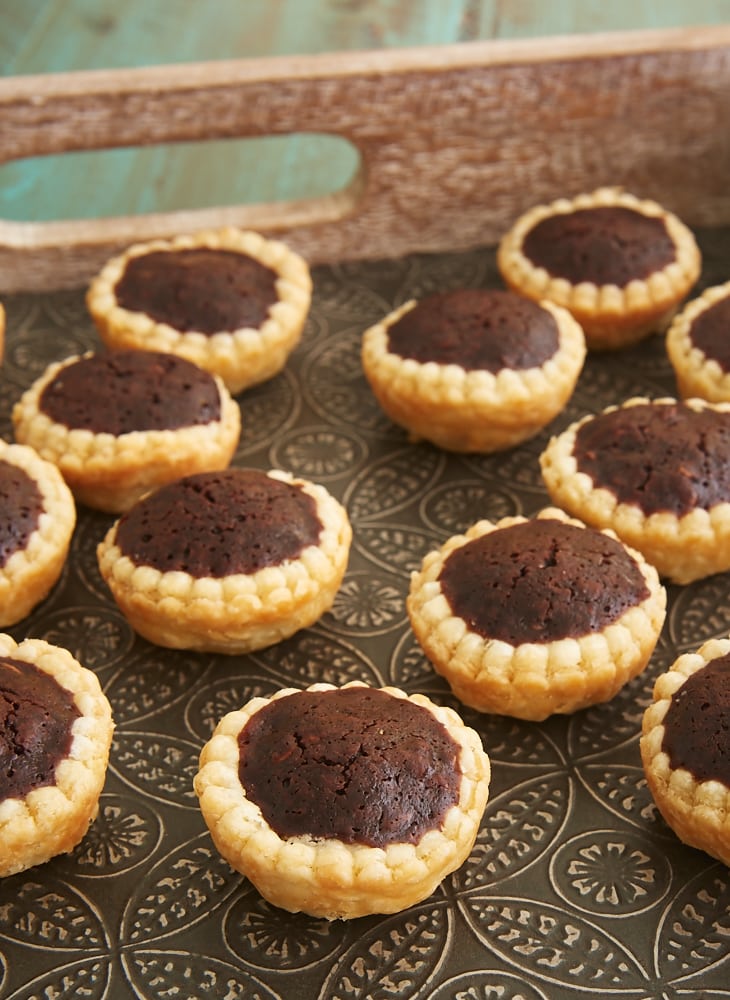
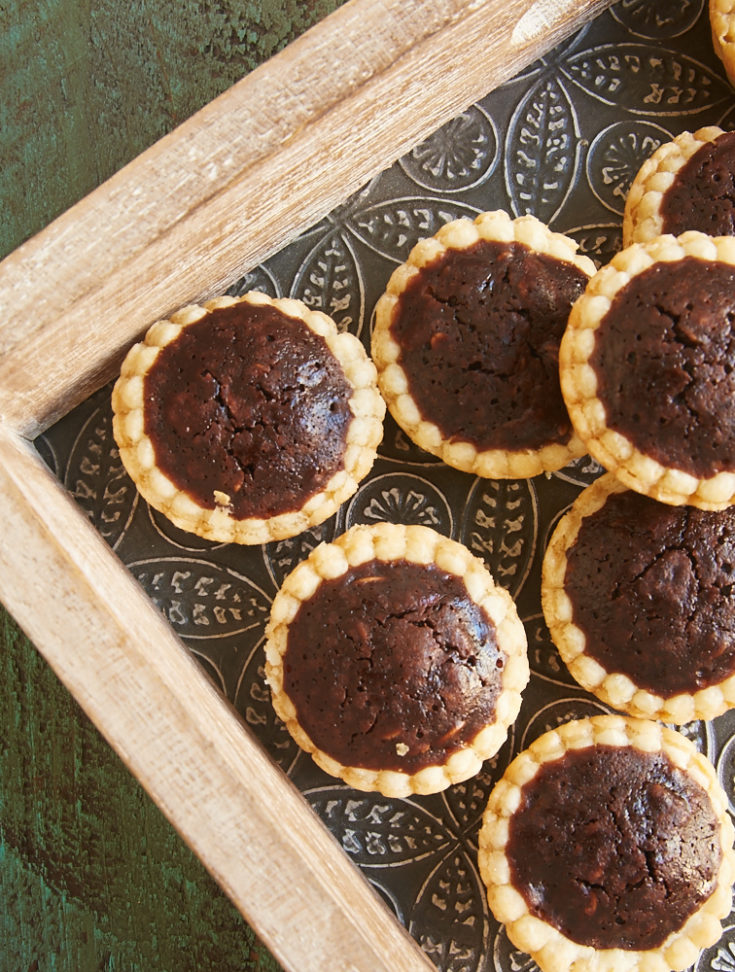
Don’t let their small size fool you. Mini desserts can have just as much flavor as their regular size versions. These Chocolate Peanut Butter Tassies fit that bill perfectly, featuring a rich, fudgy chocolate filling with a bit of peanut butter added for even bigger flavor.
You’ll need enough pie dough for a 9-inch pie crust. I use my go-to pie crust recipe, but feel free to use your favorite. Once you have your pie dough rolled out, just use a 2 & 1/2-inch round cutter to cut out rounds of dough. (I really like this fluted set of cutters.) The dough rounds will fit nicely in the cups of a mini muffin pan.
The fudgy filling mixes quickly and easily. It features cocoa powder and peanut butter for a wonderful flavor, plus some oats for a slightly chewy texture. A little cooking and mixing, a bit more mixing, and then just fill the pie crusts and bake. Then you’ll have wonderful bite-size treats with full-size flavor that’s sure to please chocolate and peanut butter loving fans!
More Chocolate Peanut Butter Recipes
- Peanut Butter Chip Brownies
- Brownie Bottom Peanut Butter Pie Bars
- No-Bake Peanut Butter Chocolate Bars
Bake or Break is a participant in the Amazon Services LLC Associates Program, an affiliate advertising program designed to provide a means for us to earn fees by linking to Amazon.com and affiliated sites.
Chocolate Peanut Butter Tassies
These rich, fudgy two-bite treats are perfect for entertaining!
Ingredients
For the pie crust:
- 1 & 1/4 cups (150g) all-purpose flour
- 1 teaspoon granulated sugar
- 1/2 teaspoon salt
- 1/2 cup (113g) cold unsalted butter, cut into 1/2-inch cubes
- 2 to 4 tablespoons cold water
For the filling:
- 3/4 cup (150g) firmly packed light brown sugar
- 3 tablespoons milk
- 3 tablespoons creamy peanut butter
- 2 tablespoons unsweetened cocoa powder
- 1 tablespoon unsalted butter
- 1 large egg
- 1/4 cup (24g) old-fashioned rolled oats
- 3 tablespoons all-purpose flour
- 1/4 teaspoon salt
Instructions
To make the pie crust:
- Whisk together the flour, sugar, and salt in a large bowl. Add the butter and mix with a pastry blender or fork until the mixture resembles coarse meal and the butter is the size of small peas.
- Add 1 tablespoon of water and continue mixing. Add more water as needed, 1 tablespoon at a time, until a dough forms.
- Wrap the dough tightly in plastic wrap. Refrigerate for at least 2 hours.
- Remove the dough from refrigerator. If necessary, let it sit at room temperature for 10 to 15 minutes until slightly softened but still cold.
- Lightly flour a work surface. Roll out the dough into a circle about 1/8-inch thick. Use a 2 & 1/2-inch round cutter to cut out 24 rounds of dough. If necessary, gather and re-roll the dough once.
- Lightly grease a 24-cup muffin pan. Place one dough round in each cup, pressing it down into the cup so that it lines the bottom and the edges.
To make the filing:
- Preheat oven to 350°F.
- Place the brown sugar, milk, peanut butter, cocoa powder, and butter in a heavy saucepan. Cook over medium-low heat, stirring frequently, until the mixture is smooth. Remove from the heat and allow to cool for 10-15 minutes.**
- Stir in the egg. Stir in the oats, flour, and salt.
- Divide the filling evenly among the pie crusts, filling each almost full. Bake 20 to 25 minutes, or until the crusts are browned and the filling is set.
- Cool in the pan for 10 minutes. Then transfer the pies to a wire rack to cool completely.
Notes
*You may substitute your favorite pie crust recipe. You'll need enough dough for a 9-inch pie. **Be sure to let the hot mixture cool before adding the egg so that the egg doesn't cook as it's stirred into the filling.


16 Comments on “Chocolate Peanut Butter Tassies”
Mini desserts are the best!! And mini PB+chocolate desserts are even BETTER. Love these!
These are so cute! And the perfect size, so even dieters will take one!
One question: How did you make that beautiful double scalloped edge?
Thanks, Martha! I used the fluted cutter I referenced in the post.
Help – these are ready to go in the oven but there is no temperature! Please post – thanks.
Love your site –
Oops! It’s 350°F. I’ll update the recipe right now.
Jennifer…you are really killin’ it with these recipes. These choc pb tassies are right up my alley!
Mini desserts are the best!
vous êtes vraiment doué merci pour cette recette
I thank you for this very detailed recipe
Love your site –
Do you think I could use ready made piecrusts? I have some that I definitely need to use up. I really enjoy your site…
Yes, that should be fine.
I made these to include with the baked goods I boxed up and sent to my brother, sister, and brother-in-law. No word yet from them (they should get their packages tomorrow), but I’ve been loving the few Tassies I had left over! Thanks for yet another outstanding recipe. 🙂
I’m so glad you like them, Anne! Happy holidays!
Hi Jennifer…I’ve just made a batch of these and they are delicious! I only got 17 tassies, though. I thought I’d filled them too full but none of them spilled over the top of the crust. Any thoughts on what I may have done wrong? Also, any tips for getting the pastry into the muffin cup without messing up the scalloped edge? Thanks!!
Hi, Mel. Is it possible the crust wasn’t rolled out thinly enough? Also, how efficient you are in cutting out the rounds with as little leftover scraps as possible makes a difference. For putting the pastry in the pans, try laying the crust on top of the cup and using a tart tamper or the end of a wooden spoon handle to push them into the cup.
Thanks, Jennifer. I’m going to give it another try!