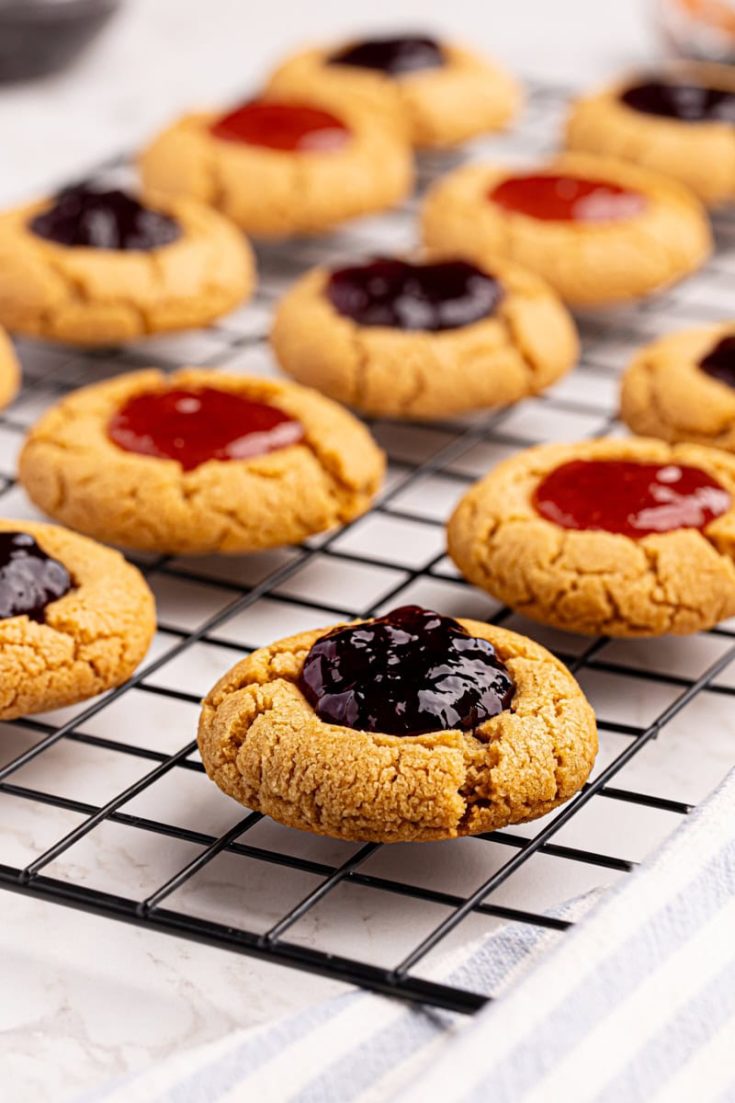
These peanut butter and jelly thumbprint cookies take a classic lunchbox combination and move it into dessert territory! A chewy peanut butter cookie base is topped with your favorite jam to create these sweet little treats.
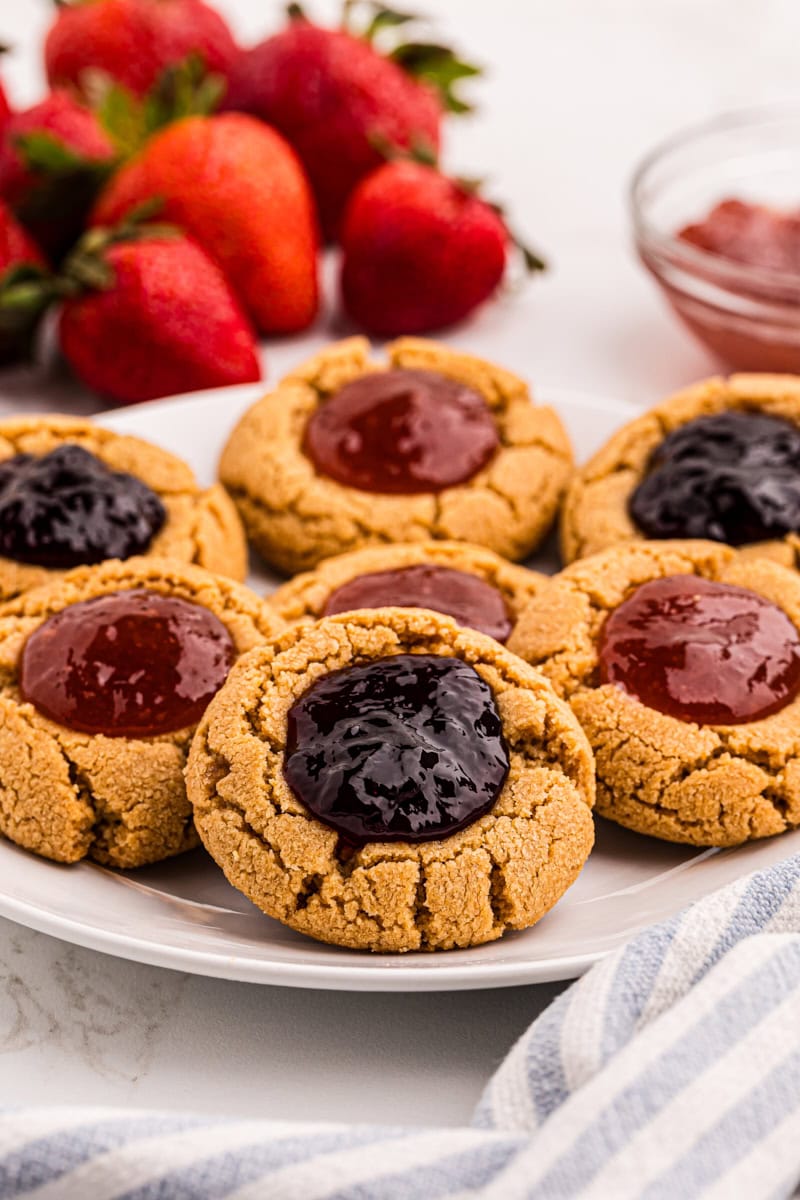
This recipe for peanut butter and jelly thumbprint cookies starts with what is my most often made version of peanut butter cookies. When they’re hot from the oven, a little indention is made and then later filled with your favorite jelly or preserves. They’re an absolute delight for PB&J fans!
Why You’ll Love These Thumbprint Cookies
- Delicious through and through. Some thumbprint cookie recipes are all about the thumbprint and the actual cookie is a bit lackluster. Because these start with a stellar peanut butter cookie, the base is just as delicious as the jammy filling.
- Perfect for any occasion. While there’s a definite season for spritz cookies and peppermint sugar cookie bars, peanut butter and jelly thumbprint cookies are a year-round kind of treat. Make them for the holidays or just because!
- Easy to make. No cookie cutters or special equipment needed! Just roll the dough into balls, bake, and make an indentation in the middle.
What You’ll Need
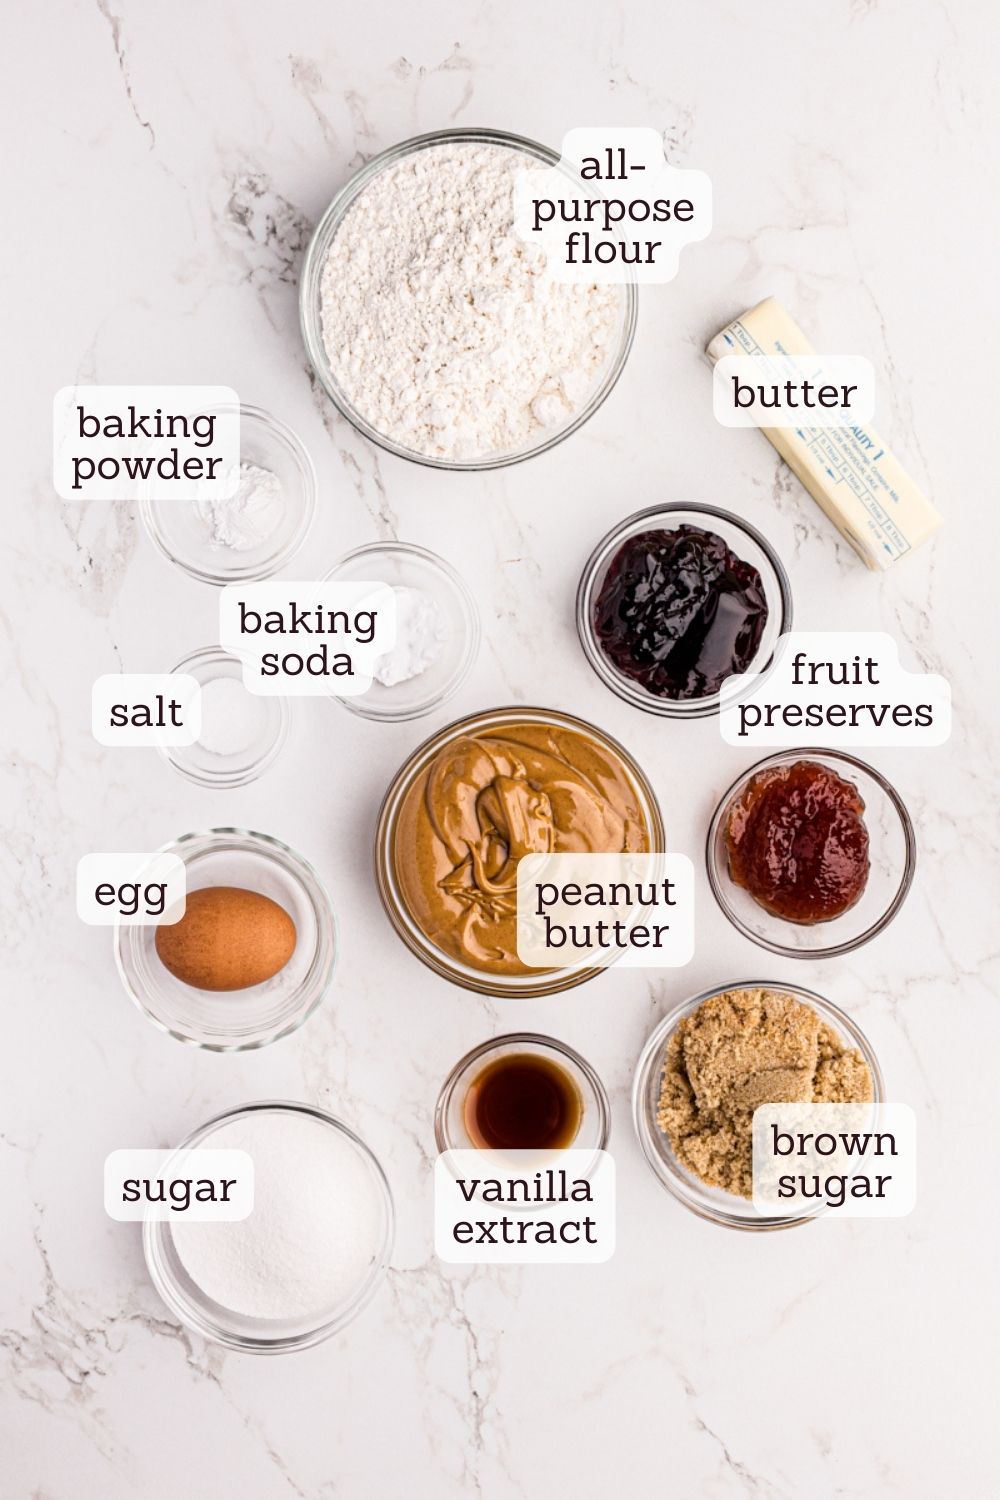
Scroll down to the recipe card to find the ingredient quantities and recipe instructions.
- All-purpose flour – Here’s how to measure flour for these cookies.
- Baking powder
- Baking soda
- Salt
- Unsalted butter – Learn more: Unsalted or Salted Butter: Which is Better for Baking?
- Granulated sugar
- Light brown sugar – Here’s the difference between light brown sugar vs. dark brown sugar.
- Creamy peanut butter – Don’t use natural peanut butter for this recipe. While I quite like it in a PB&J sandwich, it can bake unpredictably, as the consistency can be, well, inconsistent. Choose a peanut butter that doesn’t need to be stirred before using.
- Egg
- Vanilla extract – I like to use my homemade vanilla extract.
- Jelly or preserves – Of course, use your favorite, or open up several jars and make a variety of combinations. Strawberry, raspberry, mixed berry… whatever you like!
How to Make Peanut Butter and Jelly Thumbprint Cookies
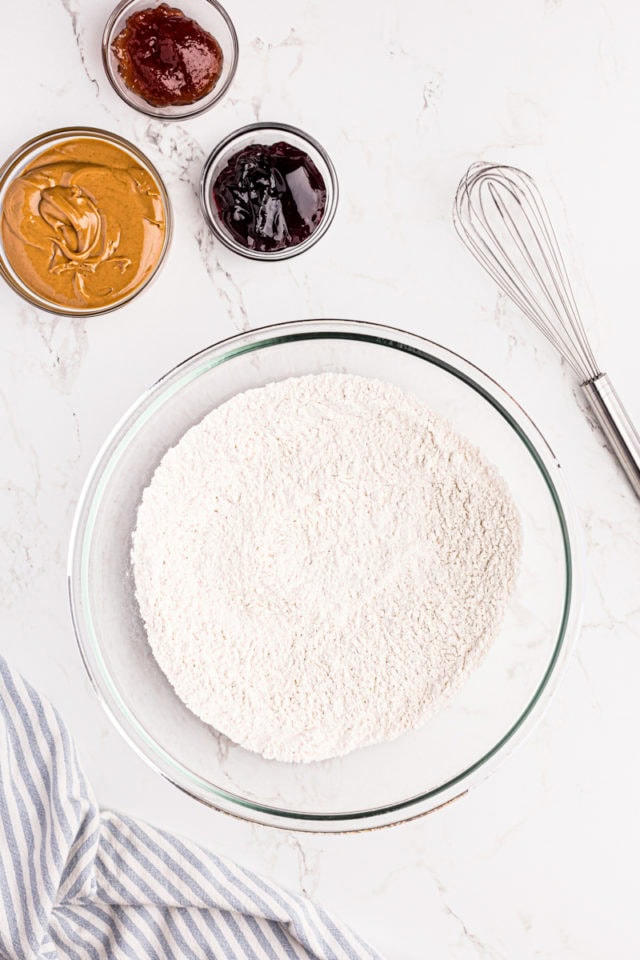
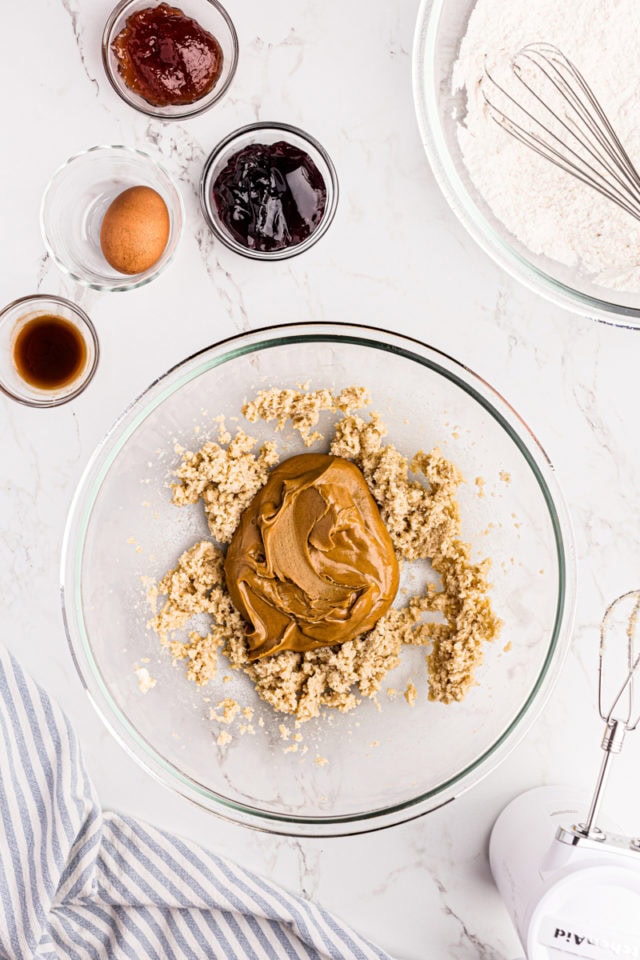
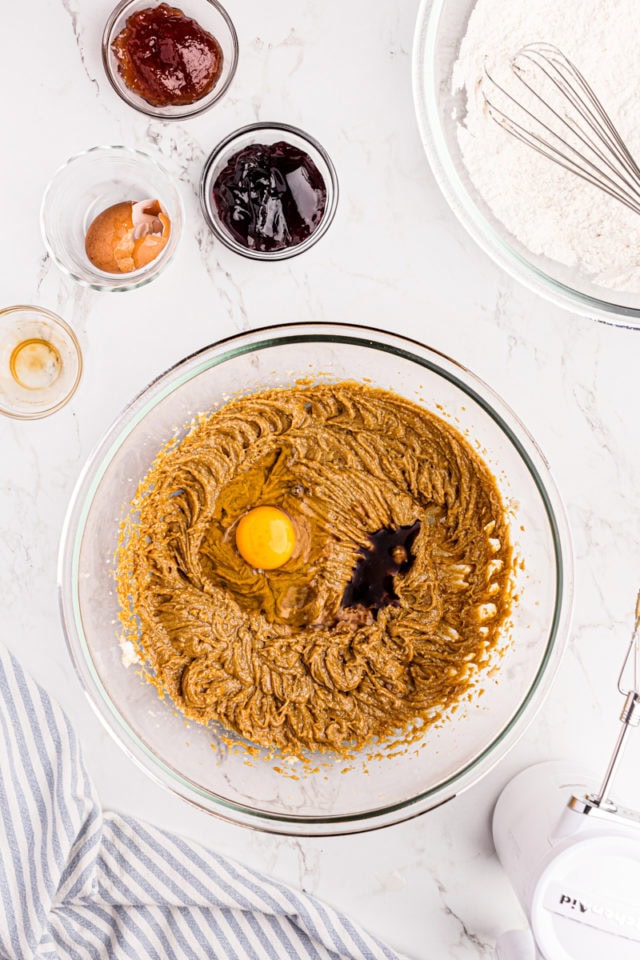
- Mix the dry ingredients. Whisk the flour, baking powder, baking soda, and salt in a medium bowl.
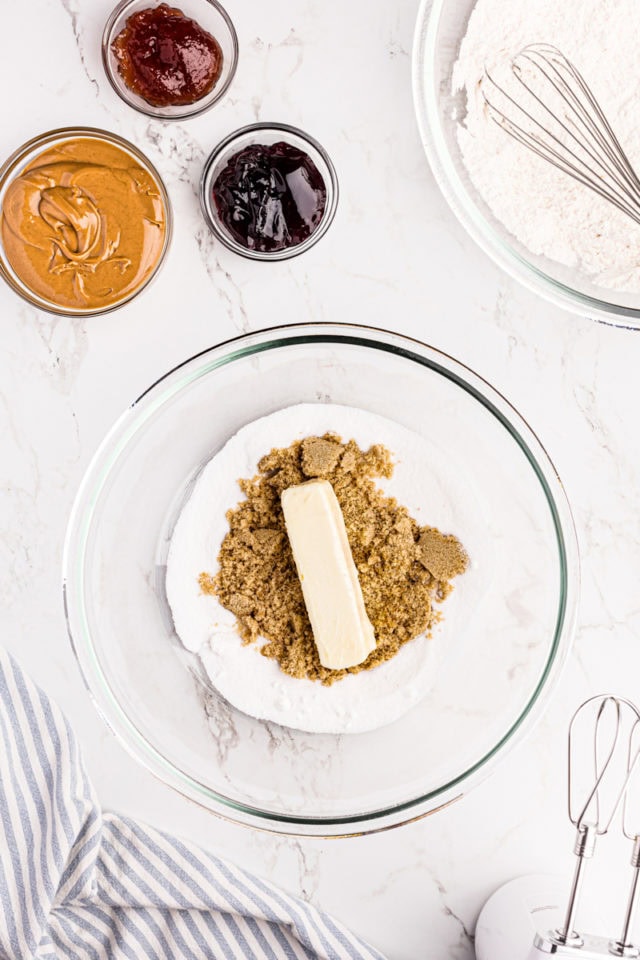
- Mix the wet ingredients. Use an electric mixer on medium speed to cream the butter, sugar, and brown sugar. Mix in the peanut butter, followed by the egg and vanilla.
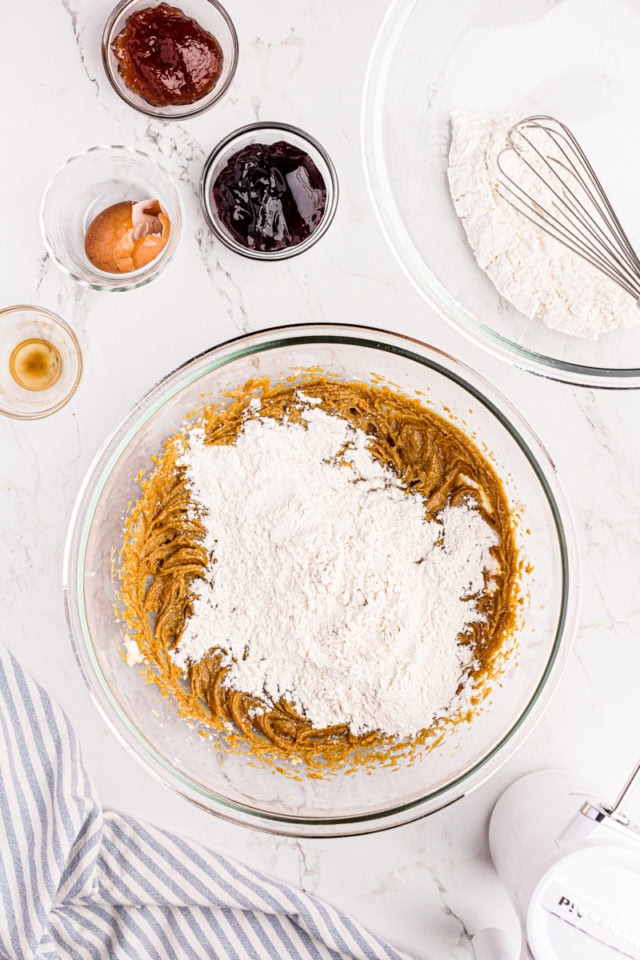
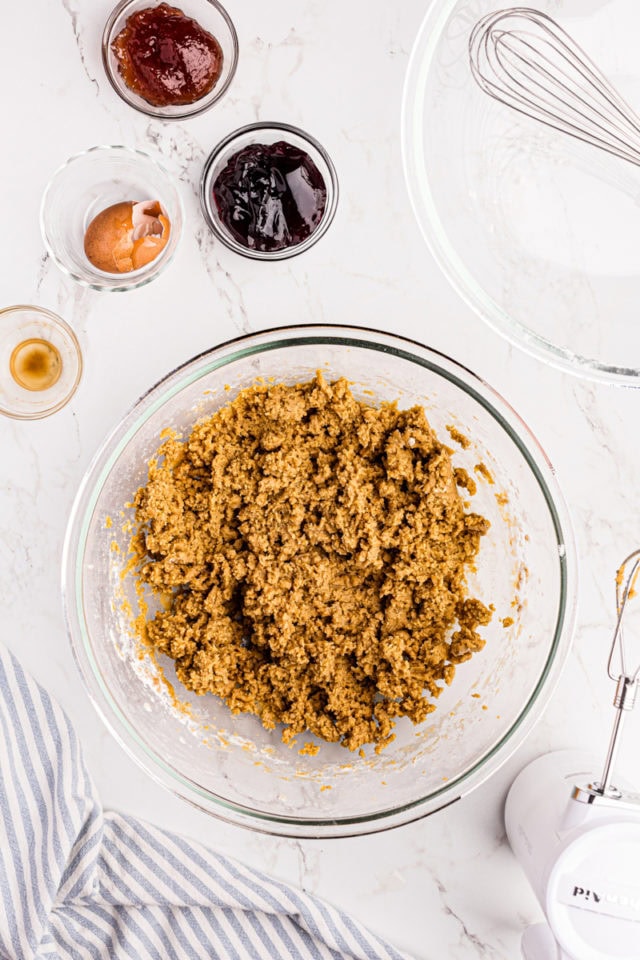
- Combine wet and dry. Slowly mix the flour mixture into the wet ingredients with the mixer on low speed.
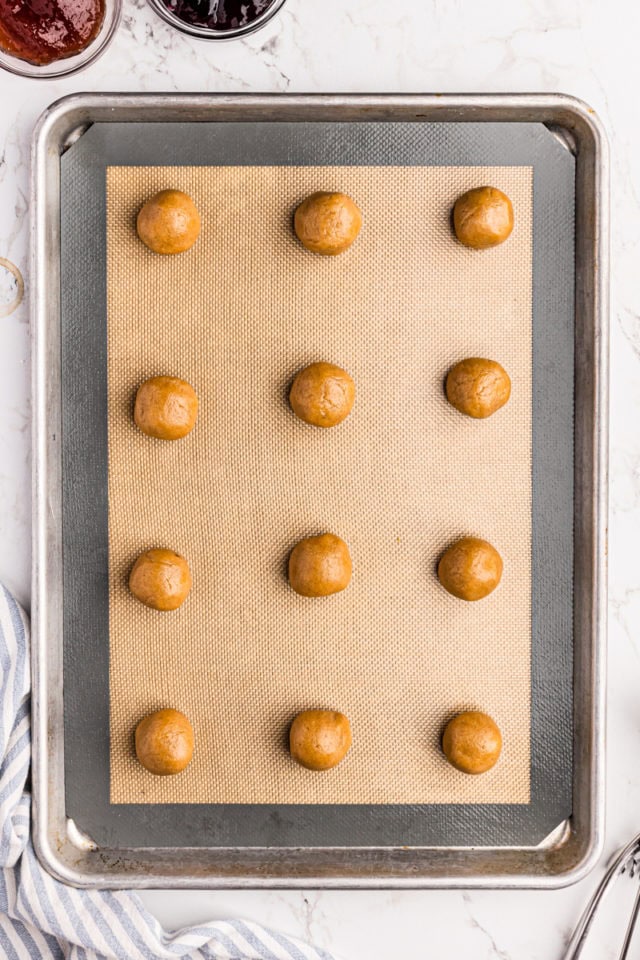
- Form the cookies. Roll a tablespoonful of dough for each cookie and place them on a lined baking sheet.
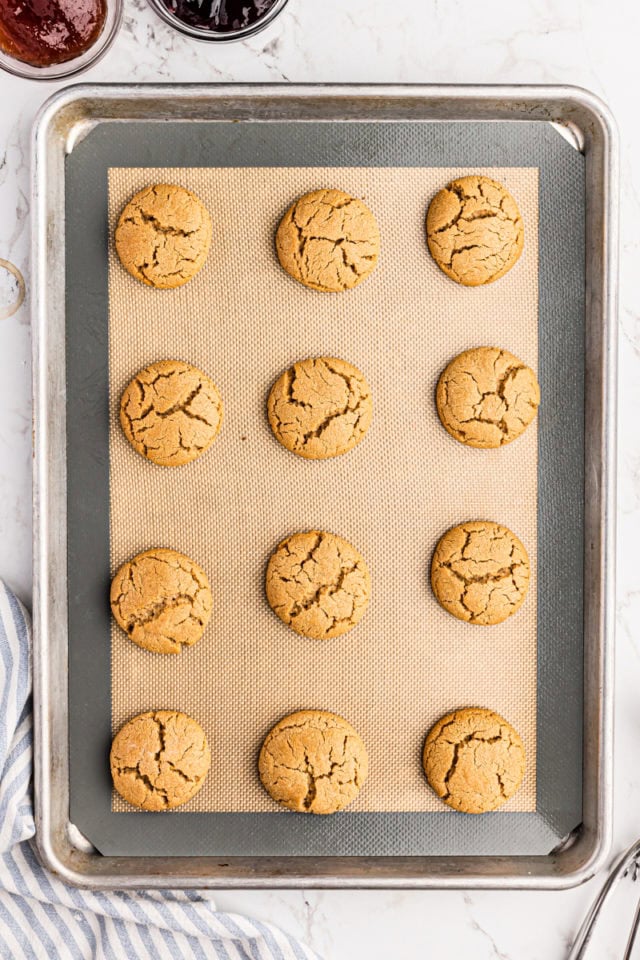
- Bake. One pan at a time, bake the cookies at 350ºF for 14-16 minutes.
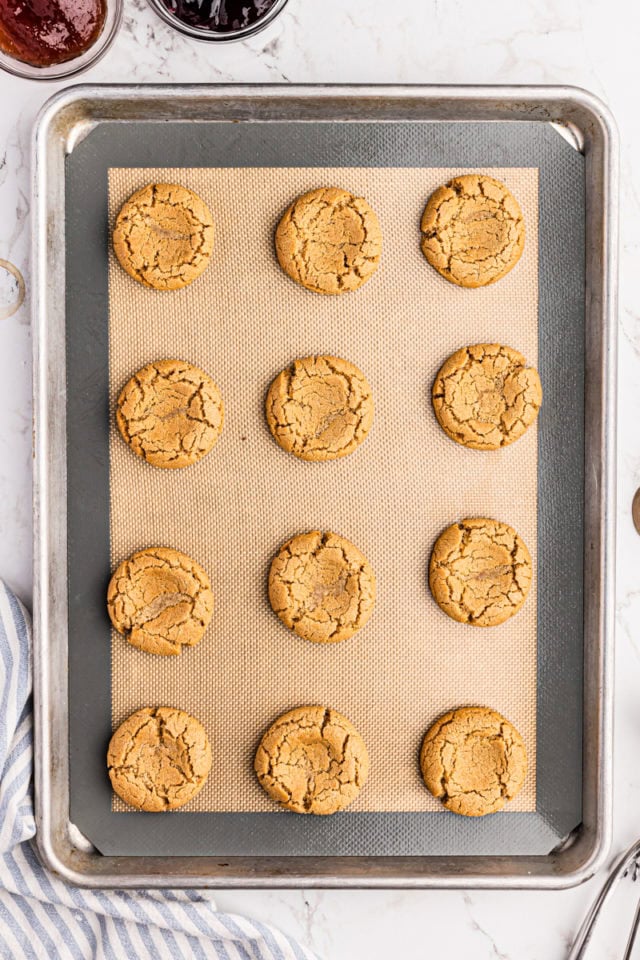
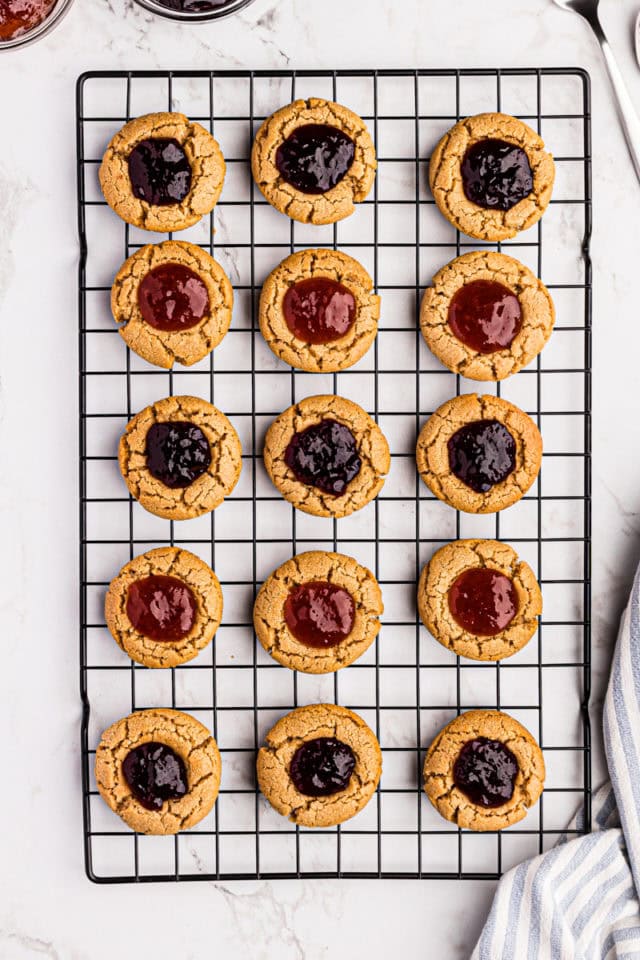
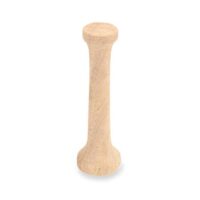
- Make the “thumbprint.” Use the back of a spoon or a tart tamper to make an indentation into the center of the warm cookies.
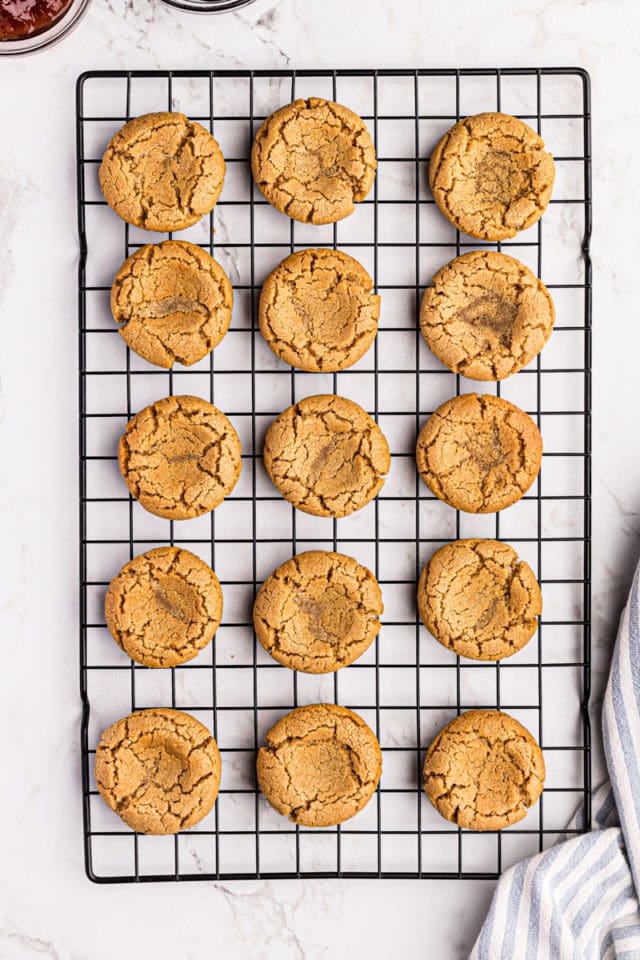
- Cool and fill. Let the cookies cool on the pans for about 5 minutes, then transfer them to a wire rack to finish cooling. Fill the indentations with jelly.
Tips for Success
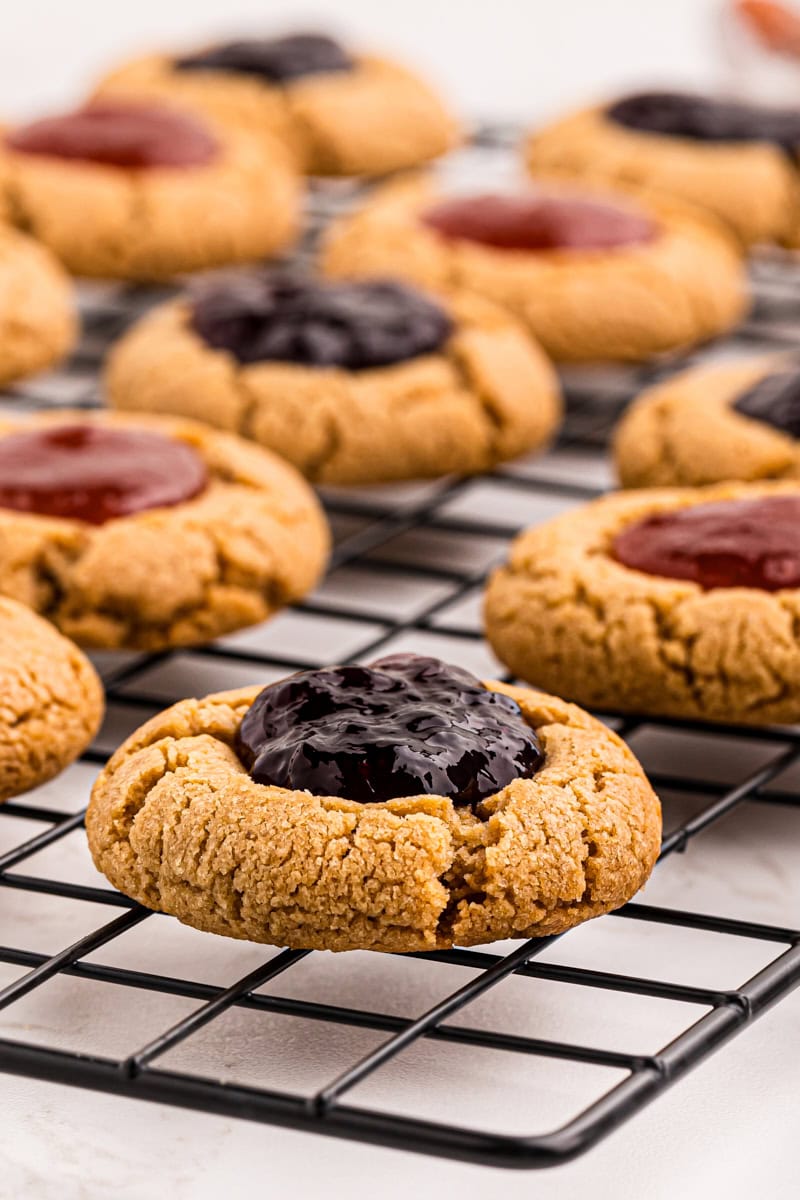
- Don’t over-bake. Be sure not to over-bake these cookies. They need to be soft enough to make the indentation in the centers. Do this while they’re still warm and soft from the oven. Also, keep a close eye on them while they’re baking, as oven temperatures may vary.
- Use room temperature ingredients. For best results, use softened butter and room-temperature egg. This ensures that the dough ingredients mix together evenly and creates a soft and chewy texture in the final cookies. Learn more: How to Soften Butter
- Leave enough space between cookies. These cookies will spread slightly while baking, so leave about 2 inches between each ball of dough on the baking sheet.
- Refrigerate the dough between batches. This will keep any subsequent batches of cookies from spreading too thin on the baking sheets.
How to Store
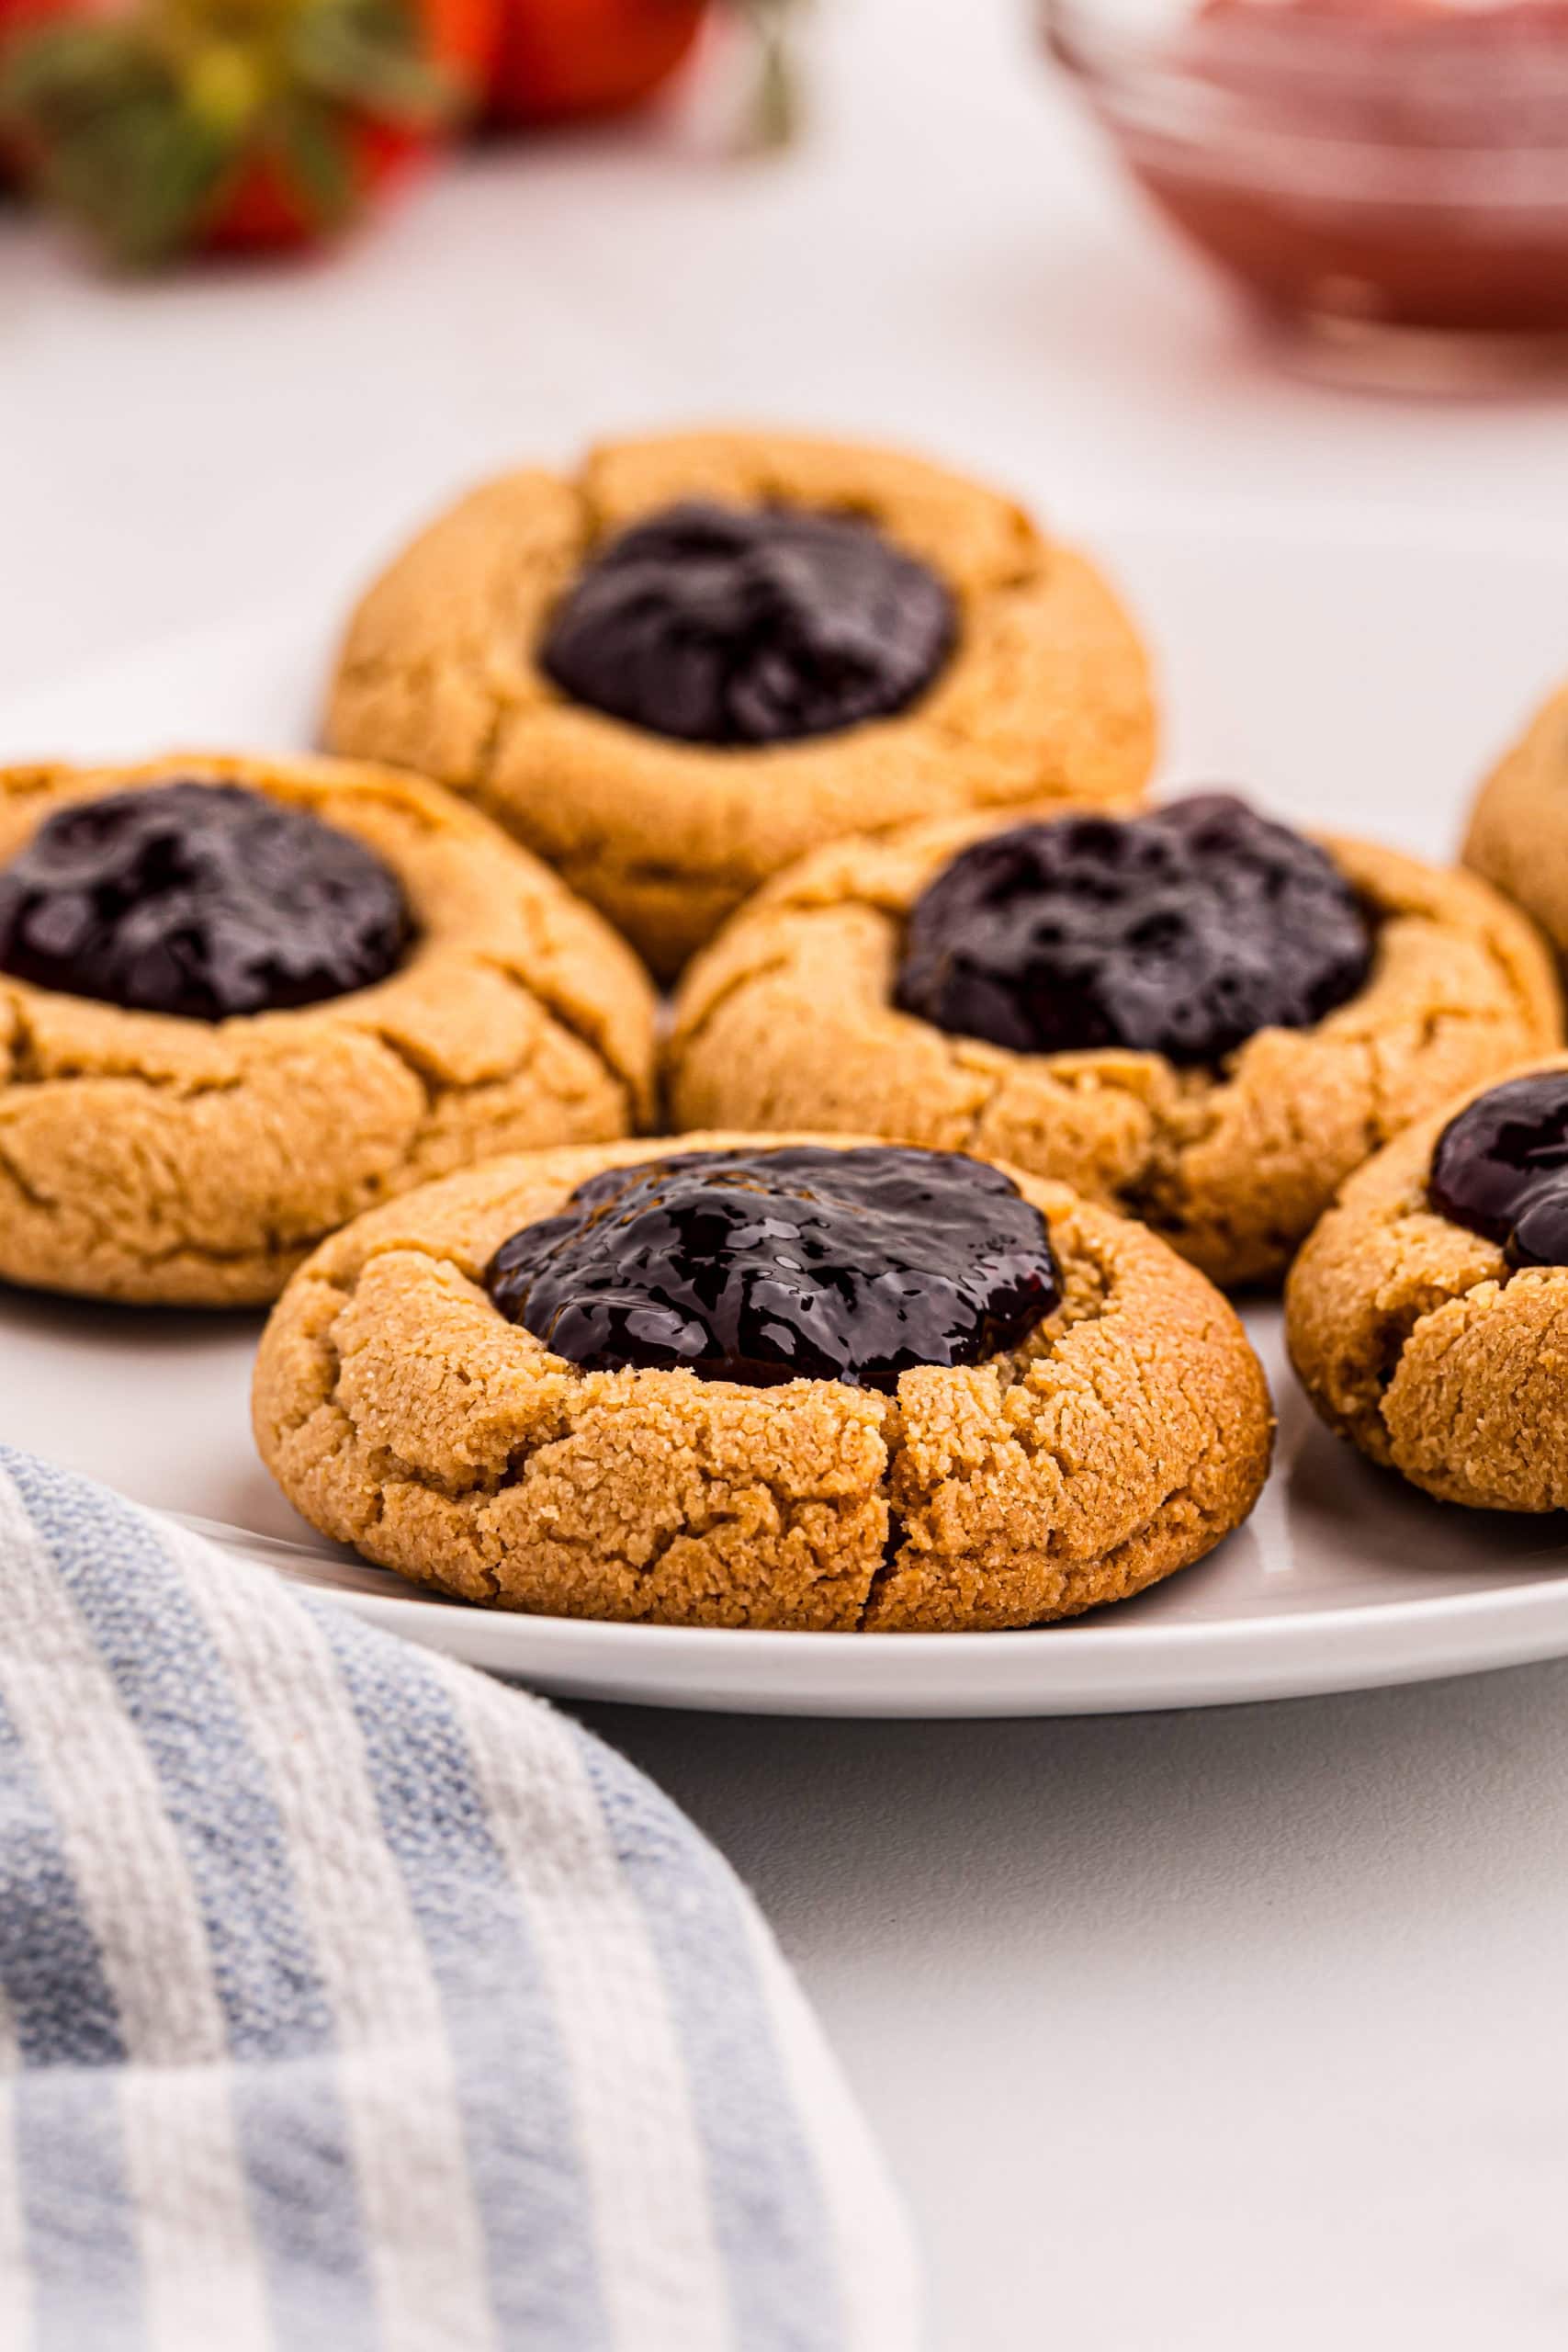
Store peanut butter and jelly cookies in an airtight container with parchment paper or wax paper in between the layers. They’ll keep at room temperature for up to 3 days.
Can I Freeze This Recipe?
You can freeze peanut butter and jelly thumbprint cookies in an airtight container or freezer bag for up to 2 months with parchment or wax paper between the layers. Thaw them at room temperature before serving.
More Thumbprint Cookie Recipes
- Frosting-Filled Thumbprint Cookies
- Cream Cheese Thumbprint Cookies
- Caramel Pecan Thumbprint Cookies
- Almond Poppy Seed Thumbprint Cookies
- Lemon Thumbprint Cookies
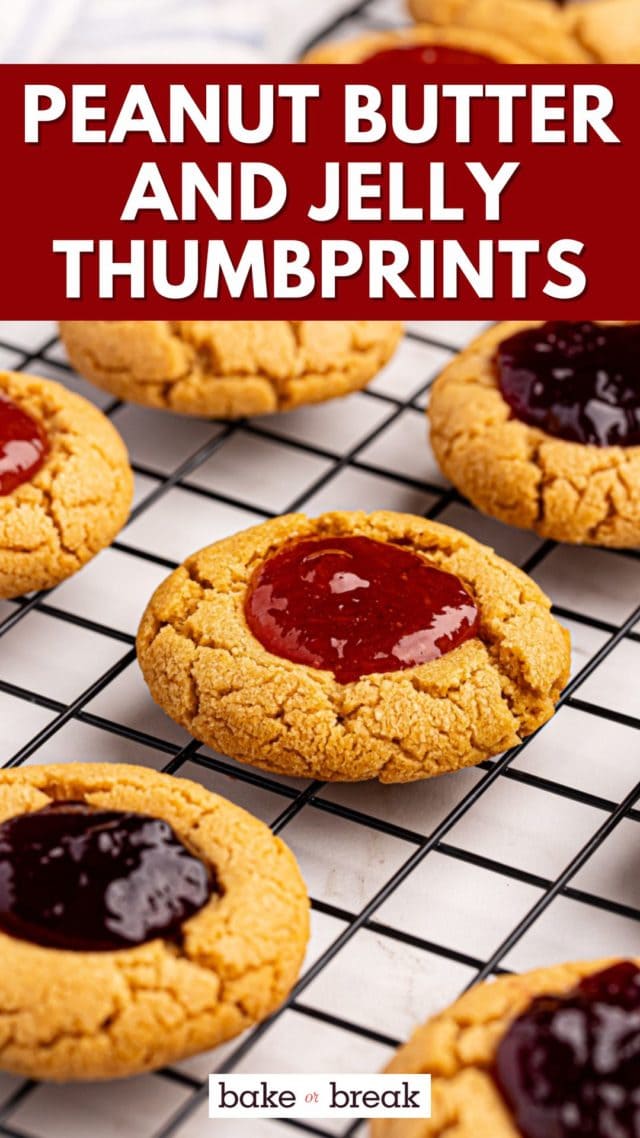
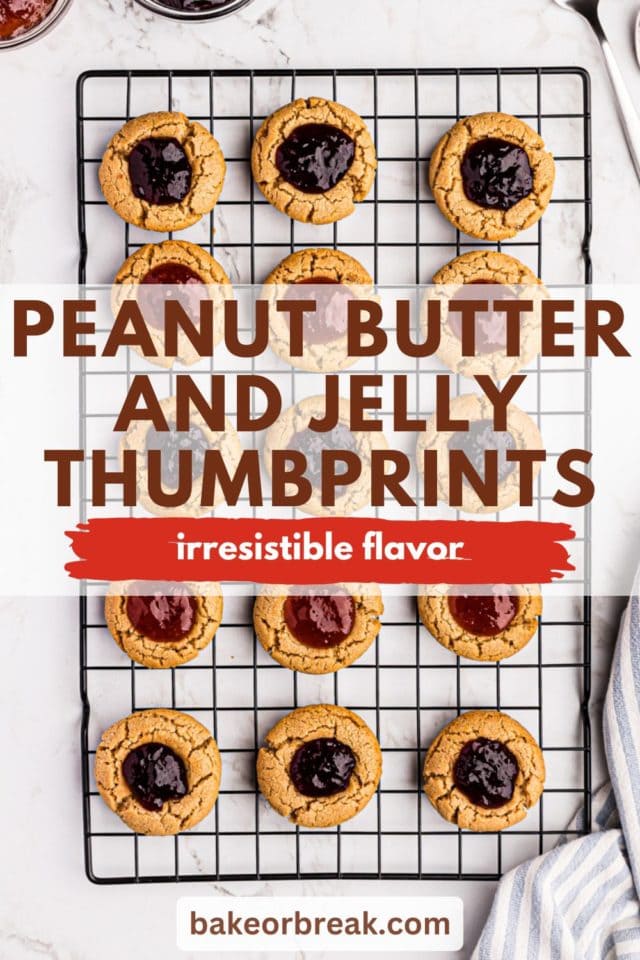
Peanut Butter and Jelly Thumbprint Cookies
Chewy peanut butter cookies and your favorite fruit preserves combine to make these easy peanut butter and jelly thumbprint cookies!
Ingredients
- 1 & 1/4 cups (150g) all-purpose flour
- 1/2 teaspoon baking powder
- 1/2 teaspoon baking soda
- 1/4 teaspoon salt
- 1/2 cup (113g) unsalted butter, softened
- 1/2 cup (100g) granulated sugar
- 1/2 cup (100g) firmly packed light brown sugar
- 1 cup (255g) creamy peanut butter
- 1 large egg
- 1 teaspoon vanilla extract
- your favorite jelly or preserves (about 4 ounces)
Instructions
- Preheat oven to 350°F. Line baking sheets with parchment paper or silicone liners.
- Whisk together the flour, baking powder, baking soda, and salt in a medium-sized bowl. Set aside.
- Using an electric mixer on medium speed, beat the butter, sugar, and brown sugar until light and fluffy. Add the peanut butter and mix just until blended. Mix in the egg and vanilla.
- Reduce mixer speed to low. Gradually add the flour mixture, mixing just until blended. Be sure not to over-mix.
- Using a tablespoonful of dough at a time, roll the dough into balls and place on the prepared pans, leaving about 2 inches between cookies. Bake the cookies, one pan at a time, 14-16 minutes or until lightly browned. (You may need to refrigerate the remainder of the dough until ready to bake.)
- While the cookies are still warm, use the back of a spoon or a tart tamper to press an indentation into the center of each cookie.
- Cool the cookies on the pans on a wire rack for about 5 minutes. Then, transfer the cookies from the pans to a wire rack to cool completely. Fill the indentations with jelly or preserves.
Notes
Store peanut butter and jelly thumbprint cookies in an airtight container with parchment paper or wax paper in between the layers. They’ll keep at room temperature for up to 3 days.Â
Recommended Products
Bake or Break is a participant in the Amazon Services LLC Associates Program, an affiliate advertising program designed to provide a means for us to earn fees by linking to Amazon.com and affiliated sites.





17 Comments on “Peanut Butter and Jelly Thumbprint Cookies”
I had peanut butter and jelly on a waffle for a snack last night. The ultimate comfort food for me. Now I wish I had these cookies instead…
Looks amazing!!!
and a giant glass of ice cold milk!
I’m all set!
LOL
These look awesome! Oh, and I love the new layout…including the recipe in the main post.
I made these today. They are delicious. Thanks for the recipe.
I love thumbprints! These sound awesome!
I also made these today. Fan-tastic.
My favourite thing about this site is that the recipes always “just work”.
I made some that didn’t require any cooking (the cookie part) soooo good! And very similar to this (even in the looks)
These sounds incredible! and your pictures make them look so appetising!
very nice cookies ! i saw your dishes and pictures and i’m impressed 🙂 they are amazing!
I really love to munch peanut butter because of its sweet and nutty taste. Peanut butter with large peanute chunks are the best. `*.”`
Yours trully
http://www.foodsupplementdigest.com“>
can these be frozen after being layered? i am thinking of making these as gifts for my co-workers…
Cindy, peanut butter cookies are one of the best kinds to freeze. Jelly freezes pretty well, too, so you should be able to freeze these. Just be sure to put something between the layers so the jelly won’t stick to the other cookies.
These cookies were so soft, light, and melt-in-your-mouth delicious. The chunky peanut butter was the perfect crunchy contrast to such a light cookie. I made heart indentations for the thumbprints, perfect for Valentine’s Day.
Thanks for this recipe! I live in Doha, Qatar and am always on the lookout for cookie recipes I can make with the limited tools/ingredients I have here. Turns out these are delicious if made by hand (no mixer), and you can omit the vanilla. Also, I used the cap to a water bottle instead of a tart tamper to get a nice circle indentation. Next time, I plan to sub Nutella for the preserves:)
Just made these came out awesome. Thank you for this recipe will make again. I also put some reese peanut cups in a few they look great.
My 4 1/2 year old son and I just made these and they were delicious! I was out of butter and used crisco in it’s place. Also, I used egg whites since I was out of eggs.