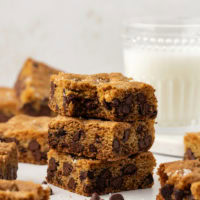
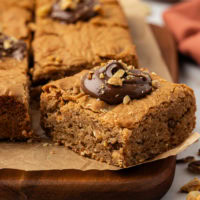
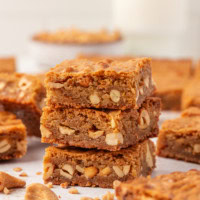
This Salted Butterscotch Blondies recipe combines sweet butterscotch with a little salty bite. Sweet and salty delciousness!
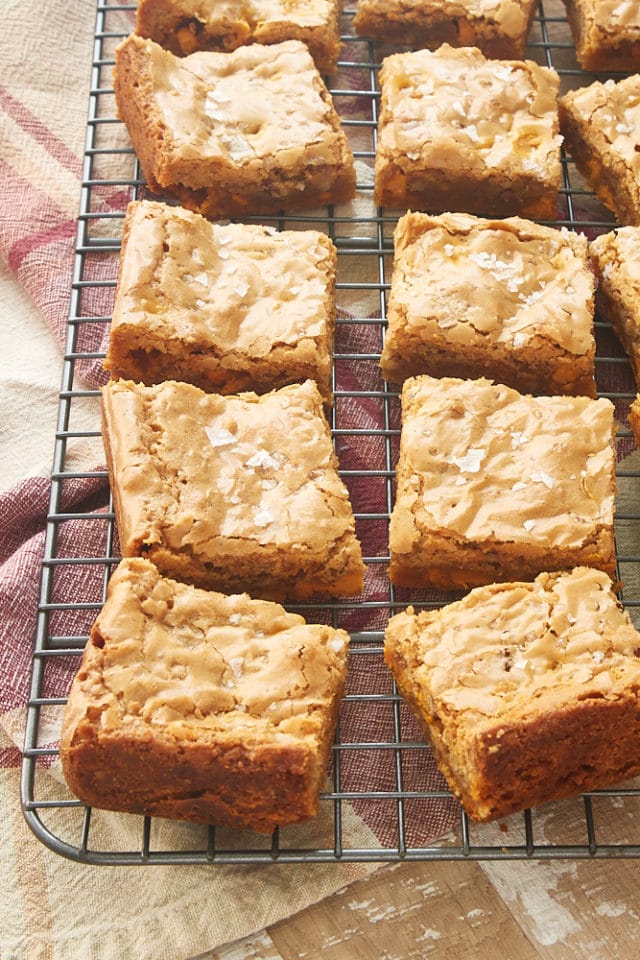
Easy Salted Butterscotch Blondies
Butterscotch is such an underrated flavor. It’s certainly one of my favorites, and it really shines in these fantastic Salted Butterscotch Blondies!
These bars are soft yet dense with big butterscotch flavor. They’re made with plenty of brown sugar to maximize that butterscotch goodness. Seriously, just the smell of these alone is enough to get my mouth watering!
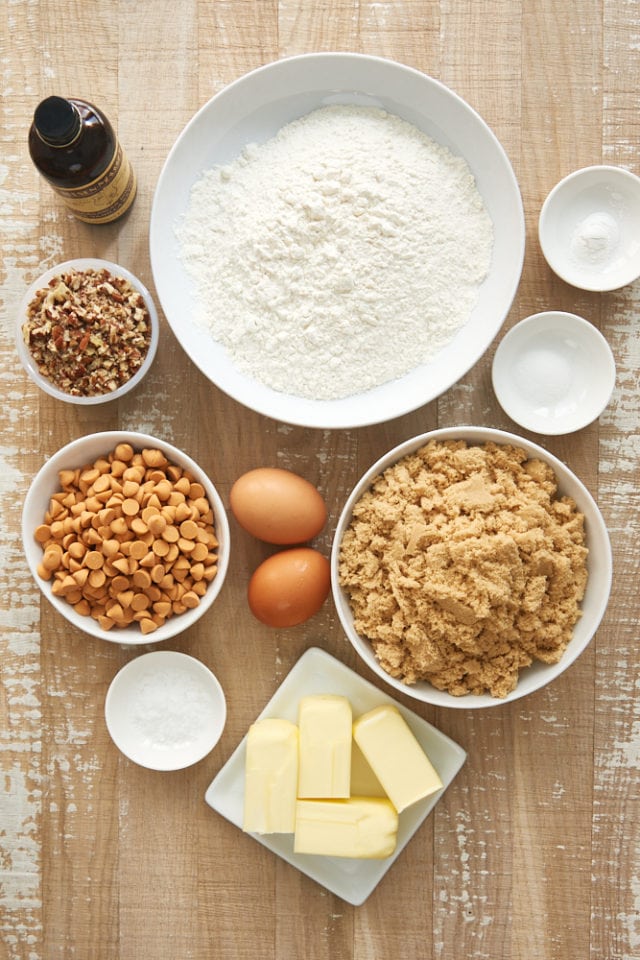
What You’ll Need
Here’s a quick rundown of what you’ll need to make these blondies. Be sure to scroll down to the recipe card below for specific amounts.
- All-purpose flour – If you have a kitchen scale, measure by weight for best results. If not, then spoon and sweep.
- Baking powder
- Salt
- Unsalted butter – Melted and slightly cooled
- Light brown sugar
- Eggs
- Vanilla extract
- Butterscotch chips – You can add up to another 1/2 cup of butterscotch chips if you just can’t get enough!
- Chopped nuts – I like to add some chopped pecans to these bars for some crunch and to complement the sweetness. You can, of course, omit the nuts if you like or use a different kind of nuts.
- Coarse salt – A few pinches of coarse salt on top add a salty bite to offset the sweetness of the bars. That sweet and salty combination is just so good!
Tips for Success
- Measure accurately. Use a kitchen scale if possible. Otherwise, use the spoon and sweep method, and take care to make good measurements.
- Use good quality butterscotch chips. Not all butterscotch chips are created equally. Find one that tastes good to you and holds up well to baking. (I like Guittard.)
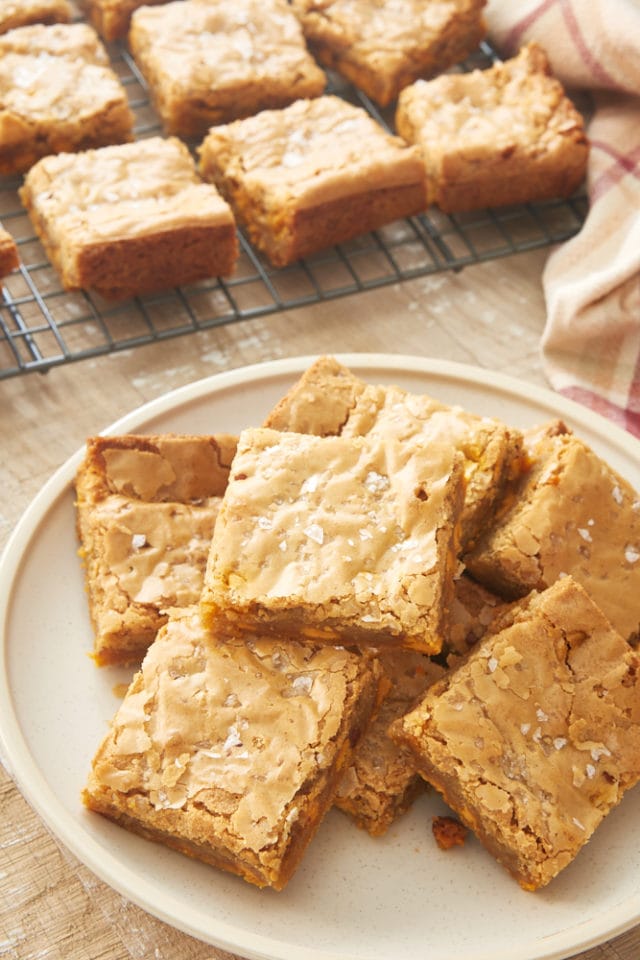
- Don’t over-bake. Too much oven time can mean tough, dry blondies. The bars should be golden brown, and a pick inserted into the center should come out clean.
- You can skip the salt. If you’re not a big fan of sweet and salty, just skip that step. You’ll still get some really tasty blondies!
How to Store Homemade Blondies
Let the blondies cool to room temperature, then place them in an airtight container. You can store them on the counter for up to 4 days and in the fridge for up to 7 days.
Can I Freeze These?
Yes! I recommend wrapping individual blondies in plastic wrap, then placing them in an airtight, freezer-safe container or zip-top bag. They will keep in the freezer for up to 3 months. Thaw on the counter for a couple of hours when you’re ready to eat one of the blondies. You can also remove the plastic wrap and zap a blondie in the microwave for about 30 seconds if you need a blondie fix stat.
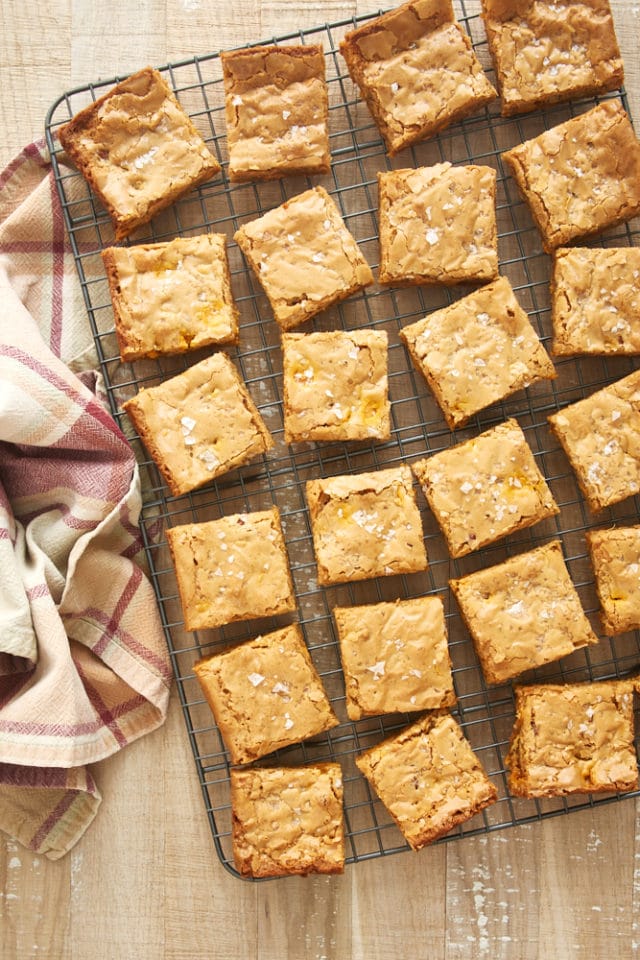
These Salted Butterscotch Blondies have a lot going for them. They’re quick and easy to make, which is always a selling point in my book. Plus, they’re an absolute pleasure to eat. All that butterscotch deliciousness and that extra salty bite! Irresistible!
More Blondie Recipes
Video Tutorial: Salted Butterscotch Blondies
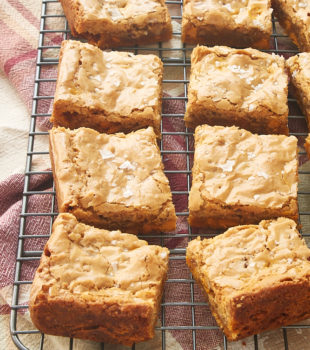
Salted Butterscotch Blondies
Ingredients
- 2 cups (240 g) all-purpose flour
- ¾ teaspoon baking powder
- ½ teaspoon salt
- 1 cup (226 g) unsalted butter, melted and slightly cooled
- 2 cups (400 g) firmly packed light brown sugar
- 2 large eggs
- 1 teaspoon vanilla extract
- 1 ½ cups butterscotch chips
- ½ cup chopped nuts
- coarse salt
Recommended Products
Instructions
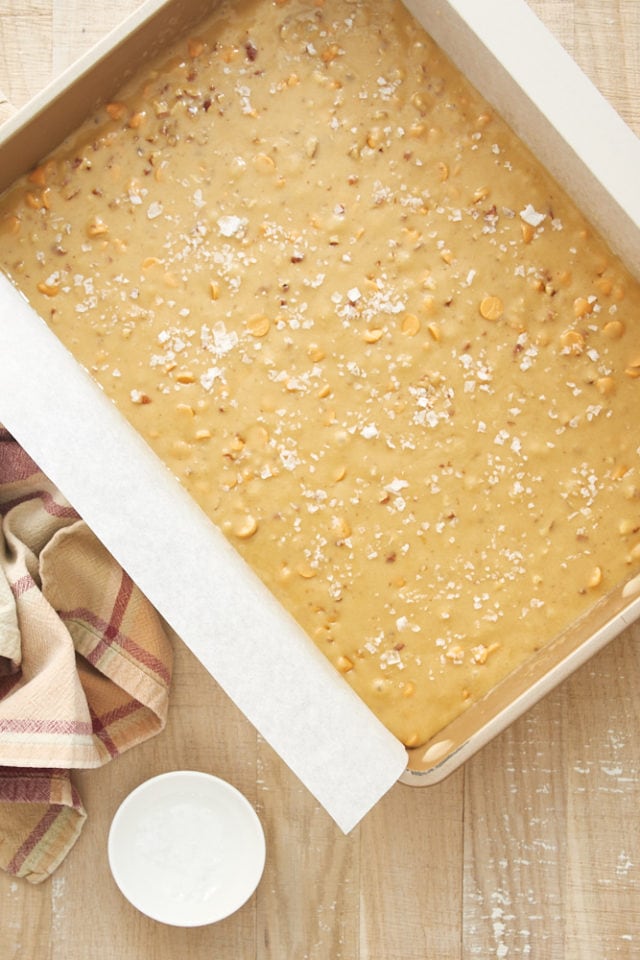
- Preheat oven to 350°F (175°C). Line a 9"x 13"x 2" baking pan with parchment paper so that it overhangs by a couple of inches on the two long sides. Grease the parchment and any exposed parts of the inside of the pan.
- Whisk together the flour, baking powder, and salt. Set aside.
- In a separate bowl, combine the butter, brown sugar, eggs, and vanilla until thoroughly combined. Gradually add the flour, mixing just until combined. Stir in the butterscotch chips and nuts.
- Spread the batter evenly in the prepared pan. Sprinkle a few pinches of coarse salt over the top of the bars.
- Bake 30 to 35 minutes, or until the bars are golden brown and a pick inserted into the center comes out clean.
- Place the pan on a wire rack and allow the bars to cool completely. Use the overhanging parchment paper to lift the bars from the pan and place on a cutting board. Cut into bars.
Notes
- Store in an airtight container at room temperature up to 4 days.



12 Comments on “Salted Butterscotch Blondies”
Delicious! They are perfectly chewy with crunchy edges. Made as directed. I highly recommend using the Guittard butterscotch chips. Their flavor is top notch.
I’m glad you liked the blondies, Amy! Those Guittard chips are definitely my favorite.
Mine came out raw in the middle. I baked about 10 minutes longer, but was afraid to overcook as the outside was a perfect brown color.
Sorry you had troubles, Crystal! If you’re using a dark-colored pan, that can lead to the inside not getting baked thoroughly.
I made these the other day and they were AMAZING. In Australia we are a bit lacking in the butterscotch chip department so I had to use caramel buttons instead and they were still sooooo good! My work colleagues are still talking about how delicious they were. Thanks for the recipe!
That’s so great to hear, Gill! I’m glad they were a hit for you!
Mine turned out raw in the middle also, which was super disappointing. I baked in glass 9×13 and followed recipe exactly as written. Any ideas as to how I can avoid if I try baking again?Or where I may have gone wrong?
Hi, Lisa! I definitely don’t recommend baking with a glass pan unless the recipe specifically calls for it. Glass conducts heat differently than metal, which leads to a lot of issues with how thoroughly and evenly things bake. Also, all ovens are different, so the baking time is a guideline. Look for the visual cues and use the toothpick test. Hope that helps!
I used the recipe on the Guittard bag, which contains 2 cups , which the recipe asked to use the 2 cups. It also said to use a 8×8 pan, which I knew would be too small, so I made them in a 9×13 pan and that was perfect for the dough. Another problem was that the ingredients listed baking powder and Not baking soda, as was stated in the instructions. I used baking powder, according to my baking experience. These Blondies turned out to be 1″-/1.5″ thick. I would suggest to use Less of the butterscotch chips, so they would be a more uniform size.
Hi, Melissa! I don’t think I’ve made the recipe on the back of the Guittard bag, so I’m afraid I can’t help you with it with any firsthand experience. If you’re looking for a butterscotch blondies recipe, the one above is one of my favorites. Happy baking!
Absolutely delicious! I browned the butter and it was delicious.
Yay! I love that it was a hit for you, Becky!