Brown and Serve Rolls are easy to make and so full of flavor. A favorite make-ahead yeast roll recipe!

Make-Ahead Brown and Serve Rolls
When I first started baking, I was so intimidated by baking yeast breads. Since then, my bread baking skills have definitely improved, but I still lean toward the simpler yeast bread recipes. With less work required, I’m far more likely to make homemade bread than if I were using a complicated recipe.
That brings us to these brown and serve rolls. Of course, the very best thing about brown and serve rolls is that you can partially bake the rolls in advance, and then they just need a brief oven stint when you’re ready to serve them.
These yeast rolls are the perfect make-ahead dinner bread for holidays and other occasions when you want to do as much in advance as possible. They’re also great for having in your freezer when you want a few rolls to go with your no-occasion meal. (If you’re looking to make fewer rolls, try my small batch dinner rolls.)
What You’ll Need
Scroll down to the recipe card at the bottom of this post for ingredient quantities and full instructions. Here are some notes about the ingredients you’ll need to make these brown and serve rolls.
- All-purpose flour – Measure by weight or use the spoon and sweep method for the best results. Learn more: How to Measure Flour
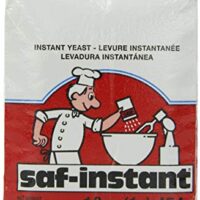
- Instant yeast – This type of yeast works faster than active dry yeast, simplifying and expediting the bread making process. You may see this type of yeast labeled as rapid rise or quick rise.
- Sugar
- Salt – You can use regular table salt, kosher salt, or a flaky sea salt.
- Milk
- Water
- Butter – There’s butter in the dough, and you can also brush the freshly baked rolls with more butter if you like.
- Your favorite herbs and spices – These are optional but easy ways to add more flavor to your yeast rolls. See below for some flavor suggestions.
How to Make Brown and Serve Rolls
Don’t be put off by the multiple steps; these brown and serve rolls are truly easy to make! Be sure to factor in the resting and rising time when you’re planning to make them.
Make the Dough
Mix the dry ingredients. Combine 1 & 1/2 cups of the flour with the yeast, sugar, and salt in a large bowl. If you’re adding any herbs or spices, you can add some or all of them now.
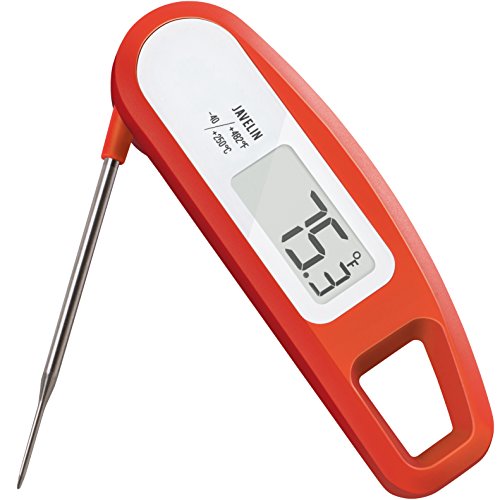
Heat the wet ingredients. Place the milk, water, and butter in a small saucepan, and heat on the stovetop until very warm. If you have one, use an instant read thermometer to ensure the mixture heats to 120-130°F. It’s fine if the butter doesn’t melt completely.
Combine the wet ingredients with the dry ingredients. Add the heated milk mixture to the flour mixture. Use an electric mixer on medium speed to beat for 2 minutes, scraping the sides of the bowl as needed.
Finish mixing. Add 1 cup of flour, and beat at high speed for 2 minutes. Then stir in enough of the remaining flour to make a soft dough.
Knead, shape, and portion
Knead the dough. Transfer the dough to a lightly floured surface, and knead for 8 to 10 minutes or until the dough is smooth and elastic. Cover the dough and let it rest for 10 minutes.
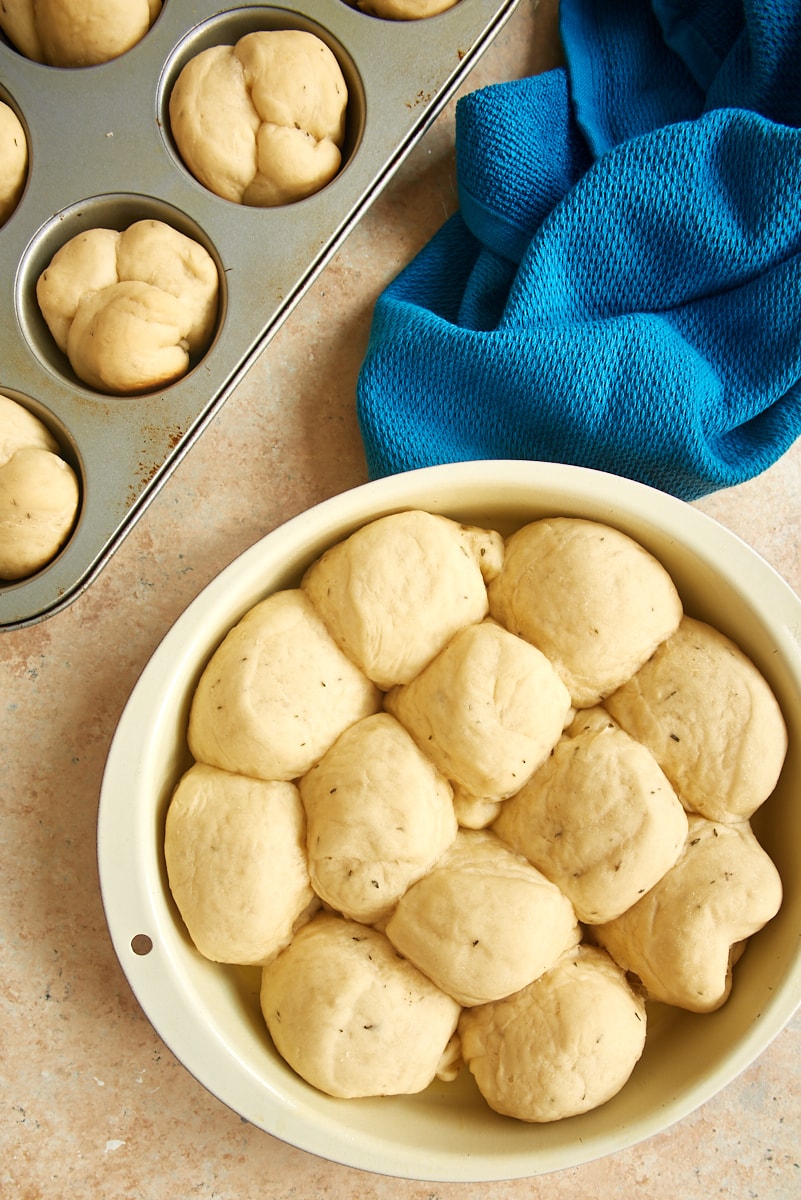
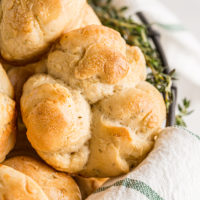
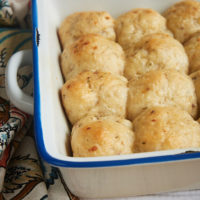
Shape the dough. Divide the dough into two equal portions. To make classic dinner roll shapes, divide each portion into 12 pieces and shape into a smooth, round ball. Then place them in a standard muffin pan or a 9-inch round cake pan. To make cloverleaf rolls, divide each portion of dough into 36 equal pieces, and place 3 pieces per cup in a standard muffin pan.
Let the dough rise. Cover the dough, and let it rise in a warm place until it has almost doubled in size. This should take about an hour.
Partially bake the rolls
Par bake the rolls. Heat the oven to 275°F. Bake the rolls for 20 to 25 minutes, or until they have just changed color.
Cool. Place the pans on a wire rack, and allow the rolls to cool for 20 minutes. Then transfer the rolls from the pan directly onto a rack to cool completely.
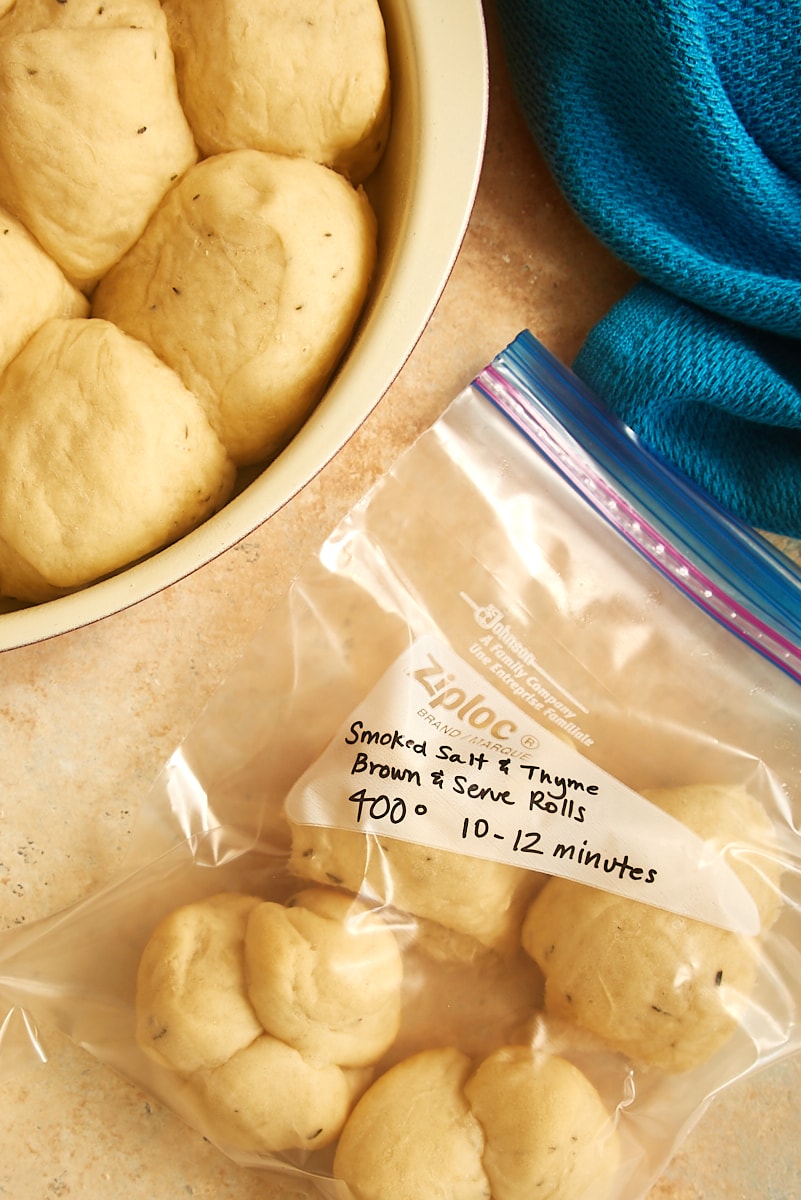
Store. Place the cooled rolls in airtight, freezer-safe bags or containers. Store in the refrigerator up to a week or in the freezer up to a month. If you store the rolls in the freezer, be sure to thaw them before baking.
Finish baking
Prepare for baking. When you’re ready to finish baking the rolls, heat the oven to 400°F. Place the rolls on a lined baking sheet, in a muffin pan, or in a round cake pan.
Bake. Place the pan in the oven, and bake for 10 to 12 minutes or until the rolls are golden brown.
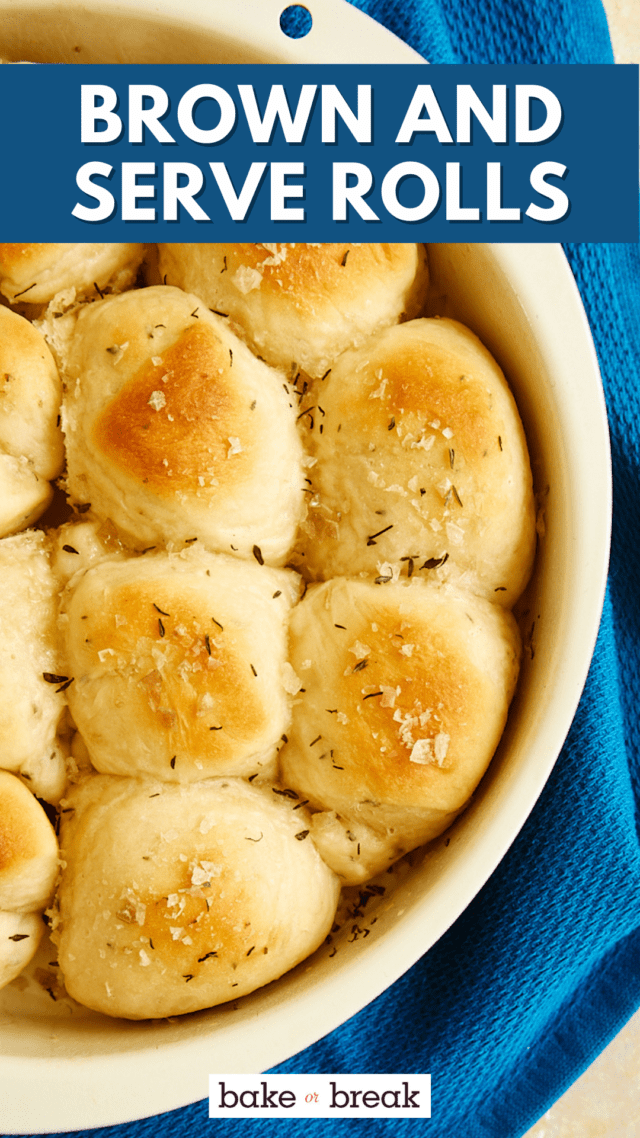
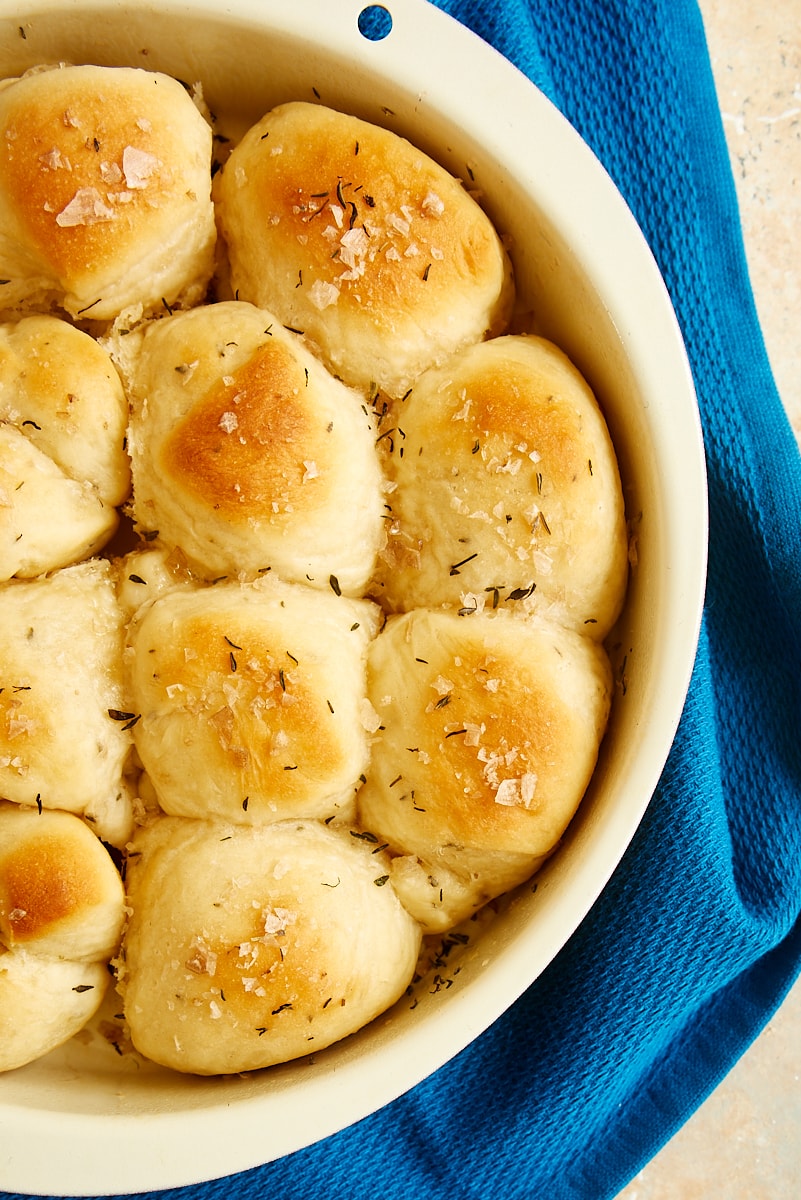
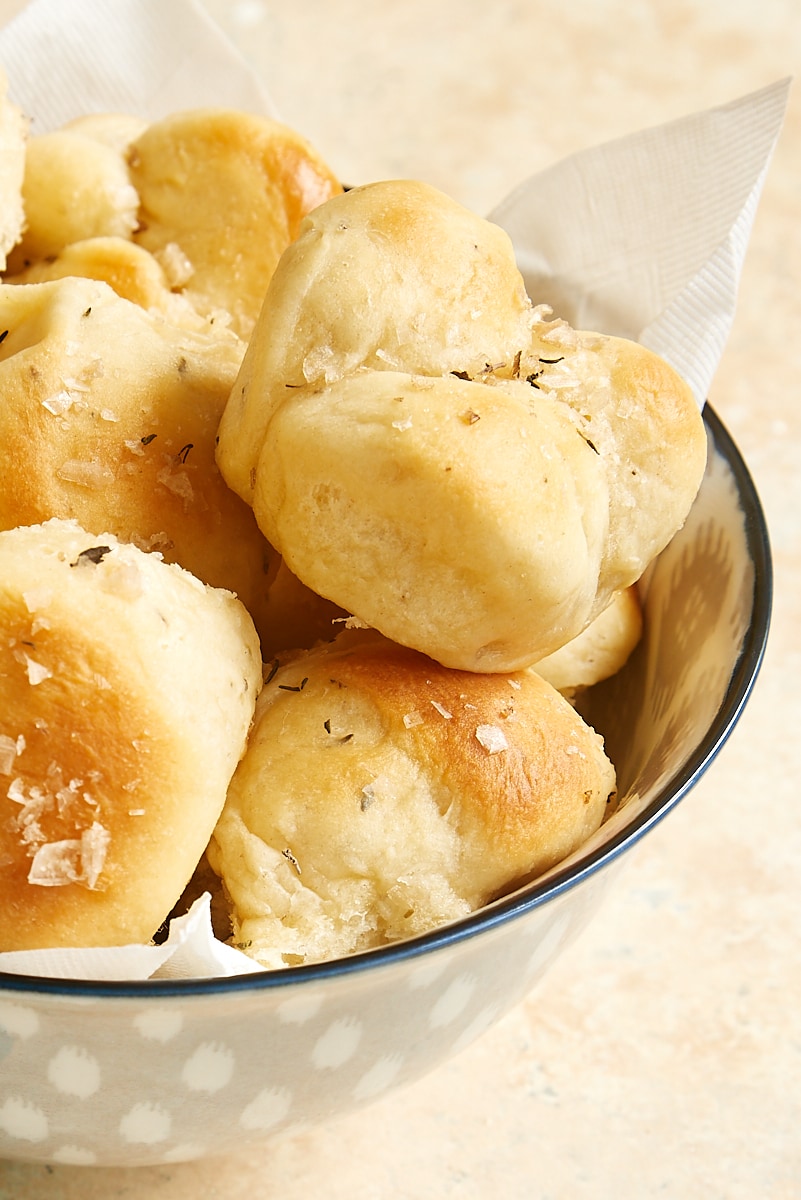
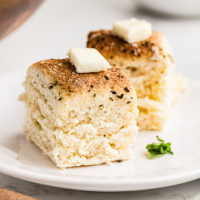
Add optional finishing touches. Brush the tops of the freshly baked rolls with melted butter. If you want to add a sprinkle of salt or herbs, do that now as well.
Tips for Success
This brown and serve rolls recipe is fairly straightforward, making it great for bakers who aren’t super confident about their yeast baking skills. Here are a few tips to help ensure success.
- Use an instant read thermometer. This takes the guess work out of heating the wet ingredients.
- Be patient. While this recipe is easy, take your time and don’t skimp on the resting, kneading, and rising times.
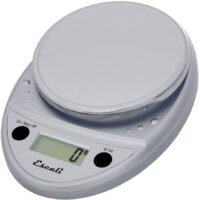
- Use a digital scale. For portioning the dough, a digital scale will be your best friend. Weigh the dough before dividing and portioning. It makes the process more efficient, and you’ll have evenly sized rolls.
How to Store
Room temperature: After the rolls have been baked, store any leftovers in an airtight container. They’ll be at their best within a day or so of baking, but they should keep for a few days at room temperature or a bit longer in the refrigerator. I recommend warming them briefly in the microwave or a low temperature oven before serving.
Make-ahead: If you’re getting ahead with your baking, these brown and serve rolls can be refrigerated after the initial baking for up to a week or frozen for up to a month before the last bit of baking time. If you go the frozen route, just remember to thaw them before baking. I usually store them in freezer-safe zip-top bags, and then just place them on a baking sheet (great for just a few) or in a cake pan (for a dozen per pan) when I’m ready to bake them.
Ideas for Variations
On their own, these brown and serve rolls are irresistibly soft and wonderfully delicious. But I just love the addition of other herbs and spices to complement our meals. Here are some of my favorite variations.
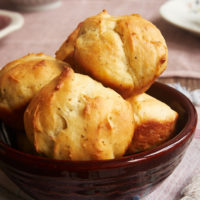
- Smoked salt and thyme – This is probably my favorite way to add big flavor to these rolls. The ones in these photos were made with this addition.
- Flaky sea salt – Sprinkle a pinch on top of the freshly baked and buttered rolls.
- Garlic – Add fresh garlic or garlic powder after the butter has been brushed on the finished rolls.
- Compound butter – Instead of regular butter, brush the freshly baked rolls with a flavored butter.
- Other seasonings – Try rosemary, freshly ground pepper, Italian seasoning, or another favorite spice or seasoning blend. A little goes a long way here, so go with just a pinch on the finished rolls or about 1/2 teaspoon mixed with the dry ingredients.
More Dinner Roll Recipes
Brown and Serve Rolls
Homemade yeast rolls were never so good as these Brown and Serve Rolls. Partially bake them in advance, and then finish baking for your special meal. They're easy to make and absolutely delicious!

Ingredients
- 4 to 4 & 1/2 cups (480-540g) all-purpose flour, divided
- 2 & 1/4 teaspoons (1 - 0.25 ounce package) instant yeast
- 1/4 cup (50g) granulated sugar
- 2 teaspoons salt
- 3/4 cup (177ml) milk
- 3/4 cup (177ml) water
- 1/4 cup (56g) unsalted butter (plus more for brushing on the freshly baked rolls)
Instructions
- Combine 1 & 1/2 cups (180g) flour, yeast, sugar, and salt in a large mixer bowl.
- Place the milk, water, and butter in a small saucepan. Heat to very warm (120°F to 130°F). It's fine if the butter isn't completely melted.
- Add the milk mixture to the flour mixture. Beat for 2 minutes at medium speed of an electric mixer. Scrape the sides of the bowl as needed.
- Add 1 cup (120g) of flour, and beat at high speed for 2 minutes. Scrape the sides of the bowl as needed.
- Stir in enough of the remaining flour to make a soft dough.
- Transfer the dough to a lightly floured surface. Knead until smooth and elastic. (This should take 8-10 minutes.) Cover and let rest for 10 minutes.
- Divide the dough into 2 equal portions.
- For classic dinner roll shapes, divide each portion of the dough into 12 equal pieces, shaping each into a smooth, round ball. Place them in a greased 9-inch round cake pan or greased standard muffin pan.
- For cloverleaf rolls, divide each portion of the dough into 36 equal pieces. Place 3 pieces per cup of a standard muffin pan.
- Cover the dough and let it rise in a warm place until almost doubled. (About an hour.)
- Preheat oven to 275°F.
- Bake the rolls for 20 to 25 minutes, or until the rolls have just changed in color. Cool in the pans for 20 minutes. Then remove from the pans to a wire rack to cool completely.
- Place the cooled rolls in freezer-safe bags or containers. Refrigerate for up to 1 week, or freeze for up to 1 month. (Frozen rolls will need to thaw before baking.)
- When you're ready to serve, preheat the oven to 400°F. Place the rolls on a baking sheet lined with parchment paper or a silicone liner, a round cake pan, or a standard muffin pan. Bake 10 to 12 minutes, or until golden brown.
- Optionally, brush the tops of the freshly baked rolls with melted butter (about 2 tablespoons for all 2 dozen rolls). If you like, sprinkle the tops with coarse salt and/or your favorite herbs.
Notes
Recipe adapted from Fleischmann’s.
Recommended Products
Bake or Break is a participant in the Amazon Services LLC Associates Program, an affiliate advertising program designed to provide a means for us to earn fees by linking to Amazon.com and affiliated sites.