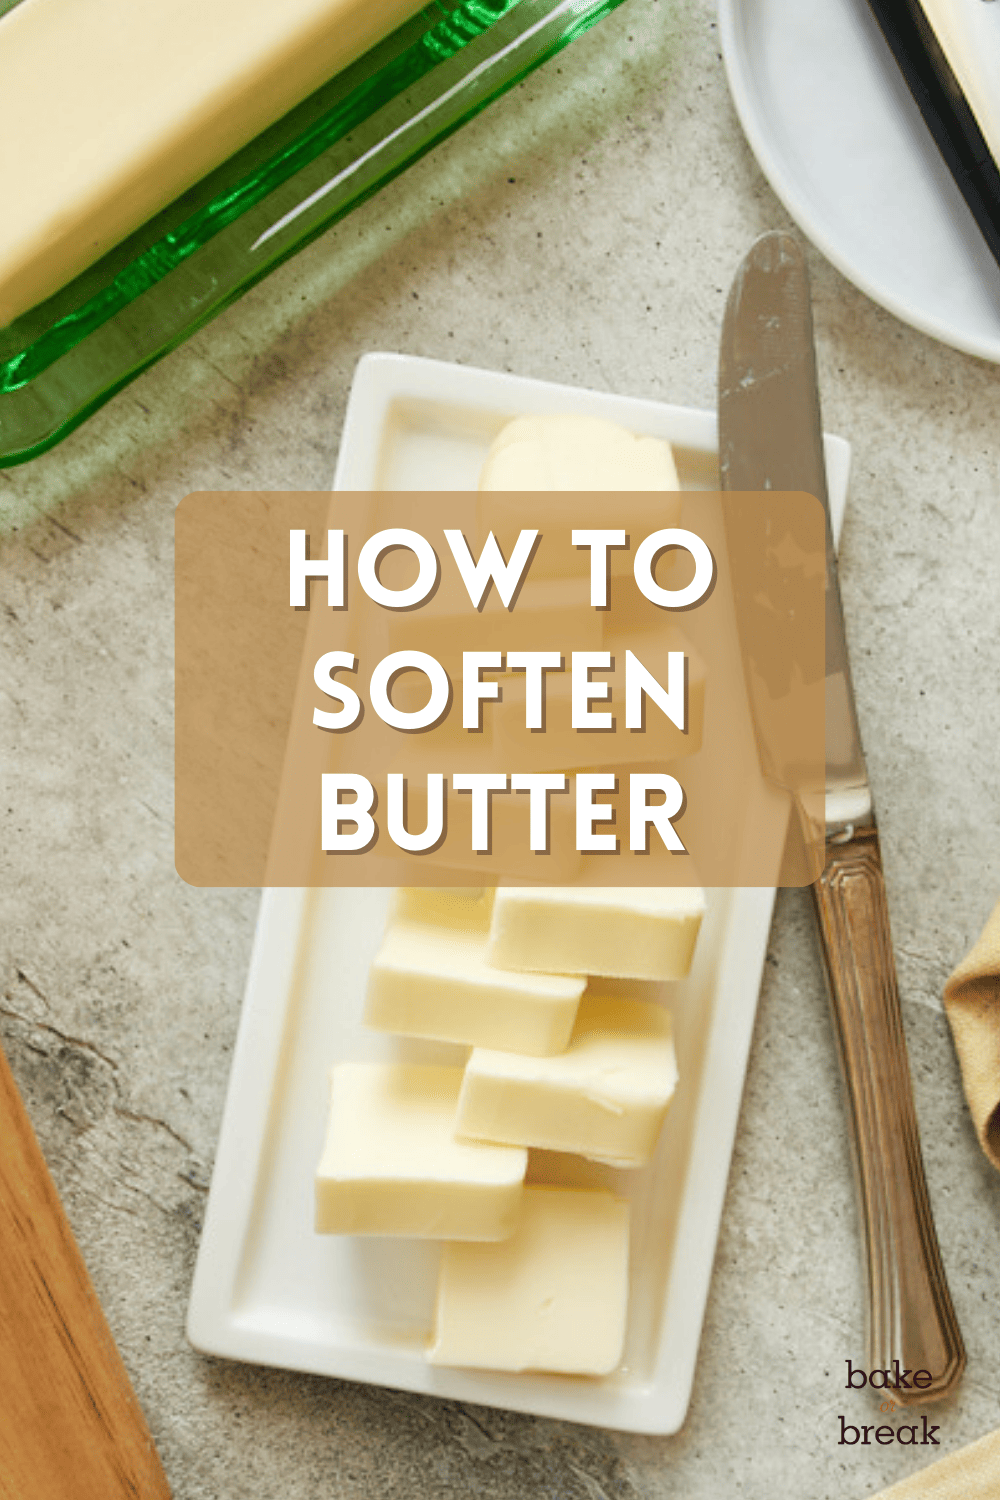
Discover the way to soften butter that’s right for your baking needs with these various methods. Whether you need to soften butter quickly or you’ve got a day of baking planned, you’ll find just the right way to get your butter just right!

Softening Butter for Baking
As you likely well know, softened butter is a common ingredient in baking recipes. Getting the right consistency of butter is important for proper mixing when baking cookies, cakes, and other baked goods that have a creaming step.
I confess that I had been baking for years before I really understood what softening butter means. It’s one of those terms that’s so common that it often isn’t defined. That can be frustrating for new bakers who may not know what that means. Even if you’ve been baking for many years, it’s worth a review of what softened butter is and how to achieve the right consistency.
What is Softened Butter?
Properly softened butter should still feel cold. It should be solid but hold a thumbprint indent when pressed. It should also bend without breaking. You can also test it by cutting it with a knife. The butter should offer little resistance when cut.
Keep in mind that butter begins to melt at 68°F. That is the reason that I use the term “softened” versus “at room temperature” in recipes when butter needs to be creamed. (Creaming is the process of mixing butter and usually sugar in a way that creates little air pockets so your baked goods will rise properly. It’s often an early step in making cookies, cakes, frostings, and more.) Unless your kitchen’s temperature is under 68°F, then letting the butter come all the way to room temperature will make it too warm. That means less than optimal outcomes for your baking.
The optimal temperature you want to achieve is between 65° and 67°F. If you want to be really precise, you can use an instant-read thermometer to check you butter’s internal temperature. I don’t usually go that far, but it’s worth mentioning, especially if you’re new to baking or just want to verify that your idea of softened butter is correct. Once you know what your goal is, it will be easier to get there on your own in the future.
The most common mistake many bakers make is going too far. When that happens, the butter has gotten too warm and too soft to be considered properly softened. When butter is too warm and too soft, cookies will spread and cakes will be dense. Being too cold can also be a problem, but the butter will usually continue to soften as it mixes and heats up from the mixer. (More on that below.)
There are several methods you can use to soften butter. Some take longer than others, so you can pick the one you need for the time you have. Follow these methods for perfectly softened butter for making the best baked goods.
Softening Butter on Your Kitchen Counter
The best (and simplest) way to soften butter is to allow it to sit on your kitchen counter at room temperature for 30 to 45 minutes. The total time required will vary based on the temperature of your kitchen. If you plan ahead for your baking, this is your best option. You can estimate how far in advance to set out your cold butter from the refrigerator based on how long it will take to gather and prep the other ingredients before it’s time to start the creaming step.
Leave the butter on your counter only as long as it takes to soften. In fact, beginning to beat it just before it’s completely softened is often ideal. The heat of the mixer will further warm the butter and get it where it needs to be.
Softening Butter on Your Kitchen Counter, In a Hurry
If you need a slightly quicker method, cut the butter into small cubes (about 1-inch pieces) and allow it to sit at room temperature. Those smaller pieces increase the surface area of the butter that’s exposed to the warmer air and will help it to soften more quickly. This should cut the softening time by about half, depending on the temperature of your kitchen.
Softening Butter with a Grater
Grating a cold stick of butter using a box grater will also speed the softening process. Much like the above method of cutting butter into smaller pieces, grating allows more of the butter to come into contact with room temperature air. Be aware that holding the butter while you grate it will warm the butter. Be careful not to melt the butter with the heat from your hands.
Softening Butter with a Rolling Pin
Place the butter between sheets of waxed paper or inside a large zip-top bag. Roll with a rolling pin to spread butter as you would a pie crust. When the butter is about 1/4-inch thick, remove the waxed paper or bag, and allow the butter to sit at room temperature for a few minutes. While this works, it is a little time consuming and labor intensive. By the time you put in this work, you very likely could have just let it soften on its own.
Softening Butter with a Stand Mixer
Place the butter in a stand mixer. Beat at low speed to allow the air and agitation to warm the butter. This can be a handy trick if you’re already going to be using your mixer anyway. You could also do this with a hand mixer, but obviously there would be more hands-on time.
How NOT to Soften Butter
Do not microwave butter to try to speed the softening process. It won’t be heated evenly, and you’ll end up with parts of it too cold, some softened, and some too warm. You may be a microwave wizard and be able to get it just right using the microwave, but I generally don’t recommend this method.
Some people have success heating a cup of water in the microwave and then placing the butter inside the microwave to allow it to soften. With some practice, you may be able to make this work consistently, but it’s a risky proposition until you’ve spent some time tweaking the process.
There is also a theory of placing a hot glass over a stick of butter on your counter. I’m not really a fan of this method. The end result is probably similar to microwaving, although not as severe.
Your best bets are to use one of the other methods listed above.
What to Do If Your Butter Gets Too Soft
Once butter has gone beyond the softened phase, you can refrigerate it again but it won’t be viable for softening again. However, you can use it for some other purpose. Or how about making a recipe that needs melted butter? Try my chewy chocolate chip cookies, blueberry crumb muffins, or dark cocoa powder brownies.
Now that you’re well-versed in the many ways to soften butter, I hope you’ll be able to put these methods to good use to help your baking be the best it can be!
Happy baking!
More Basic Baking Tips
- Baking Tips for Beginners
- How to Measure Flour
- Unsalted vs Salted Butter
- Tips for Organizing Baking Supplies
- Baking Powder vs Baking Soda
- How to Choose Baking Pans
Frequently Asked Questions
While these terms are often used interchangeably, that’s really misleading. Butter begins to melt at 68°F, so bringing it all the way to room temperature (which is usually warmer than that) will make it too warm. Softened butter should be somewhere between 65° and 67°F.
If you don’t have time to let an entire stick of butter soften on the countertop, you can cut it into small pieces to expedite that process. You can also grate it with a coarse box grater, roll it out with a rolling pin, or beat it with a stand mixer.
Microwaving butter tends to heat it unevenly, so it’s generally not recommended as a way to soften butter.
Bake or Break is a participant in the Amazon Services LLC Associates Program, an affiliate advertising program designed to provide a means for us to earn fees by linking to Amazon.com and affiliated sites.


7 Comments on “How to Soften Butter”
I turn on my empty microwave on highest power for 1 minute, open the door, place one quarter butter cube in micro for about 5 minutes or less & voila! The heat held inside the micro softens it perfectly. Crazy-easy I know!
Brilliant advice
My microwave instruction booklet said to never run the microwave when it was empty. I don’t know why, and I offer this only as FYI.
I’m with you about this!
I boil water in my glass 4 cup measuring cup in the microwave. Empty the hot water and cover the butter. It will soften very nicely. Takes about 10 min.
Fab. Thx.
Thanks for the tip! I will try this.