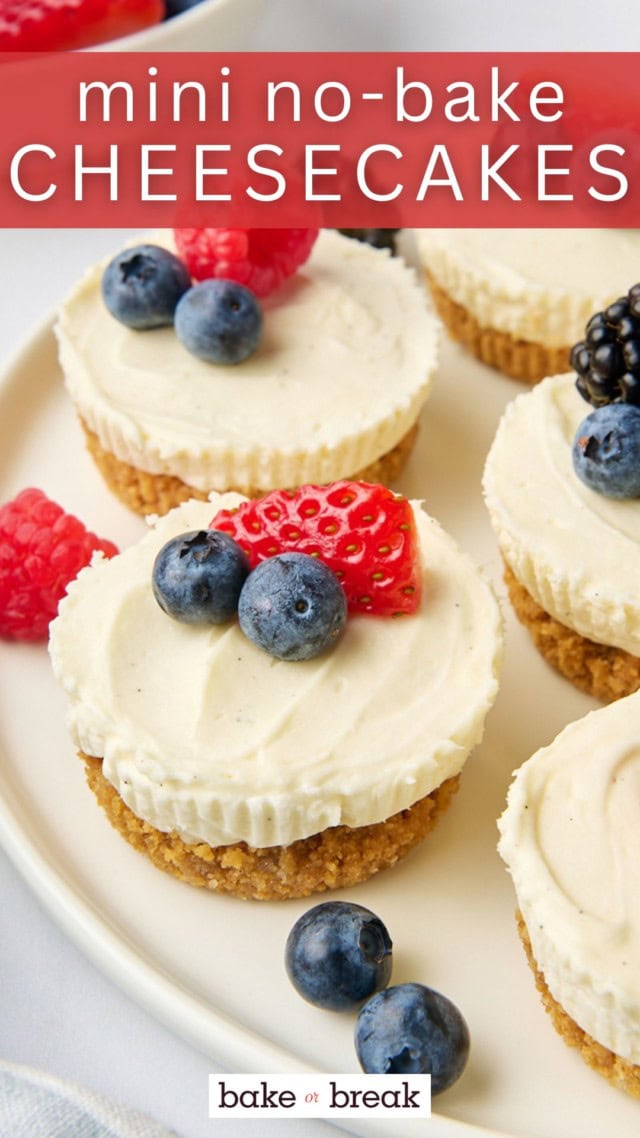
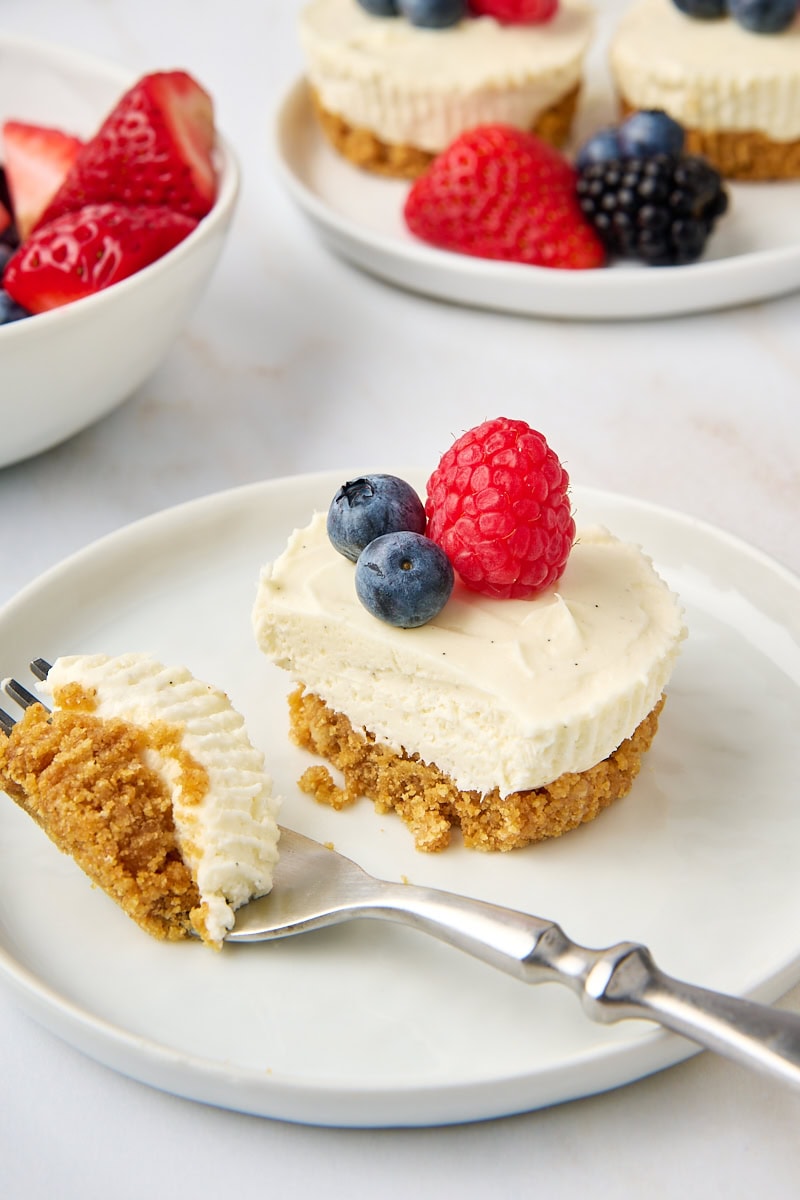
Cool, creamy, and just the right size, these mini no-bake cheesecakes are a perfect easy treat for summer and beyond.
Whether you’re planning a warm-weather gathering or just want a low-effort dessert with a little flair, these little cheesecakes are here to impress. They’re creamy, tangy, and rich just like classic cheesecake, but made mini and no oven required.
Looking for a baked version instead? Try my mini cheesecakes for that classic oven-baked texture.
Why You’ll Love These Mini No-Bake Cheesecakes
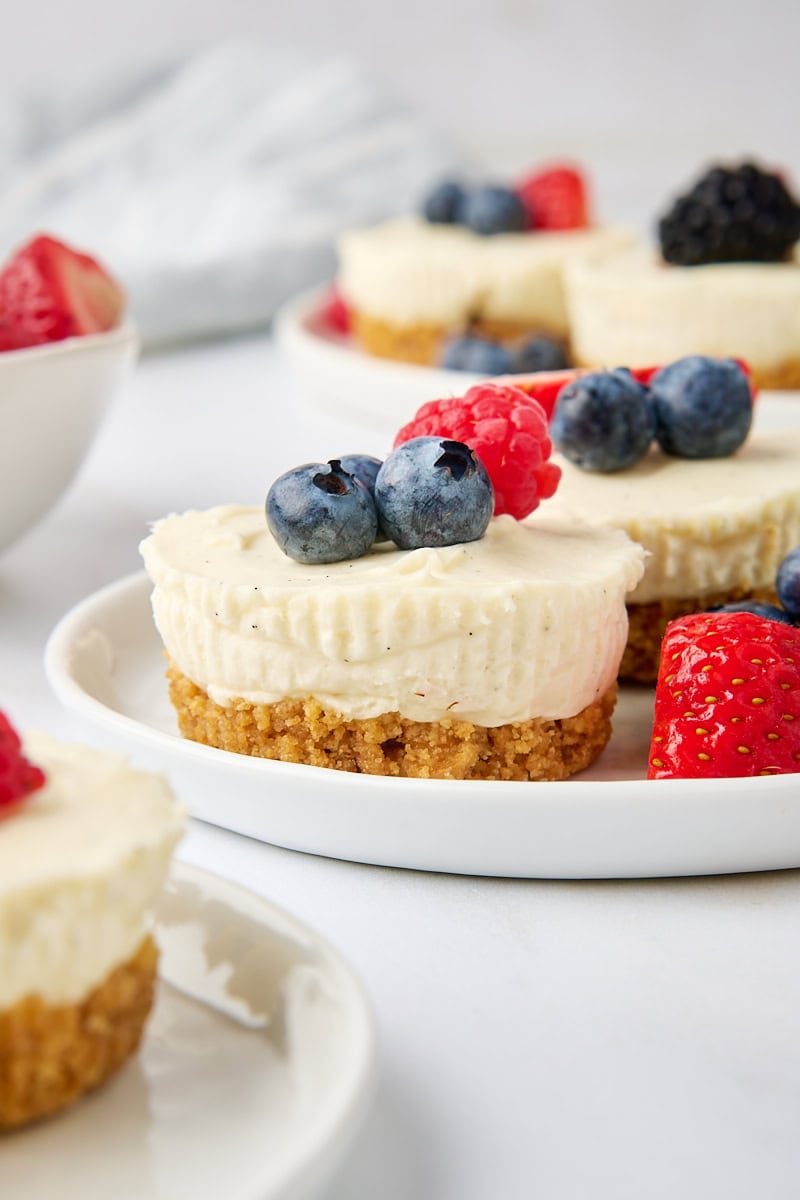
- Simple, classic flavor. With a vanilla-forward filling and a buttery graham cracker crust, these little cheesecakes keep things timeless and crowd-pleasing.
- No oven needed. Perfect for summer days when you want a cool treat without heating up the kitchen.
- Easy to make ahead. These chill beautifully, making them a great prep-ahead option for entertaining or anytime dessert cravings.
- Just the right size. Made in a standard muffin pan, each one is the perfect personal portion. Great for serving and storing!
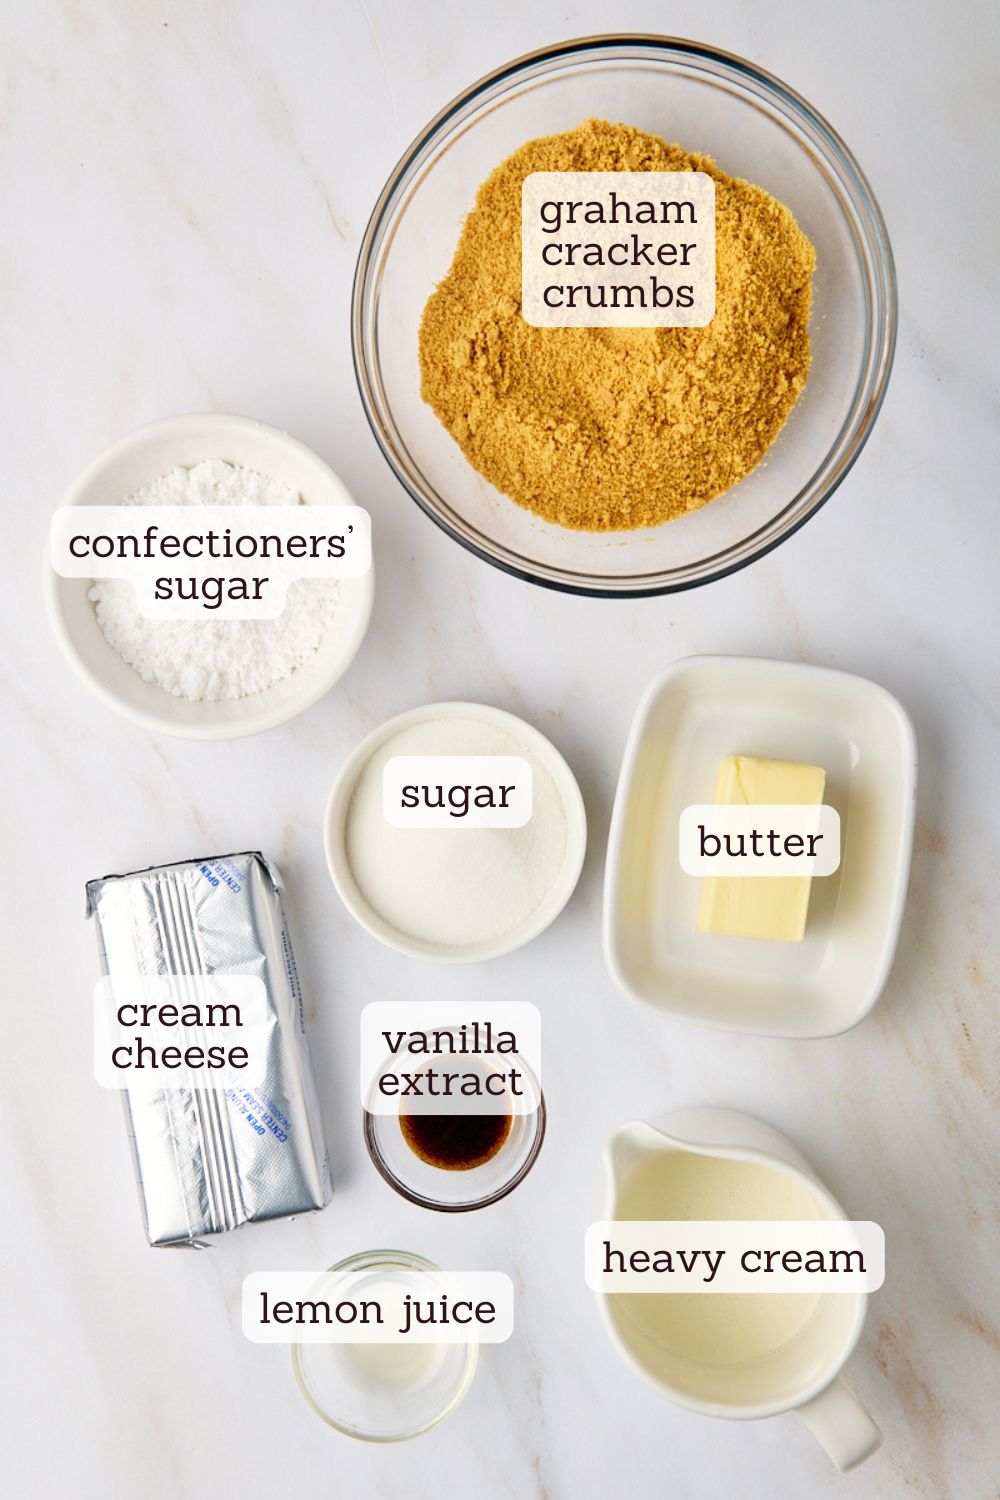
Key Ingredients
These mini cheesecakes are made with just a few familiar ingredients. Scroll down to the recipe card for the full list with measurements.
- Graham cracker crumbs – The base of the crust. You can crush your own or use store-bought crumbs.
- Cream cheese – Full-fat blocks work best here for a rich, creamy texture. Make sure it’s fully softened for easy mixing.
- Confectioners’ sugar – Sweetens the filling and blends in smoothly without any grittiness.
- Vanilla bean paste or vanilla extract – Adds that classic flavor. Either works, but I love those little vanilla specks you get from using vanilla bean paste.
- Lemon juice – Optional, but just a bit helps brighten the flavor without making it lemony.
- Heavy cream – Whipped and folded into the filling to give it a light, mousse-like texture.
How to Make Mini No-Bake Cheesecakes
You’ll need a standard 12-cup muffin pan and paper or foil liners to get started. A hand mixer makes the filling easy to whip together. No special equipment required!
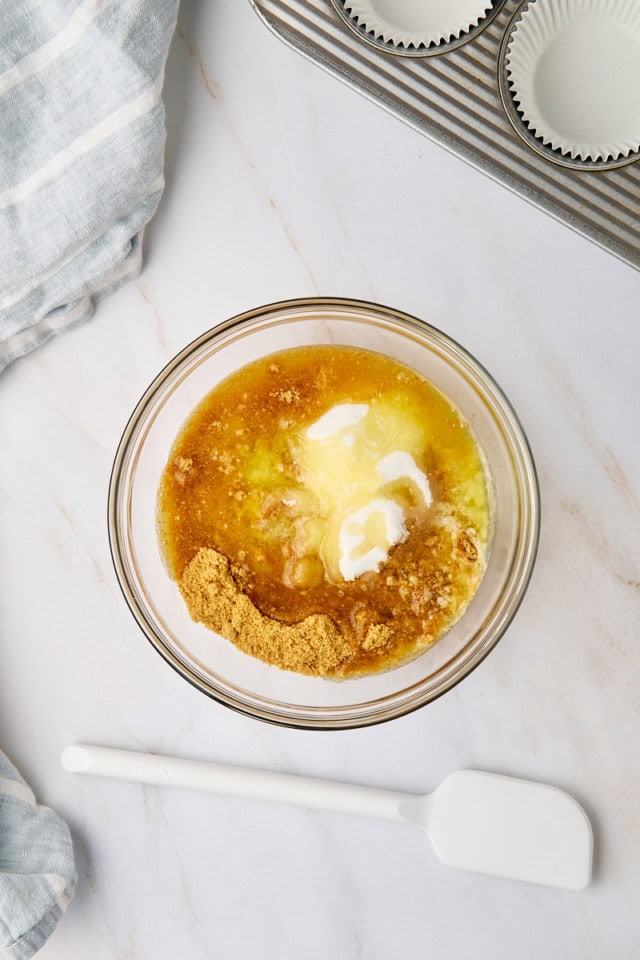
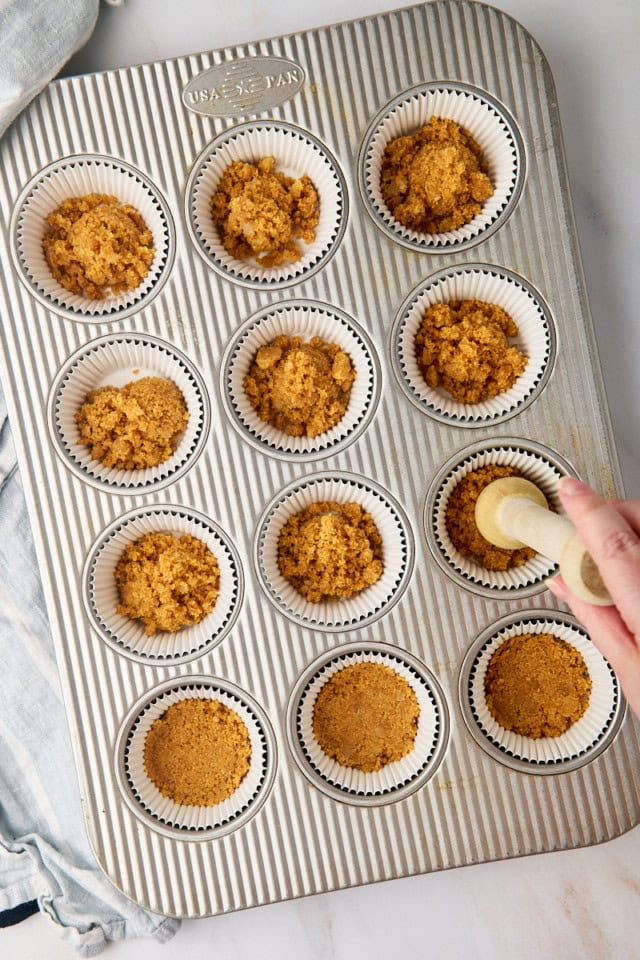
Prepare the crust. Stir together graham cracker crumbs, sugar, and melted butter. Divide the mixture among the lined muffin cups and press firmly into the bottoms. Chill while you make the filling.
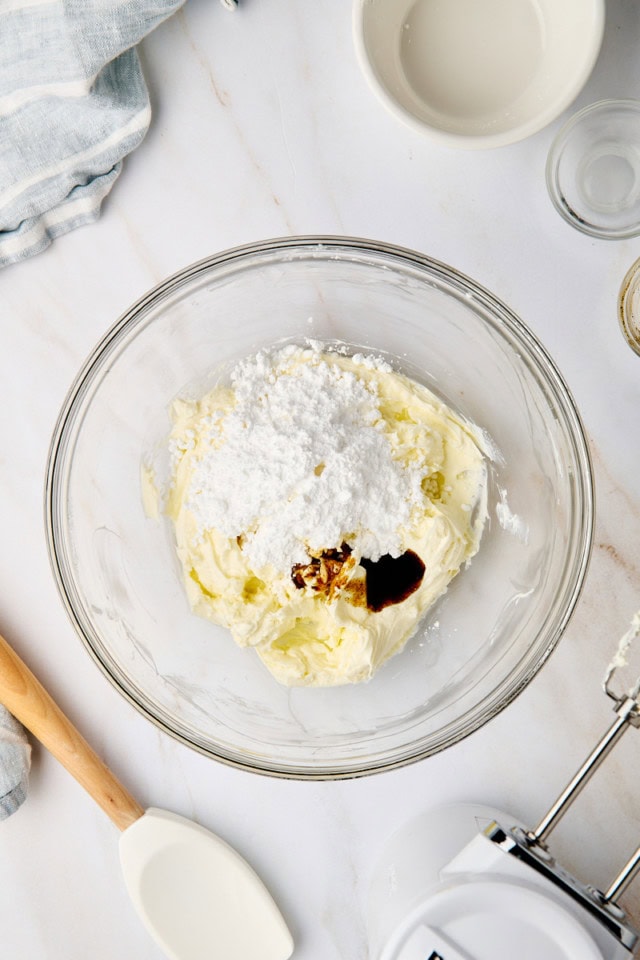
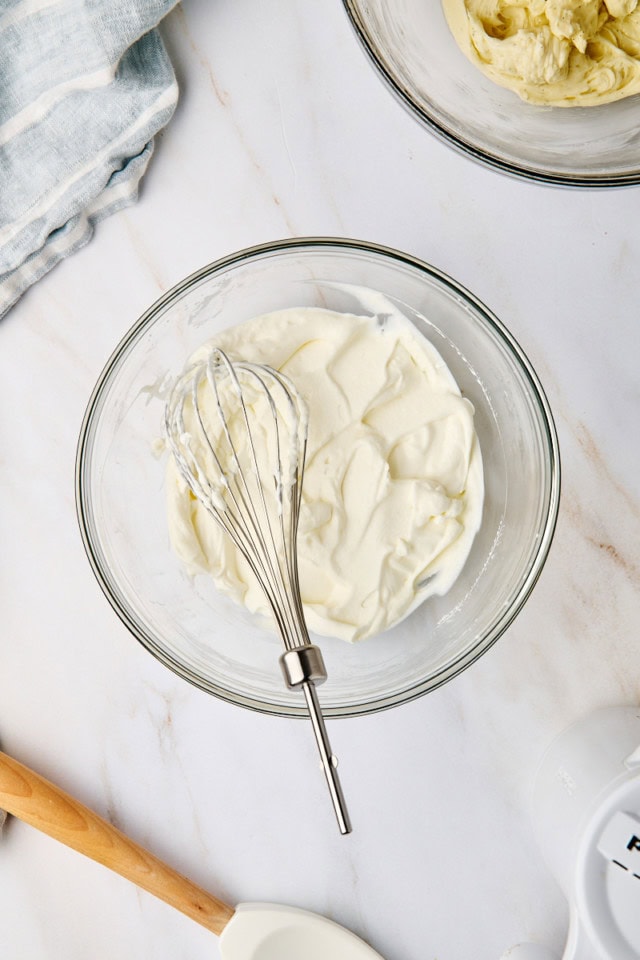

Mix the filling. Beat the softened cream cheese until smooth, then mix in confectioners’ sugar, vanilla, and lemon juice. In a separate bowl, whip the cream to stiff peaks and gently fold it into the cream cheese mixture.
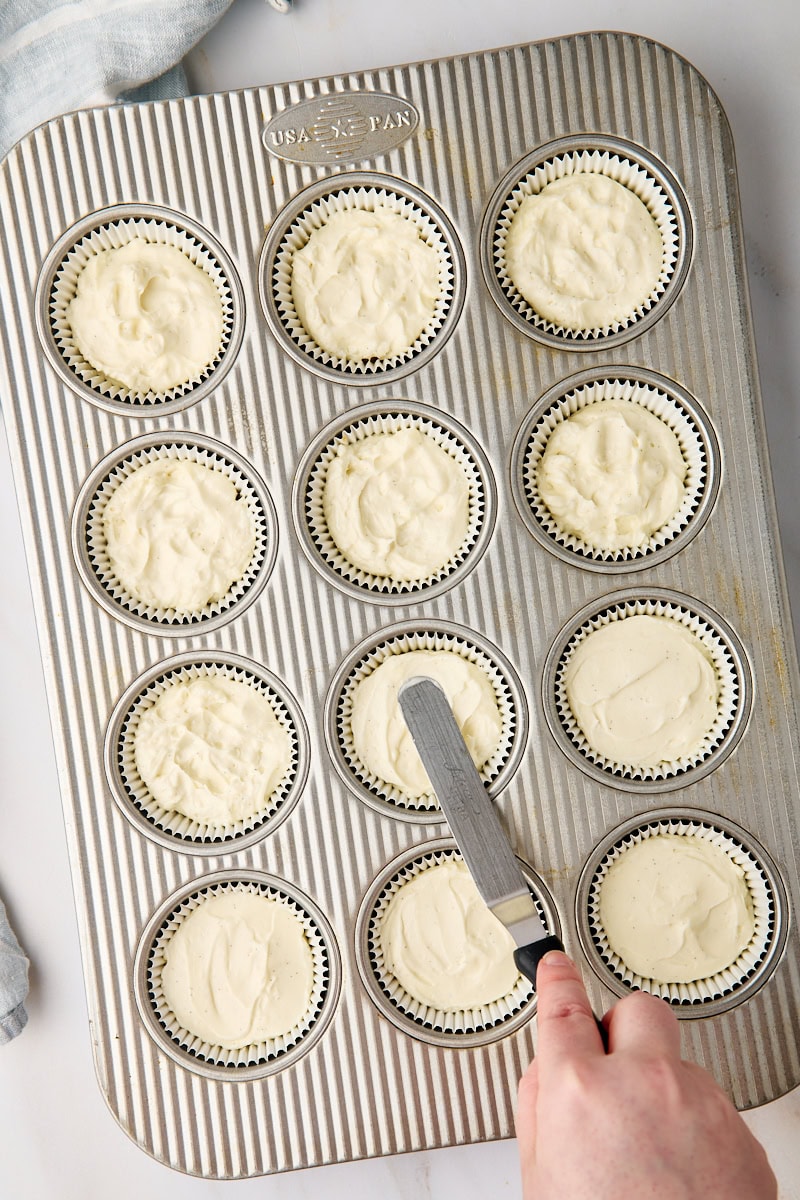
Assemble. Spoon or pipe the filling over the crusts. About 2 to 2½ tablespoons per cup gives a nice height. Smooth the tops or leave them with a piped swirl.
Chill. Cover loosely and refrigerate for at least 4 hours, or until fully set. (Overnight is best, but the shorter time will do if necessary.)
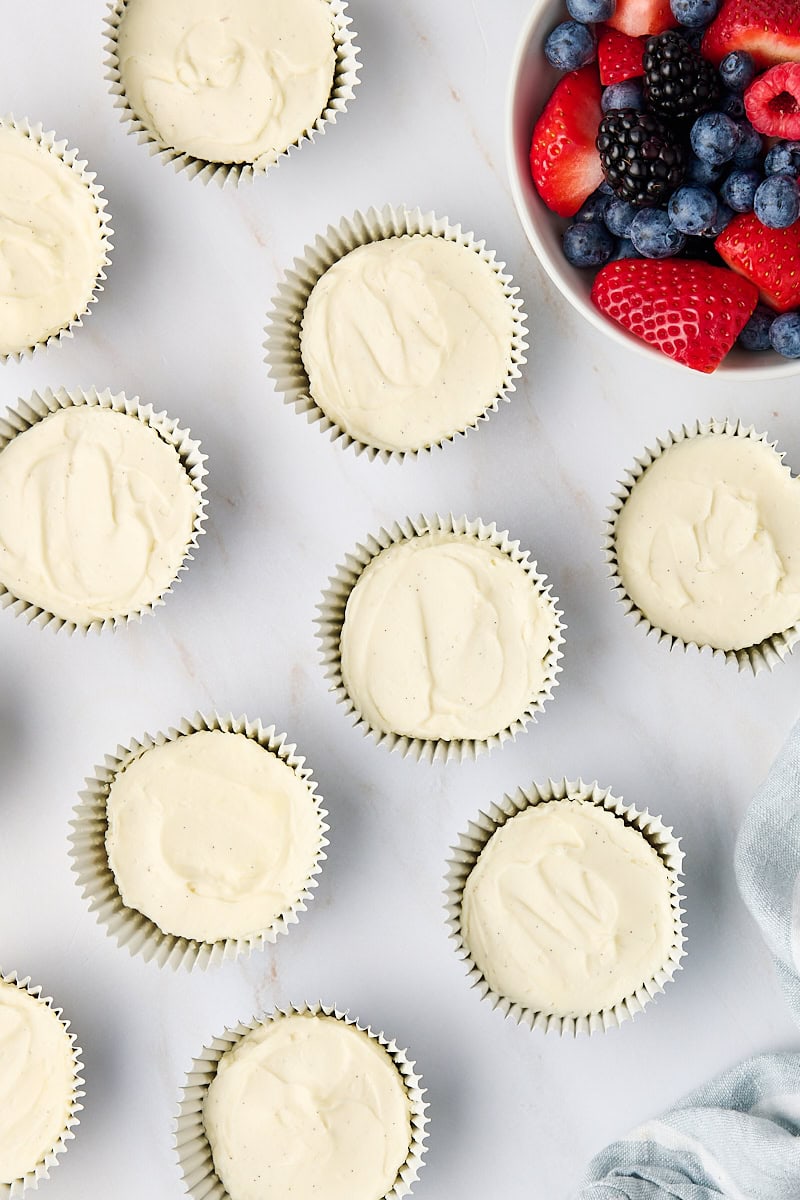
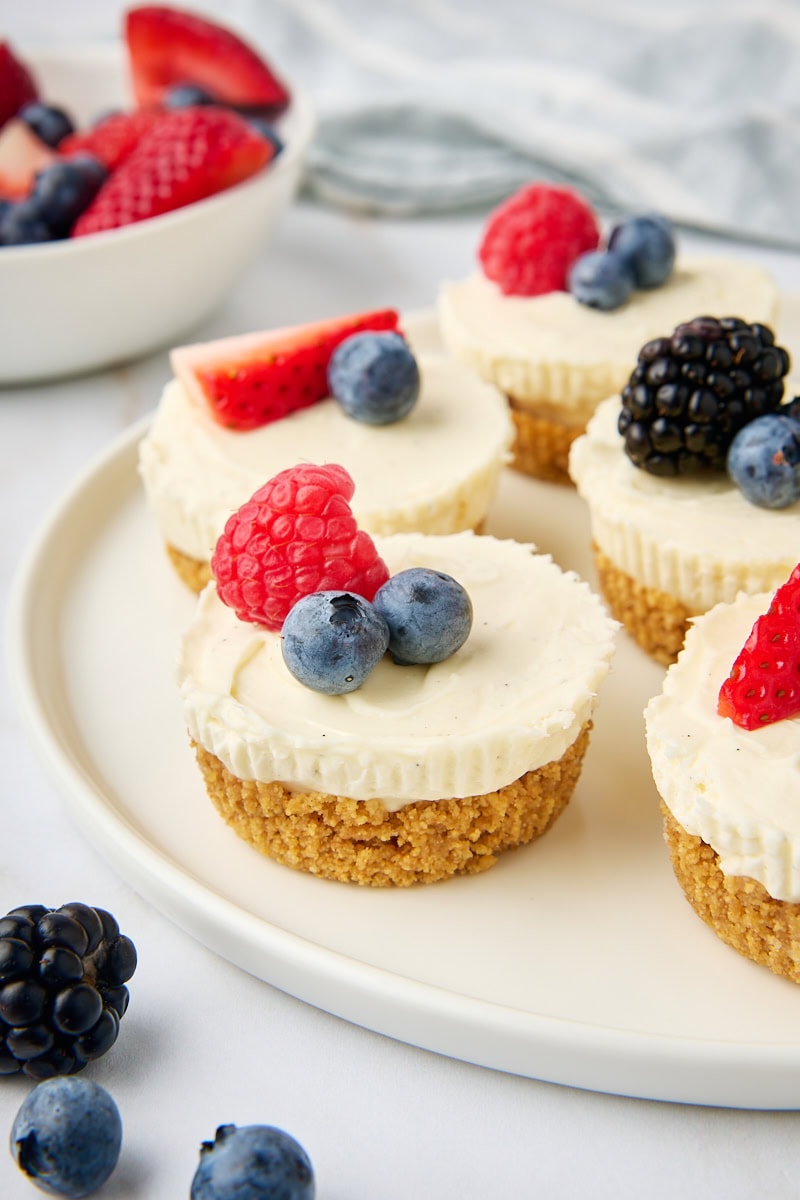
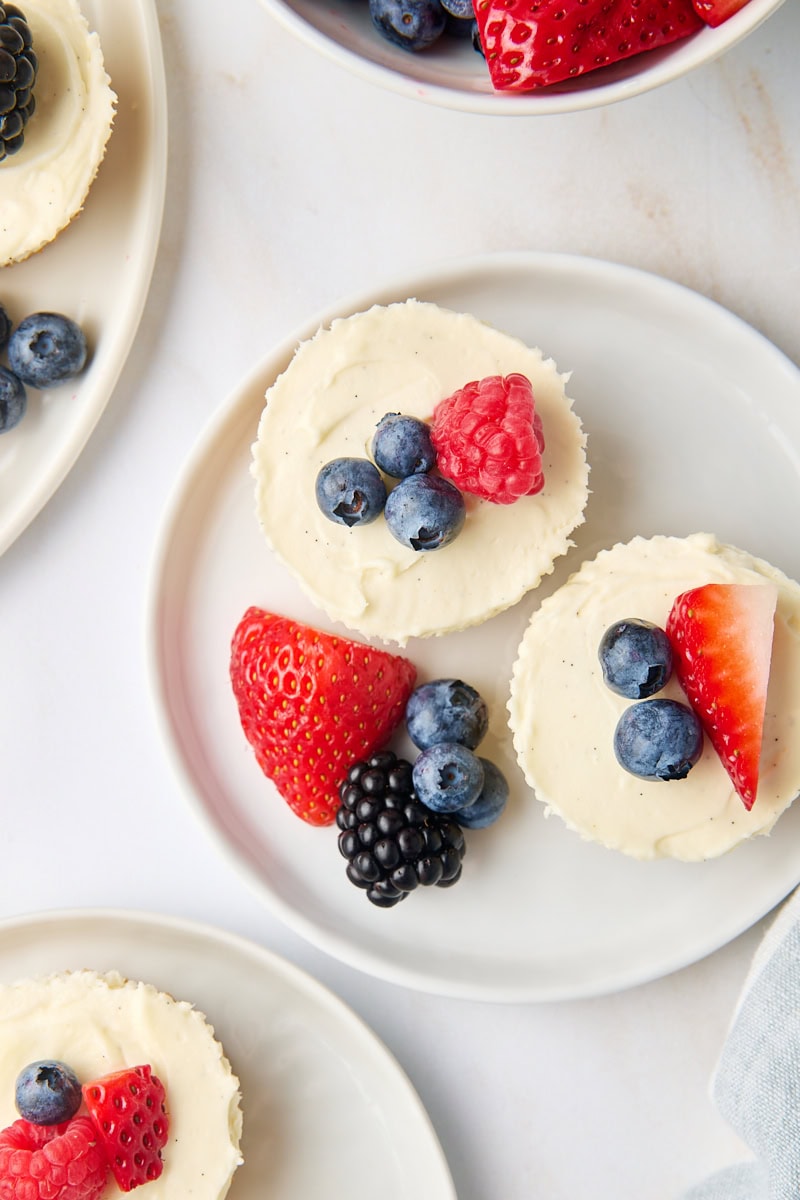
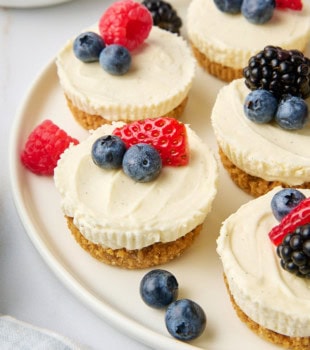
Serve. Carefully peel away the liners and garnish if desired. A swirl of whipped cream or a berry on top adds a simple finishing touch.
Tips for Success
- Soften the cream cheese well so it blends smoothly. Cold cream cheese can lead to lumps in the filling.
- Whip the cream to stiff peaks so the filling holds its shape, especially if you’re piping it.
- Fold gently to keep the filling airy. Over-mixing can deflate it.
- Use sturdy liners like parchment-lined foil liners to help the cheesecakes hold their shape when unwrapped.
- A small offset spatula works well to smooth the tops if you’re not piping the filling.
- Want to make them bite-size? You can use a mini muffin pan instead. Just use mini liners and reduce the crust and filling amounts accordingly. About 1 to 2 teaspoons of crust and 1 to 1 1/2 tablespoons of filling per cup should work well. Keep in mind they’ll chill faster and may be a bit more delicate to remove.
Variations and Serving Suggestions
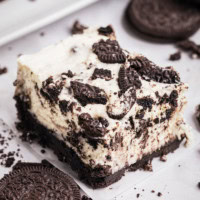
Try a different crust by swapping the graham crackers for Oreos, Biscoff cookies, or even finely crushed pretzels if you want a sweet-and-salty twist.
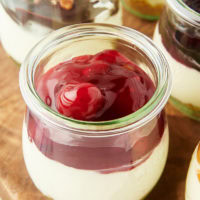
Add a simple topping like a swirl of whipped cream, fresh berries, lemon curd, or a drizzle of chocolate or fruit sauce for a little extra flair.
Brighten things up with a touch of lemon or lime zest in the filling. It adds a fresh, citrusy note without straying too far from the classic flavor.
Make it your own by mixing in mini chocolate chips, finely chopped berries, or a hint of almond extract to change things up while keeping the base recipe easy and reliable.
These make a great addition to a summer dessert table. Serve them on a chilled platter or tiered stand to keep them party-ready and pretty.
How to Store
Store these mini cheesecakes in an airtight container in the refrigerator for up to 3 days.
You can also freeze them! Once chilled and fully set, freeze uncovered until firm, then wrap tightly and store in a freezer-safe container for up to 1 month. Thaw in the refrigerator before serving.
A Sweet Little Classic
These mini no-bake cheesecakes are proof that simple ingredients and easy techniques can still deliver dessert with big impact. If you’re looking for a summer-ready treat or an easy dessert to prep ahead, this one’s a keeper. What topping would you add to yours?
If you’re looking for more light and make-ahead desserts, browse my favorite spring desserts.
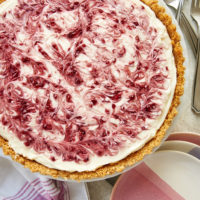
More No-Bake Cheesecake Recipes

Mini No-Bake Cheesecakes
Ingredients
For the crust:
- 1 cup (100 g) graham cracker crumbs, about 7 full sheets
- 3 tablespoons (38 g) granulated sugar
- 4 tablespoons (57 g) unsalted butter, melted
For the filling:
- 8 ounces (226 g) cream cheese, softened
- ½ cup (55 g) confectioners’ sugar
- 1 teaspoon vanilla extract or vanilla bean paste
- 1 teaspoon lemon juice, optional, for brightness
- ½ cup (120 ml) heavy cream, cold
Suggested toppings (optional):
- whipped cream
- fresh berries, fruit compote, chocolate curls
Recommended Products
Instructions
To make the crust:
- Line a 12-cup standard muffin pan with paper or foil liners.*
- Stir together the graham cracker crumbs, sugar, and melted butter until well combined. Divide the mixture among the liners (about 1 tablespoon each) and press firmly into the bottoms. Chill while you make the filling.
To make the filling:
- In a large bowl, beat the cream cheese until smooth. Add the confectioners’ sugar, vanilla, and lemon juice, and mix until well combined.
- In a separate bowl, whip the cold cream until stiff peaks form.
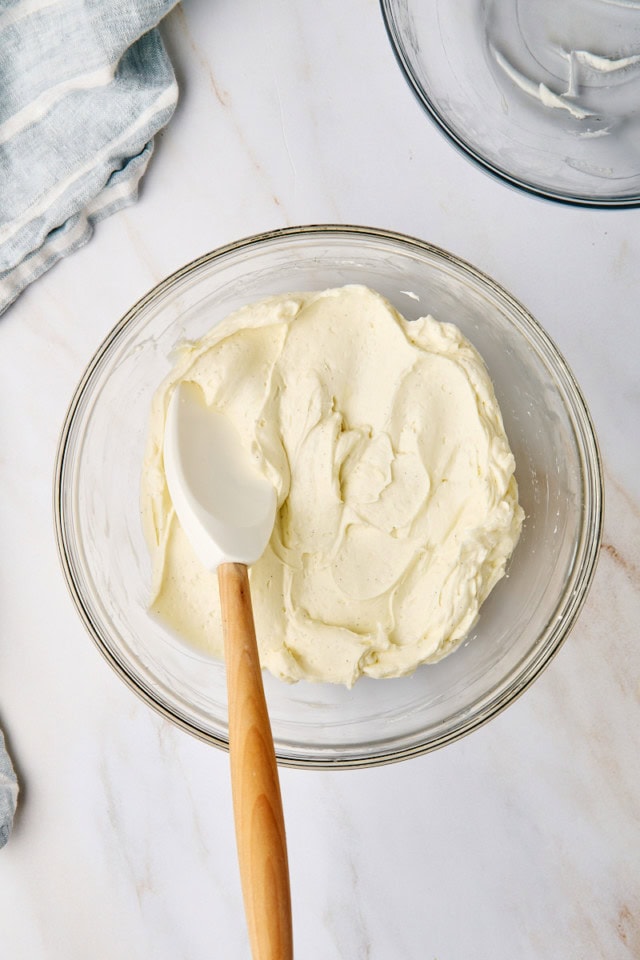
- Fold about a quarter of the whipped cream into the cream cheese mixture, then gently fold in the remainder until fully combined and smooth.
- Spoon or pipe the filling over the crusts, smoothing the tops.
- Cover loosely and chill at least 4 hours, or until set.
- Garnish with whipped cream and your choice of toppings before serving.
Notes
- *I prefer paper-lined foil liners for these cheesecakes. They tend to be sturdier, so your cheesecakes maintain their shapes better and are easier to remove from the pan after chilling.
- Store in an airtight container in the refrigerator up to 3 days.


