Classic Baked Apples get the hasselback treatment in this must-make recipe for fall! With brown sugar, nuts, oats, and lots of spices, this dessert is wonderfully flavorful. Easy to make, too!
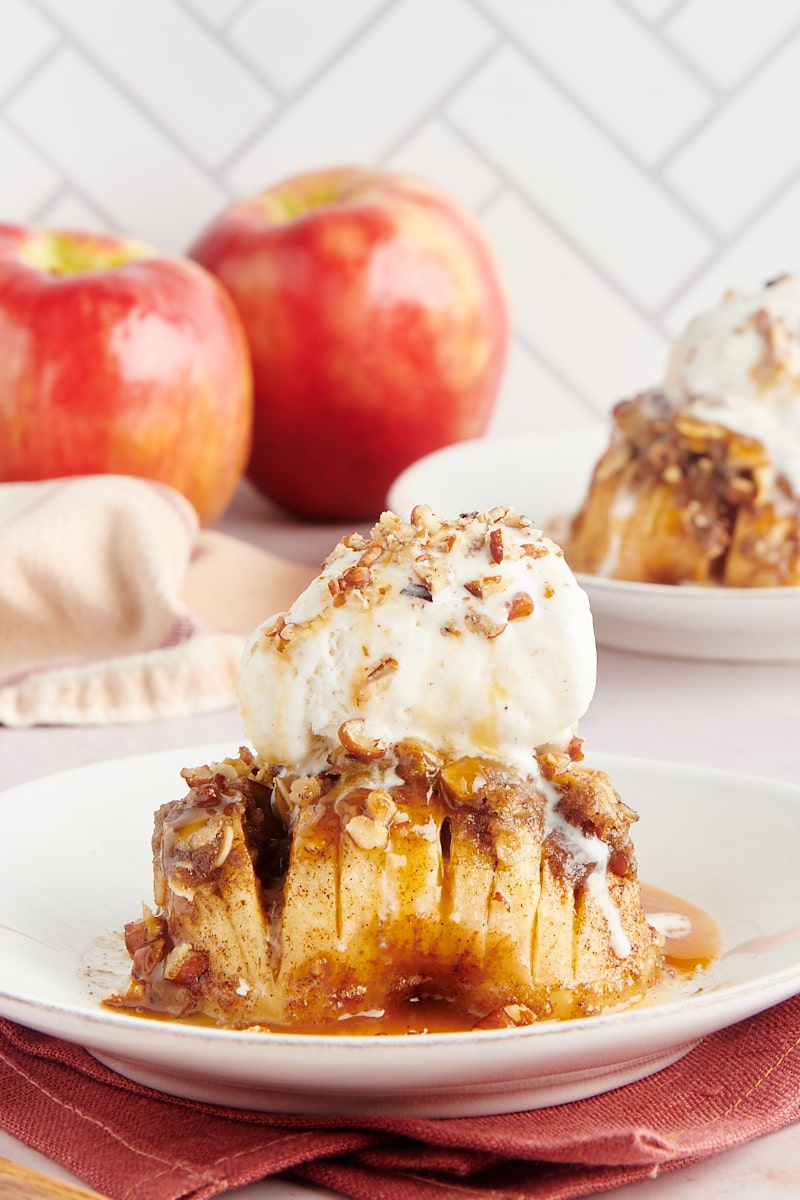
Easy Baked Apples – Hasselback Style!
Apples and warm, cozy spices make repeat appearances in my baking every fall. They’re the first things that come to mind when I think of the best flavors of the season.
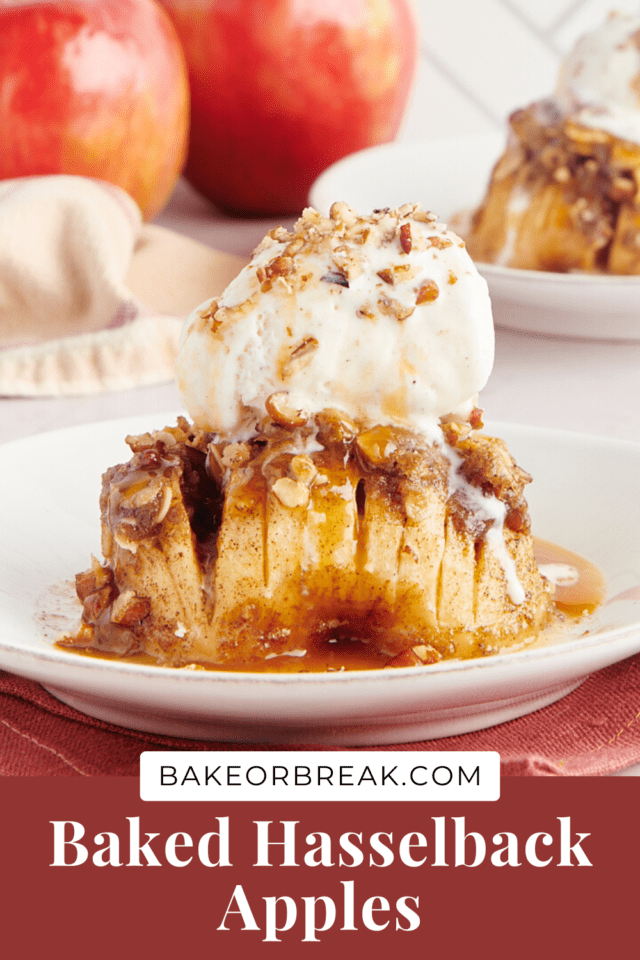
And what better way to enjoy them fully than in these simple baked apples? While some baked apples involve stuffing a filling down into a cored apple, these apples are made hasselback style. They’re cut in half, cored, and then sliced almost all the way through so that they fan out a bit. That makes them easier to prepare and easier to serve and eat, too!
Add sweet, buttery, cinnamon-y goodness and a spiced, crisp-like topping to the natural sweetness of the apples, and you’ll be in dessert heaven!
If you’re looking for an easy fall-centric dessert, this is it! Not only are these baked apples beyond delicious, but they’re also really easy to make. It doesn’t get much better than that!
For more apple desserts, try Classic Apple Crisp, Apple Spice Cake, and Apple Crumb Pie, too!
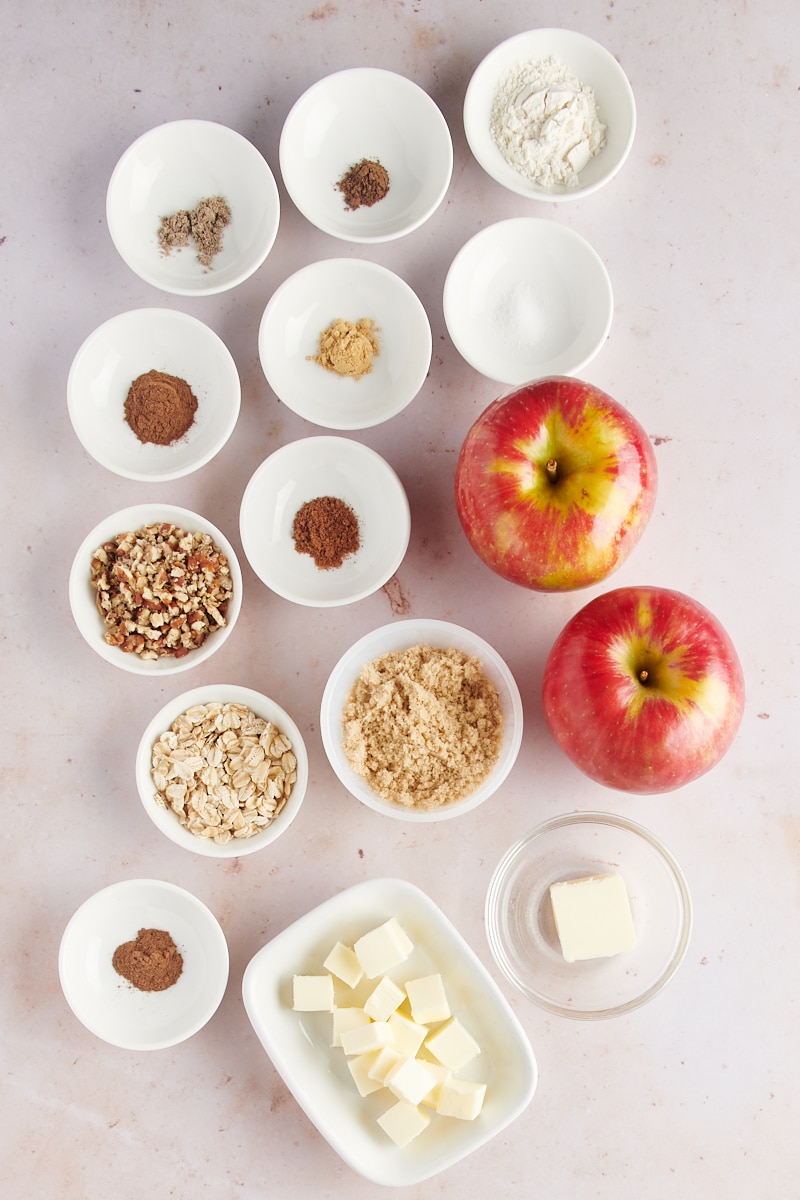
What You’ll Need
Don’t let the length of the ingredient list cause you to hesitate. Half of this list is just spices! Scroll down to the recipe card at the bottom of this post for ingredient quantities and full instructions. Here are some notes about the ingredients you’ll need.
- Apples – Peel, half, and core the apples. Use a paring knife or an apple corer.
- Butter – You’ll melt some of the butter and keep some of it cold for the topping. Cut the cold butter into cubes.
- Brown sugar – Firmly packed. Light or dark brown sugar will work.
- Cinnamon
- Ginger
- Nutmeg
- Cardamom
- Allspice
- Salt
- Chopped nuts – I most commonly have pecans on hand, and those are great here. You can also use walnuts, almonds, hazelnuts, or another nut.
- Oats – Use old-fashioned rolled oats.
What Kind of Apples Are Best for Baked Apples?
Choose a firm apple that will hold up well through baking. For this recipe, I prefer Honeycrisp apples, as they’re nicely firm and usually fairly large. Other apple varieties like Pink Lady, Rome, Braeburn, and Jonagold are good choices, too, but any sturdy, firm apple should work. They should be ripe, firm, and free from blemishes. (Learn more: The Best Apples for Baking)
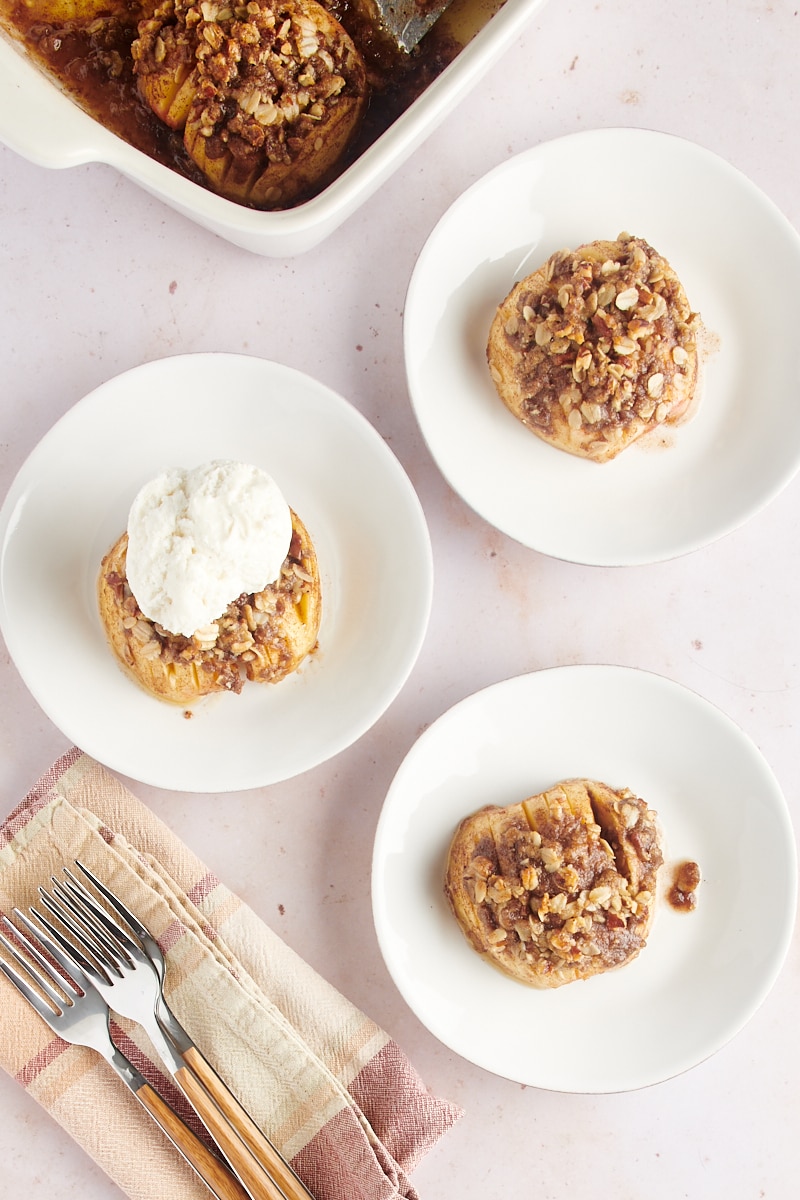
How to Make Baked Apples
- Prepare for baking. Heat the oven to 400°F. Coat a 2-quart baking dish with cooking spray.
- Slice the apples. With the cored side down, make cuts almost all the way through the apples at about 1/4-inch intervals. You can use something thin like chopsticks or rulers on either side of the apple to keep you from slicing all the way through. Watch out for the cored area, as it won’t be as thick as the edges. Leave about 1/8 inch intact on the bottom. Place the apples (cored side down) in the prepared pan.
- Make the melted butter topping. Melt 1 tablespoon of the butter in a small bowl. Stir 1 tablespoon brown sugar and 1/4 teaspoon cinnamon into the melted butter. Brush the mixture over the apples.
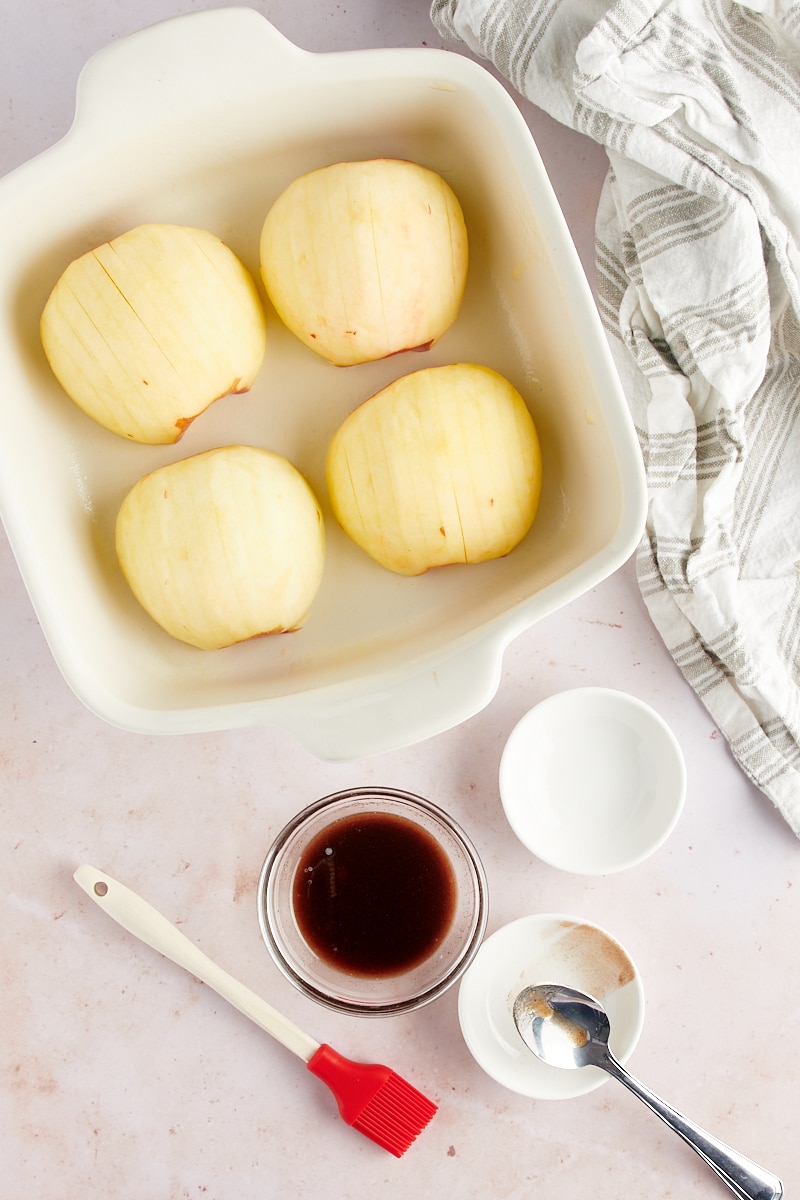
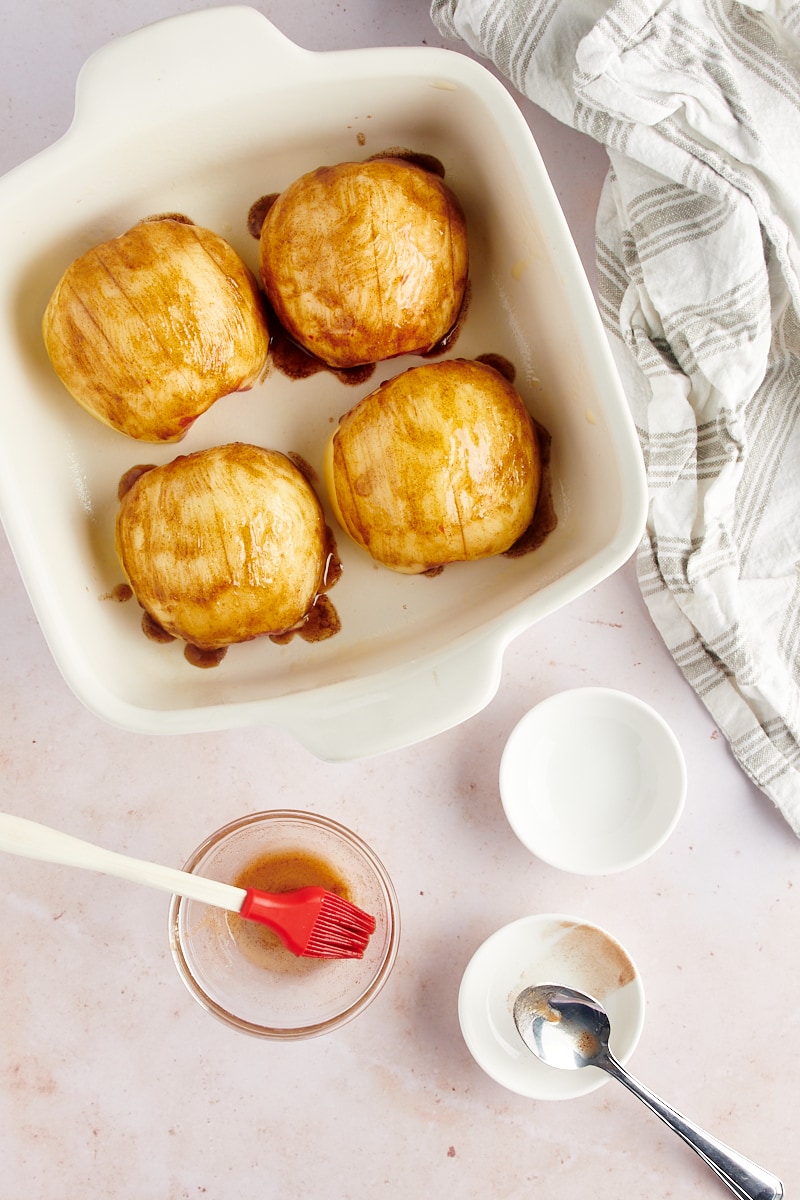
- Bake. Cover the baking dish with aluminum foil. Bake for 20 minutes, then allow to cool for about 10 minutes.
- Make the topping. Combine 3 tablespoons of cold, cubed butter with 3 tablespoons brown sugar, flour, 1/2 teaspoon cinnamon, ginger, nutmeg, cardamom, allspice, and salt. Mix until it forms small clumps. Mix in the nuts and oats.
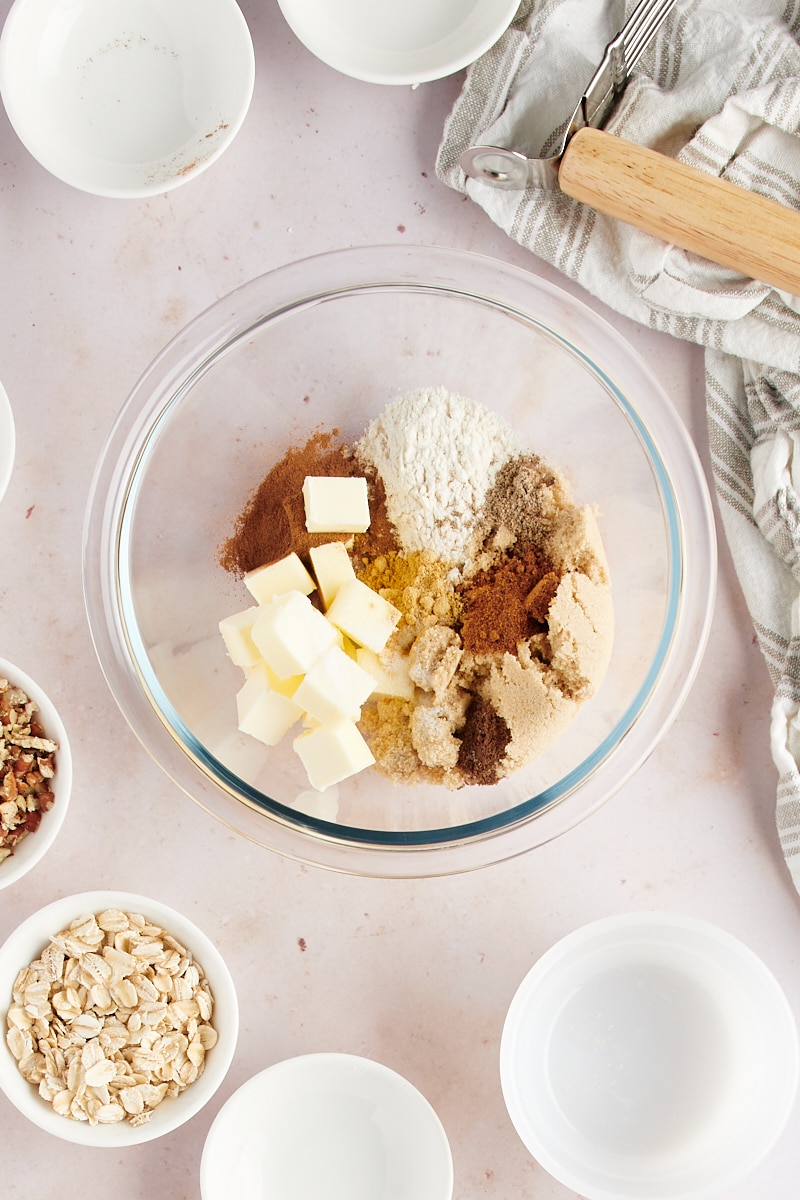
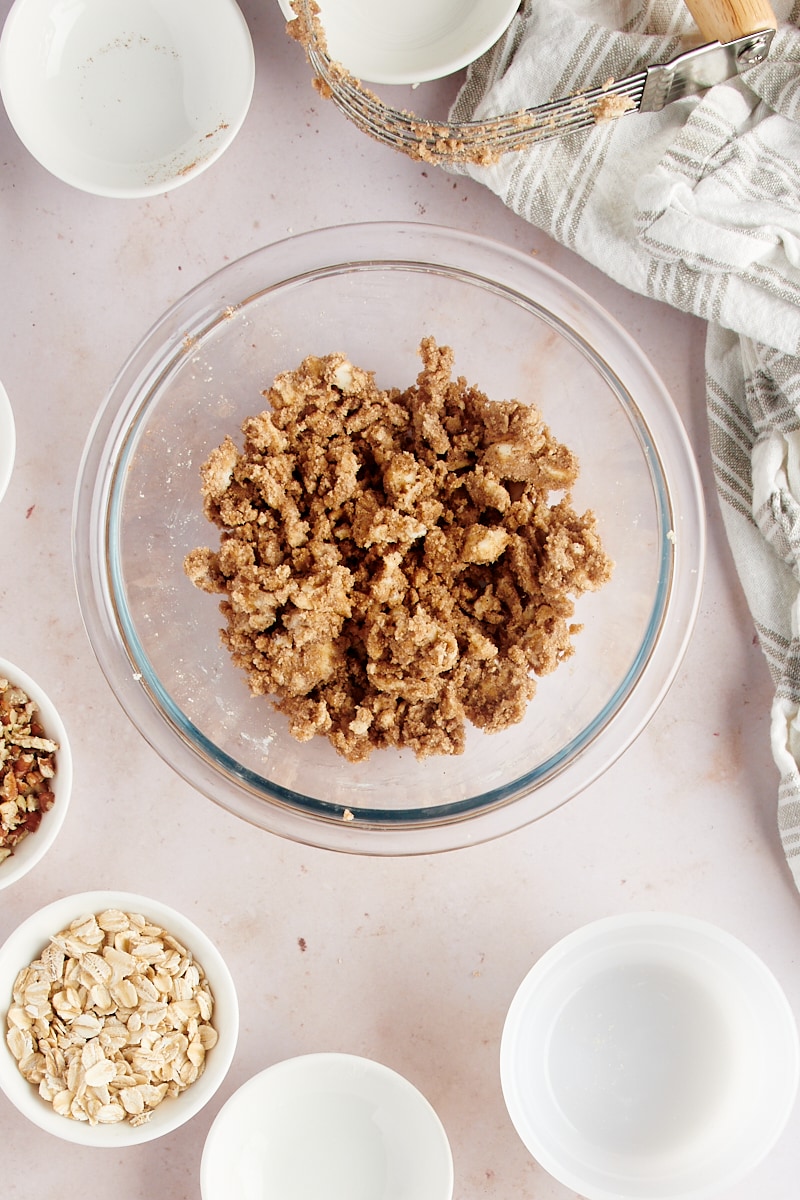
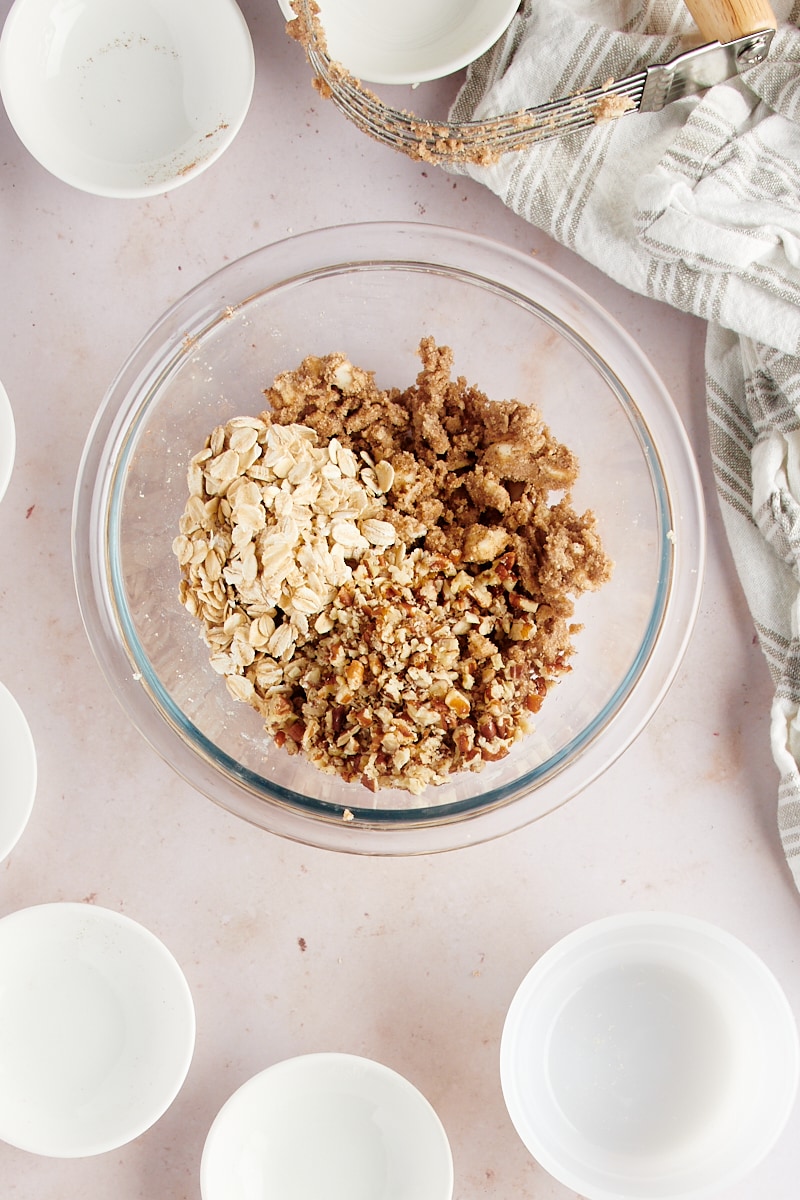
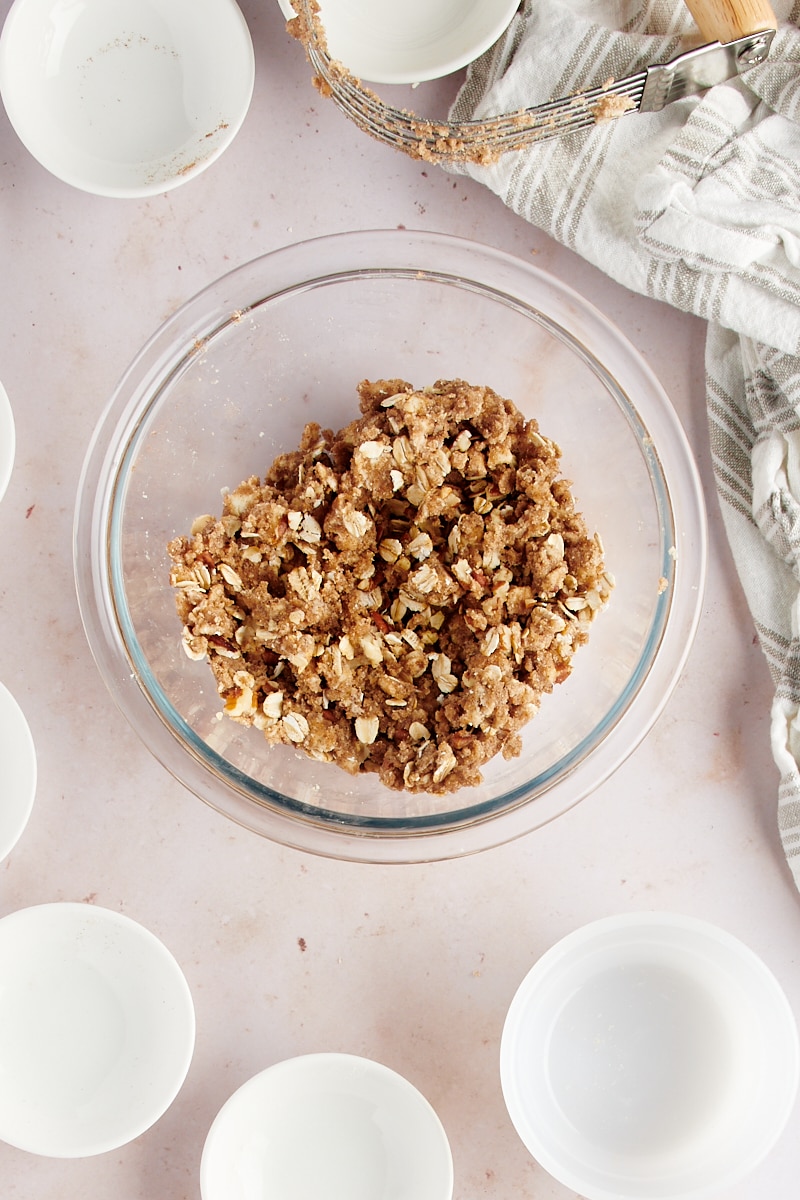
- Add the topping to the apples. Use two forks or butter knives to fan out the sliced sections of the apples. (No heroic efforts here; just separate them a bit.) Gently spoon the topping on top of the apples. Use a small amount of the topping at a time, and gently push some of it down into the sliced areas.
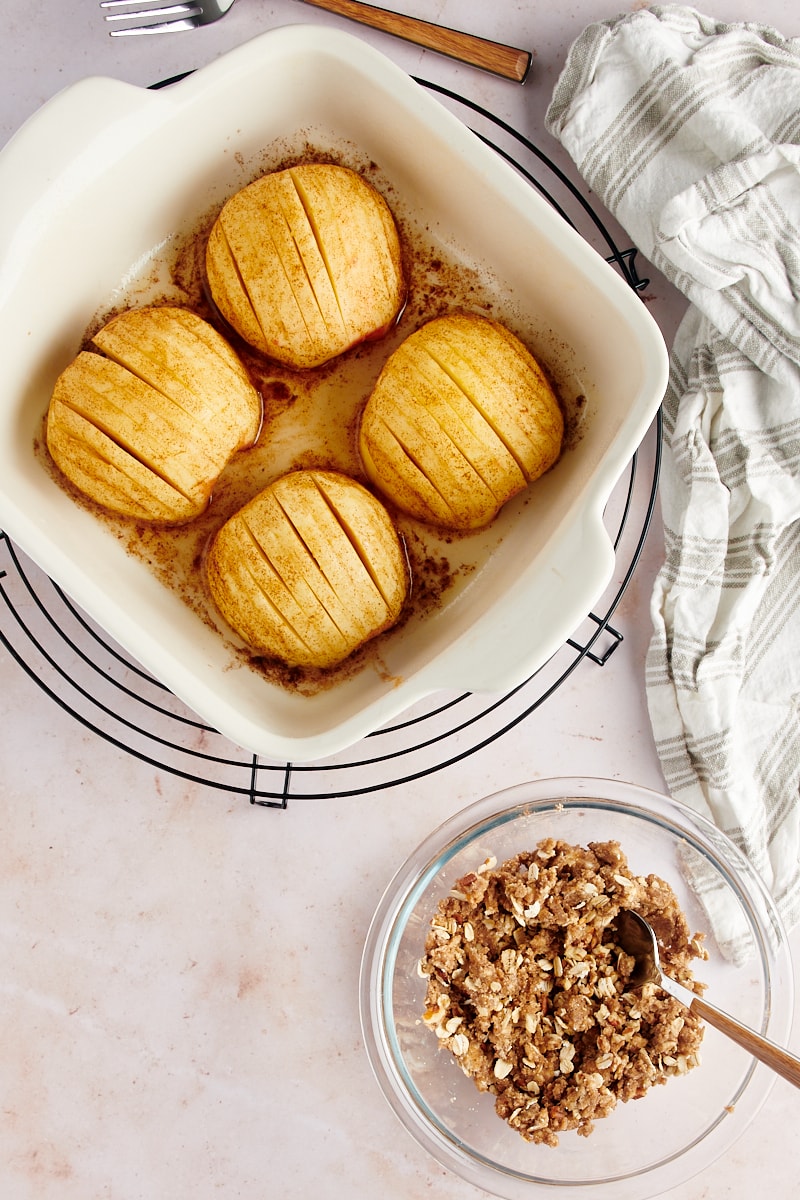
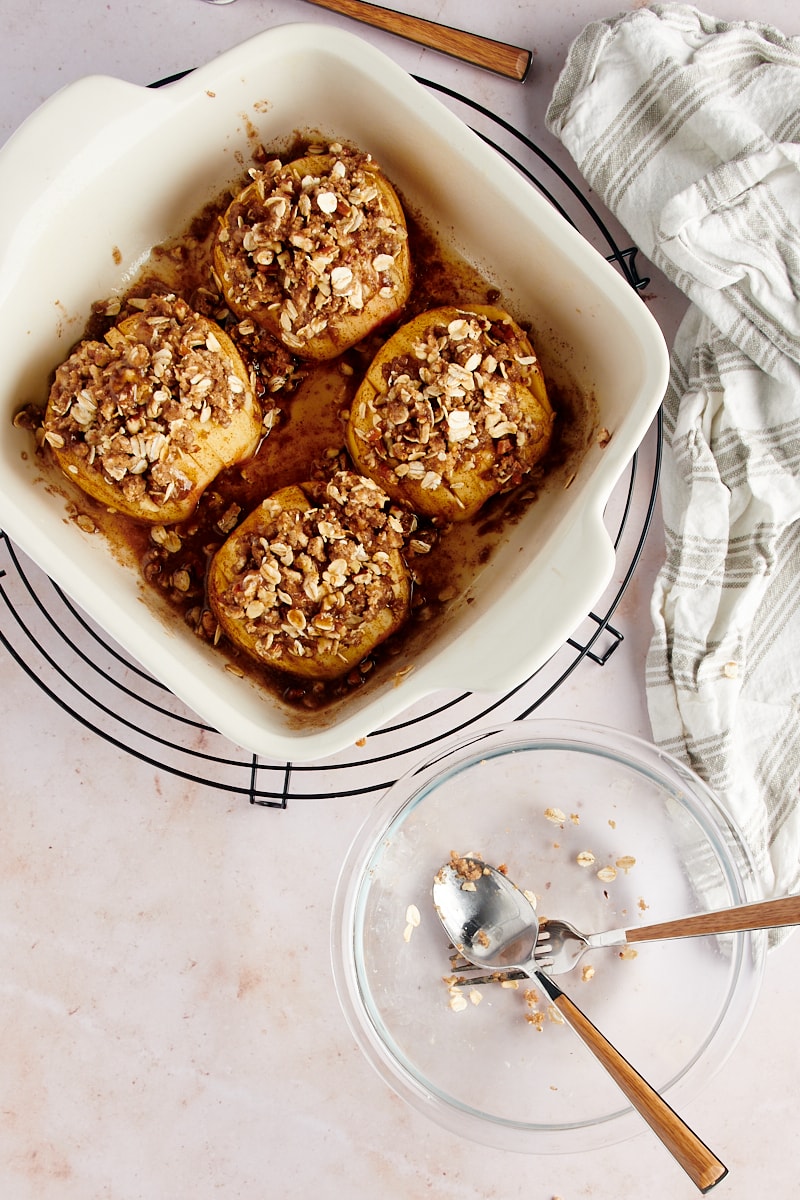
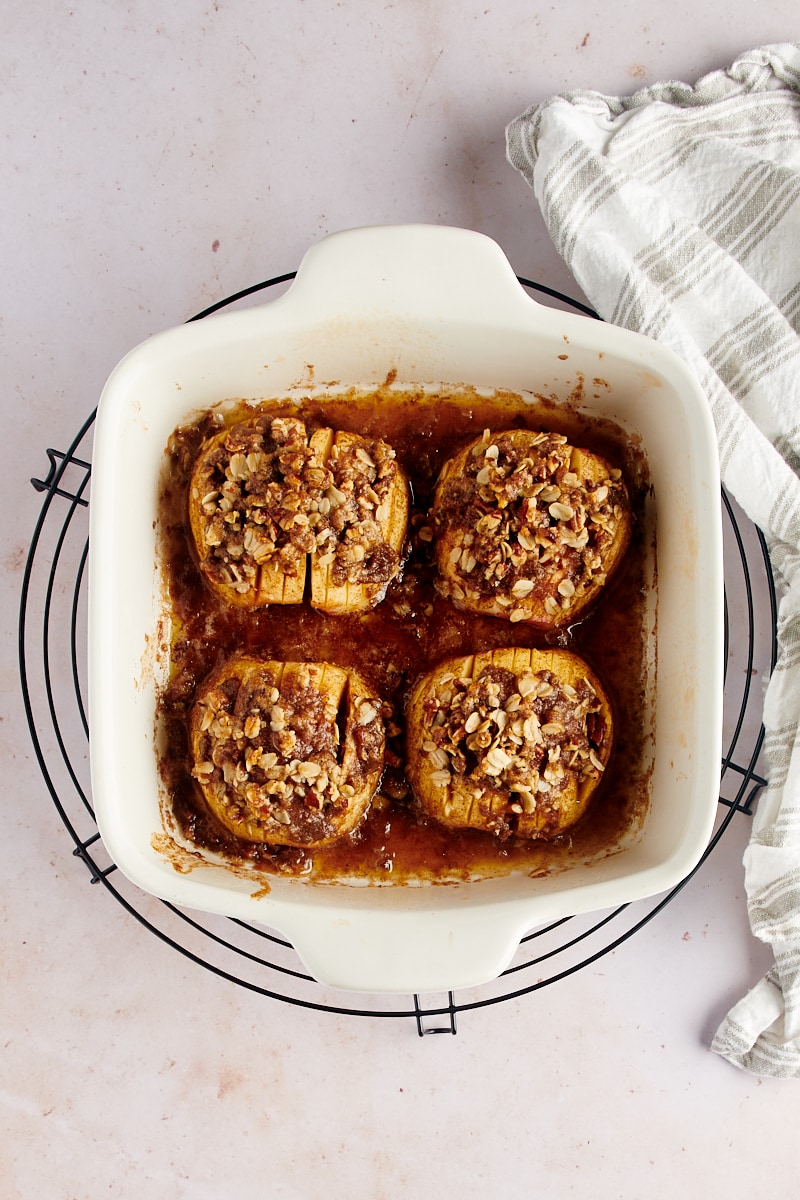
- Finish baking. Return the pan (uncovered) to the oven. Bake 15-20 minutes, or until the apples are baked through. They should offer a bit of resistance but be tender underneath the surface.
Serving Suggestions
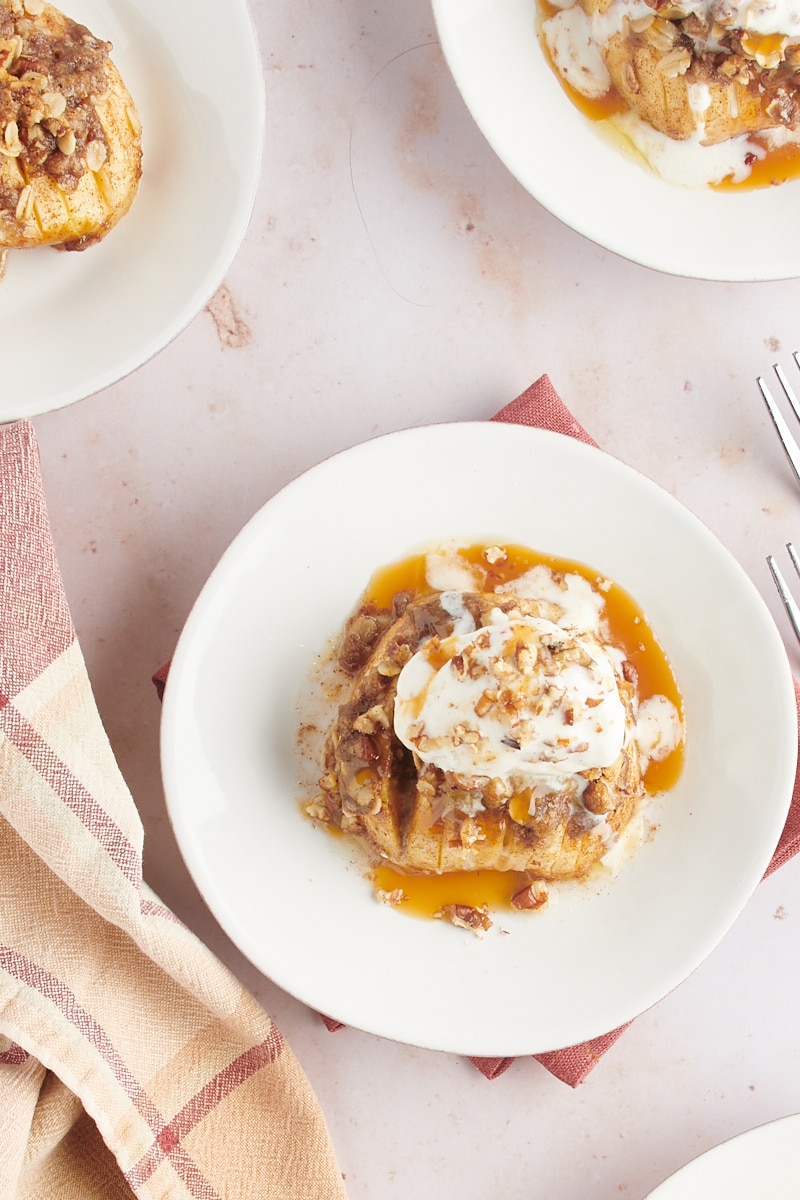
Add your favorite topping, or combine a few toppings for a decadent treat!
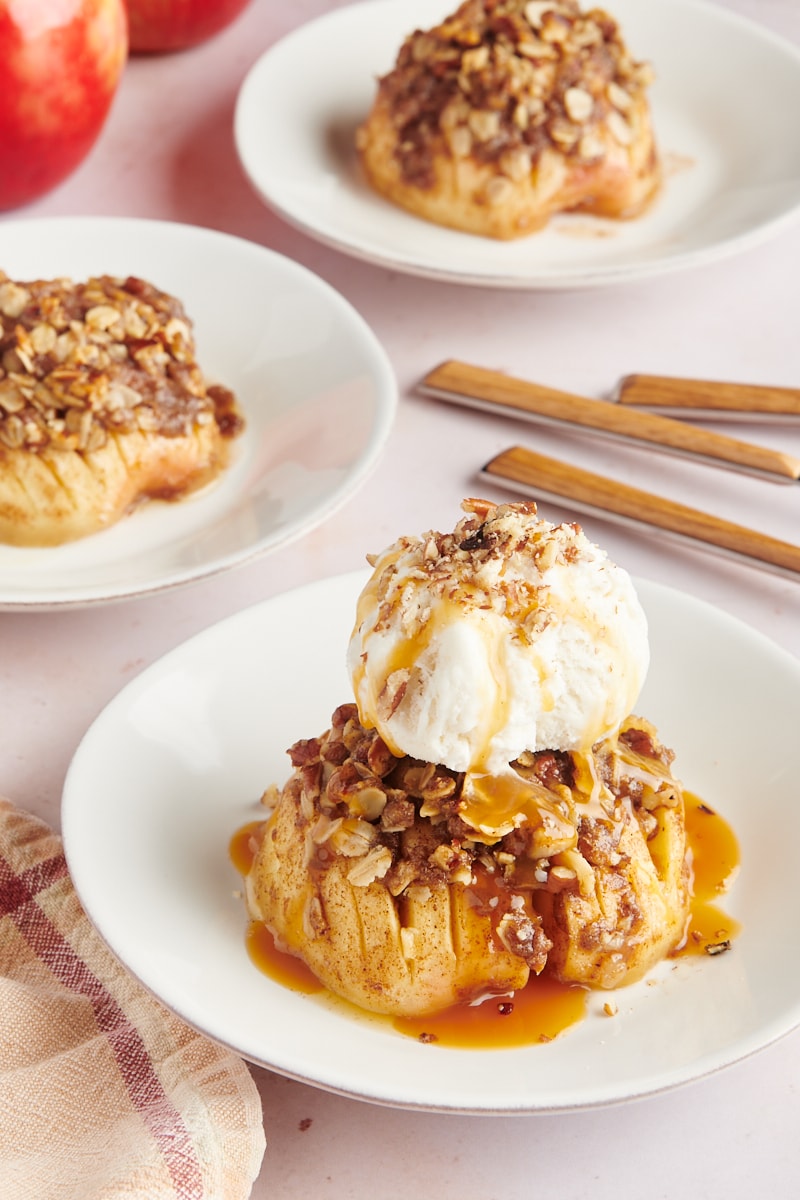
- Ice cream – A big scoop of vanilla ice cream on top of one of these baked apples is pretty darn perfect.
- Caramel sauce – Drizzle store-bought or homemade caramel sauce on top of the apples or on top of some ice cream.
- Maple syrup – Add a drizzle of a thick, rich maple syrup.
- Nuts – Add a sprinkle of toasted nuts on top for a little crunch.
Tips for Success
- Check your spices. If they’ve been in the cabinet for a while, give them a sniff. If they don’t still have a strong aroma, it’s time to replace them.
- Want to simplify? You can skip some of the measuring and just use cinnamon. Or try a spice blend, like my Fall Spice Blend.
- Customize the topping. I like the combination of nuts and oats in the topping, but you can just use one or the other if you prefer. You could also substitute some dried fruits like cranberries, currants, or raisins instead. Just keep the total amount the same.
How to Store
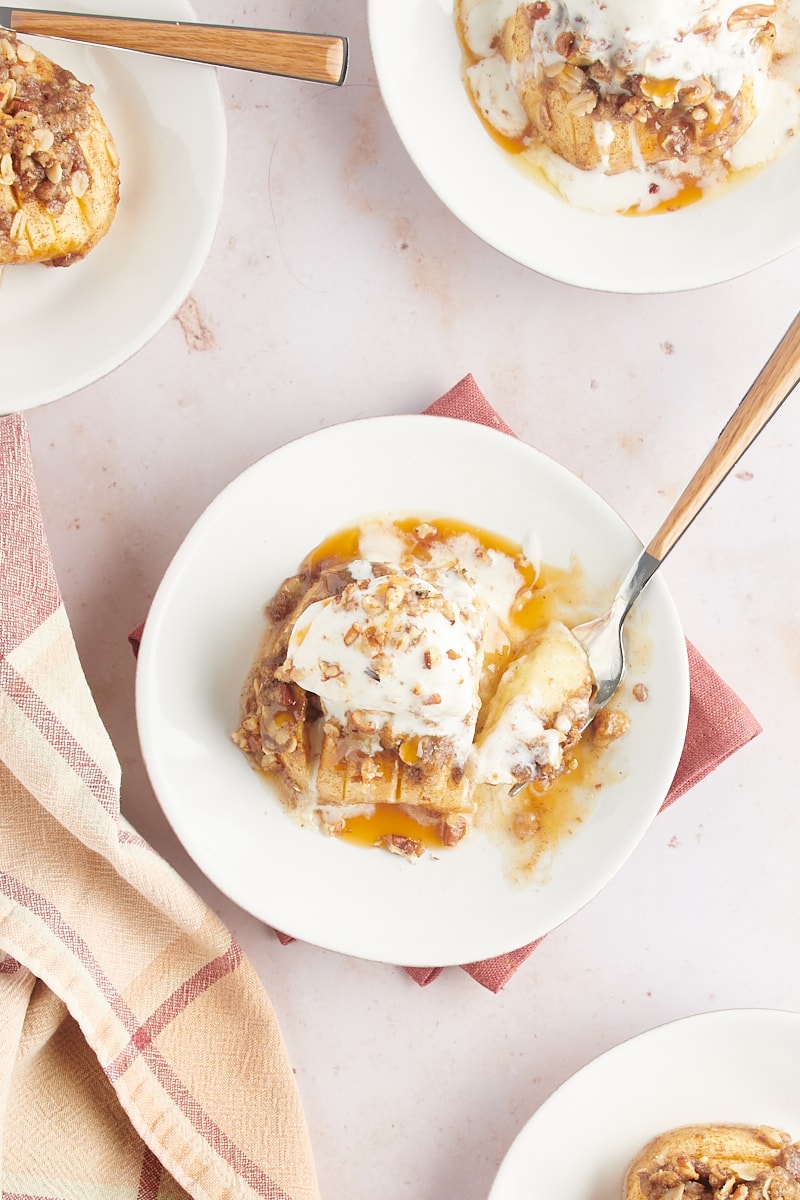
These baked apples will be at their best when they’re freshly baked, but they can be stored in the refrigerator up to 3 days. Place any leftovers in an airtight container after they’ve cooled completely. Warm individual servings briefly in the microwave, or reheat them in the baking dish in the oven for a few minutes.
Can Baked Apples Be Frozen?
I don’t recommend freezing baked apples because the texture becomes a bit unpleasant. If you do want to try freezing them, place the cooled apples in an airtight, freezer-safe container. They should keep for about a month. Thaw overnight in the refrigerator and reheat as directed above.
Baked Hasselback Apples
Ingredients
- 2 large apples, peeled, halved, and cored*
- ¼ cup (56 g) unsalted butter, divided
- ¼ cup (50 g) firmly packed light or dark brown sugar, divided
- ¾ teaspoon ground cinnamon, divided
- ¼ teaspoon ground ginger
- ¼ teaspoon ground nutmeg
- ⅛ teaspoon ground cardamom
- ⅛ teaspoon ground allspice
- 1 tablespoon all-purpose flour
- pinch salt
- 2 tablespoons chopped nuts, like pecans, walnuts, or hazelnuts
- 2 tablespoons rolled oats
Recommended Products
Instructions
- Preheat the oven to 400°F (200°C). Coat a 2-quart baking pan with cooking spray.
- With the cored side down, make cuts almost all the way through the apples at about 1/4-inch intervals. Leave about 1/8 inch intact at the bottom. Place the apples (cored side down) in the prepared pan.
- Melt 1 tablespoon of the butter. Stir in 1 tablespoon of the brown sugar and 1/4 teaspoon of the cinnamon.
- Brush the butter mixture over the apples.
- Cover the pan with foil. Bake for 20 minutes. Then set the pan on a wire rack to cool for about 10 minutes.
- Cut the remaining butter (cold or cool, but not softened) into cubes. Use a pastry blender, a fork, or your fingers to combine the butter, 3 tablespoons brown sugar, flour, 1/2 teaspoon cinnamon, ginger, nutmeg, cardamom, allspice, and salt. Mix in the nuts and oats.
- Use two forks or butter knives to fan out the apple sections just a bit. (Nothing too involved; just pull them apart slightly.)
- Carefully spoon the topping mixture over the apples, using a small amount at a time. Use a fork or butter knife to push some of the mixture down into the slices.
- Bake 15 to 20 minutes, or until the apples are thoroughly baked but not soft. You should feel some resistance when you pierce them, but they should be soft underneath.
- Serve warm. Garnish as desired for serving.
Video
Notes
- *Choose firm apples like Honeycrisp, Pink Lady, Rome, Braeburn, or Jonagold.
- Store leftovers in an airtight container in the refrigerator up to 3 days. Reheat in the microwave or oven.



3 Comments on “Baked Hasselback Apples”
I do not see the amount of flour listed. Also, guessing oats are mixed in with butter/spice mixture and not just sprinkled on top. Thanks for clarification. I’ll wing it for now.
Hi, Deborah! Yes, it’s in mixed with the topping in step 6, and I’ve added the flour to the ingredient list. Thank you for pointing out my omissions! I’m sorry for the inconvenience.
I wanted to love this dessert but it didn’t come out that well for me. The topping was not crispy at all and I found the hasselback apples a little harder to spoon out. The Honeycrisp apples released an awful lot of liquid. I will go with an apple crisp recipe next time.