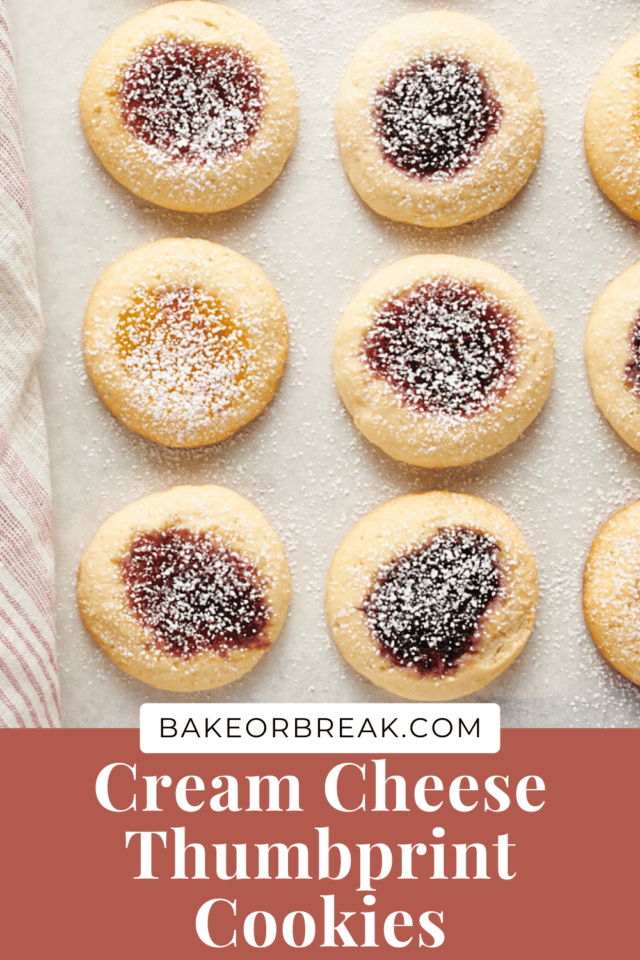
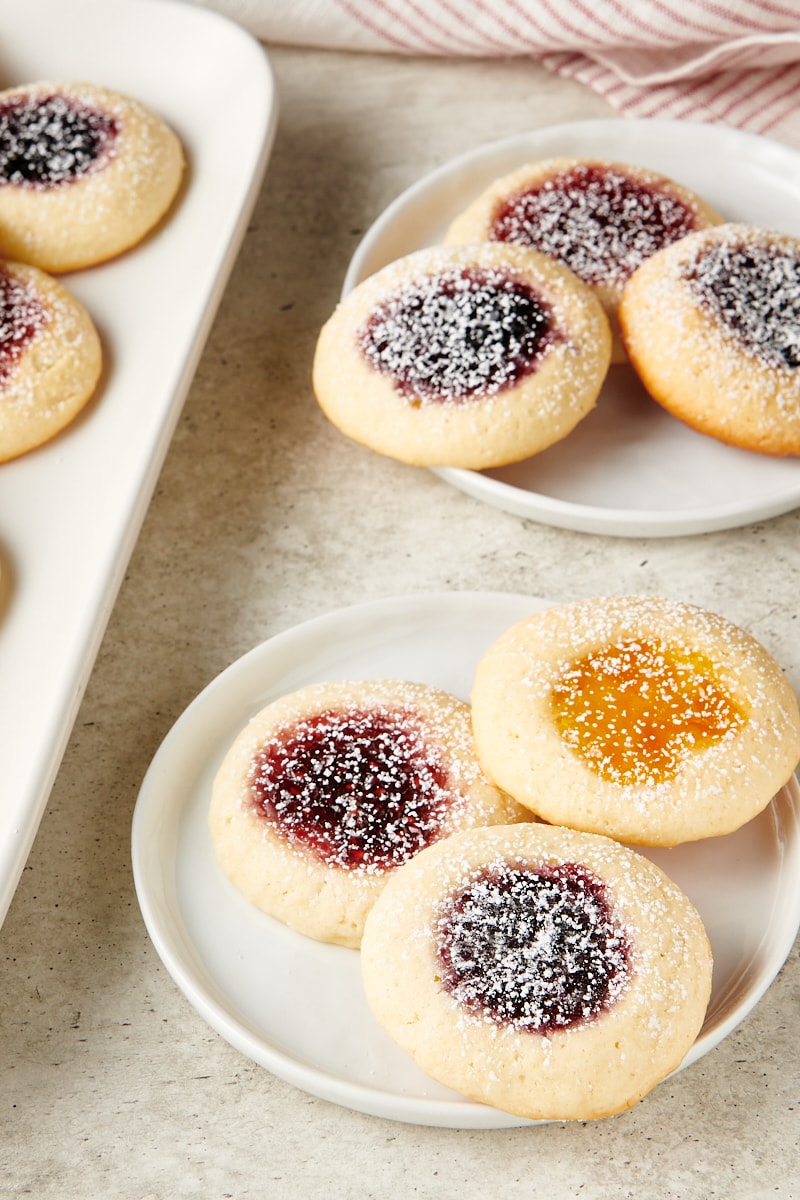
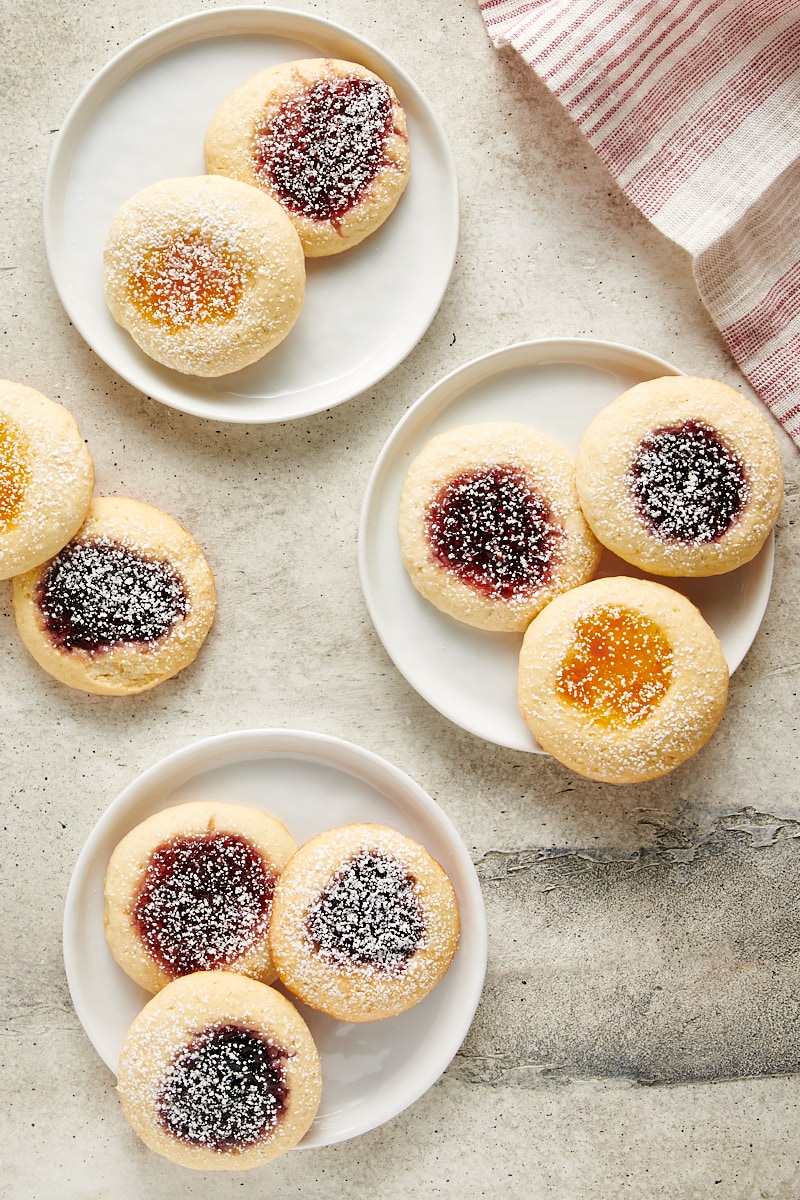
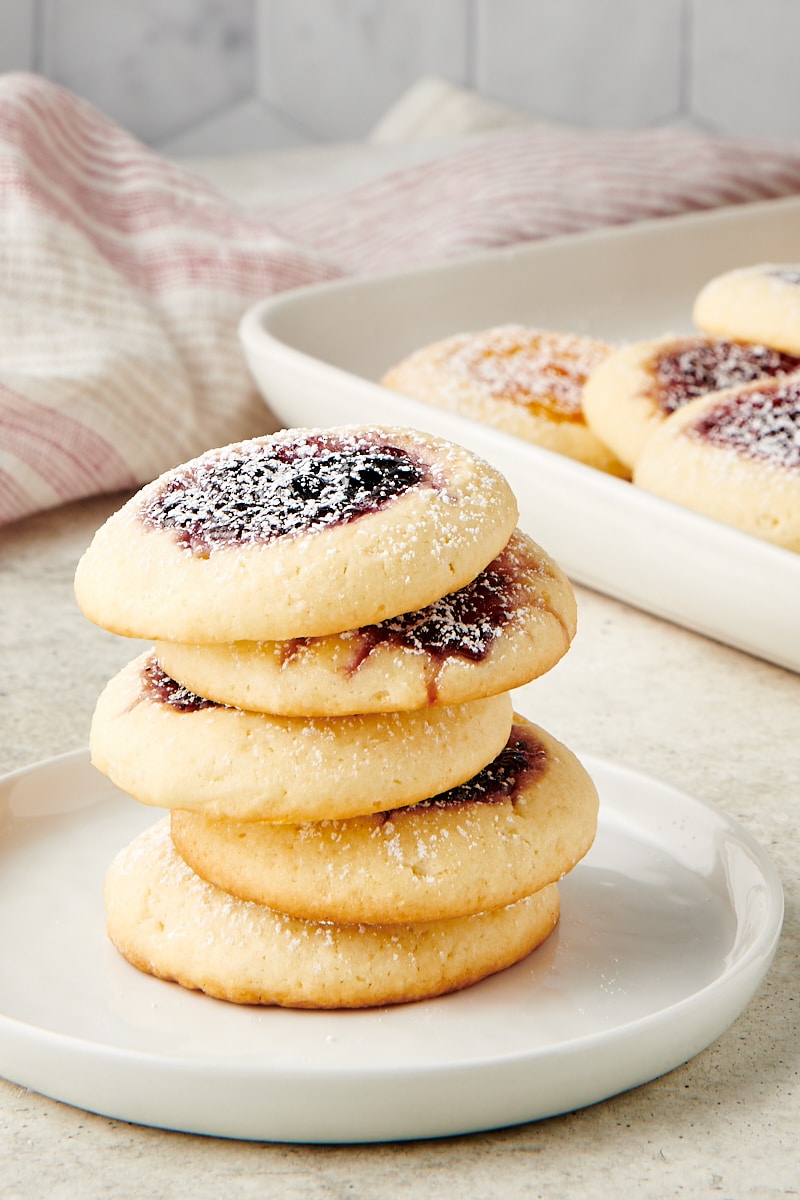
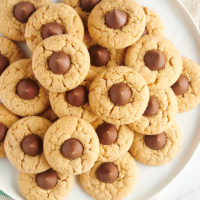
These jam-filled Cream Cheese Thumbprint Cookies are simple, not too sweet cookies filled with jam. Use a variety of fruit jams or go with a favorite!
Jam-Filled Cream Cheese Thumbprint Cookies
Thumbprint cookies certainly aren’t a new sensation, but they’ve stood the test of time for very good reason. There’s something so irresistible about these simple cookies and their fruit filling. They’re perfect year-round, but I especially love them in the spring and at holiday time.
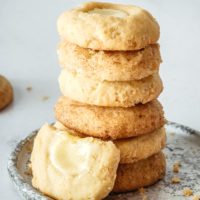
Unlike many thumbprint cookie recipes, this one isn’t made with a shortbread cookie. Instead, we start with a soft, not too sweet sugar cookie. It’s made with cream cheese for flavor and also for an unbelievably soft texture. That basic sugar cookie dough is one of my favorites, and you can also see it in action in my recipe for Soft Christmas Sprinkle Sugar Cookies.
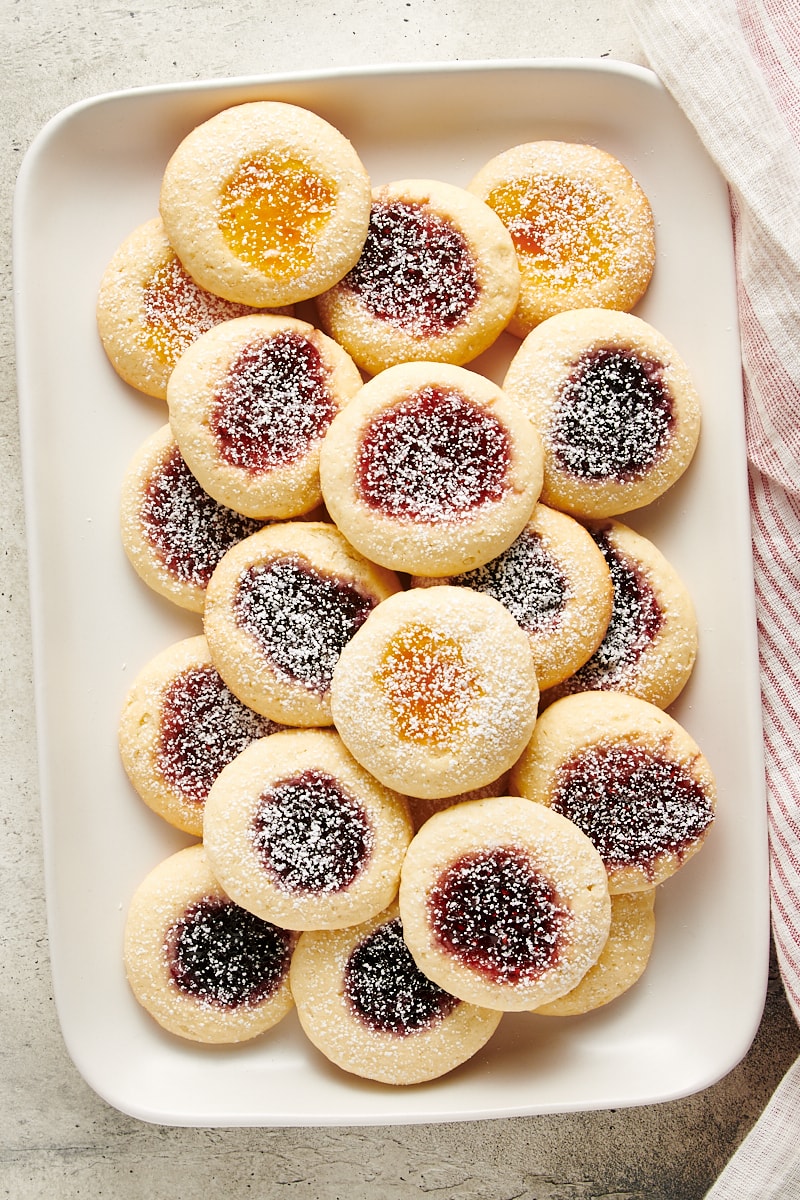
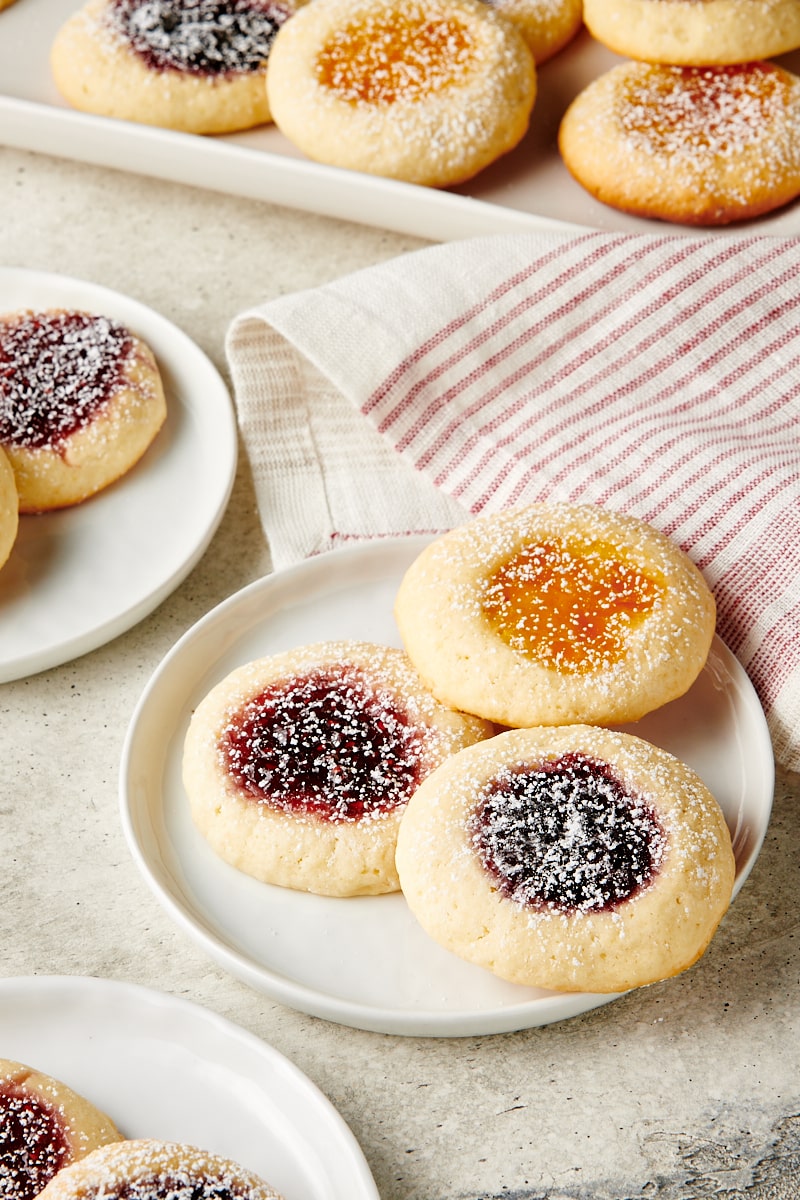
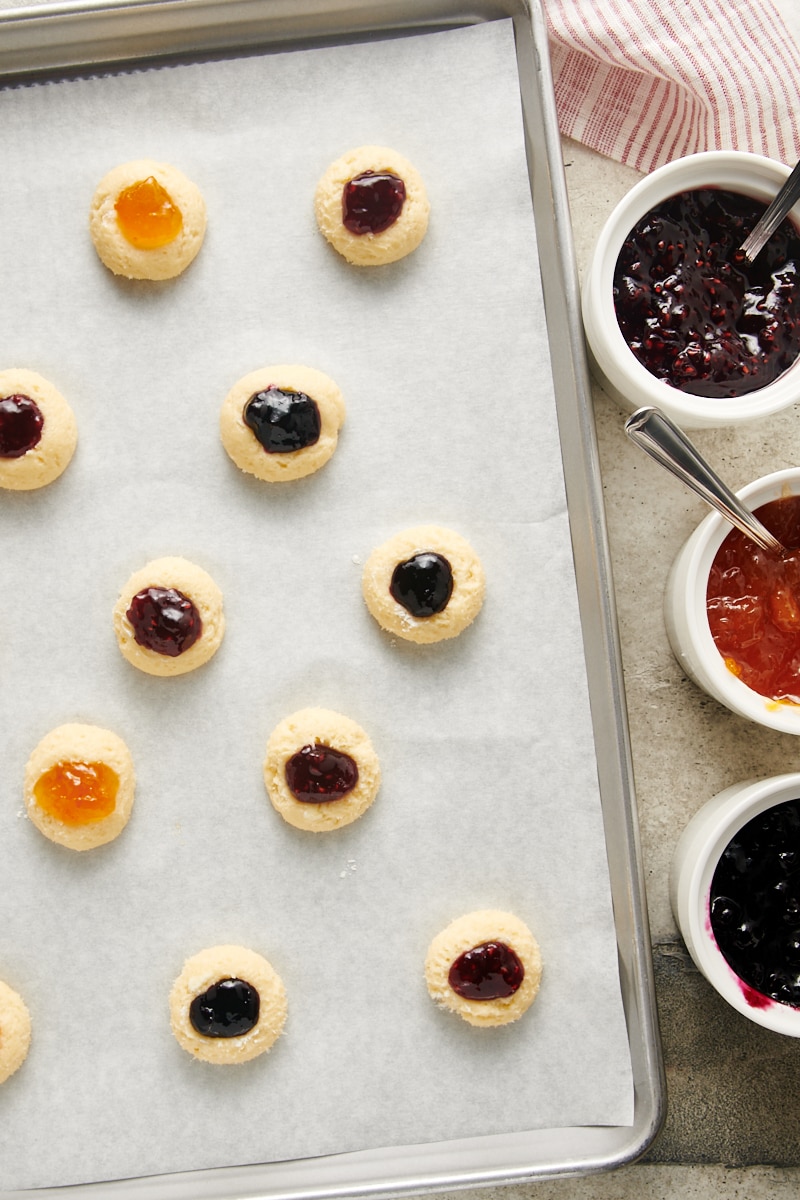
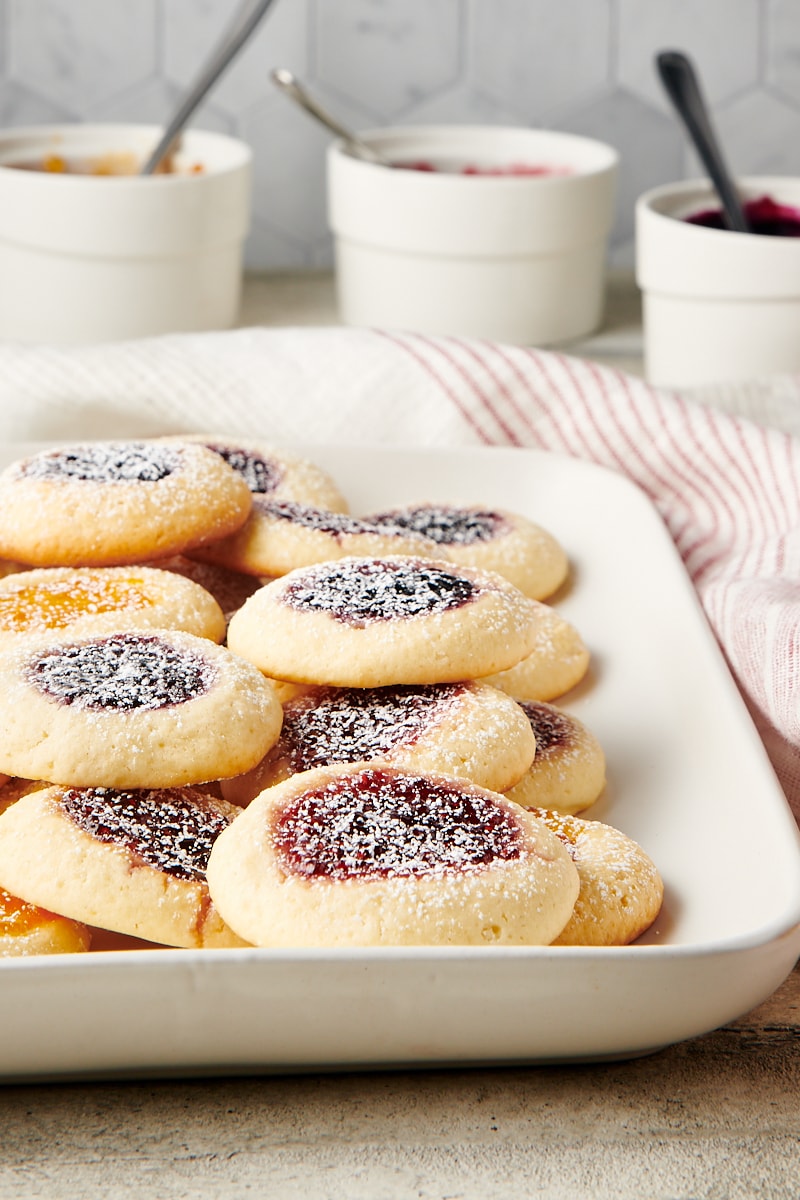
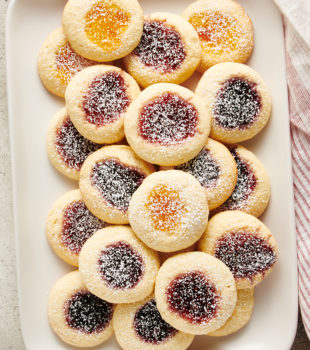
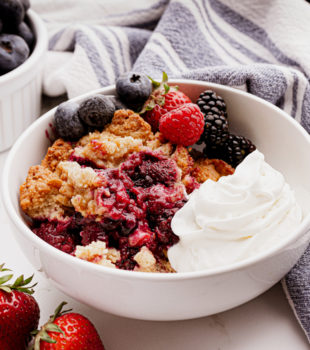
When I make these cookies, I love to use different jams for a variety of flavors and for their visual appeal. My favorite flavors to use are raspberry, blueberry, strawberry, and apricot. You can, of course, just stick with your favorite variety if you like. Thick preserves work well, too.
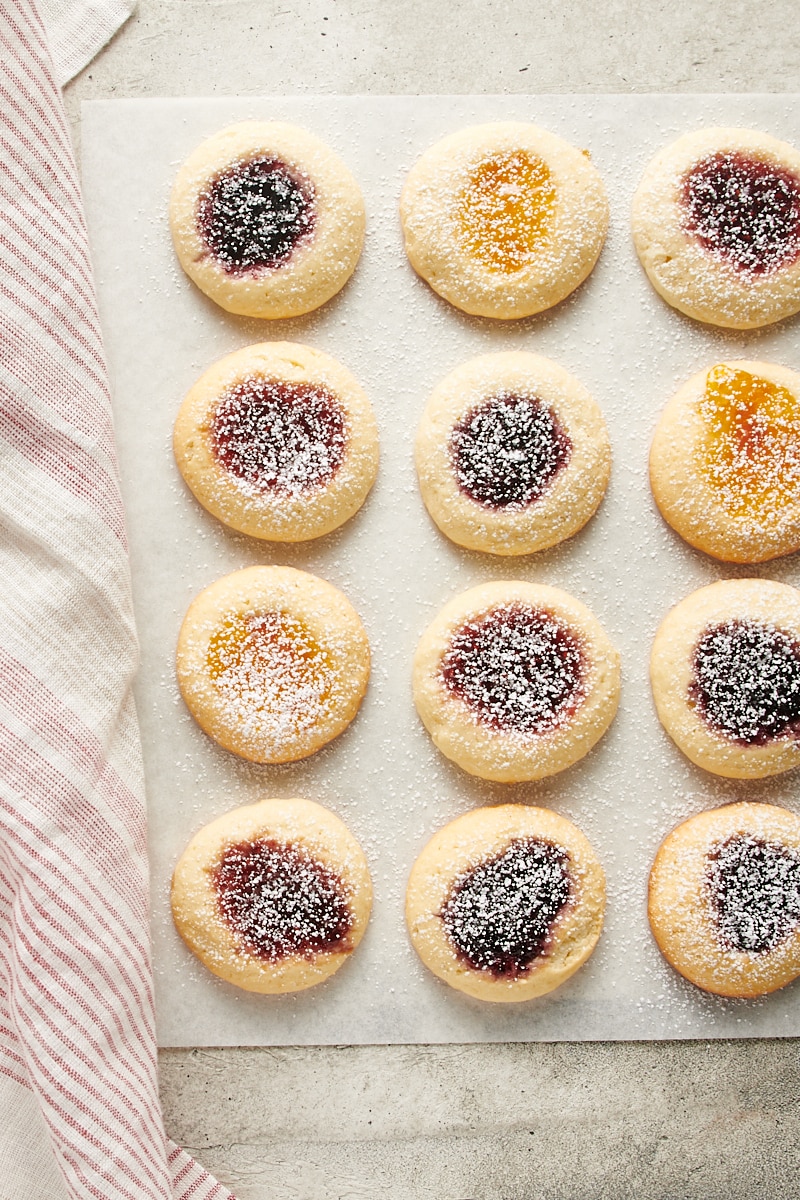
You can leave these cookies just as they are, or dust them with confectioners’ sugar for a little extra sweetness and a pretty look. And if you can bear to wait, they’re even better the day after baking!
Why Are They Called Thumbprint Cookies?
These classic cookies get their name because of that indentation in the center. It can literally be made with your thumb, although you can also use a measuring spoon or another tool to make that shape.
Classic jam thumbprint cookies are also known as hallongrotta, which is a Swedish word that means “raspberry cave.” You may also see them called bird’s nest cookies, jam drops, or Polish tea cakes.
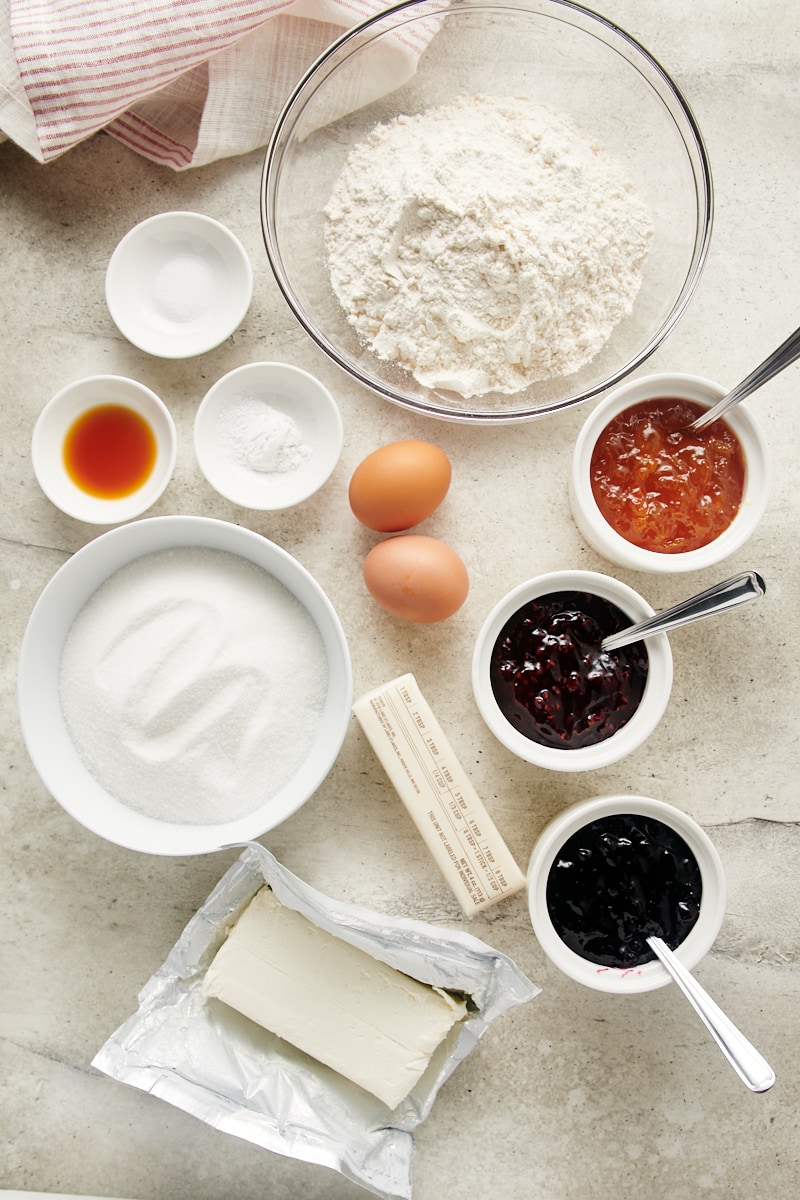
What You’ll Need
This short ingredient list is made up of fairly basic baking ingredients. (I know I always have cream cheese in my refrigerator!) If you’ve also got a stash of jam in your refrigerator, you’re ready to go!
- All-purpose flour – Make sure it’s measured accurately, either by weight or by spooning and sweeping with a knife. Read more: How to Measure Flour
- Baking powder
- Salt
- Unsalted butter – Allow to soften before mixing. Learn more: How to Soften Butter
- Cream cheese – I recommend full-fat cream cheese. Bring it to room temperature for best results.
- Granulated sugar
- Eggs – Also bring these to room temperature. I recommend baking with large eggs.
- Vanilla extract – Almond extract is really good here, too.
- Jams or preserves – Use your favorite kind or a variety!
- Confectioners’ sugar – If you like, sprinkle some sugar onto the cookies before serving.
How to Make Cream Cheese Thumbprint Cookies
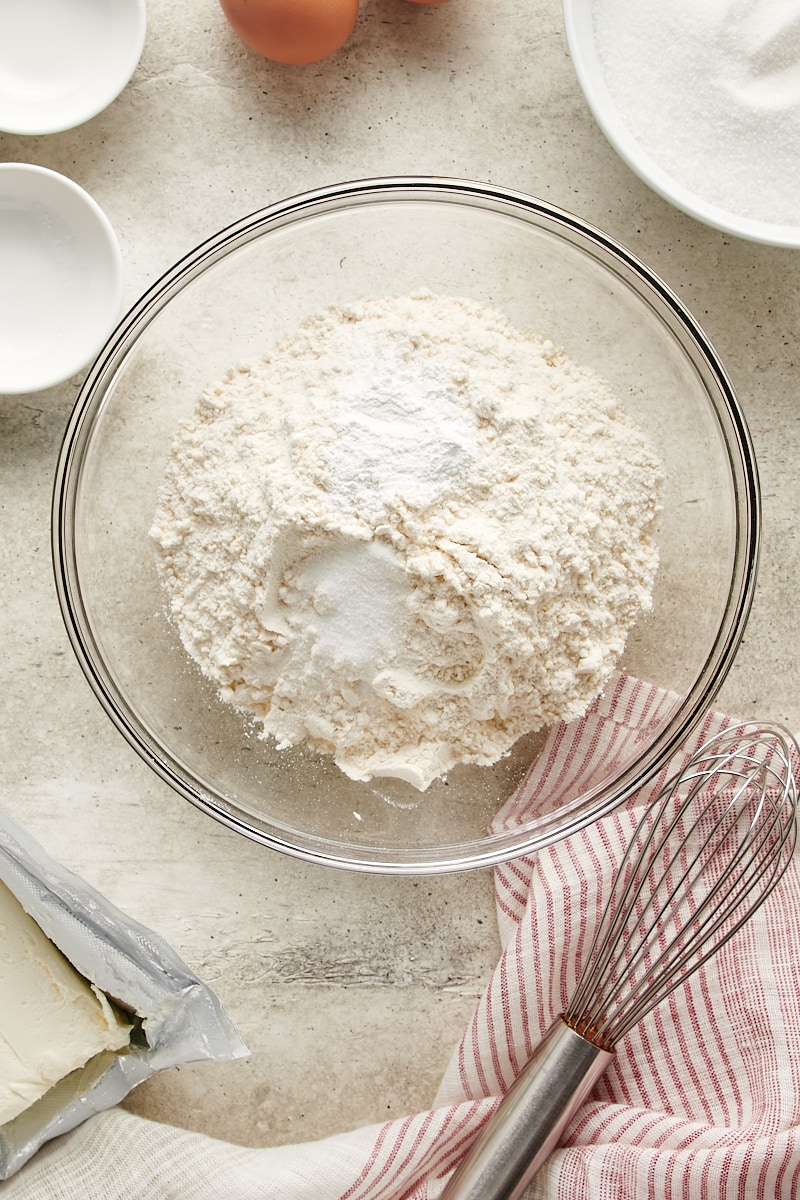
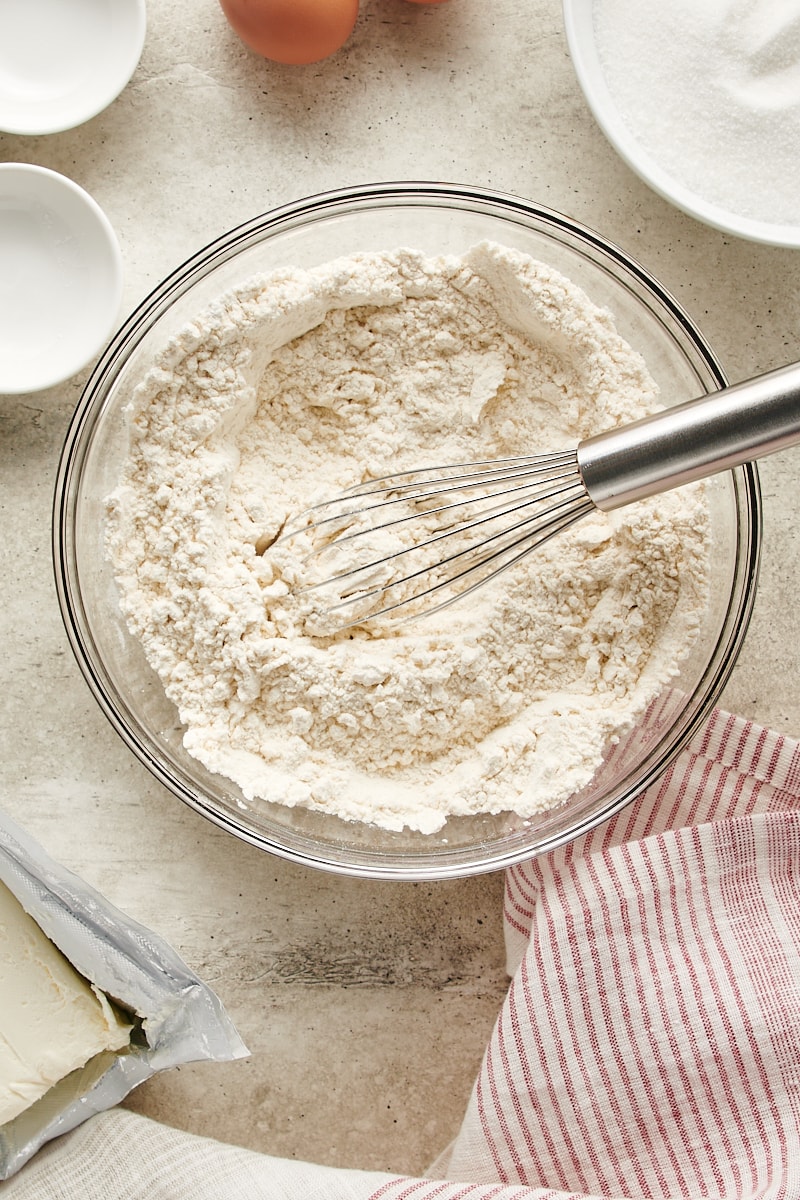
- Combine the dry ingredients. Whisk together the flour, baking powder, and salt in a medium bowl.
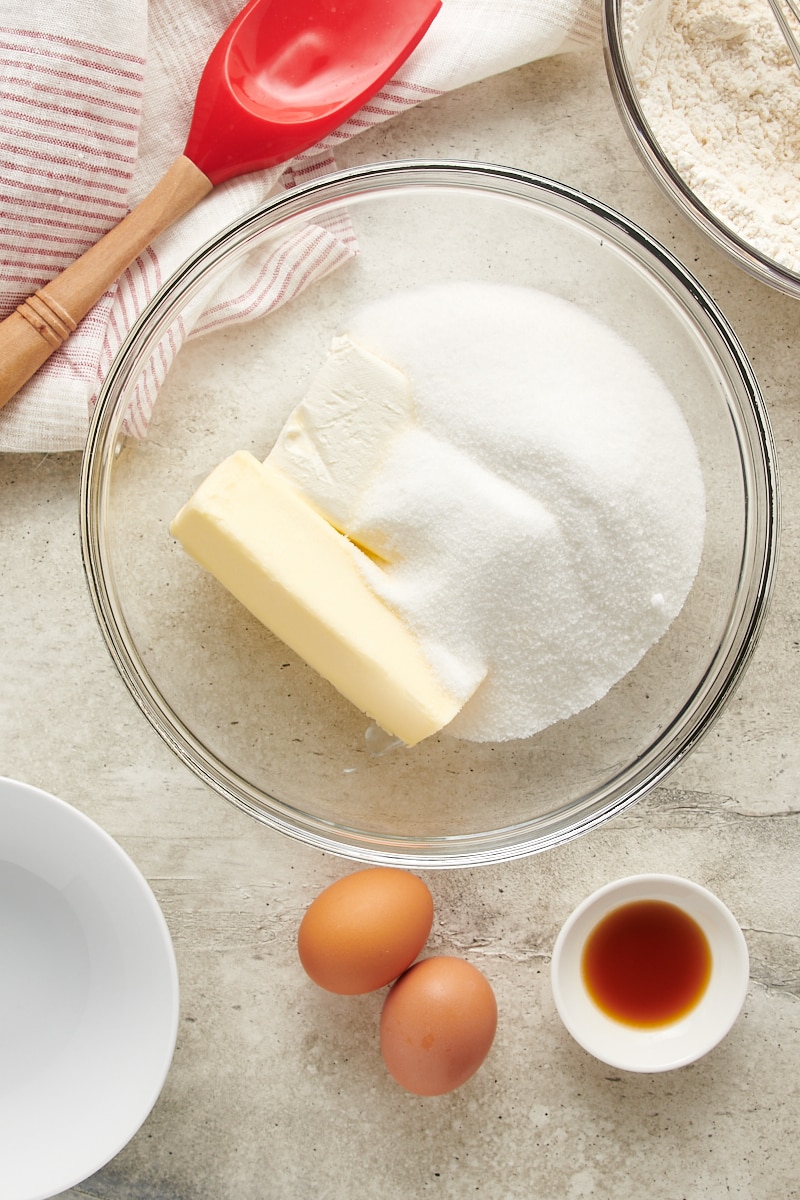
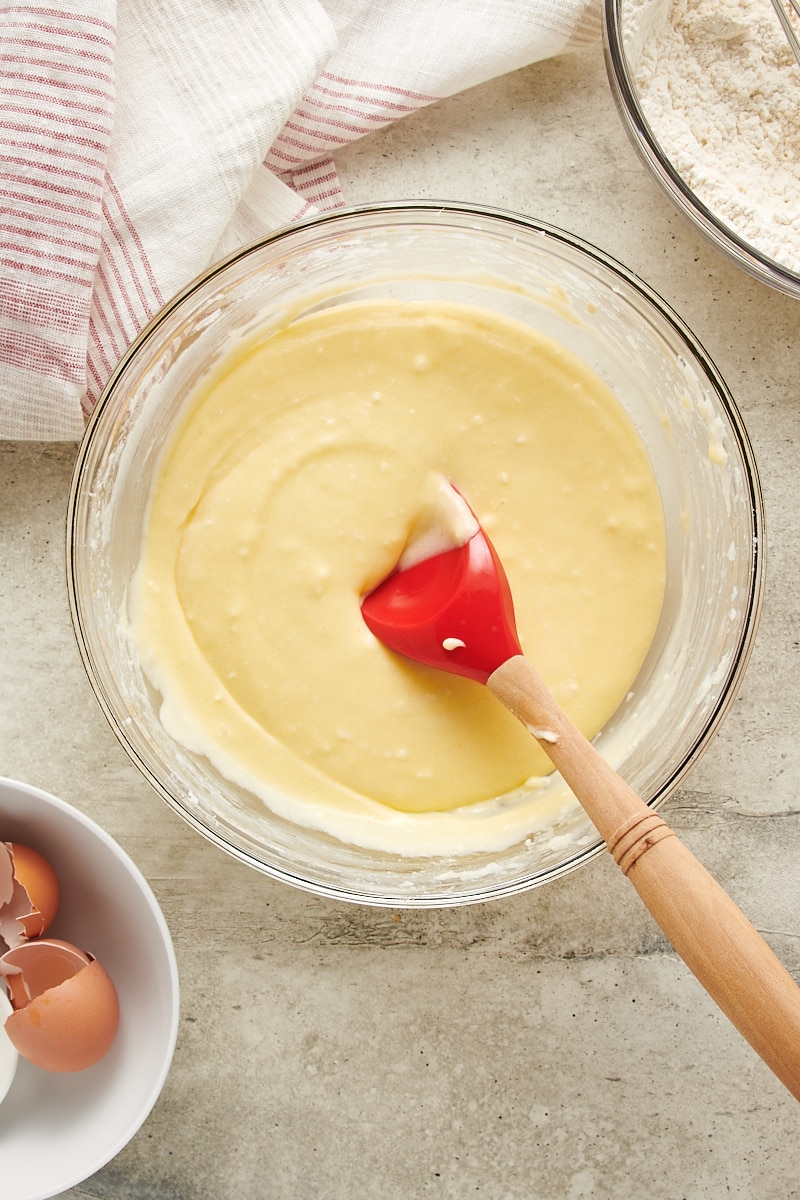
- Combine the wet ingredients. Use an electric hand mixer or stand mixer on medium speed to beat the butter, cream cheese, and sugar until fluffy and lightened in color. Mix the eggs into the dough one at a time, and then mix in the vanilla.
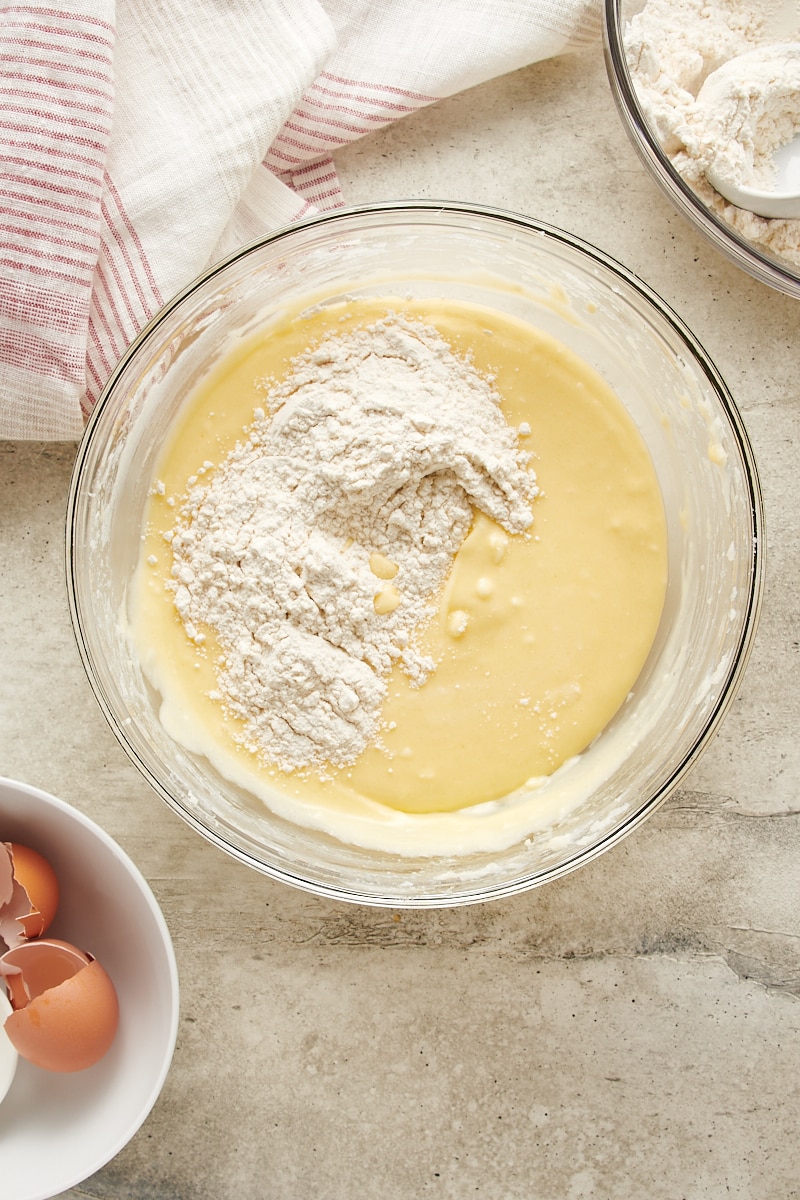
- Add the dry ingredients to the wet ingredients. With the mixer on low speed, gradually add the flour mixture. Mix just until combined.

- Chill the dough. Cover and chill the dough for at least an hour up to overnight. For longer chill times, you may need to let the dough sit at room temperature for 5-10 minutes so it will scoop more easily.
- Prepare for baking. Heat the oven to 350°F. Line baking sheets with parchment paper or silicone liners.
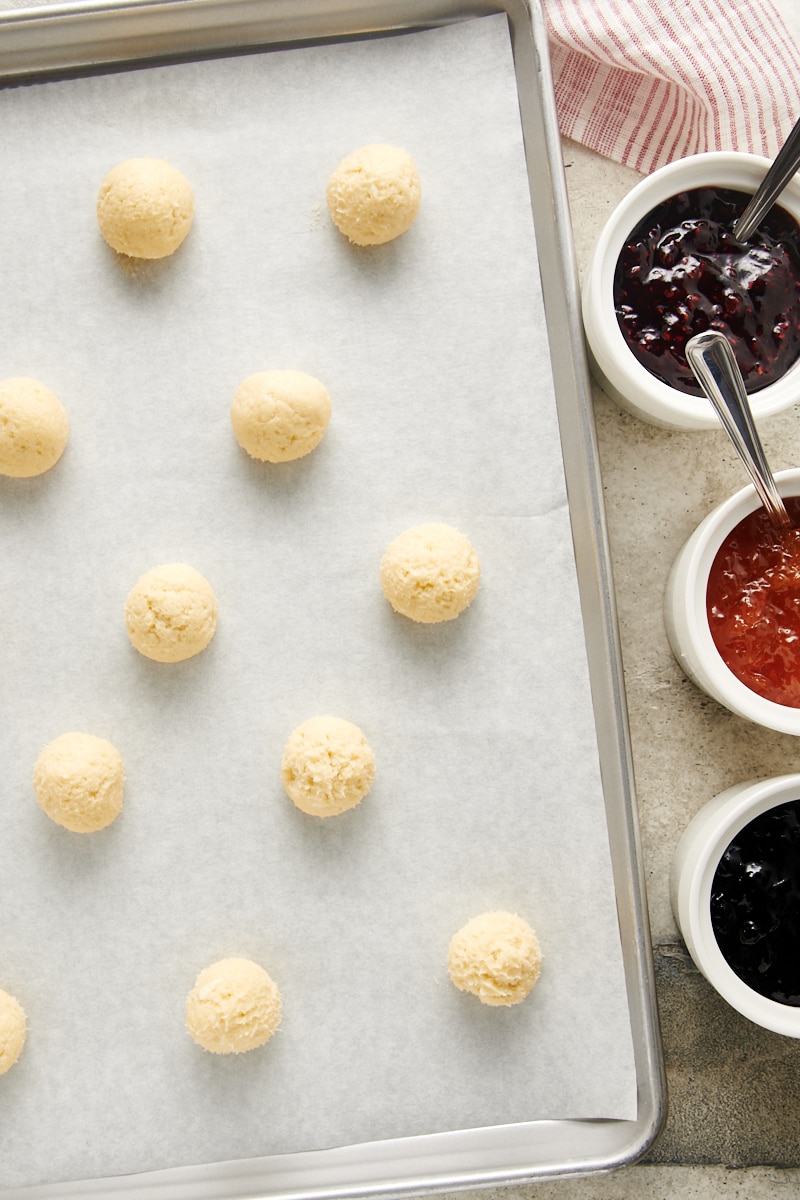
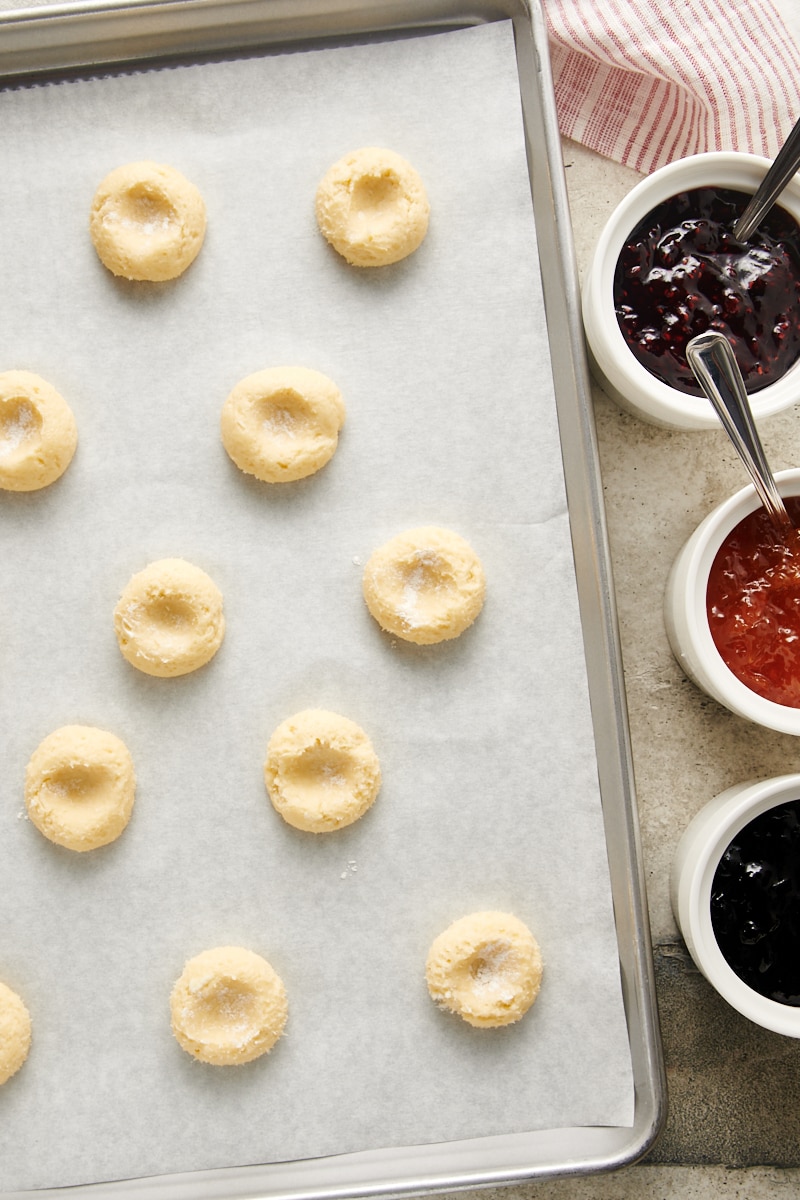
- Portion, shape, and fill. Using about 1 & 1/2 tablespoons of dough (I use a #40 scoop.), roll into balls and place about 2 inches apart on the prepared pans. Make an indentation in the middle of each cookie. (See my note below for tips on making the indentations..) Fill each cookie with about 1/2 teaspoon jam. If your kitchen is warm or your hands are warm while shaping the cookies, place the pans of cookies in the refrigerator for 15 to 20 minutes before baking.
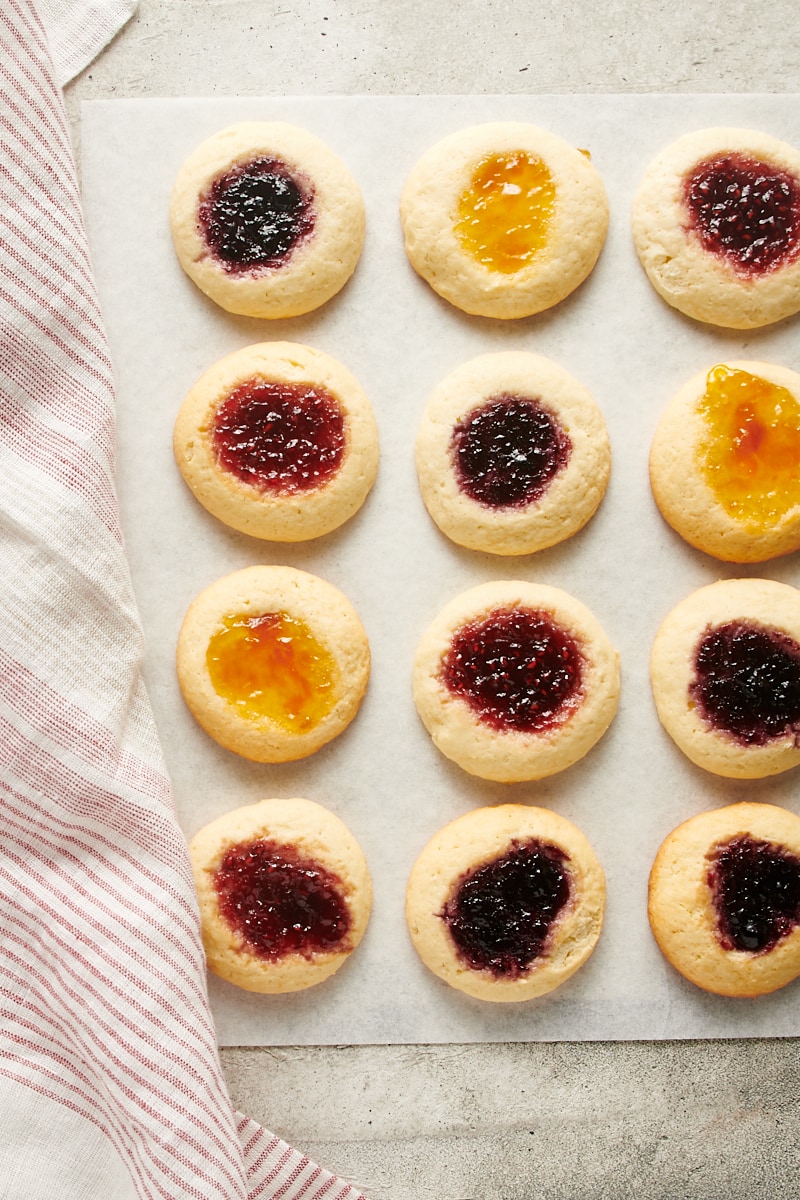
- Bake. Place one pan at a time in the heated oven, and bake 12 to 15 minutes or until the edges are lightly browned.
- Cool. Place the pans on a wire rack and allow the cookies to cool about 5 minutes. Then transfer the cookies from the pan to a wire rack to cool completely.
- Garnish. If you like, dust the cookies with confectioners’ sugar before serving.
Making the Thumbprints
You can literally use your thumb to make the indention in these cookies. It’s right in their name, after all! Keep a little bit of flour nearby to keep sticking to a minimum. When I use my thumb to make the indention, I like to make a partial indentation and then rotate ninety degrees and finish so the finished indentation is fairly round.
Alternatively, you can use a small measuring spoon. Pick one that’s circular with a nice rounded bottom. Simply press it down into the center of the portioned cookie dough to make a small indentation.
Tips for Success
- Keep ingredients at the right temps. Butter and cream cheese should be soft but still cool to the touch. If they’re too warm, the dough will be sticky and harder to roll.
- Don’t rush the chill. Give the dough enough time to firm up — at least an hour, but longer if needed. You can also chill again briefly after shaping or filling if your kitchen is warm.
- Flour adjustments. If your dough still seems too sticky, mix in 1 to 2 tablespoons (8–15g) more flour. This small tweak won’t affect texture but will make shaping much easier.
- Handle gently. Work quickly and with cool hands when rolling. A light dusting of flour or confectioners’ sugar on your palms can help prevent sticking without toughening the cookies..
- Use good quality jams or preserves. Choose thick varieties and avoid thin, runny ones. If it’s especially thick, give it a good stir to loosen it a bit before adding to the cookies.
- Don’t overfill the cookies. If you add too much jam, it will overflow and not stay neatly in the center. Honestly, I don’t mind a little of that, but be mindful of filling them just full for a neater look.
- Bake one pan at a time. This ensures even baking and helps the cookies keep their shape.
- Cool completely before storing. Any residual warmth can cause the cookies to soften too much or lose their crisp edges in storage.
How to Store Cream Cheese Thumbprint Cookies
After the cookies have cooled completely, place them in an airtight container. If you need to layer them, place wax paper between the layers to keep them looking their best. They should keep up to a week.
If you dust them with confectioners’ sugar, keep in mind that the cookies will absorb that sugar over time. For best results, wait to add that as a finishing touch before serving.
Can These Cookies Be Frozen?
You can freeze the baked cookies by placing the cooled cookies between layers of waxed paper or parchment paper in an airtight, freezer-safe container. They can be thawed overnight in the refrigerator or for an hour or two at room temperature. If you plan to dust them with confectioners’ sugar, do so after they’ve thawed.
You can also freeze the unbaked cookies. Portion and shape them as directed, but don’t add the filling. Place the cookies on a lined rimmed baking sheet and freeze until solid (about 2 hours). Then transfer to a freezer-safe bag or container. When you’re ready to bake, place them on a baking sheet and fill with jam. Then bake them as directed, adding a minute or two to the baking time.
Video Tutorial: Cream Cheese Thumbprint Cookies
Jam-Filled Cream Cheese Thumbprint Cookies
Ingredients
- 2 ½ cups (300 g) all-purpose flour
- 1 teaspoon baking powder
- ¼ teaspoon salt
- ½ cup (113 g) unsalted butter, softened
- 8 ounces (227 g) cream cheese, at room temperature
- 1 ½ cups (300 g) granulated sugar
- 2 large eggs
- 1 teaspoon vanilla extract
- ⅓ to ½ cup jam or preserves
- confectioners’ sugar, optional
Recommended Products
Instructions
- Whisk together the flour, baking powder, and salt. Set aside.
- Using an electric mixer on medium speed, beat the butter, cream cheese, and sugar until light and fluffy. Add the eggs, one at a time, mixing well after each addition. Mix in the vanilla.
- Reduce mixer speed to low. Gradually add the flour mixture, mixing just until combined.
- Chill the dough for an hour (or up to overnight).
- Preheat the oven to 350°F (175°C). Line baking sheets with parchment paper or silicone liners.
- Using about 1 & 1/2 tablespoons of dough at a time (I use a #40 scoop.), roll the dough into balls and place 2 inches apart on the prepared pans.
- Make an indentation in the middle of each cookie, using your thumb or a small measuring spoon.
- Fill each indentation with about 1/2 teaspoon of jam. If your kitchen is warm, place the pans in the refrigerator for about 15 minutes.
- Bake one pan at a time for 12 to 15 minutes, or until the edges are lightly browned.
- Place the pans on wire racks and let the cookies cool for 5 minutes. Then transfer the cookies from the pans to a wire rack to cool completely.
- If desired, sprinkle the cookies with confectioners' sugar before serving.
Notes
- Measuring flour: For the best consistency, measure by weight or use the spoon-and-sweep method. Too little flour can make the dough overly soft.
- Chilling time: If your dough feels too sticky to handle after the first chill, give it extra time in the refrigerator. It should feel cool and slightly firm to the touch before shaping.
- Cream cheese temperature: Let the cream cheese soften just enough to blend smoothly with the butter. It should be pliable but not warm or glossy. Overly soft cream cheese can make the dough sticky.
- Rolling tips: Roll dough with cool, dry hands. If it still sticks, dust your palms lightly with flour or confectioners’ sugar, or chill the scooped dough briefly before shaping.
- Jam options: Thicker jams and preserves hold their shape better during baking. If your jam is runny, stir in a small pinch of cornstarch or briefly simmer to thicken.
- Storage: Keep cookies in an airtight container at room temperature for up to a week. They can also be frozen (filled or unfilled) for up to 2 months. Thaw at room temperature before serving.
- Make ahead: You can refrigerate the dough up to 24 hours in advance. Let it soften slightly before scooping and shaping.


13 Comments on “Cream Cheese Thumbprint Cookies”
Seriously, how can someone fit a large cookie tray back in the oven before baking these cookies? Never again.
Hi, Adrienne. Each pan only goes in the oven one time for baking, so I’m not sure what you’re meaning about putting the cookie tray back in the oven.
I was thinking of making these cookies but want to know if you ever freeze the dough? I want to know if the dough holds up well? Thanks for any information.
Hi, Amber. The unbaked dough should freeze well. You can shape them and form the indentation before freezing so you can bake them straight from the freezer.
Hi I was wondering how to store the cookies and how long do they last
Hi, Bunny! There’s storage and freezing information above the recipe card.
This recipe needs fine tuned. The dough is impossible to work with once you chill it. It’s far too sticky and they come out huge. Also the timing was not right at all.
It’s unfortunately a no for me. They came out tasteless and had to double the baking time. Dough hard to work with.
First review in my life, but seriously one of the best tasting cookies I’ve ever made, gluten free or not. I actually had them in a stainless bowl and used the freezer to chill them more. That – and using a touch more organic powdered sugar to indent them to avoid sticking (could also use a little more GF flower). Also used mostly salted butter but little ghee because I ran out. I did finish right when they came out of the oven with powdered sugar, and it really dresses them up. They are also very forgiving with cooking time, which is nice for someone who gets distracted cleaning. They were still incredibly moist and melt in your mouth! NO ONE knew they were GF either! 😊
I’m so glad that you enjoyed the cookies, Michele! And thanks for sharing your experience with making them gluten-free.
These were a HUGE fail for me. The dough was much too sticky to work with and the final cookies tasted much too sweet to serve to anyone. Something is off about this recipe…
I’m so sorry to hear that the recipe didn’t work out for you! I’d love to help troubleshoot so you can have better results if you decide to try them again.
If the dough was too sticky, it might be that it wasn’t chilled long enough. Chilling helps firm up the dough and makes it much easier to handle. If your kitchen is warm or if the dough sat out for a while before shaping, it might have softened too much. You could try chilling the dough longer or even popping the shaped cookies into the fridge for a few minutes before baking.
As for the sweetness, everyone’s taste is different, but these cookies are meant to be sweet since they’re paired with jam. If you’d prefer them less sweet, you could experiment with reducing the sugar slightly. Just keep in mind that this can affect the texture of the cookies.
I also have step-by-step photos and a video included in the post, which might be helpful to review if you’d like to try again. Let me know if you have any other questions—I’m happy to help!
I had a recipe to make cream cheese cookies but never wrote the name down from where it came from so I made them yesterday anyway but no jam I only used two spoons to put them on the tray and only made 9 small cookies. Put the rest of the dough in the fridge. The dough is sticky so I Putin the fridge for a while before making them . They were so good. I loved them and will make the rest with the jam. It took me a long time to find this recipe to match the exact ingredients to the paper I wrote the recipe on . i am so glad to finally find it. Thank you for a great one.