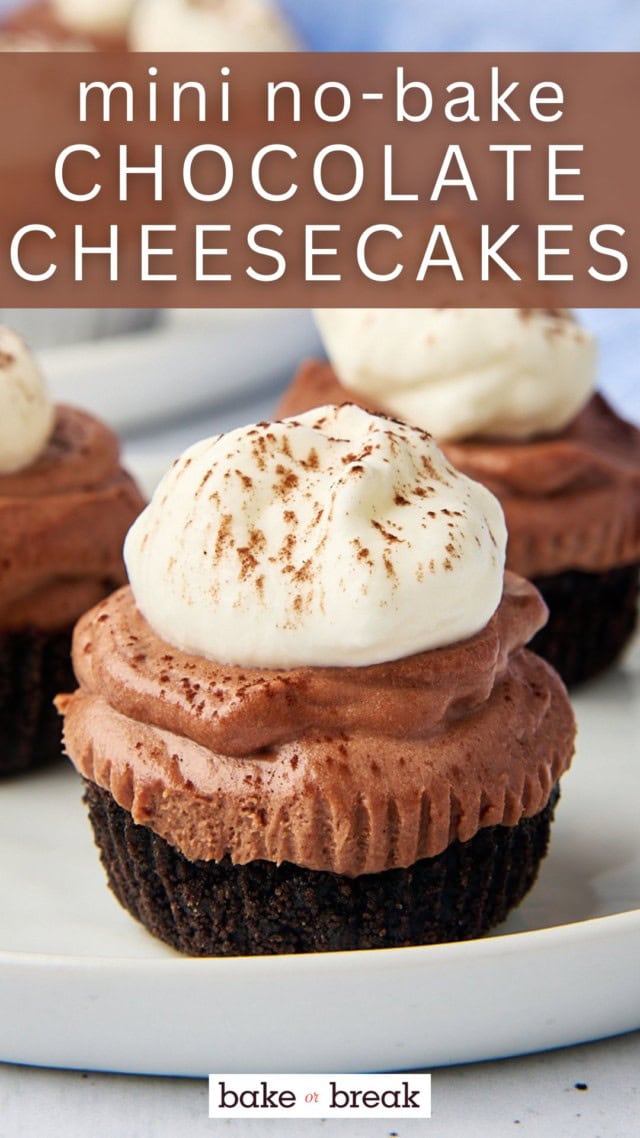
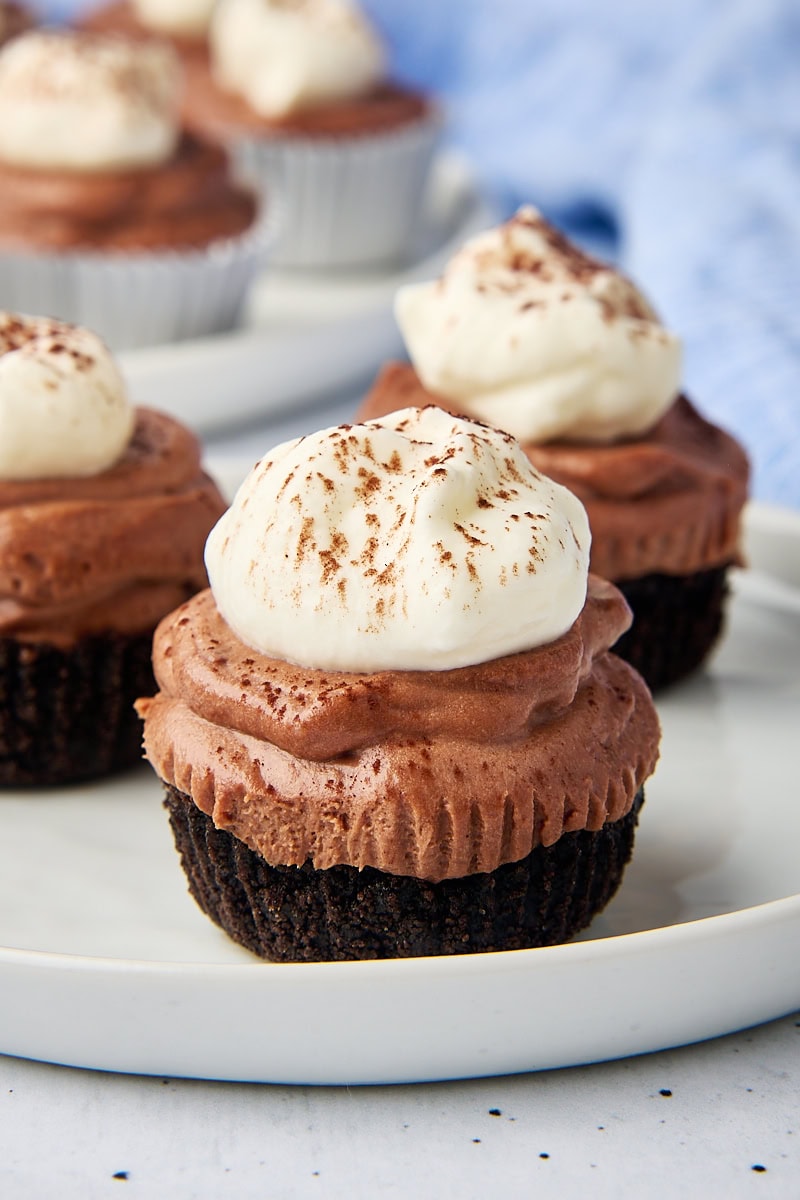
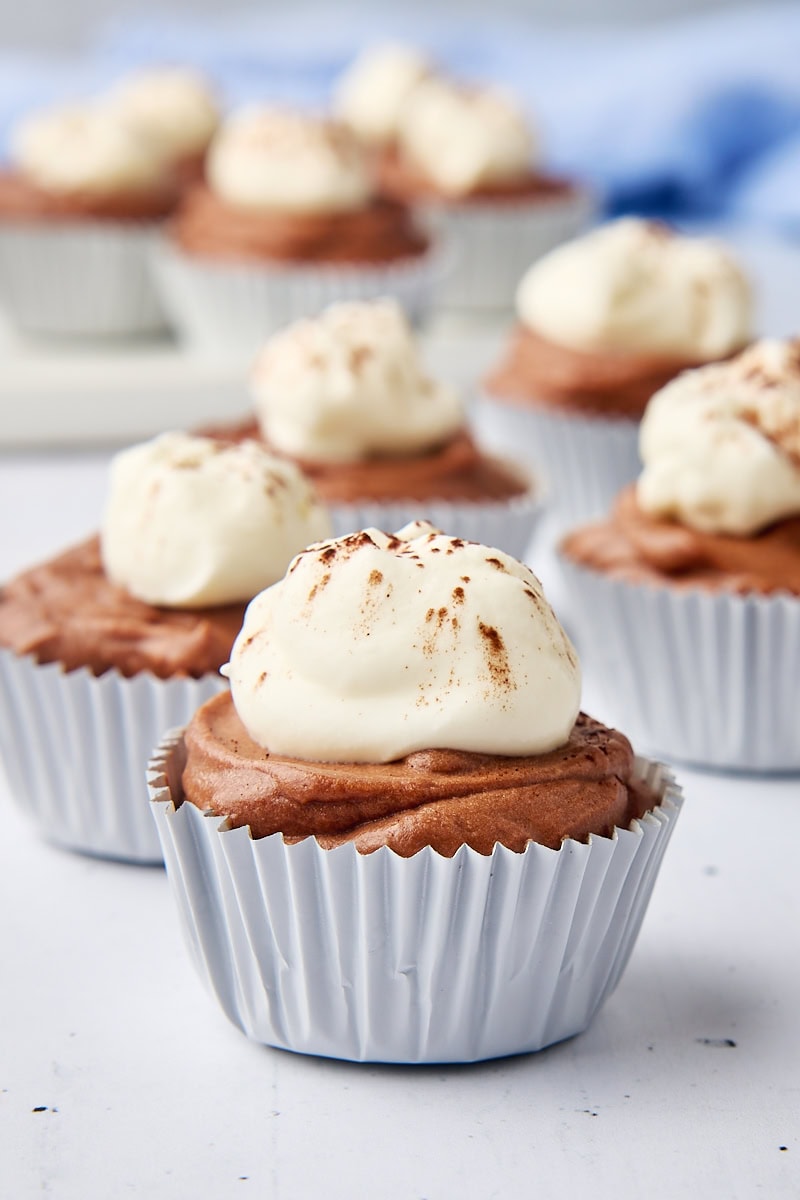
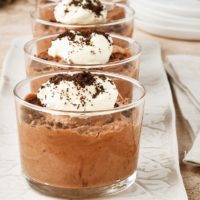
Cool, creamy, and chocolatey, these mini no-bake chocolate cheesecakes are just the right size for a sweet little indulgence. Best of all? No oven needed!
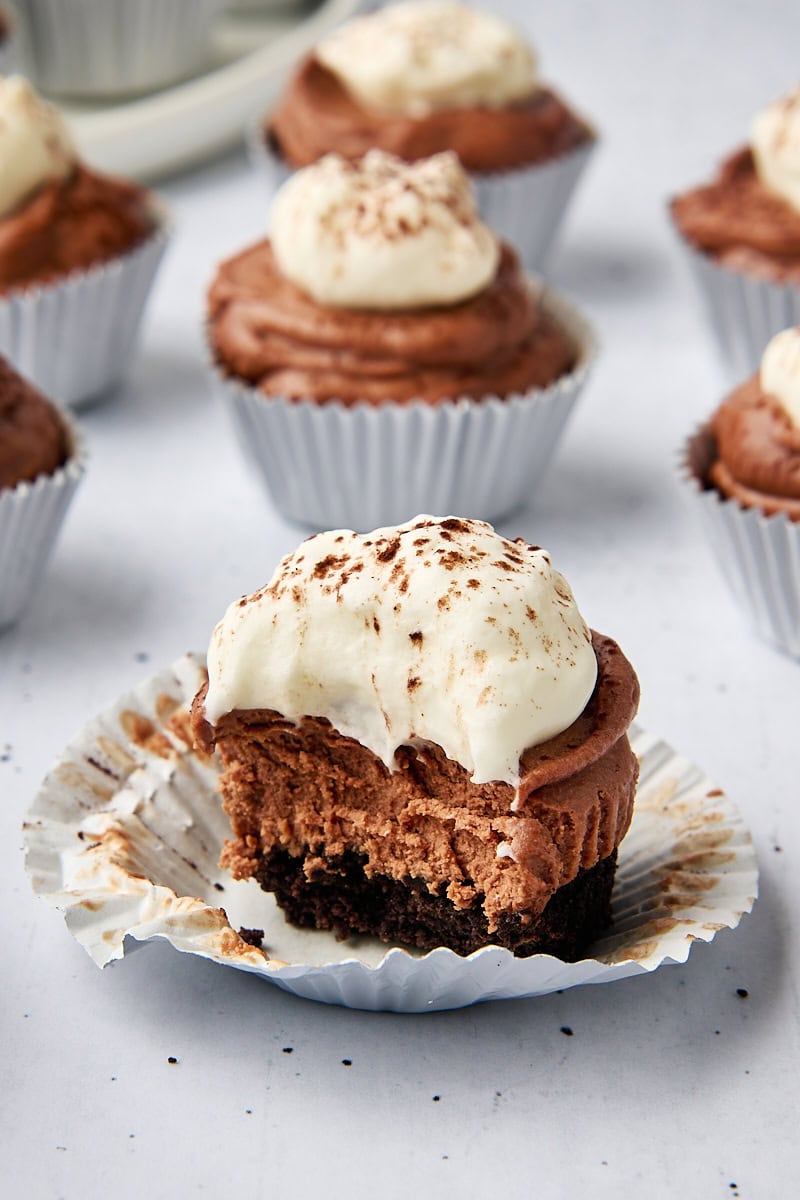
If you’re looking for an easy make-ahead dessert that feels a little fancy without a lot of effort, these mini no-bake chocolate cheesecakes are a must-try. A simple Oreo crust holds a rich chocolate cheesecake filling that’s been lightened up with whipped cream for a perfectly smooth and creamy texture. They’re just right for parties, gifts, or keeping stashed in the fridge when a chocolate craving hits.
I first shared a version of these mini cheesecakes several years ago, but I recently gave the recipe a little refresh to make them even better. They’re now lighter, easier to portion, and still full of chocolatey goodness!
If you’re looking for a baked chocolate cheesecake alternative, try my chocolate Kahlua cheesecake or brownie bottom chocolate cheesecake.
Why You’ll Love These Mini No-Bake Chocolate Cheesecakes
- No baking required. Just chill to set. No oven, no water bath, no worries.
- Rich but not heavy. A little sour cream and whipped cream keep the texture light and balanced.
- Perfect portions. Two bites of chocolatey goodness in every mini.
- Easy to make ahead. Chill them overnight and garnish before serving.
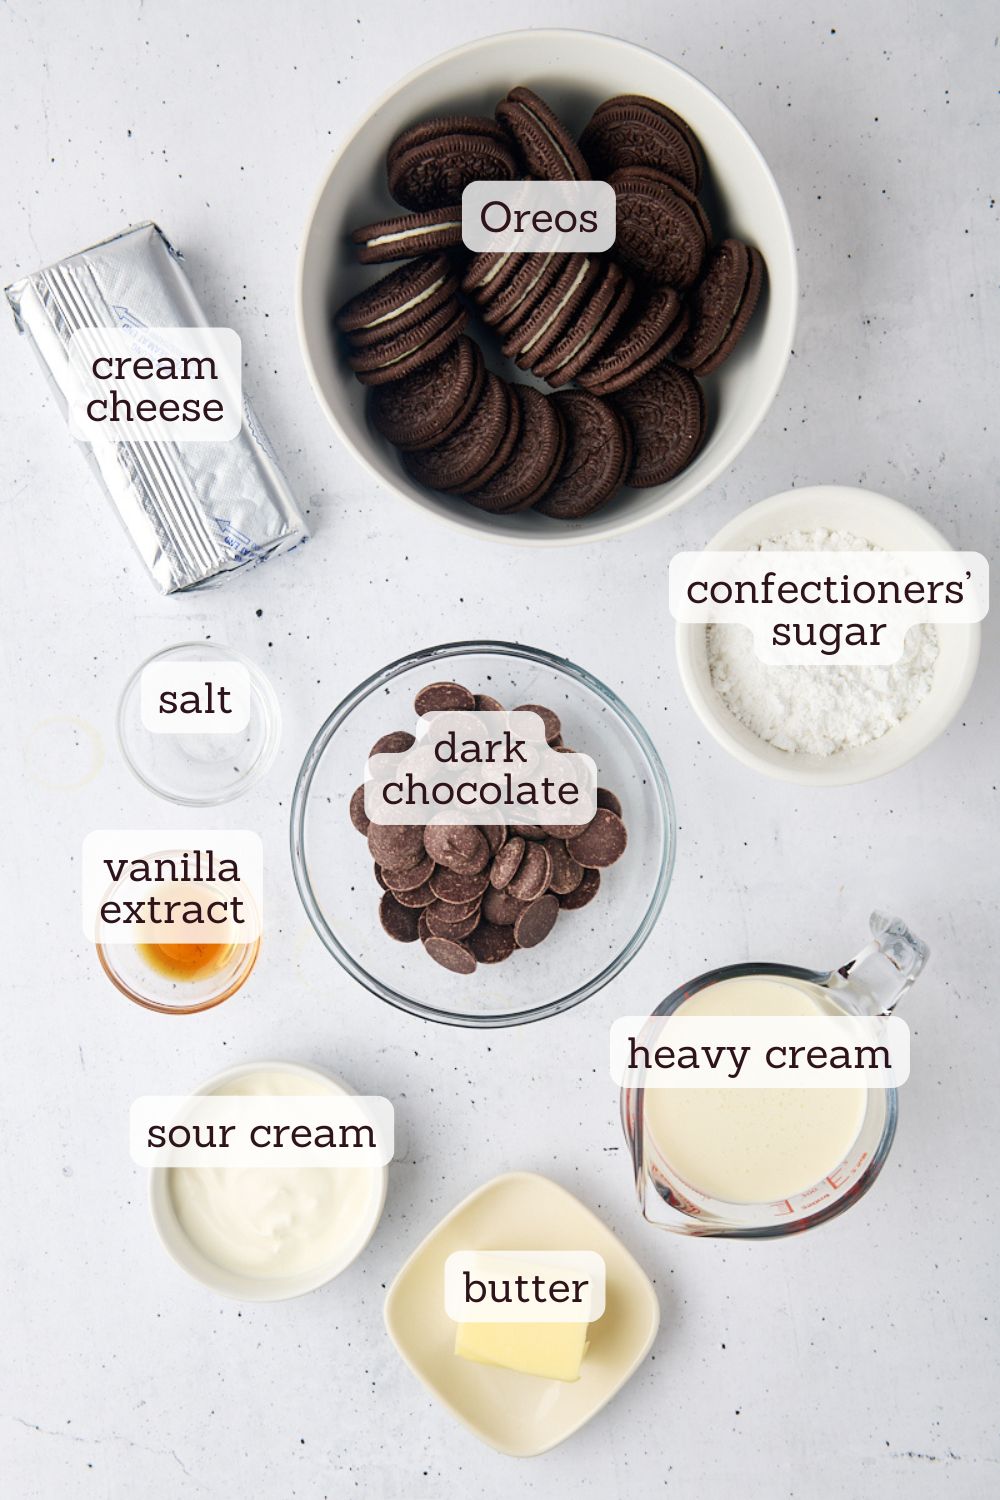
What You’ll Need
- Oreo crumbs – Crushed whole cookies (filling included) make a flavorful, sweet base.
- Butter – Helps the crust hold together.
- Cream cheese – The classic base for a tangy, creamy cheesecake filling.
- Sour cream – Adds a subtle tang and smoothness.
- Confectioners’ sugar – Blends easily into the filling without graininess.
- Vanilla extract – Adds warm flavor to balance the chocolate.
- Chocolate – I use semisweet or bittersweet; melt and cool before mixing in.
- Whipped cream – Gently folded into the filling to lighten it up without losing richness.
See the recipe card below for full ingredient amounts and instructions.
How to Make Mini No-Bake Chocolate Cheesecakes
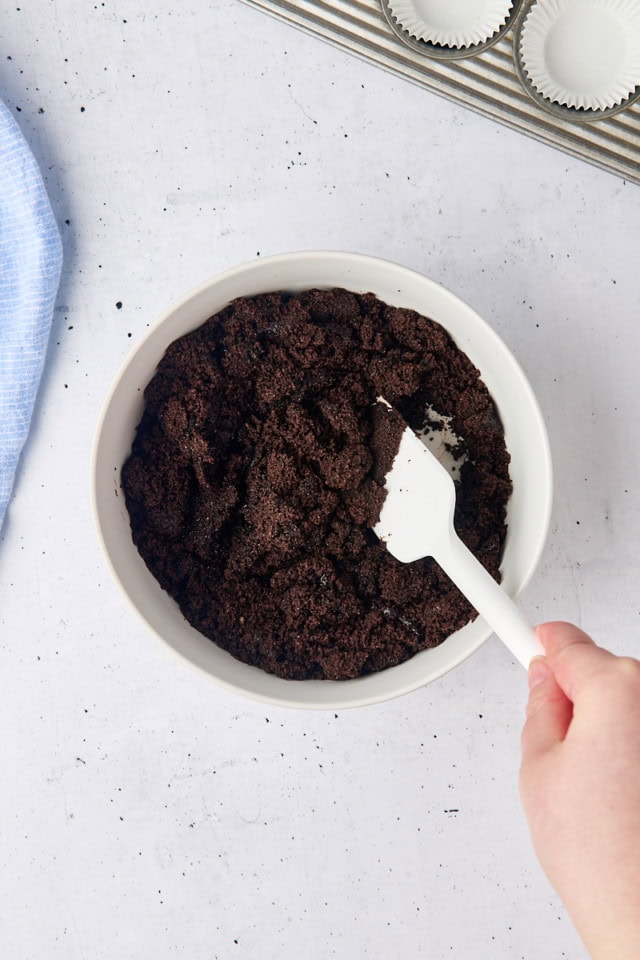
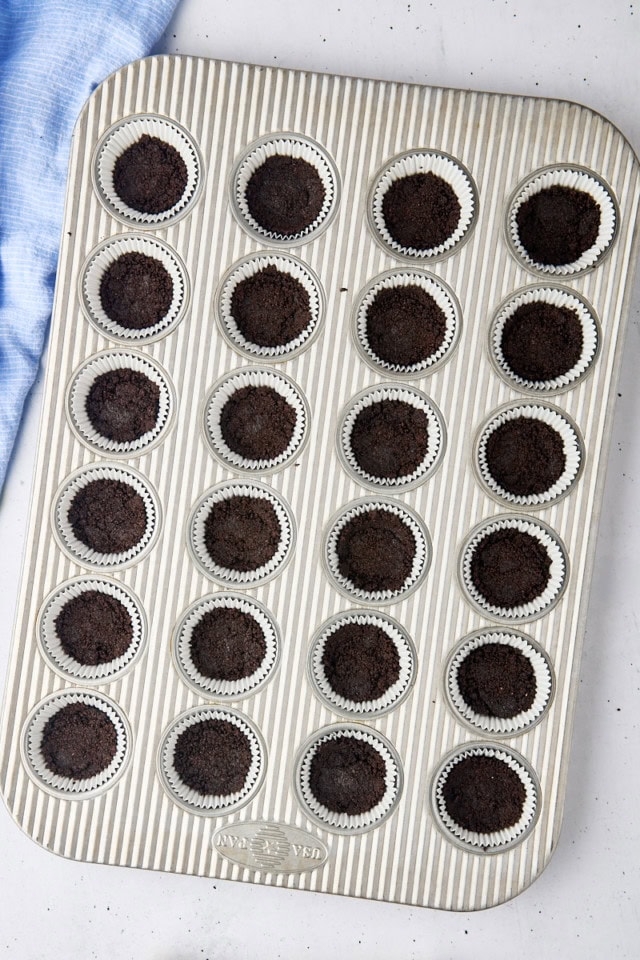
Make the crust. Stir together Oreo crumbs and melted butter. Spoon about 2 teaspoons into each mini muffin liner and press firmly into the bottoms. Chill while you make the filling.
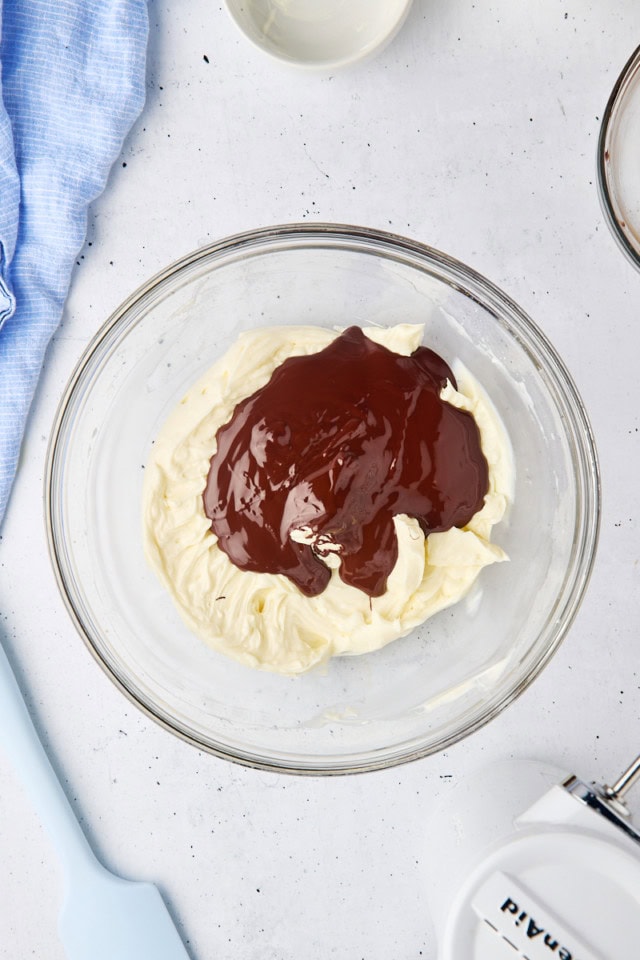
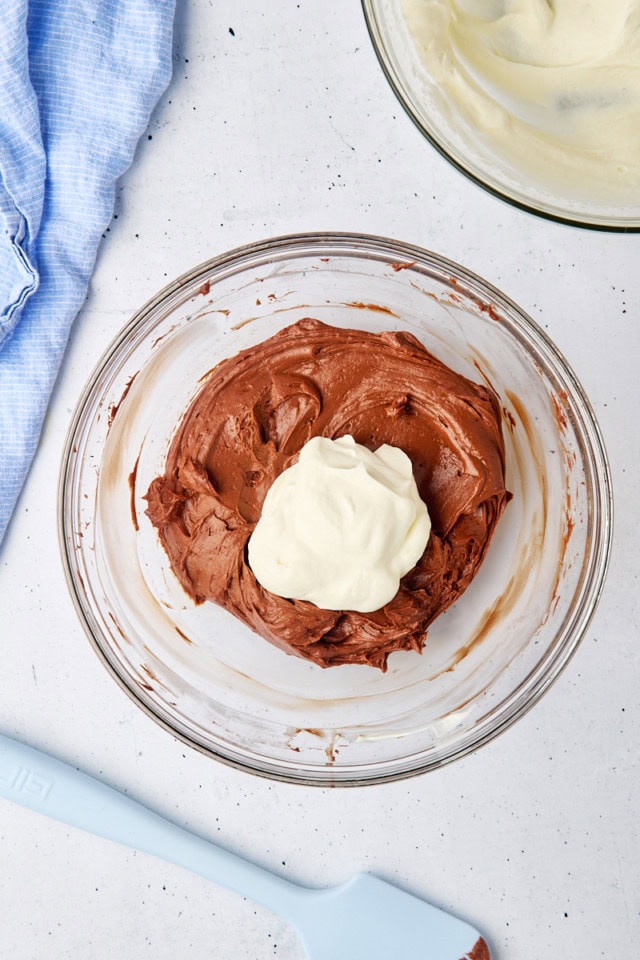
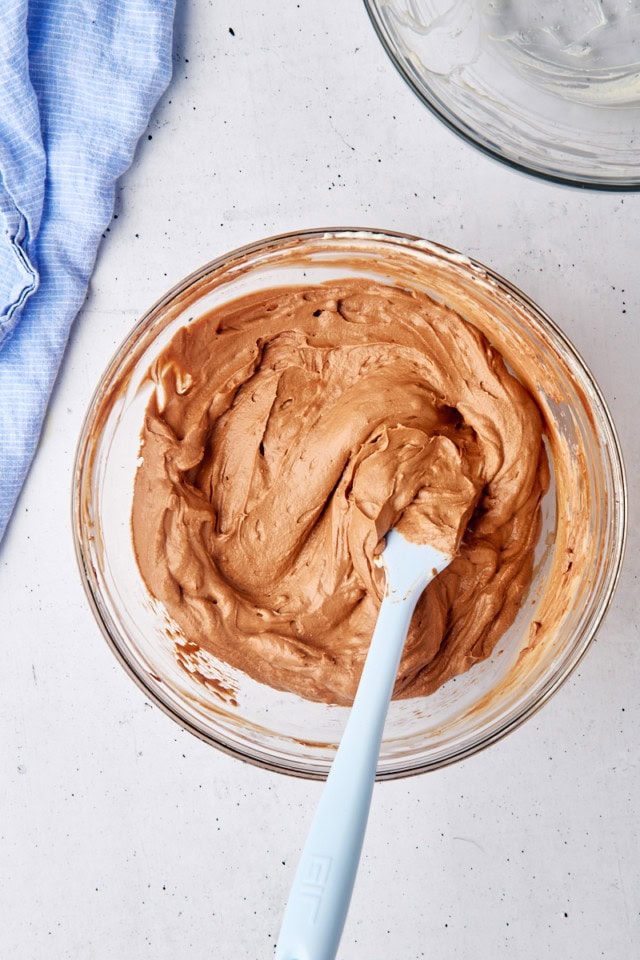
Mix the filling. Beat the cream cheese, sour cream, confectioners’ sugar, and vanilla until smooth. Mix in the cooled melted chocolate, then gently fold in the whipped cream until smooth and fluffy.
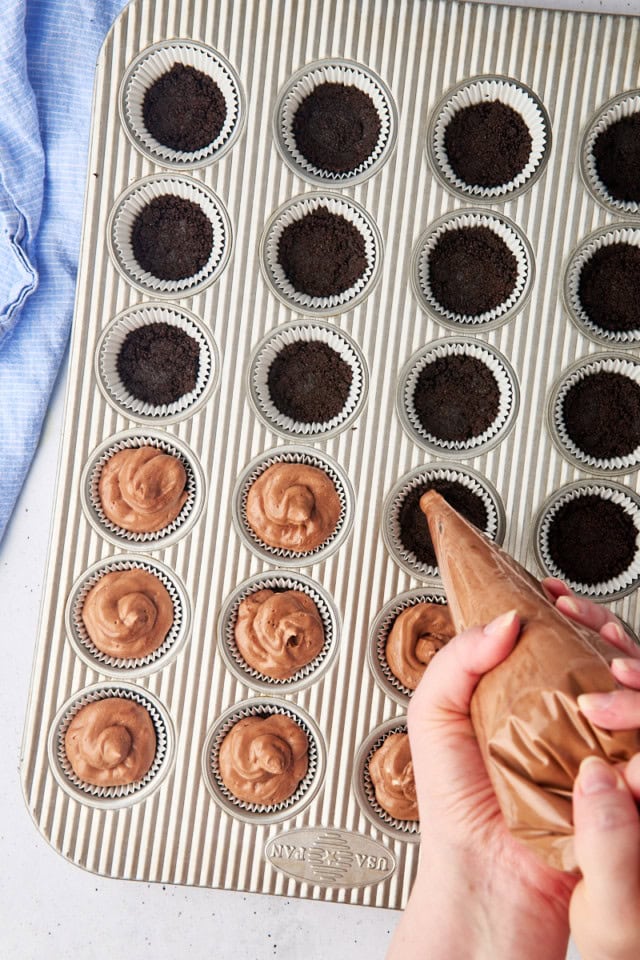
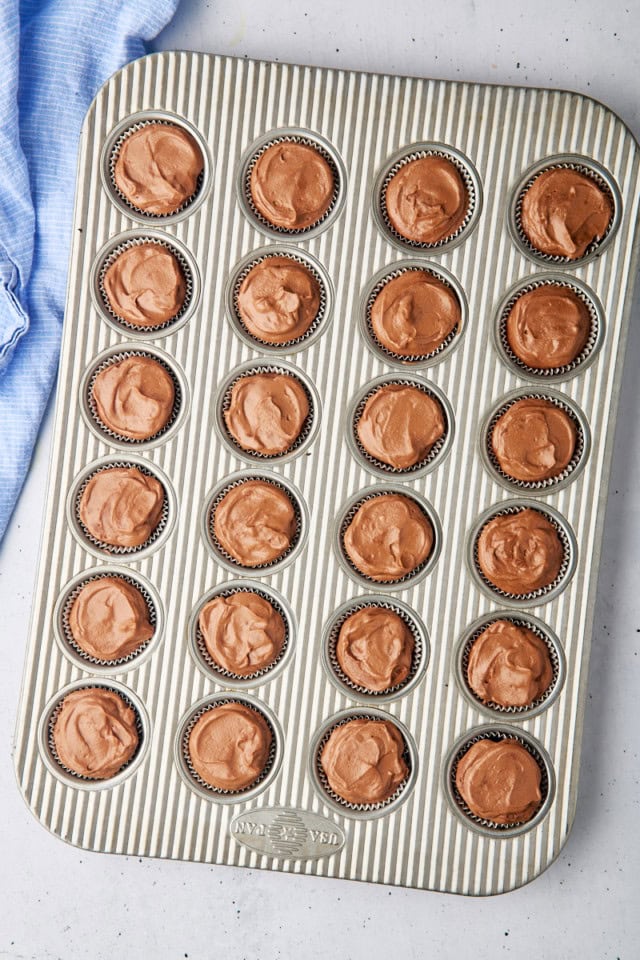
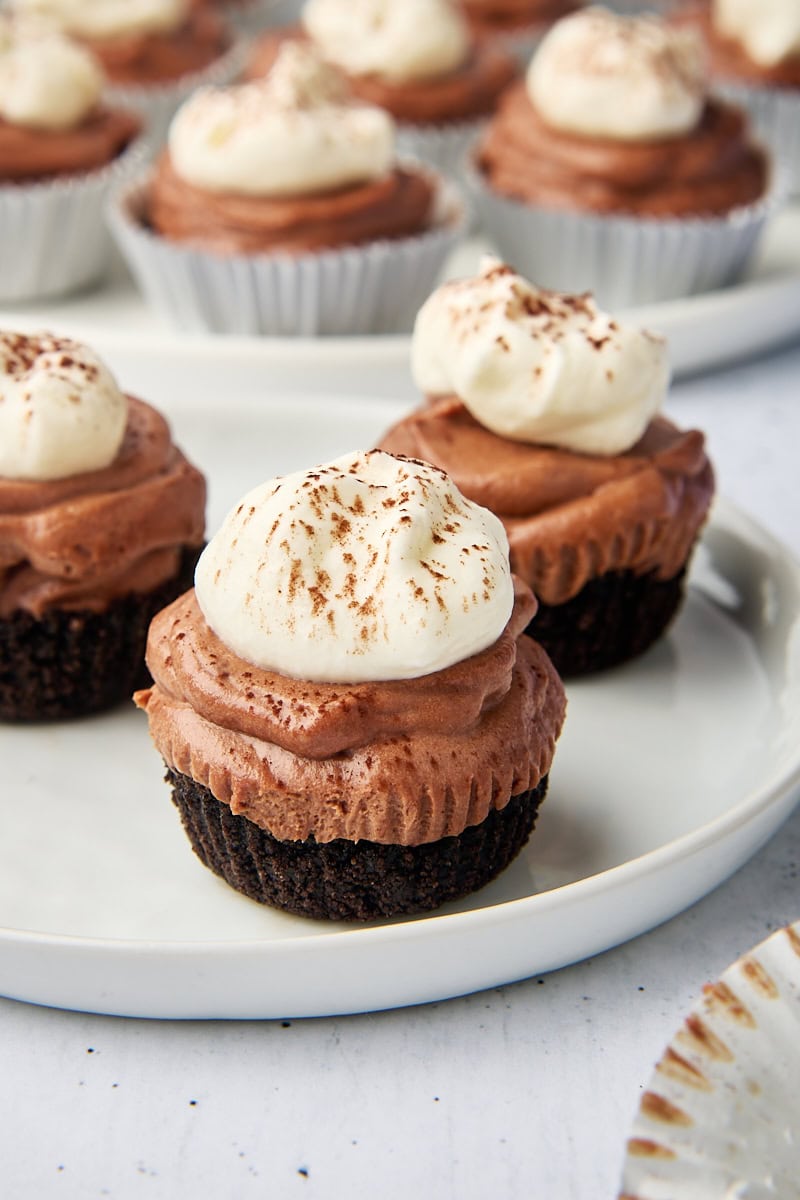
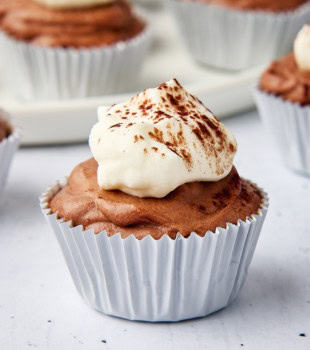
Assemble and chill. Pipe or spoon the filling into the muffin cups. The filling will slightly overfill the liners when piped, creating a domed top. That’s normal and makes them look extra polished once garnished. Chill for at least 4 hours or overnight.
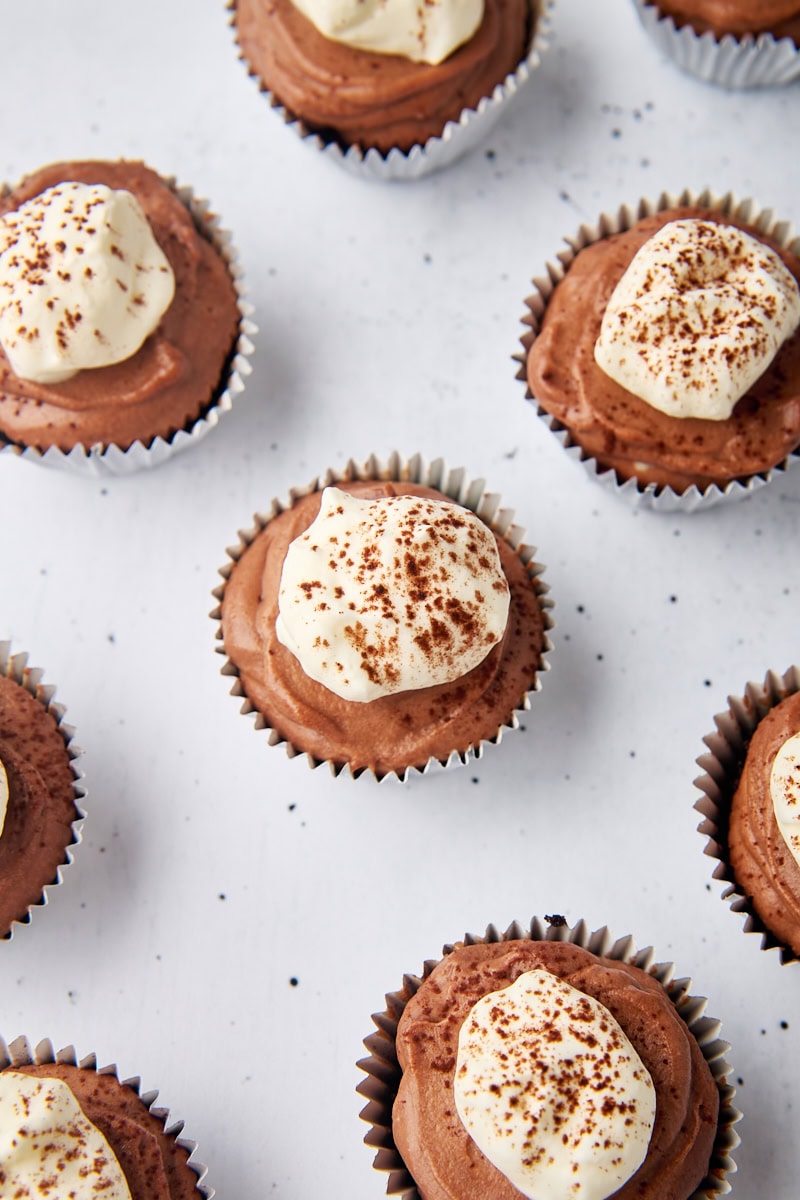
Garnish and serve. Top with sweetened whipped cream and a dusting of cocoa powder, chocolate curls, or sprinkles just before serving.
Tips for Success
- Use mini muffin liners. These make removal easy and keep everything tidy. Paper-lined foil wrappers work best. They’re sturdier than plain paper liners and help the cheesecakes hold their shape.
- A piping bag makes filling easier. Or use a zip-top bag with the corner snipped.
- Cool your chocolate. If it’s too warm, it can melt the cream cheese and affect texture.
- Whip the cream to soft peaks and fold gently. Soft peaks incorporate more smoothly and help keep the filling light and airy, not dense.
- Chill thoroughly. Give them time to firm up fully. Overnight is ideal.
Serving Ideas and Variations
Switch up the crust by trying chocolate graham crackers or Biscoff cookies for a fun twist.
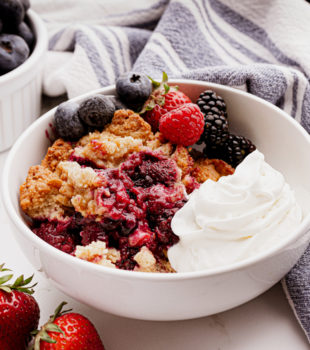
Change the topping. Instead of whipped cream, try fresh berries, chocolate curls, or a drizzle of ganache.
Add a little crunch. Sprinkle chopped nuts, cookie crumbs, or mini chocolate chips on top.
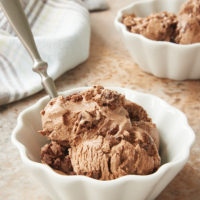
Make it a pie. The filling can also be used in a 6-inch (or possibly 7-inch) pie plate or springform pan if you prefer a single no-bake cheesecake.
How to Store
Store your mini no-bake chocolate cheesecakes tightly covered in the refrigerator for up to 4 days.
For longer storage, freeze the cheesecakes (ungarnished) in an airtight container for up to a month. Thaw in the refrigerator before adding toppings and serving.
The Perfect Mini Dessert for Chocolate Lovers
Mini desserts always feel a little more fun, and these no-bake chocolate cheesecakes are no exception. They’re rich, creamy, and just the right size for indulging without overdoing it. Whether you’re making them for a party, a picnic, or a quiet night at home, they’re a cool and satisfying treat you’ll want to make again and again.
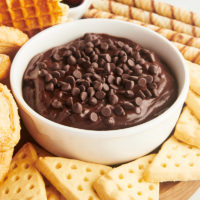
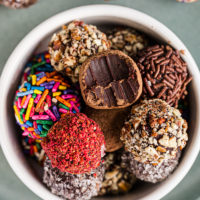
More No-Bake Chocolate Recipes
Mini No-Bake Chocolate Cheesecakes
Ingredients
For the crust:
- 1 ¼ cups Oreo cookie crumbs, about 16–18 whole cookies, with filling
- 3 tablespoons unsalted butter, melted
- pinch salt, optional
For the filling:
- 8 ounces (226 g) cream cheese, softened
- ¼ cup (56 g) sour cream
- ½ cup (55 g) confectioners’ sugar
- ½ teaspoon vanilla extract
- 4 ounces (113 g) semisweet or bittersweet chocolate, melted and cooled
- ¾ cup (180 ml) 180ml heavy cream, cold
For garnish:
- sweetened whipped cream
- cocoa powder, chocolate curls, or sprinkles (optional)
Recommended Products
Instructions
To make the crust:
- Line a 24-cup mini muffin pan with paper liners.
- Stir together the Oreo crumbs, melted butter, and salt until evenly moistened.
- Spoon about 2 teaspoons of the mixture into each liner and press firmly into the bottom.
- Refrigerate while you make the filling.
To make the filling:
- In a large bowl, beat the cream cheese, sour cream, powdered sugar, and vanilla until smooth.
- Mix in the melted, cooled chocolate until fully combined.
- In a separate bowl, whip the cream to soft peaks.
- Fold in about a quarter of the whipped cream, then gently fold in the remainder until the mixture is smooth and airy.
To assemble and chill:
- Spoon or pipe the filling over the chilled crusts. (You’ll overfill the cups.) Smooth the tops.
- Chill at least 4 hours, or overnight, until set.
- Before serving, top with whipped cream and your choice of garnish.
Notes
- Liner tip: Paper-lined foil wrappers tend to hold up better than plain paper liners, making it easier to remove the cheesecakes cleanly and helping them keep their shape.
- To remove from the pan: Gently run a thin knife or offset spatula around the outside of each liner to help lift them out without squishing the sides.
- Store in an airtight container in the refrigerator up to 4 days.


22 Comments on “Mini No-Bake Chocolate Cheesecakes”
Yayyy for Lauren’s shower and yayyy for indulgent chocolatey mini desserts!
Thank you so much, Jen! Chocolate cheesecake is one of those desserts that I really love and don’t have or make nearly enough. These little no-bake cheesecakes would make me VERY happy right now (too bad this isn’t a real-life shower)!
So sweet — best wishes to Lauren! And these cheesecakes — I’d have LOVED a dozen of these when I was pregnant. Or now 🙂
Love that these are mini and no-bake!!! They look amazing!
No bake AND mini!? Yes, please! These sound lovely!
Love that these are no-bake… And so, so chocolatey!
Ooh these looks so rich and decadent- any chocoholic’s dream for sure- I would have loved these when I was preggo! 🙂
I love them, elegant, and tasty!
These are just perfect – look at all that chocolate!! Love these for a baby shower!
these are too cute! i love no bake desserts, perfect for those still-warm days when running the oven is just unappealing!
I love that all of the shower treats are mini, what a cute theme!!
Yummm – these cheesecakes look decadent and delicious 🙂
Since it’s mini, you can eat more than one, right?
This looks like total chocolate overload in the best possible way!
Perfect for Valentine’s Day! Oven is wonky so no bake is much welcomed right now! Thank you from the bottom of my heart!
These look delicious! I have a question about serving them. I have the mini cheesecake pan, but I can’t think of an easy way to serve them (I’ll be making 200+ cheesecakes) since we are not putting them on individual plates. Is there an easy way for guests to pick them up without them crumbling, etc.? Thanks!
Maybe place the finished cheesecakes in mini cupcake liners?
How far in advance can the mini chocolate cheesecakes be made . Today is Wednesday and I need them Saturday
They should keep for about 3 days. Longer than that, and you might want to freeze them and then thaw overnight in the refrigerator.
What can I do if I don’t have a mini cheesecake pan?
Hi, Alicia. I’d use a mini muffin pan. They’ll be a little smaller, so you’ll make more than if you use a mini cheesecake pan.
These look so good! I’m going to get the ingredients for them and make them to take to my parents house next weekend. I’ve gotten into making mini cheesecakes and so far I’ve made regular and pumpkin swirl.
I just made these. They’re not really pretty but based on my taste test of the batter they’re delicious. I’ll post a picture when they’re done.