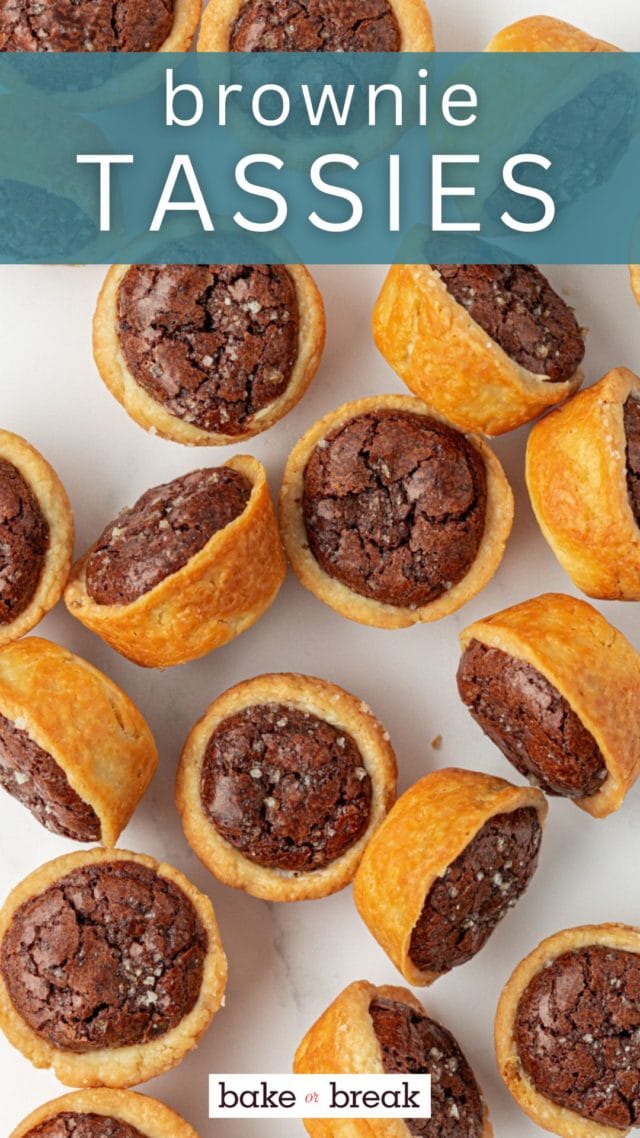
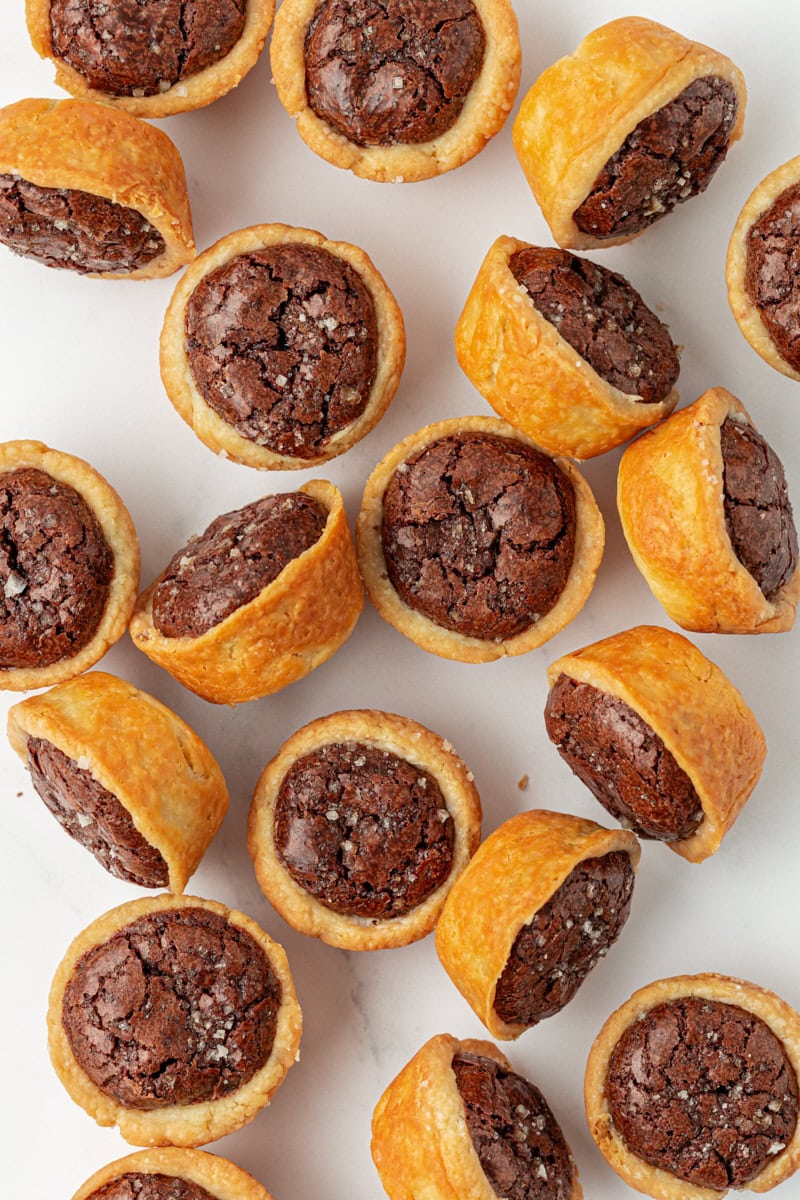
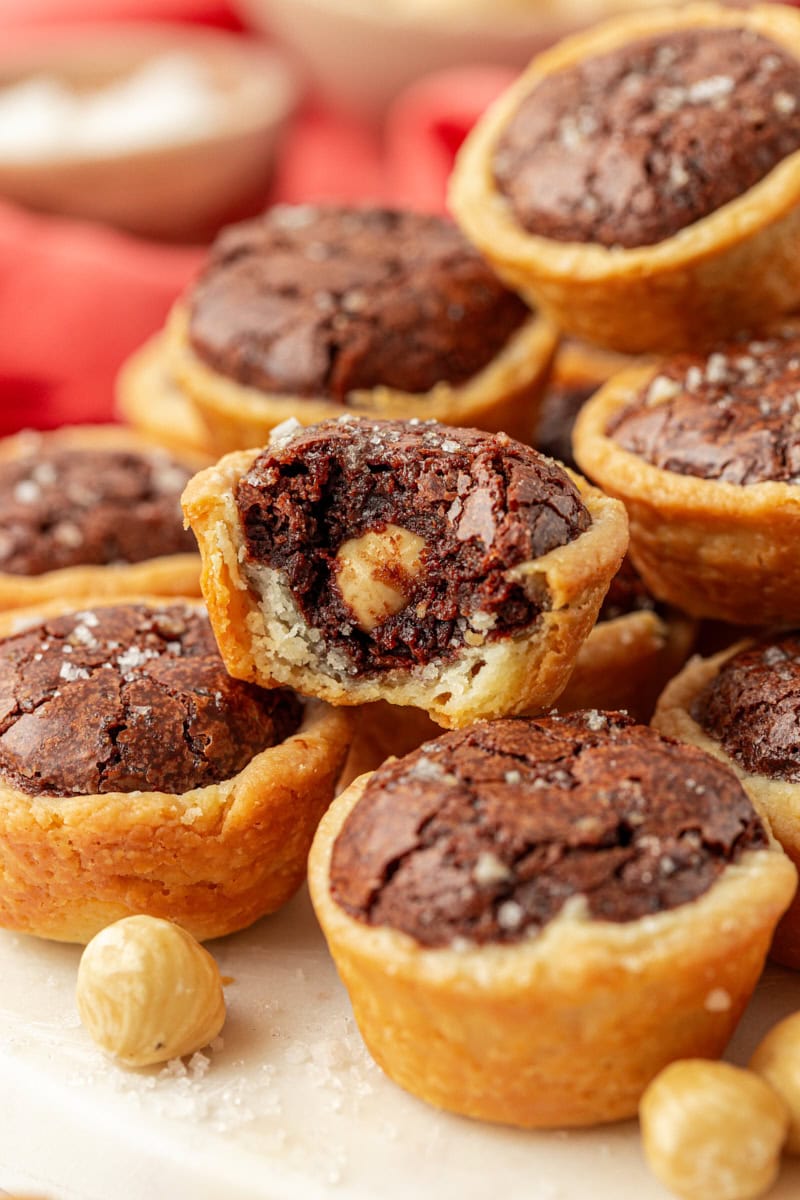
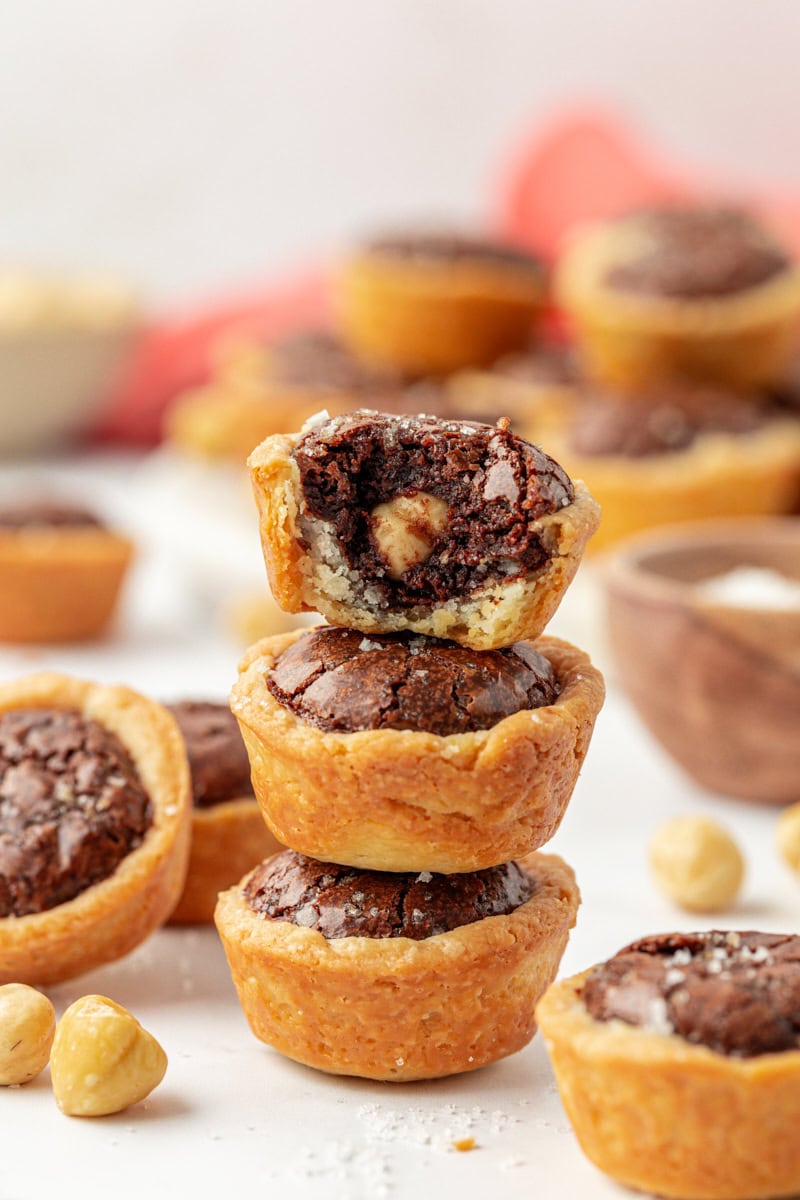
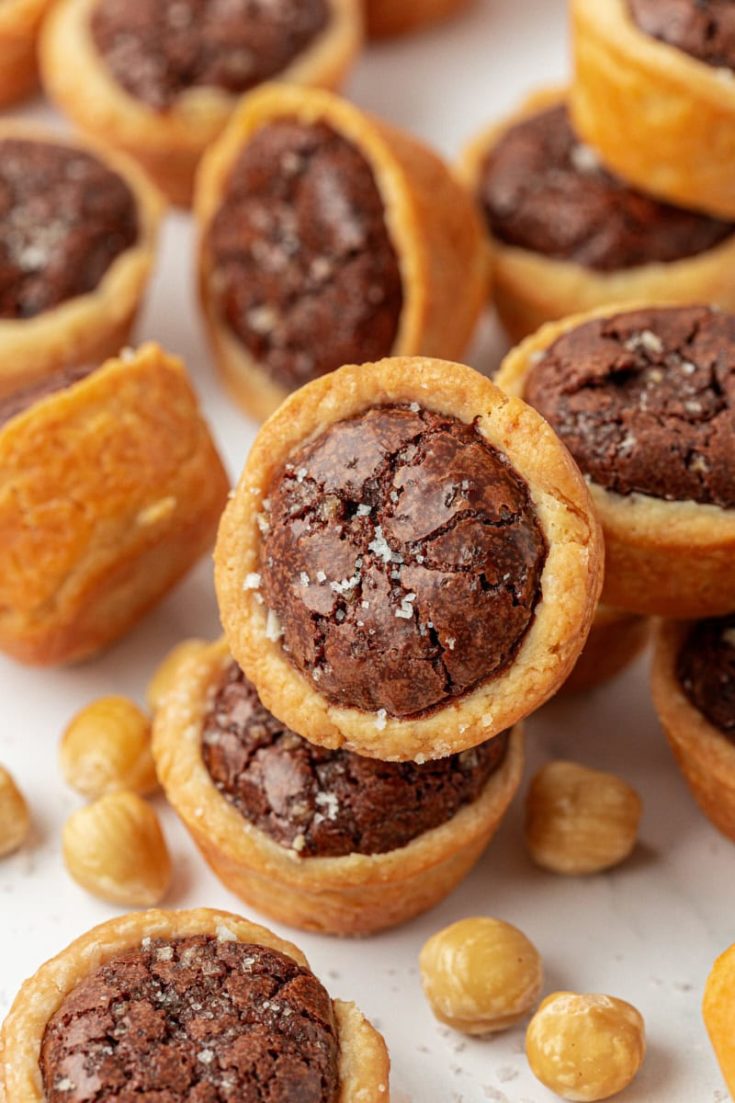
These brownie tassies are the perfect bite-sized treats, combining a rich, fudgy brownie filling with a tender, buttery crust. With an optional hazelnut in the center and a sprinkle of coarse salt, these little gems are irresistibly delicious!

If you love brownies and mini desserts, these brownie tassies are a must-try! With a simple homemade crust and a luscious chocolate filling, they offer the best of both worlds in a compact, poppable form. Whether you’re baking for a party, a holiday gathering, or just treating yourself, these brownie bites are sure to impress.
Why You’ll Love These Brownie Tassies
- Perfectly portioned. Ideal for snacking, parties, and dessert trays.
- Rich, fudgy filling. A chocolate lover’s dream inside a buttery crust.
- Easy to make. Simple ingredients and steps for a homemade delight.
- Customizable. Add hazelnuts, swap chocolate types, or sprinkle with salt for a gourmet touch.
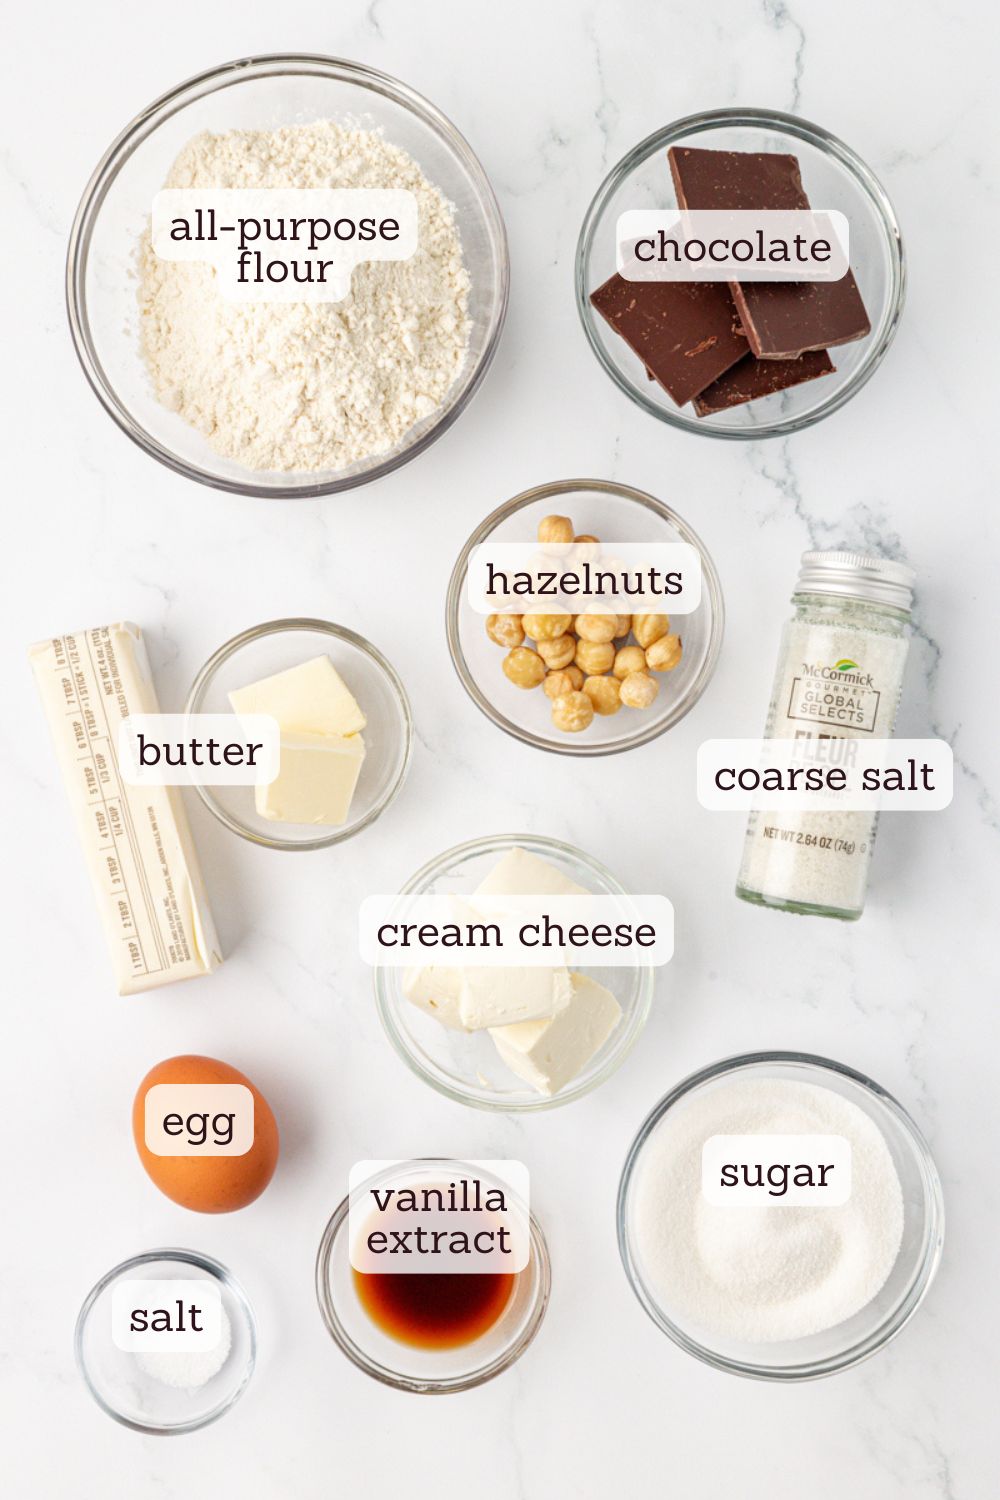
What You’ll Need
For ingredient quantities and full instructions, see the recipe card below.
- Unsalted butter – Make sure the butter is properly softened for the crust. It should still be cool and hold a fingerprint when pressed. Learn more: How to Soften Butter
- Cream cheese – This also needs to be softened for mixing. Use full-fat, brick-style cream cheese for the best results.
- All-purpose flour – Measure with a digital kitchen scale or use the spoon and level method for accuracy. Learn more: How to Measure Flour
- Granulated sugar – Provides the perfect balance of sweetness for the filling.
- Semisweet chocolate – Use a good quality chocolate bar, chopped, for the best flavor and smoothest melting. Avoid chocolate chips, as they contain stabilizers that can affect the texture.
- Egg – Let this come to room temperature before mixing for the best incorporation.
- Vanilla extract – Enhances the overall flavor with warm, aromatic notes. Use store-bought or homemade vanilla extract.
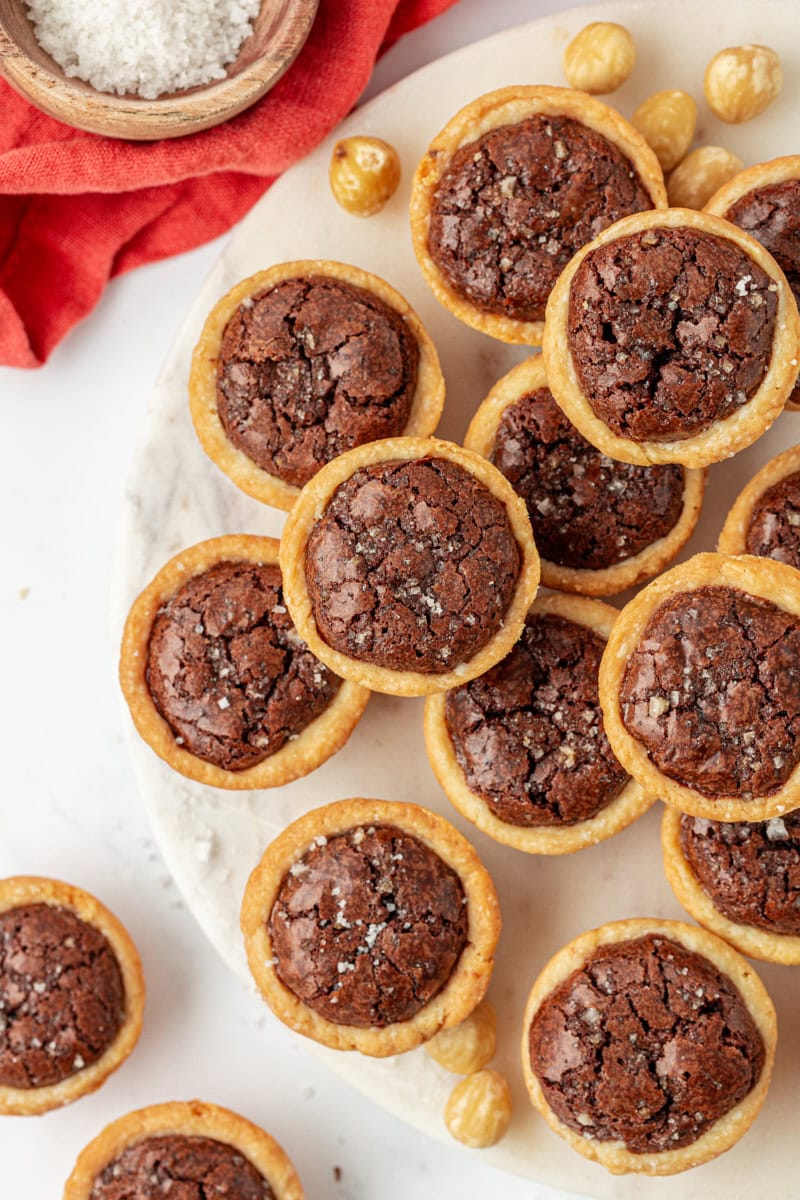
- Salt – You’ll need table salt for the brownie batter and a coarse salt, such as fleur de sel, for topping the tassies.
- Hazelnuts (optional) – These give your tassies an easy, nutty twist.
How to Make Brownie Tassies
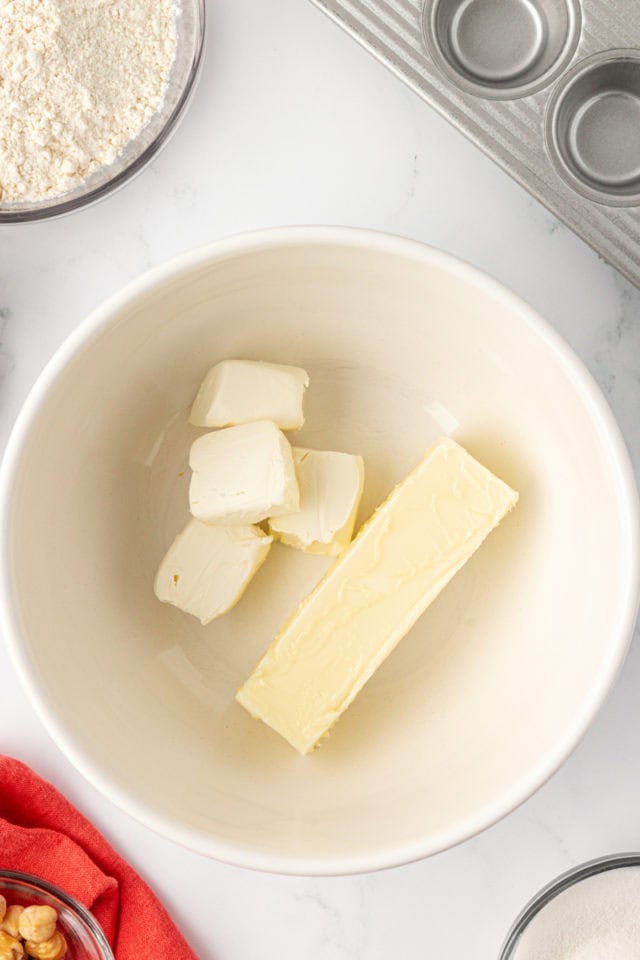
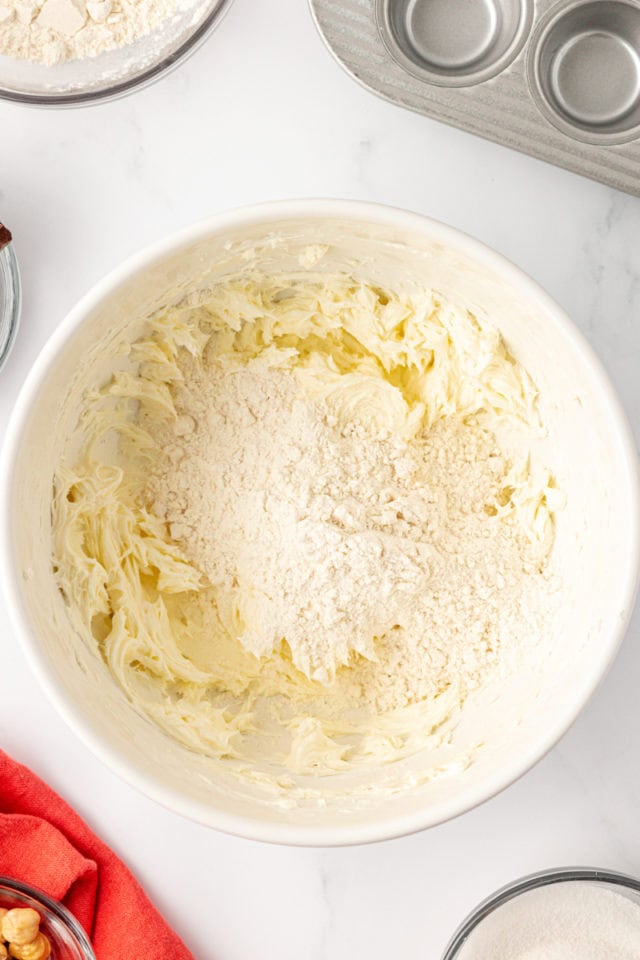
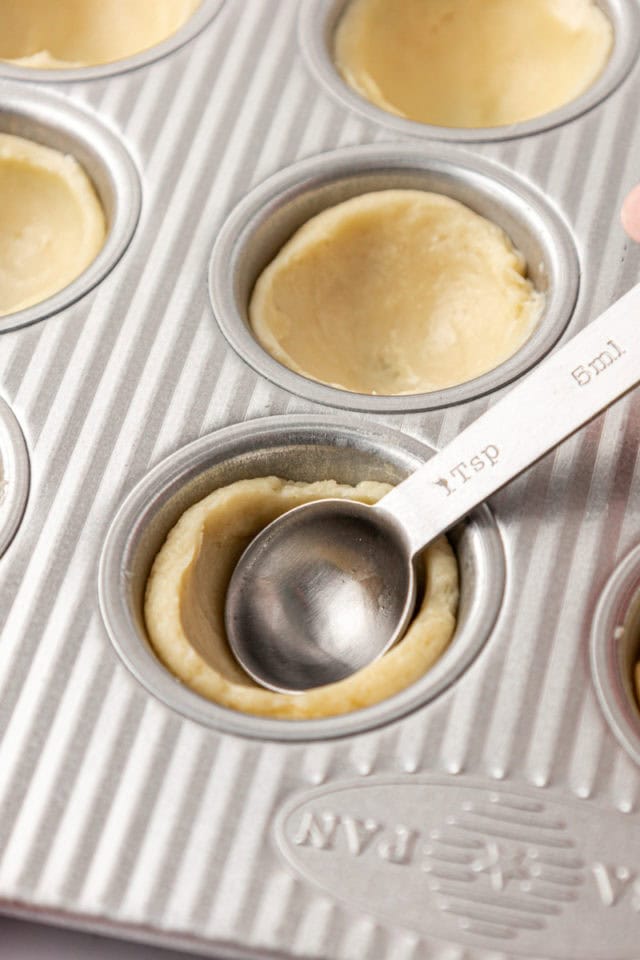
- Make the crust. Beat the butter and cream cheese, and then add the flour. Divide and press into mini muffin cups.
- Add the filling. If adding hazelnuts or another filling, place them in the center of each cup.

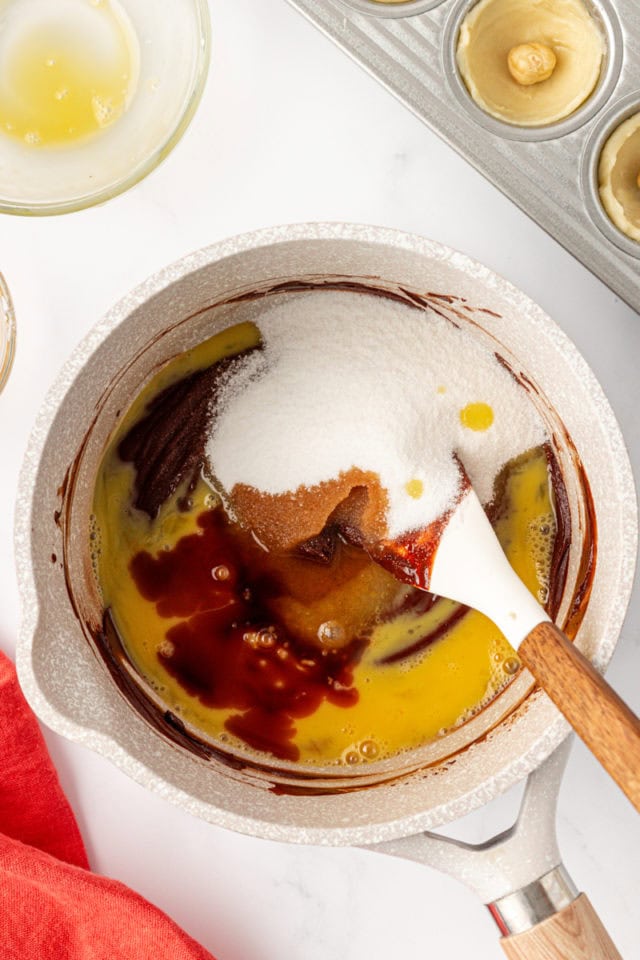
- Make the brownie batter. Melt the chocolate and butter, and then stir in the sugar, egg, vanilla, and salt.
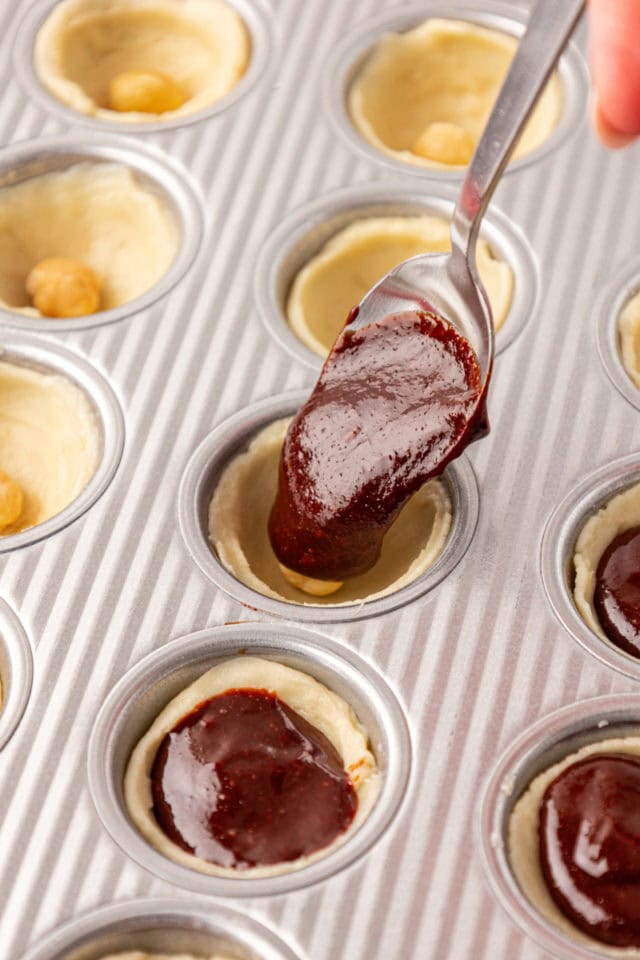
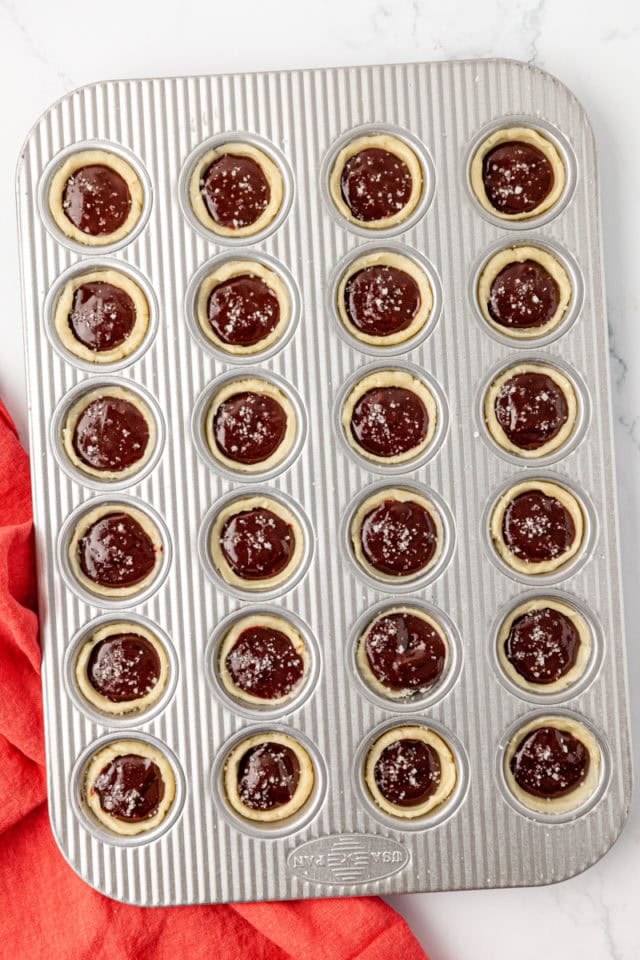
- Portion. Spoon batter into each muffin cup. Sprinkle a pinch of coarse salt on top.
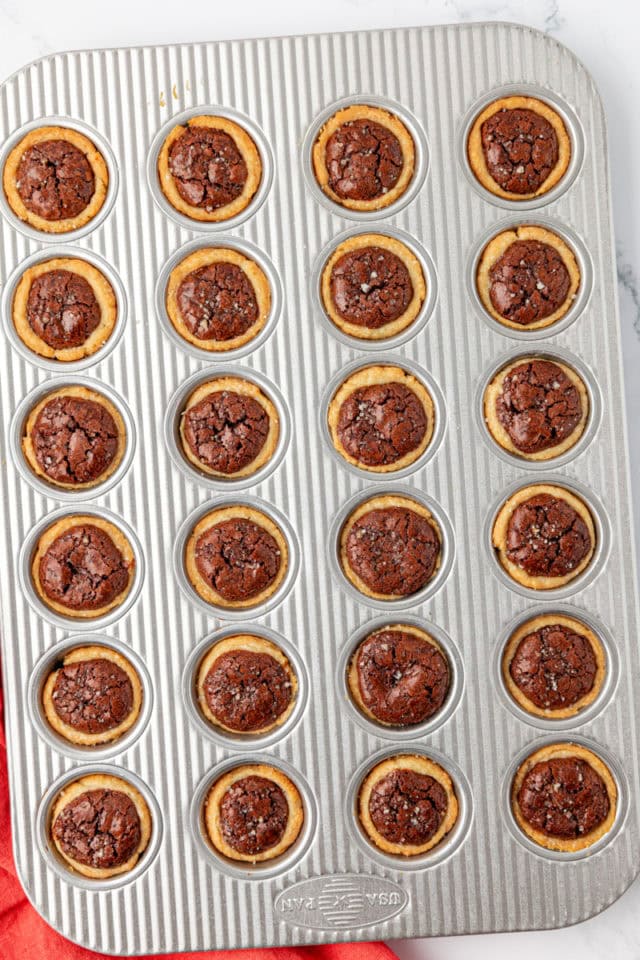
- Bake. Place the pan in a 325°F oven and bake for 20-25 minutes.
- Cool. Let the tassies cool in the pan for 5 minutes before transferring them onto a wire rack to cool completely.
Tips for Success
- Don’t over-mix the crust dough. Mix just until combined for a tender texture.
- Chill the dough if needed. If the dough feels too soft, a quick chill can make it easier to handle.
- Use a tart tamper or spoon for an even crust. Pressing the dough with a tamper or the back of a spoon ensures an even thickness for a consistent texture.
- Use good-quality chocolate. The better the chocolate, the richer the filling.
- Temper the egg properly. To prevent scrambling, let the melted chocolate cool slightly before adding the beaten egg. You can also temper the egg by whisking a small amount of warm chocolate into it first, then gradually incorporating it into the rest of the mixture.
- Let the chocolate cool slightly before mixing. This not only prevents scrambling the egg but also keeps the texture of the filling smooth and even.
- Watch the baking time. These can over-bake quickly! Start checking at 20 minutes, and remove them when the filling is set but still slightly soft in the center.
- Let them cool. The filling sets as they cool, so be patient before digging in! After about 5 minutes, use a small offset spatula or butter knife to gently lift them out of the muffin tin to prevent breaking.
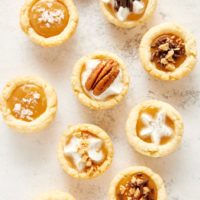
Variations and Serving Suggestions
- Nut-free option: Skip the hazelnuts for a classic brownie experience.
- Alternative fillings: Instead of hazelnuts, try a different nut, a dollop of peanut butter, caramel, or a whole raspberry in the center of each tassie.
- Try different chocolates: Use dark chocolate for an intense cocoa flavor or milk chocolate for extra sweetness.
- Toppings: Dust with powdered sugar, drizzle with caramel, or top with a chocolate ganache.
- Pair with ice cream: Serve warm with a scoop of vanilla or coffee ice cream for an indulgent dessert.
How to Store
- Room temperature: Store in an airtight container for up to 3 days.
- Refrigerator: Keep in the refrigerator for up to a week for longer freshness. Bring to room temperature before serving or warm slightly in the microwave for a few seconds for the best texture and flavor.
- Freezer: Freeze in a single layer, then transfer to a freezer bag for up to 3 months. Thaw at room temperature before serving.
More Mini Pie Recipes
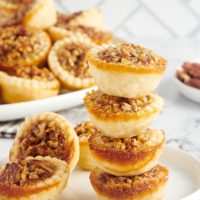

Salty Brownie Tassies
These bite-sized brownie tassies combine a tender cream cheese crust with a rich, chocolatey filling. Sprinkle with coarse salt for a perfect balance of flavors. A simple, elegant treat for any occasion!
Ingredients
For the crust:
- 1/2 cup (113g) unsalted butter, softened
- 3 ounces (85g) cream cheese, softened
- 1 cup (120g) all-purpose flour
For the filling:
- 24 hazelnuts (optional)
- 1/2 cup (85g) semisweet chocolate
- 2 tablespoons unsalted butter
- 1/3 cup (67g) granulated sugar
- 1 large egg, beaten (at room temperature)
- 1 teaspoon vanilla extract
- 1/4 teaspoon salt
- coarse salt, such as fleur de sel
Instructions
To make the crust:
- Preheat oven to 325°F.
- Using an electric mixer on medium speed, beat the butter and cream cheese until combined. Gradually add the flour, mixing just until combined.
- Using about 1 & 1/2 teaspoons of dough at a time, press the dough into the bottom and up the sides of 24 mini muffin cups.
To make the filling:
- If using hazelnuts, place a hazelnut in the center of each muffin cup.
- Place the chocolate and 2 tablespoons butter in a small saucepan. Cook, stirring frequently, over medium-low heat until melted. Stir until smooth.
- Remove from heat and let cool slightly. Add the sugar, egg, vanilla, and salt, stirring until smooth.
- Spoon about a teaspoonful of chocolate mixture into each muffin cup, filling just to the top of the crust.
- Sprinkle the tops with coarse salt.
- Bake 20-25 minutes, or until the pies are golden and the filling is puffy. Cool in the pan for about 5 minutes. Then, remove the pies to a wire rack to cool completely.
Notes
Store in an airtight container at room temperature up to 3 days.
For tips, step-by-step photos, and extra details, be sure to read the full post above before starting. It’s packed with helpful info to answer common questions!
Recipe slightly adapted from Better Homes and Gardens.
Recommended Products
Bake or Break is a participant in the Amazon Services LLC Associates Program, an affiliate advertising program designed to provide a means for us to earn fees by linking to Amazon.com and affiliated sites.


9 Comments on “Salty Brownie Tassies”
Yes! A tassie recipe without pecans! *lol* I will make these….
Mmm that filling looks fabulous!
I have never heard of tassies before but now I’m feeling rather cheated that I haven’t! Where were these cookies all my life?! And I’m thinking a dollop of nutella in the center of that brownie batter would possibly make me shout for joy. Delicious cookies and a Merry Christmas/Happy Holidays to you!
Wonderful for those who are allergic to nuts. The hazel nut is great but sadly so many are allergic…I’m making these for my grandson …and me of course! Merry Christmas and Happy Hanukkah!
Enjoy! Happy holidays!
Hi Jennifer,
I made these today. At 21 minutes they looked to be done. Unfortunately, the crust didn’t cook through on a few of them. I tried to press them to an even thickness, used about 1.5 tsp of dough. Any suggestions? Love your IG pics!
Thanks, Jean
Hi, Jean. Getting an even thickness should have made them bake evenly. If some didn’t bake thoroughly in the same pan as ones that did, then I’d guess it’s the pan or maybe hot/cool spots in your oven.
Could these be made as “bars” in a 9×13” pan? If so, any idea how long to back for? Thanks!
Hi, Abigail! That’s an interesting idea! This recipe’s meant for mini muffin cups, so it wouldn’t really translate well to a 9×13 pan without some reworking. If you’re after something similar in bar form, my Nutella brownies with a shortbread crust might be a better fit!