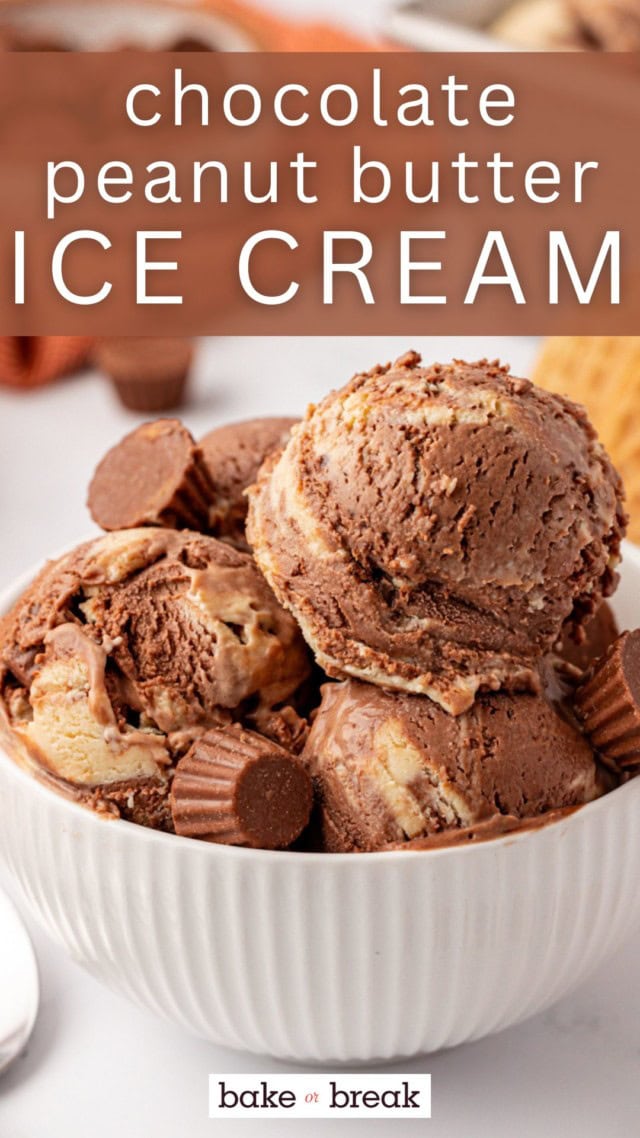
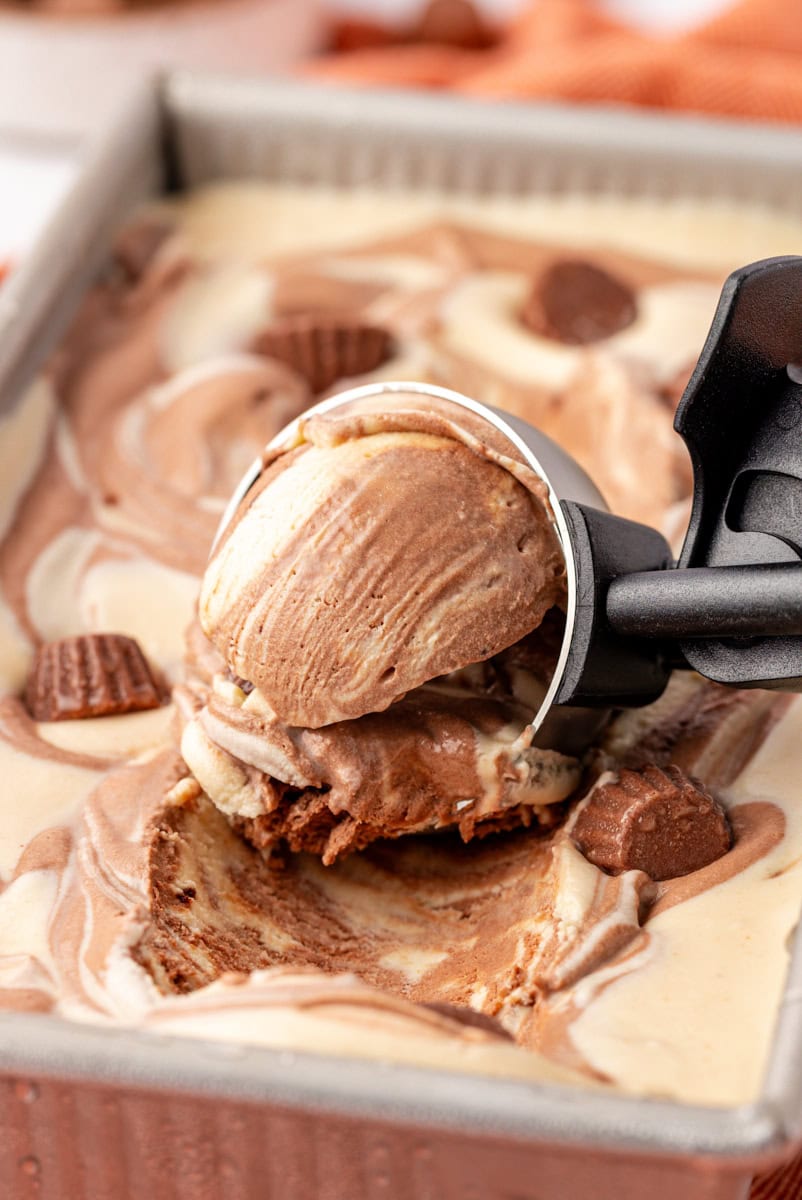
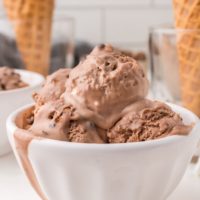
Two no-churn ice creams, one dreamy dessert! This chocolate peanut butter ice cream is rich, creamy, and packed with mini peanut butter cups.
There’s something about the combo of chocolate and peanut butter that feels like instant happiness. This no-churn chocolate peanut butter ice cream brings those flavors together in the most delicious way. Plus, it’s unbelievably easy to make. No machine required, just a few bowls, a whisk, and a little patience while it chills.
Why You’ll Love This Chocolate Peanut Butter Ice Cream
- Chocolate + peanut butter = a forever favorite. This dessert swirls two distinct flavors into one beautiful, indulgent scoop.
- No ice cream maker needed. The base is whipped cream and sweetened condensed milk. Simple and foolproof.
- Mini peanut butter cups in every bite. Because more peanut butter is always a good idea.
- Perfect for summer (or anytime). Cool, creamy, and endlessly craveable.

Key Ingredients
Here’s a look at the key players in this easy homemade ice cream:
- Sweetened condensed milk – Provides sweetness and helps the ice cream stay scoopable without churning.
- Unsweetened cocoa powder – Gives the chocolate layer a deep, rich flavor.
- Creamy peanut butter – For a smooth, nutty base that pairs perfectly with chocolate. Stick with regular, no-stir peanut butter for best results. Natural peanut butter can separate and affect the texture of the ice cream
- Heavy cream – Whips into soft peaks for a light, fluffy texture.
- Mini peanut butter cups – Add extra bursts of flavor and texture. You can chop them if they’re on the larger side.
How to Make Chocolate Peanut Butter Ice Cream
- Chill your pan. Place a loaf pan in the freezer while you prep the ice cream. It will help it start freezing faster.
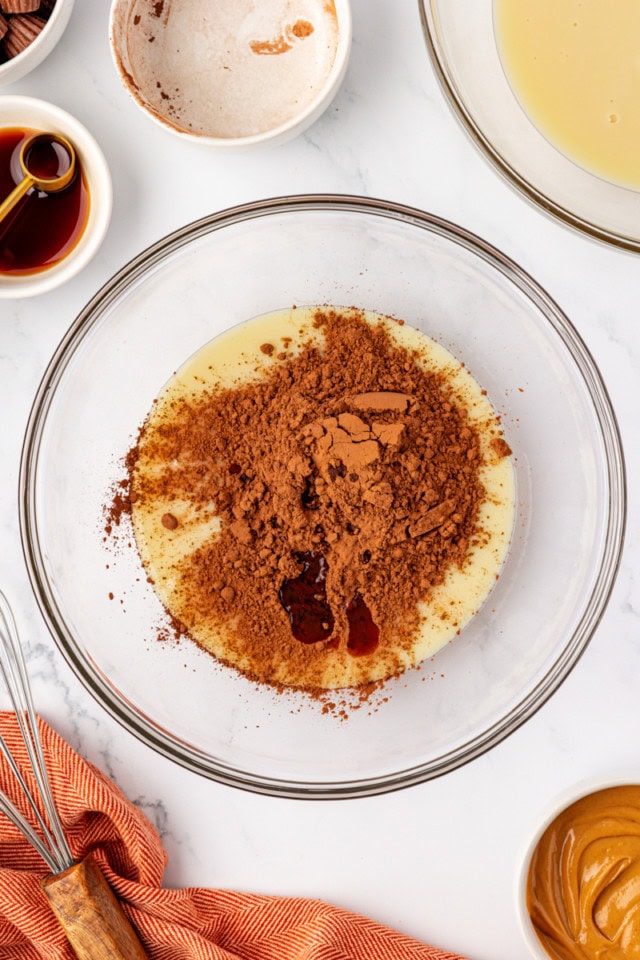
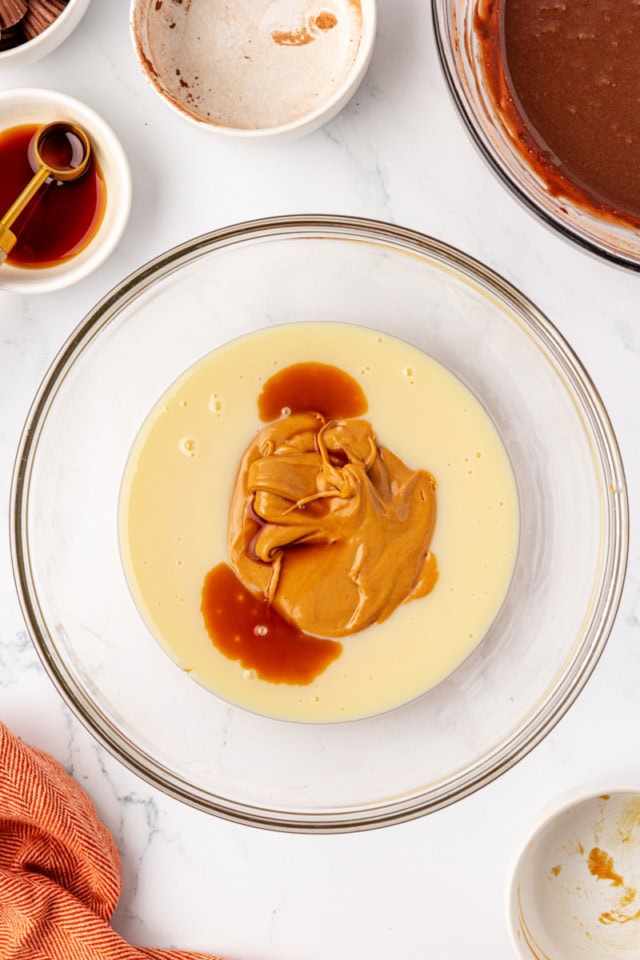
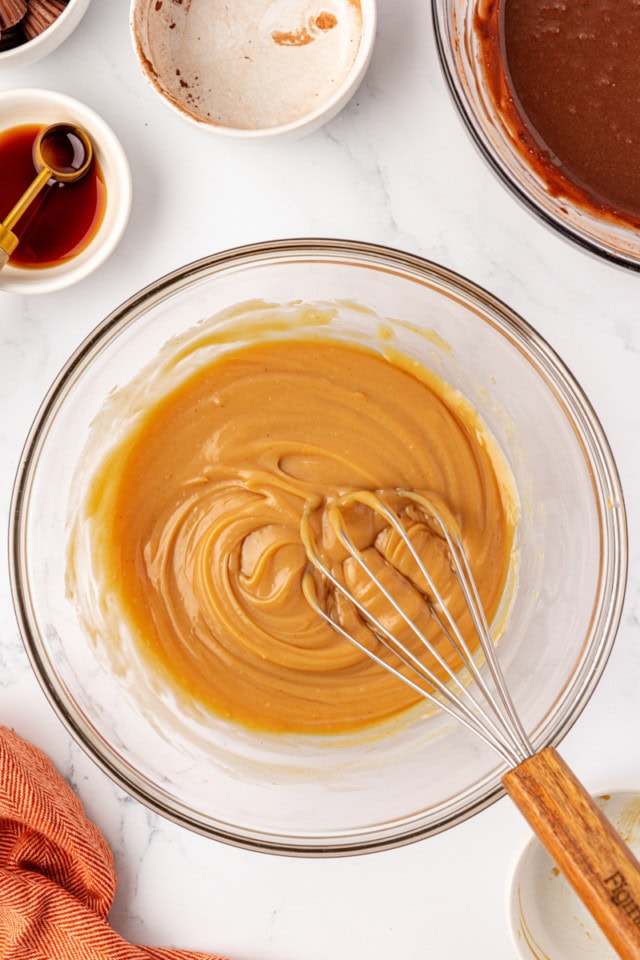
- Mix the bases. Divide the condensed milk into two bowls. Stir cocoa powder and vanilla into one; peanut butter and vanilla into the other.
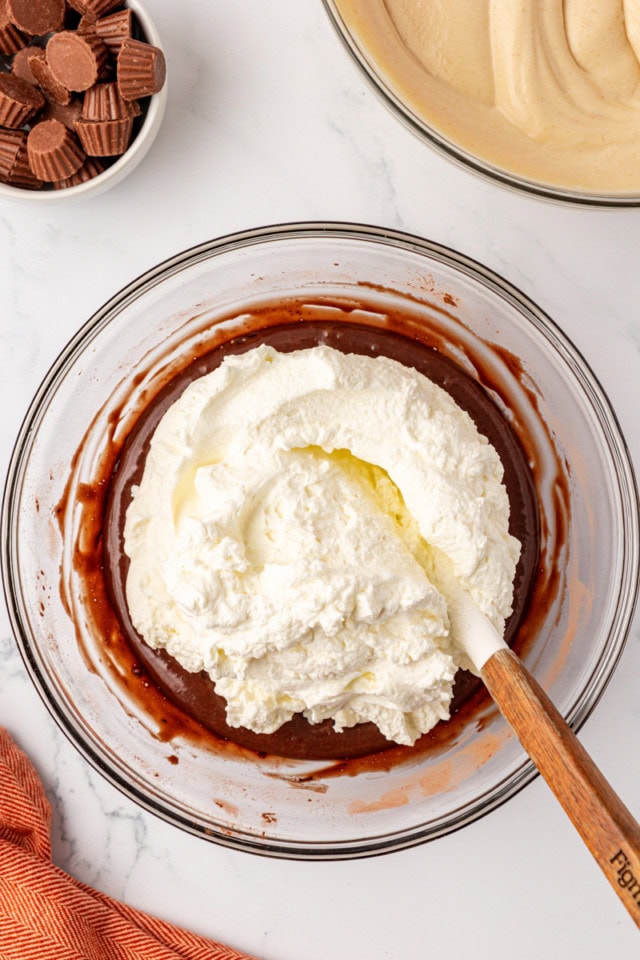

- Whip the cream. Beat the heavy cream until firm peaks form. This is key for the texture.
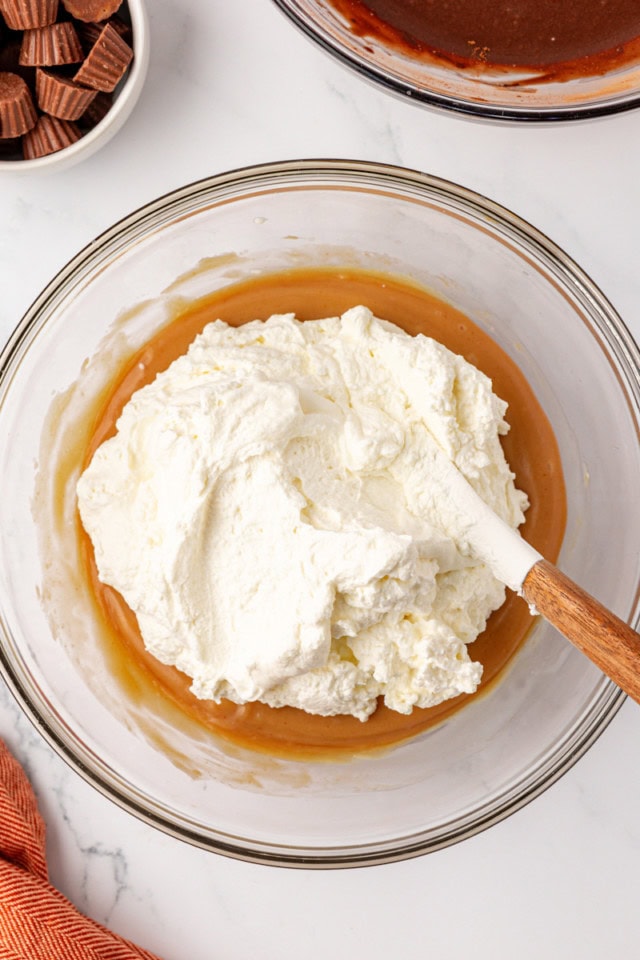
- Fold it all together. Gently fold half the whipped cream into each base. Don’t overdo it. You want to keep that airiness.
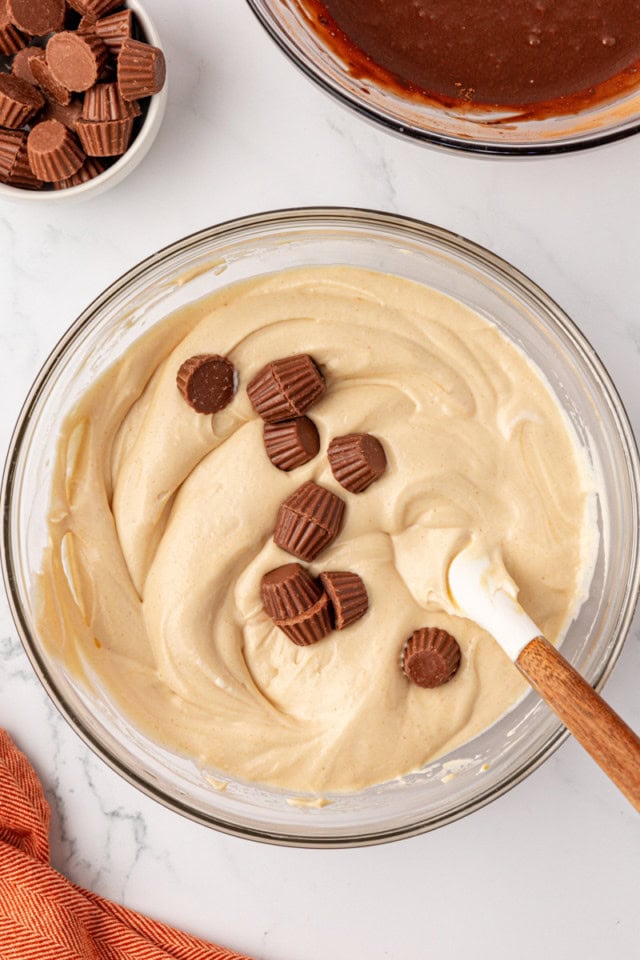
- Add the peanut butter cups. Save a few for the top, then divide the rest between the bowls and fold them in.
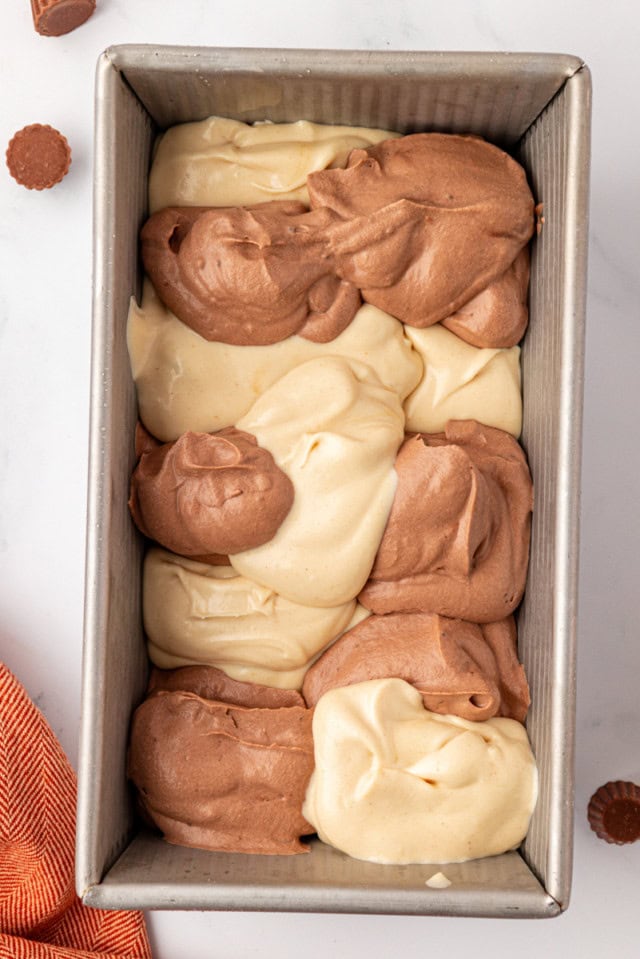

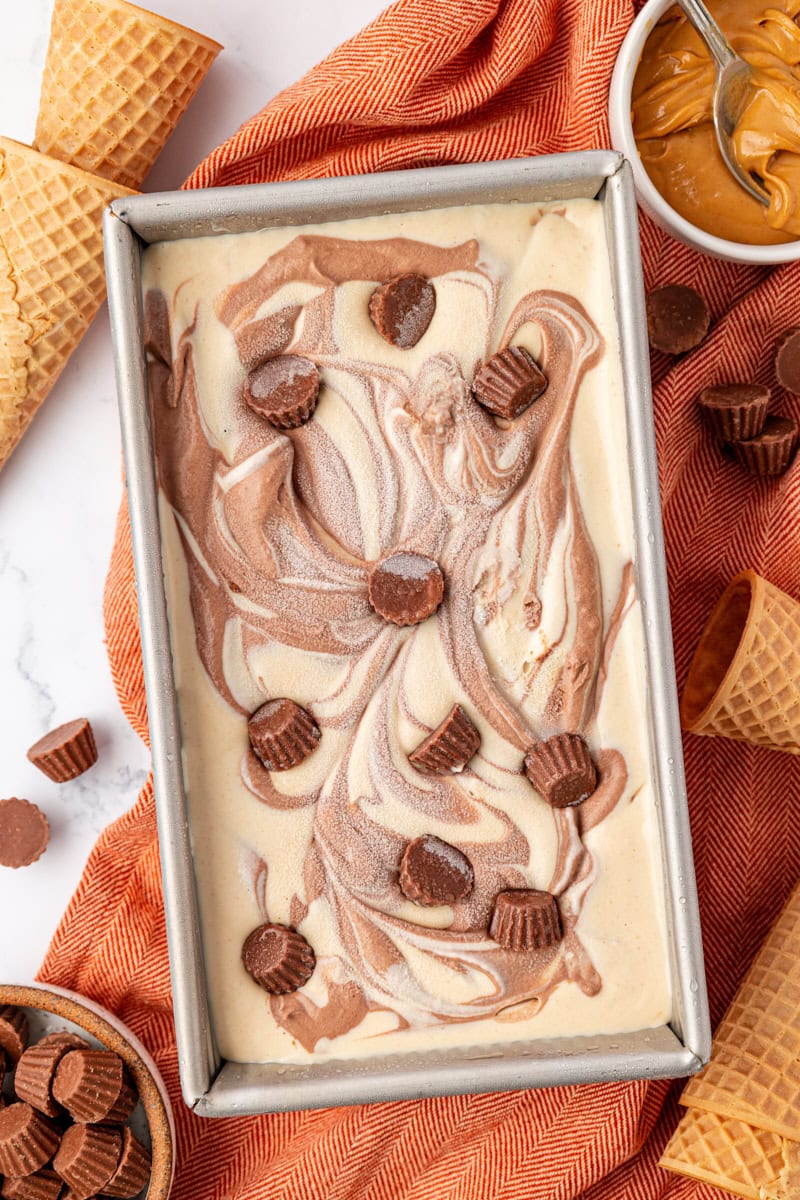
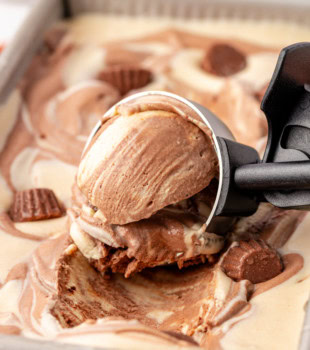
- Swirl and freeze. Scoop the mixtures into your chilled pan, alternating flavors. Swirl with a knife and top with those reserved peanut butter cups. Cover and freeze for about 5 hours, or until firm.
Tips for Success
- Use cold cream. Cold cream whips faster and holds its shape better.
- Don’t skip the swirl. Swirling the two flavors together creates that marbled look and layered taste in every scoop.
- Need tips for whipping the cream? I’ve got some simple tips and tricks for you.
- Fold gently. Over-mixing can deflate the whipped cream and make the texture less creamy.
- Use a sturdy pan. A metal loaf pan works well, but any freezer-safe container with similar volume will do the trick.
- Try a taste! If your peanut butter or chocolate base needs a pinch of salt or a splash more vanilla, you can adjust before folding in the whipped cream.
Simple Variations
- Swap the candy. Not a fan of peanut butter cups? Try chopped peanut butter cookies, chocolate chunks, or pretzel pieces for a salty crunch.
- Make it all chocolate. Skip the peanut butter half and double the chocolate base for pure chocolate bliss.
- Add a peanut butter swirl. Melt a little extra peanut butter and drizzle it between the layers before swirling for an extra boost of flavor.
How to Store
Cover the pan tightly with plastic wrap or a lid and keep the ice cream in the freezer. It’s best enjoyed within 1 to 2 weeks for the creamiest texture, but it will still be good beyond that, just slightly firmer.
Want to save some for later? You can transfer scoops to a smaller airtight container once frozen to save space and minimize ice crystals.

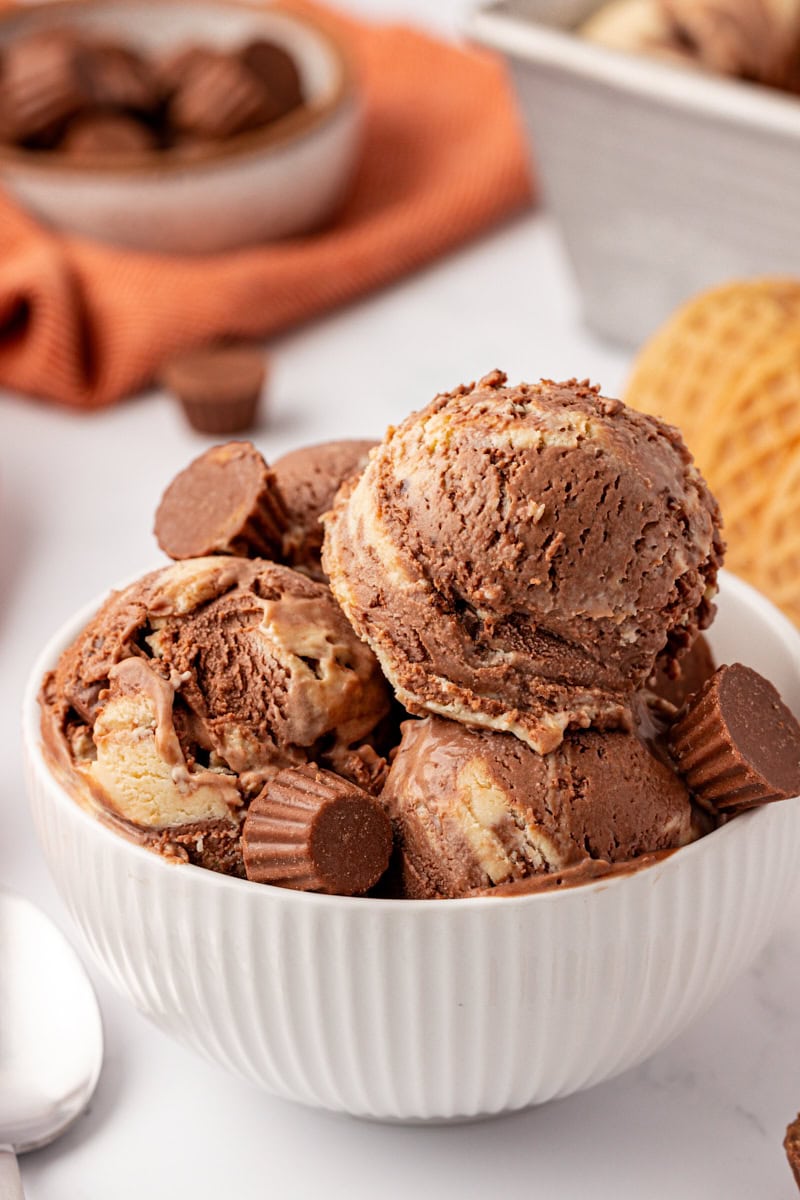
If you’re looking for an easy, show-stopping dessert, this no-churn chocolate peanut butter ice cream is it. It’s creamy, rich, and full of classic flavor. Perfect for summer get-togethers or just treating yourself on a hot day. Let me know if you give it a try!
More No-Churn Ice Cream Recipes


No-Churn Chocolate Peanut Butter Ice Cream
Ingredients
- 14 ounces (397 g) sweetened condensed milk, divided, divided
- ¼ cup (21 g) unsweetened cocoa powder
- 1 teaspoon vanilla extract, divided
- ¼ cup (64 g) creamy peanut butter
- 2 cups (480 ml) heavy cream
- about ¼ cup mini peanut butter cups
Recommended Products
Instructions
- Place a 9"x 5"x 3" metal loaf pan in the freezer.*
- Place half of the condensed milk (7 ounces/198g, or about 1/2 cup + 2 tablespoons) in a mixing bowl, and place the other half in a separate mixing bowl.
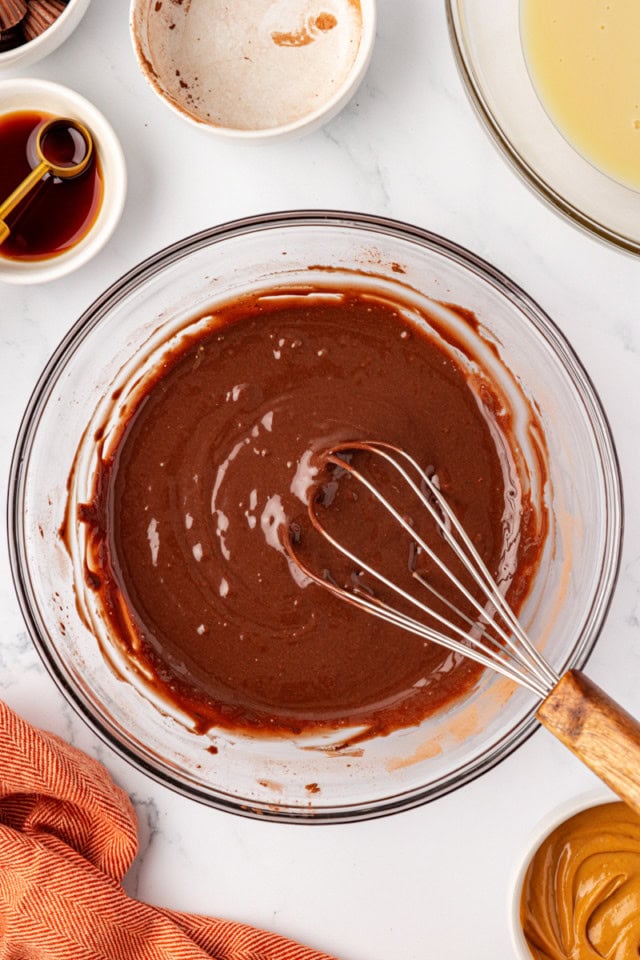
- Add the cocoa powder and 1/2 teaspoon vanilla to one of the mixing bowls. Whisk together until thoroughly blended.**
- Add the peanut butter and the other 1/2 teaspoon vanilla to the other mixing bowl. Whisk together until thoroughly blended.**
- Place the cream in a separate bowl. Use an electric mixer with a whisk attachment to whip the cream at medium-high speed until firm peaks form.
- Add half of the whipped cream to the chocolate mixture, and fold gently. Add the other half to the peanut butter mixture, and fold gently. Be sure not to over-mix.
- Set aside a handful of the peanut butter cups for the top of the ice cream. Divide the remaining peanut butter cups between the two mixtures, and gently fold them into each.
- Alternate adding scoops of each ice cream to the chilled pan. Then use a thin knife to swirl the ice creams together. Sprinkle the reserved peanut butter cups on top of the ice cream.
- Tightly cover the pan, and freeze for about 5 hours before serving.
Notes
- *Any freezer-safe container of roughly the same volume should work.
- **You can do this by hand or with an electric mixer on medium-low speed.
- Store tightly covered in the freezer for 1-2 weeks.
- Chocolate ice cream recipe adapted from Food Network.


3 Comments on “No-Churn Chocolate Peanut Butter Ice Cream”
Wow, this looks so good! This will be the first no churn ice cream that I will finally make. Thanks for posting 🙂
Does the chilled container have to be metal?
Thank you
Beverly
Any freezer-safe container should be fine.