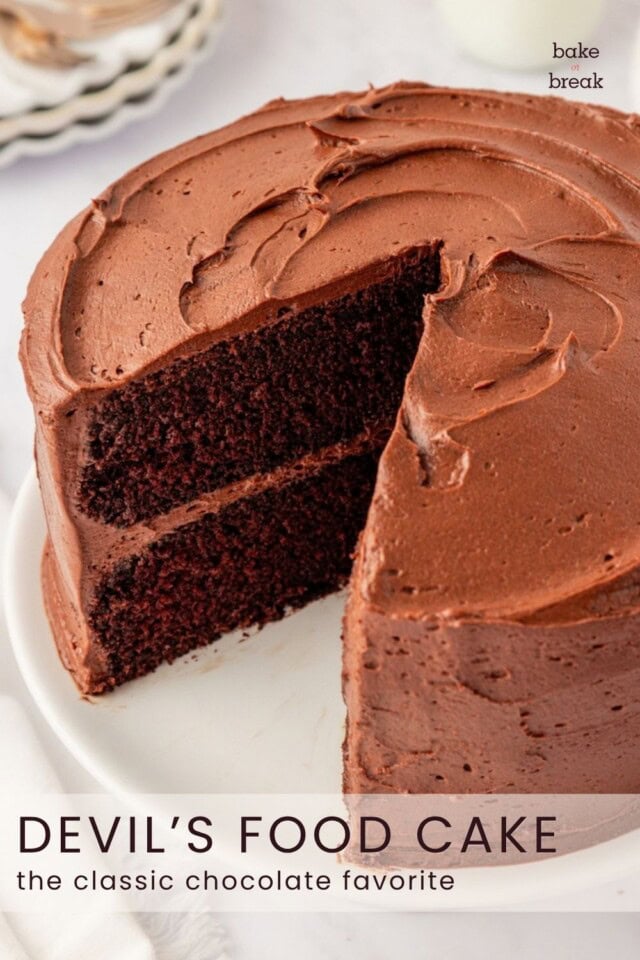
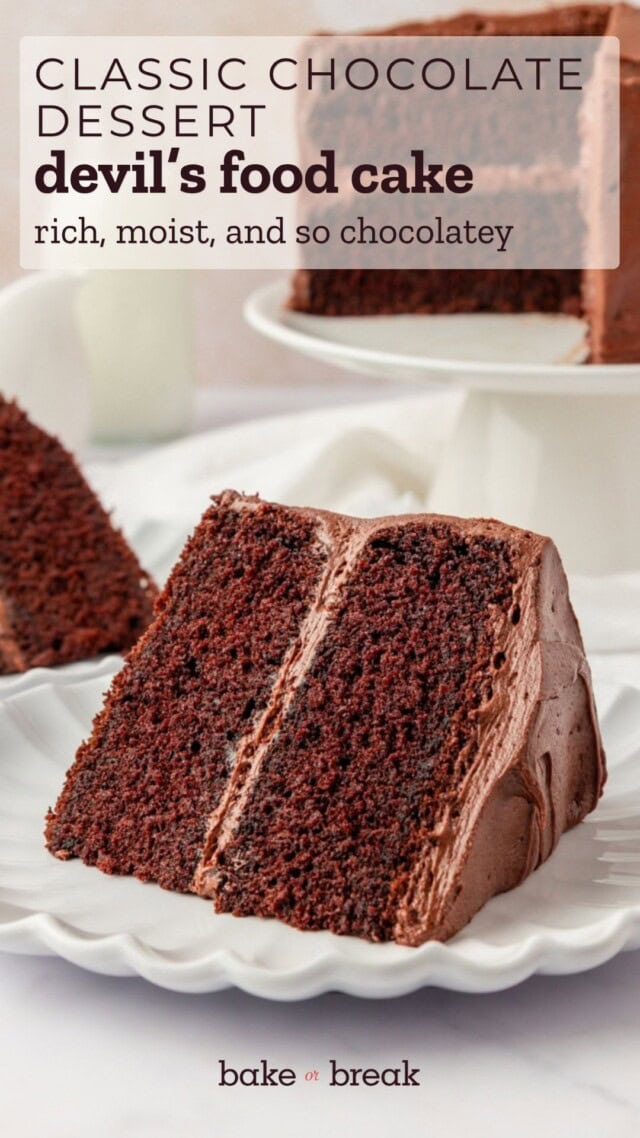
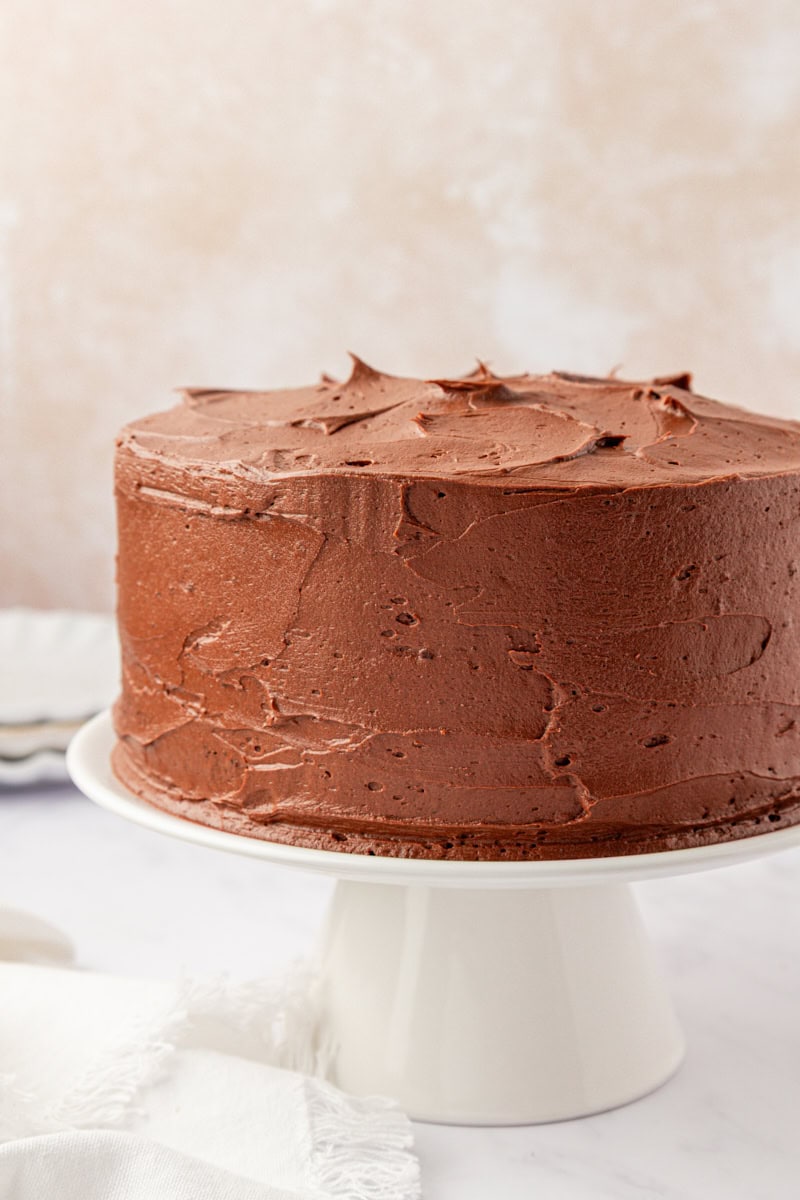
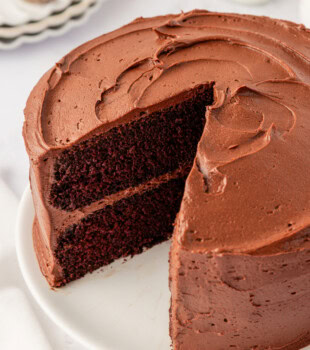
This classic devil’s food cake has rich chocolate flavor, a soft, velvety crumb, and plenty of chocolate buttercream. Two tall layers make it an impressive cake, but it’s surprisingly easy to make.
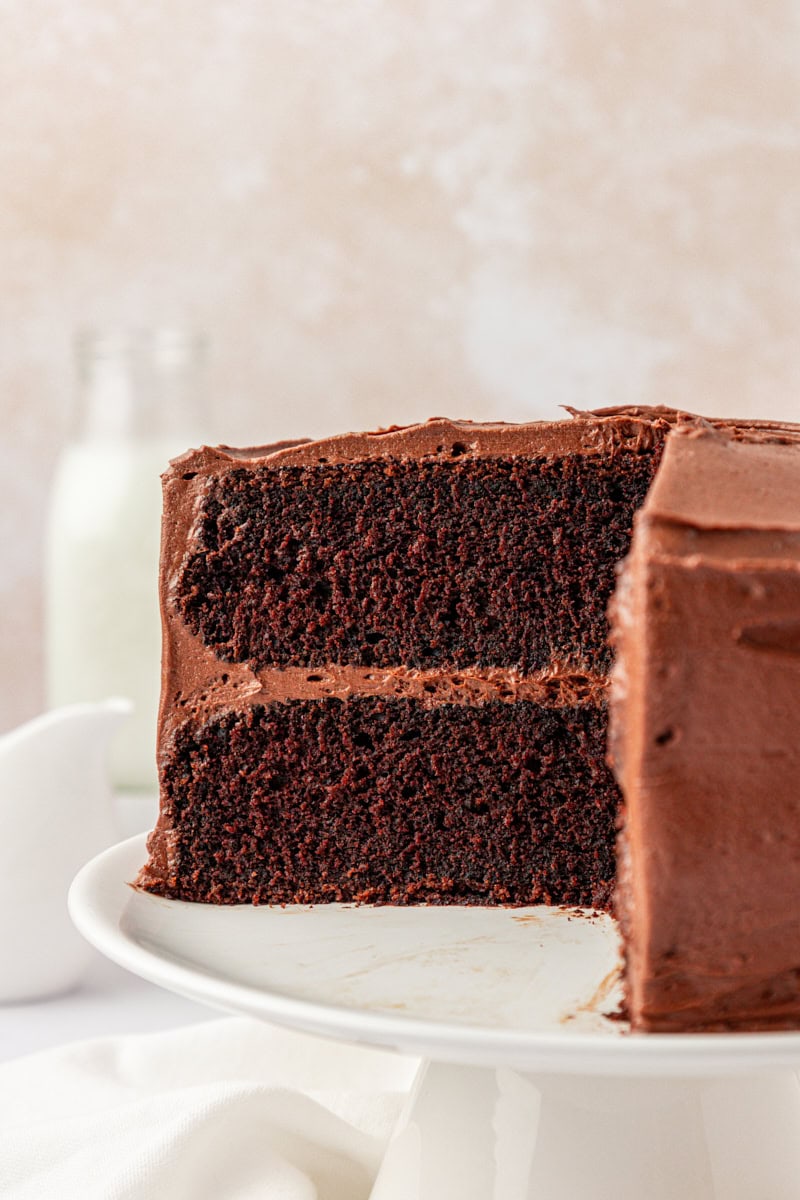
Devil’s food cake is a classic for good reason. This version has deep chocolate flavor and a soft, velvety crumb, all covered with a simple chocolate buttercream. It makes an impressive layer cake without turning dessert into an all-day project.
This is the kind of chocolate cake that works just as well for a birthday or celebration as it does when you simply feel like baking a really good cake. It’s rich and chocolatey without being over-the-top, with two tall layers and plenty of creamy chocolate frosting in every slice.
Why You’ll Love This Devil’s Food Cake Recipe
- Big chocolate flavor. Cocoa powder and hot coffee give this cake a deep, full chocolate flavor in every bite.
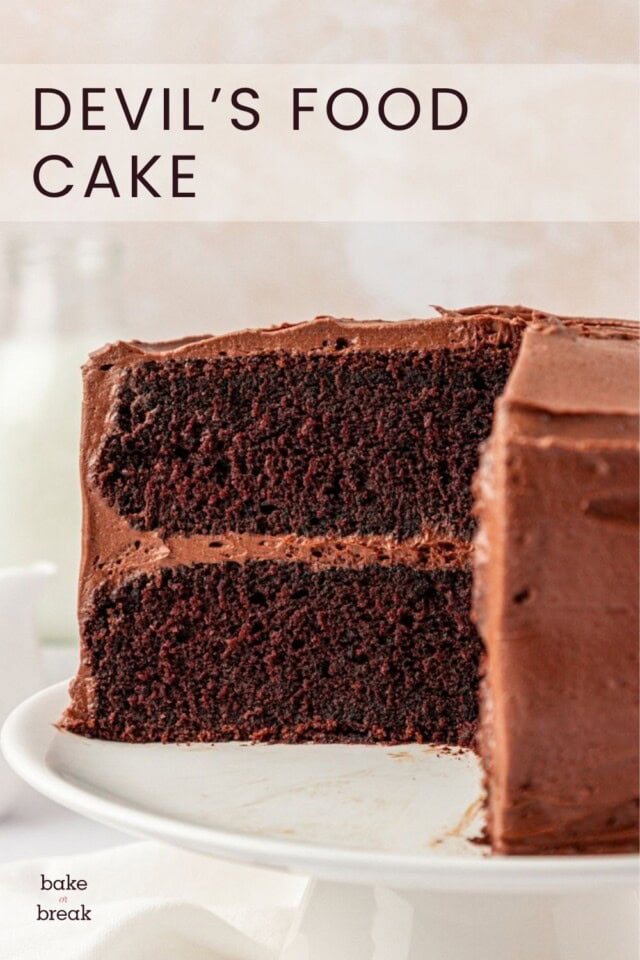
- Soft, velvety texture. The cake is wonderfully moist and tender, with enough structure for beautiful, substantial layers.
- Simple but impressive. Two tall 8-inch layers give you plenty of wow factor, but the cake and straightforward chocolate buttercream are both easy to make.
- No fussy decorating. A few swoops of frosting are all this cake needs. It’s a classic homemade layer cake, and it doesn’t need to look perfect.
What Makes Devil’s Food Cake Different?
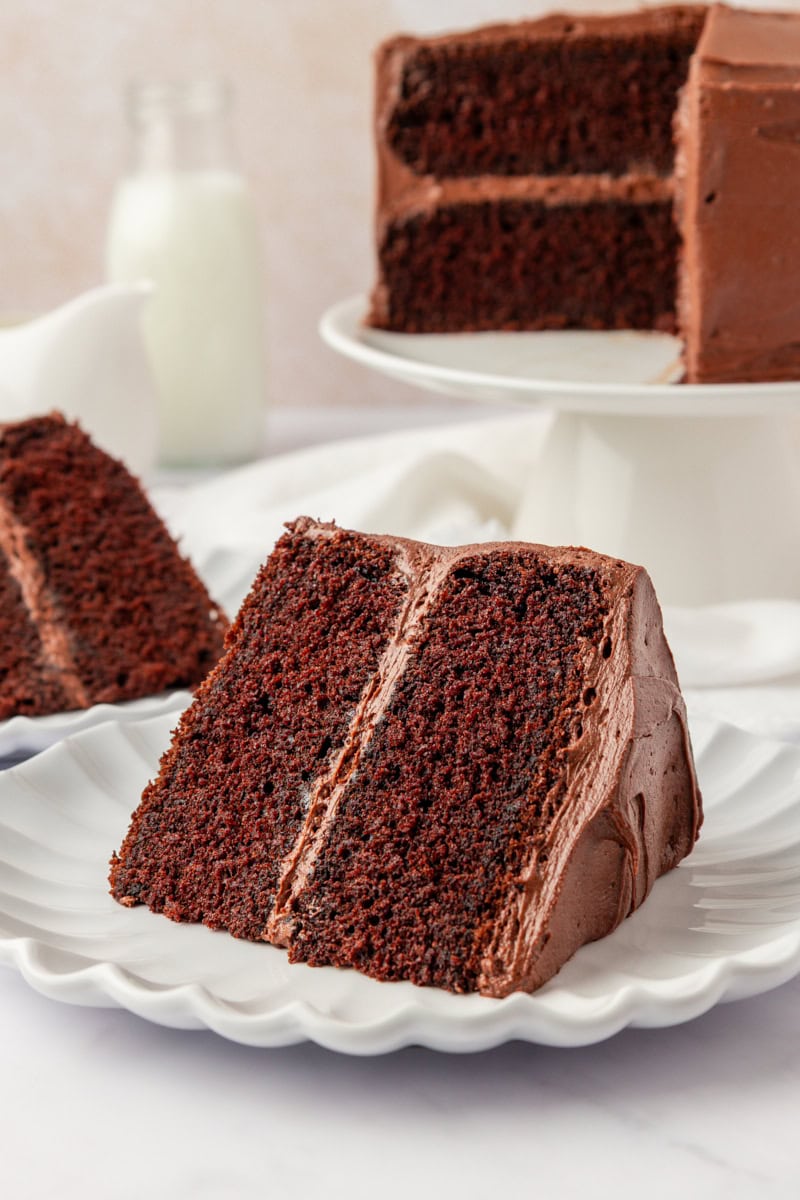
Devil’s food cake is a chocolate cake, of course, but traditionally it’s especially rich in cocoa flavor with a soft, tender crumb. This version uses natural cocoa powder along with baking soda and buttermilk, giving the cake its characteristic deep chocolate flavor and tender texture.
Hot coffee intensifies the cocoa without making the cake taste like coffee. And I say that as someone who doesn’t like coffee! Once it’s baked into the cake, I don’t taste it at all. It simply makes the chocolate taste more chocolatey.
Butter and oil each play a role, too. Butter adds flavor, while oil helps keep the crumb exceptionally soft and moist. The result is the texture I want from devil’s food cake: velvety and tender, but with enough structure to make a proper layer cake.
Tips for Success
- Use natural cocoa powder. This recipe is formulated for natural cocoa, which works with the buttermilk and baking soda to give the cake its flavor, texture, and rise. I don’t recommend substituting Dutch-process cocoa here.
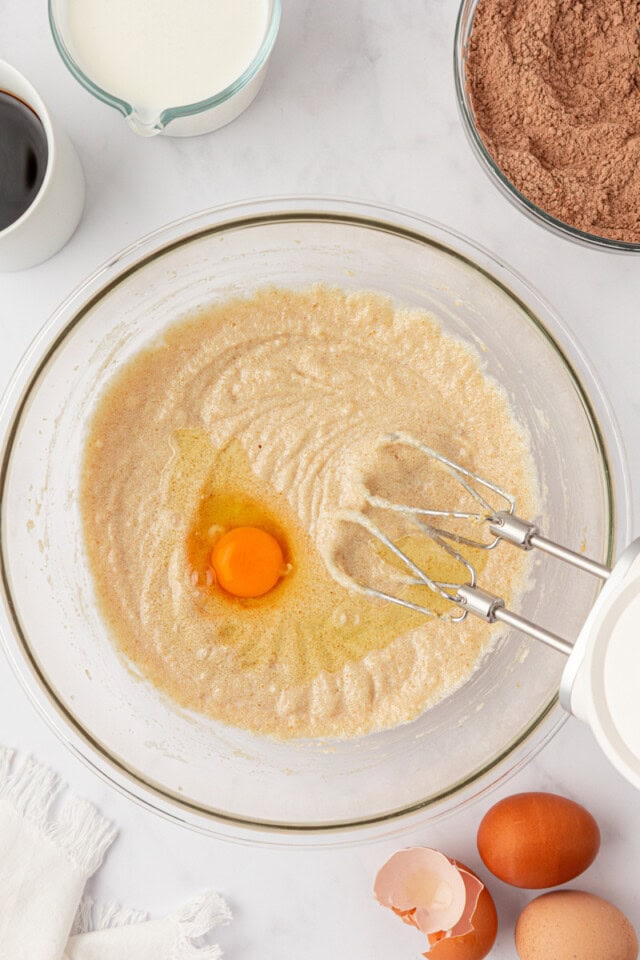
- Don’t expect the butter mixture to get fluffy. Because you’re beating the butter with oil as well as the sugars, it won’t look like traditionally creamed butter and sugar. Just beat until everything is well combined and slightly lightened.
- Mix just until combined. Once you start alternating the dry ingredients with the buttermilk, avoid over-mixing. That’s important for keeping the crumb soft and tender.
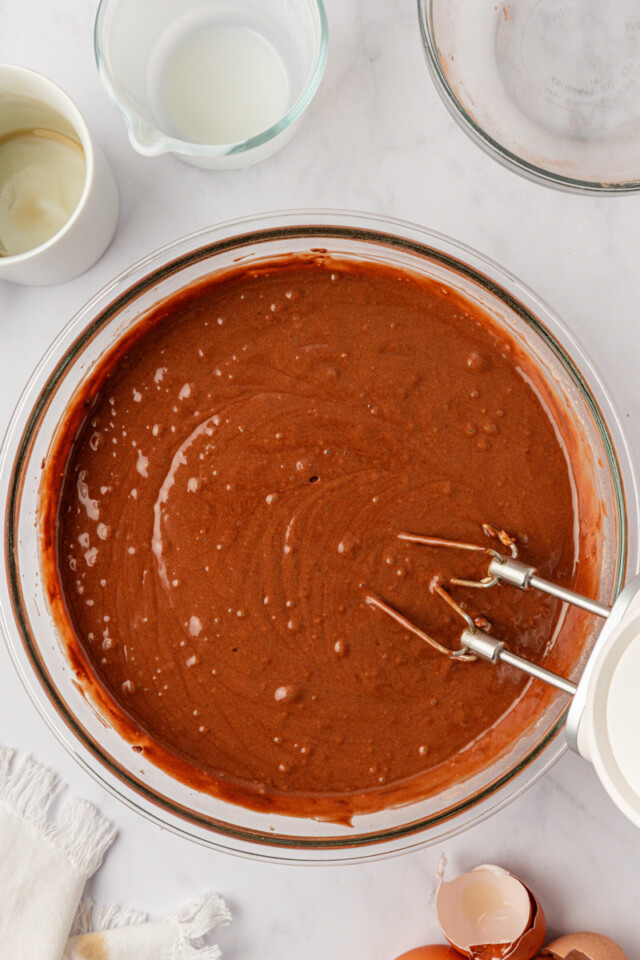
- Don’t worry about the thin batter. Adding the hot coffee makes the finished batter fairly thin. That’s exactly what you want.
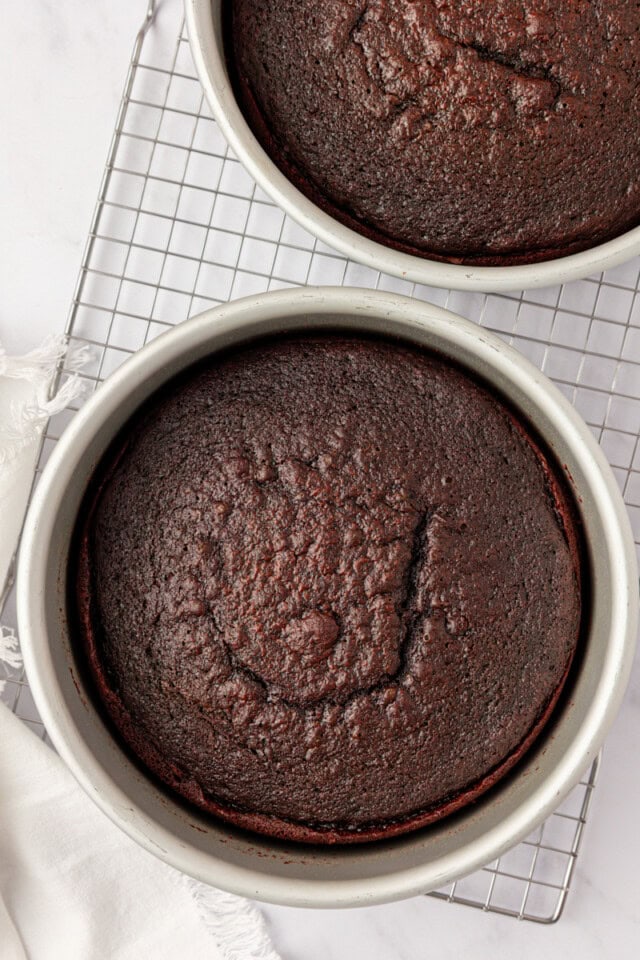
- Handle the layers gently. These cake layers are wonderfully soft and tender. Line the pans with parchment paper for an easy release, let the layers cool completely, and take a little care when moving and stacking them.
Storage and Making Ahead
Make the cake layers ahead. You can bake the cake layers a day ahead. Once they’re completely cool, wrap each layer well and keep them at room temperature overnight. Then make the buttercream and assemble the cake the next day. You can also freeze the well-wrapped layers for up to 2 months. Thaw them at room temperature before frosting.
Store the frosted cake. Keep the assembled cake covered or in an airtight container at room temperature for up to 3 days. If your kitchen is especially warm, you can refrigerate it, but bring the cake to room temperature before serving for the best texture.
Freeze individual slices. For longer storage, wrap slices well and place them in an airtight, freezer-safe container for up to 2 months. Thaw at room temperature before serving.
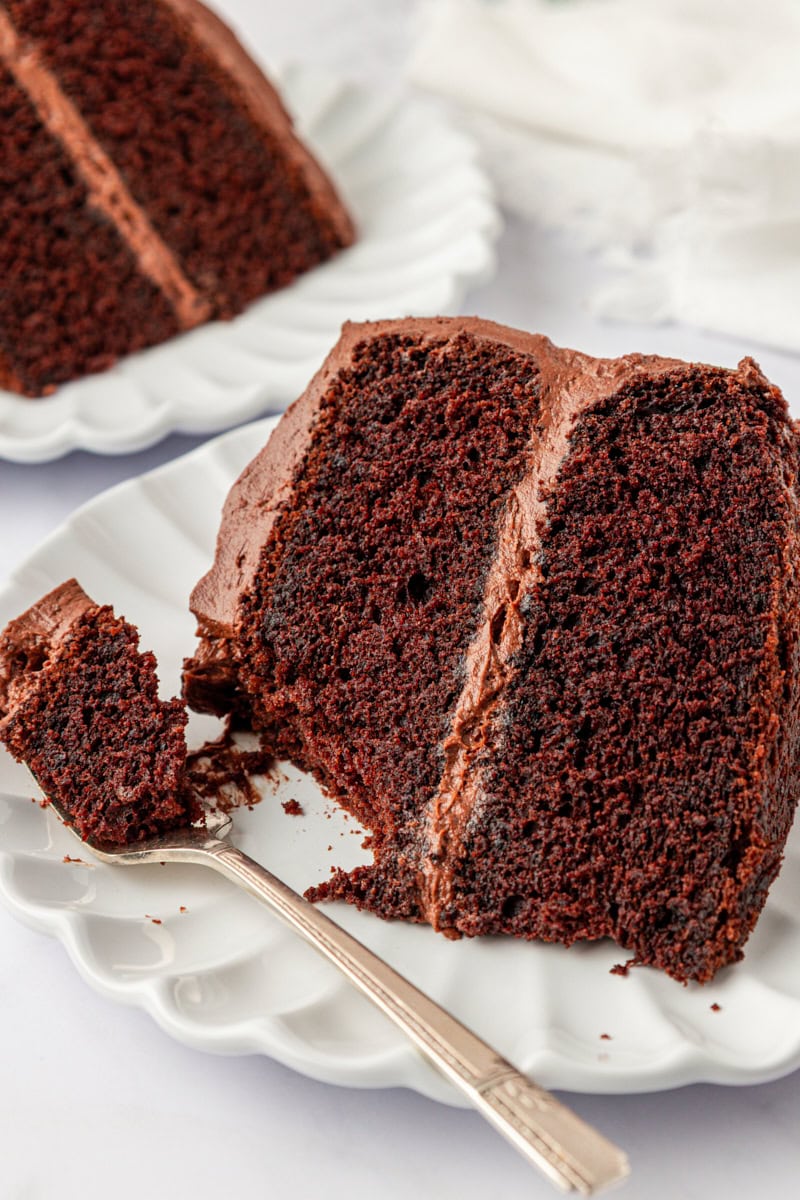
A Classic for Chocolate Lovers
This devil’s food cake is proof that a classic doesn’t need much fuss to be special. With its rich chocolate flavor, soft velvety layers, and simple chocolate buttercream, it’s an easy choice whenever a really good chocolate cake is in order.
Devil’s Food Cake
Ingredients
For the cake:
- 2 ⅛ cups (255 g) all-purpose flour, (2 cups + 2 tablespoons)
- ¾ cup (64 g) unsweetened natural cocoa powder
- 1 ½ teaspoons baking soda
- ½ teaspoon baking powder
- 1 teaspoon salt
- ½ cup (113 g) unsalted butter, softened
- ½ cup (120 ml) neutral oil, like vegetable or canola oil
- 1 cup (200 g) granulated sugar
- ¾ cup (150 g) firmly packed light brown sugar
- 2 large eggs, at room temperature
- 1 large egg white, at room temperature
- 2 teaspoons vanilla extract
- 1 cup (240 ml) buttermilk, at room temperature
- ¾ cup (180 ml) hot brewed coffee, or hot water + 1 1/2 to 2 teaspoons espresso powder
For the chocolate buttercream:
- 1 cup (226 g) unsalted butter, softened
- 3 ½ cups (385 g) confectioners’ sugar, sifted if needed
- ¾ cup (64 g) unsweetened natural cocoa powder
- pinch salt
- 1 teaspoon vanilla extract
- 4 to 6 tablespoons (60 to 90 ml) heavy cream (or milk)
- 1 to 2 tablespoons (15 to 30 ml) hot coffee or hot water, optional
Recommended Products
Instructions
To make the cake:
- Preheat the oven to 350°F (175°C). Grease two 8-inch round cake pans, line the bottoms with parchment paper, and lightly grease the parchment.
- Whisk together the flour, cocoa powder, baking soda, baking powder, and salt. Set aside.
- In a large mixing bowl, use an electric mixer on medium speed, beat the butter, oil, and both sugars until combined and slightly lightened (2-3 minutes).
- Add the eggs one at a time, mixing well after each addition. Mix in the vanilla.
- With the mixer on low speed, add the flour mixture in three portions, alternating with two portions of buttermilk. Mix just until combined.
- Slowly mix in the hot coffee until the batter is smooth. The batter will be fairly thin.
- Divide the batter evenly between the prepared pans and smooth the tops.
- Bake 30 to 35 minutes, or until a pick inserted into the center comes out with a few moist crumbs.
- Cool the cakes in the pans for about 15 minutes. Then turn them out onto wire racks, remove the parchment paper, and cool completely before frosting.
To make the frosting:
- Using an electric mixer on medium speed, beat the butter until smooth and creamy.
- Add the confectioners’ sugar, cocoa powder, salt, vanilla, and 4 tablespoons cream. Mix on low speed until combined.
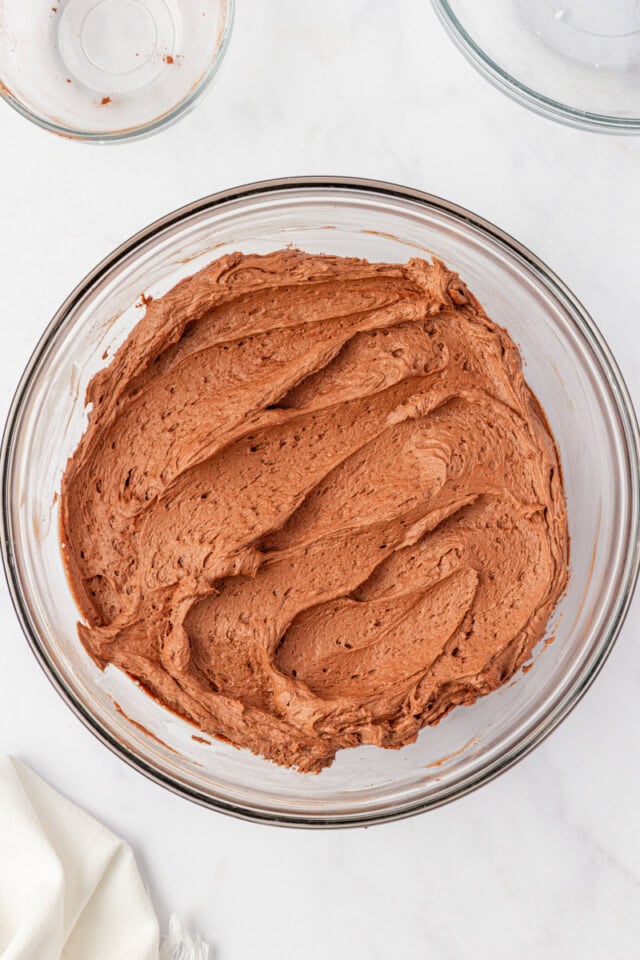
- Increase the mixer speed to medium and beat until light and fluffy. Add more cream, a small amount at a time, as needed for a soft, spreadable consistency.
To assemble:
- Place one cake layer on a serving plate. Spread about 1 cup frosting on top.
- Top with the second cake layer, and frost the top and sides.
Notes
- Cocoa powder: Use natural unsweetened cocoa powder, not Dutch-process cocoa powder, for this recipe.
- Coffee: The coffee enhances the chocolate flavor without making the cake taste like coffee. If you don’t have brewed coffee, combine 3/4 cup (180ml) hot water with 1 1/2 to 2 teaspoons espresso powder.
- Frosting consistency: Start with 4 tablespoons of cream and add more as needed for a soft, spreadable buttercream. You can substitute a little hot coffee or hot water for some of the cream if you prefer. Keep in mind that, unlike the cake batter, adding coffee here will add coffee flavor to the frosting.
- Storage: Store the cake covered or in an airtight container at room temperature for up to 3 days. If your kitchen is especially warm, refrigerate the cake and bring it to room temperature before serving.