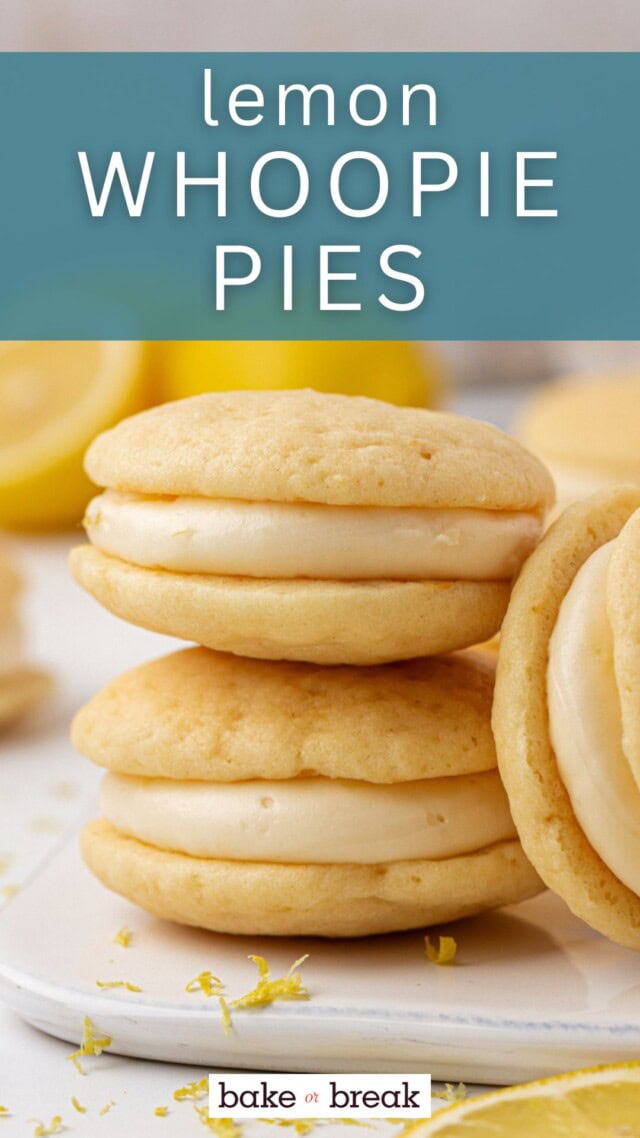
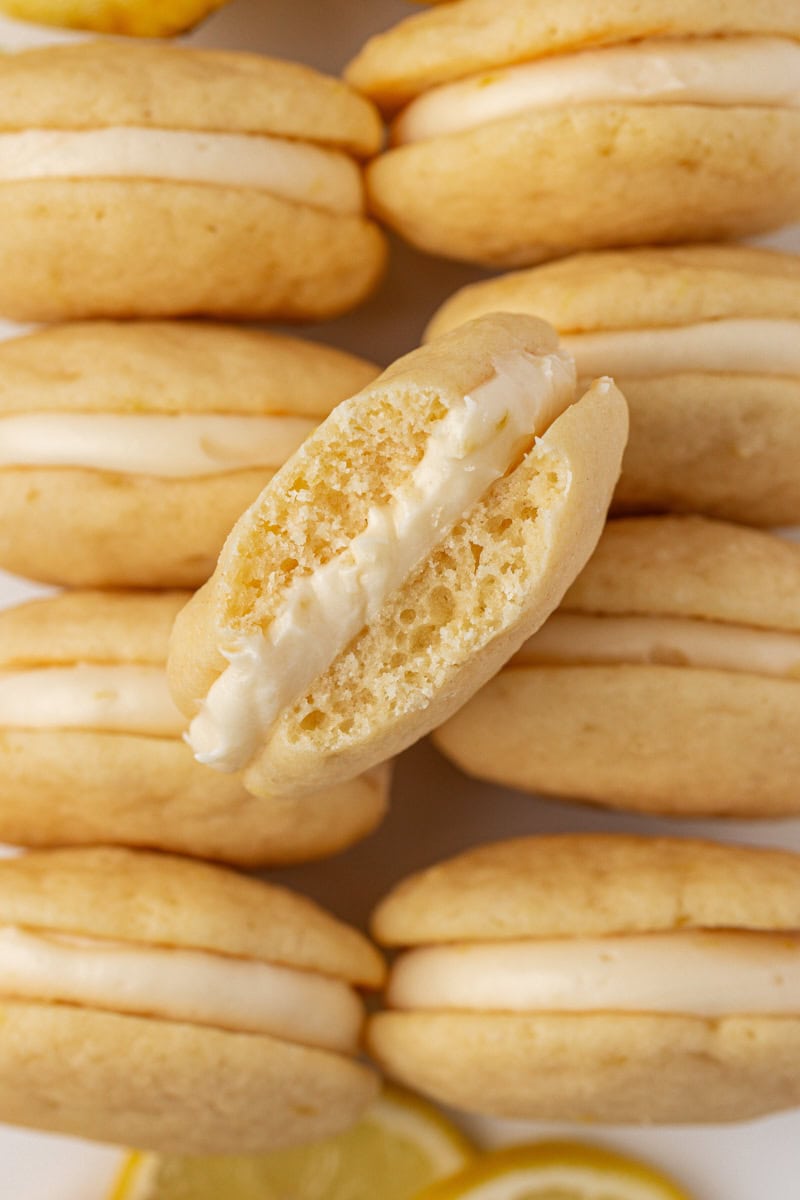
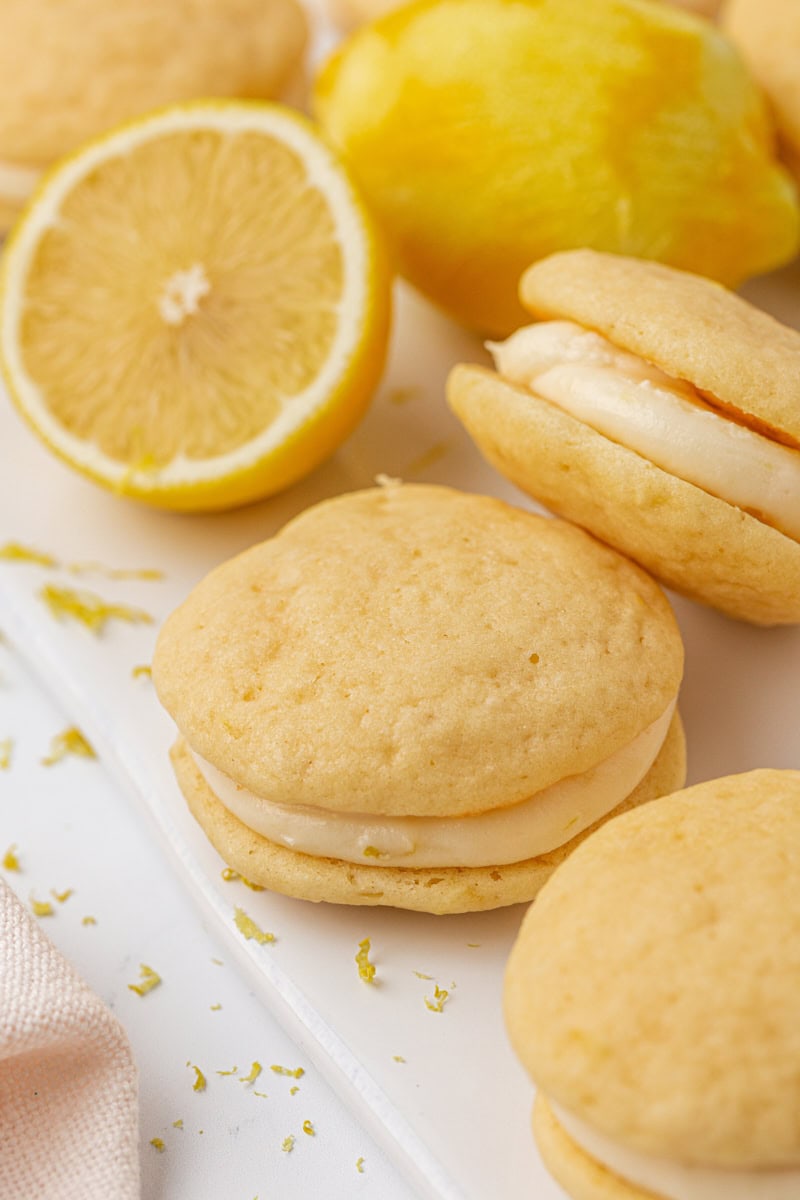
Soft, cake-like cookies meet a bright, creamy filling in these lemon whoopie pies. They’re light, fluffy, and packed with fresh lemon flavor — an easy dessert that feels just a little special.
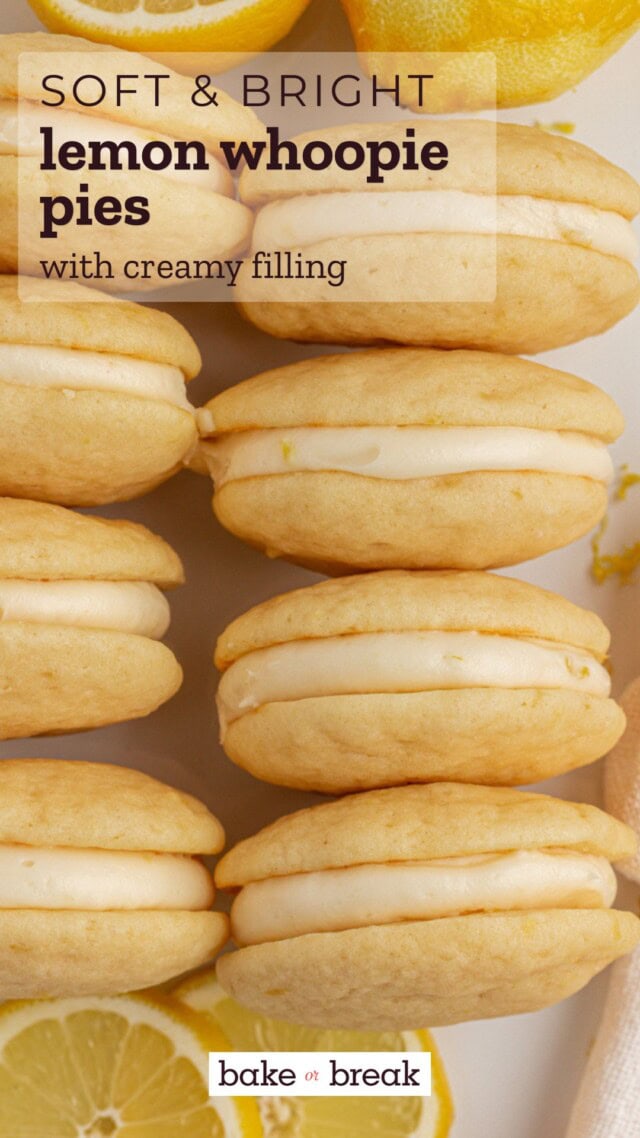
If you love a soft, cake-like sandwich cookie but want something a little lighter and brighter, these lemon whoopie pies are such a fun twist on the classic. The cakes are soft and tender with just enough citrus to keep things interesting, while the creamy filling brings everything together with a smooth, tangy sweetness.
They’re simple to make, easy to share, and one of those desserts that feels right at home for everything from spring gatherings to an everyday baking project.
Why You’ll Love These Lemon Whoopie Pies
- Soft, cake-like texture. These bake up tender and fluffy with just the right amount of structure for sandwiching.
- Balanced lemon flavor. Fresh lemon zest and juice add brightness and the perfect amount of lemony pucker.
- Easy to make. No complicated steps or special equipment needed.
- Great for sharing. Perfectly portioned and easy to transport.
- Make-ahead friendly. The filling and assembled whoopie pies both hold up well.
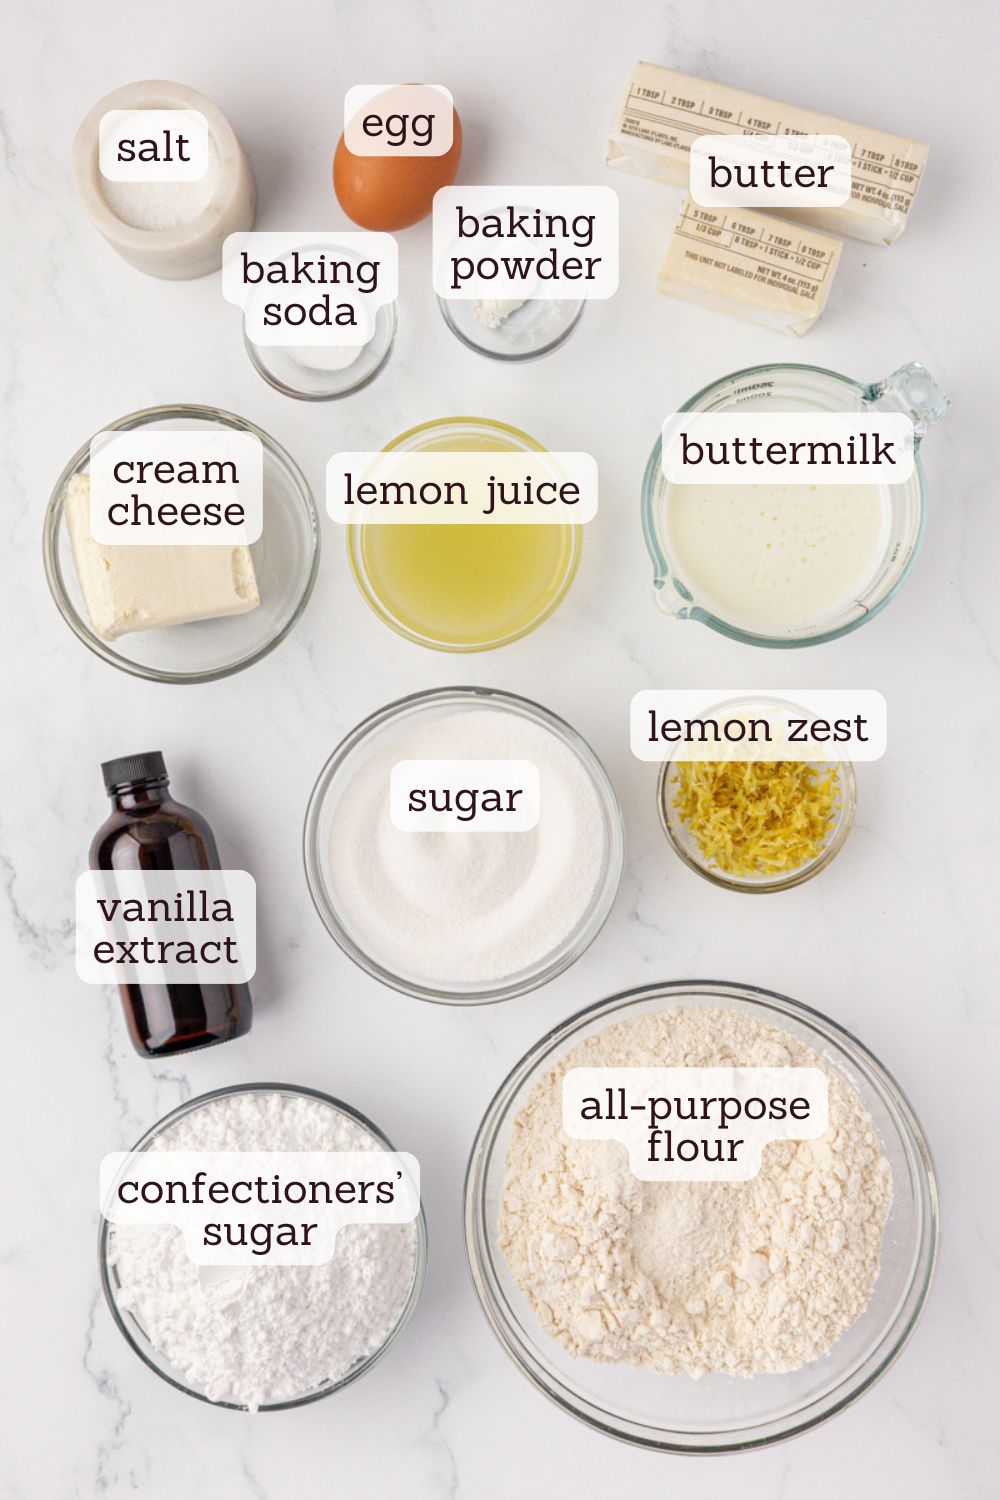
Key Ingredients
- Lemon zest & juice – The zest does most of the heavy lifting for flavor, while a bit of juice adds brightness. If you need to brush up on your skills, see my guide for zesting and juicing lemons.
- Buttermilk – Keeps the cakes soft and tender while adding a subtle tang.
- Cream cheese – Gives the filling structure and a slight tang to balance the sweetness.
- Confectioners’ sugar – Sweetens and thickens the filling so it pipes cleanly and holds its shape.
- Butter – Adds richness to both the cakes and the filling.
How to Make Lemon Whoopie Pies

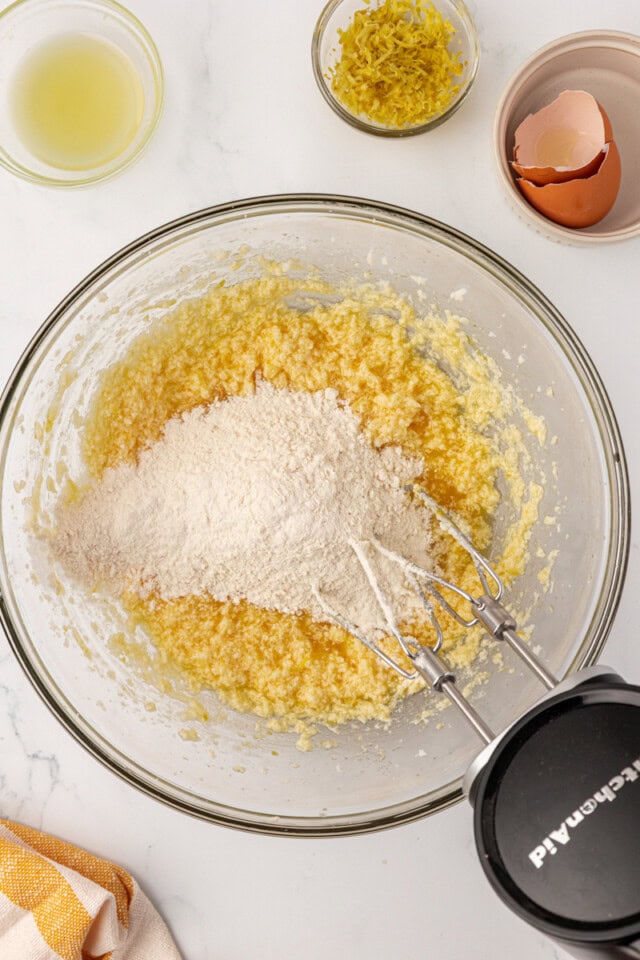
Whisk the dry ingredients.
Combine the flour, baking powder, baking soda, and salt. This ensures everything is evenly distributed so the cakes bake up with a consistent texture.
Cream the butter and sugar.
Beat until light and smooth, not overly fluffy. This step creates a tender base without incorporating too much air, which can lead to excess spreading.
Add the flavoring.
Mix in the egg, vanilla, lemon zest, and lemon juice. The zest brings most of the lemon flavor, while the juice adds a bit of brightness.
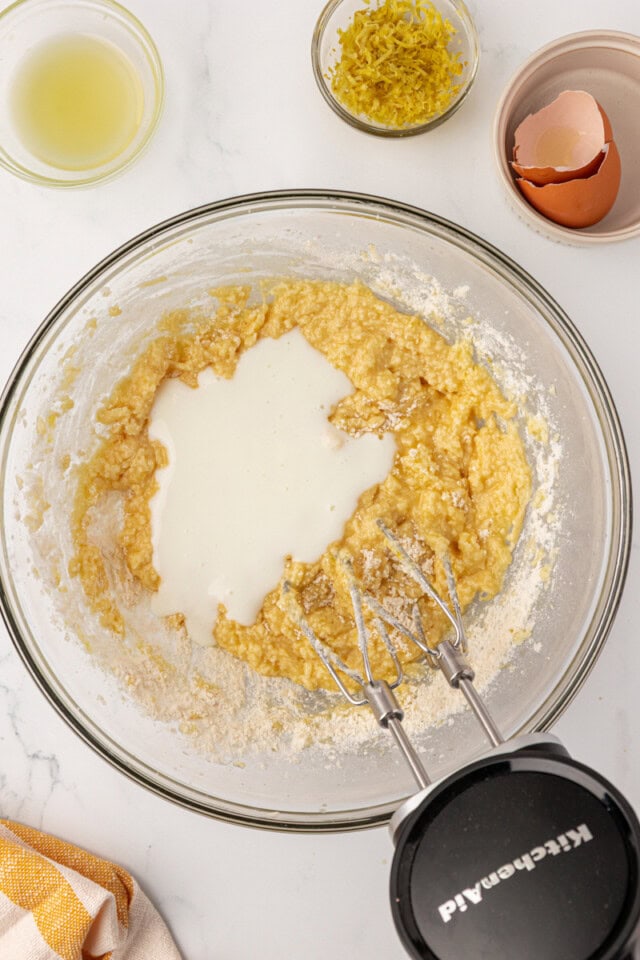
Alternate wet and dry ingredients.
Add the dry ingredients in three portions, alternating with the buttermilk. Mix just until combined. The batter should be thick but scoopable and hold its shape when portioned. This helps the cakes hold their shape as they bake.

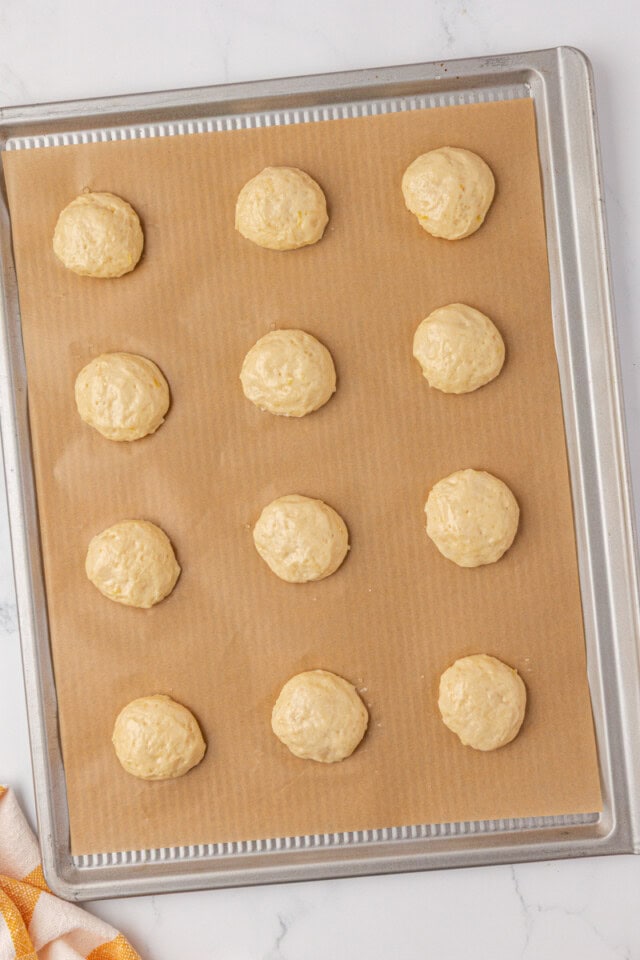
Portion the batter.
Use a #40 scoop (about 1½ tablespoons) to drop mounds of batter onto lined baking sheets. Leave space between each one and keep the batter mounded rather than smoothing it.
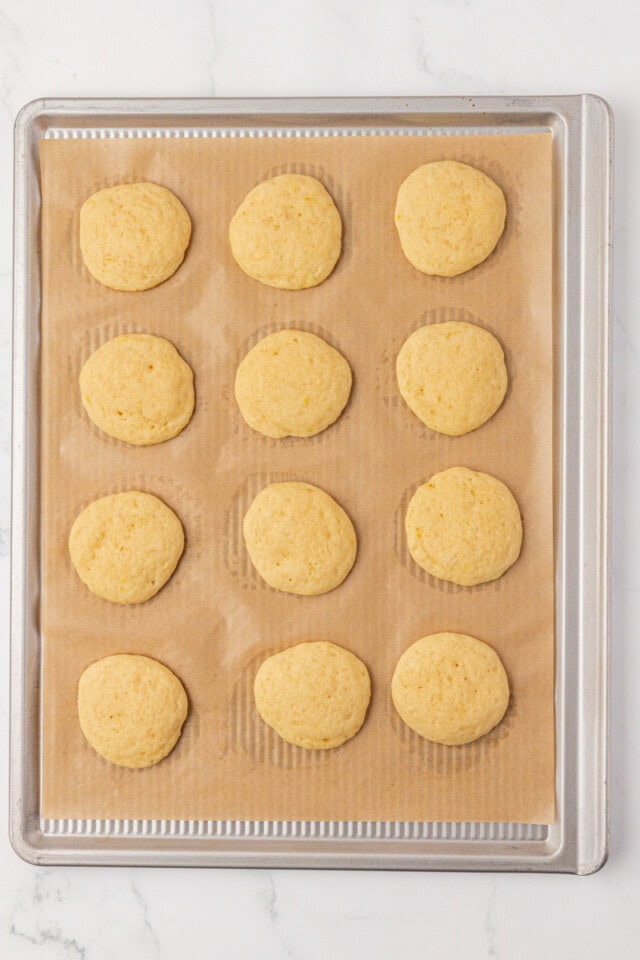
Bake just until set.
Bake until the edges are set and the tops spring back lightly when touched. Avoid over-baking, as that can make the cakes dry instead of soft and cake-like.
Cool completely.
Let the cakes cool fully before filling so the filling stays thick and doesn’t melt.
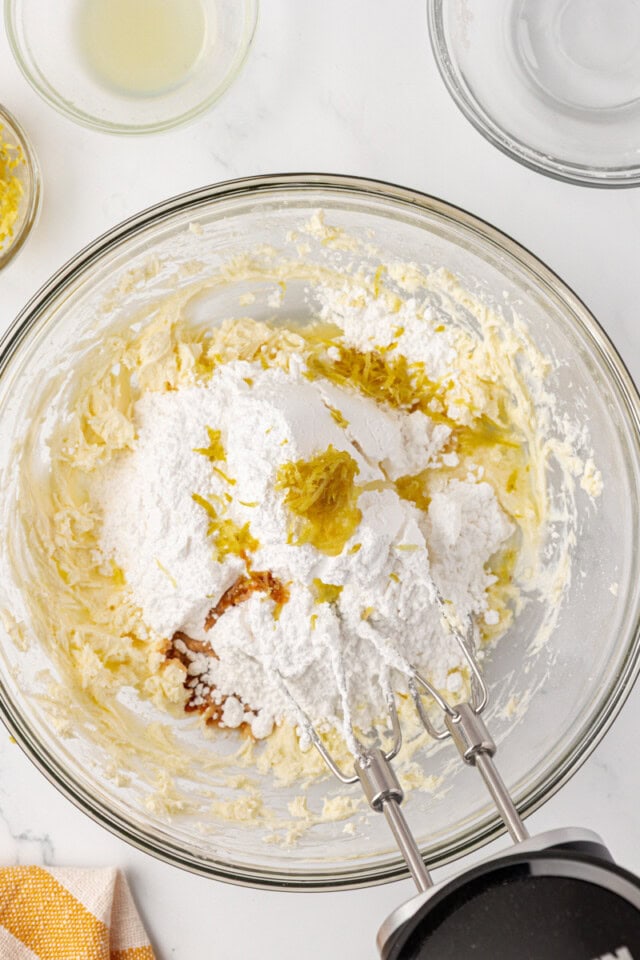
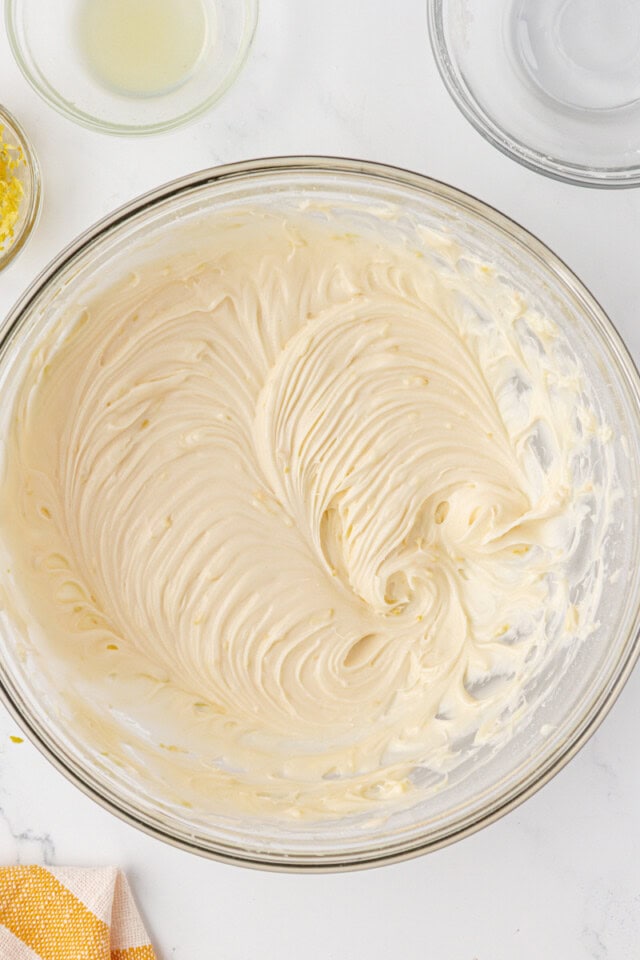
Make the filling.
Beat the cream cheese and butter until smooth, then add the confectioners’ sugar, vanilla, lemon zest, and a small amount of lemon juice. Add more juice gradually if needed. The goal is a thick, pipeable consistency.
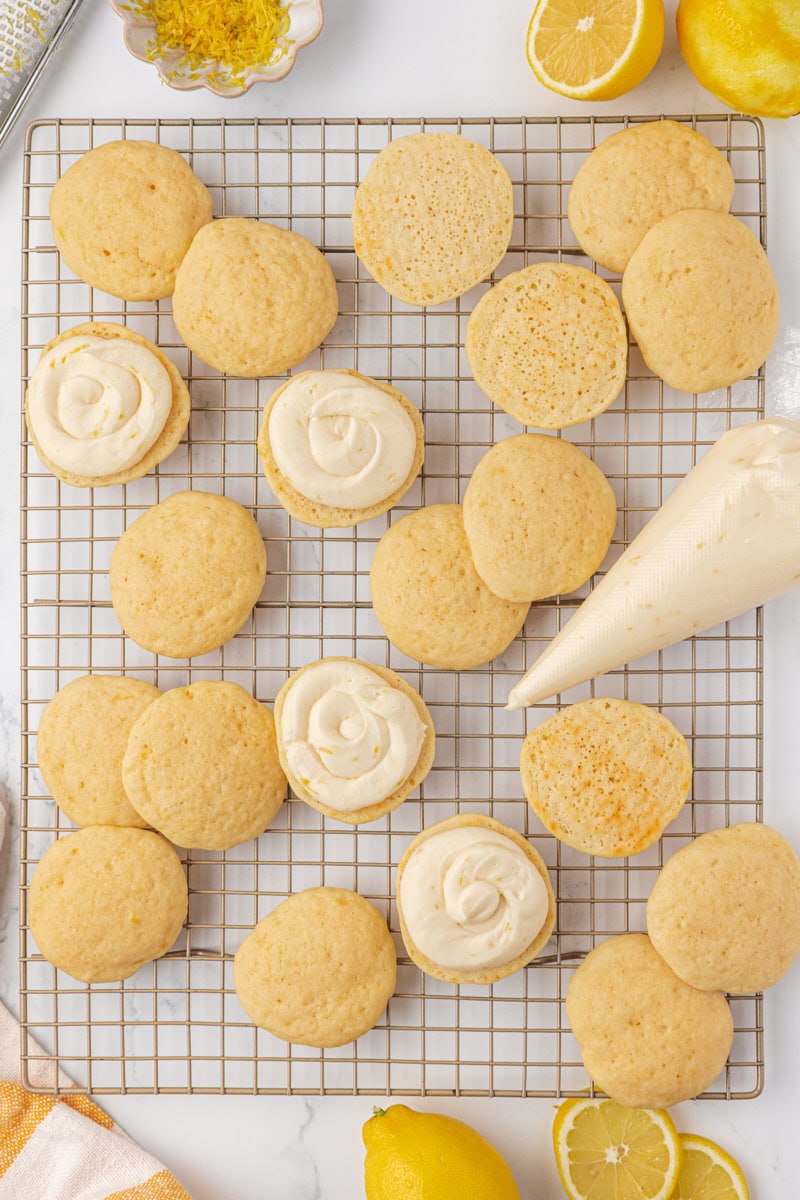
Assemble the whoopie pies.
Pipe or spread the filling onto the flat side of one cake, then sandwich with another. For the cleanest look, match up cakes of similar size and shape.
Tips for Success
- Measure flour accurately. Too much flour can make the cakes dense instead of soft and tender. Use a kitchen scale or spoon and level for best results. (You can learn more about how to do this and why it matters in my guide to measuring flour.)
- Look for the right batter consistency. The batter should be thick enough to hold its shape when scooped. If your kitchen is warm and the batter feels too soft, a short chill (15–20 minutes) can help.
- Keep the cakes uniform. Using a cookie scoop makes it easy to portion evenly and match up pairs for sandwiching.
- Watch the bake time closely. The cakes are done when the tops spring back lightly. Over-baking can dry them out and take away that soft, cake-like texture.
- Match cakes before filling. Pair similar sizes together before assembling for the neatest finished whoopie pies.
- Adjust the filling as needed. Add lemon juice gradually so the filling stays thick enough to pipe. If it softens too much, chill it briefly to firm it up.
- Chill for cleaner serving. A short chill after assembling helps the filling set and makes the whoopie pies easier to handle.
Variations & Serving Ideas
- Extra lemony – Add a tiny bit of lemon extract to the filling for a stronger citrus flavor.
- Berry twist – Add a thin layer of raspberry or strawberry jam along with the filling.
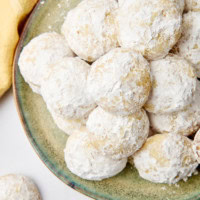
- Simple finish – Dust lightly with powdered sugar for serving.
- Mini version – Use a smaller scoop for bite-sized whoopie pies.
How to Store
Refrigerator: Store in an airtight container for up to 3 days. Bring to room temperature before serving for the best texture.
Freezer: The cakes (unfilled) can be frozen for up to 2 months. Thaw and fill before serving.
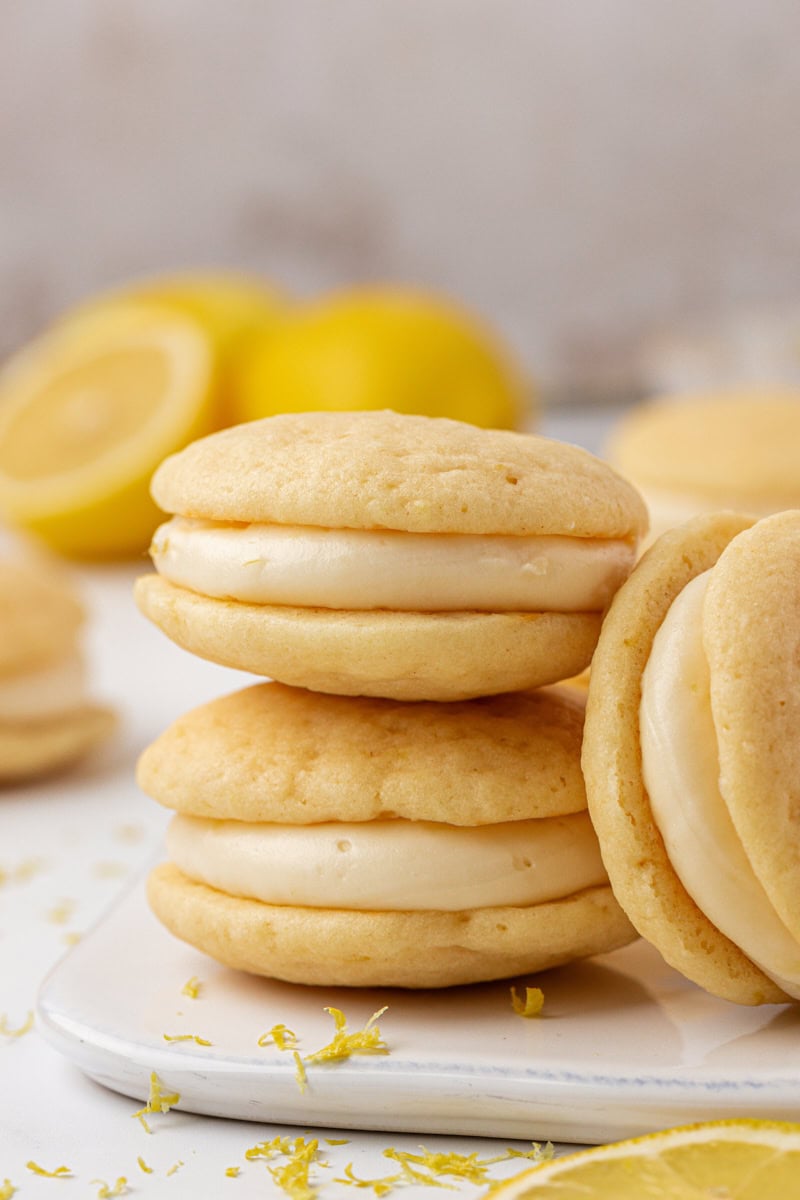
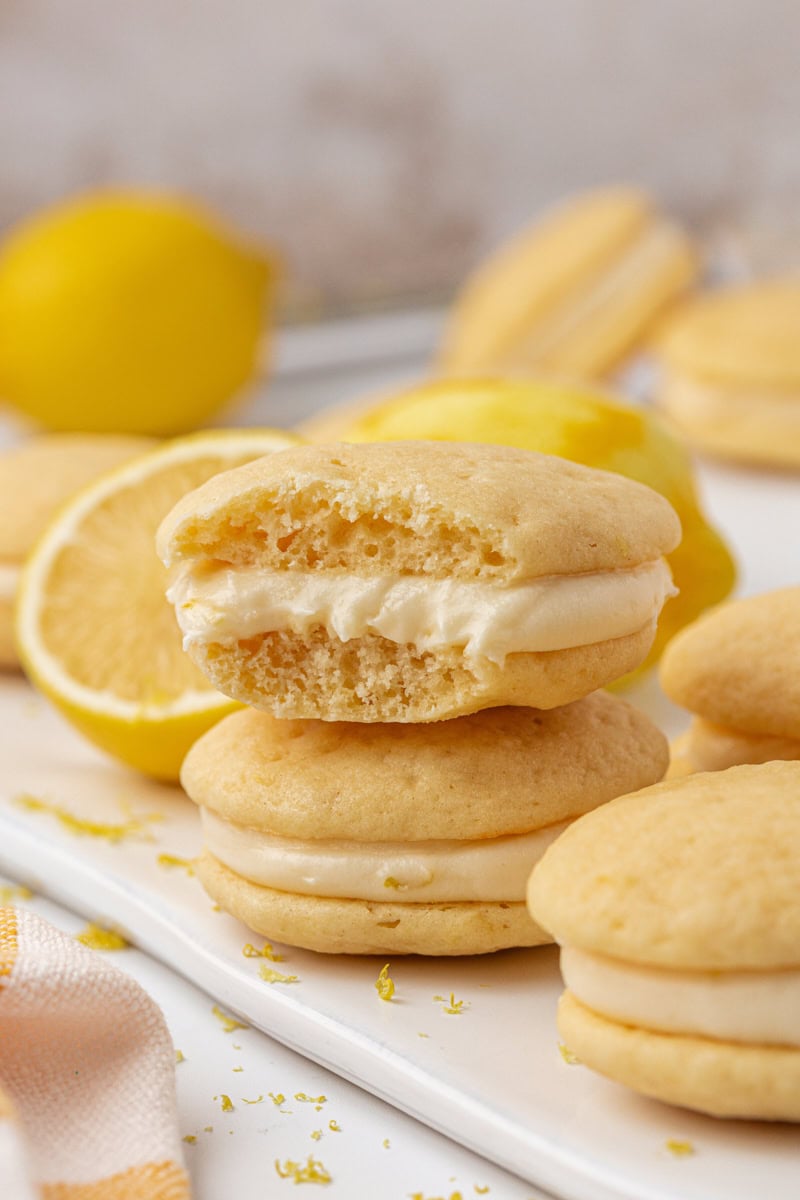
A Bright Twist on a Classic Treat
These lemon whoopie pies are a simple way to put a fresh spin on a familiar favorite. The soft, tender cakes and creamy filling come together for a dessert that feels just a little more special than your everyday cookies, but still easy enough to make anytime the craving hits.
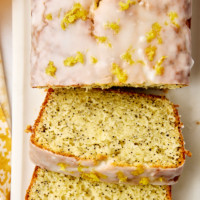
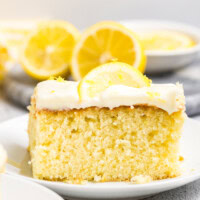
If you’re in the mood for more lemon desserts, you might also enjoy my lemon shortbread cookies or lemon cream cheese coffee cake. And if you love soft, cake-like cookies, take a look at my classic whoopie pies for a more traditional version.
However you serve them, these are the kind of treats that are easy to share — and even easier to make again.
More Lemon Recipes


Lemon Whoopie Pies
Ingredients
For the cakes:
- 2 ⅛ cups (255 g) all-purpose flour, 2 cups + 2 tablespoons
- ½ teaspoon baking powder
- ½ teaspoon baking soda
- ¼ teaspoon salt
- ½ cup (113 g) unsalted butter, softened
- ¾ cup (150 g) granulated sugar
- 1 large egg
- 1 teaspoon vanilla extract
- 2 teaspoons lemon zest
- 2 tablespoons (30 ml) fresh lemon juice
- ⅔ cup (160 ml) buttermilk
For the filling:
- 4 ounces (113 g) cream cheese, softened
- ¼ cup (57 g) unsalted butter, softened
- 1 ¾ cups (193 g) confectioners’ sugar
- 1 teaspoon vanilla extract
- 1 teaspoon lemon zest
- 1 to 2 teaspoons fresh lemon juice
Recommended Products
Instructions
To make the cakes:
- Preheat oven to 350°F (175°C). Line baking sheets with parchment paper.
- In a bowl, whisk together the flour, baking powder, baking soda, and salt.
- In a separate bowl, beat the butter and sugar until light and fluffy. Mix in the egg, vanilla, lemon zest, and lemon juice.
- Add the dry ingredients in three portions, alternating with two portions of buttermilk, mixing until combined.
- Drop 1½ tablespoons (#40 scoop) of batter onto prepared baking sheets, spacing them about 2 inches apart.
- Bake for 10-12 minutes or until the edges are set and centers spring back when lightly pressed.
- Cool on the pan for a few minutes, then transfer to a wire rack to cool completely.
To make the filling and assemble:
- Beat the cream cheese and butter until smooth. Add the confectioners’ sugar, vanilla, lemon zest, and 1 teaspoon lemon juice, and beat until creamy. Add more juice if needed for consistency.
- Spread or pipe the filling onto the flat side of one cookie and top with another to make a sandwich.
- For a firmer filling, chill the assembled whoopie pies for about 30 minutes before serving.
Notes
- For best results, measure flour by weight or by spooning and leveling to avoid dense cakes.
- The batter should be thick and hold its shape when scooped. If it seems too soft, chill briefly before baking.
- Add the lemon juice to the filling gradually to maintain a thick, pipeable consistency.
- If the filling becomes too soft, refrigerate it for 15–20 minutes before assembling.
- For cleaner presentation, pair cakes of similar size before filling.
- Assembled whoopie pies can be chilled briefly to help the filling set.
- Store in an airtight container in the refrigerator for 3 days. Bring to room temperature or serve slightly chilled.


