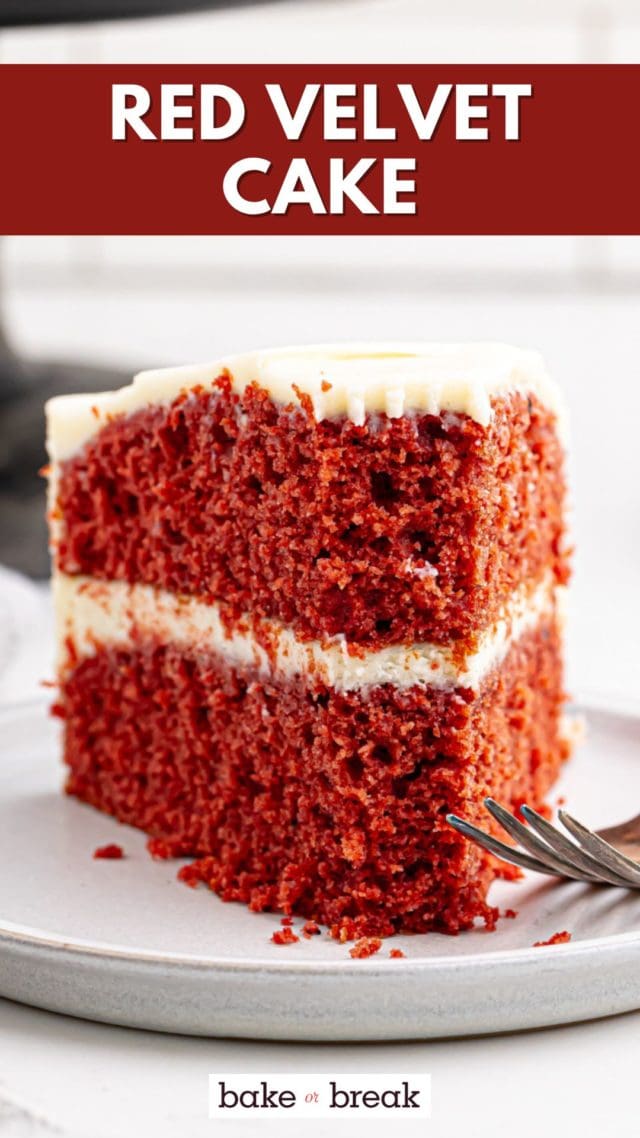
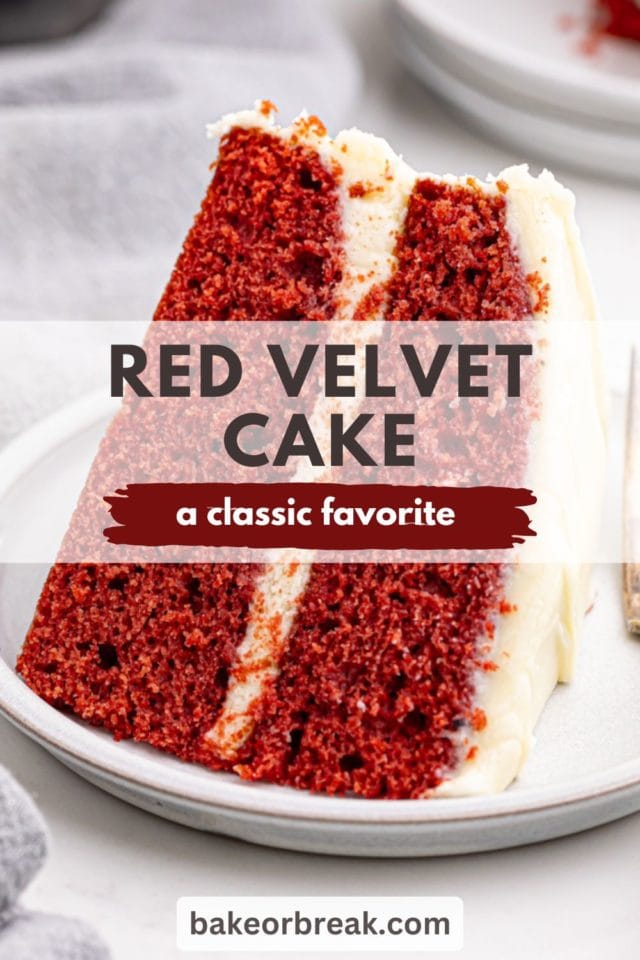
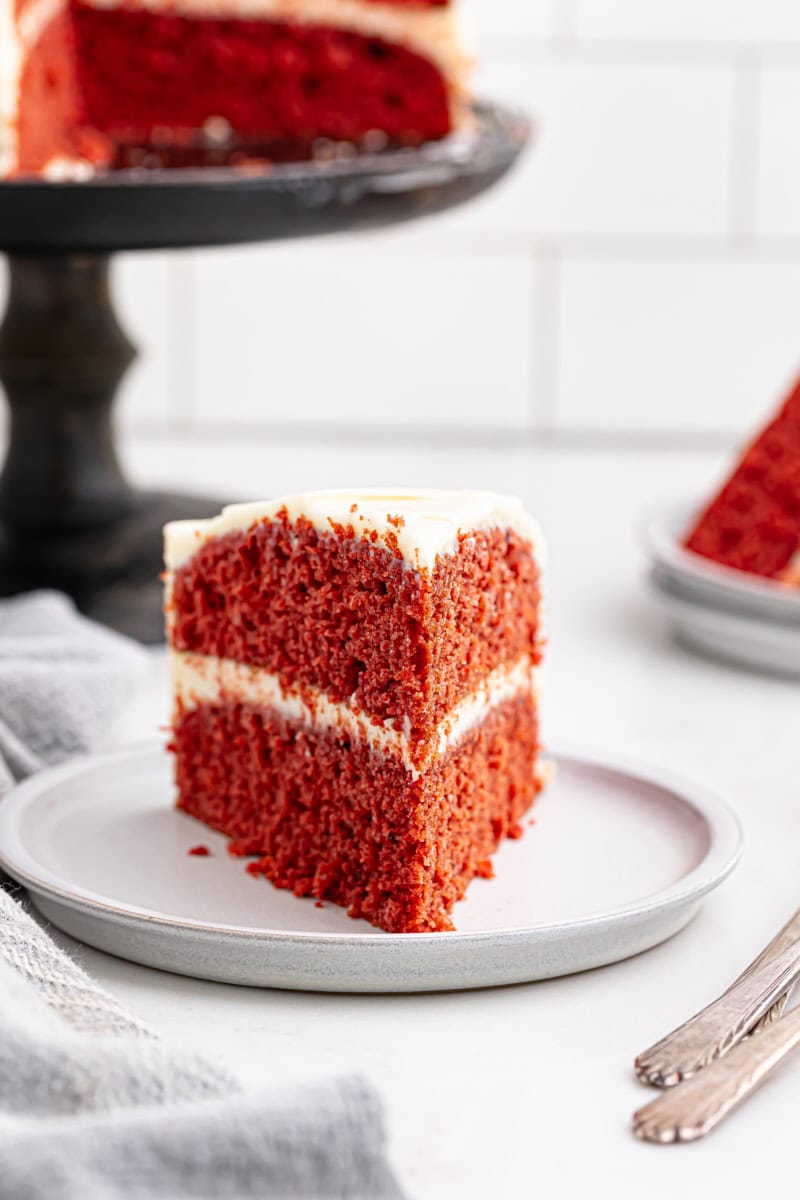
This red velvet cake is as beautiful as it is delicious—a perfect balance of tangy, sweet, and chocolaty flavors, crowned with luscious cream cheese frosting!
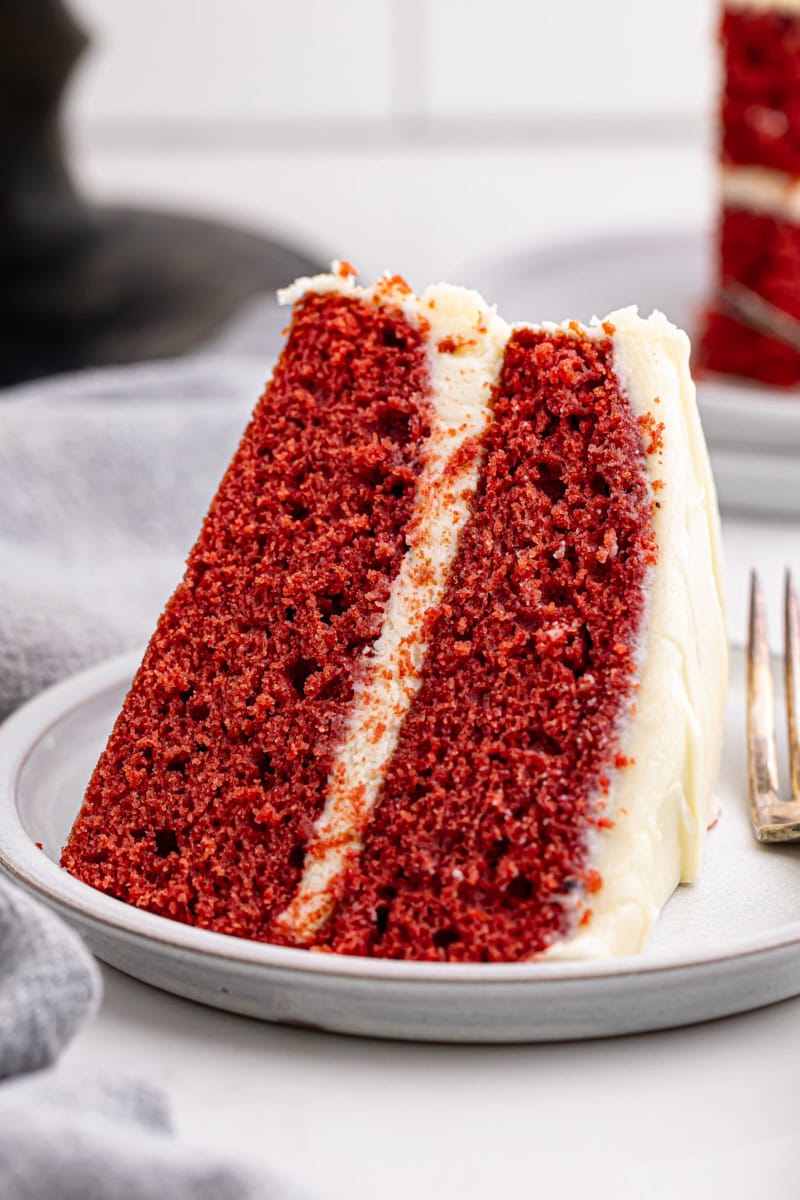
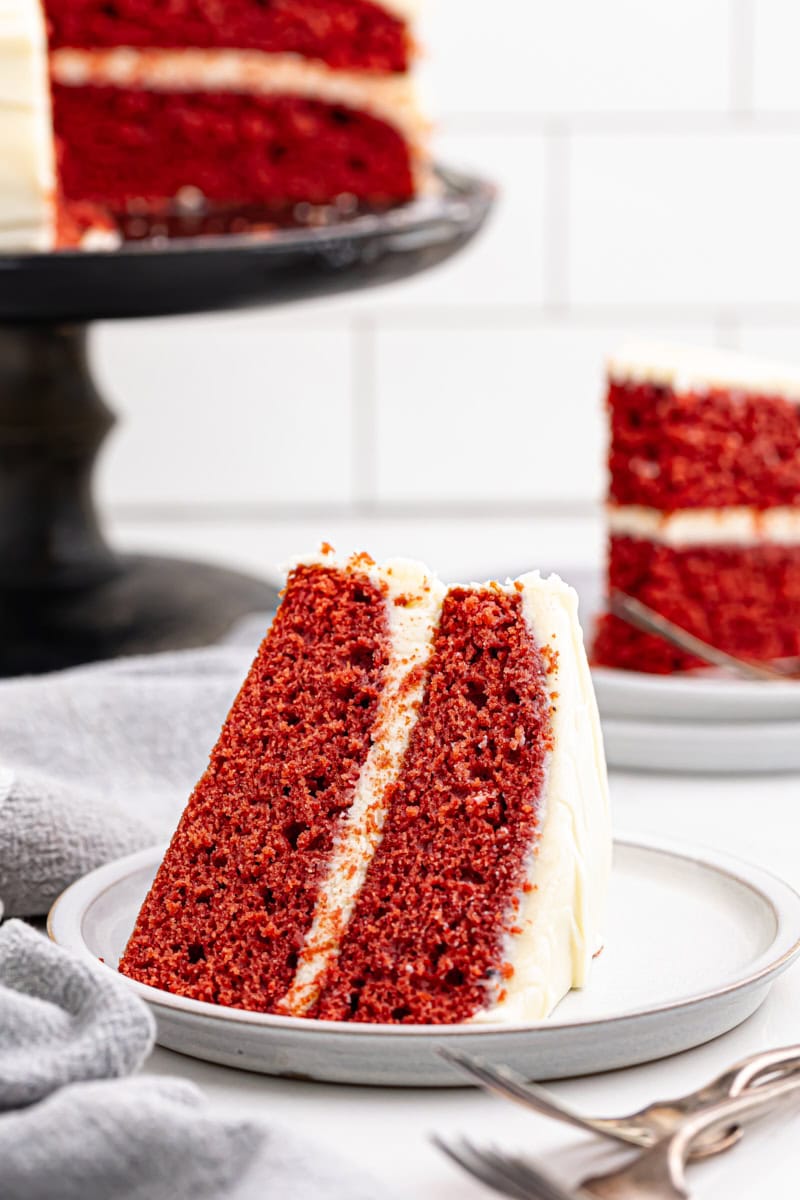
Red velvet cake holds a special place in my heart—it’s been a favorite for a long time! Its vibrant red hue and unmistakable tangy-sweet flavor make it a showstopper for any occasion. With its soft, velvety texture that combines a tender crumb and slight richness, it’s a guaranteed crowd-pleaser! This Southern classic, topped with tangy cream cheese frosting, has undoubtedly become a universal favorite.
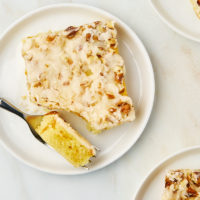
If you’re looking for a simpler one-pan version, try my red velvet sheet cake. It’s great for feeding a crowd!
Why You’ll Love This Red Velvet Cake Recipe
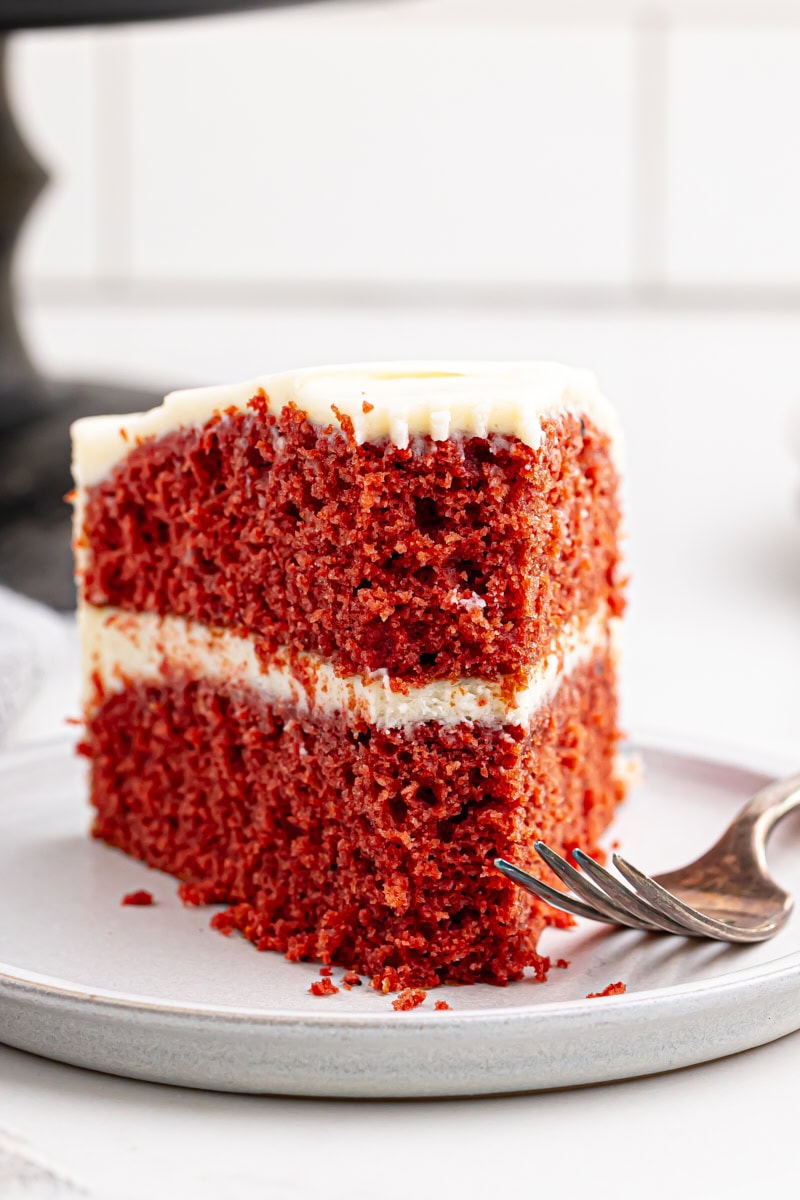
- Perfectly moist and tender. Each bite melts in your mouth!
- Balanced flavor. It’s not overly sweet, with a hint of cocoa and tang from buttermilk.
- Simple, no-fuss method. This easy-to-make recipe yields bakery-quality results.
A Brief History of Red Velvet Cake
Red velvet cake has a storied history that dates back to the early 20th century. Originally, its soft texture and reddish hue came from natural cocoa powder and vinegar reacting with baking soda. During the Great Depression, the color was enhanced with red food coloring, popularized by the Adams Extract company as a way to promote their products. Today, both red velvet and its predecessor, mahogany cake, remain beloved classics, each known for their striking appearance and irresistible flavor.
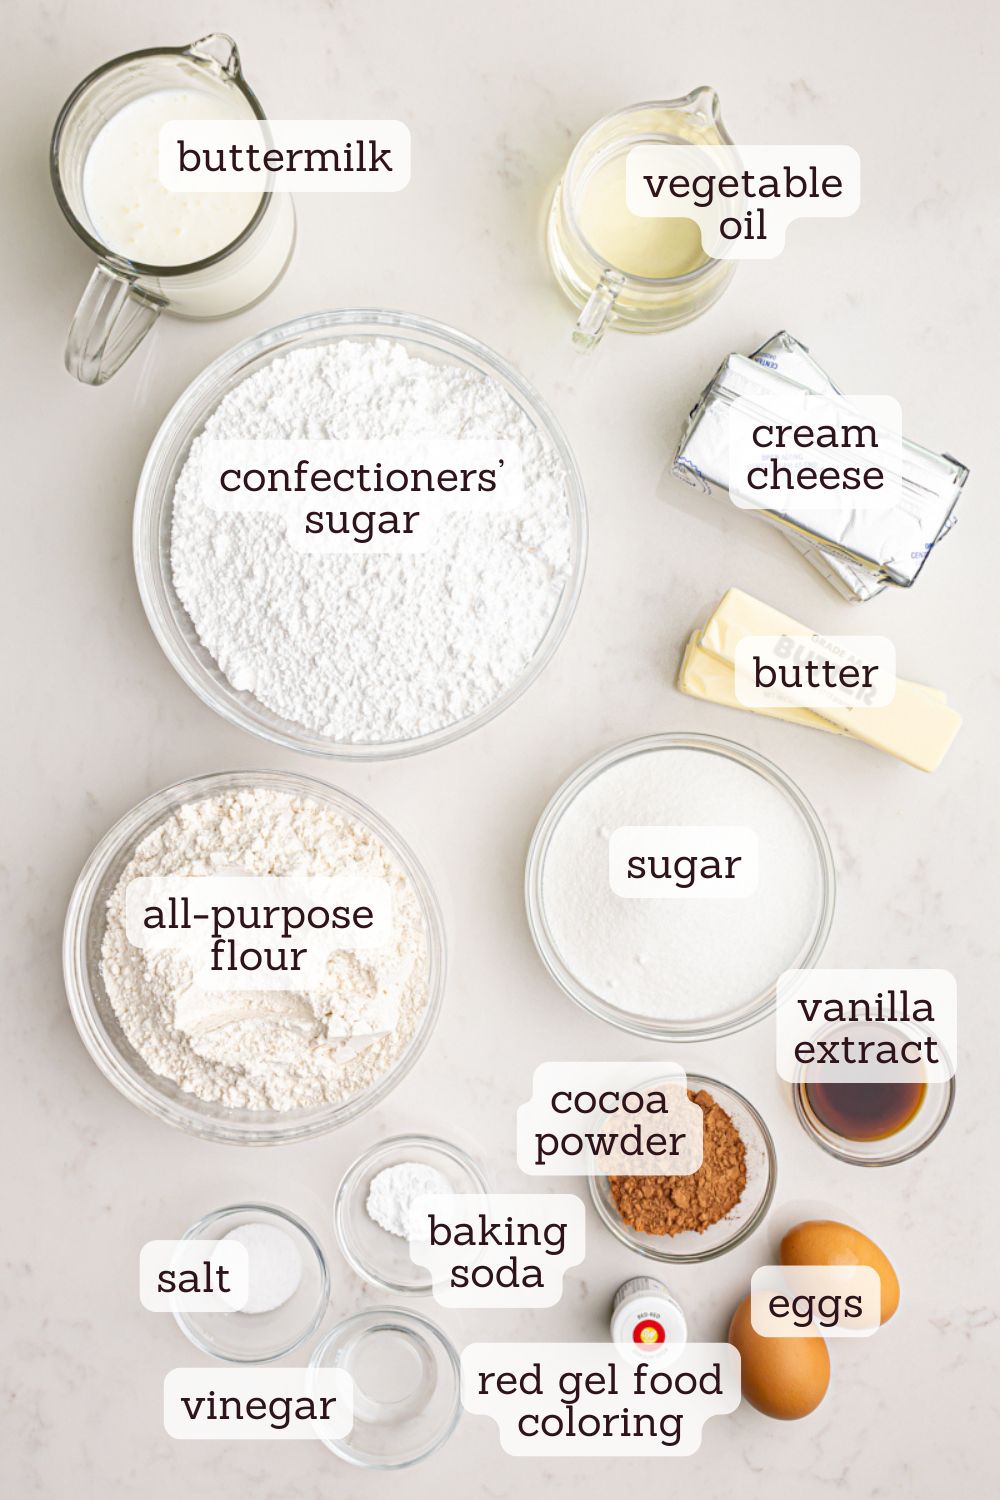
What You’ll Need
- All-purpose flour – Measure with a digital kitchen scale or use the spoon and sweep method for accuracy.
- Granulated sugar
- Baking soda
- Salt
- Cocoa powder – You’ll need unsweetened natural cocoa powder.
- Buttermilk – Essential for red velvet cake’s signature tang and tender crumb.
- Vegetable oil – This keeps the cake exceptionally moist and gives it a soft, tender crumb. Unlike butter, it blends easily with the other ingredients and contributes to the cake’s characteristic texture.
- Eggs – Let these come to room temperature before mixing for easier mixing and a fluffier texture.
- Food coloring – Gel food coloring works best for vibrant color without thinning the batter.
- Vinegar
- Vanilla extract
- Cream cheese – Let this soften before mixing. Full-fat cream cheese will give you the best results.
- Unsalted butter – This needs to soften as well.
- Confectioners’ sugar – Sifted for smooth frosting. (Also labeled as powdered sugar or 10X sugar.)
How to Make Red Velvet Cake
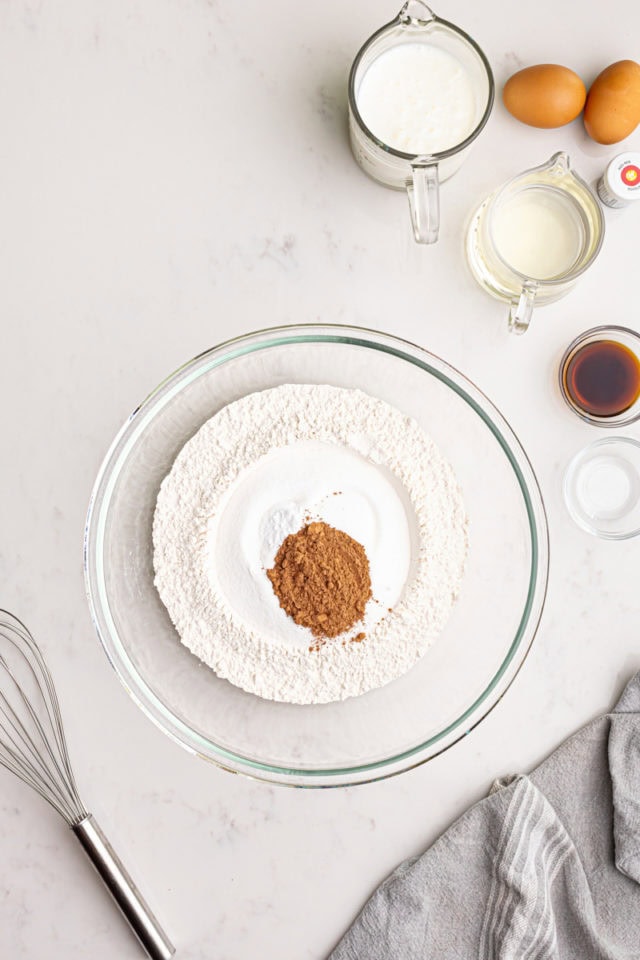
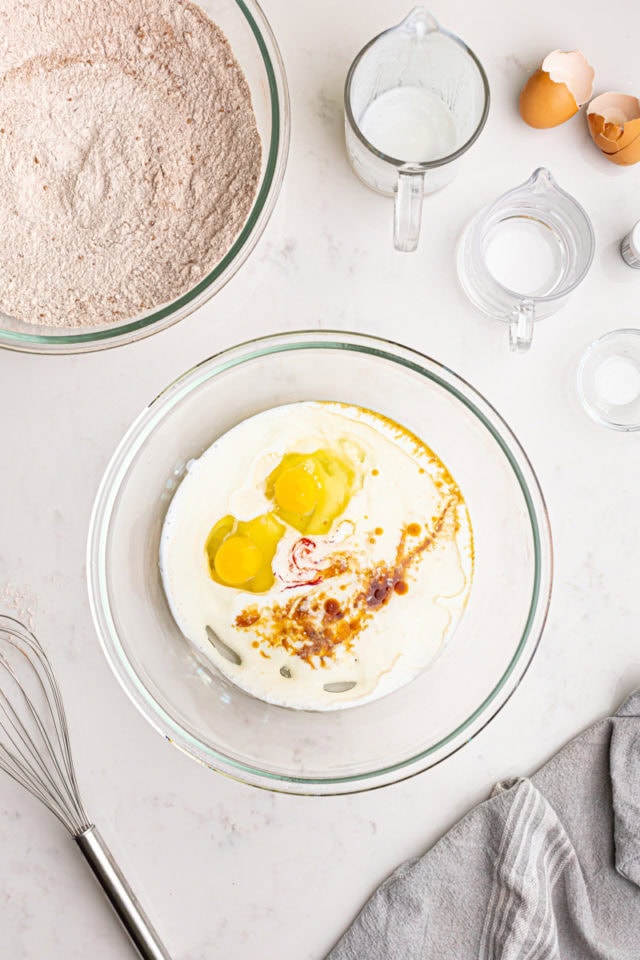
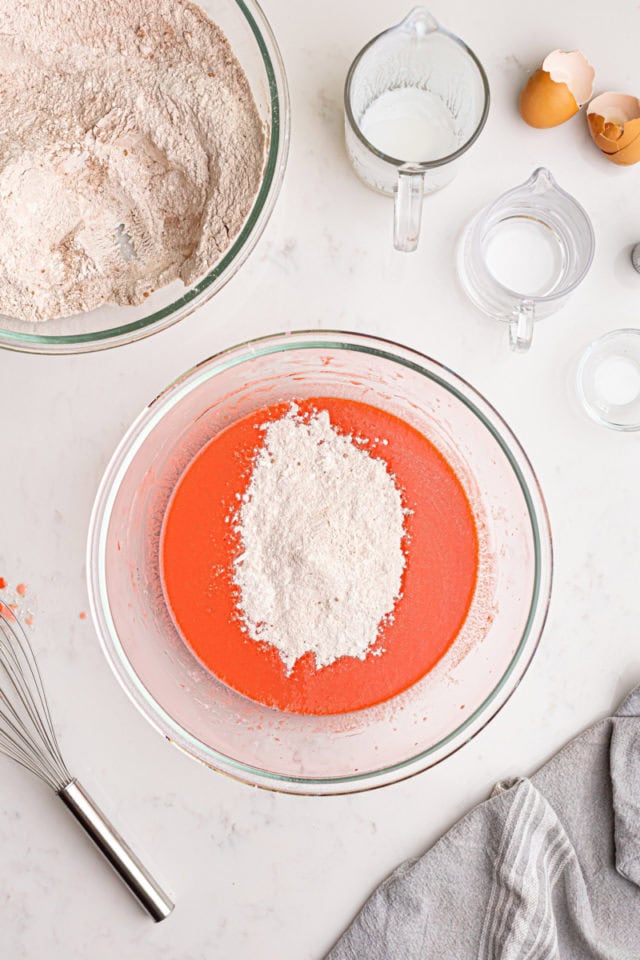
- Prepare for baking. Heat the oven to 350°F. Grease and flour two 9-inch round cake pans or line them with parchment paper.
- Mix dry ingredients. In a medium bowl, sift together the flour, sugar, baking soda, salt, and cocoa powder. Set aside.
- Mix wet ingredients. In a large mixing bowl, whisk the buttermilk, oil, eggs, red food coloring, vinegar, and vanilla extract until smooth.
- Combine. Gradually add the dry ingredients to the wet mixture, whisking just until combined. Be careful not to over-mix.
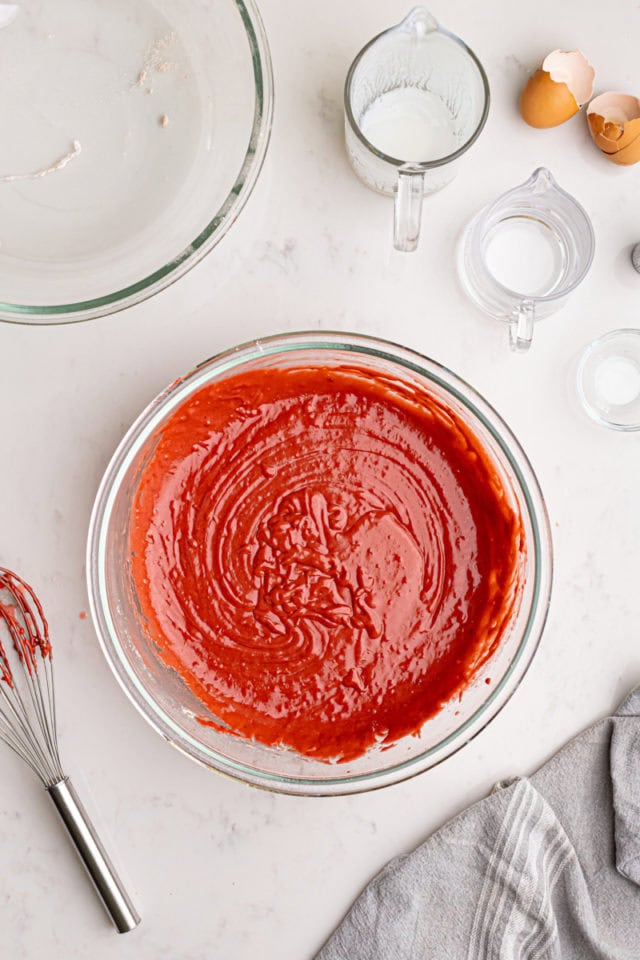
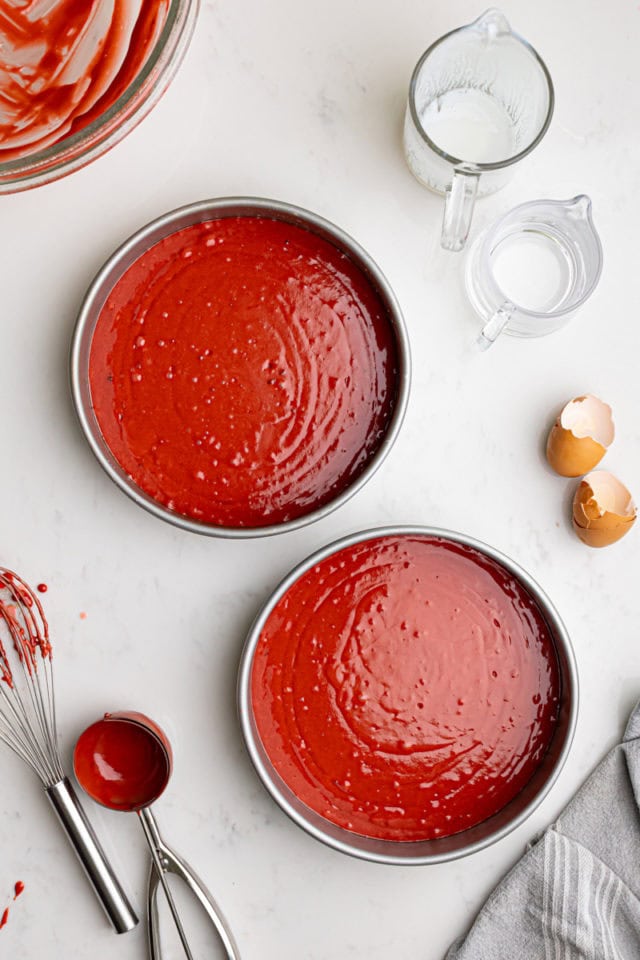
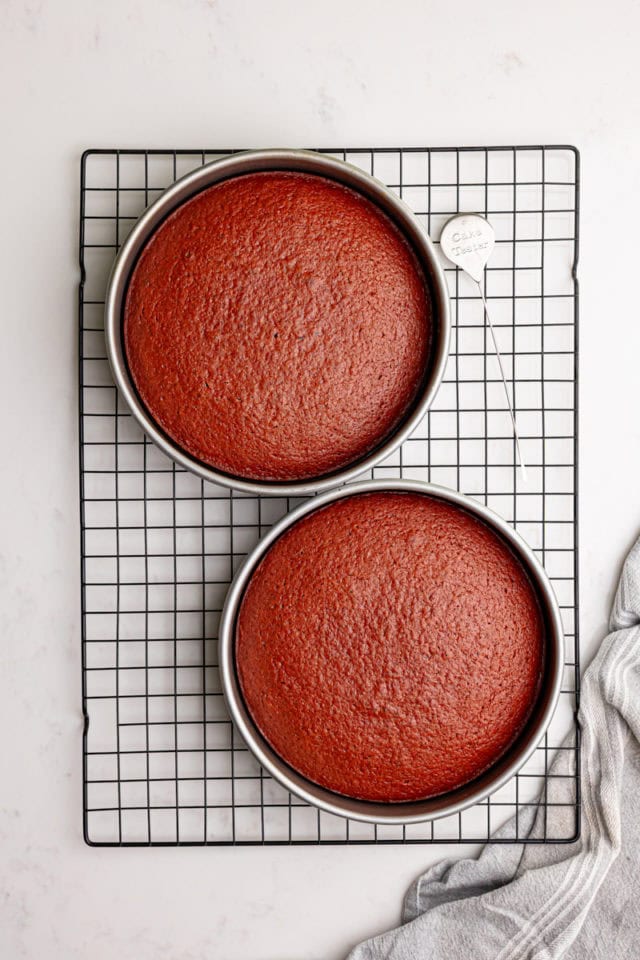
- Bake. Divide the batter evenly between the prepared pans. Bake for 30-35 minutes, or until a toothpick inserted into the center comes out clean.
- Cool. Let the cakes cool in the pans for 10 minutes before transferring them to a wire rack to cool completely.
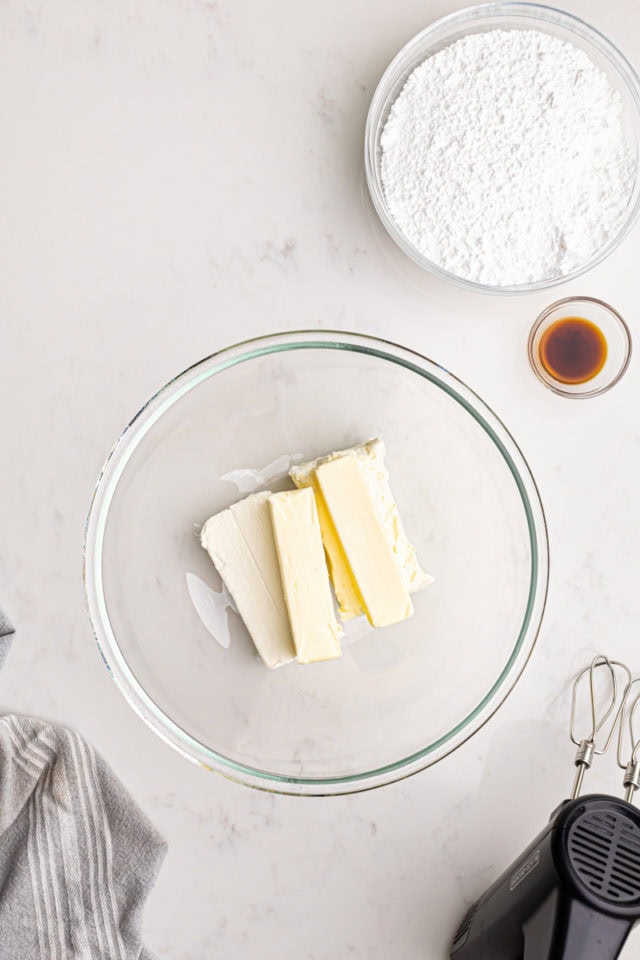
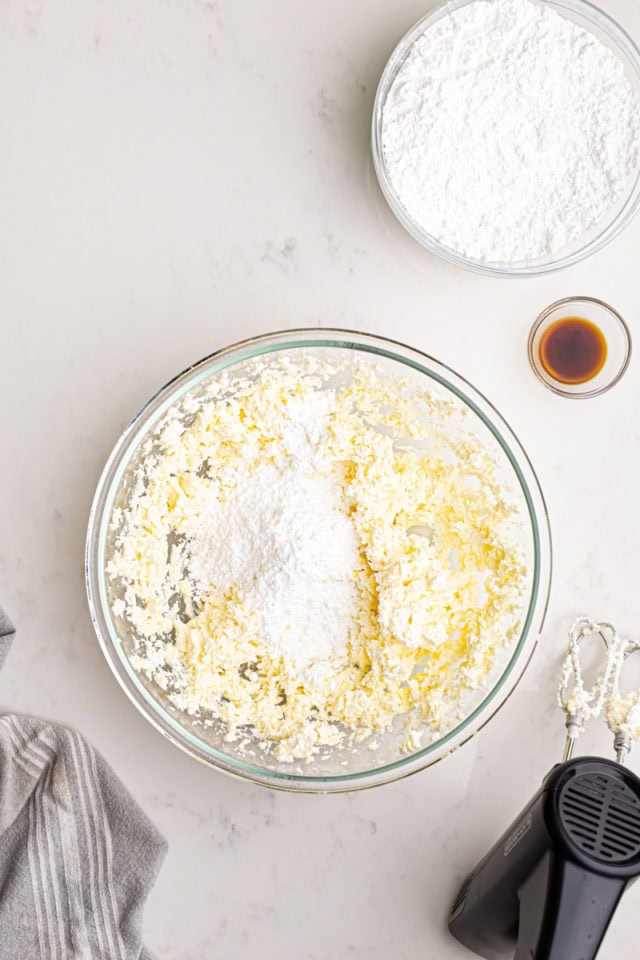
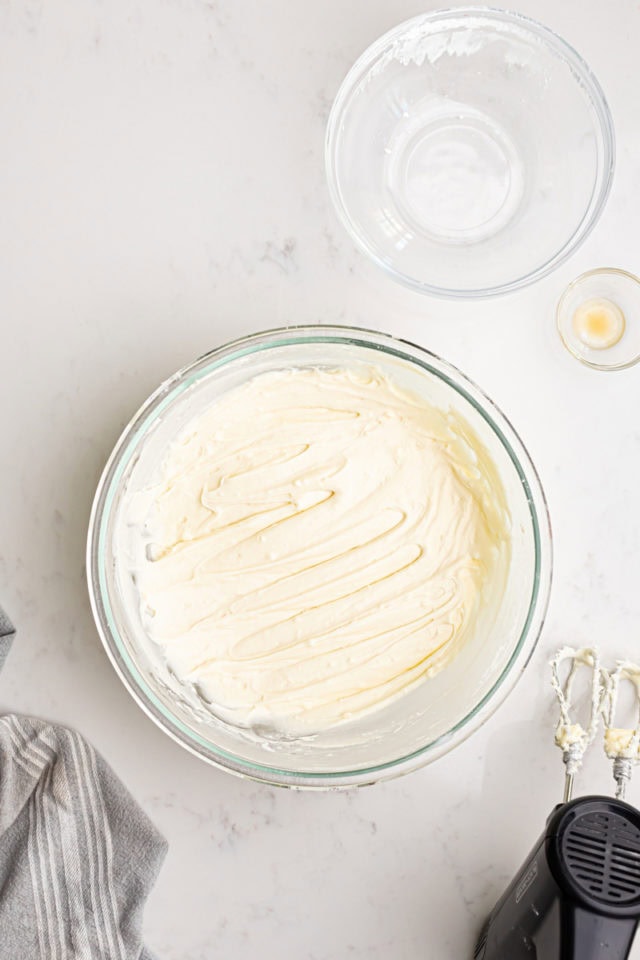
- Make the frosting. Beat the cream cheese and butter together with an electric mixer until smooth and fluffy. Gradually add the confectioners’ sugar. Add vanilla extract and beat until the frosting is creamy and spreadable.
- Assemble. Place one cake layer on a serving plate. Spread frosting on top. Add the second layer and cover the entire cake with frosting. Decorate as desired.
- Chill. Refrigerate the cake for 20-30 minutes before slicing.
Tips for Success
- Measure accurately. This is always important in baking, especially with flour. I recommend using a digital kitchen scale to measure by weight. If you don’t have a scale, lightly spoon the flour into your measuring cup and level the top. Learn more: How to Measure Flour
- Use light-colored, metal pans. These pans reflect heat evenly, helping your cakes bake thoroughly and preventing over-browning.
- Temperature matters. Ensure all wet ingredients like eggs and buttermilk are at room temperature to create a smooth, well-mixed batter. The cream cheese and butter should be softened for a smooth frosting.
- Avoid over-mixing. This can make the cake dense instead of light and tender.
- Even layers. Weigh the batter as you divide it between pans to ensure even layers. If you don’t have a scale, use a measuring cup to divide as evenly as possible.
- Reducing food coloring. If you’d like to use less food coloring, consider substituting part of it with a natural alternative like beet juice or red fruit puree.
- Don’t have buttermilk? While I recommend using buttermilk if possible, you can use a substitute if necessary. Learn more: Buttermilk Substitutes
- Don’t over-bake. Every oven is different, so start checking the cakes a few minutes early to avoid drying out the layers.
- Level cakes. If your cakes dome slightly, use a serrated knife to level them before frosting. This isn’t necessary but works well for a professional finish. You can crumble the trimmed cake pieces to decorate the cake.
- Chill the layers. For easier frosting, try refrigerating the cake layers for about 30 minutes after cooling completely before adding the frosting.
Variations
- Cupcakes. Divide the batter into lined muffin tins, filling each about 2/3 full. This recipe will make approximately 24 standard-sized cupcakes. Bake for 18-22 minutes.
- Mini cakes. This recipe will yield three 6-inch cakes. If you prefer smaller layers, consider halving the recipe for two thinner 6-inch cakes. Adjust baking time to approximately 25-30 minutes and check for doneness with a toothpick.
- Alternative colors. Swap red food coloring for blue or pink to create a fun twist.
- Frosting alternatives. Try a light and fluffy whipped cream frosting for a less tangy option, classic buttercream for a sweeter finish, or a velvety ermine frosting for an old-fashioned red velvet cake experience.
- Easier option. If you want the same classic red velvet flavor without building a layer cake, try my red velvet sheet cake instead. It’s perfect for potlucks and casual gatherings.
How to Store
- Refrigerator: Store your red velvet cake in an airtight container in the refrigerator for up to 4 days. Let slices come to room temperature before serving.
- Freezer: You can also freeze the unfrosted cake layers for up to 2 months. Wrap them tightly in plastic wrap, then foil. To freeze the frosted cake, first place it in the freezer uncovered until the frosting is firm (about 2 hours). Wrap well in plastic wrap, then either wrap again in aluminum foil or place in an airtight, freezer-safe container or resealable bag. Thaw overnight and then let come to room temperature for serving.
- Make-ahead: Both the cake layers and frosting can be made ahead of time. For best results, the layers can be wrapped tightly and stored at room temperature for 1 day or refrigerated for up to 3 days. The frosting can be stored in the refrigerator for up to 5 days and softened at room temperature before use.
More Classic Southern Cakes
Red Velvet Cake
Ingredients
For the cake:
- 2 ½ cups (300 g) all-purpose flour
- 1 ½ cups (300 g) granulated sugar
- 1 teaspoon baking soda
- 1 teaspoon salt
- 1 teaspoon unsweetened cocoa powder
- 1 ½ cups (360 ml) buttermilk, at room temperature
- 1 ½ cups (360 ml) vegetable oil
- 2 large eggs, at room temperature
- 2 tablespoons red gel food coloring
- 1 teaspoon white distilled vinegar
- 2 teaspoons vanilla extract
For the cream cheese frosting:
- 16 ounces (454 g) cream cheese, softened
- 1 cup (226 g) unsalted butter, softened
- 4 cups (440 g) confectioners' sugar, sifted
- 2 teaspoons vanilla extract
Recommended Products
Instructions
To make the cake:
- Preheat the oven to 350°F (175°C). Grease and flour two 9-inch round cake pans or line them with parchment paper. If using parchment, cut circles to fit the pans and grease the sides for easy removal.
- In a medium bowl, sift together the flour, sugar, baking soda, salt, and cocoa powder. Set aside.
- In a large mixing bowl, whisk the buttermilk, oil, eggs, red food coloring, vinegar, and vanilla extract until smooth.
- Gradually add the dry ingredients to the wet mixture, whisking just until combined. Be careful not to over-mix.
- Divide the batter evenly between the prepared pans. Bake for 30-35 minutes, or until a toothpick inserted into the center comes out clean.
- Let the cakes cool in the pans for 10 minutes before transferring them to a wire rack to cool completely.
To make the frosting and assemble:
- In a large bowl, beat the cream cheese and butter together with an electric mixer until smooth and fluffy.
- Gradually add the confectioners' sugar, 1 cup at a time, while mixing on low speed. Add vanilla extract and beat until the frosting is creamy and spreadable.
- Place one cake layer on a serving plate. Spread a generous layer of frosting on top. Add the second layer and cover the entire cake with frosting.
- Smooth the frosting with a spatula and decorate as desired—sprinkling cake crumbs or piping frosting on top.
- Refrigerate the cake for 20-30 minutes before slicing for clean cuts.
Notes
- Store in an airtight container in the refrigerator up to 4 days.
- For tips, step-by-step photos, and extra details, be sure to read the full post above before starting. It’s packed with helpful info to answer common questions!

