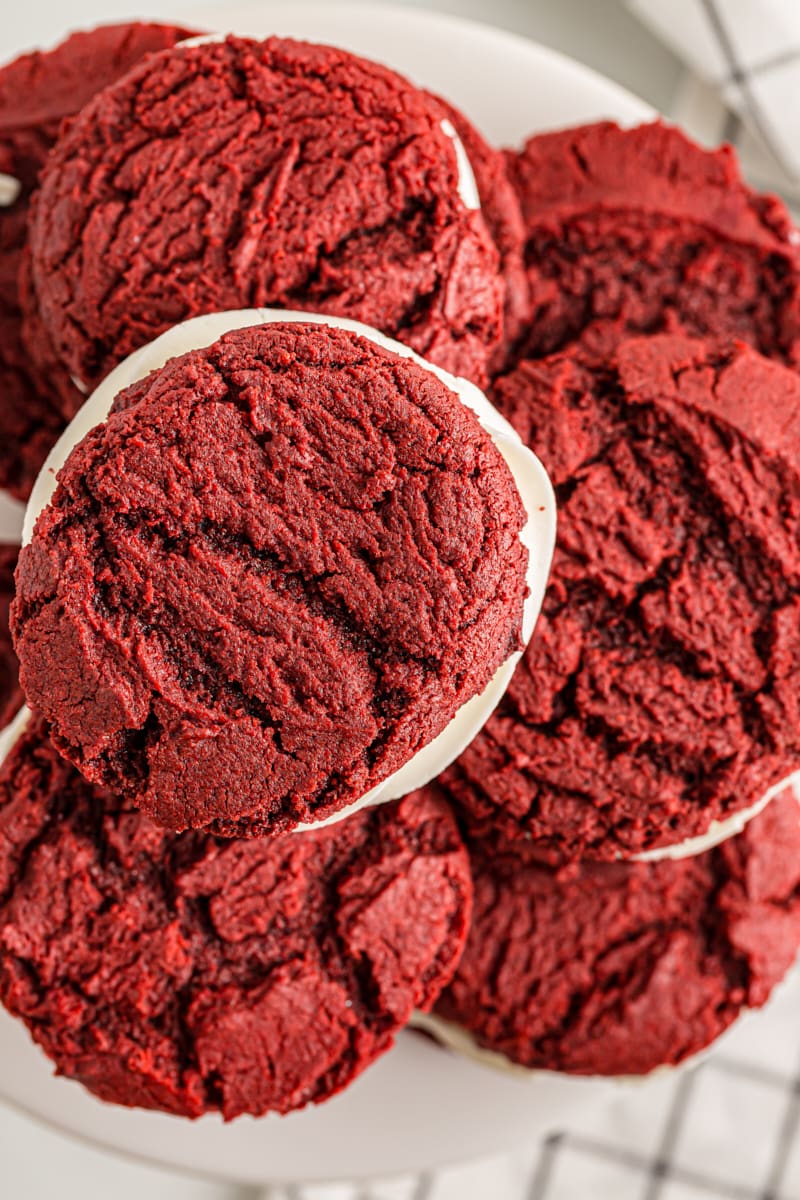
Red Velvet Cookies are sandwiched around a sweet cream cheese frosting for an ode to a classic dessert in cookie form!

Red Velvet Cookies with Cream Cheese Frosting
The bright, happy color of red velvet treats is part of their charm. But behind that beautiful color is a mellow chocolate flavor that’s beloved.
These tasty chocolate cookies are filled with sweet cream cheese frosting for an ode to the classic red velvet cake. The cookies themselves are big, sturdy cookies with amazing flavor. Add to that a super simple frosting and sandwich them together. Because the only thing better than one red velvet cookie is two red velvet cookies!
The vibrant red color is perfect for Christmas, Valentine’s Day, or just for a bit of fun. Seeing this signature red color lets everyone know instantly what deliciousness they’re about to enjoy, too, conjuring thoughts of holidays, wonderful chocolate treats, and sweet frosting. Set out a plate of these beauties, and everyone will immediately start grabbing for them!
What You’ll Need
See the recipe card at the bottom of this post for ingredient quantities and full instructions. Here are some notes about the ingredients you’ll need to make these red velvet cookies.
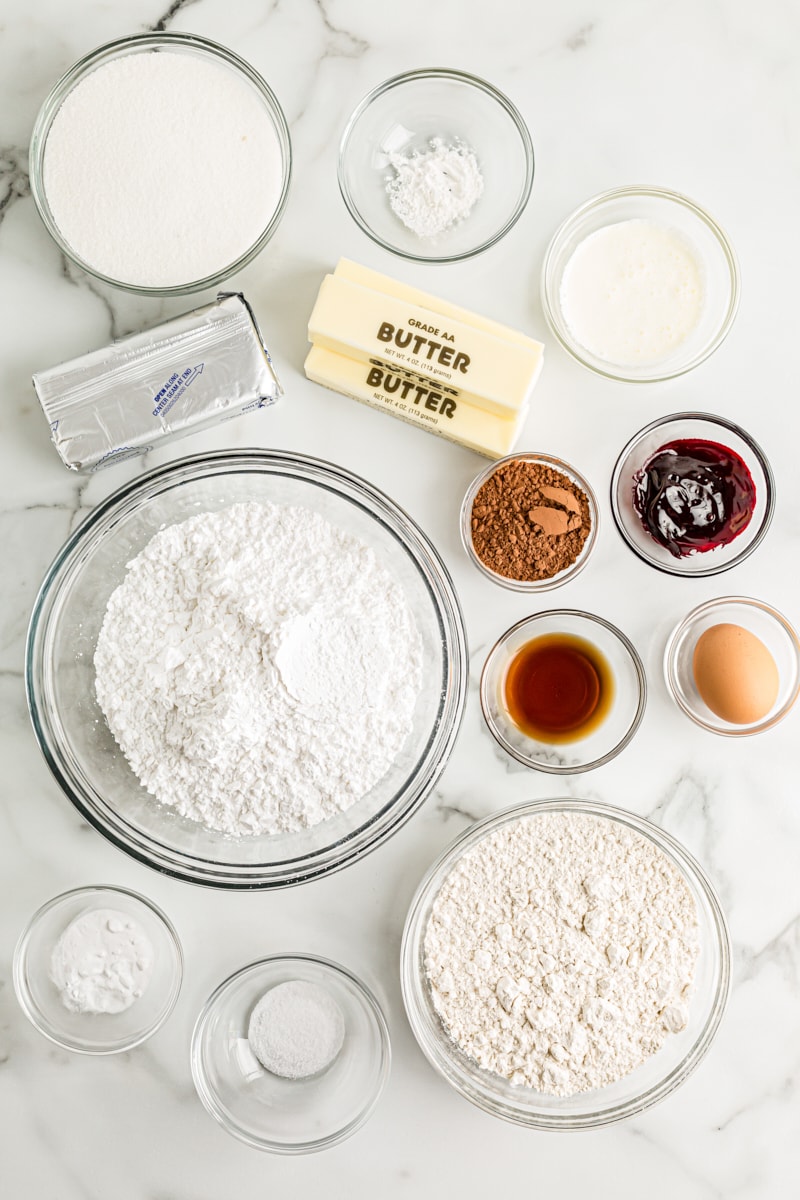
- All-purpose flour – As always, measure by weight or use the spoon and sweep method. Learn more: How to Measure Flour
- Cocoa powder – You’ll need unsweetened natural cocoa powder for these cookies. Use a good quality cocoa powder for the best flavor.
- Baking powder
- Baking soda
- Salt
- Unsalted butter – You’ll need butter for both the cookies and the frosting. Let the butter soften at room temperature before mixing. Learn more: How to Soften Butter
- Granulated sugar
- Egg
- Vanilla extract
- Red food coloring – I recommend gel food coloring for the best color.
- Cream cheese – Allow the cream cheese to come to room temperature for a smooth frosting. Use full-fat cream cheese that comes in a brick.
- Confectioners’ sugar – While not absolutely necessary, sifting the sugar will make a smoother frosting.
- Heavy whipping cream – Use this to affect the consistency of the frosting. Depending on your preferences and some environmental factors, you may or may not need it.

How to Make Red Velvet Sandwich Cookies
Make the Cookies
Prepare for baking. Heat the oven to 375°F. Line baking sheets with parchment paper or silicone liners.
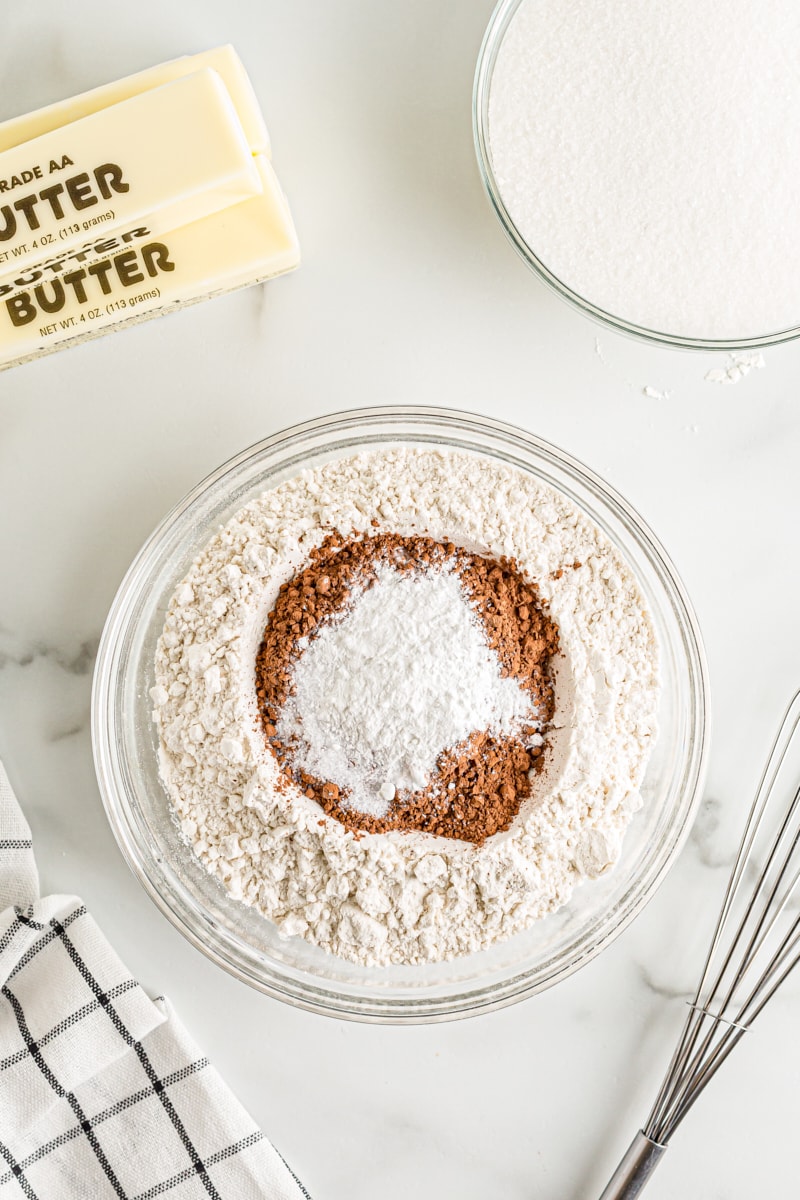
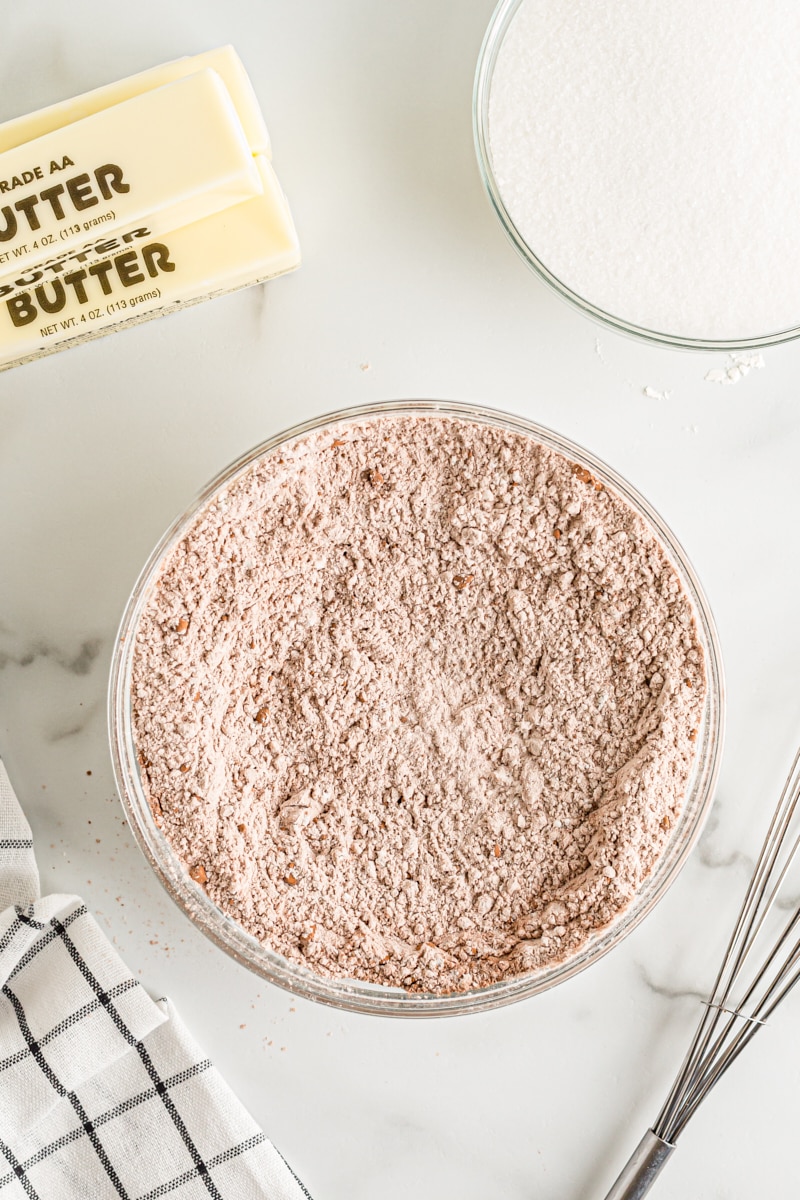
Combine the dry ingredients. Whisk together the flour, cocoa powder, baking powder, baking soda, and salt.
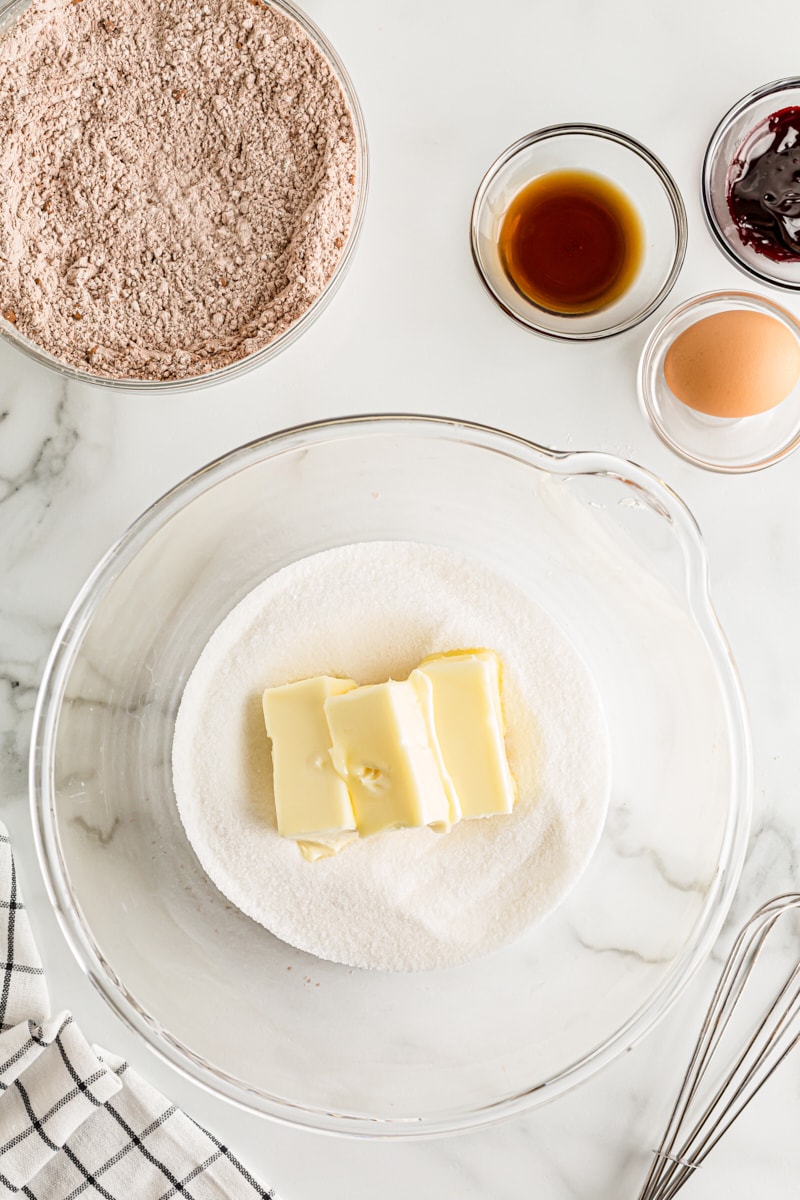
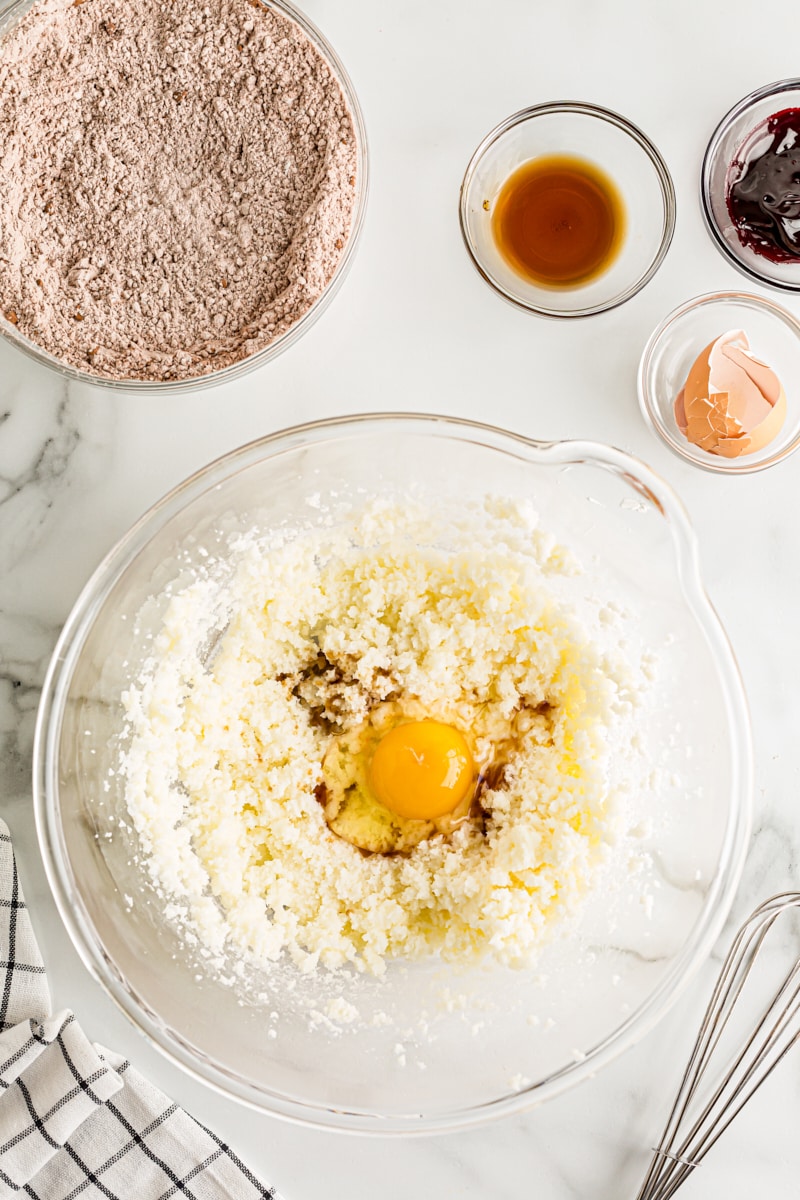
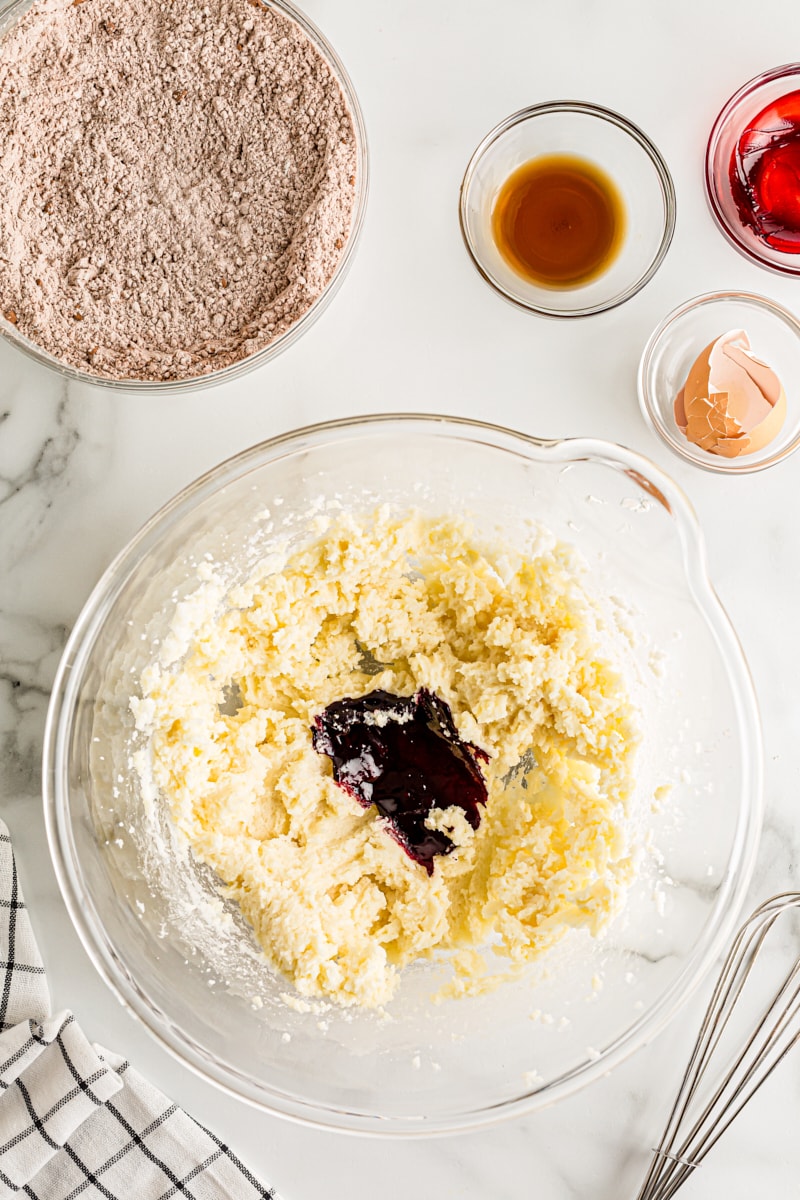

Combine the wet ingredients. Beat the butter and sugar with an electric mixer on medium speed. Mix until fluffy and lightened in color. Mix in the egg and vanilla, and then mix in the food coloring until the color is consistent.
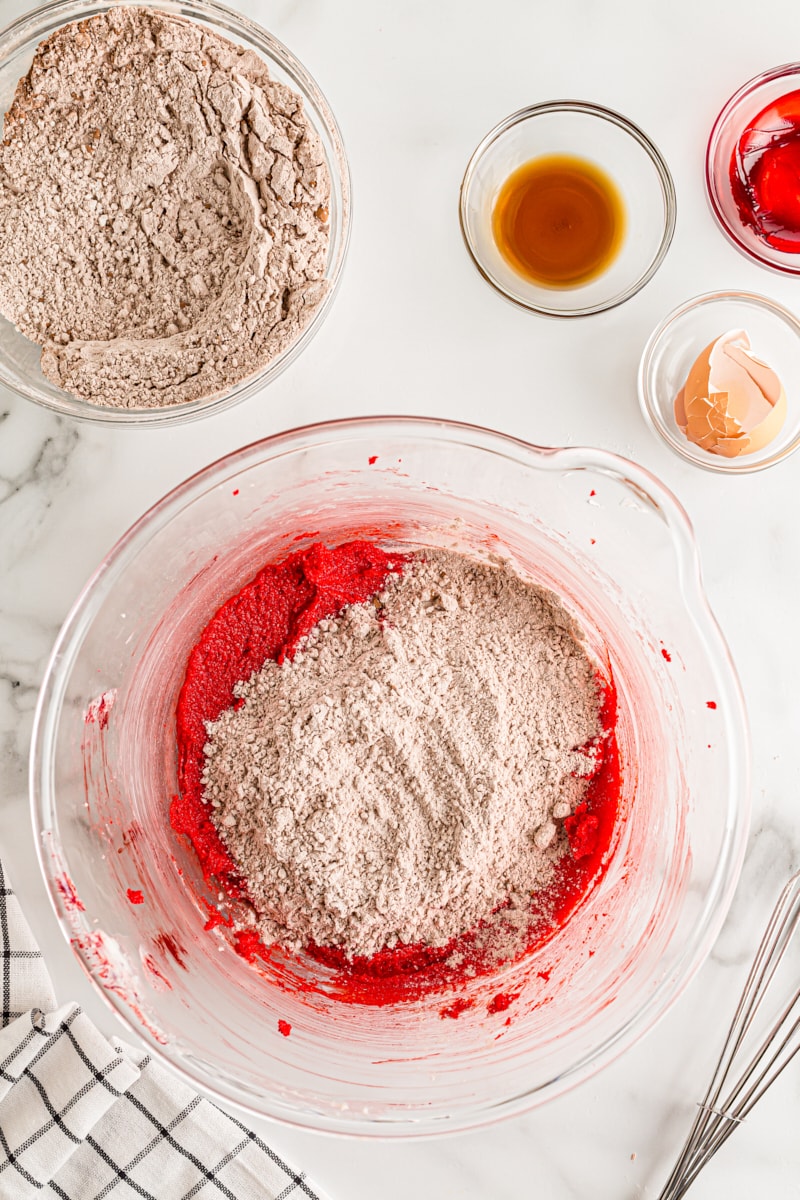
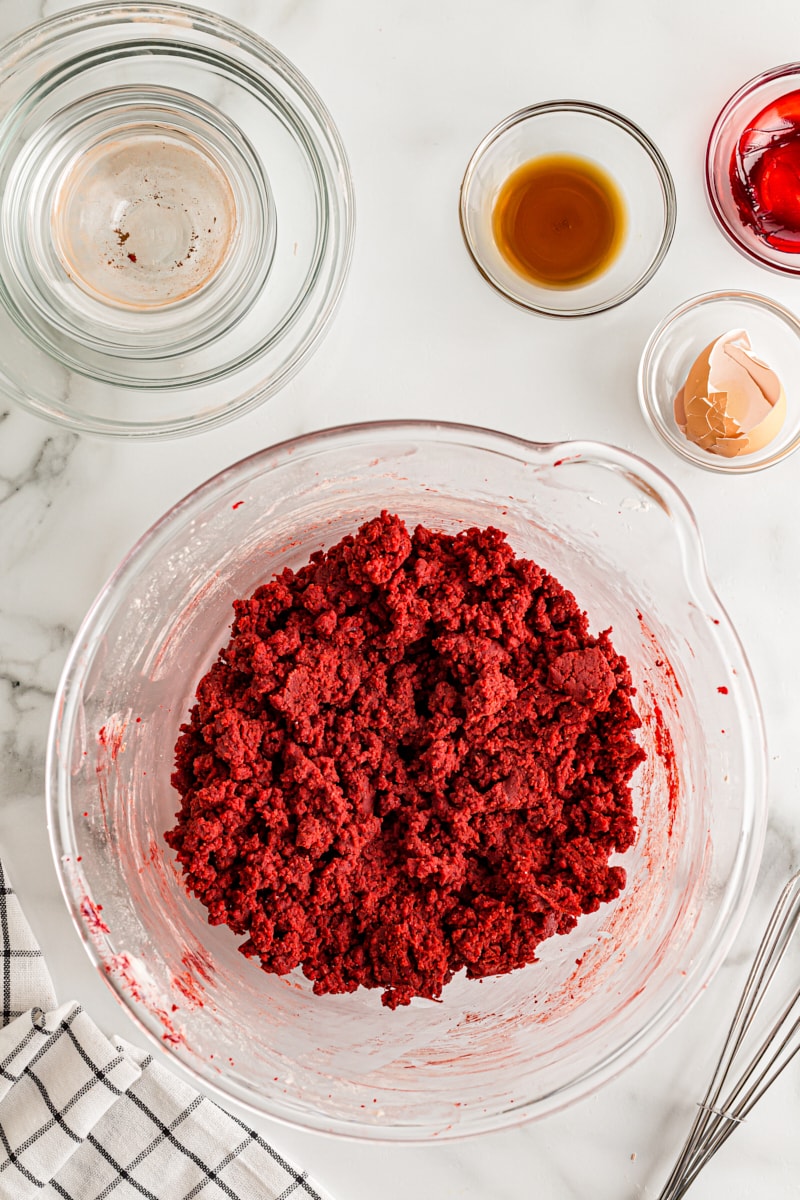
Add the dry ingredients to the wet ingredients. With the mixer on low speed, gradually add the flour mixture to the butter mixture. Mix just until combined. The dough will be crumbly but scoopable.
Portion the dough. Using about 1 & 1/2 tablespoons of dough at a time, scoop the dough into balls and place onto the prepared pans. A #40 scoop works well. Leave about 2 inches between the cookies.


Bake. Place one pan at a time in the heated oven, and bake for 15 minutes, or until the edges look set. (For a crunchier cookie, bake 2 or 3 minutes longer.)
Cool. Place the pans on wire racks, and allow the cookies to cool for 5 minutes. Then transfer the cookies from the pans directly onto a wire rack to cool completely.

Make the Cream Cheese Frosting and Assemble
Make the frosting. Use an electric mixer on medium speed to mix the cream cheese and butter until combined. Gradually add the confectioners’ sugar, and then mix in the vanilla. Continue mixing until the frosting is light and fluffy. (If your frosting is too thick, incorporate 1 tablespoon of heavy cream and then add small amounts at a time until the texture is the desired consistency.)




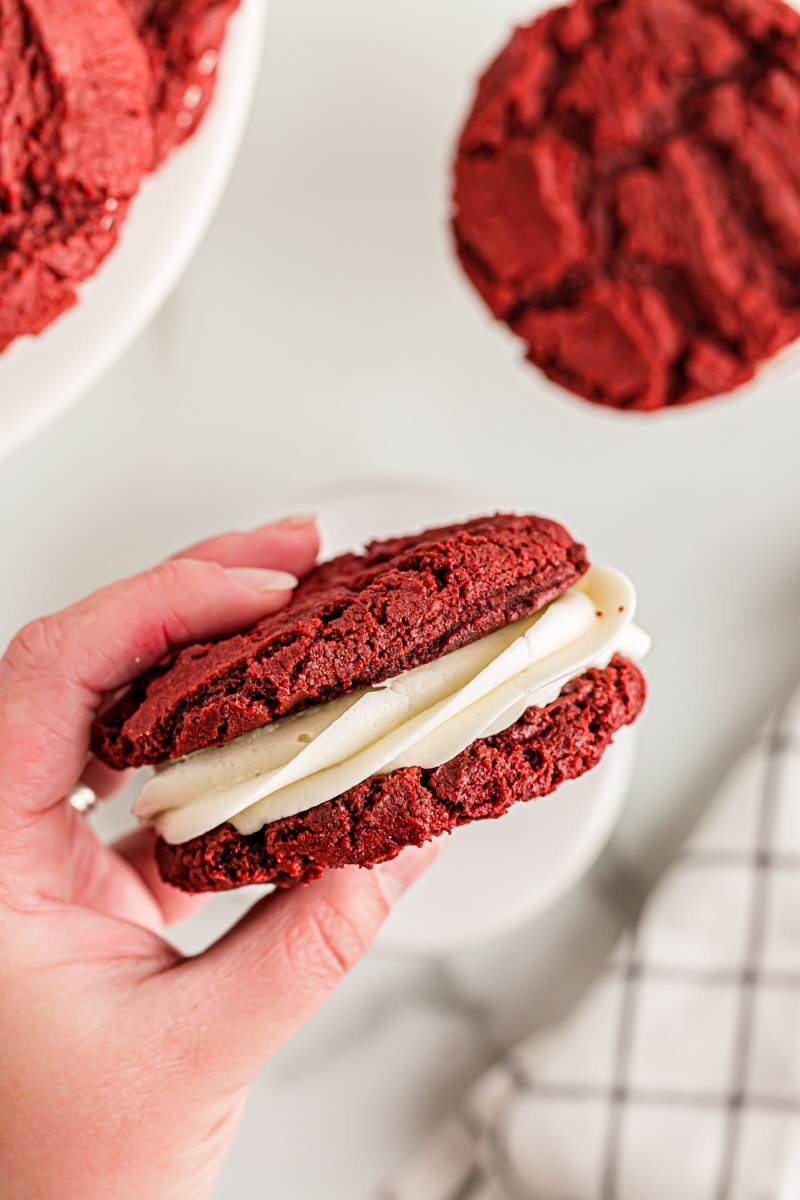
Frost and assemble. Add frosting to the bottoms of half of the cooled cookies. You can use a piping bag or just spread it onto the cookies. I used an open star tip (1M) for the cookies pictured here. Place an unfrosted cookie on top of the frosting with the bottom facing the frosting to form a cookie sandwich.

Ideas for Variations
Here are some ideas for easy ways to make your own twist on this cookie recipe.
- Skip the frosting. For a simpler baking project, forego the frosting and just enjoy the cookies as they are.
- Try a white chocolate twist. To get a dressed-up cookie without making frosting, melt some white chocolate and then either drizzle it over the cookies or dip the cookies halfway. Add some sprinkles if you like!
- Omit the food coloring. Sure, they won’t have that red velvet look anymore, but they’ll still taste good!
- Try a different frosting. I love cream cheese frosting with red velvet treats, but you can go with another variety if you like. Try the vanilla frosting from Oatmeal Cream Pies or this marshmallow frosting I like to pair with peanut butter cookies.

Tips for Success
You’ll love how easy it is to make these cookies! Here are a few tips to help make sure your cookies turn out perfect.
- Use a cookie scoop. With sandwich cookies, it’s especially important that your cookies be equally sized and consistently shaped. A scoop is the easiest way to do that! A #40 scoop works well for these cookies.
- Want to use liquid food coloring? I recommend gel food coloring for the best and most vibrant red color. If you prefer to use liquid red food coloring, you will need 2 tablespoons.
- Cool the cookies completely. Make sure the cookies are completely cooled before frosting them or the frosting will melt and lose its shape.

How to Store
Store the assembled cookies in an airtight container in the refrigerator. To keep them looking their best, I recommend either storing them in a single layer or placing wax paper or parchment paper between layers. They should keep in the refrigerator up to 5 days, although they’ll be at their best within the first few days. Bring individual cookies to room temperature before serving.
If you want to store the cookies and frosting separately, the cookies can be stored at room temperature up to 3 days or in the refrigerator as described above. The frosting can be refrigerated in an airtight container up to 3 days.

How to Freeze
You can freeze the unfrosted or frosted cookies. To freeze the unfrosted cookies, place them in a freezer-safe container. To freeze the frosted cookies, first place them on a rimmed baking sheet and freeze until the frosting is solid (usually 2 to 3 hours). Then wrap them individually in plastic wrap and store in a freezer-safe container. Store the unfrosted cookies in the freezer up to 3 months, and the frosted cookies up to 1 month.
You can also freeze the cookie dough. Portion the dough and place on a rimmed baking sheet. Freeze until solid (about 3 to 4 hours), and then transfer the dough balls to a freezer-safe container. When you’re ready to bake, there’s no need to thaw the dough but you will likely need to add another minute or two to the baking time.
Lastly, you can freeze the frosting if you like. Place it in a freezer-safe container, and store in the freezer up to 1 month. Thaw overnight in the refrigerator.

Red Velvet Sandwich Cookies
Ingredients
For the cookies:
- 1 ¾ cups (210 g) all-purpose flour
- 2 ½ tablespoons unsweetened natural cocoa powder
- 1 ½ teaspoons baking soda
- ½ teaspoon baking powder
- ½ teaspoon salt
- 1 ½ cups (300 g) granulated sugar
- ¾ cup (170 g) unsalted butter, softened
- 1 large egg
- 1 teaspoon vanilla extract
- 1 tablespoon red gel food coloring
For the cream cheese frosting:
- 8 ounces (226 g) cream cheese, at room temperature
- ½ cup (113 g) unsalted butter, softened
- 4 cups (440 g) confectioners' sugar
- 2 teaspoons vanilla extract
- up to 2 tablespoons heavy cream, if needed
Recommended Products
Instructions
To make the cookies:
- Preheat the oven to 375°F (190°C). Line baking sheets with parchment paper or silicone liners.
- Whisk together the flour, cocoa powder, baking soda, baking powder, and salt. Set aside.
- Using an electric mixer on medium speed, beat the sugar and butter until light and fluffy. Mix in the egg and vanilla. Add the food coloring, and mix until the color is consistent.
- Reduce the mixer speed to low. Gradually add the flour mixture, mixing just until combined. The dough will be crumbly but should scoop well.
- Using 1 & 1/2 tablespoons of dough at a time, drop the dough onto the prepared pans, leaving about 2 inches between the cookies.
- Bake one pan at a time for 15 minutes, or until the edges appear just set. If you want a crunchier cookie, bake an additional 2 to 3 minutes.
- Place the pans on wire racks, and allow the cookies to cool for 5 minutes. Then transfer the cookies from the pans directly onto a wire rack to cool completely.
To make the frosting and assemble:
- Place the cream cheese and butter in a large mixing bowl. Beat with an electric mixer on medium speed until fluffy.
- Gradually add the confectioners' sugar while continuing to mix. Then mix in the vanilla extract. Continue mixing until the frosting is light and fluffy. If the frosting is too thick, mix a tablespoon of cream into the frosting and continue adding more if needed to get the desired consistency.
- Frost the bottoms of half of the cooled cookies. (Use a piping bag or an icing spatula.) Top the frosted cookies with the remaining cookies to create cookie sandwiches.
Notes
- Store the cookies in an airtight container in the refrigerator up to 5 days or in the freezer up to 1 month.


2 Comments on “Red Velvet Sandwich Cookies”
Not a keeper… I started with 15 minutes baking, tooo hard. Reduced to 11 minutes still too hard. I’m not a novice baker either, this recipe didn’t work for me.
Definitely not a keeper. Reduced to 8 minute cooking time & that got a few decent results. 15 minutes= burned cookies. Used #40 scoop, followed directions exactly.