These airy, sugar-topped chouquettes are a French bakery favorite, and they’re surprisingly simple to make at home!

Chouquettes are one of those deceptively simple treats that feel fancy without being fussy. Made from classic pâte à choux dough and topped with a generous sprinkle of pearl sugar, these little golden puffs are crisp on the outside, soft on the inside, and completely irresistible. I’ve always loved spotting them in bakery cases, and now that I’ve made them at home, I can confidently say they’re easier than they look and just as delicious as I hoped.
Whether you’re new to choux or already a fan of cream puffs, ice-cream filled profiteroles, and éclairs, chouquettes are a perfect place to start. No filling required! Just a handful of ingredients, a piping bag, and a hot oven.
Why You’ll Love These Chouquettes
- Classic French simplicity. They look fancy but are made from pantry staples.
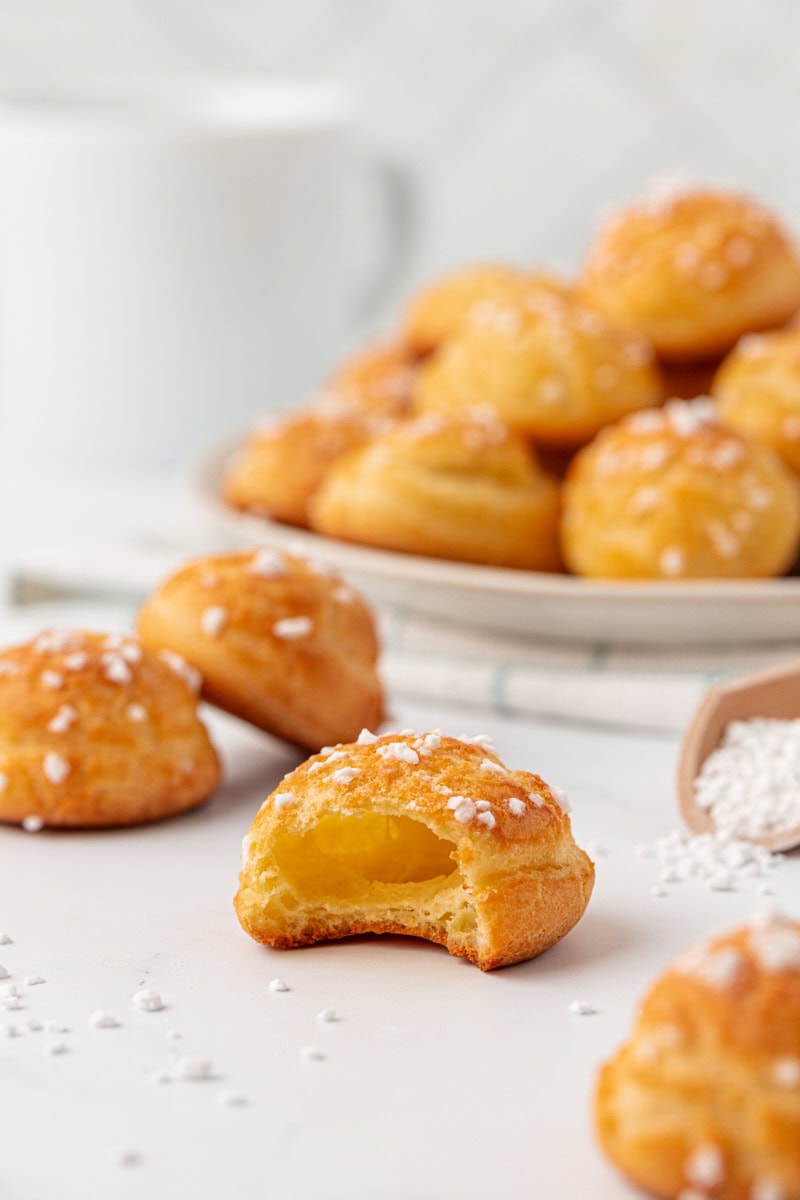
- Light and airy texture. Crisp on the outside with a tender, hollow center.
- No filling needed. They’re perfect as-is with just a sprinkle of pearl sugar.
- Fun to share. Serve them as a snack, brunch bite, or elegant nibble with coffee.
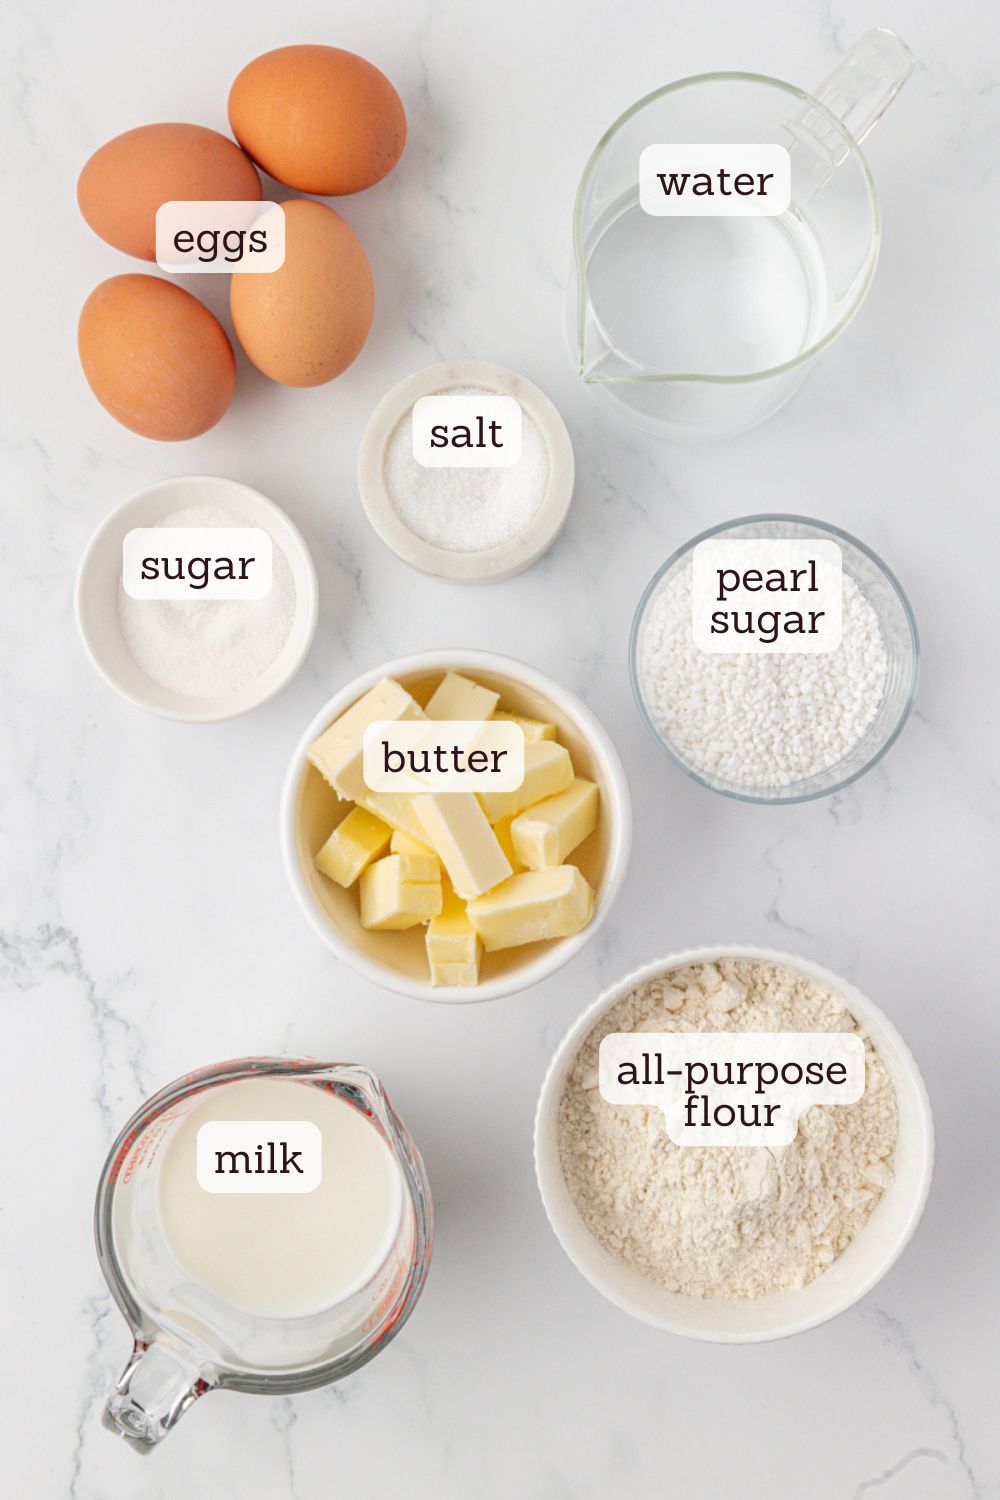
Key Ingredients
- All-purpose flour – This forms the structure of the choux dough. Be sure to measure it accurately to avoid a dough that’s too stiff or too loose.
- Milk + water – A combination of both gives the best of both worlds: water helps the puffs rise, while milk adds richness and a hint of flavor.
- Butter – Unsalted butter adds flavor and richness. Cut it into pieces so it melts evenly.
- Eggs – These give the dough structure, moisture, and that signature puff. You’ll add them one at a time and mix thoroughly.
- Salt + sugar – Just a bit of each enhances flavor without making the chouquettes sweet.
- Pearl sugar – This is the signature topping! This coarse sugar holds its shape during baking and adds a satisfying crunch.
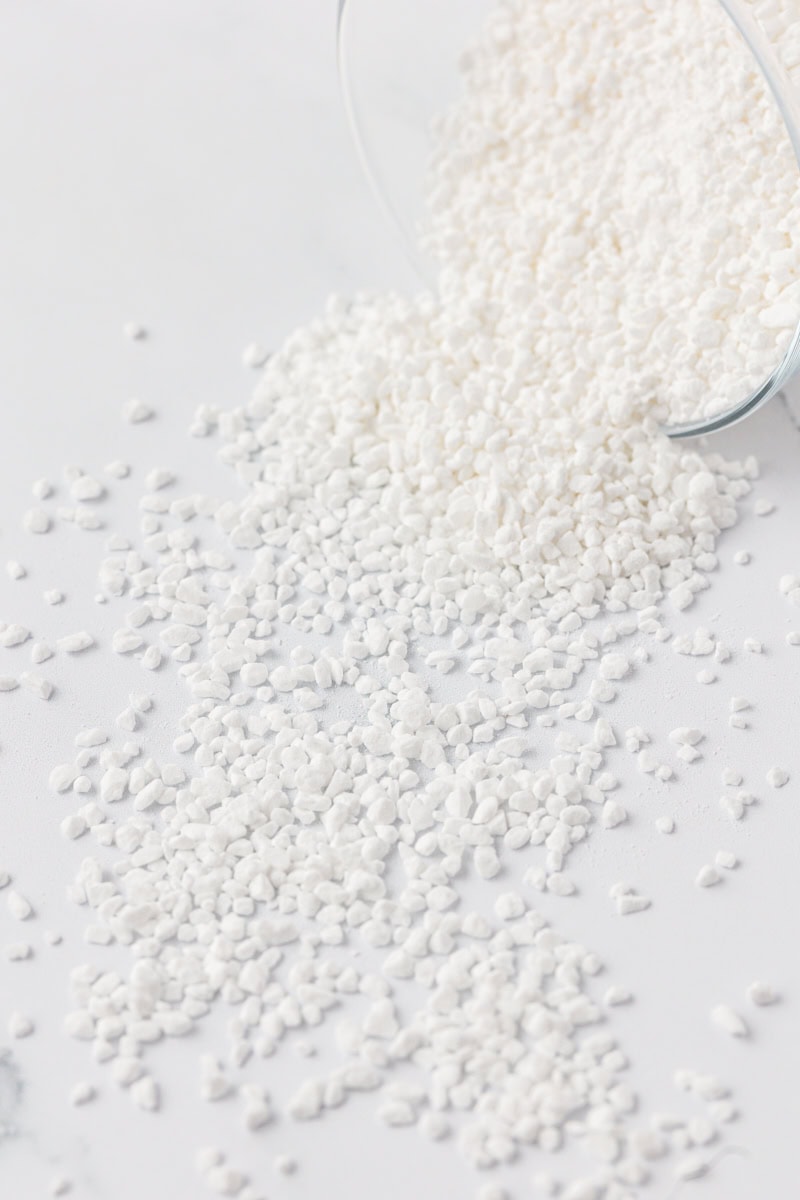
Ingredient Spotlight: Pearl Sugar
Pearl sugar is a coarse, crunchy sugar made from compressed sugar crystals. It doesn’t melt during baking, which makes it perfect for topping chouquettes. The sugar stays in place, adding a sweet crunch and a pretty, bakery-style finish.
There are two common types: Belgian pearl sugar is larger, with irregular chunks that create a bold, dramatic crunch and more visual flair. Swedish pearl sugar is smaller and more uniform. It’s still crunchy, but with a subtler texture and appearance. Either will work for chouquettes, though the Belgian variety is closer to what you’ll see in traditional French versions.
How to Make Chouquettes
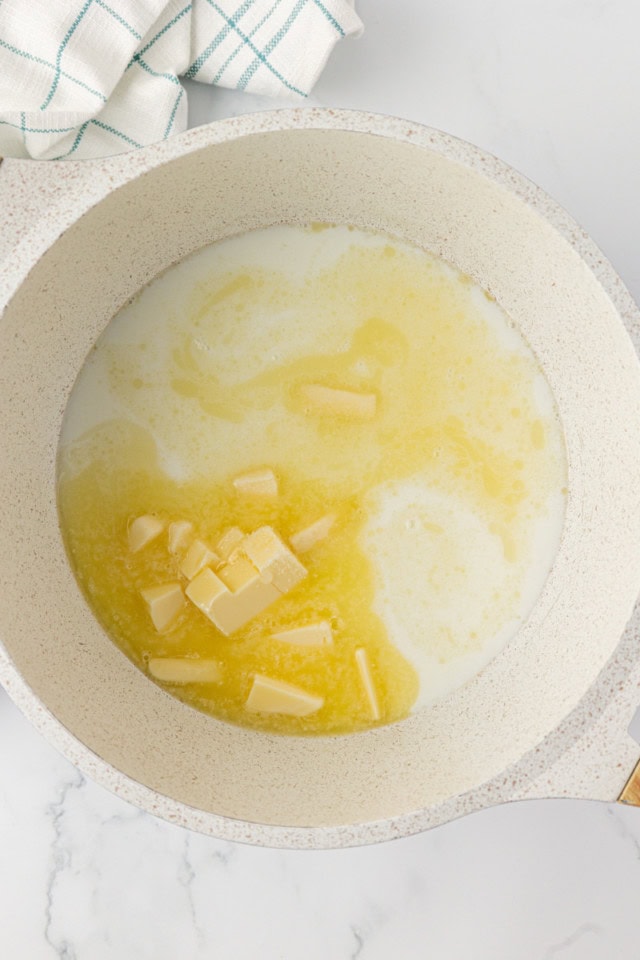
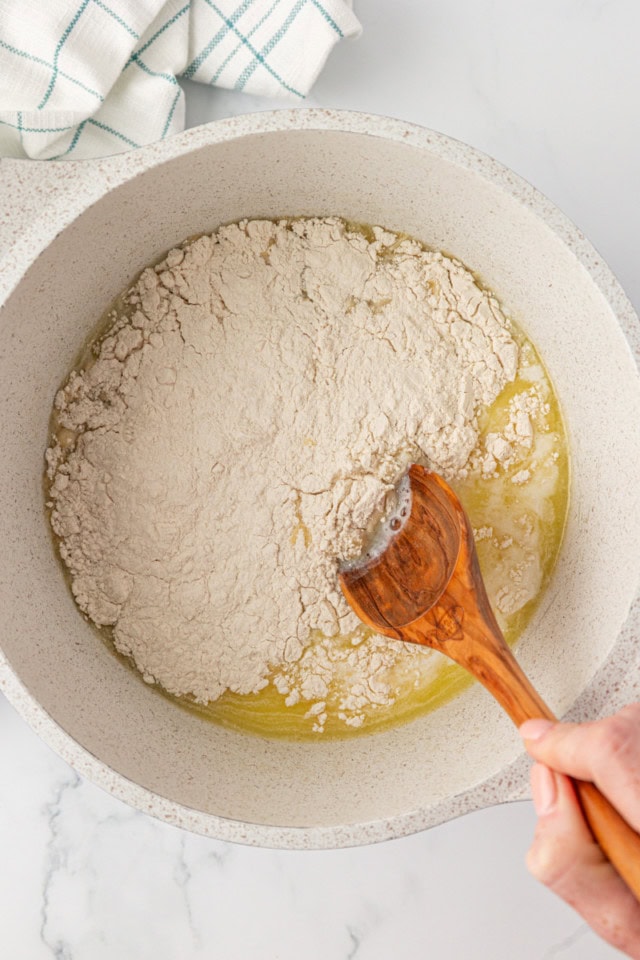
Start the dough on the stovetop.
Combine the milk, water, butter, sugar, and salt in a saucepan. Bring to a boil, then add the flour all at once. Stir constantly until the mixture pulls away from the sides of the pan and forms a smooth dough.
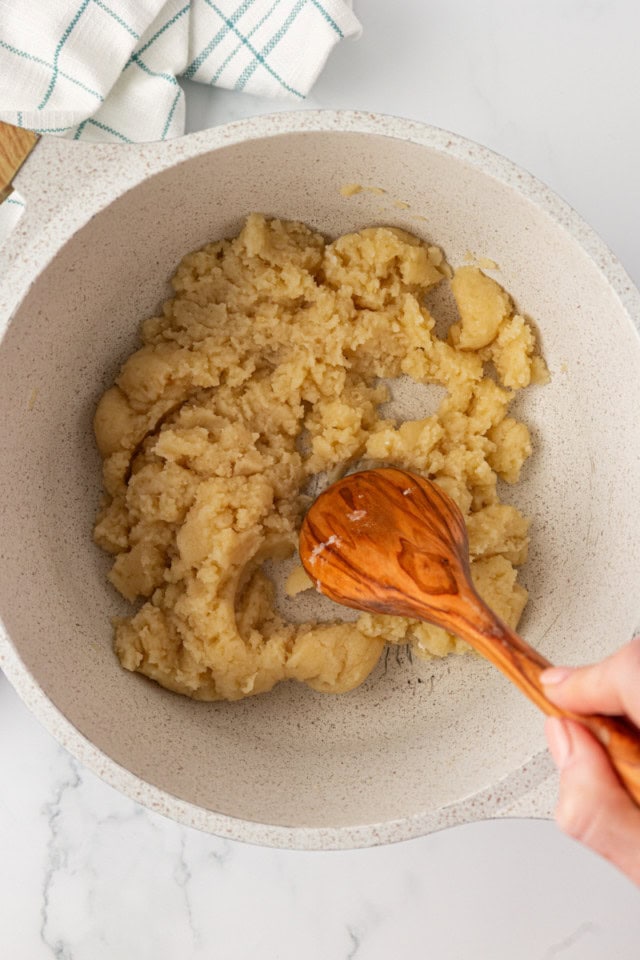
Dry out the dough slightly.
Keep stirring the dough over the heat for another 1 to 2 minutes to help reduce moisture, which gives the puffs better structure.
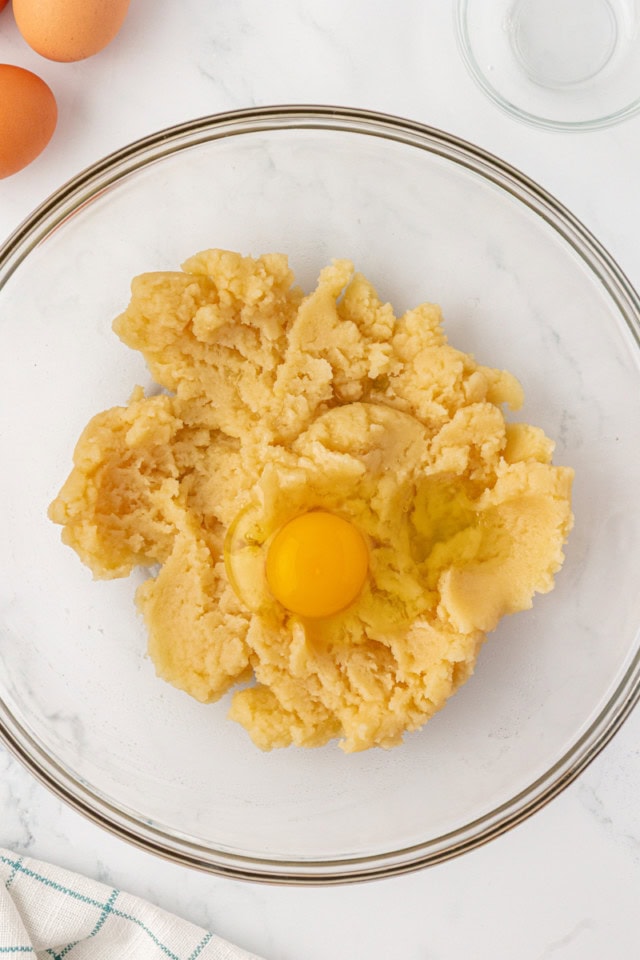
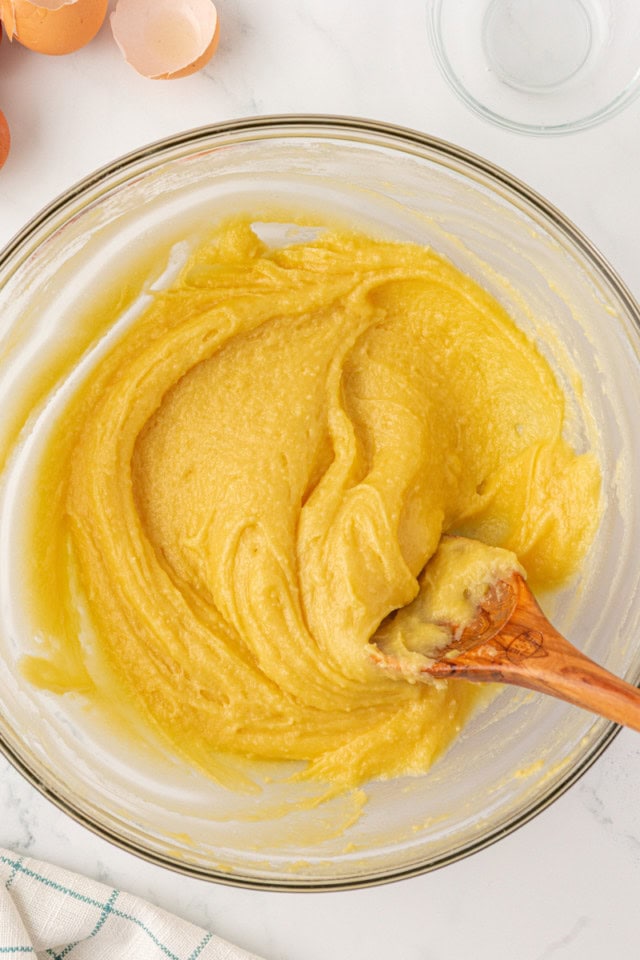
Add the eggs one at a time.
Let the dough cool slightly before adding the eggs. Mix in each egg thoroughly until the dough is smooth and pipeable. It should be thick but not stiff, like soft-serve ice cream.
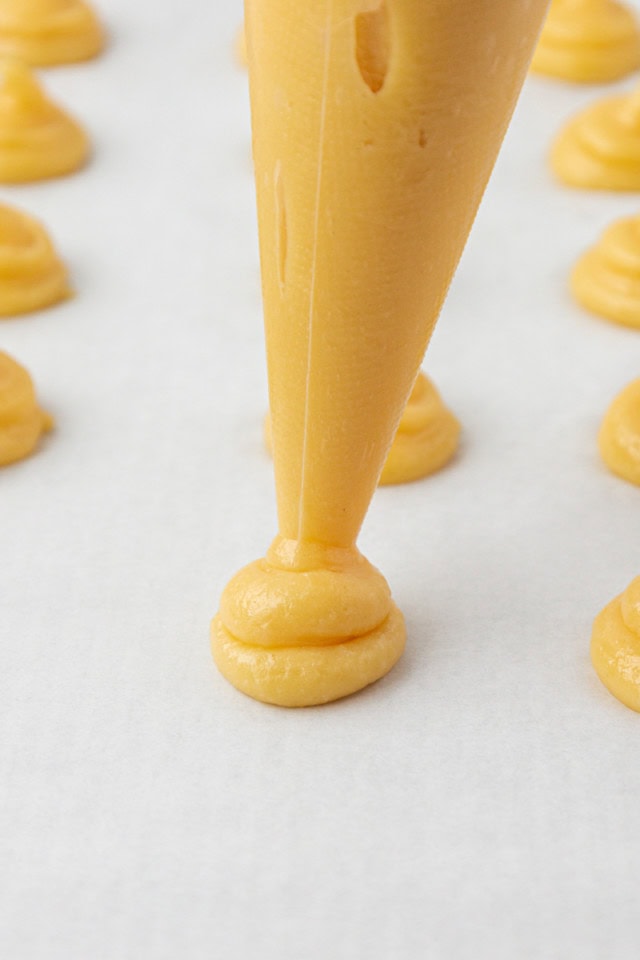
Pipe the puffs.
Transfer the dough to a piping bag and pipe small rounds (about 1 to 1 1/2 inches) onto lined baking sheets. Use a damp fingertip to gently smooth any peaks.

Top with pearl sugar.
Sprinkle the tops generously with pearl sugar for that classic chouquette crunch.
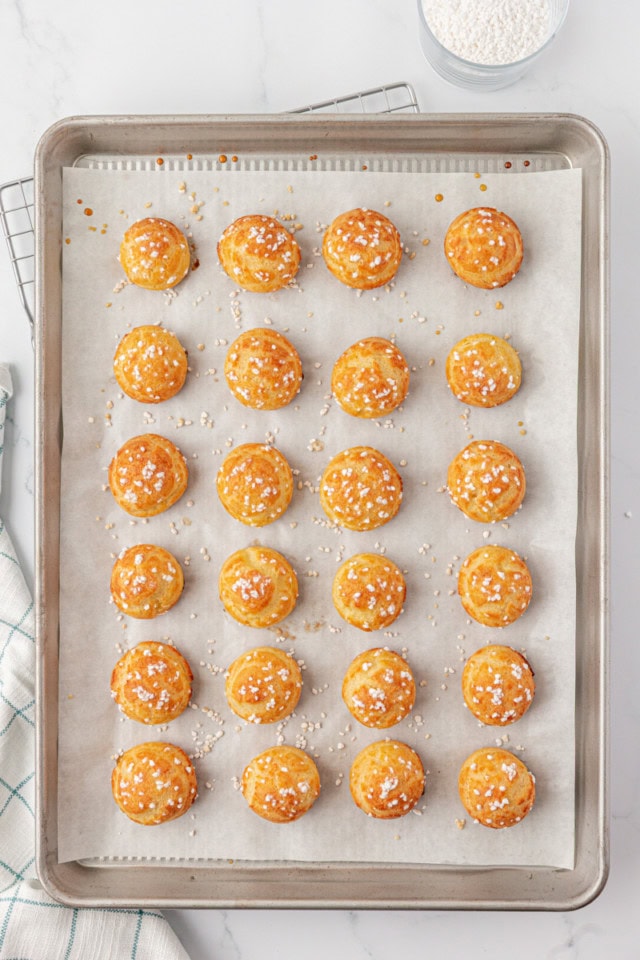
Bake until puffed and golden.
Bake one pan at a time in a preheated 400°F oven for 18–22 minutes, until golden brown and crisp. Let them rest in the turned-off oven for a few minutes to dry out.

Tips for Success
- Cook the dough long enough. After adding the flour, keep cooking for another minute or two. You’re looking for a ball of dough that leaves a thin film on the bottom of the pan.
- Cool the dough slightly before adding eggs. Hot dough can scramble the eggs. Let it cool 5 minutes, or until warm but not hot.
- Smooth the tops. A damp fingertip works wonders to tame any peaks after piping.
- Bake one pan at a time. Even heat is important for good rise and color. If you must bake both pans at once, rotate them halfway and use convection if available.
- Dry them out in the oven. Letting them rest in the warm oven with the door slightly open helps prevent soggy centers.
Variations and Serving Suggestions
- Switch up the topping: Pearl sugar is traditional, but you can experiment with coarse sanding sugar or even turbinado sugar for a slightly different texture and look.
- Add a touch of flavor: Try stirring a splash of vanilla extract or a pinch of citrus zest into the dough for a subtle twist.
- Serve with something to sip: Chouquettes pair beautifully with coffee, tea, or hot chocolate. They make a lovely addition to a brunch table or afternoon snack spread.
- Mini dessert platter idea: Add chouquettes to a board of bite-size sweets—think chocolate truffles, financiers, and fruit tarts—for a fun and elegant dessert assortment.

How to Store
Best the day they’re made: Chouquettes are at their crispiest and most delicate shortly after baking. For the best texture, enjoy them the same day.
Short-term storage: If you have leftovers, store them in an airtight container at room temperature for up to 1 day. They may soften slightly but will still be tasty.
To refresh: If they lose their crispness, you can reheat them in a 300°F (150°C) oven for 5–7 minutes to revive the texture.
Freezing option: Chouquettes can be frozen after baking. Let them cool completely, then freeze in a single layer until firm. Transfer to a freezer-safe bag or container and store for up to 1 month. Reheat from frozen in a 325°F (160°C) oven for 8–10 minutes.

These Chouquettes Are a Sweet Little Win
If you’ve never made choux pastry before, chouquettes are a fantastic (and rewarding!) place to start. They’re simple, elegant, and made with ingredients you probably already have on hand. I love that they come together with minimal fuss yet still feel like something special. Whether you’re baking for a gathering or just craving a bakery-style treat at home, these sweet little puffs are sure to disappear quickly!
More Pastry Recipes


Chouquettes
Ingredients
- ½ cup (120 ml) water
- ½ cup (120 ml) whole milk
- ½ cup (113 g) unsalted butter, cut into pieces
- 2 teaspoons granulated sugar
- ½ teaspoon salt
- 1 cup (120 g) all-purpose flour
- 4 large eggs, at room temperature
- egg wash, made by mixing 1 egg + 1 tablespoon water
- pearl sugar, for topping
Recommended Products
Instructions
- Preheat oven to 400°F (200°C). Line two baking sheets with parchment paper or silicone liners.
- In a medium saucepan, combine the water, milk, butter, sugar, and salt. Bring to a boil over medium heat.
- Once boiling, add the flour all at once and stir vigorously with a wooden spoon until the mixture forms a smooth dough and pulls away from the sides of the pan.
- Continue cooking and stirring for 1 to 2 minutes to dry it out slightly.
- Transfer the dough to a mixing bowl. Let it cool for 5 minutes.
- Add the eggs one at a time, beating well after each addition. The finished dough should be smooth and pipeable but not runny.
- Transfer the dough to a piping bag fitted with a large round tip (or just snip the end). Pipe 1- to 1 1/2-inch rounds onto prepared pans, spacing about 2 inches apart.
- Lightly brush the tops with water or egg wash if desired. (You won't use all of the egg wash.) Sprinkle generously with pearl sugar.
- Bake for 18–22 minutes, or until puffed and golden brown.
- Turn off the oven, crack the door, and let them sit for 5–10 minutes to dry out a bit more before removing.
- Let cool completely on the pans on a wire rack. Best enjoyed the day they’re made.
Notes
- Measuring flour: For best results, use a kitchen scale. If using cups, spoon the flour into the measuring cup and level it off.
- Egg consistency: The dough should be thick but pipeable. If needed, lightly beat an extra egg and add a small amount at a time until the texture is right.
- Piping tips: A large round piping tip works well, or you can snip the end of a piping bag. Aim for 1 to 1 1/2-inch rounds.
- Storage: Chouquettes are best the day they’re baked but can be stored in an airtight container at room temperature for 1 day. Reheat in a 300°F (150°C) oven for a few minutes to crisp them up.
- Freezer-friendly: Let cool completely, then freeze in a single layer before transferring to a freezer-safe bag. Reheat from frozen at 325°F (160°C) for 8–10 minutes.