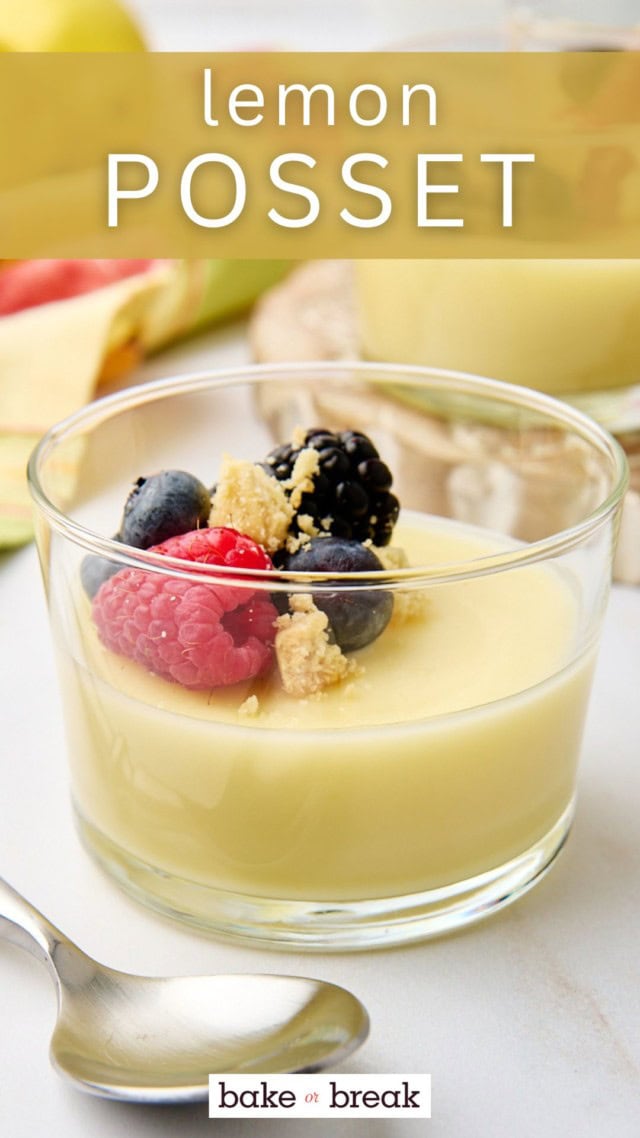
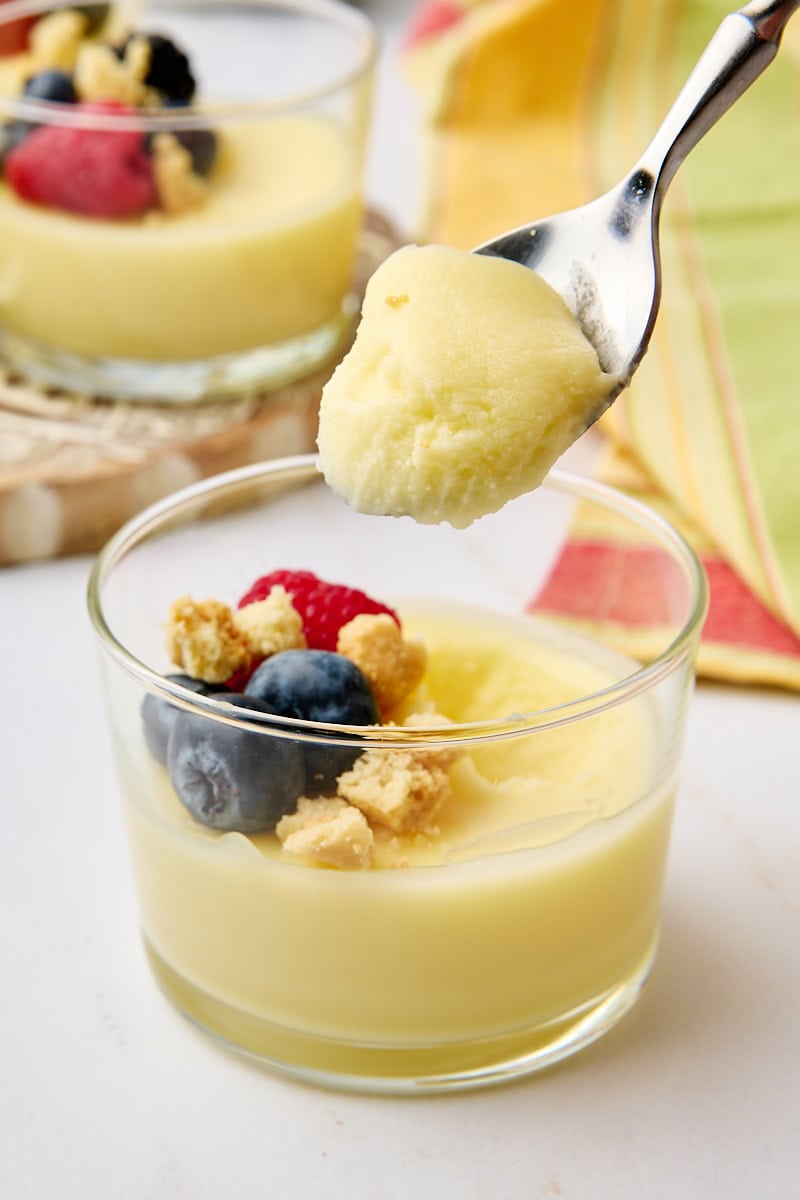
This classic lemon posset is an easy, elegant dessert with just three main ingredients. It’s smooth, creamy, and the perfect mix of tart and sweet.
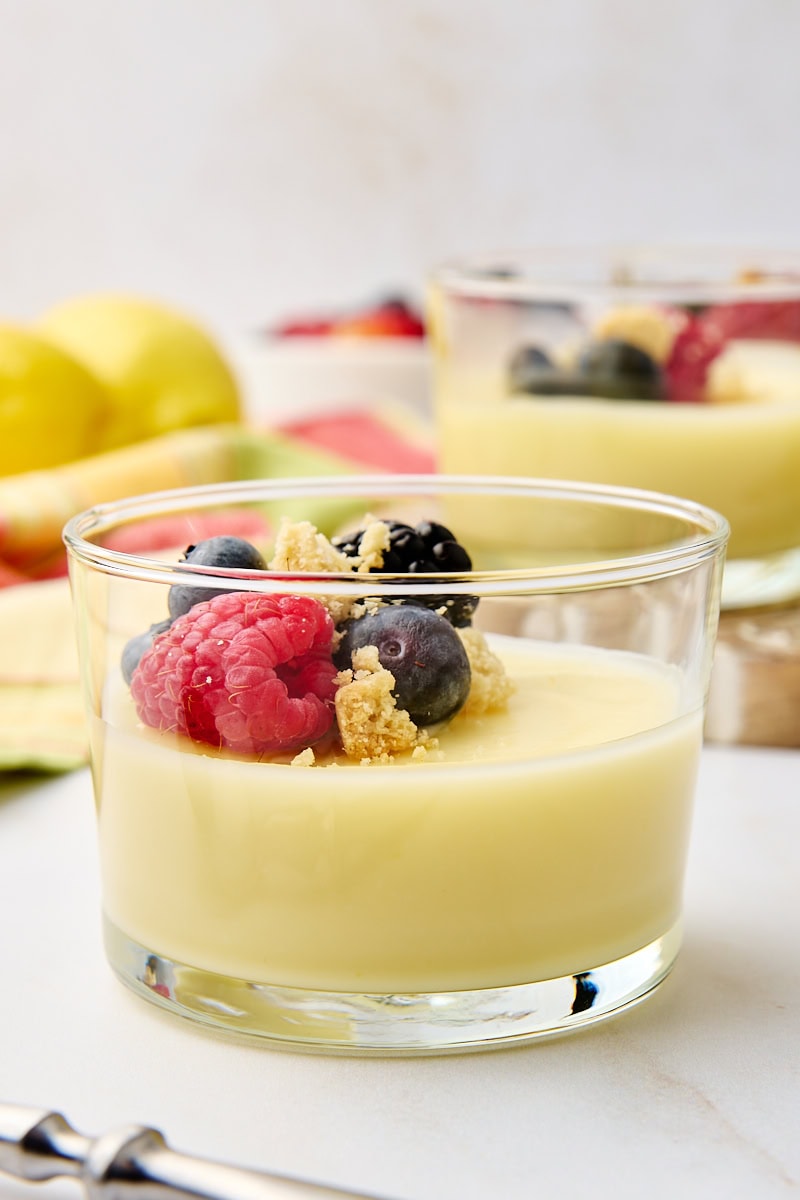
Lemon posset might just be one of the simplest desserts you’ll ever make, but don’t let its simplicity fool you—it’s also incredibly elegant. With just cream, sugar, and lemon juice, this old-fashioned British dessert transforms into something rich, silky, and surprisingly refreshing, like a cross between pudding and custard. The texture is wonderfully smooth and creamy, yet there’s something about the tart lemon that gives it a light, almost sorbet-like quality. I love serving it in pretty little jars or glasses, topped with fresh berries and a bit of crumbled shortbread for a little extra flair and texture.
If you love simple lemon desserts, you might also enjoy my lemon cream pie—it’s another easy favorite with bright citrus flavor and a creamy texture.
Why You’ll Love This Lemon Posset Recipe
- Just 3 ingredients. You’ll only need cream, sugar, and lemons to make this elegant treat.
- Quick and easy to make. Most of the work is done on the stovetop, and the rest happens in the refrigerator.
- Smooth, creamy texture. The posset sets up perfectly with a rich, silky consistency and bright citrus flavor.
- Perfect for spring and summer. Light, refreshing, and just the right amount of tartness for warm-weather desserts.
- Great make-ahead option. You can prep these a day or two in advance and chill until ready to serve.
- Elegant but simple. Fancy enough for guests, but easy enough for a weekday treat.
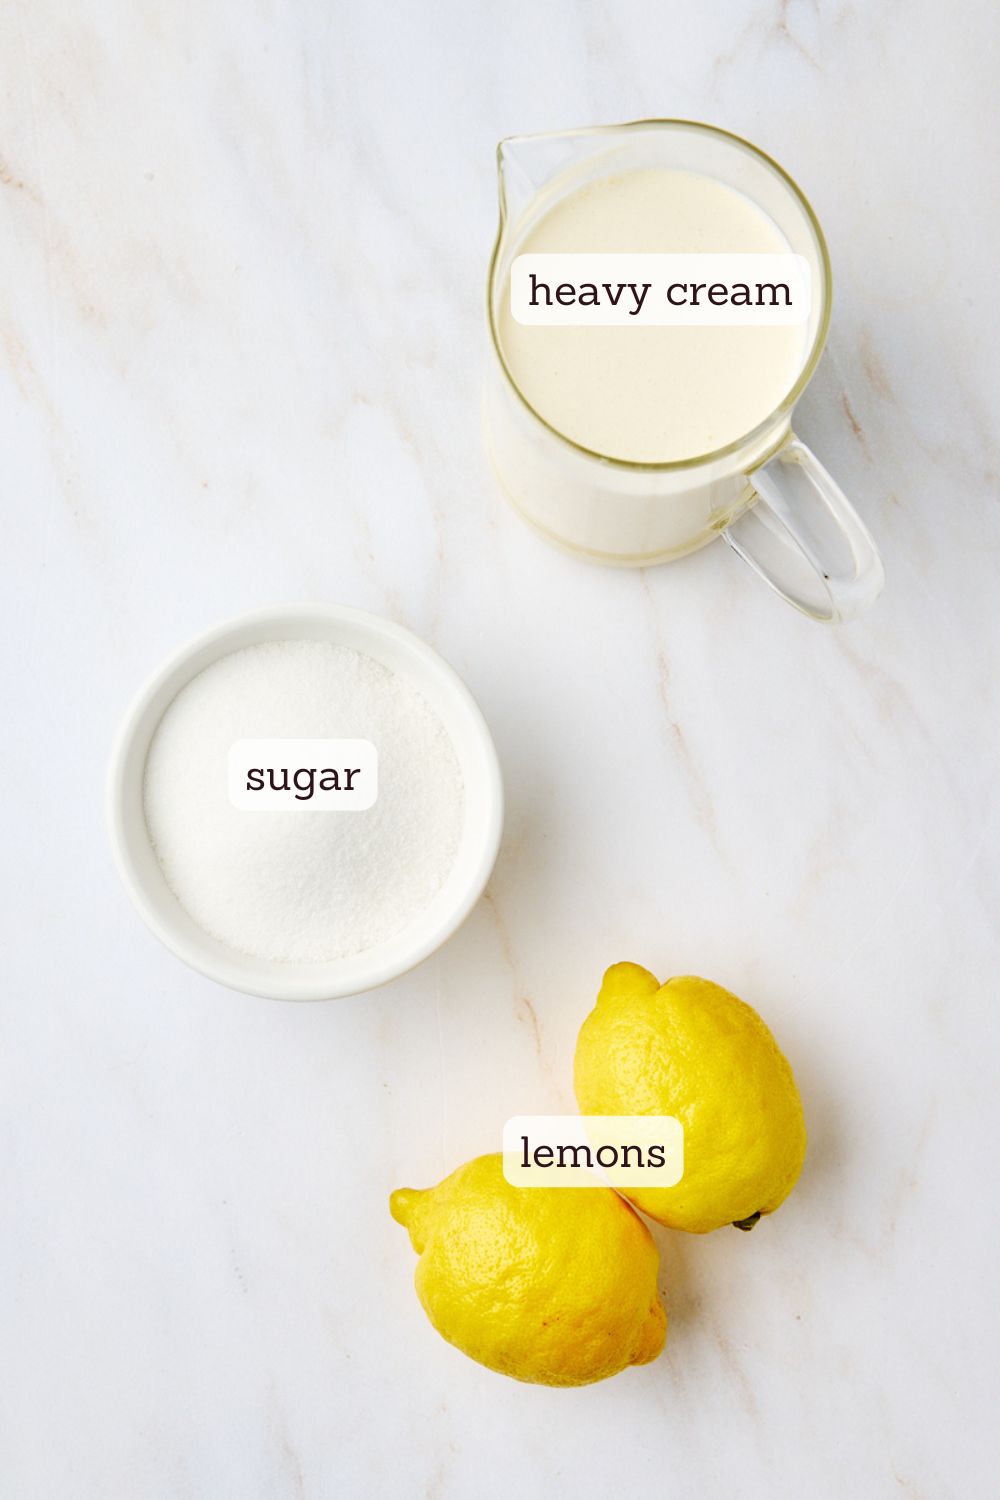
What You’ll Need
- Heavy cream – For richness and structure.
- Granulated sugar – Sweetens the posset and helps it thicken.
- Fresh lemon juice – Essential for setting the posset and giving it that bright, tart flavor.
- Lemon zest – Optional, but highly recommended for adding even more citrusy flavor.
How to Make Lemon Posset
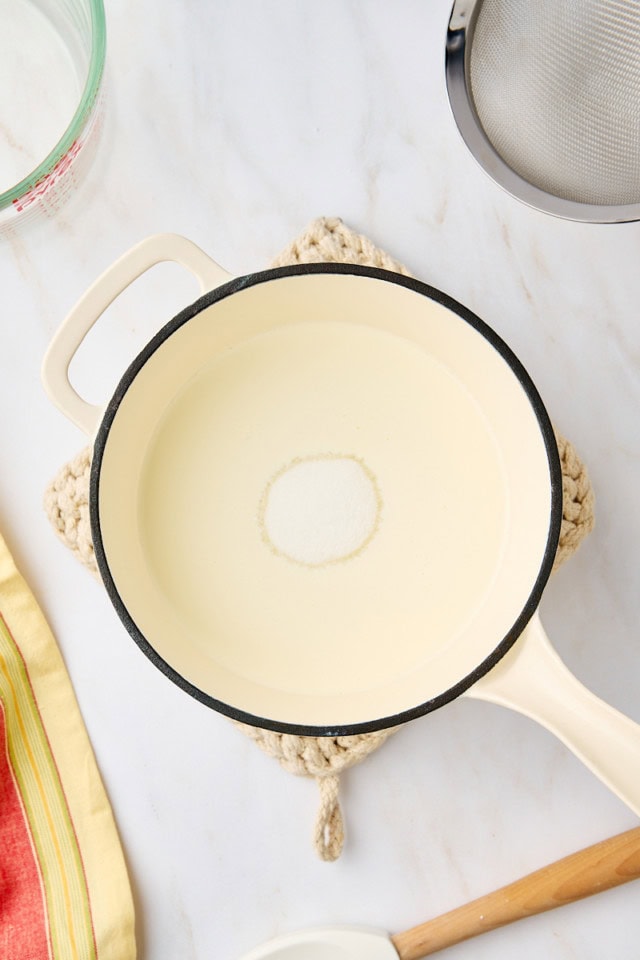
- Combine the cream and sugar. Add both to a medium saucepan and stir to combine. Heat over medium, stirring occasionally, until the mixture comes to a gentle boil.
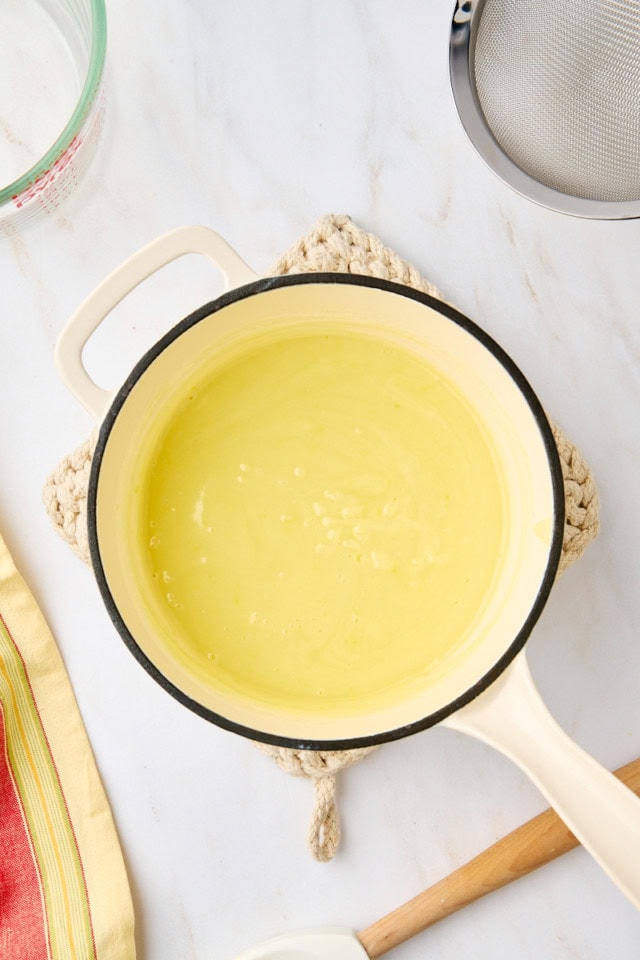
- Simmer and reduce. Lower the heat slightly and let it simmer for 8 to 10 minutes. It should thicken a bit and reduce slightly.
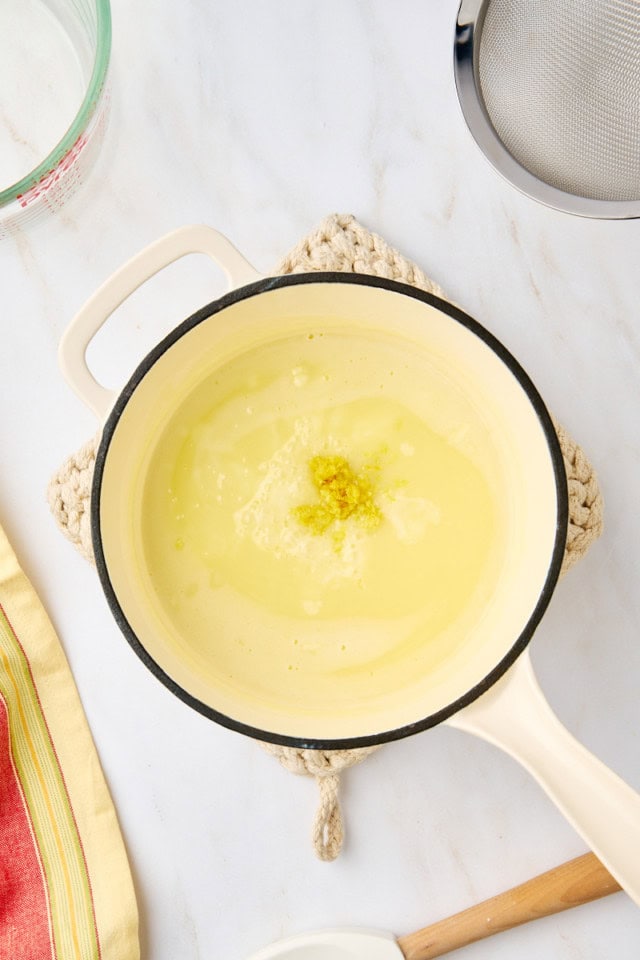
- Add the lemon juice and zest. Remove from the heat and stir in the lemon juice and zest. Let it cool for about 10 minutes.
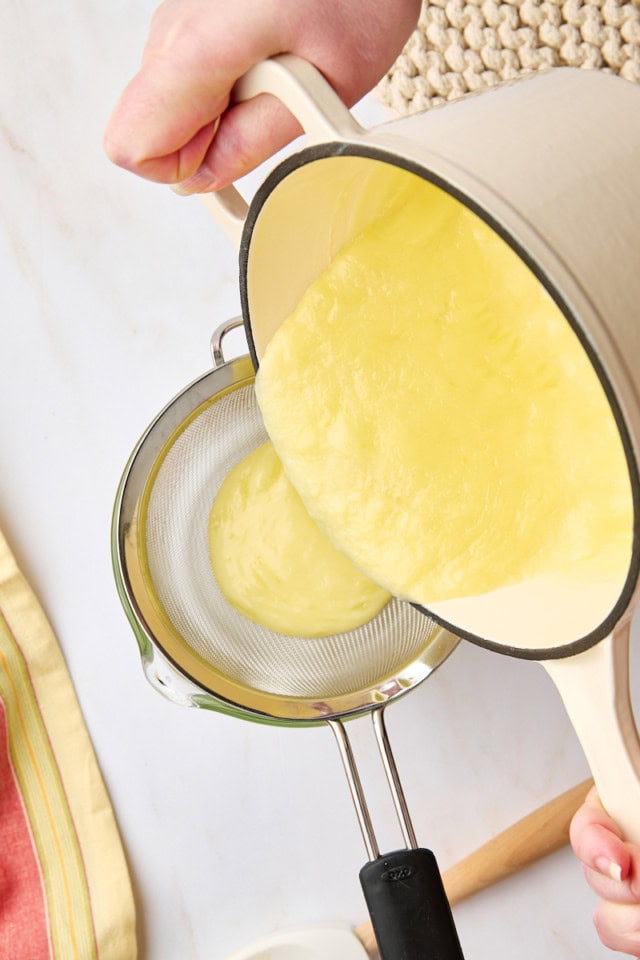
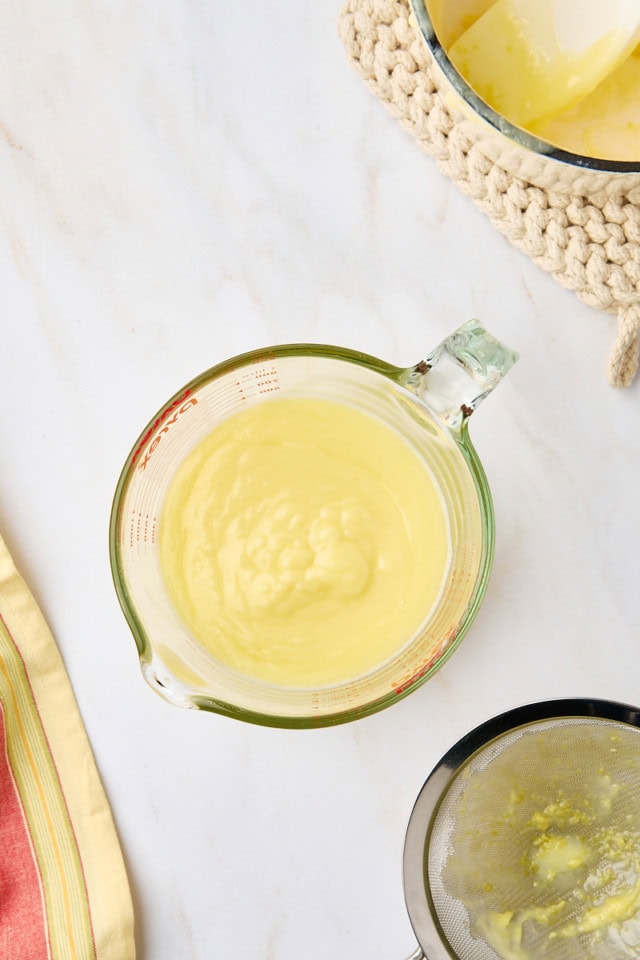
- Strain the mixture. Pour through a fine-mesh sieve into a spouted measuring cup to catch the zest and any solids.
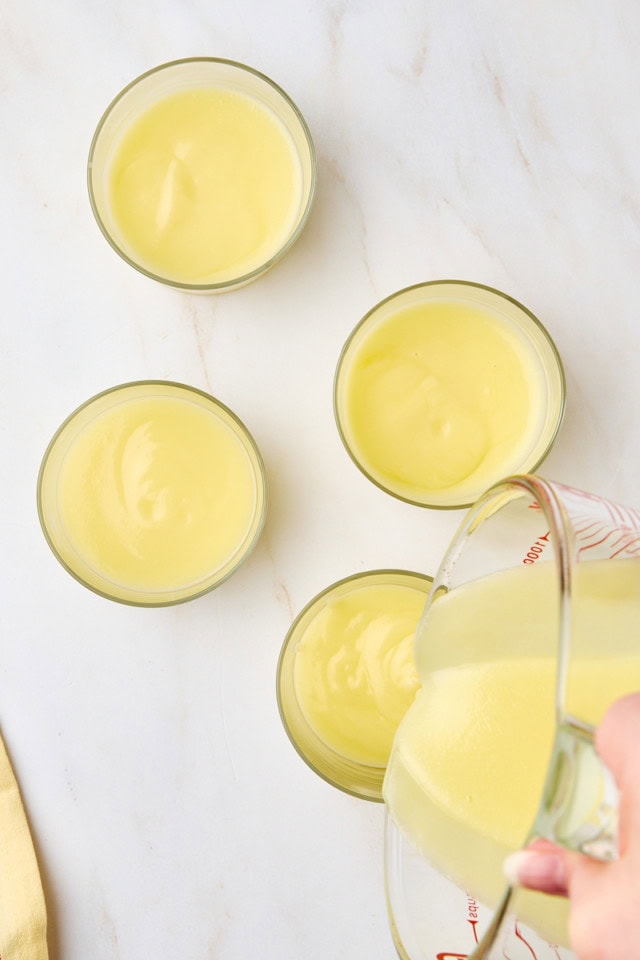
- Chill and set. Divide the mixture among individual jars or ramekins. Chill uncovered for an hour, then cover and refrigerate at least 4 hours or until fully set.
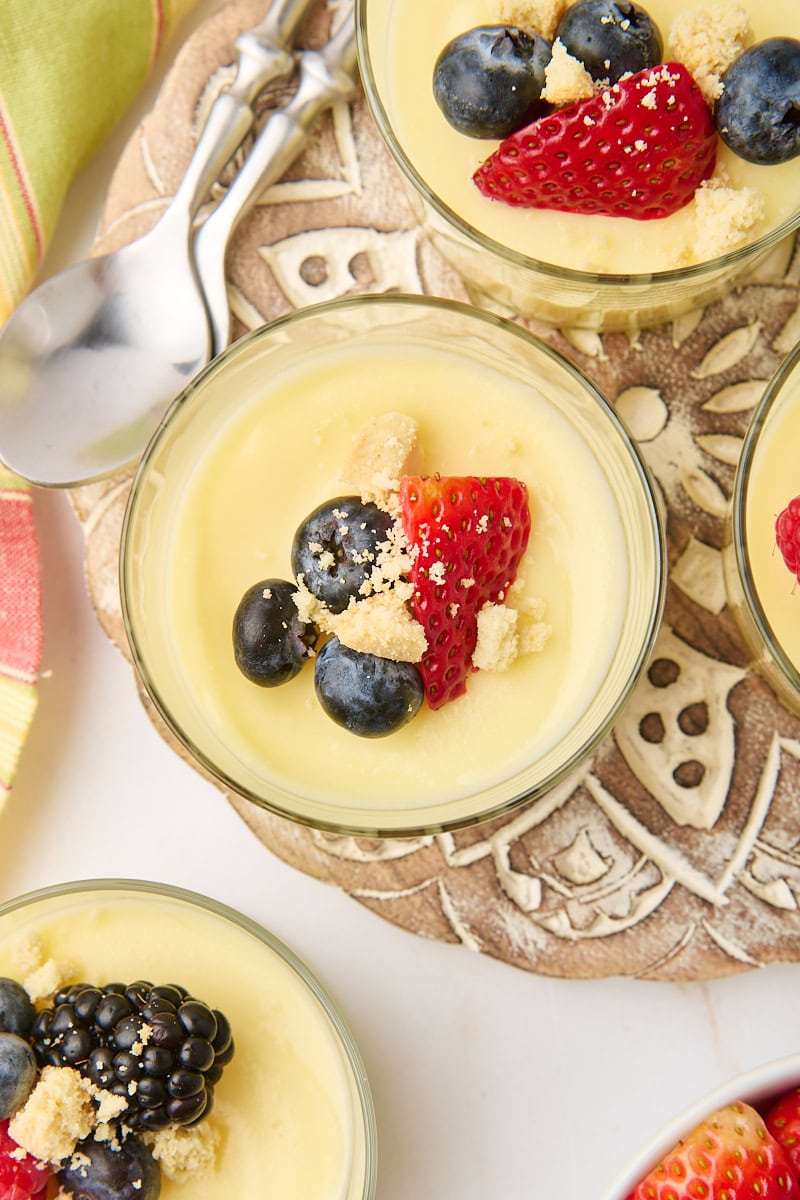
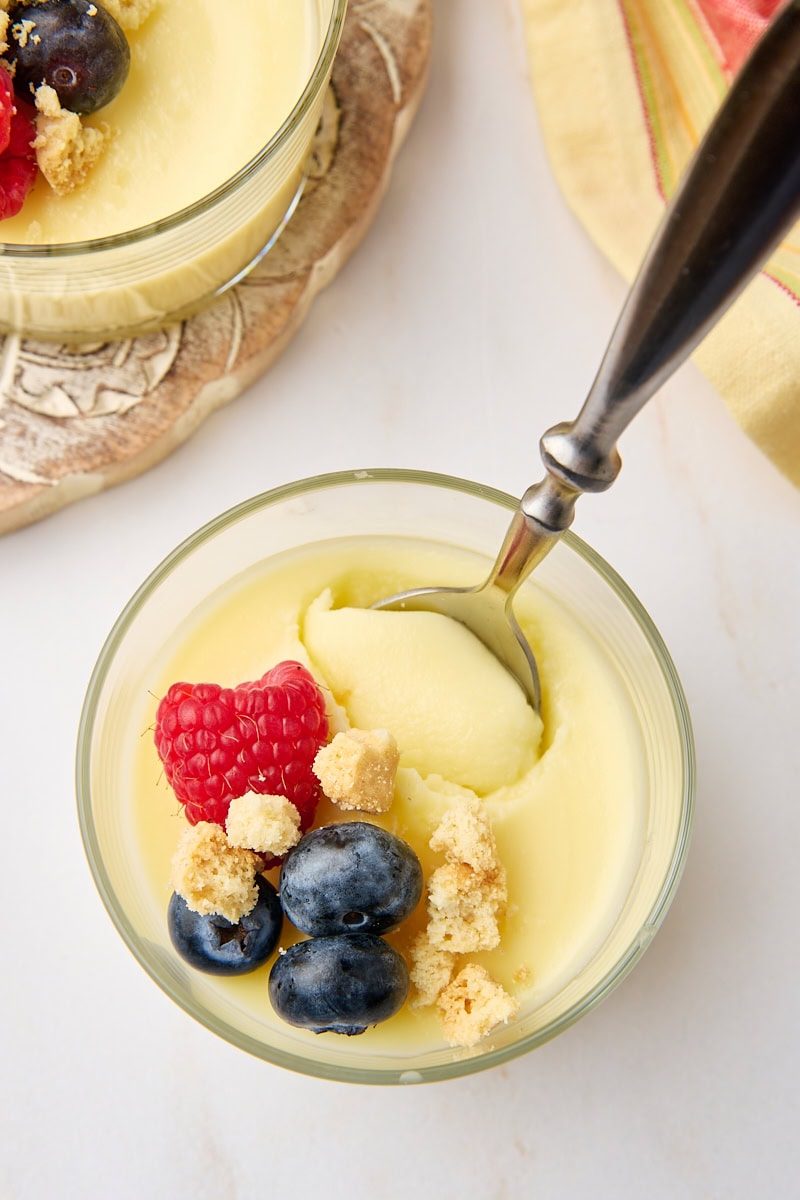
- Garnish and serve. Just before serving, top with berries and crumbled shortbread, if desired.
Tips for Success
- Simmer long enough. Don’t skip this step—it helps the cream and sugar reduce and thicken so your lemon posset sets properly. This should take about 8 to 10 minutes once it reaches a gentle boil. You’re looking for it to reduce slightly and begin to thicken, just enough so that it sets well after the lemon juice is added. Stir occasionally to prevent scorching, and keep an eye on the heat so it doesn’t boil over.
- Use fresh lemon juice. Bottled lemon juice often lacks the acidity needed for proper setting and can taste dull or metallic. Fresh juice gives the best flavor and ensures the posset sets up properly.
- Strain for smoothness. Straining the mixture ensures a perfectly silky texture by removing zest and any solids. You can strain into a bowl or a measuring cup. I like using a measuring cup with a spout so I can see the total volume and easily divide and pour into individual portions.
- Chill thoroughly. Give the posset plenty of time in the refrigerator so it sets up properly and holds its shape. I’ve listed a minimum chill time in the recipe, but I usually chill it overnight.
- Garnish for extra flair. Add lemon zest, berries, mint leaves, or shortbread to dress it up for serving.
Variations
- Lime posset. Substitute lime juice and zest for a slightly different citrus twist.
- Orange or blood orange. Use fresh orange juice and zest for a sweeter, less tart version. Add a splash of lemon juice (about a tablespoonful) to help it set. These citrus fruits are lower in acid than lemon, so the posset may not set properly on their own without a little extra acidity.
- Meyer lemon. Sweeter and less tart than regular lemons, these work well but may benefit from a small amount of regular lemon juice to help with setting.
- Herb-infused. Simmer a sprig of rosemary, thyme, or basil in the cream mixture and remove before adding the lemon.
- Citrus combo. Mix lemon with lime or orange for a more complex citrus flavor.
Serving Suggestions
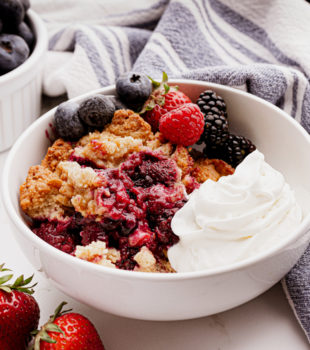
- Fresh berries. A handful of raspberries, blackberries, or blueberries adds a bright, juicy contrast.
- Crumbled shortbread or biscotti. Adds a lovely buttery crunch and a hint of sweetness.
- Whipped cream. A dollop of unsweetened or lightly sweetened whipped cream makes it extra decadent.
- Candied citrus peel. Adds flavor and a bit of texture and sparkle.
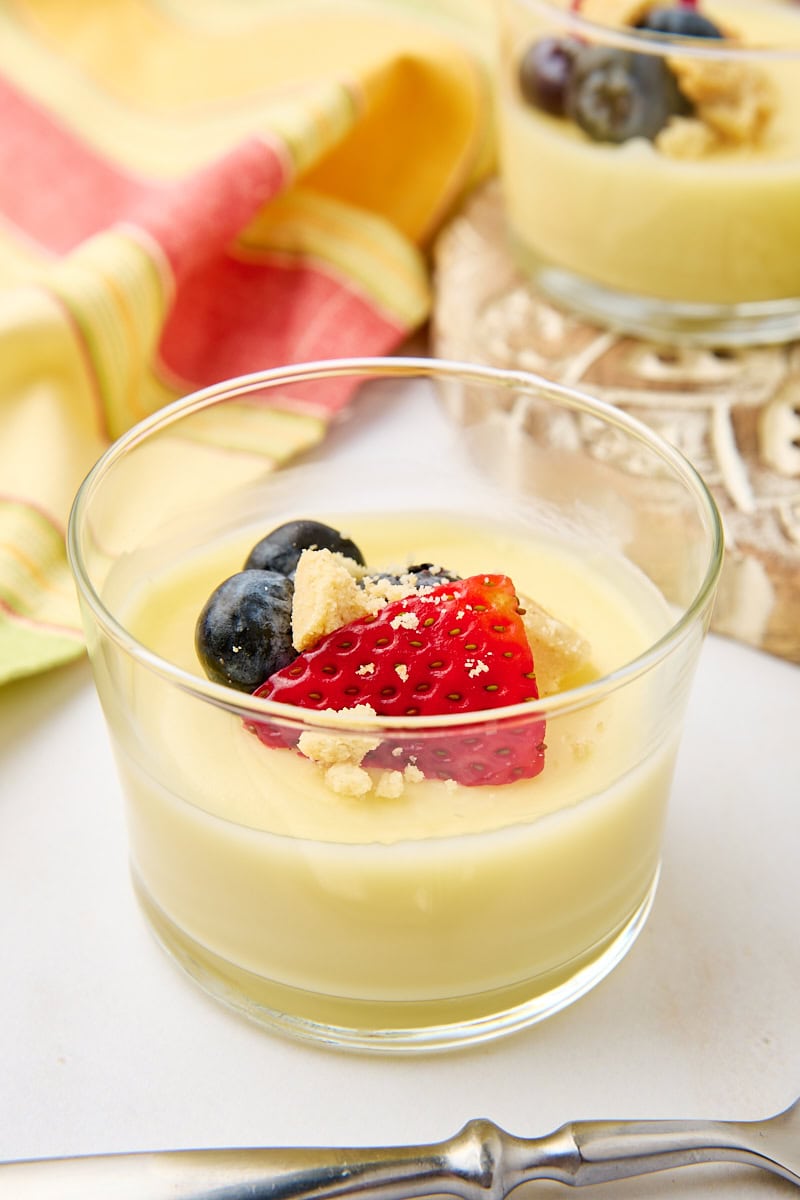
- Serve in glass jars or ramekins. Show off the smooth texture in clear jars or use your favorite small dessert dishes. Small 4- to 6-ounce containers are ideal for individual servings and presentation.
How to Store
Store lemon posset tightly covered in the refrigerator for up to 3 days. Add toppings just before serving for the best texture and appearance.
More Lemon Desserts


Lemon Posset
Ingredients
- 2 cups (480 ml) heavy cream
- ¾ cup (150 g) granulated sugar
- ¼ cup (60 ml) fresh lemon juice (about 2 lemons)
- 1 tablespoon lemon zest, optional, for extra brightness
Recommended Products
Instructions
- In a medium saucepan, combine the cream and sugar. Bring to a gentle boil over medium heat, stirring often. Once it reaches a boil, reduce the heat slightly and let it simmer for 8–10 minutes, stirring occasionally. It should reduce a bit and thicken slightly.
- Remove from the heat and stir in the lemon juice and zest (if using). Let it sit for 10 minutes to cool slightly and begin to set.
- Strain the mixture through a fine mesh sieve into a spouted measuring cup to catch any zest or curdled bits.* Pour into individual jars, glasses, or ramekins (4- to 6-ounce capacity).
- Chill uncovered for about 1 hour, then cover and chill at least 4 hours or overnight until fully set.
- Serve cold, topped with your desired garnishes.
Notes
- I recommend pouring into a measuring cup so you know what volume you have for dividing into servings. You should expect to get 1 1/2 to 1 2/3 cups in total.
- Store tightly covered in the refrigerator up to 3 days.