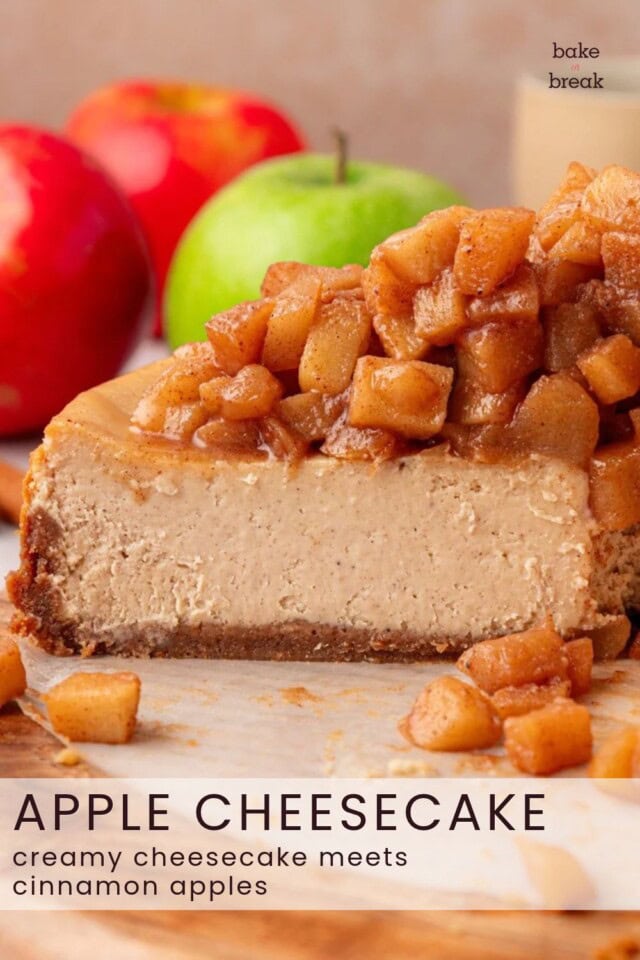
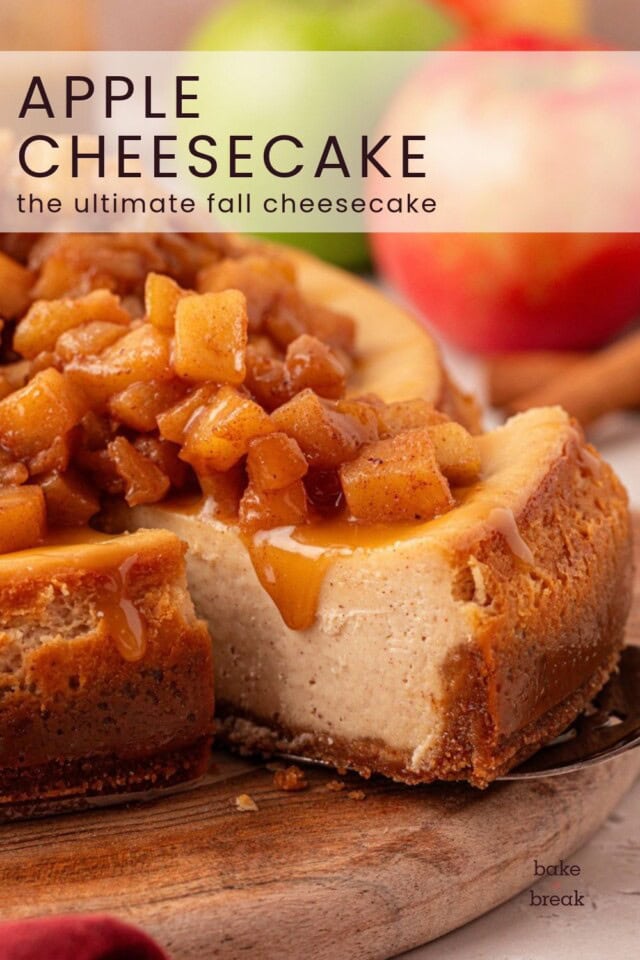
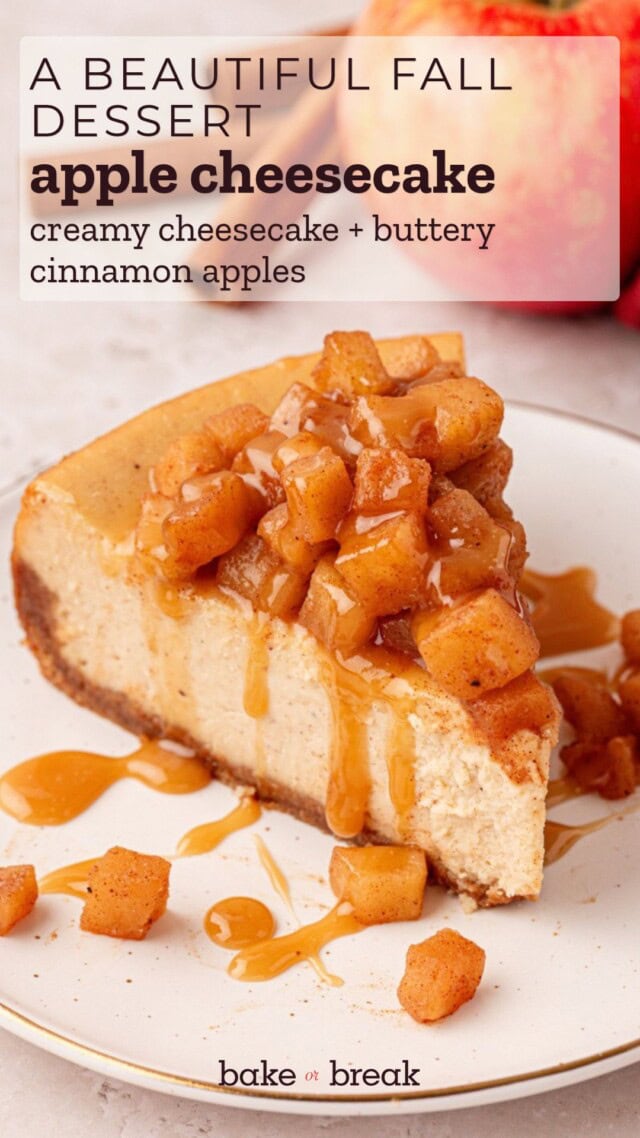
This apple cheesecake combines a creamy, lightly spiced cheesecake with buttery cinnamon apples and a brown sugar graham cracker crust. It’s an impressive fall dessert that’s surprisingly easy to make, with plenty of make-ahead flexibility.
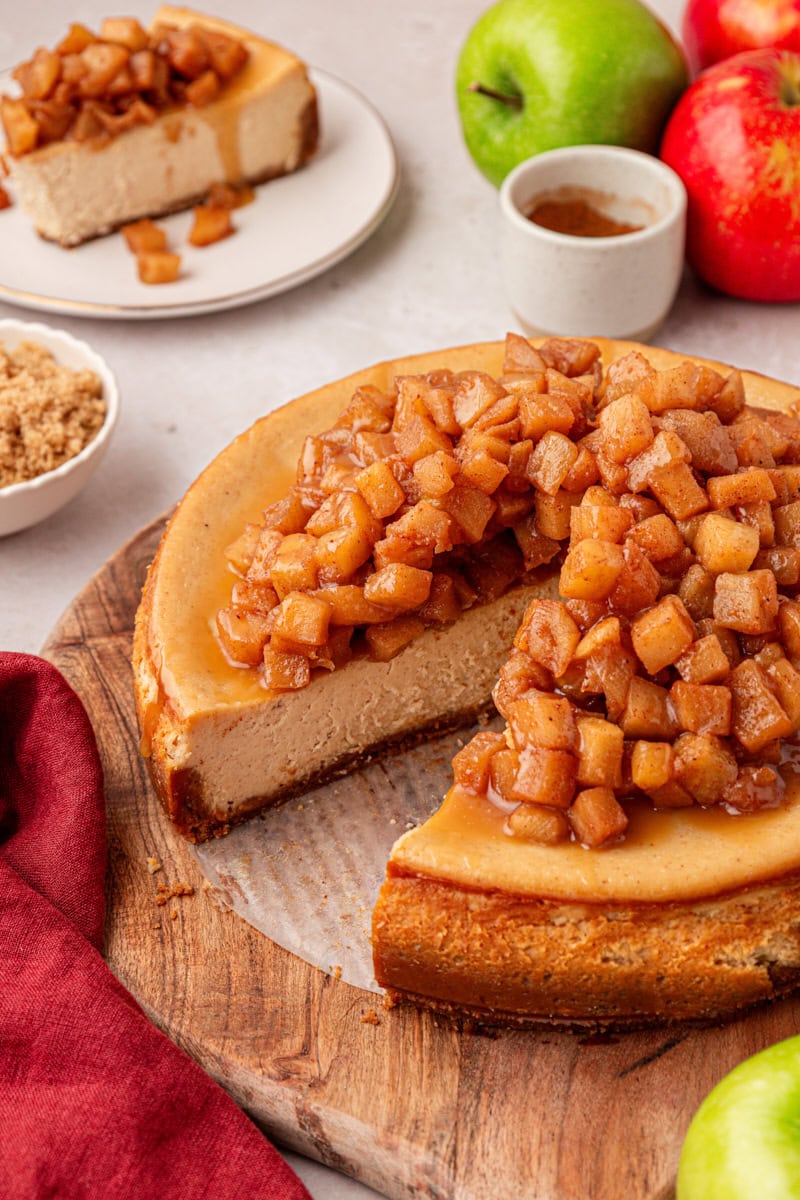
Creamy cheesecake and tender cinnamon apples are a pretty irresistible combination, especially when there’s a buttery brown sugar graham cracker crust underneath it all. This apple cheesecake brings those flavors together in a dessert that’s both elegant and a little rustic.
A little brown sugar and warm spice in the cheesecake complement the apples without overpowering them. And because the apples are cooked separately, you get perfectly tender fruit and a smooth, creamy cheesecake. It’s a wonderful choice for fall gatherings, Thanksgiving, or any occasion that calls for a special dessert.
Why You’ll Love This Apple Cheesecake
- The perfect balance of flavors. Tangy cream cheese, warm cinnamon, sweet-tart apples, and a hint of brown sugar make every bite delicious.
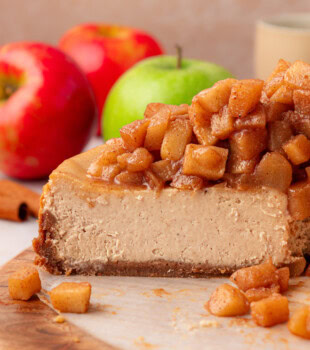
- Impressive without being complicated. The generous apple topping gives this cheesecake a beautiful, rustic look without any elaborate decorating.
- Great for making ahead. Prepare the cheesecake and apples in advance, then put everything together when you’re ready to serve.
How to Make the Best Cinnamon Apple Topping
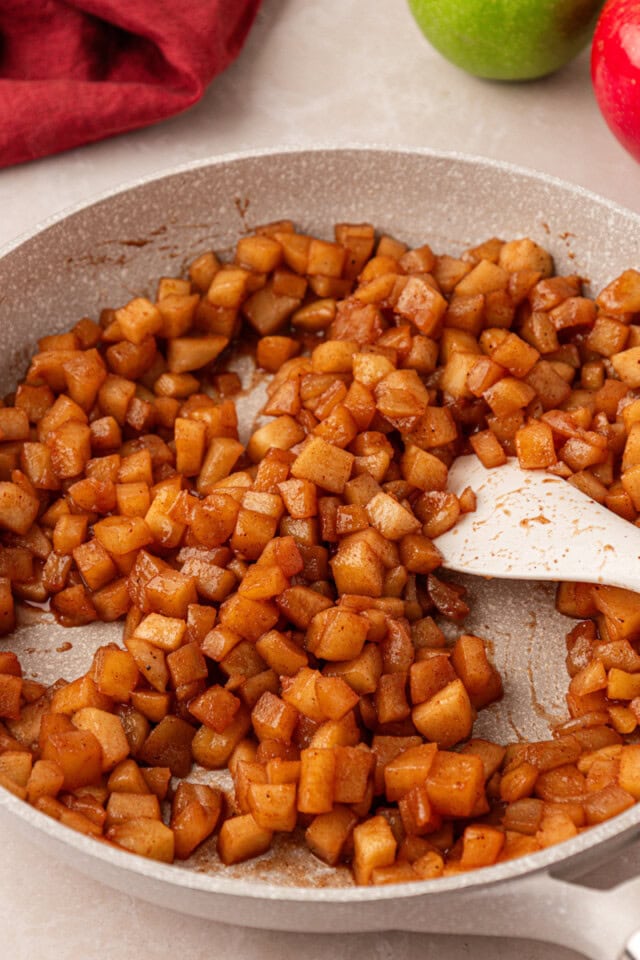
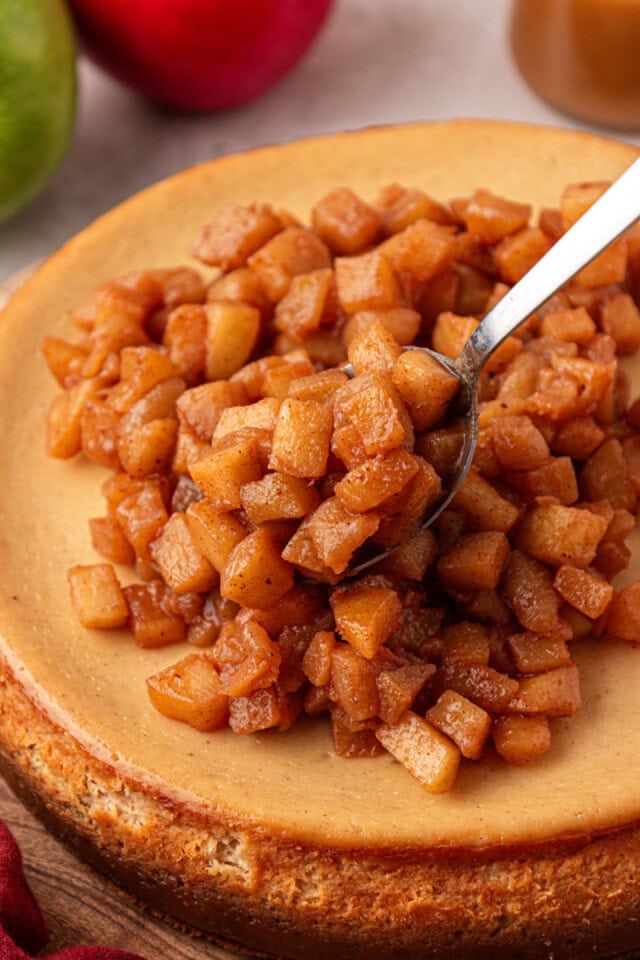
The apple topping is what makes this cheesecake especially good. Instead of baking the apples into the filling, you’ll cook them in a skillet with butter, brown sugar, cinnamon, and a splash of apple cider. This gives you tender, flavorful apples coated in a light, glossy syrup.
A few things make a difference:
Choose apples that hold their shape. I like using a combination of Honeycrisp and Granny Smith apples. The Honeycrisp add sweetness, while the Granny Smith bring a little tartness to balance the rich cheesecake. Both hold up well during cooking, so you get distinct pieces of apple instead of a soft, mushy topping.
Cut the apples into small, even pieces. Aim for roughly 1/2-inch cubes. This size gives the topping a nice, chunky texture while making it easy to spoon over the cheesecake and cut into neat slices. Try to keep the pieces fairly uniform so they’ll cook evenly.
Cook until tender, not mushy. The apples should soften but still hold their shape. You’ll cook them briefly in butter before adding the brown sugar and spices, then finish cooking with the apple cider.
Look for a light, glossy glaze. As the apples cook, their juices combine with the butter, sugar, and cider to create a syrup that lightly coats each piece. You shouldn’t have watery liquid pooling in the skillet, but you don’t want the apples to cook down into a thick, jammy mixture, either. The finished topping should be moist and spoonable, with individual pieces of apple still clearly defined.
Tips for a Creamy Cheesecake
Cheesecake doesn’t have to be difficult! A few simple techniques will help you get a smooth, creamy filling.
- Use room-temperature ingredients. Softened cream cheese blends more smoothly, while room-temperature eggs and sour cream incorporate more easily. This helps prevent lumps without excessive mixing.
- Mix gently after adding the eggs. Add them one at a time, mixing just until each is incorporated. Too much mixing at this stage can introduce excess air, which may cause the cheesecake to puff up and crack as it bakes.
- Bake low and slow. This cheesecake starts at 350°F before the temperature is reduced to 200°F for the remainder of baking. The gentle heat helps the filling bake evenly without needing a water bath.
- Don’t rush the cooling and chilling. After baking, the cheesecake rests in the turned-off oven before going into the refrigerator overnight. This gradual cooling and thorough chilling help it set properly for slicing.
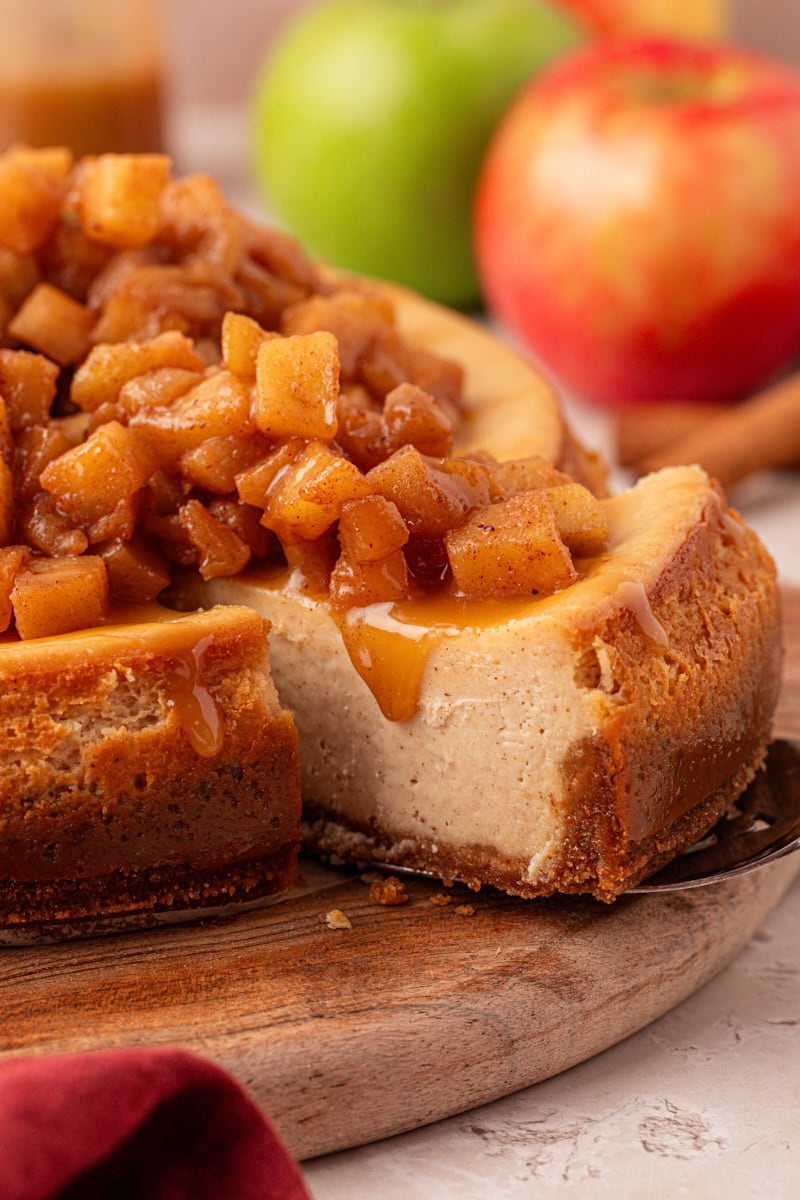
This method practically guarantees no cracks, but don’t worry too much about a perfectly smooth top here. The cinnamon apples will cover any little imperfections!
Make-Ahead and Serving Tips
One of the best things about this apple cheesecake is that you can prepare both components ahead of time.
Make the cheesecake in advance. Bake it at least a day before serving so it has plenty of time to chill and set. Keep it refrigerated until you’re ready to add the topping.
Prepare the apples ahead, too. The apple topping can be made in advance and stored in an airtight container in the refrigerator after cooling. It will firm up and look a little drier as it chills. To restore its glossy, spoonable texture, gently warm it over low heat, stirring occasionally. If needed, add a teaspoon or two of apple cider to loosen the glaze. Let the apples cool before adding them to the cheesecake.
Choose how you’d like to serve it. For a gathering, I love piling the apples over the entire cheesecake, leaving a little border around the edge. It makes a beautiful presentation and is ready to slice and serve.
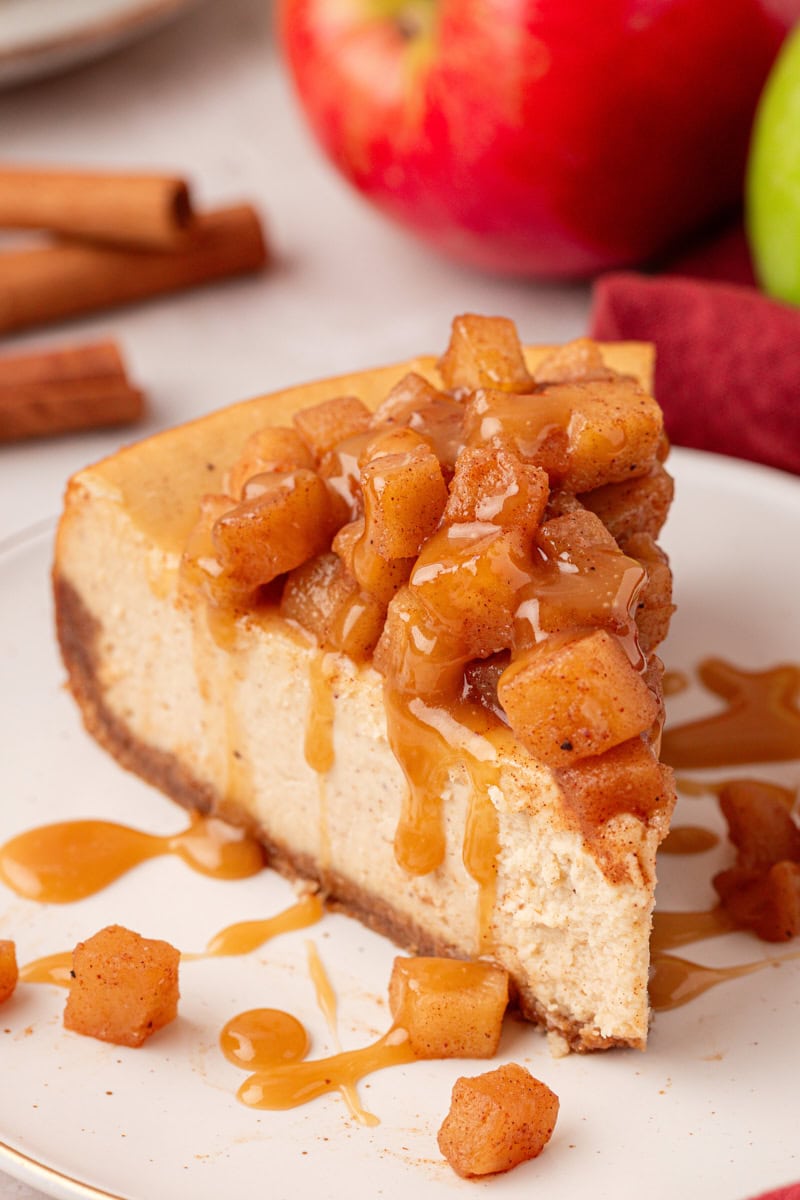
If you’re serving just a few people, you can also keep the apples separate and spoon them over individual slices. This is especially convenient if you expect leftovers.
The apple topping is at its best when freshly made or gently rewarmed. You can refrigerate the cheesecake with the topping already added, but the apples will lose a little of their glossy moisture as they chill. They’ll still taste good, but for the best texture and appearance, I recommend adding the topping shortly before serving.
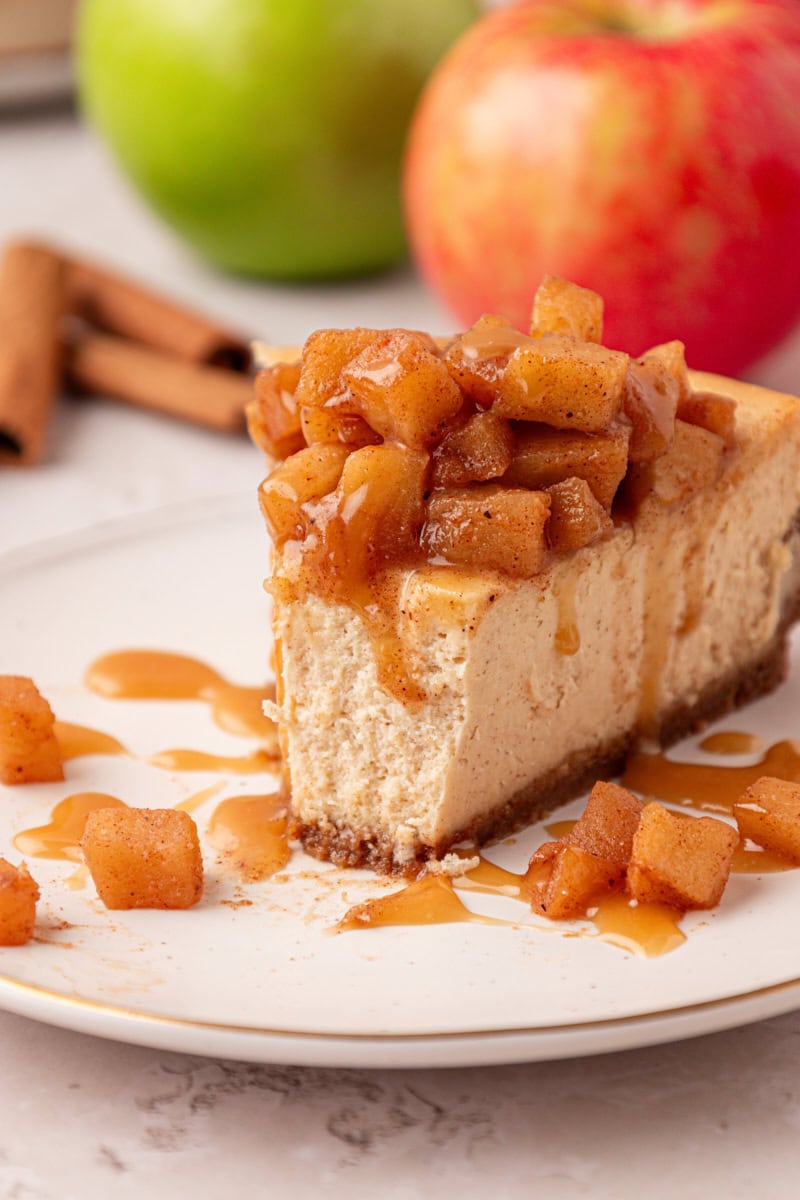
For an extra-special finishing touch, drizzle the cheesecake with caramel sauce. It’s delicious without it, but the caramel is a lovely addition to the cinnamon apples. A little whipped cream is another good option.
Storing Leftovers
Keep leftover cheesecake covered in the refrigerator for up to 4 days. If possible, store any unused apple topping separately so you can gently warm it before serving again.
For longer storage, you can freeze the cheesecake without the apple topping. Wrap it well and freeze for up to 2 months. Thaw overnight in the refrigerator, then add the prepared apples before serving.
Apples, Meet Cheesecake
With its creamy filling, buttery cinnamon apples, and warmly spiced flavor, this apple cheesecake is a lovely way to celebrate fall. It’s special enough for a holiday table but approachable enough to make whenever you’re craving a really good homemade cheeseake.
More Apple Desserts

Apple Cheesecake
Ingredients
For the crust:
- 2 cups (200 g) graham cracker crumbs, 12-13 sheets
- ¼ cup (50 g) firmly packed light brown sugar
- pinch salt
- 6 tablespoons (85 g) unsalted butter, melted
For the cheesecake filling:
- 32 ounces (907 g) cream cheese, softened
- 1 cup (200 g) granulated sugar
- ¼ cup (50 g) firmly packed light brown sugar
- ½ teaspoon ground cinnamon
- ⅛ teaspoon ground nutmeg
- ¼ teaspoon salt
- ½ cup (113 g) sour cream, at room temperature
- 1 teaspoon vanilla extract
- 4 large eggs, at room temperature
For the topping:
- 5 to 6 medium apples (a mix of sweet and tart, like Honeycrisp and Granny Smith), 2 to 2 1/4 pounds before peeling and coring
- 3 tablespoons (42 g) unsalted butter
- ⅓ cup (67 g) firmly packed light brown sugar
- 1 teaspoon ground cinnamon
- pinch ground nutmeg
- pinch salt
- 2 tablespoons (30 ml) apple cider
- 1 teaspoon lemon juice
- 1 teaspoon vanilla extract
- caramel sauce, optional for serving
- whipped cream, optional for serving
Recommended Products
Instructions
To make the crust:
- Preheat the oven to 350°F (175°C). Line the bottom of a 9-inch springform pan with parchment paper. Lightly grease the sides of the pan.
- Combine the cookie crumbs, brown sugar, and salt. Stir in the melted butter until evenly moistened.
- Press into the bottom and about an inch up the sides of the pan.
- Bake for 10 minutes, then set aside to cool slightly.
To make the cheesecake filling:
- Using an electric mixer on medium speed, beat the cream cheese until smooth.
- Add both sugars, cinnamon, nutmeg, and salt, and mix until combined.
- Mix in the sour cream and vanilla.
- Add the eggs one at a time, mixing just until combined after each addition.
- Pour the batter over the cooled crust and spread evenly.
- Bake for 15 minutes.
- Reduce the oven temperature to 200°F (95°C). Continue baking for 2 hours to 2 hours 10 minutes, or until the center is just set and no longer looks wet.
- Remove the cheesecake from the oven, and gently run a thin knife around the edges.
- Return the cheesecake to the oven, turn off the oven, and leave inside for 2 hours.
- Refrigerate the cheesecake overnight.
To make the topping:
- Peel the apples and cut into roughly 1/2-inch cubes.
- Melt the butter in a large skillet over medium heat. Add the apples and cook until lightly glossy and just beginning to soften, about 3 to 4 minutes.
- Stir in the brown sugar, cinnamon, nutmeg, and salt. Cook for 2 minutes, stirring occasionally.
- Stir in the apple cider. Cook until the apples are tender and the juices have reduced to a glossy syrup that coats the apples, 4 to 6 minutes.
- Remove the pan from the heat. Stir in the lemon juice and vanilla.
- Cool completely.
To assemble:
- Once the cheesecake is thoroughly chilled, pile the cooled apple topping over the cheesecake. Spread almost to the edge, leaving about a 1/2-inch border of cheesecake visible.
- If desired, serve with whipped cream and a drizzle of caramel sauce.
Notes
- Apples: A combination of Honeycrisp and Granny Smith apples provides a nice balance of sweetness and tartness. Choose apples that hold their shape when cooked.
- Baking: The cheesecake is done when the center is just set and no longer looks wet. It will continue to firm up as it cools and chills.
- Make ahead: Prepare the cheesecake and apple topping separately up to a day in advance. The refrigerated topping will firm up, so gently rewarm it before serving, adding a teaspoon or two of apple cider if needed. Let it cool before adding it to the cheesecake.
- Serving: For the best texture, add the apple topping just before serving. You can top the whole cheesecake or spoon the apples over individual slices. Caramel sauce and whipped cream are optional.
- Storage: Store leftover cheesecake covered in the refrigerator for up to 4 days. For the best texture, refrigerate any unused apple topping separately and gently rewarm it before serving.