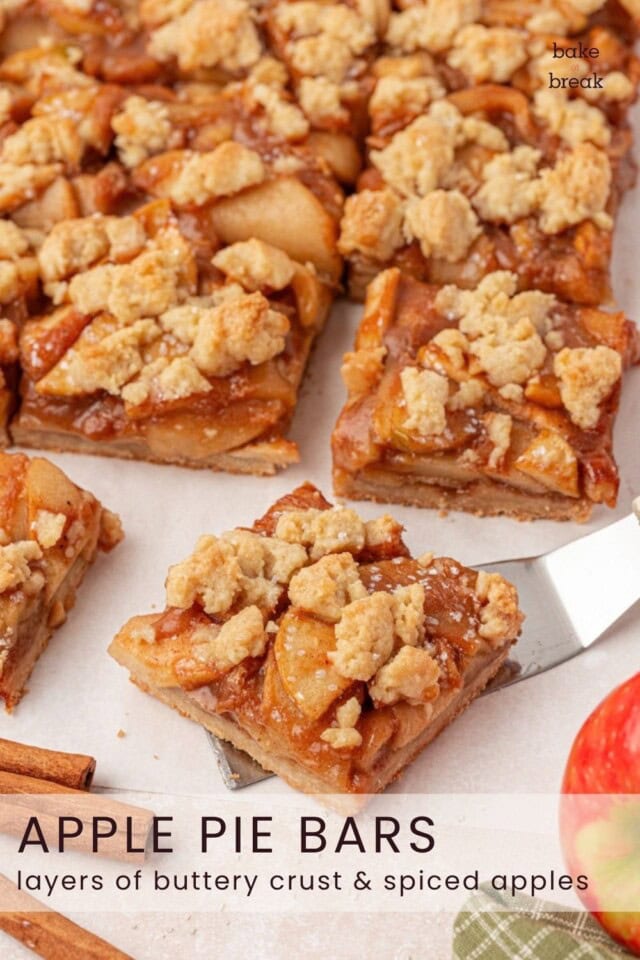
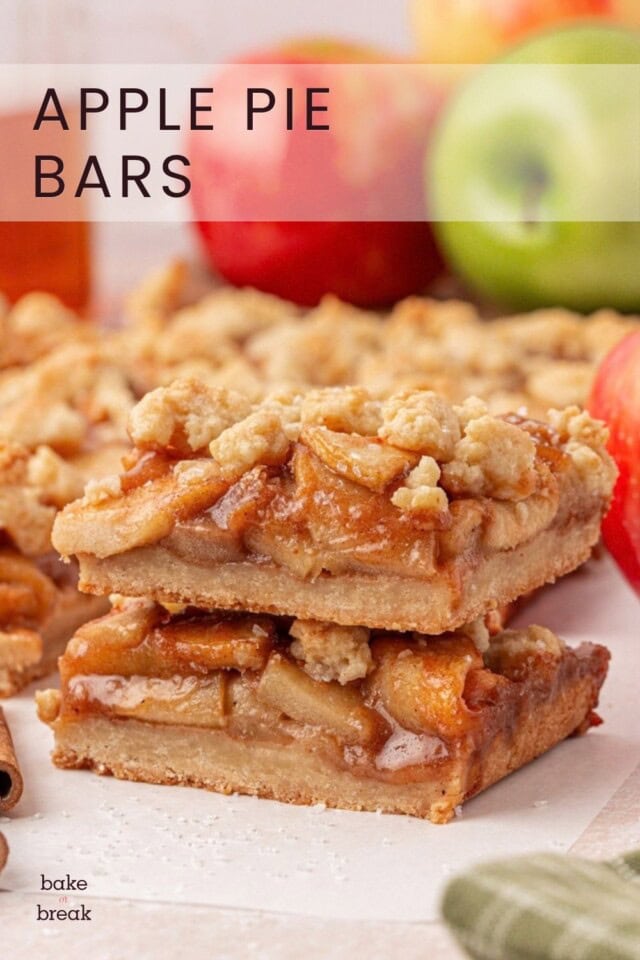
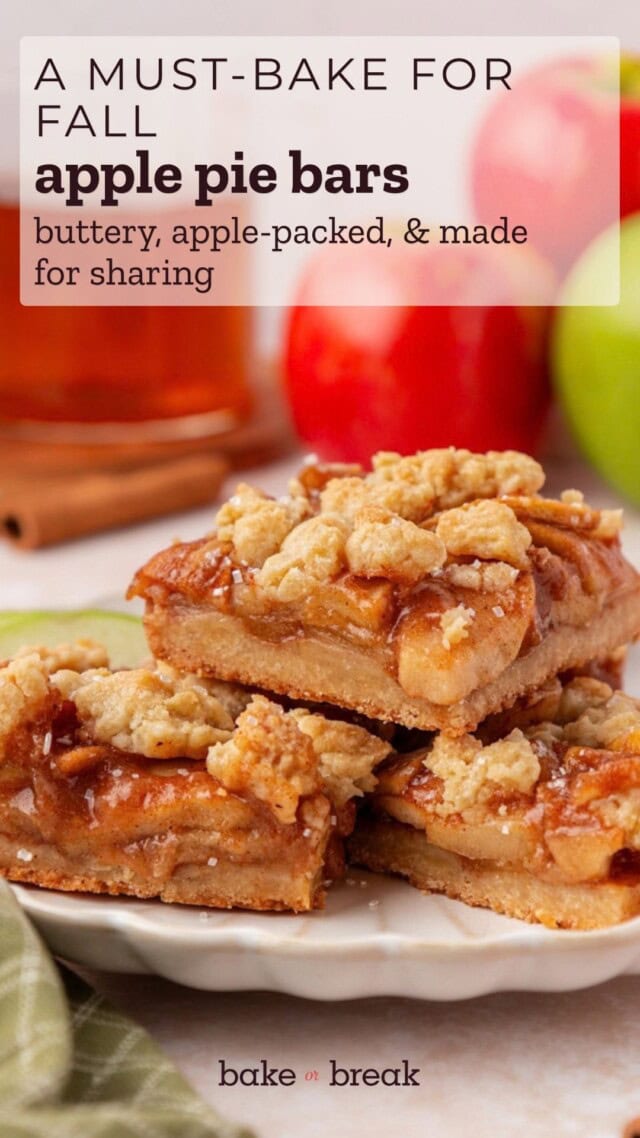
These apple pie bars are packed with warmly spiced apples between a buttery press-in crust and crumbly topping. They’re rich with apple flavor, easy to share, and every bit as satisfying as a slice of apple pie.
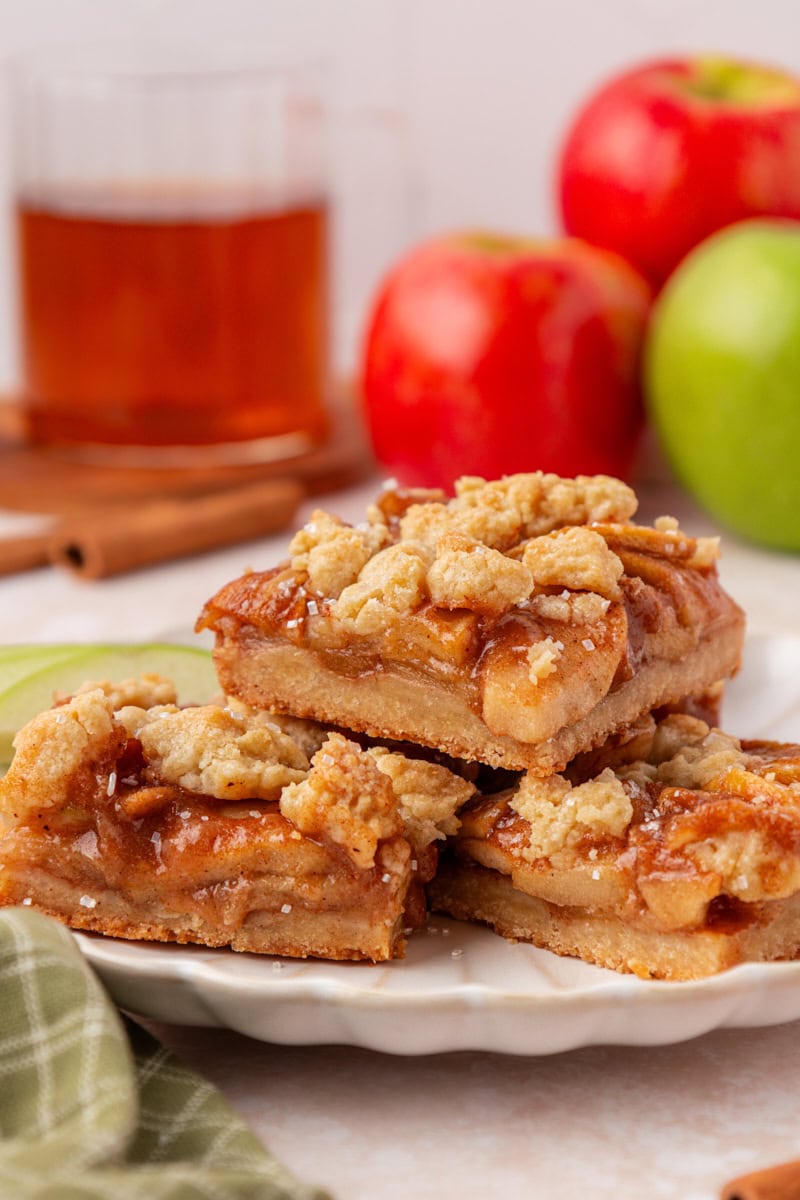
I expected to like these apple pie bars, but I didn’t expect to love them quite this much. Apple pie is always welcome at my table, but give me these buttery, apple-packed bars and I just might choose them instead.
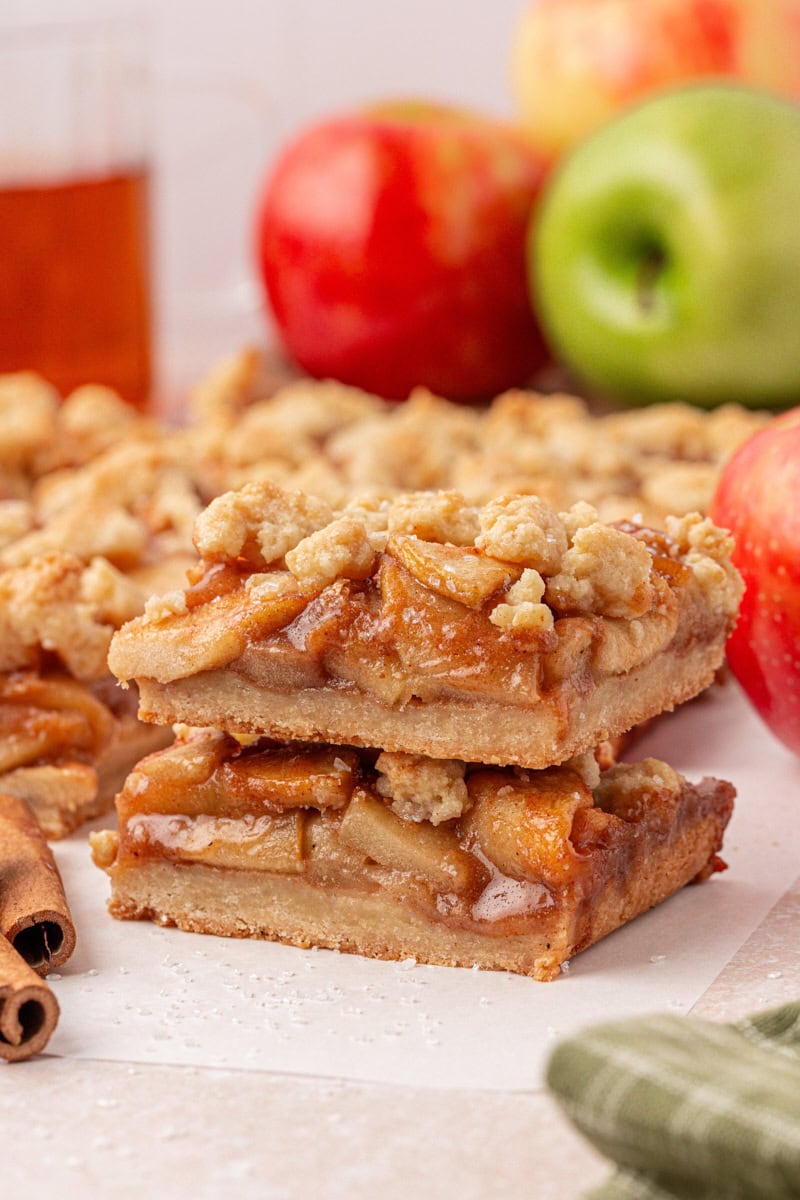
There’s a generous layer of cinnamon-spiced apples between a sturdy, buttery crust and crumbles of that same buttery dough. A few extra touches in the filling make the apple flavor really shine, while the press-in crust keeps the whole thing surprisingly easy to make. And because they’re baked in a 9×13 pan, they’re just right for sharing.
Why You’ll Love These Apple Pie Bars
- They’re absolutely packed with apples. Three pounds of apples make these bars more filling than crust, just as they should be.
- The apple flavor really stands out. A mix of sweet and tart apples plus brown sugar, lemon, apple cider, and a little apple butter gives the filling plenty of depth.
- The crust is buttery and sturdy. It’s substantial enough to support all those apples while still being tender and rich.
- One dough does double duty. The same easy press-in dough makes the bottom crust and the crumbly topping.
- They’re made for sharing. These bars are easy to transport, slice, and serve for a fall gathering or holiday dessert.
The Secret Is in the Apple Filling
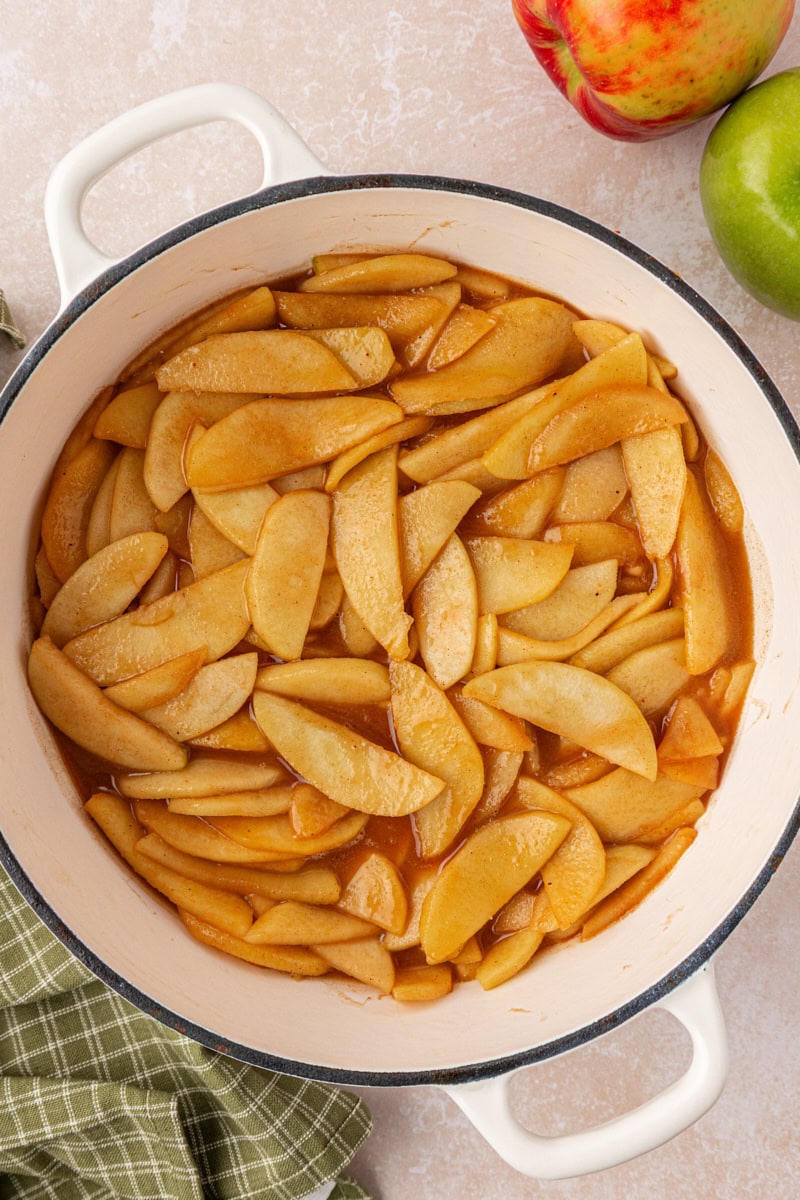
There’s a lot of apple filling in these bars — three pounds of apples! I like to use a mix of sweet and tart apples, such as Honeycrisp and Granny Smith. Combining varieties gives the filling a more interesting flavor than you’ll get from using just one type of apple.
The apples are briefly cooked before the bars are assembled. This gives them a head start on softening and lets the brown sugar, butter, cinnamon, nutmeg, and lemon mingle with the apples while still leaving the slices with some structure.
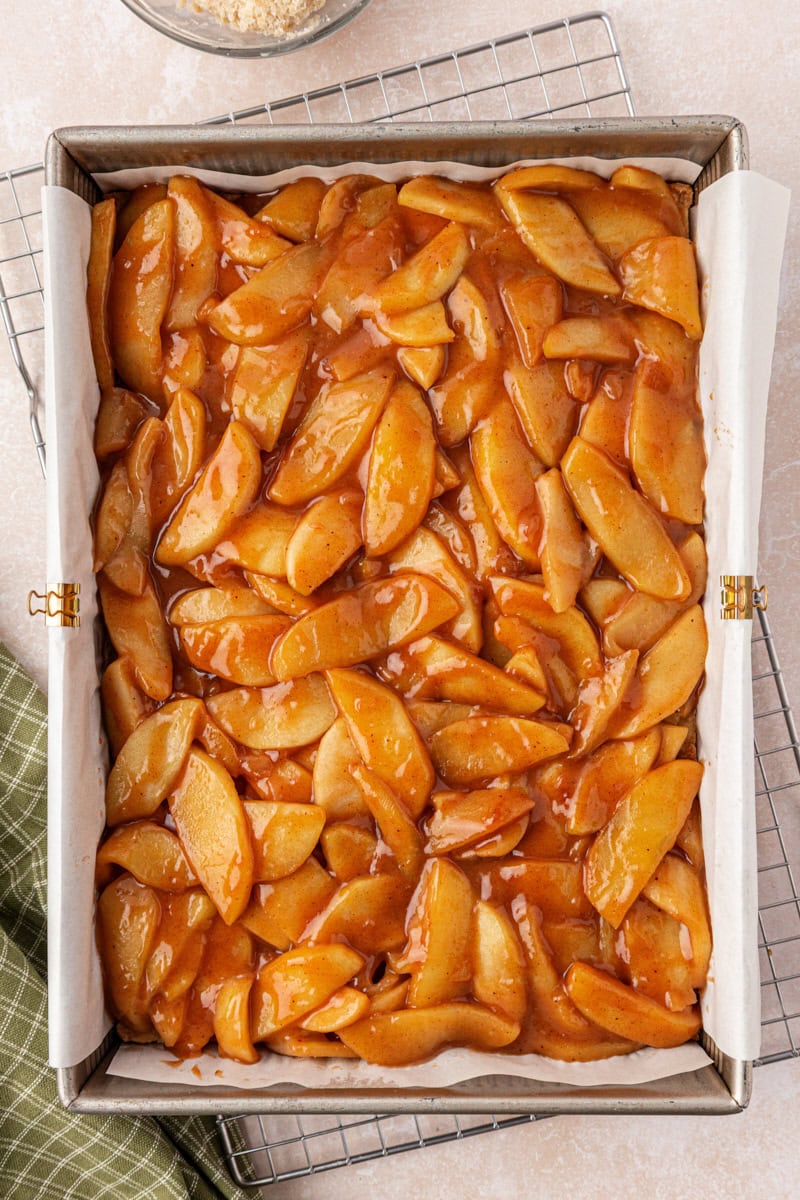
Apple cider adds another layer of apple flavor, but water works just fine if you don’t have cider on hand. Then we add cornstarch to thicken all those flavorful juices. And if you have apple butter on hand, add a couple of tablespoons. It’s completely optional, but it gives the filling an even deeper, more concentrated apple flavor.
A Buttery Crust That’s Easy to Handle
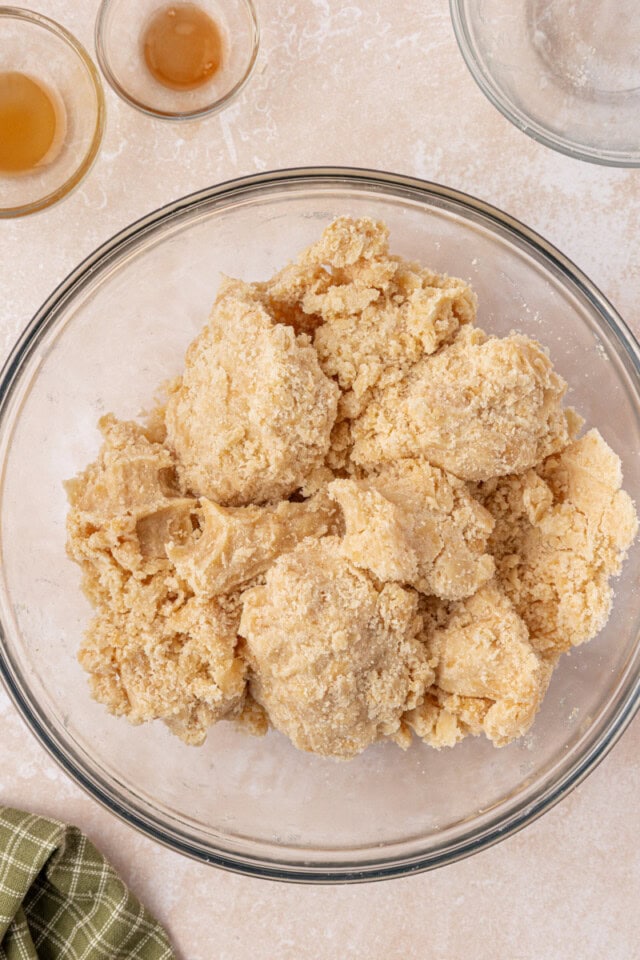
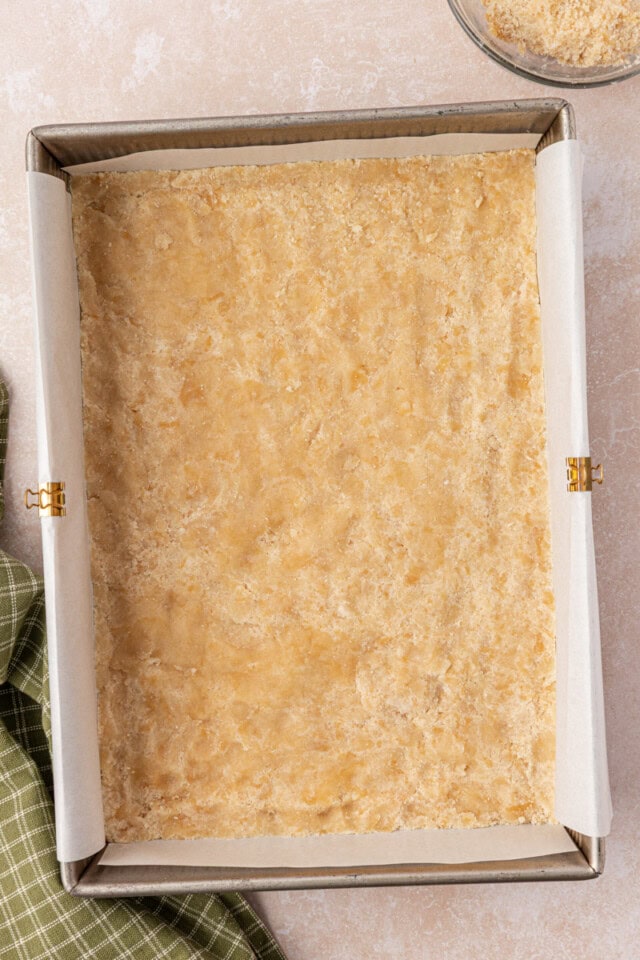
The crust is somewhere between shortbread and a simple press-in pastry. An egg yolk makes the dough richer and helps it hold together, so it’s easy to press firmly into the pan without the fuss of rolling out pie dough.
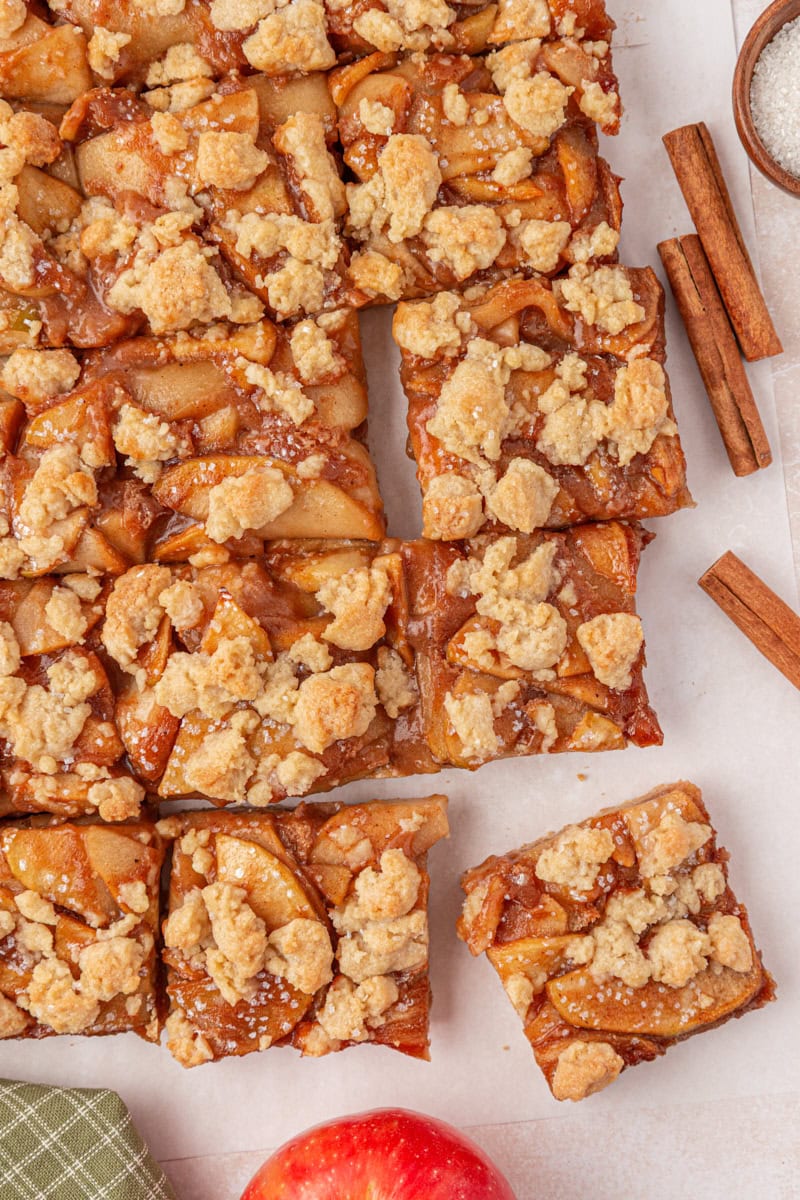
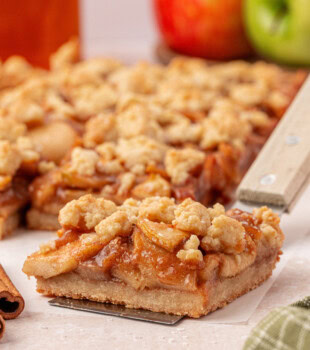
You’ll reserve about a third of the dough before pressing the rest into the pan. After a short pre-bake, add the apple filling and crumble that reserved dough over the top. It won’t cover every apple — the irregular topping and little glimpses of filling are part of the appeal.
Tips for Success
- Slice the apples evenly. Aim for slices about 1/4-inch thick so they cook at roughly the same rate. Too thin and they can lose their texture; too thick and they may still be firm when the bars are done.
- Don’t fully cook the apples on the stovetop. You’re just giving them a head start. They should begin to soften but still hold their shape before they go into the oven.
- Pay attention to the dough’s texture. It should form soft clumps and hold together when you squeeze some in your hand, but it shouldn’t be sticky. This makes it easy to press into an even, sturdy crust.
- Let the bars cool before cutting. The filling needs time to set. For especially neat squares, refrigerate the cooled bars for an hour or two before slicing.
- Don’t worry about perfect coverage on top. Crumble the reserved dough over the filling and leave some apples peaking through. Those exposed bits of filling will bubble up around the golden topping as the bars bake.
How to Store
Room temperature: Store the bars in an airtight container at room temperature for up to 2 days.
Refrigerator: For longer storage, refrigerate them in an airtight container for up to 5 days. Let them come to room temperature before serving, or warm individual bars briefly if you prefer.
Freezer: Wrap the bars well and place them in an airtight, freezer-safe container. Freeze for up to 3 months. Thaw overnight in the refrigerator or for a few hours at room temperature. The crust will soften somewhat after freezing and thawing, but the bars will still taste great. Because of the softer texture, you may find them easier to eat with a fork.
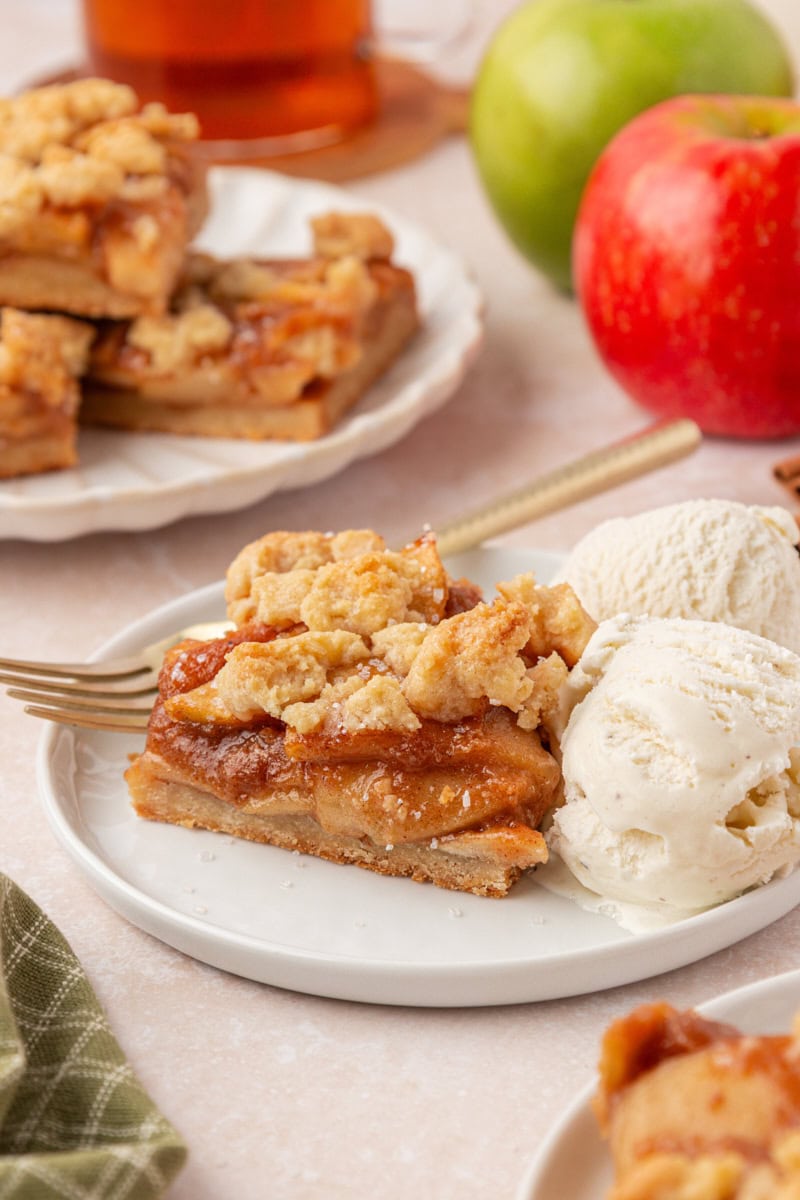
Serving Apple Pie Bars
These bars are plenty good all on their own, whether you serve them at room temperature or slightly warm. But if you want to turn them into a full-fledged dessert, warm one just enough to take the chill off and add a scoop of vanilla ice cream.
That combination of buttery crust, warm spiced apples, and cold ice cream is pretty hard to beat. And while these bars may be easier to make and serve than apple pie, there’s nothing second-best about them.
More Apple Recipes
Apple Pie Bars
Ingredients
For the crust & topping:
- 3 cups (360 g) all-purpose flour
- 1 cup (200 g) granulated sugar
- 1 teaspoon salt
- 1 cup (226 g) unsalted butter, cold and cut into cubes
- 1 large egg yolk
- 2 teaspoons vanilla extract
For the filling:
- ¼ cup (56 g) unsalted butter
- 3 pounds apples, about 6 to 8 medium, peeled, cored, & sliced 1/4-inch thick (preferably a mix of sweet and tart)
- ⅔ cup (133 g) firmly packed light brown sugar
- 2 teaspoons ground cinnamon
- ¼ teaspoon ground nutmeg
- ¼ teaspoon salt
- 2 teaspoons lemon juice
- 2 tablespoons apple butter, optional
- 2 tablespoons cornstarch
- 2 tablespoons apple cider or water
- coarse sanding sugar, for finishing
Instructions
To make the crust & topping:
- Preheat the oven to 350°F (175°C). Grease a 9×13-inch pan and line it with parchment, leaving an overhang on the two long sides.
- Whisk together the flour, sugar, and salt in a medium bowl.
- Cut in the butter using a pastry blender, a fork, or your fingers until the mixture forms coarse crumbs with some pea-sized pieces remaining.
- Stir together the egg yolk and vanilla, then work them into the flour mixture until it forms soft clumps. The dough should come together when squeezed but shouldn’t be sticky.
- Reserve about a third of the dough for the topping, and refrigerate it while making the crust.
- Press the remaining dough evenly into the prepared pan.
- Bake for 18 to 22 minutes, or until the crust looks set and the edges are just beginning to turn golden.
To make the filling:
- While the crust bakes, melt the butter in a large skillet or Dutch oven over medium heat.
- Add the apples, brown sugar, cinnamon, nutmeg, salt, and lemon juice.
- Cook for about 6 to 8 minutes, stirring occasionally, until the apples begin to soften but still hold their shape.
- If using, stir in the apple butter.
- Mix the cornstarch with the apple cider (or water) until smooth. Stir into the apples, and cook another 1 to 2 minutes, until glossy and lightly thickened.
- Remove from the heat and allow to cool for about 5 minutes.
To assemble and bake:
- Spread the apple filling evenly over the warm crust.
- Crumble the reserved dough evenly over the apples. It doesn’t need to completely cover the filling.
- Sprinkle generously with coarse sugar.
- Bake 35 to 40 minutes, or until the topping is golden brown, the filling is bubbling around the edges, and the center not longer looks wet.
- Cool completely in the pan. For the cleanest slices, refrigerate for 1 to 2 hours before cutting.
- Serve at room temperature or slightly warm.
Notes
- Apples: For the best flavor, use a combination of sweet and tart apples. I like a mix of Honeycrisp and Granny Smith.
- Apple cider: Water can be substituted for the apple cider, but cider adds another boost of apple flavor.
- Apple butter: This is optional, so there’s no need to buy a jar just for this recipe. If you have some on hand, use it to add a deeper, more concentrated apple flavor to the filling.
- Servings: Cutting the bars into 15 pieces makes generously sized servings. For a party or dessert spread, cut them smaller to make 20 to 24 bars.
- For neat slices: Cool the bars completely before cutting. For especially clean cuts, refrigerate them for an hour or two first.