

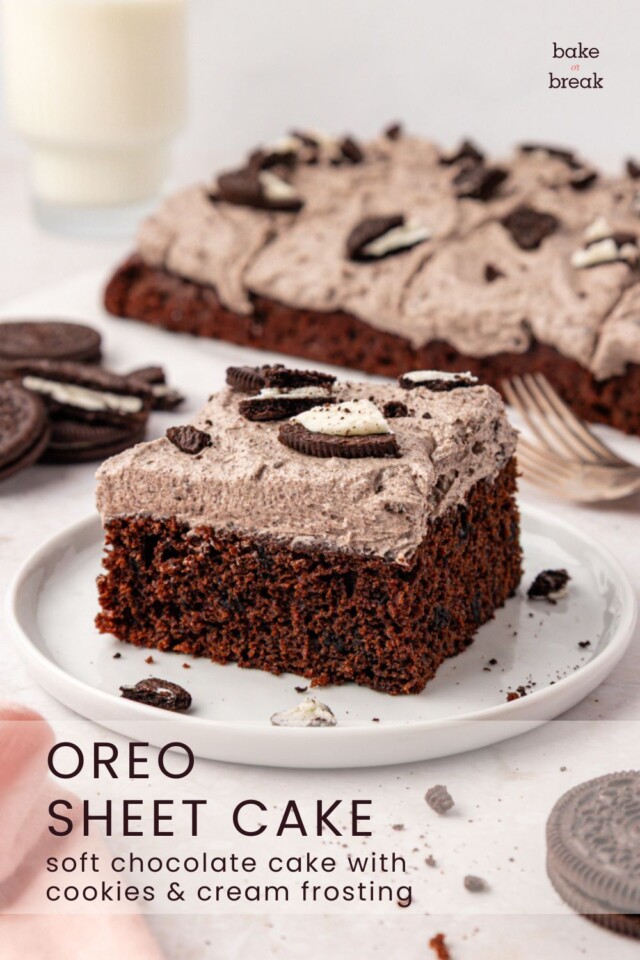
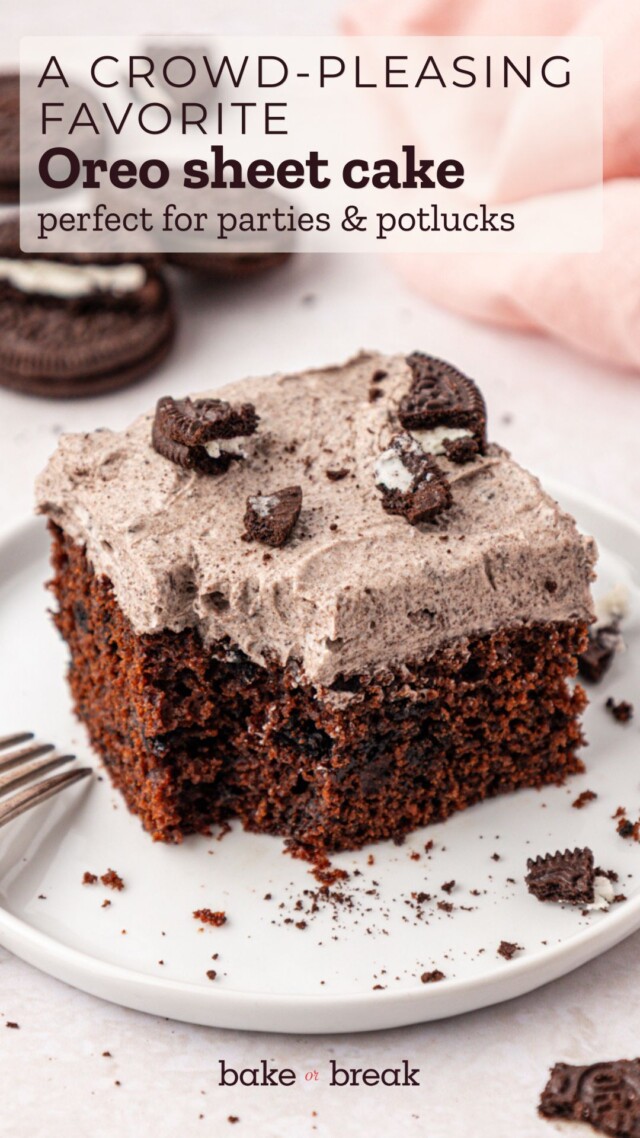
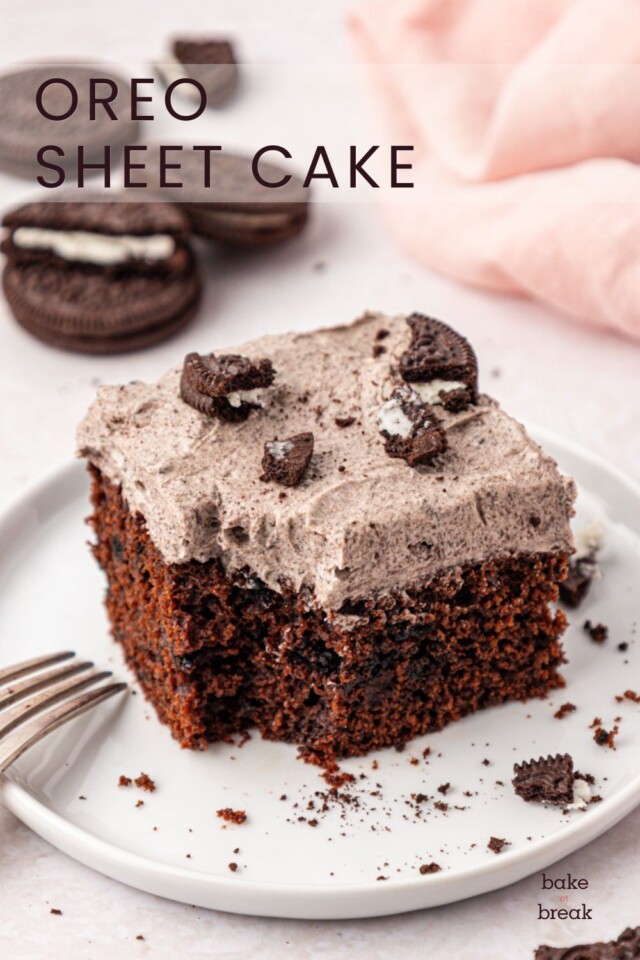
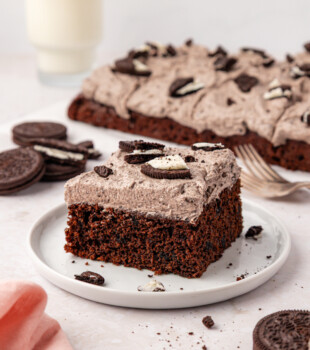
If you’re an Oreo fan, this Oreo sheet cake belongs on your baking list. This soft, moist chocolate cake is packed with chopped Oreo cookies and topped with a fluffy cookies and cream buttercream for an easy dessert that’s always a crowd-pleaser.
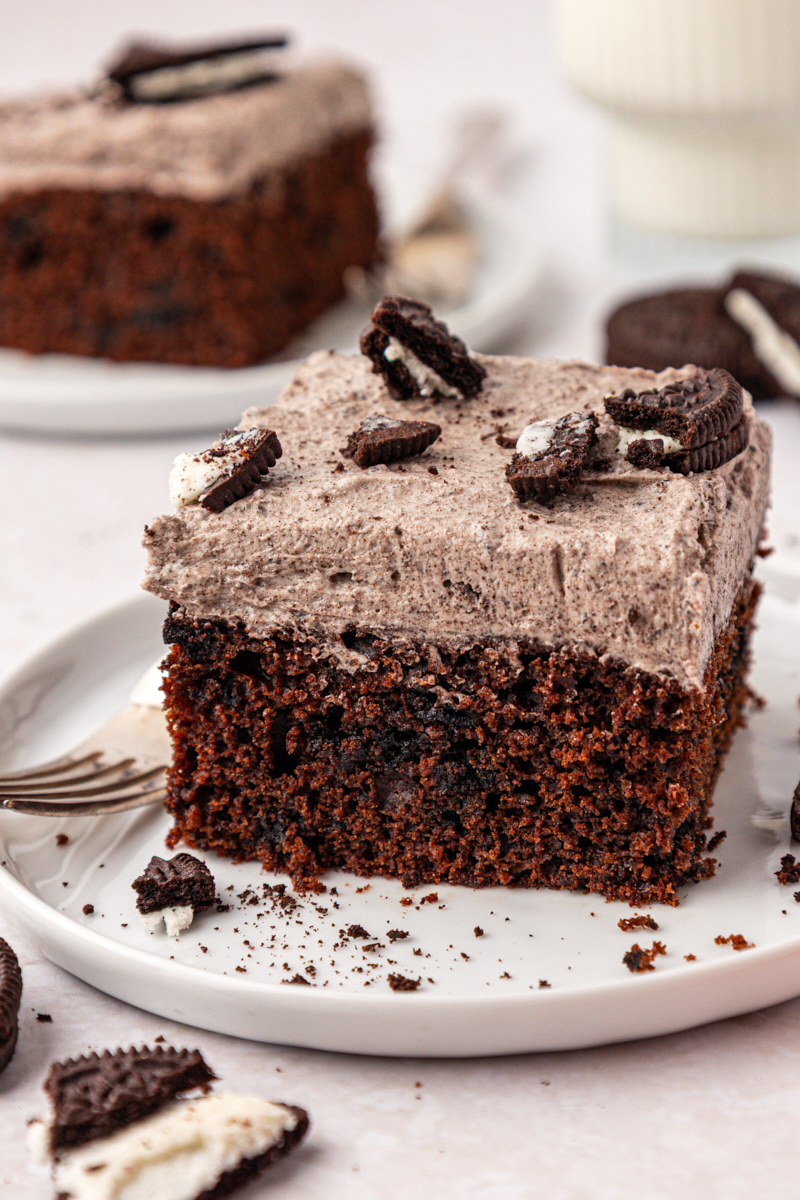
There’s something about Oreos that instantly makes a dessert feel fun. Whether they’re tucked into cheesecakes, blended into ice cream, or simply enjoyed with a glass of milk, they’re one of those ingredients that almost everyone loves.
This Oreo sheet cake brings together a rich chocolate cake, plenty of chopped Oreo cookies, and a fluffy cookies and cream buttercream in an easy-to-make dessert that’s perfect for birthdays, potlucks, celebrations, or simply satisfying an Oreo craving. Because it’s baked in a 9×13-inch pan, there’s no stacking, filling, or decorating — just a simple cake that’s big on flavor.
Why You’ll Love This Oreo Sheet Cake
- Soft and moist chocolate cake with just the right amount of chocolate flavor.
- Oreos in every bite from the chopped cookies folded into the batter and mixed into the frosting.
- Easy to make. No layer cakes or complicated decorating required.
- Perfect for sharing. A 9×13-inch cake is ideal for parties, potlucks, and family gatherings.
- Classic cookies and cream flavor that both kids and adults love.
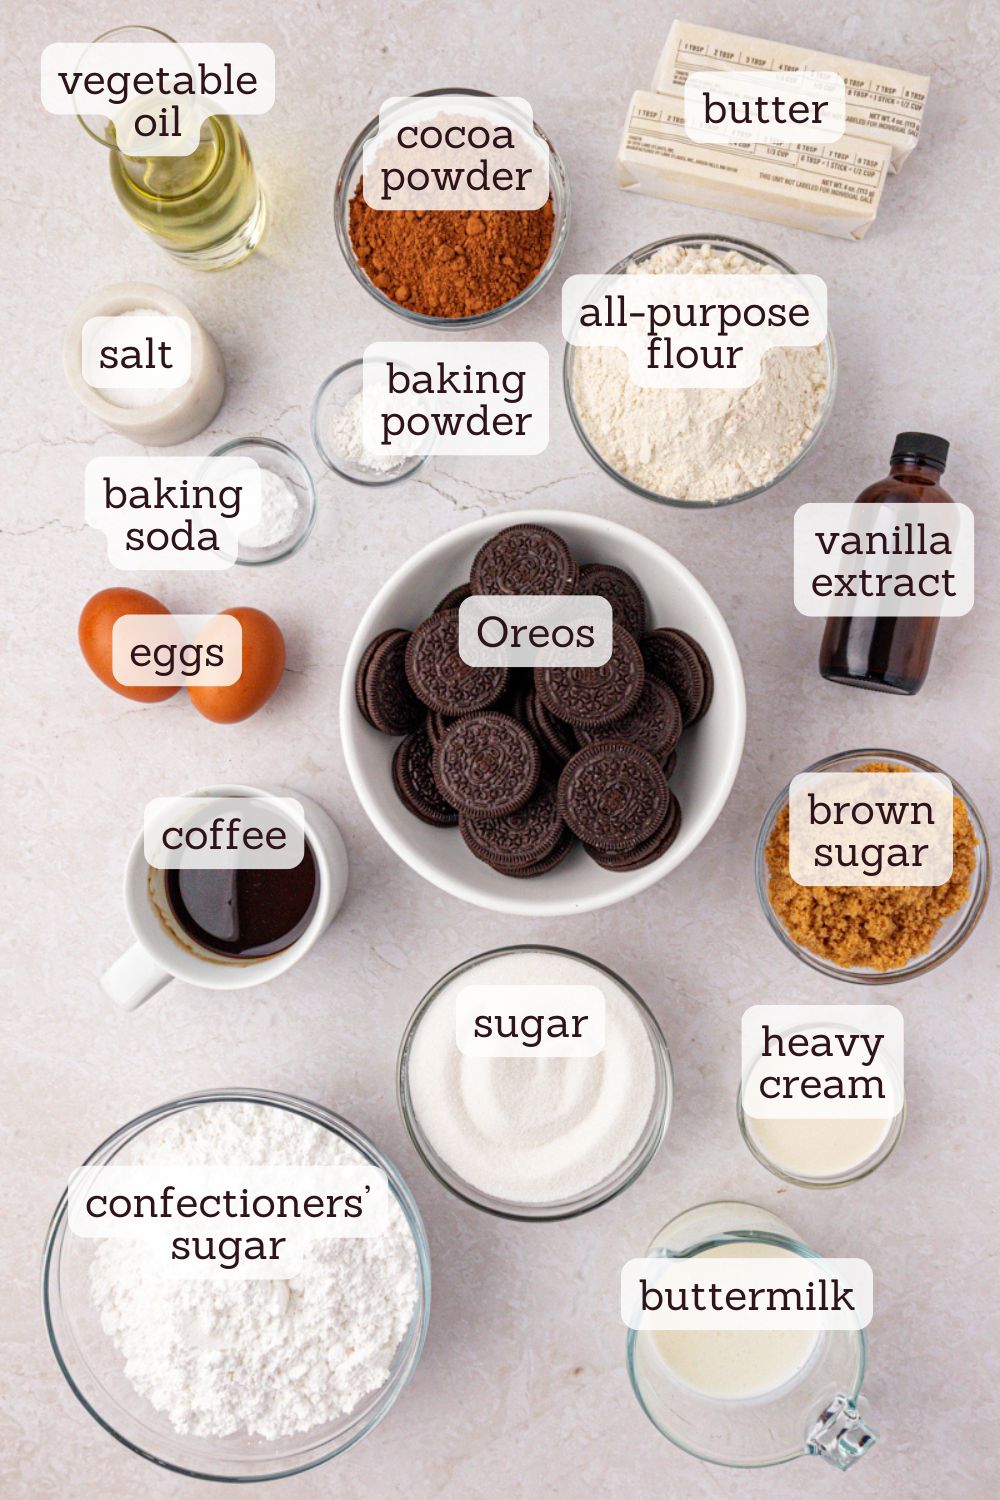
Key Ingredients
- Oreo cookies – Regular Oreos work best here. Double Stuf Oreos contain more filling, which can affect the texture of both the cake and the frosting. Chop the cookies for the cake and use a mix of finely and roughly crushed cookies for the frosting.
- Cocoa powder – Natural unsweetened cocoa powder gives the cake a rich chocolate flavor without overpowering the Oreos.
- Buttermilk – Buttermilk helps create a tender, moist crumb while adding just enough tang to balance the sweetness.
- Hot coffee (or hot water) – Adding hot coffee blooms the cocoa for deeper chocolate flavor without making the cake taste like coffee. If you prefer, hot water works well, too.
- Butter – The cookies and cream buttercream starts with butter for a light, fluffy frosting that lets the Oreo flavor shine.
How to Make Oreo Sheet Cake
Mix the dry ingredients.
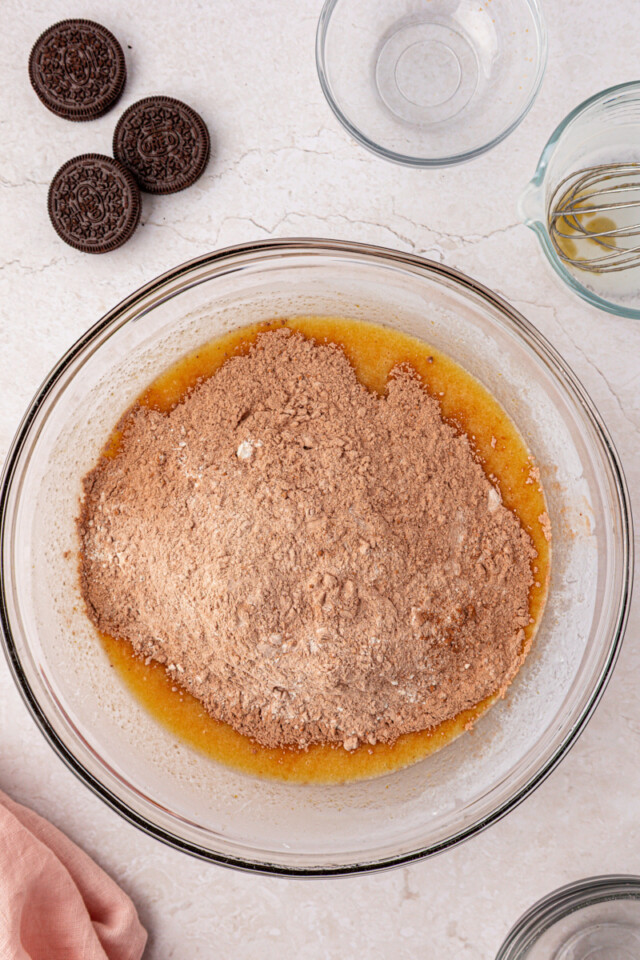
Whisk together the flour, cocoa powder, baking powder, baking soda, and salt to evenly distribute the leavening and break up any cocoa lumps.
Whisk together the wet ingredients.
Combine the sugars, oil, eggs, and vanilla, then add the buttermilk until smooth. Because this is an oil-based cake, there’s no need to cream butter or alternate the dry ingredients and buttermilk.
Finish the batter.
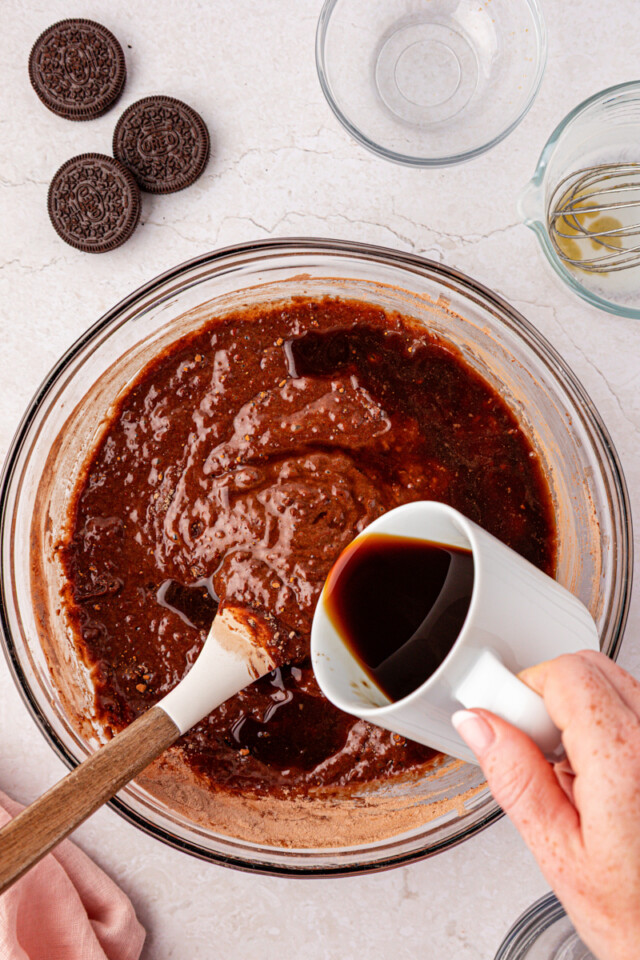
Mix the dry ingredients into the wet ingredients just until combined. Slowly stir in the hot coffee (or hot water). The batter will be thin — that’s exactly what you want. The hot liquid blooms the cocoa and helps create a moist, tender cake.
Fold in the Oreos.
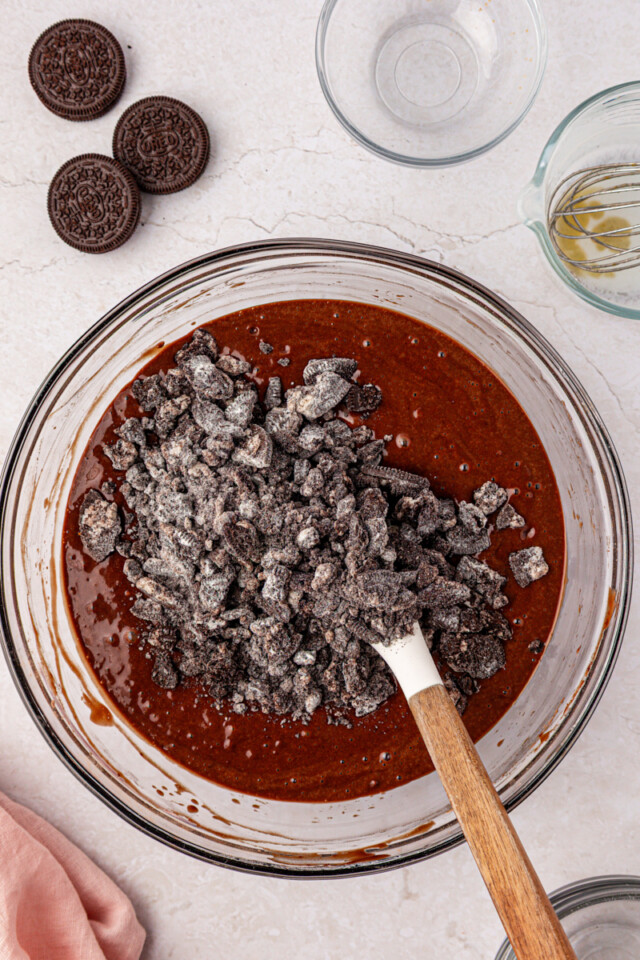
Toss the chopped Oreos with a little flour before folding them into the batter. This helps keep the cookie pieces more evenly distributed throughout the cake.
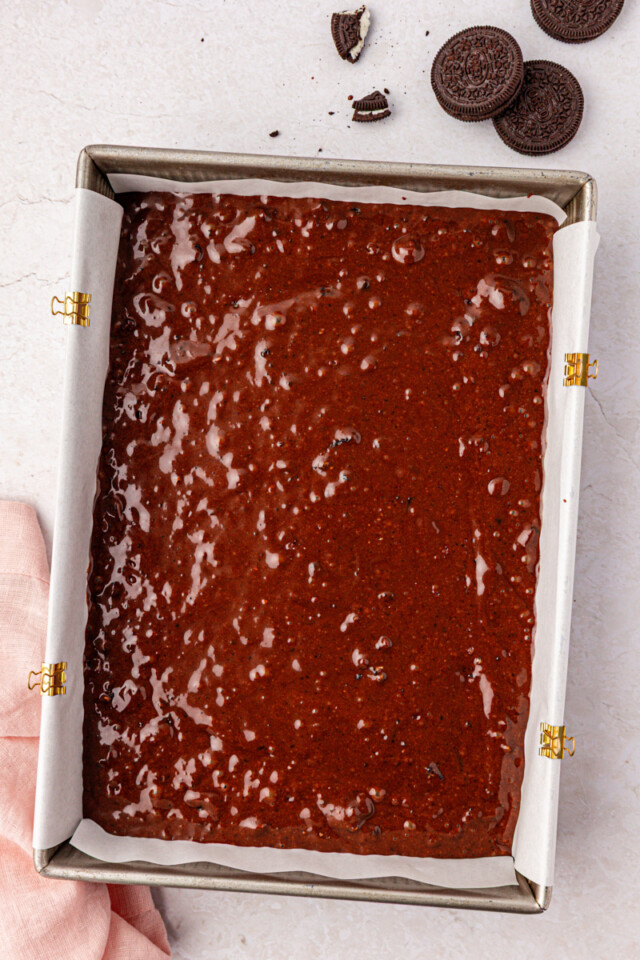
Bake until just done.
Bake until a tester inserted into the center comes out with a few moist crumbs. Avoid over-baking to keep the cake soft and moist.
Make the cookies and cream buttercream.
Beat the butter until creamy before adding the remaining frosting ingredients. Fold in the crushed Oreos at the end, using a mix of finely crushed and larger pieces for the best flavor and texture.
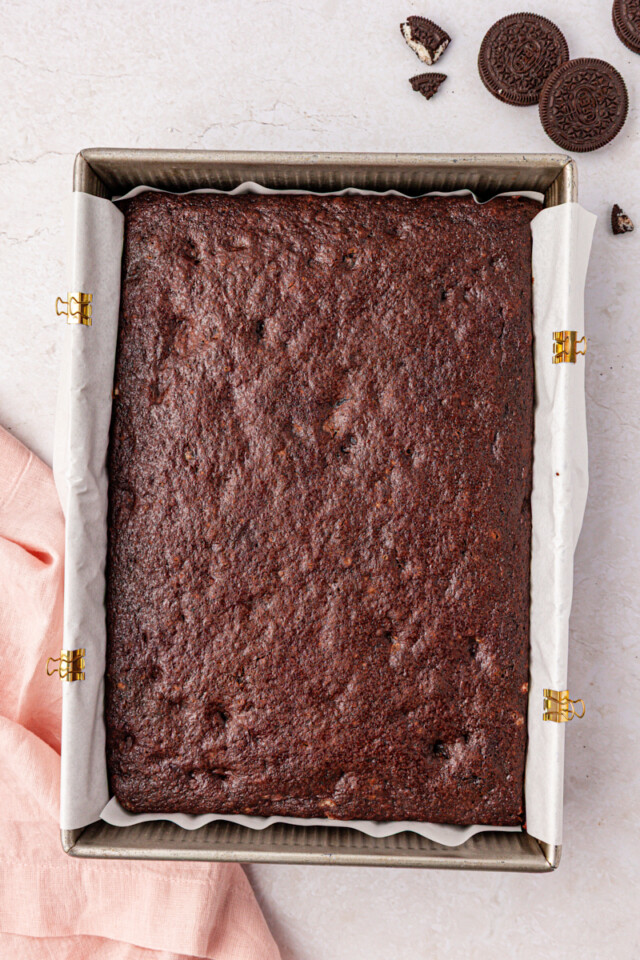
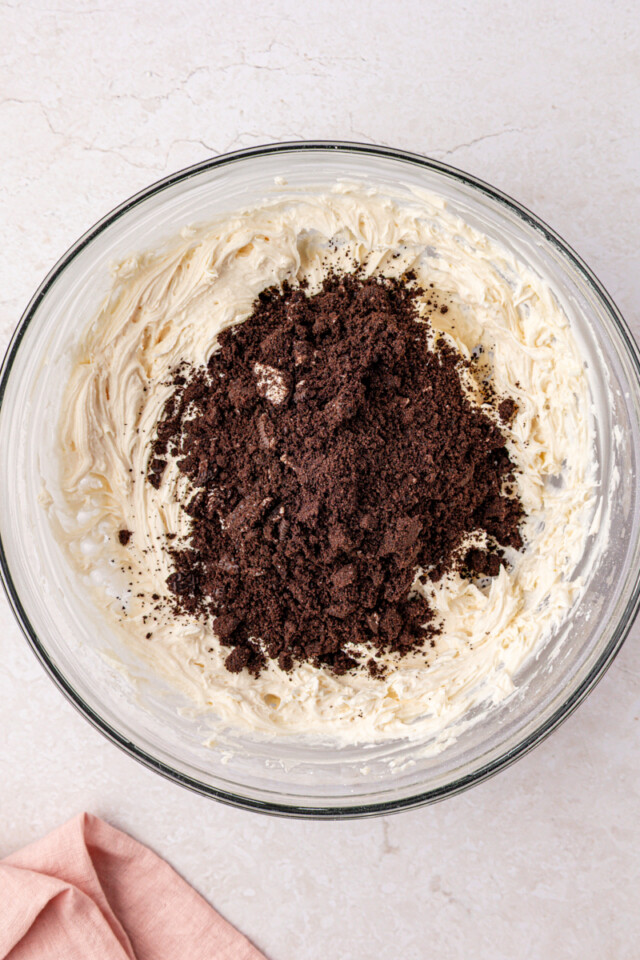
Frost and garnish.
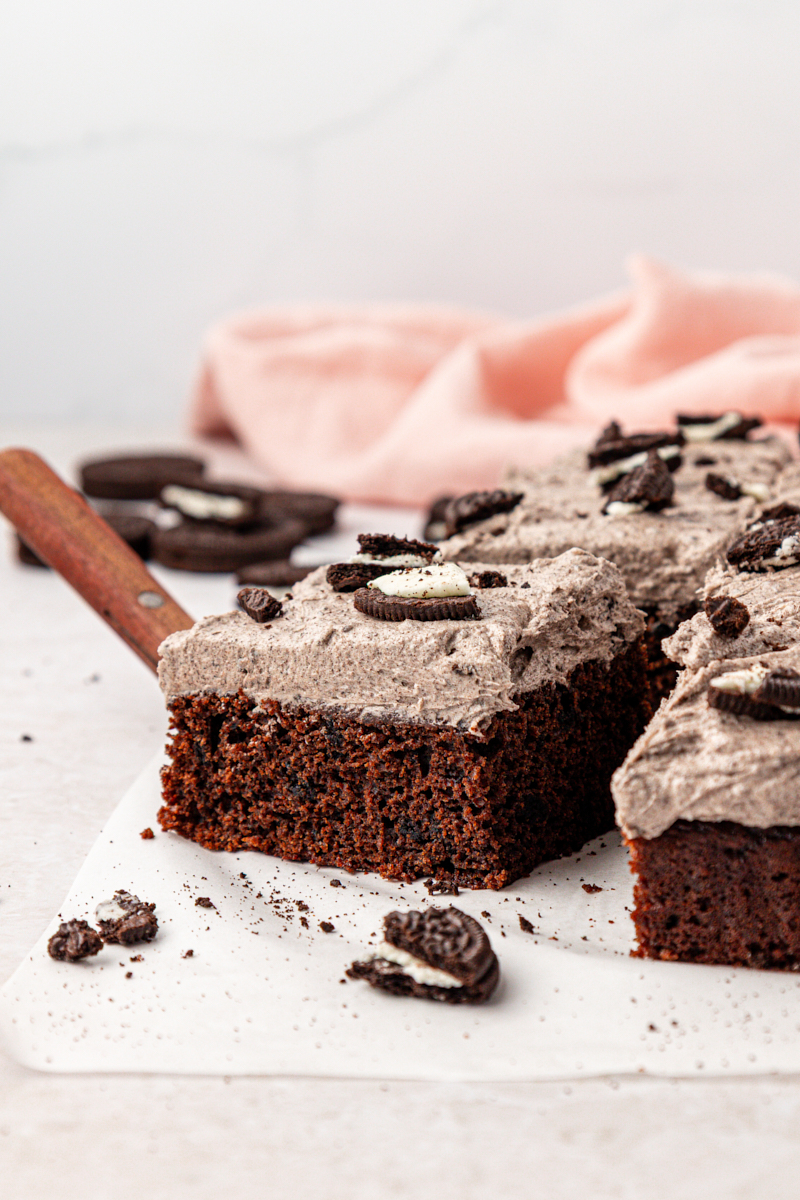
Once the cake has cooled completely, spread the frosting over the top with relaxed swoops. Finish with a sprinkle of extra Oreo pieces for an easy, classic look.
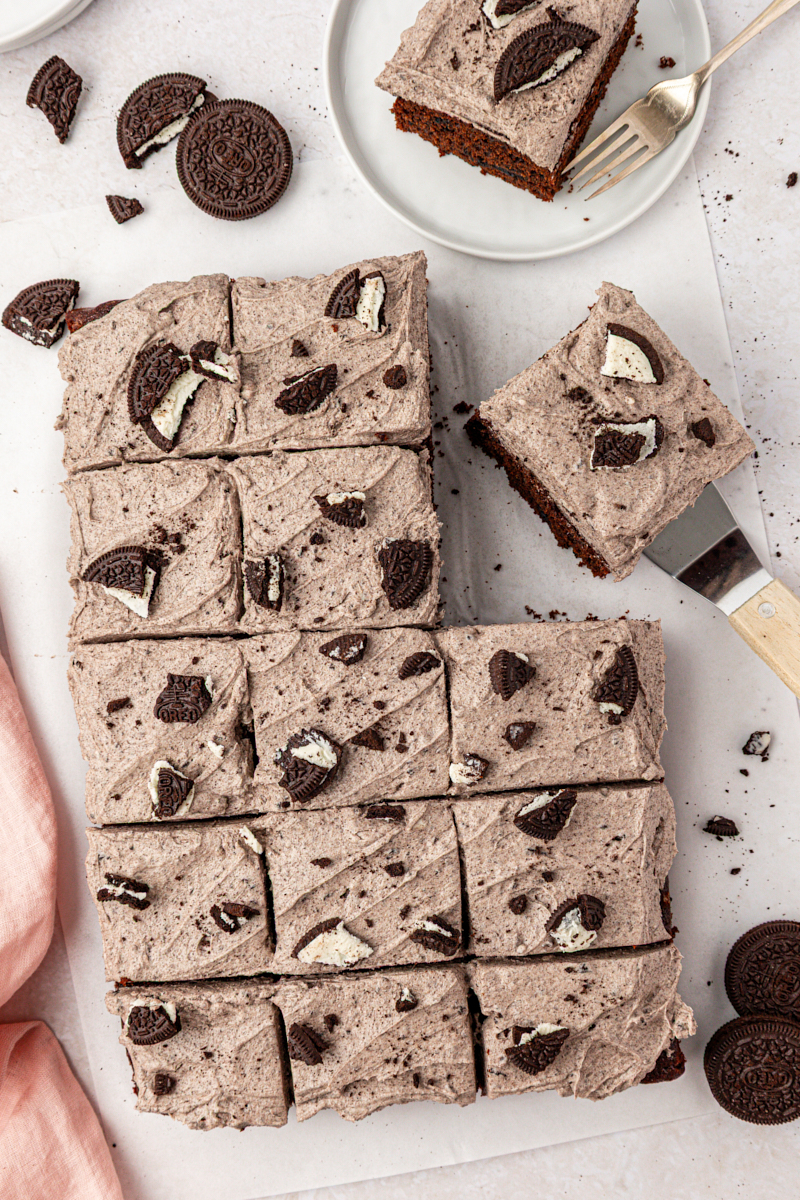
Tips for Success
- Measure the flour accurately. Too much flour is one of the quickest ways to end up with a dry chocolate cake. I recommend using a digital kitchen scale if possible. Otherwise, the spoon and sweep method is your best bet. You can learn more with my tips for measuring flour for baking.
- Don’t over-mix. Mix just until the flour disappears before adding the Oreos to keep the cake tender.
- Chop, don’t crush, the Oreos for the batter. Larger pieces stay visible after baking and give the cake its signature cookies and cream look.
- Cool the cake completely. Even a slightly warm cake can melt the buttercream.
- Use two textures of Oreo crumbs in the frosting. Finely crushed cookies add flavor throughout, while a few larger pieces give the frosting extra texture.
- Spread the frosting with swoops. This cake looks best with an easy, rustic finish instead of perfectly smooth frosting.
How to Store
Room temperature: Once frosted, the cake can be covered tightly and stored at room temperature for up to 2 days.
Refrigerator: For longer storage, refrigerate tightly covered for up to 4 days. Let refrigerated slices sit at room temperature for about 20 to 30 minutes before serving for the best texture.
Freezer: Wrap the whole cake or individual slices well and freeze for up to 2 months. Thaw overnight in the refrigerator or for a couple of hours at room temperature.
Make ahead: You can bake the cake a day in advance. Once completely cooled, cover tightly and store at room temperature. For the best results, frost the cake the day you plan to serve it. You can frost it a day in advance — just keep in mind that the Oreo pieces in the frosting will soften a bit as the cake sits, but they’ll still add plenty of cookies-and-cream flavor.
One More Reason to Buy Oreos
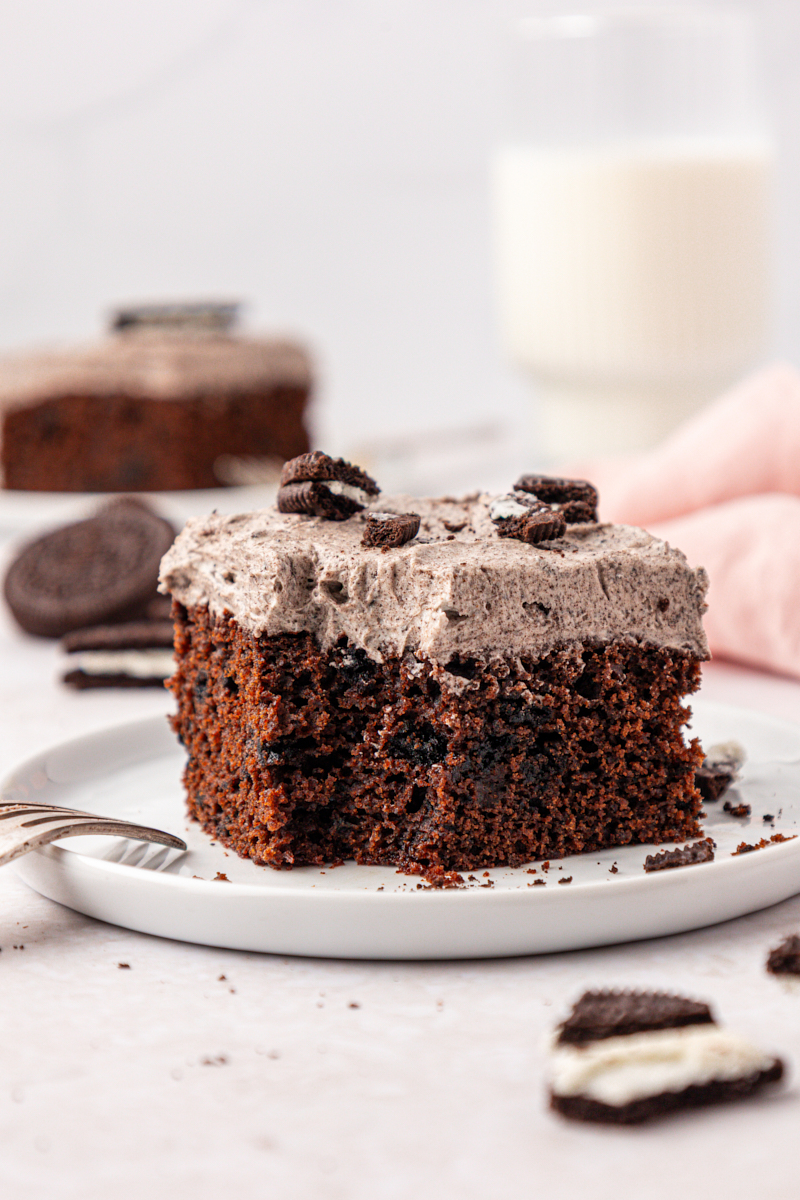
If you’re baking for an Oreo fan, this Oreo sheet cake is hard to beat. It’s easy enough for any occasion but fun enough to make birthdays and celebrations feel a little more special. And if you’re looking for an even more impressive Oreo dessert, my cookies and cream cake turns those same favorite flavors into a beautiful layer cake that’s perfect for celebrating.
More Sheet Cake Recipes for Sharing

Oreo Sheet Cake
Ingredients
For the cake:
- 1 ¾ cups (210 g) all-purpose flour, plus 1 tablespoon for the cookies
- ¾ cup (63 g) unsweetened natural cocoa powder
- 1 ½ teaspoons baking powder
- ½ teaspoon baking soda
- ¾ teaspoon salt
- 1 cup (200 g) granulated sugar
- ½ cup (100 g) firmly packed light brown sugar
- ½ cup (120 ml) vegetable oil (or other neutral oil)
- 2 large eggs, at room temperature
- 2 teaspoons vanilla extract
- ½ cup (120 ml) buttermilk, at room temperature
- ½ cup (120 ml) hot coffee or hot water (160-180°F)
- 14 Oreo cookies, roughly chopped
For the frosting:
- 1 cup (226 g) unsalted butter, softened
- 3 to 3 ½ cups (330 to 385 g) confectioners’ sugar
- 3 to 4 tablespoons (45 to 60 ml) heavy cream
- 2 teaspoons vanilla extract
- ¼ teaspoon salt
- 12 to 14 Oreo cookies, crushed (plus more for optional garnish)
Recommended Products
Instructions
To make the cake:
- Preheat the oven to 350°F (175°C). Grease a 9×13-inch pan and line with parchment paper if you want easy removal after baking.
- Whisk together the flour, cocoa powder, baking powder, baking soda, and salt. Set aside.
- In a large bowl, whisk together the sugar, brown sugar, oil, eggs, and vanilla until smooth. Whisk in the buttermilk.
- Add the dry ingredients mixture, and mix just until combined.
- Slowly add the hot coffee (or water) while stirring. The batter will be thin.
- Toss the chopped Oreos with 1 tablespoon of flour, then fold them into the batter.
- Pour the batter into the pan and spread evenly.
- Bake 28 to 32 minutes, or until a tester comes out with a few moist crumbs attached.
- Place the pan on a wire rack and allow the cake to cool completely before frosting.
To make the frosting:
- Using an electric mixer on medium speed, beat the butter until smooth and creamy.
- Gradually add 3 cups (330g) of confectioners’ sugar, mixing until combined and smooth.
- Add 3 tablespoons (45ml) cream, the vanilla, and salt. Beat until fluffy.
- If needed, add more sugar or cream to adjust the consistency. The frosting should be soft and spreadable, not stiff.
- Fold in the crushed Oreos.
- Spread the frosting over the cooled cake. Sprinkle more cookie pieces over the top if you like.
Notes
- Regular Oreo cookies work best in both the cake and the frosting. Double Stuf Oreos contain more filling and can affect the texture.
- Hot coffee deepens the chocolate flavor without making the cake taste like coffee. Hot water works well if you prefer not to use coffee.
- For the frosting, use a combination of finely crushed and slightly larger Oreo pieces for the best flavor and texture.
- The batter will be fairly thin after adding the hot coffee. That’s normal and helps create a soft, moist cake.
- Makes 15 generous servings or can be cut smaller to suit your needs.
- For the freshest Oreo texture, enjoy the cake within the first day or two. The cookie pieces in the frosting will soften over time but will still add plenty of cookies-and-cream flavor.
2 Comments on “Oreo Sheet Cake”
One of our trivia team members asked for this cake for his birthday. I’ll let you know how much he loved it.
I hope it’s a hit, Lisa! I love this cake as a birthday dessert.