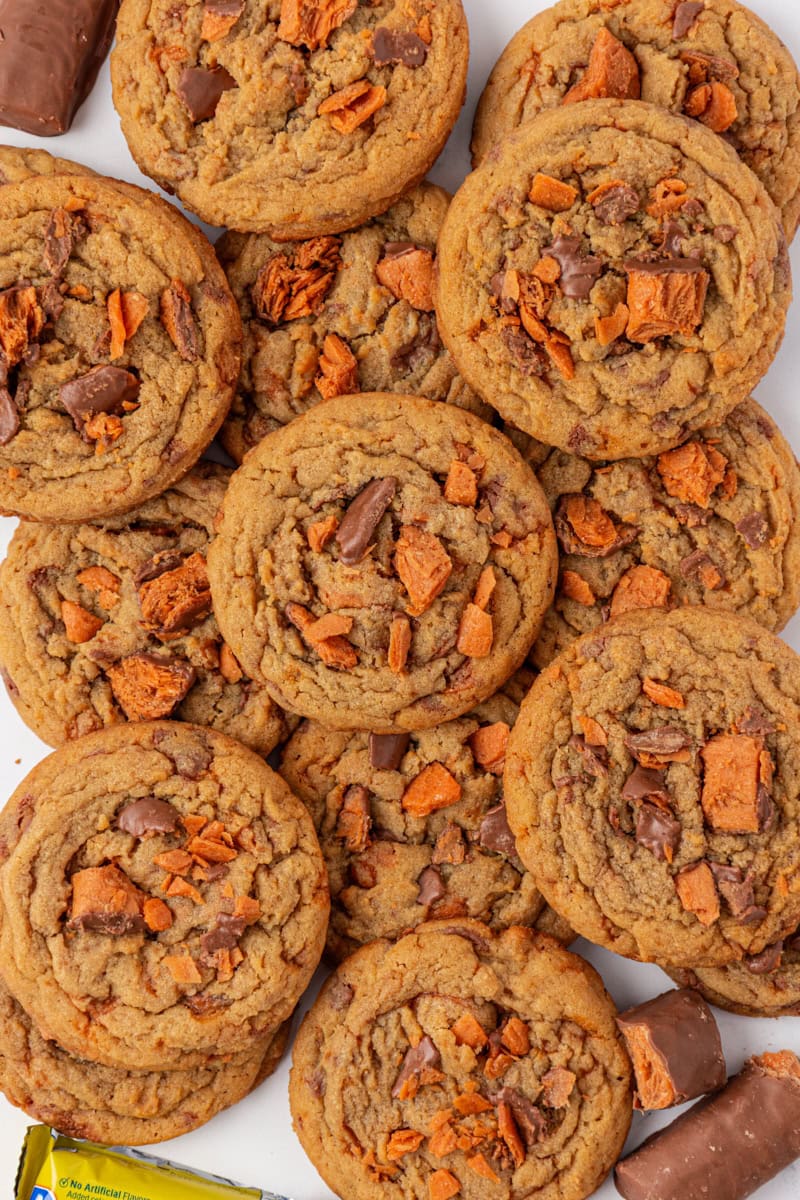
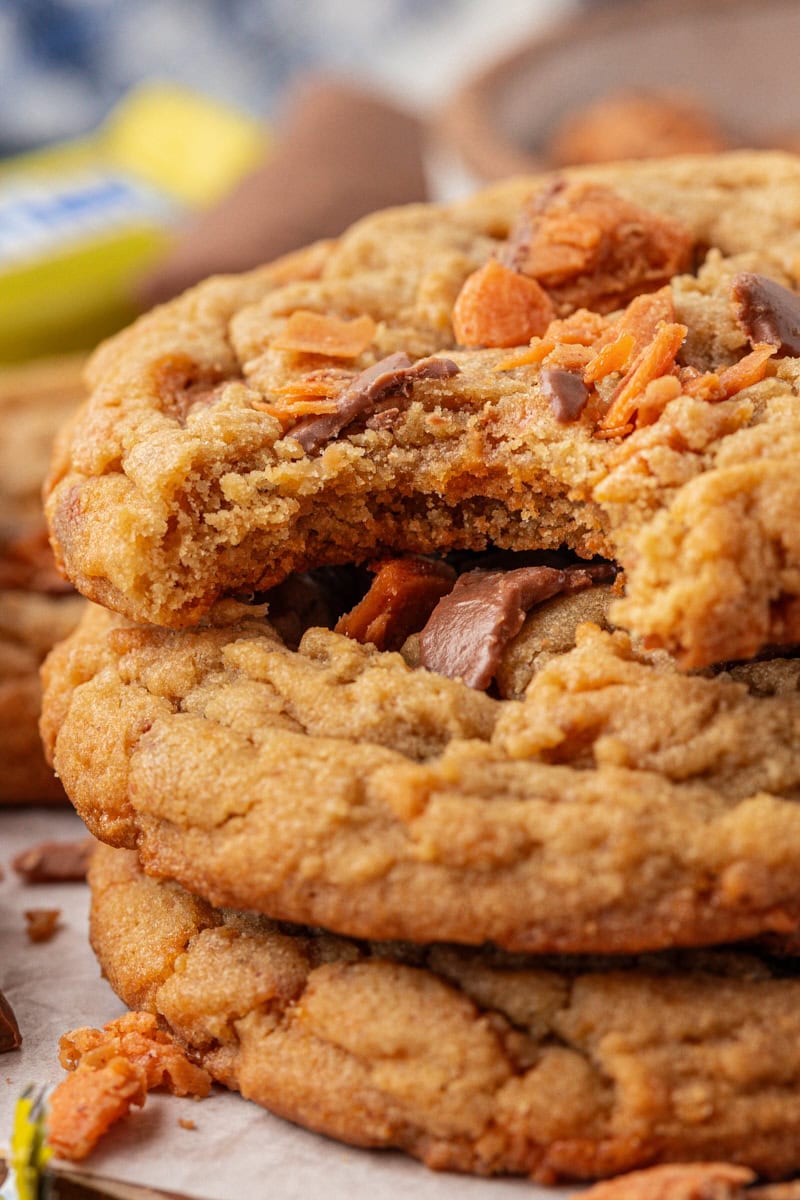
These Butterfinger cookies are soft, chewy peanut butter cookies packed with crunchy Butterfinger pieces for an irresistible candy-bar twist.

If you’re a fan of candy-stuffed cookies, you’re going to love these Butterfinger cookies. They’re big, soft, and full of peanut butter flavor with plenty of Butterfinger candy pieces mixed in and sprinkled on top. The combination of creamy peanut butter and crisp, flaky candy bits creates a perfect contrast in every bite.
These are exactly the kind of cookies that feel a little nostalgic but still totally worthy of a spot in your cookie jar. And best of all, they’re simple to make with pantry basics and a handful of Butterfingers.
Why You’ll Love These Butterfinger Cookies
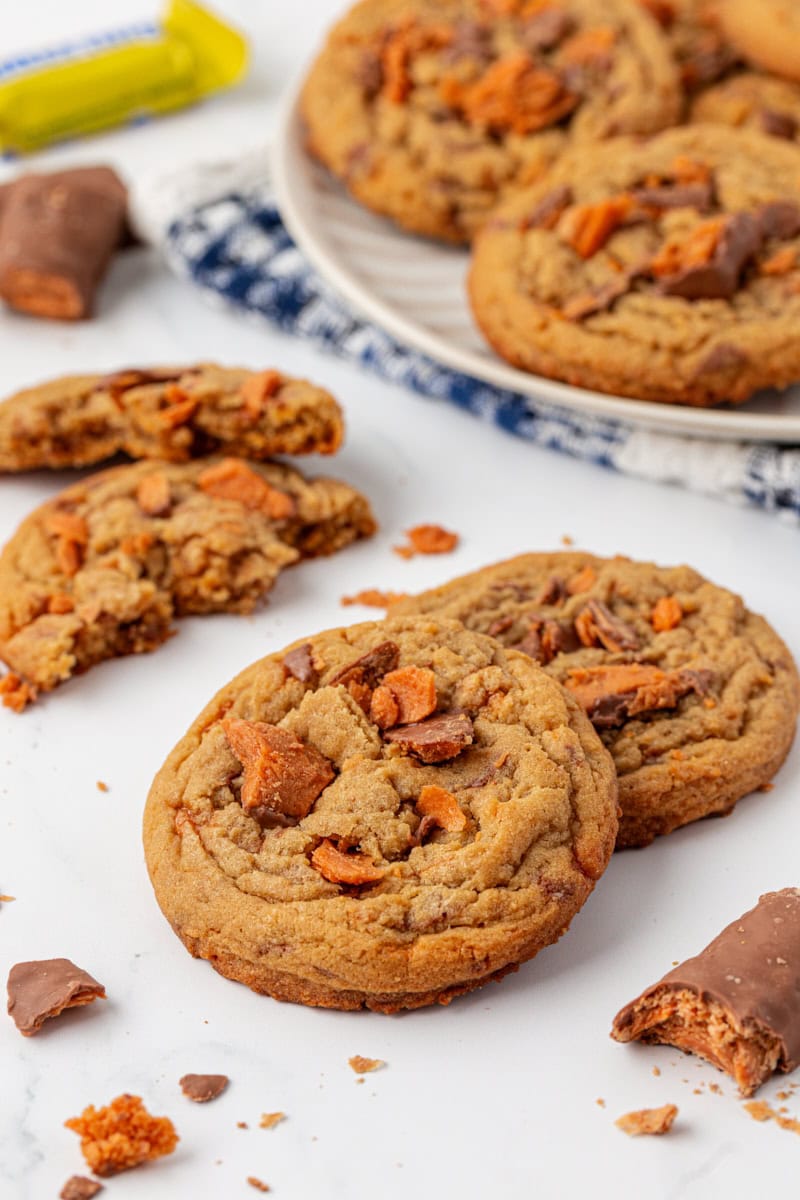
- Soft and chewy texture. These cookies strike that perfect balance of crisp edges and soft, chewy centers — the kind that stay just the right amount of gooey even after cooling.
- Packed with Butterfinger flavor. Each bite has that signature peanut buttery crunch from the candy bars, with a mix of creamy and crispy textures that make them seriously hard to resist.
- No-fuss dough. The dough comes together easily with simple pantry ingredients. I like to chill the dough to let the flavors meld and to minimize spreading, but you can skip that step if you like.
- A candy lover’s dream. If you love peanut butter cookies and Butterfingers, this recipe combines the best of both worlds in one crave-worthy cookie.
- Perfect for any occasion. Whether it’s bake sales, cookie swaps, or just a weekend treat, these cookies always get attention for their candy-bar twist and bakery-style look.
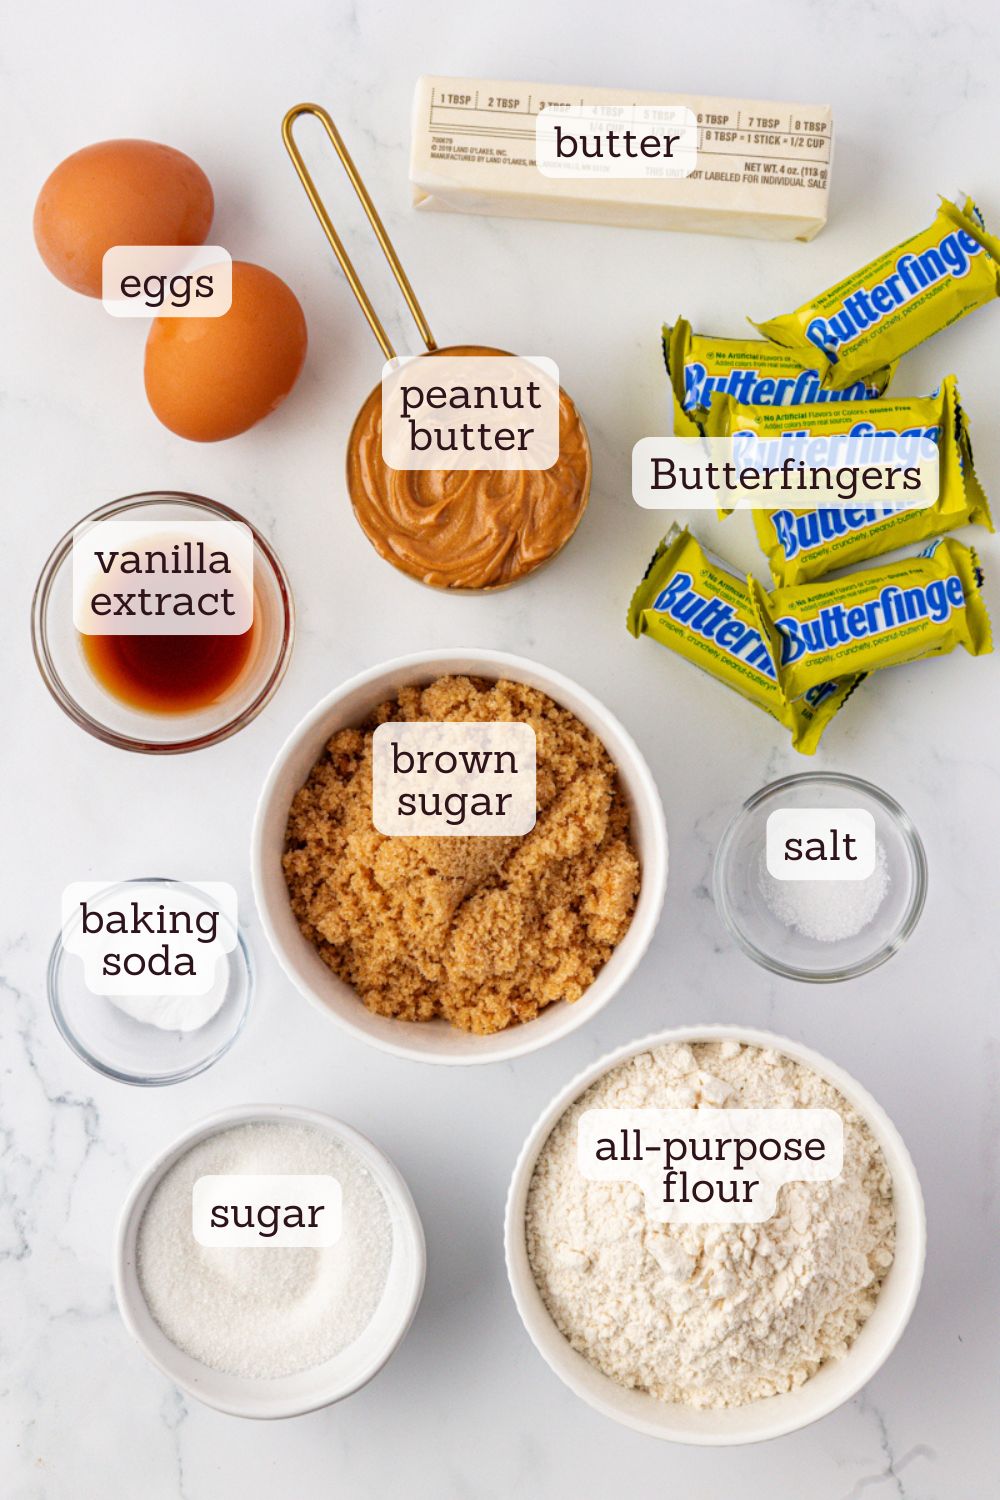
Key Ingredients
- Butter – Adds rich flavor and helps create that perfectly soft, chewy texture. Be sure it’s softened but not melted so the cookies hold their shape.
- Peanut butter – Creamy peanut butter keeps the dough smooth and gives every bite a boost of nutty flavor that pairs perfectly with the Butterfinger pieces. For best results, use a regular peanut butter like Jif or Skippy. Natural peanut butter can cause the cookies to spread too much or turn greasy.
- Brown sugar – Adds moisture and chewiness, while also giving a subtle caramel note that complements the candy.
- Egg + yolk – The extra yolk adds richness and helps make the cookies tender without being cakey.
- All-purpose flour – Provides just enough structure to keep the cookies thick without turning them dry. Use a digital kitchen scale for measuring for best results.
- Baking soda – Gives a gentle lift so the cookies spread just enough for that bakery-style look.
- Butterfinger candy bars – The star ingredient! Chopped Butterfingers add sweet peanut-buttery crunch throughout and extra pieces on top make them look irresistible.
How to Make Butterfinger Cookies
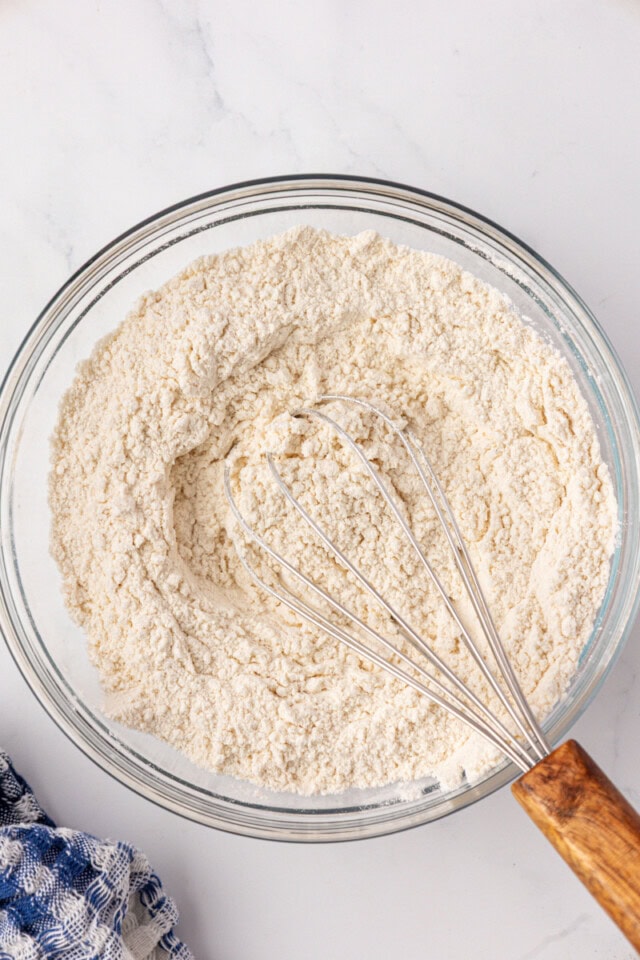
Combine the dry ingredients.
Whisk together the flour, baking soda, and salt. This ensures the leavening and salt are evenly distributed before adding them to the wet ingredients.
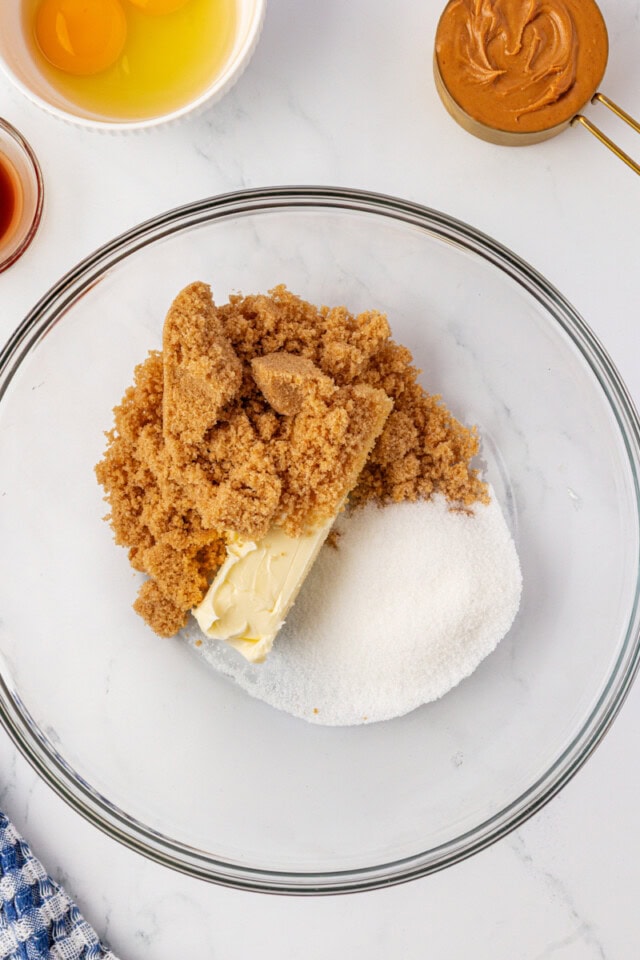
Cream the butter and sugars.
Beat the butter, brown sugar, and granulated sugar together until the mixture is light and fluffy. This step adds air to the dough for softer cookies with a little lift.
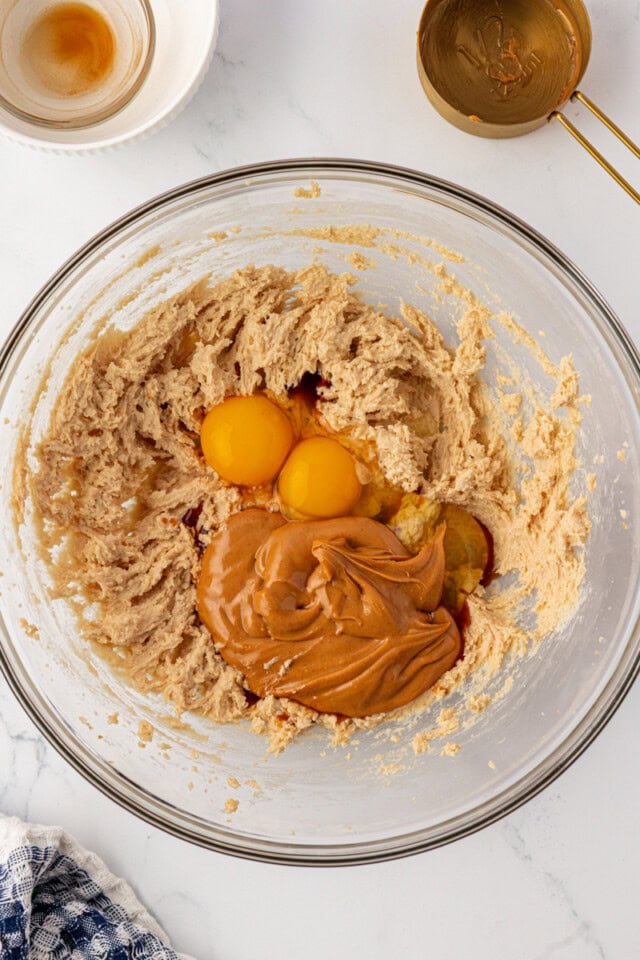
Mix in the peanut butter and eggs.
Add the peanut butter and mix until smooth, then beat in the egg, egg yolk, and vanilla. The extra yolk helps keep the cookies tender and chewy.
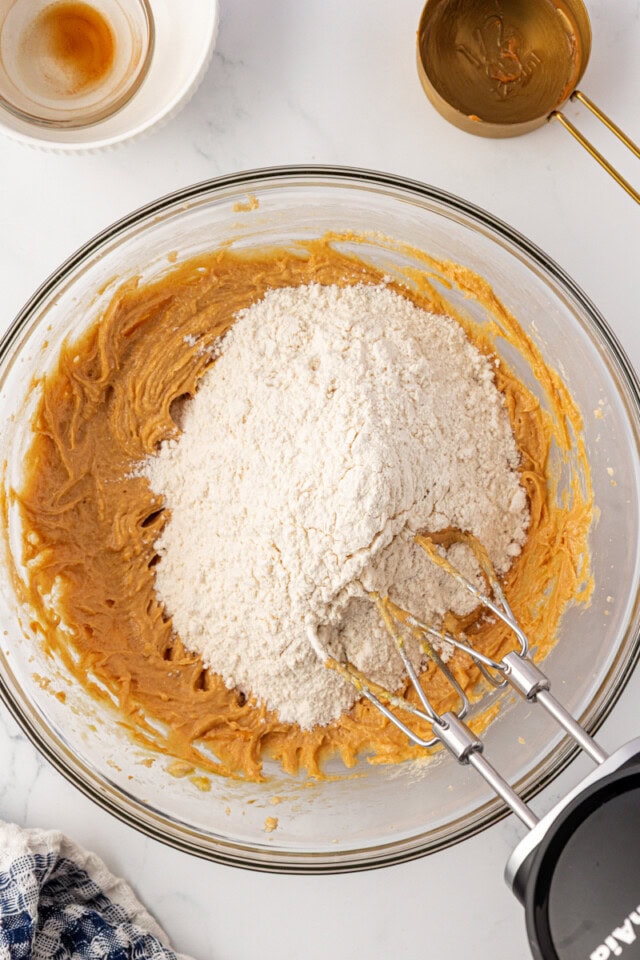
Mix the dough.
Gradually add the dry ingredients to the wet mixture, mixing on low speed just until combined. Over-mixing can make cookies tough.
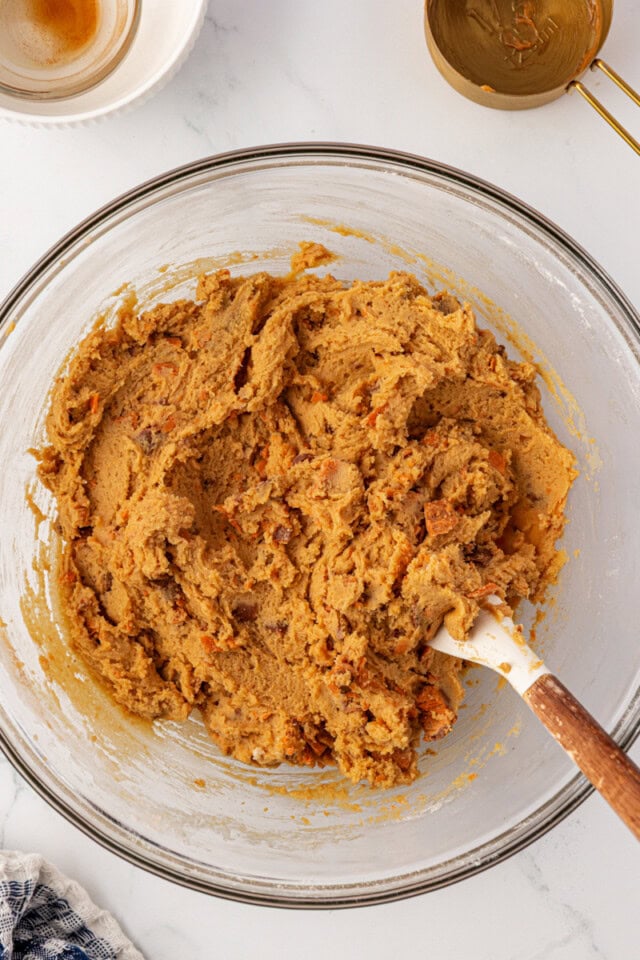
Add the Butterfingers.
Fold in most of the chopped Butterfinger pieces, reserving some for topping. A mix of small and medium chunks works best for even distribution.
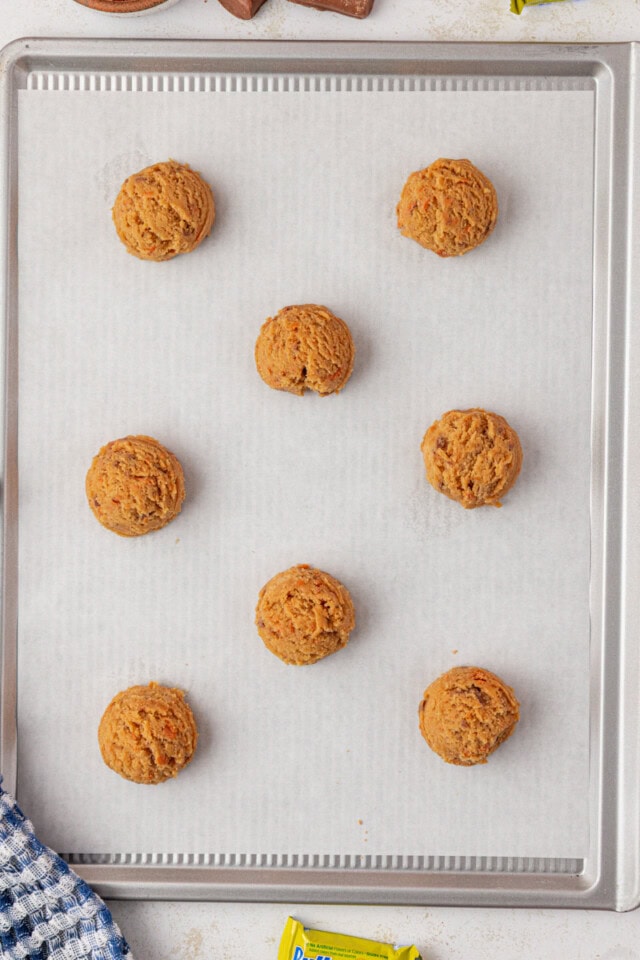
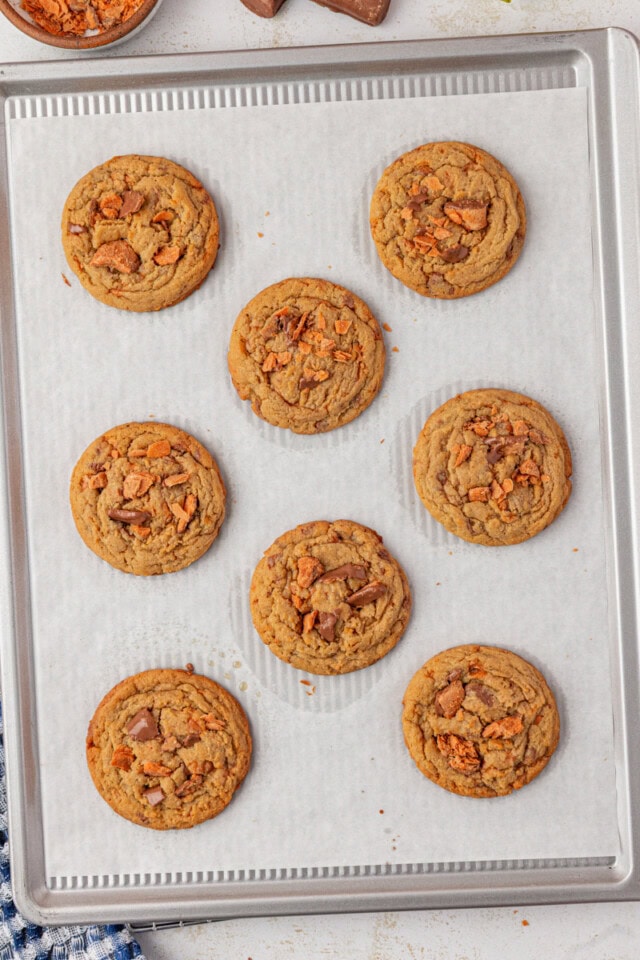
Scoop and top.
Use a 3-tablespoon cookie scoop to portion the dough. Place the cookie dough balls on a parchment-lined baking sheet.
Bake and cool.
Bake until the edges are set and the centers still look soft. Press a few Butterfinger pieces on top for extra crunch and color. Let them cool on the pan for a few minutes before transferring to a rack. The cookies will finish setting as they cool for that perfect soft-chewy texture.
Tips for Success
- Use softened butter. Softened butter helps the sugars cream properly for a light, fluffy dough that still bakes up chewy. Learn more: How to Soften Butter
- Chop the Butterfingers evenly. A mix of small and medium chunks gives you nice bits of candy throughout without creating gaps or gooey spots from melting. Avoid crushing them too fine or the candy will just blend into the dough.
- Watch the bake time closely. Pull the cookies from the oven when the edges are set and the centers still look a bit soft. They’ll continue to bake as they cool, giving you that perfect chewy center.
- Keep an eye on spreading. To minimize spreading, I prefer to chill the scooped dough for 30 to 60 minutes before baking. If you need to chill the dough for longer, let it sit at room temperature for a few minutes baking.
- Save some candy for topping. Press a few Butterfinger pieces on top right after baking for extra texture and color.
Variations and Serving Ideas
- Add chocolate chips. Stir in a handful of semisweet or milk chocolate chips along with the Butterfinger pieces for extra richness.
- Try mini cookies. Use a smaller scoop (about 1 tablespoon #60) and reduce the baking time by a few minutes for bite-size Butterfinger Cookies that are great for parties or gifting.
- Top with a drizzle. For an extra-special touch, drizzle melted chocolate or a simple peanut butter glaze over the cooled cookies. (Make the glaze by whisking together ½ cup confectioners’ sugar, 2 tablespoons creamy peanut butter, and 1–2 tablespoons milk.)
- Mix up the candy. Butterfinger is the star here, but this same dough works with other peanut butter–based candies like Reese’s Pieces or chopped peanut butter cups.
- Serve them fresh. These cookies are best the day they’re baked when the edges are crisp and the centers are soft, but they stay deliciously chewy for several days.
How to Store
At room temperature: Store Butterfinger cookies in an airtight container for up to 4 days. If you prefer a slightly crisp edge, leave the lid ajar for the first day to let a little air in.
To freeze the baked cookies: Once completely cooled, place them in a freezer-safe bag or container with parchment between layers. Freeze for up to 3 months, then thaw at room temperature before serving.
To freeze the dough: Scoop the cookie dough and freeze the portions on a baking sheet until firm. Transfer to a freezer bag and label with the date. Bake straight from frozen, adding an extra minute or two to the baking time.
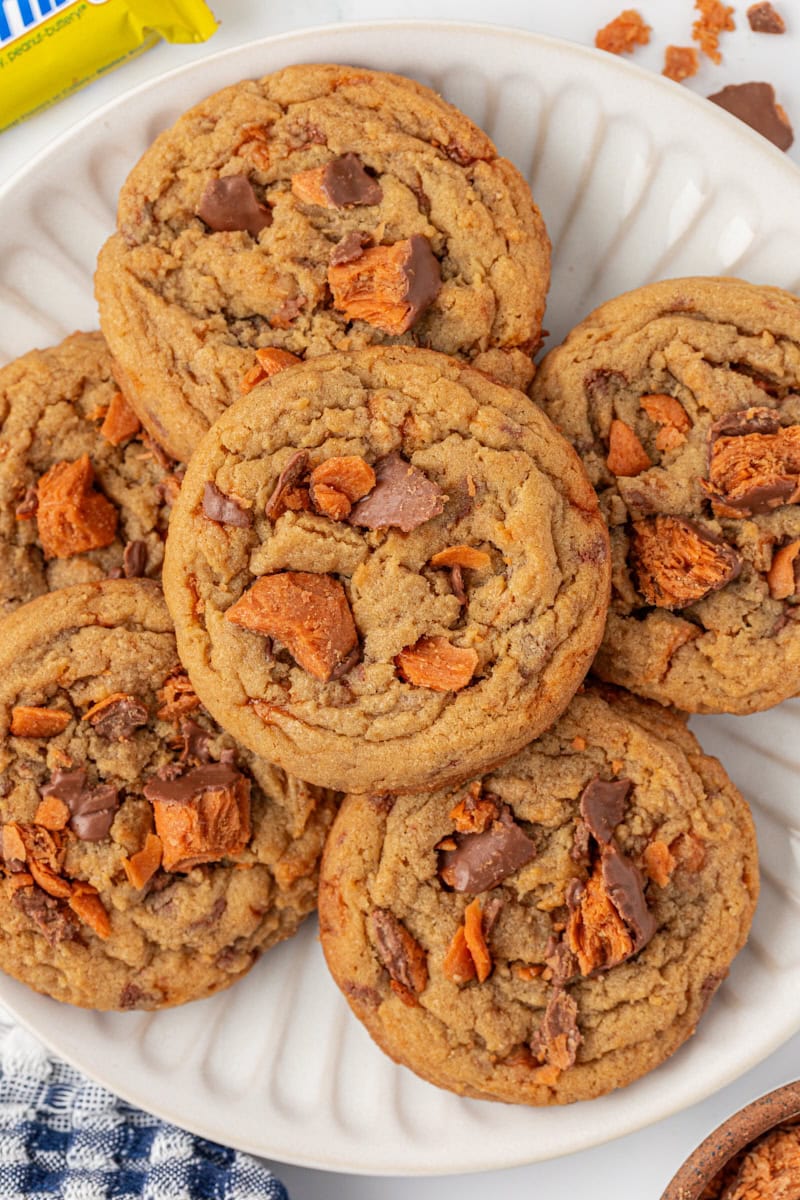
Sweet, Crunchy, and Completely Irresistible
These Butterfinger cookies are everything a candy-stuffed cookie should be—soft, chewy, and packed with peanut buttery crunch in every bite. They’re simple enough for an everyday bake but special enough to share. Whether you make them for a cookie swap, a bake sale, or just because you love Butterfingers (or have some left over from Halloween!), they’re sure to disappear fast!
More Peanut Butter Cookie Recipes


Butterfinger Cookies
Ingredients
- 1 ½ cups (180 g) all-purpose flour
- ¾ teaspoon baking soda
- ½ teaspoon salt
- ½ cup (113 g) unsalted butter, softened
- ¾ cup (150 g) firmly packed light brown sugar
- ¼ cup (50 g) granulated sugar
- ½ cup (127 g) creamy peanut butter
- 1 large egg
- 1 large egg yolk
- 1 teaspoon vanilla extract
- 1 ½ cups chopped Butterfinger candy bars, about 6 fun-size bars, divided
Recommended Products
Instructions
- Whisk together the flour, baking soda, and salt in a medium bowl. Set aside.
- In a large bowl, beat the butter, brown sugar, and granulated sugar until light and fluffy (2–3 minutes).
- Add the peanut butter, then the egg, egg yolk, and vanilla, mixing until combined.
- Gradually add the dry ingredients to the wet ingredients, mixing on low just until combined.
- Fold in 1 cup of the chopped Butterfingers, saving a handful for pressing into the finished cookies.
- Scoop the dough into 3-tablespoon portions and place on a lined, rimmed baking sheet. Chill the scooped dough for 30–60 minutes.
- Preheat oven to 350°F (175°C). Line baking sheets with parchment paper.
- Place the scooped dough on the prepared pans, leaving about 2 to 3 inches between each.
- Bake one pan at a time for 12–15 minutes, or until the edges are set and the centers look slightly underdone. Don’t over-bake.
- Cool on the pan for 5 minutes, then transfer to a wire rack. Add a few more Butterfinger pieces on top while warm for extra candy bar texture.
Notes
- Butterfingers: Chop the candy bars into small to medium pieces so they mix evenly without melting into the dough.
- Peanut butter: Stick with a traditional creamy peanut butter (not the natural kind that separates) for the right texture and structure.
- Cookie size: Large 3-tablespoon scoops make bakery-style cookies with chewy centers and crisp edges. Go with a smaller scoop if you prefer; just adjust the bake time as needed.
- Sweetness level: If you prefer a less sweet cookie, add a small sprinkle of flaky salt on top before baking for balance.
- Chilling: These cookies are at their best with a brief chill of the dough before baking. Scoop the dough before chilling when it’s soft enough for easy portioning. However, you can skip the chilling step if you don’t mind thinner cookies that spread a bit more.
- Make-ahead tip: You can freeze the dough balls and bake from frozen. Just add an extra minute or two to the bake time.
- Storage: Keep in an airtight container at room temperature up to 4 days.


2 Comments on “Butterfinger Cookies”
Similarly to brownie recipes, I scrutinize new peanut butter cookie iterations. Mostly I pass them by, as who needs another? So happy I made these, as the Butterfinger addition is brilliance at its best. Crispy edged, a little softer towards the middle, and little bits of caramelized Butterfinger. The recipe yields 16 cookies, and I decided to justify 2 cookies as a serving. Perhaps a little decadent, but even after two I felt an addiction brewing 🙂
I’m so glad you gave these a try, Jeff! Sounds like they passed your peanut butter cookie test with flying colors. Those little Butterfinger bits get me every time, too. And yes, two cookies absolutely count as one serving. 😉