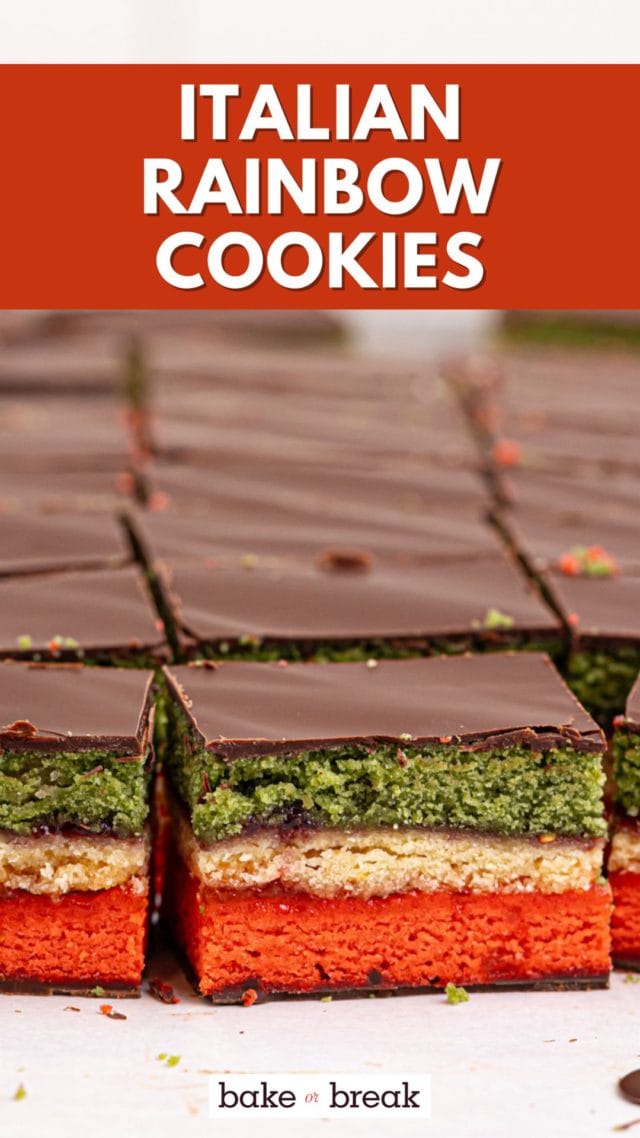
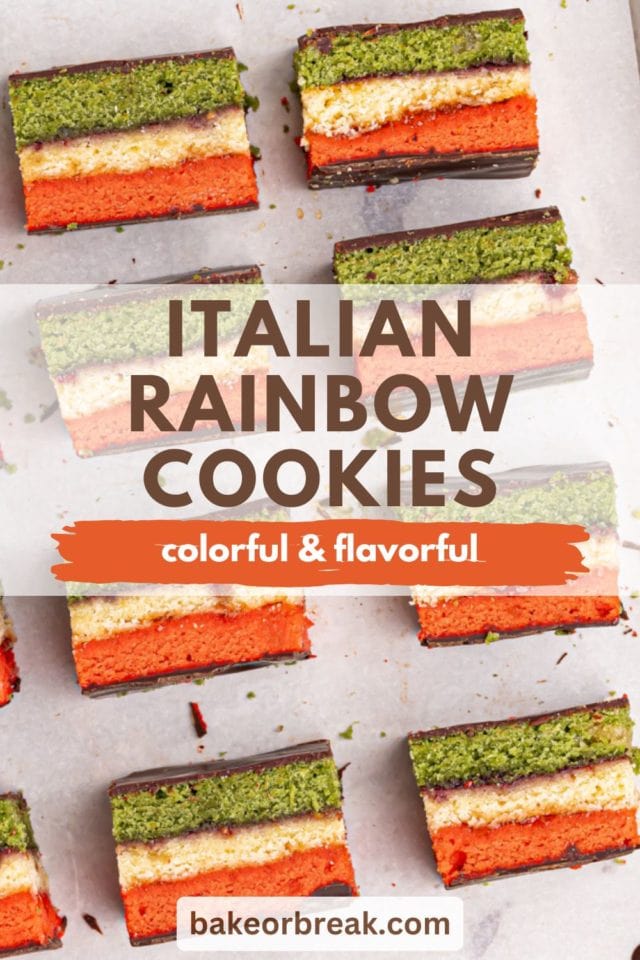
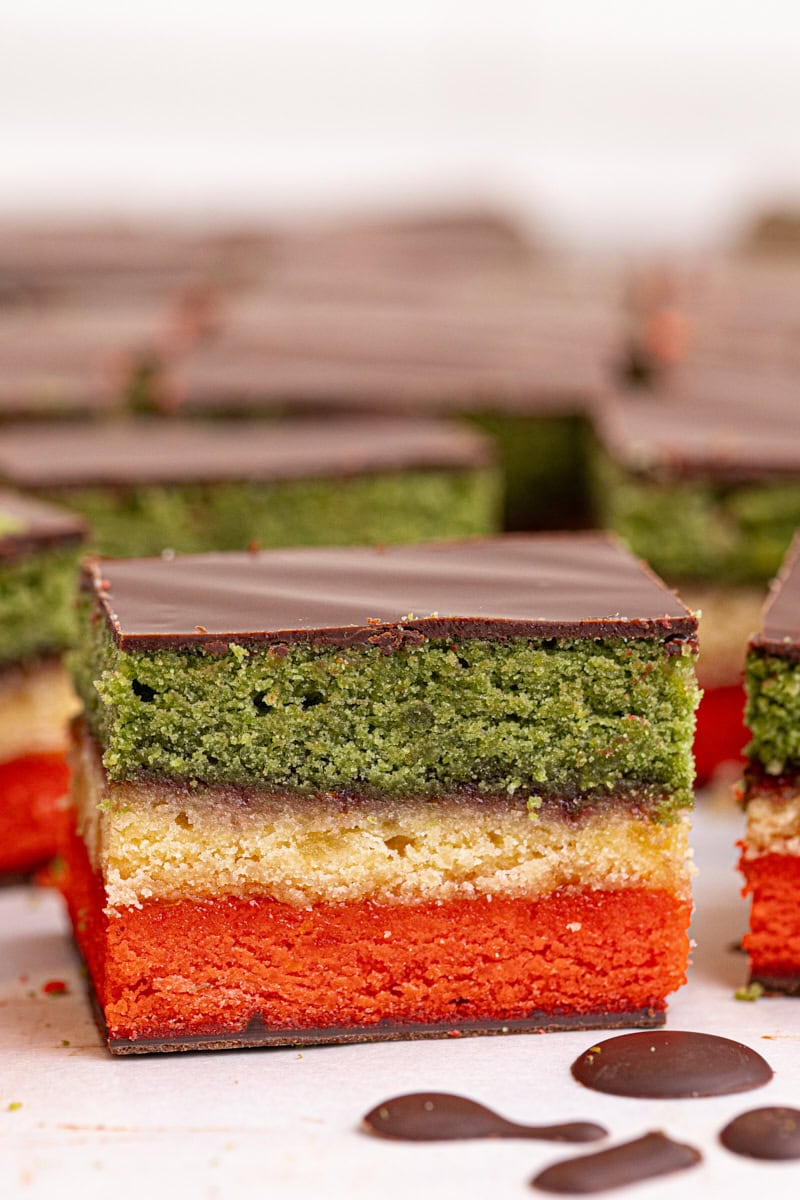
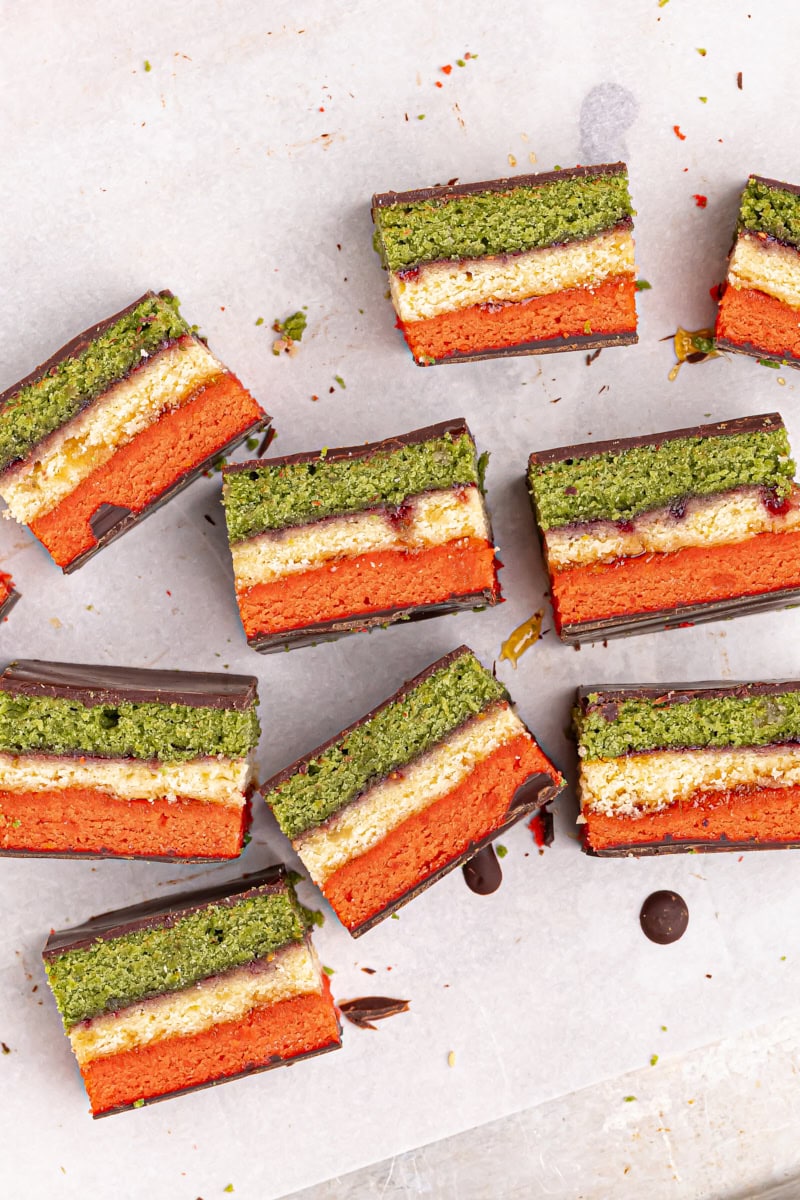
These Italian rainbow cookies are as delicious as they are colorful, with layers of almond-flavored cake, fruit preserves, and rich dark chocolate.
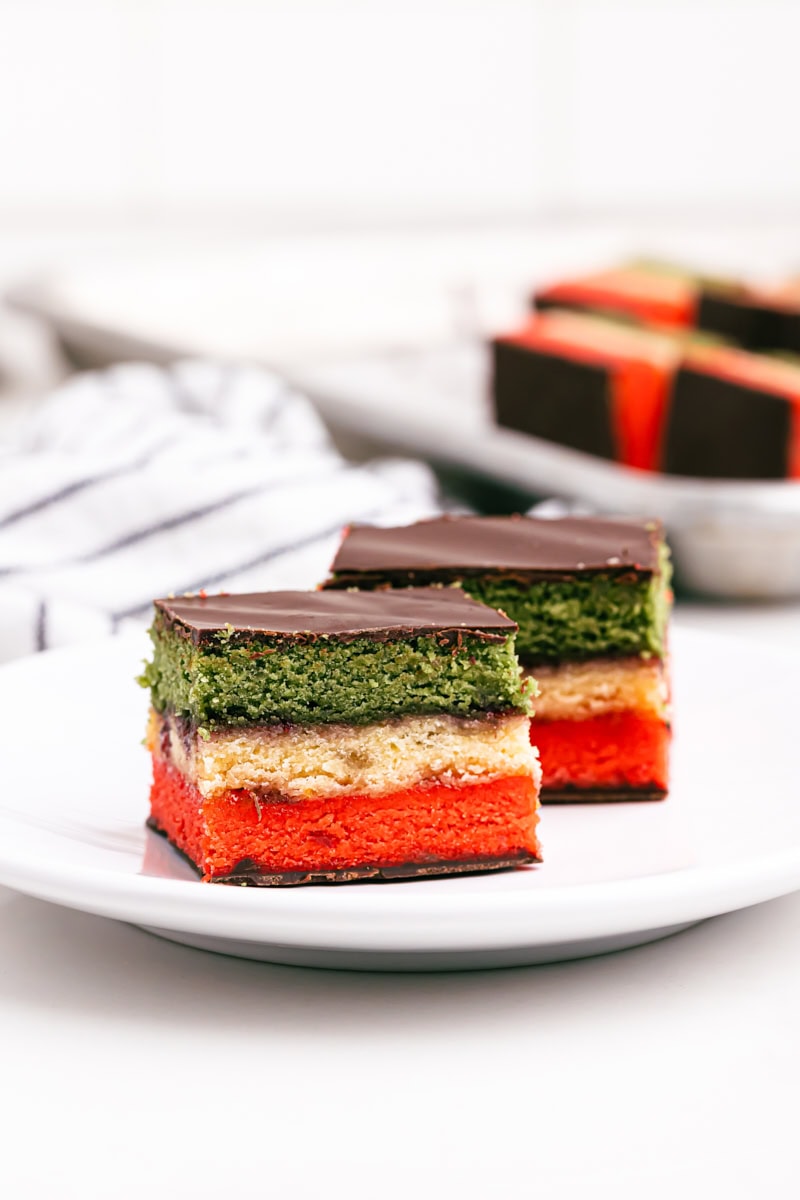
Italian rainbow cookies are one of those iconic treats that stand out at any gathering. With their vibrant colors and unmistakable almond flavor, these cookies are as much a feast for the eyes as they are for the taste buds. They may look fancy, but they’re surprisingly straightforward to make. Really, they just take a bit of time, but the effort is definitely worth it. Plus, you’ll have the satisfaction of knowing you’ve made them from scratch!
Why You’ll Love These Italian Rainbow Cookie Recipe
- Classic flavor. The combination of almond, chocolate, and fruity preserves is a timeless favorite.
- Perfect for special occasions. These beautiful layered cookies are always a hit during the holidays or any festive gathering.
- Make-ahead friendly. Since they need some chill time, they’re great to prepare ahead of time.
A Brief History of Italian Rainbow Cookies
Originating from Italian-American bakeries, these cookies are also known as Tricolor Cookies, Seven Layer Cookies, Neapolitan Cookies, or Venetian Cookies. The layers are made up of thin, soft almond-flavored sponge cake, but they’re commonly referred to as “cookies” because they’re cut into small, cookie-sized pieces. These colorful cookies were inspired by the colors of the Italian flag and have become a staple at holidays and celebrations, especially in the New York area. (Despite the nod to the Italian flag, these cookies are not traditionally found in Italy.) With their vibrant layers and rich flavor, they are beloved for their nostalgic appeal and unique taste. These cookies are something I see all the time living in New York—they’re a beloved part of Italian bakeries here!
What You’ll Need
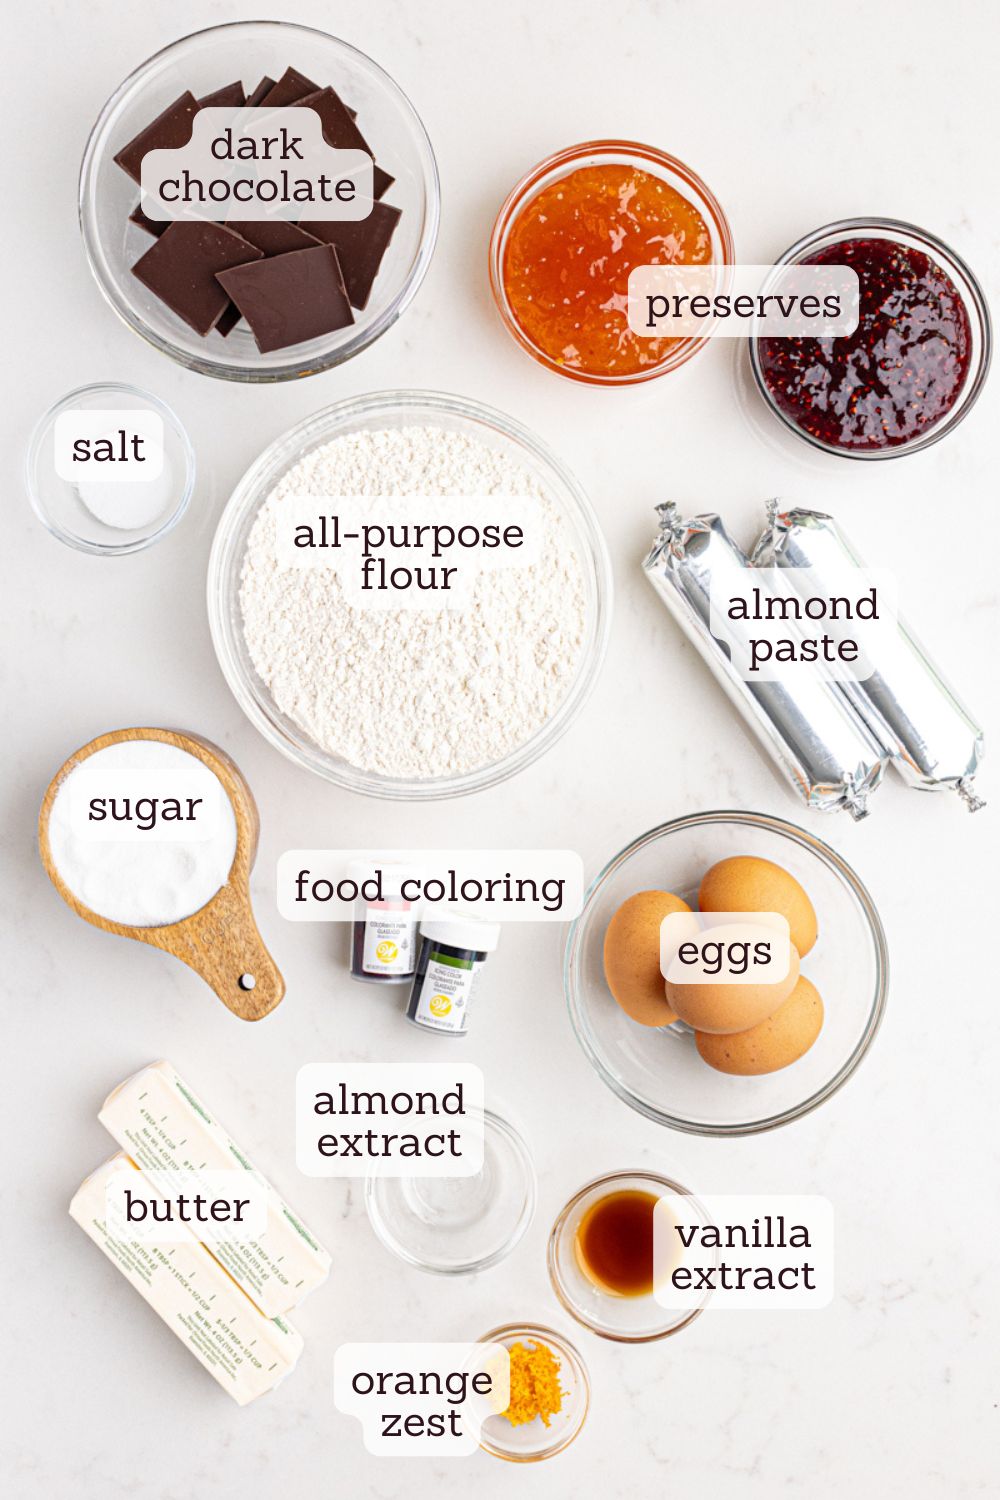
Scroll to the recipe card below for ingredient quantities and complete instructions.
- All-purpose flour – Measure by weight or use the spoon and sweep method to prevent over-measuring. Proper measurement is crucial for this recipe to prevent the layers from becoming too dense, which can affect both the texture and the balance of the flavors. Learn more: How to Measure Flour
- Salt
- Unsalted butter – Let this soften before mixing. Learn more: How to Soften Butter
- Granulated sugar
- Eggs – You’ll need to separate the eggs, which is done more easily when the eggs are cold. For the recipe, allow the yolks and whites to come to room temperature before using, as this helps them mix and whip more effectively.
- Almond paste – Be sure to use almond paste, not marzipan. Almond paste is softer and less sweet than marzipan, which makes it ideal for baking and blending into the dough without overpowering the other flavors.
- Almond extract and vanilla extract
- Orange zest
- Red and green gel food coloring
- Raspberry and apricot preserves
- Dark chocolate – Use good quality chocolate bars or discs, ideally with 60-70% cocoa content, as they’ll melt more smoothly and easily than chocolate chips.
How to Make Italian Rainbow Cookies
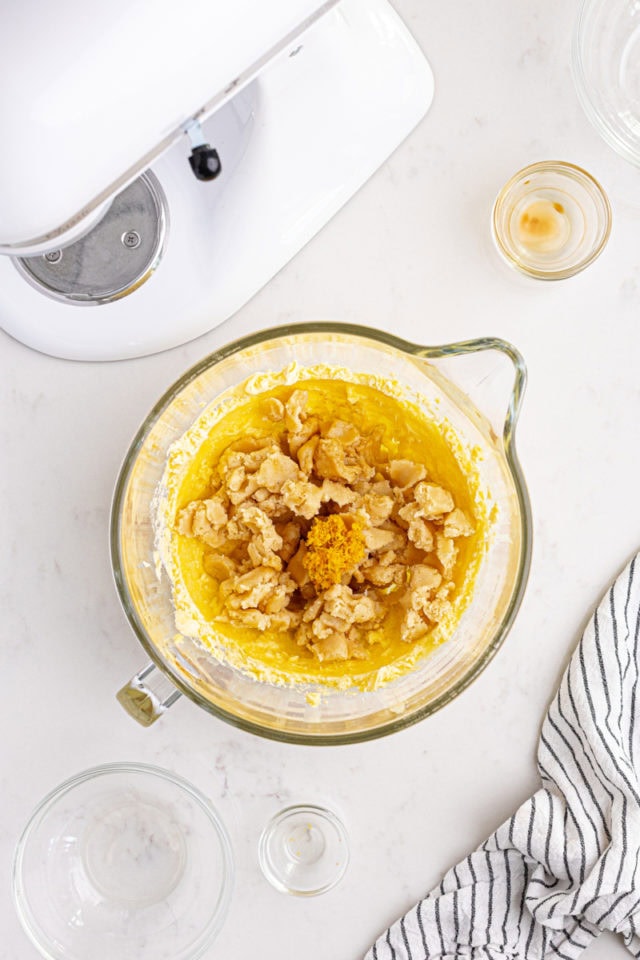
- Prepare for baking. Heat the oven to 350°F. Line three baking sheets with parchment paper.
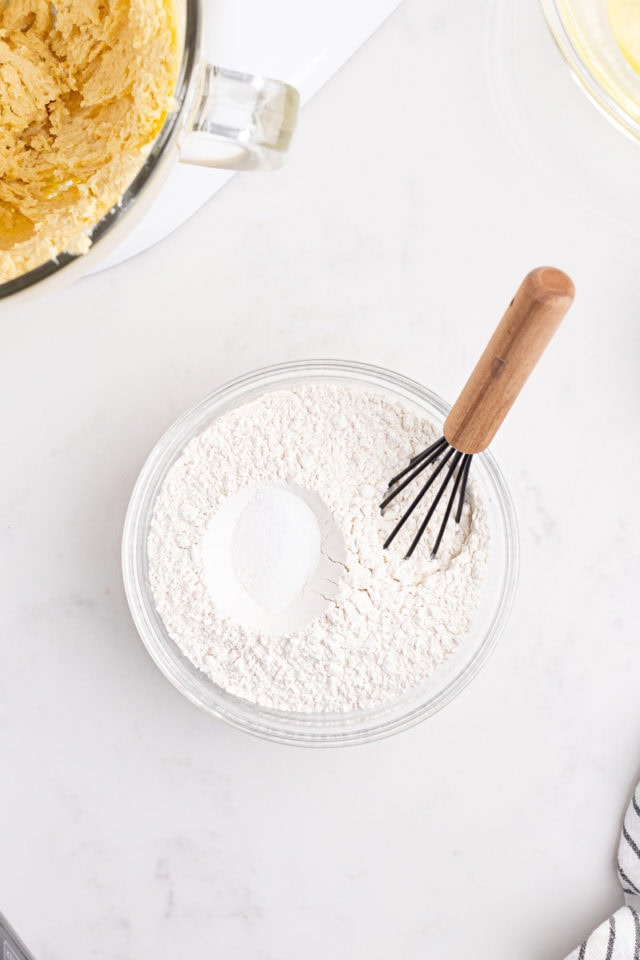
- Mix dry ingredients. Combine flour and salt.
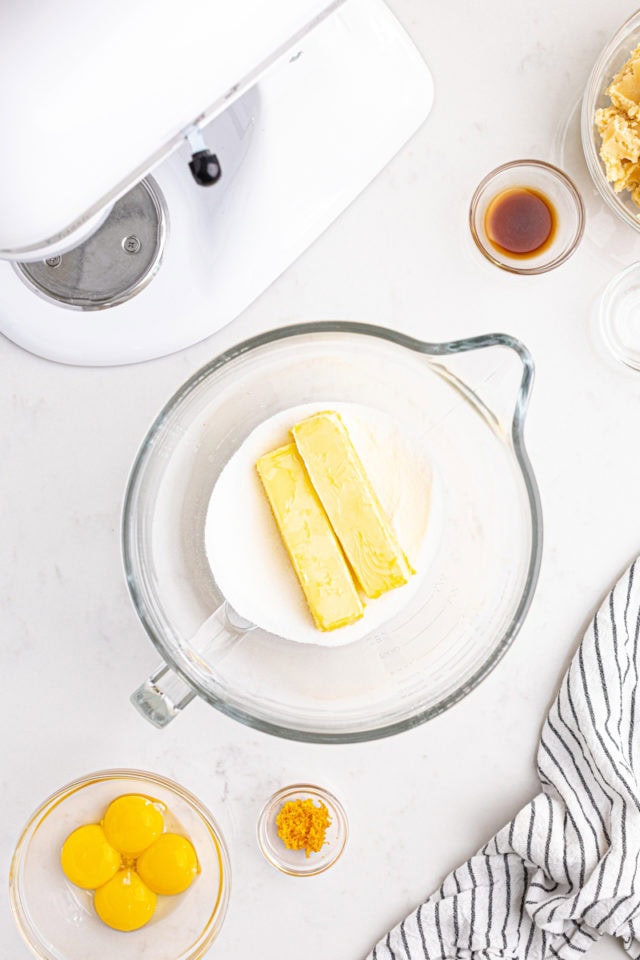
- Start the dough. Beat the butter and sugar, then add the egg yolks. Next, add the almond paste, both extracts, and orange zest. Gradually fold in the flour mixture.
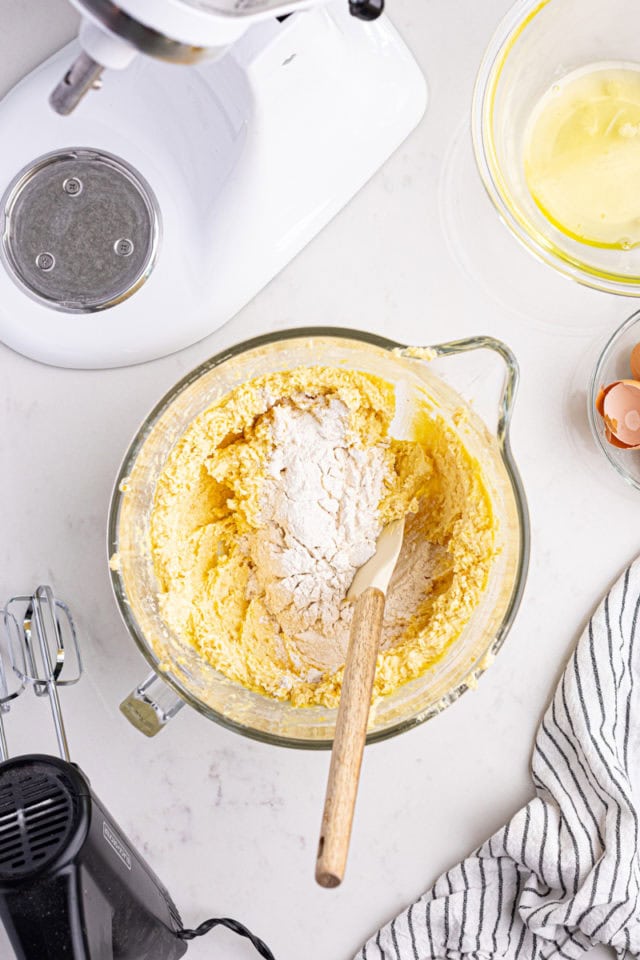
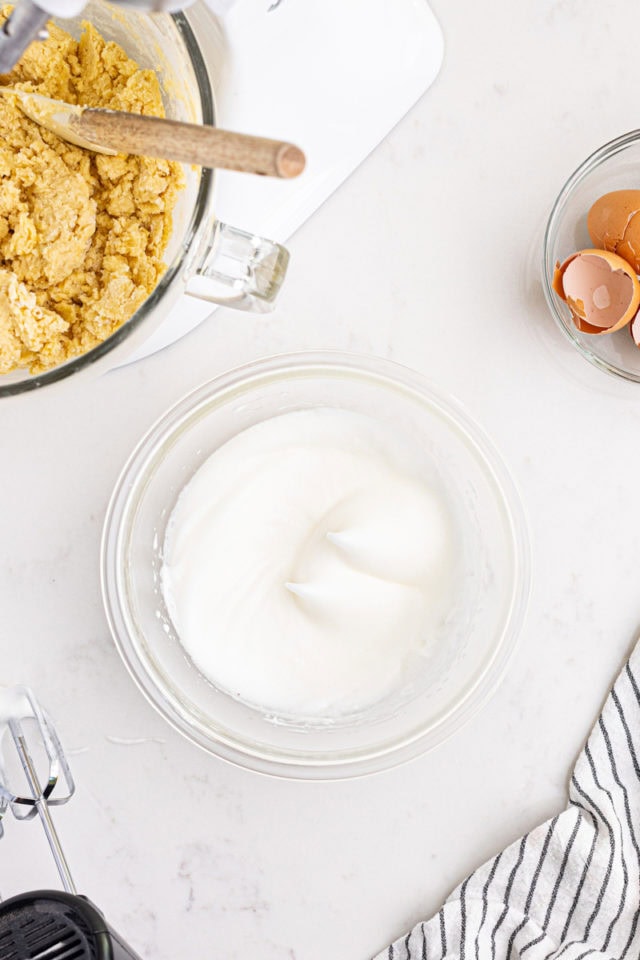
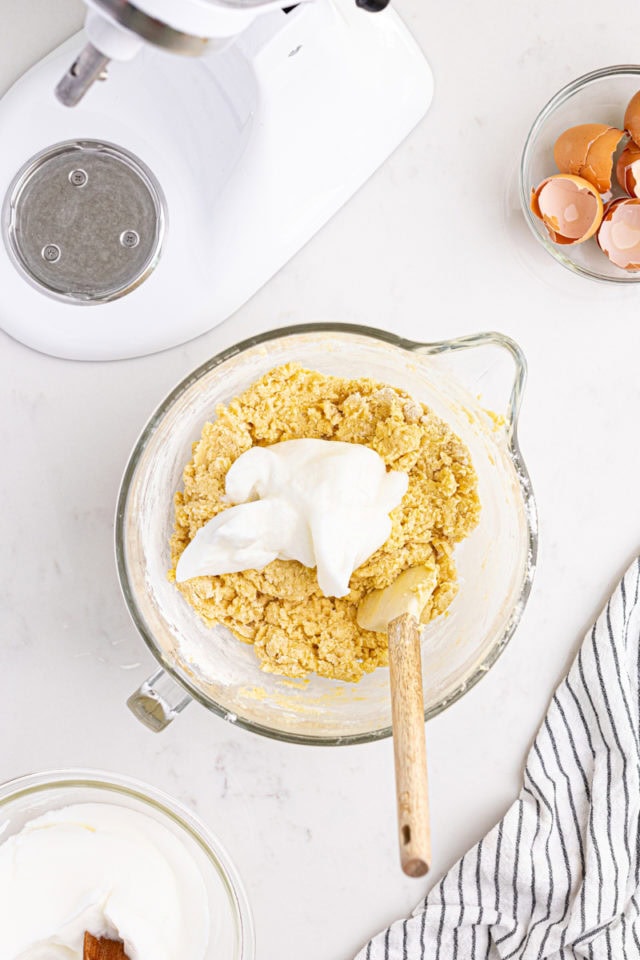
- Add the egg whites. Beat them to stiff peaks before folding into the dough.
- Tint the dough. Divide the dough into three portions, and tint one portion red and another green.
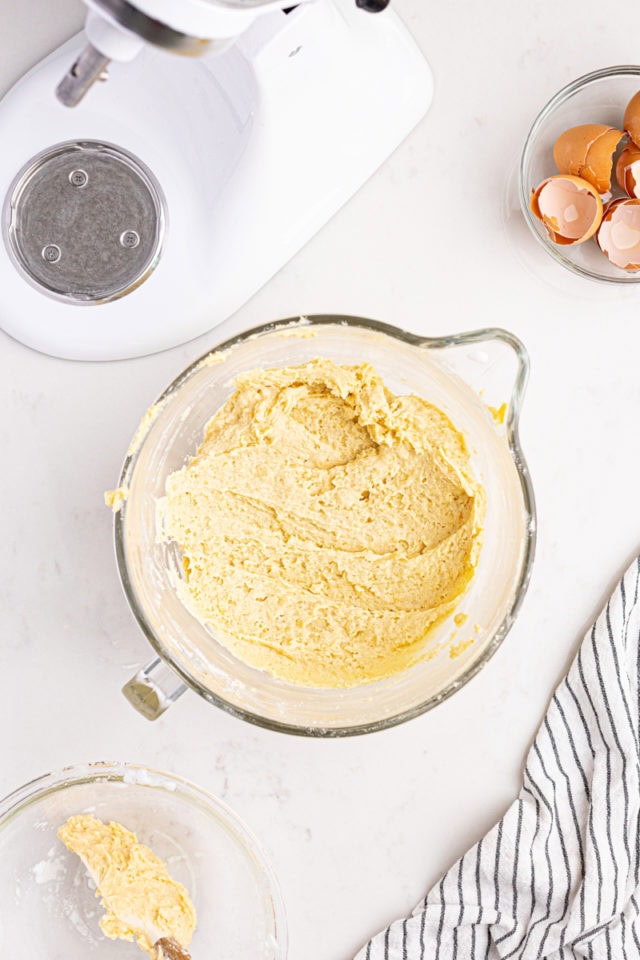
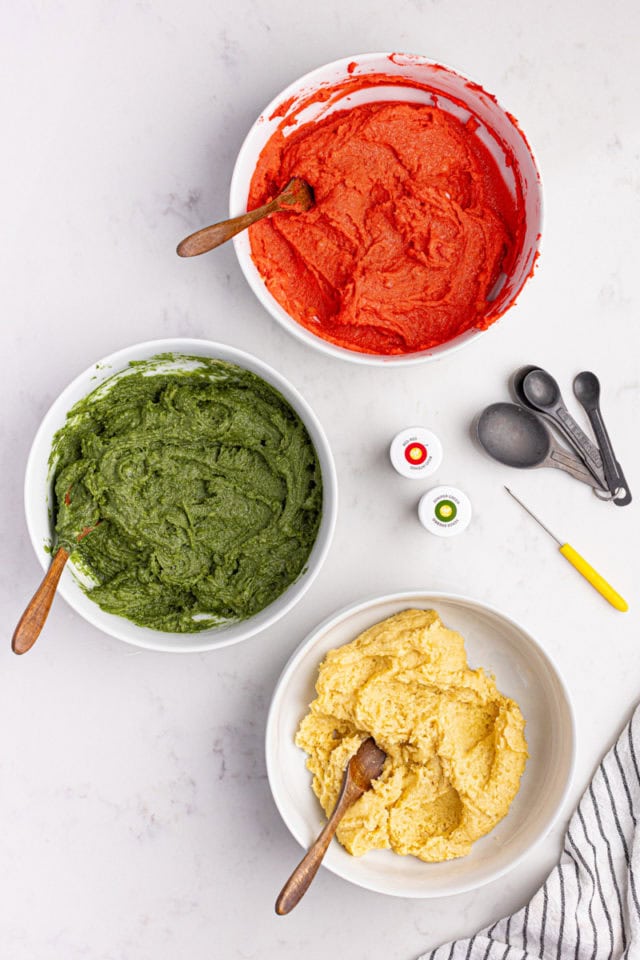
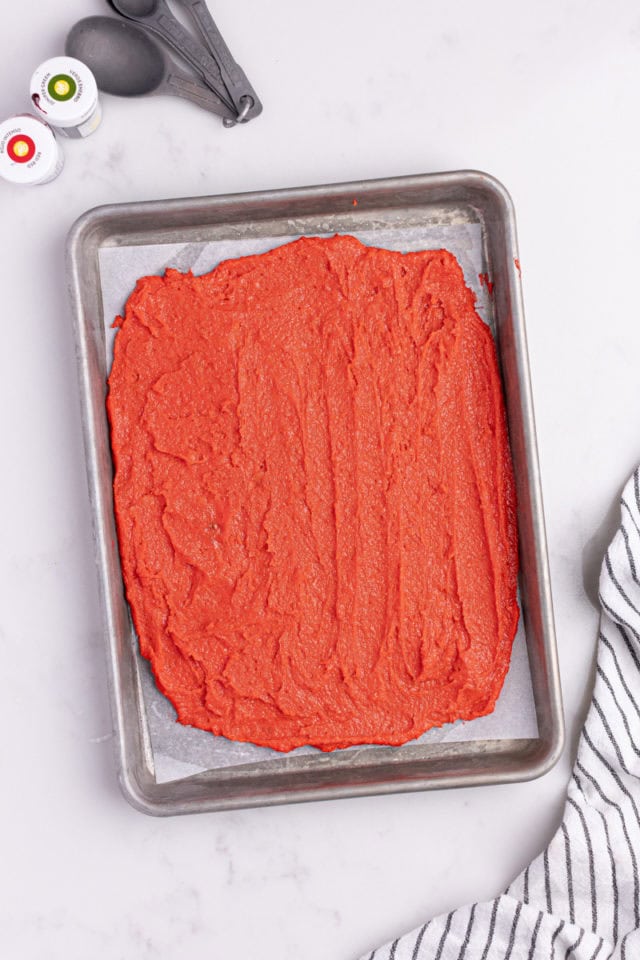
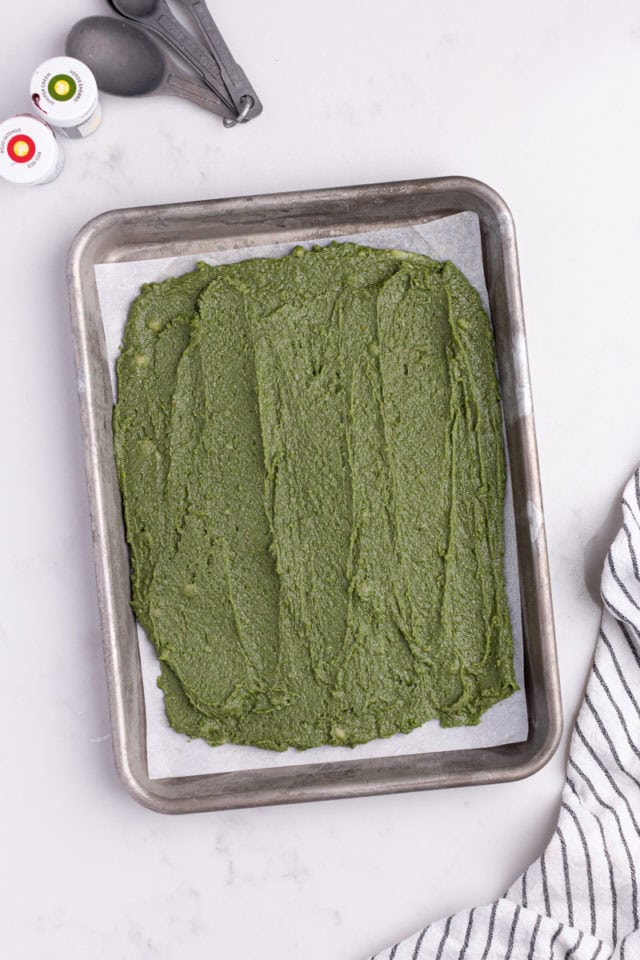
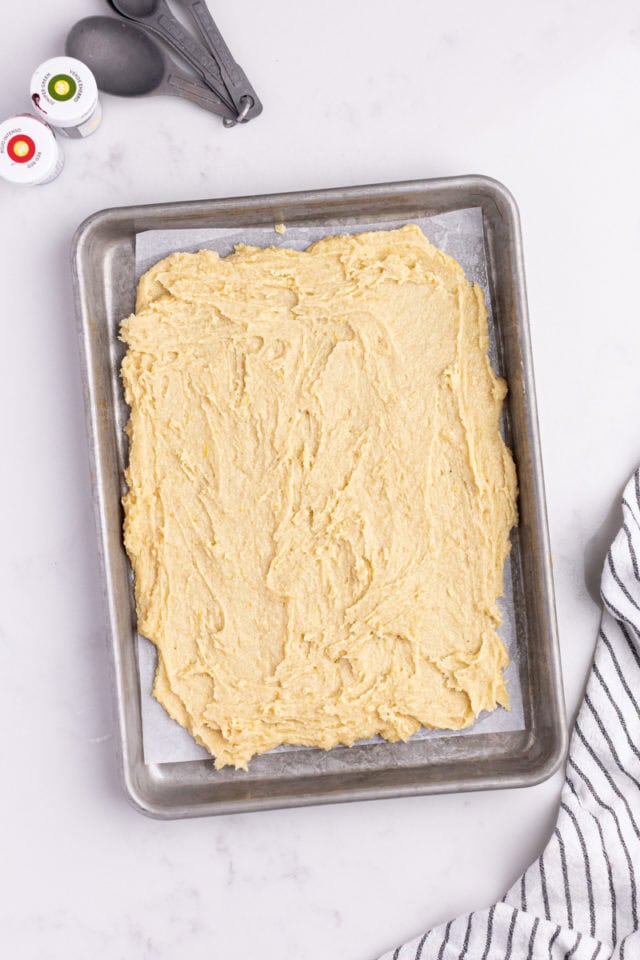
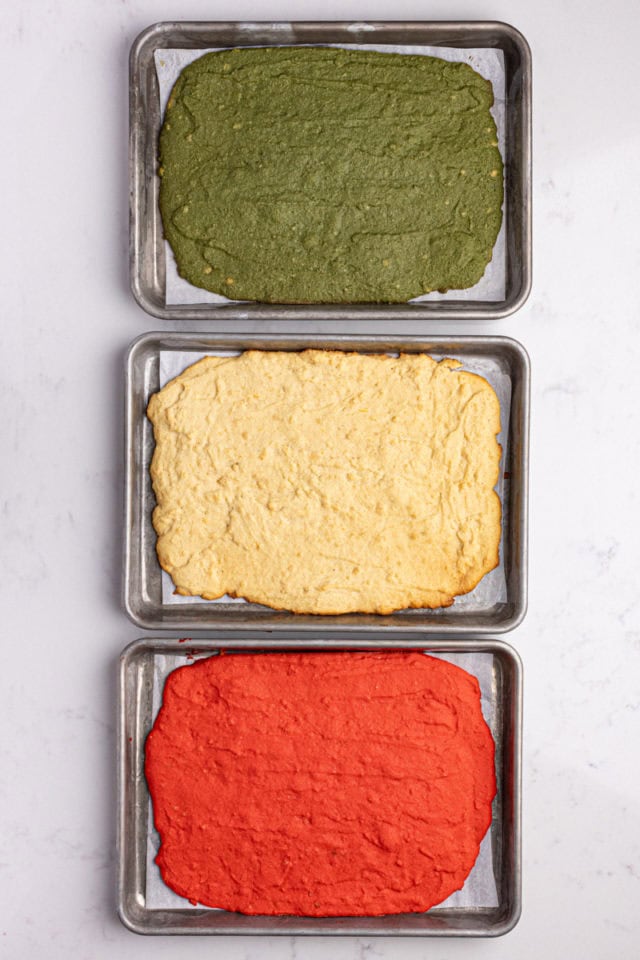
- Bake. Spread each portion of dough evenly on the three baking sheets. Bake 10-12 minutes, then let cool completely.
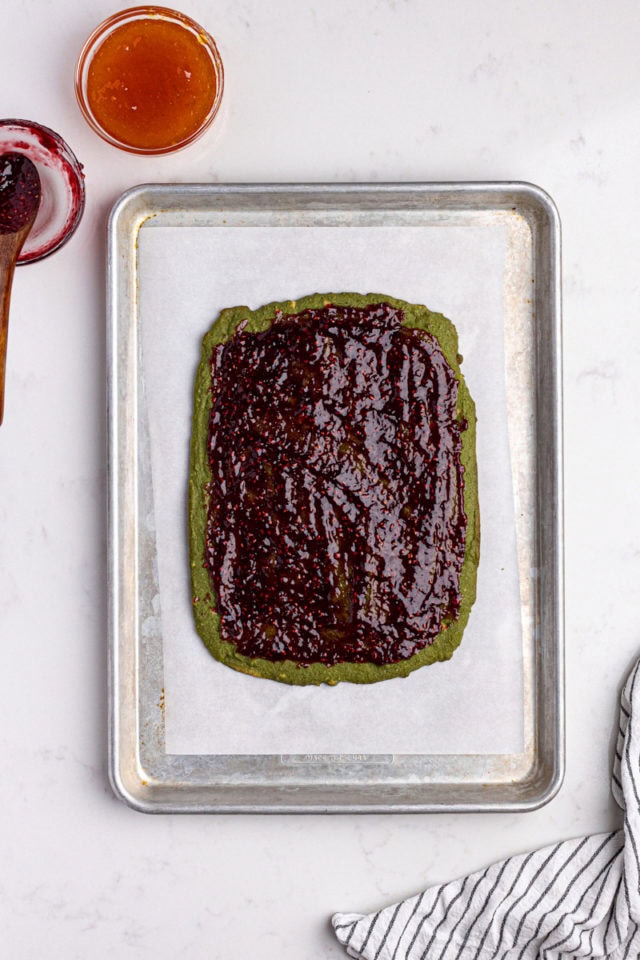
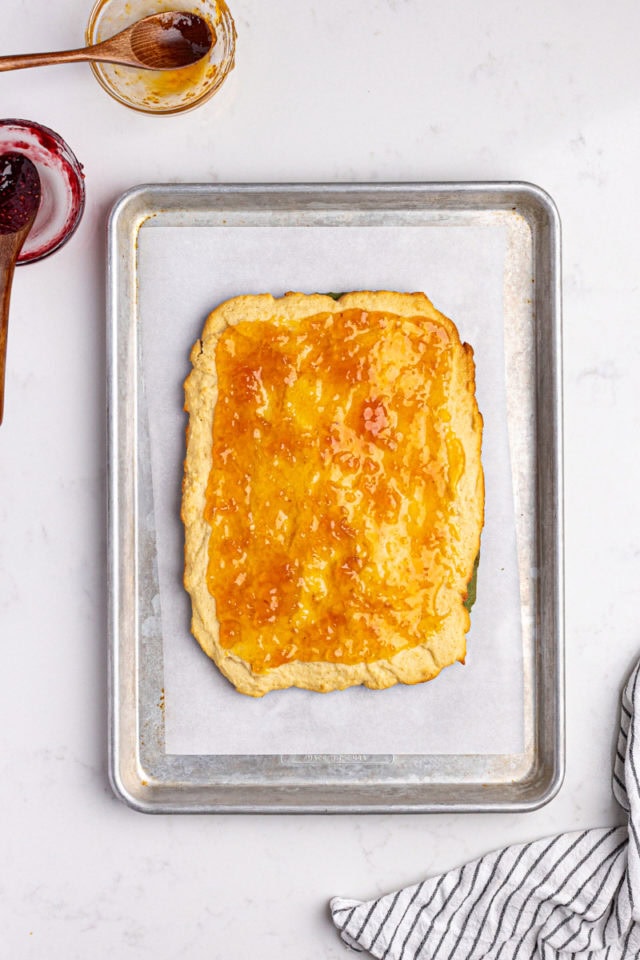
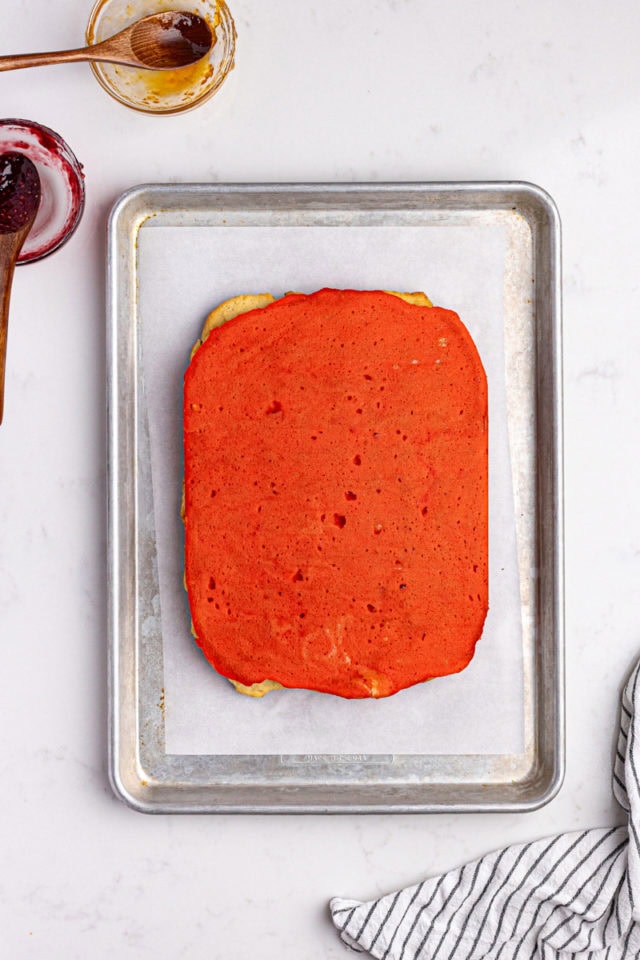
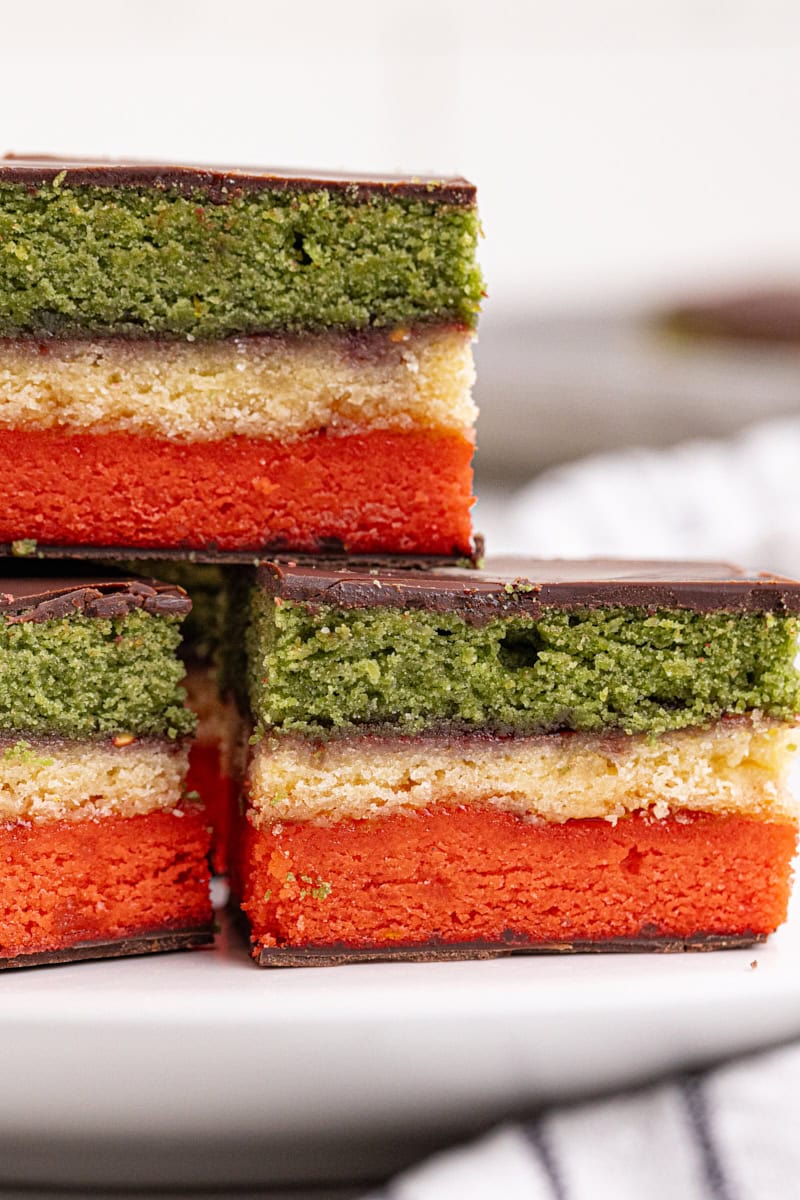
- Assemble. Place the green cake layer on a baking sheet, and spread raspberry preserves over the top. Place the untinted layer on top, and spread apricot preserves on top. Place the red layer on top.
- Chill. Cover the top layer with plastic wrap, and place a cutting board or another heavy object on top. Refrigerate 6 hours or overnight.
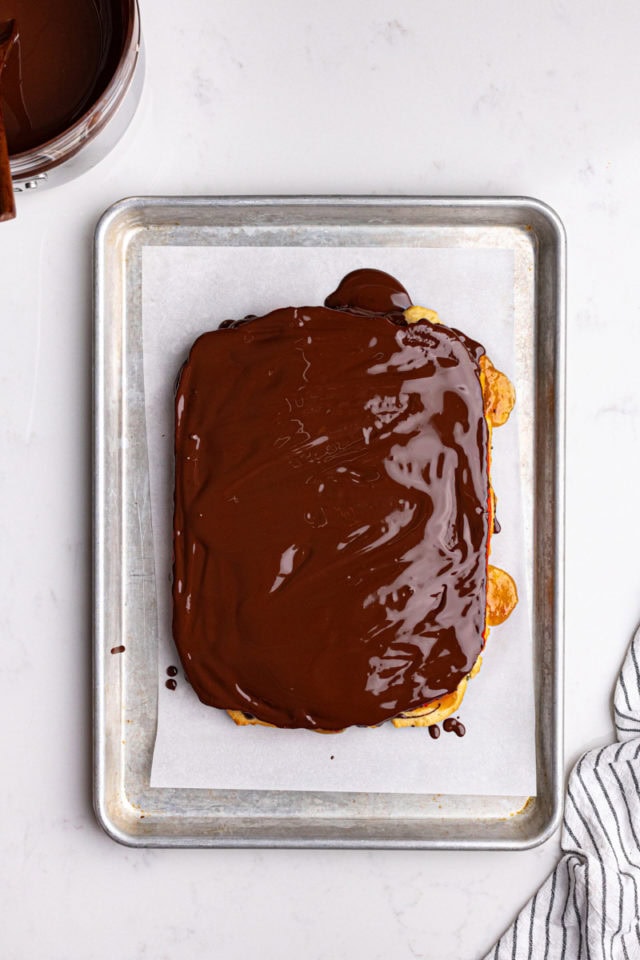
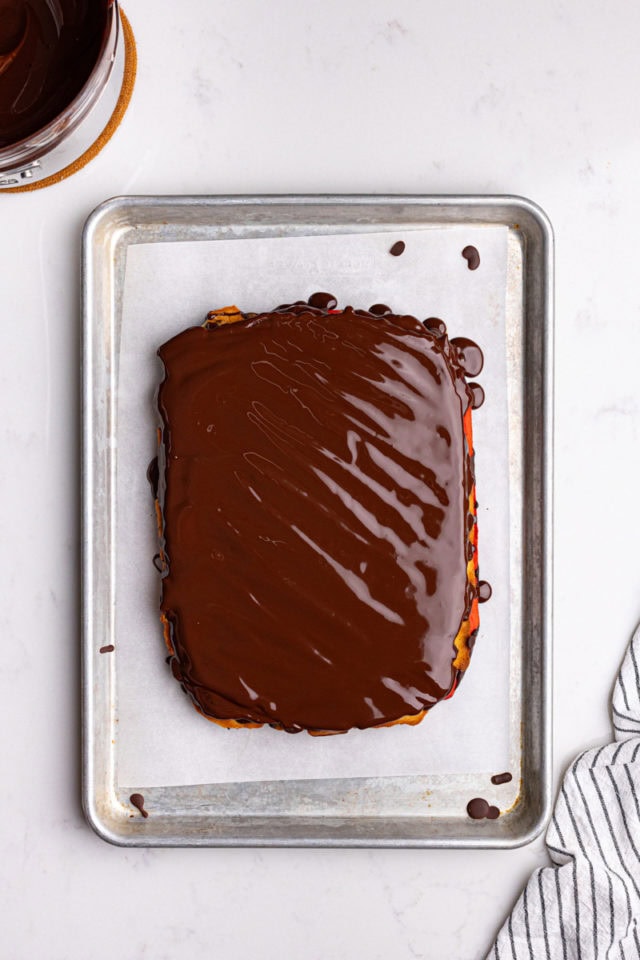
- Add chocolate. Melt the chocolate, and spread half of it over the top of the red layer. Refrigerate until set (about 30 minutes). Flip the assembled layers over and spread the other half of the chocolate on top. Chill again until firm.
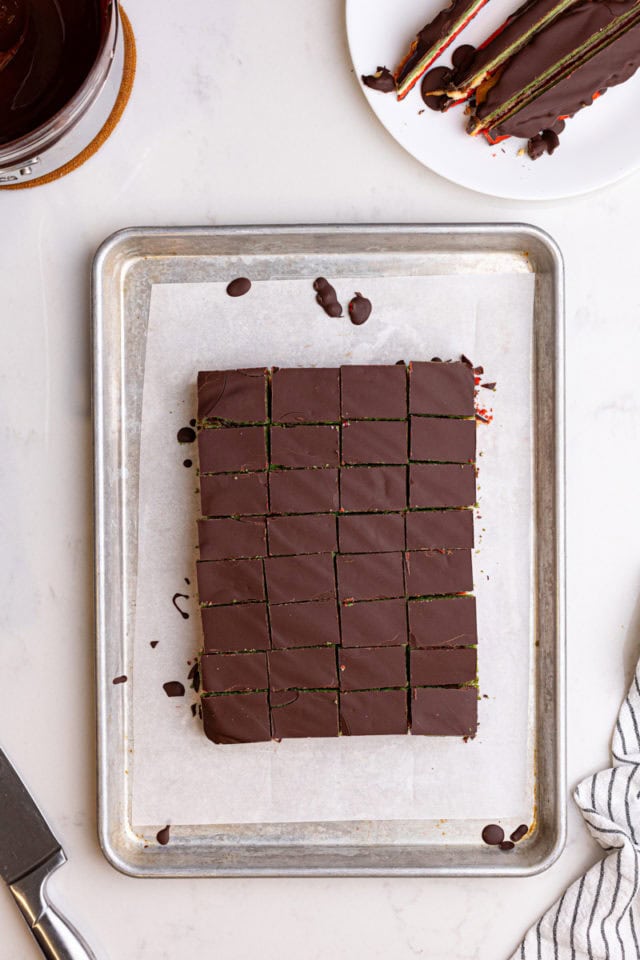
- Cut into bars. Trim the edges to make even, clean sides, then cut into bars.
Tips for Success
For making the dough:
- Use similar size pans. I recommend jelly roll pans or 9″ x 13″ quarter sheet pans. If you have three baking pans that are the same size and thickness, that’s great—they layers will bake evenly and in the same amount of time. If you don’t have three pans, you can reuse a pan. Just be sure to let it cool completely before adding more dough to it.
- Fold the egg whites properly. Use a spatula to cut through the center of the mixture, then lift and turn the batter over, repeating until the egg whites are just incorporated. This helps prevent deflating the egg whites and keeps the batter light.
- Divide the dough evenly. To ensure even layers, use a kitchen scale to divide the dough into equal portions. If you don’t have a scale, you can eyeball the portions as best as possible, or use a measuring cup to divide the dough into roughly equal amounts. This will help the cookies bake uniformly and look consistent.
- Get the right tint. For the best results with gel food coloring, start by adding a small amount (just a drop or two) and mix thoroughly. Gradually add more as needed to achieve a vibrant but not overly intense color. Gel food coloring is concentrated, so adding too much at once can result in an overly bright or artificial hue.
For assembling:
- Spread the dough and preserves evenly. Be sure to take care to spread the dough and the preserves in an even, thin layer. An offset spatula works very well for both. When spreading and shaping the dough, a ruler is helpful for checking for the correct thickness (about 1/4 inch). When spreading the preserves, leave a small margin around the edges, as they’ll spread a bit when they’re weighted down.
- Be patient with chilling. Allowing the assembled layers to chill properly helps the flavors meld and makes cutting easier.
- Use good chocolate. High-quality dark chocolate will make a big difference in taste and texture.
- Don’t forget the weight. Adding weight while chilling helps the layers stick together evenly. Try a heavy wooden cutting board, a stack of books, or something else with an appropriate size and heft.
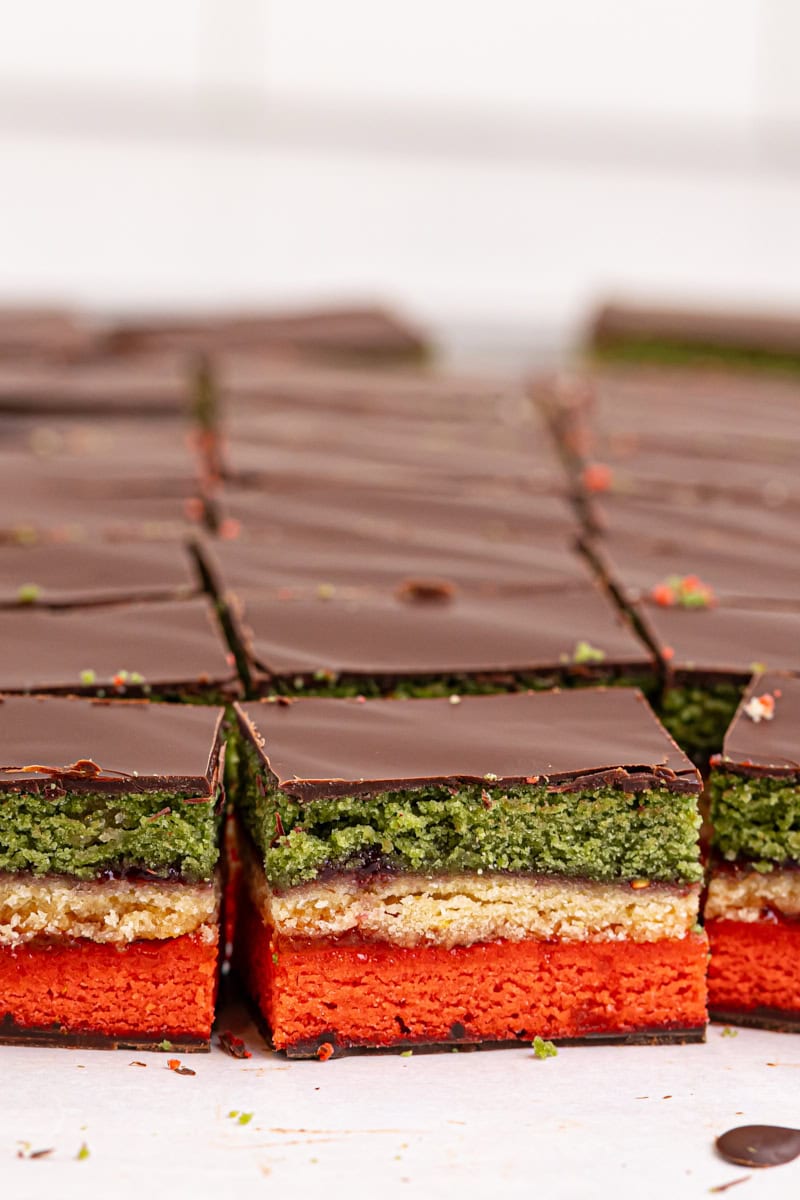
- Get clean cuts. To make cutting easier, use a sharp knife and warm it slightly by dipping it in hot water, then drying it off. This helps cut cleanly through the chocolate layer without cracking. You can also score the top lightly before making full cuts to ensure even pieces. Letting the cookies sit at room temperature for a few minutes to soften the chocolate a bit can also help.
Variations
- Different preserves. You can use different fruit preserves if you prefer, like cherry or strawberry. Orange marmalade is a tasty choice, too.
- Chocolate topping. Try drizzling a bit of white chocolate on top for a fun finishing touch.
- Alternative colors. For a non-traditional twist, experiment with other color combinations, like blue and yellow or pastel shades for a spring-themed version. This variation makes them versatile for any celebration!
How to Store
- Refrigerator: Place your Italian rainbow cookies in an airtight container, separating the layers with parchment or wax paper to prevent sticking. Store in the refrigerator for up to a week. Allow the cookies to come to room temperature before serving.
- Freezer: Arrange the pre-cut cookies in a single layer on a baking sheet and freeze until solid (about 1-2 hours). Then, transfer the frozen cookies to an airtight container, layering them with parchment or wax paper to prevent sticking. If you want to freeze the uncut cookies, wrap the chilled, assembled cookies tightly in plastic wrap and add a layer of aluminum foil to prevent freezer burn. Place the wrapped block in a freezer-safe bag or container. Thaw in the refrigerator overnight, trim the edges, and cut into squares or rectangles.
More Colorful Cookie Recipes
Italian Rainbow Cookies
Ingredients
- 2 cups (240 g) all-purpose flour
- ½ teaspoon salt
- 1 cup (226 g) unsalted butter, softened
- 1 cup (200 g) granulated sugar
- 14 ounces (397 g) almond paste, crumbled into small pieces
- 4 large eggs, separated
- 1 teaspoon almond extract
- 1 teaspoon vanilla extract
- 1 teaspoon orange zest
- red and green gel food coloring
- ⅔ cup raspberry preserves
- ⅔ cup apricot preserves
- 12 ounces (340 g) dark chocolate (60-70% cacao), chopped
Recommended Products
Instructions
- Preheat the oven to 350°F (175°C). Line three baking sheets with parchment paper. (I recommend either jelly roll pans or 9" x 13" quarter sheet pans.)
- Whisk together the flour and salt in a medium bowl. Set aside.
- Using an electric mixer on medium speed, beat the butter and sugar until light and creamy (about 2-3 minutes). Add the egg yolks one at a time, beating after each addition. Mix in the crumbled almond paste, almond extract, vanilla extract, and orange zest until smooth.
- Gradually fold the flour mixture into the wet mixture, mixing just until combined.
- In a clean, dry bowl, beat the egg whites until stiff peaks form. Gently fold them into the batter in three portions.
- Divide the batter into three equal portions. Tint one portion with red food coloring and another with green food coloring. (Start with a drop or two, and then add more as needed.) Mix each separately until fully incorporated. Leave the third portion uncolored.
- Spread each batter evenly into the prepared pans to about 1/4-inch thick. Bake for 10-12 minutes or until set.
- Let the cookies cool completely in the pans before assembling.
- Place the green layer on a flat surface or baking sheet. (I recommend using a half sheet pan lined with parchment paper.) Spread raspberry preserves evenly over the top, leaving a small margin around the edges. Then add the uncolored layer and spread with apricot preserves, leaving a small margin around the edges. Top with the red layer. Cover with plastic wrap and weigh down with a cutting board, a few books, or another heavy object. Chill in the refrigerator for at least 6 hours or overnight.
- Melt half of the chocolate over a double boiler or in the microwave. Spread over the top of the layered cookie. Refrigerate until set, about 30 minutes.
- Melt the remaining chocolate. Flip the assembled layers onto another pan and spread the chocolate over the other side. Chill again until firm.
- Trim the edges for clean sides. Cut into 1-inch squares or rectangles.
Notes
- Store in an airtight container in the refrigerator up to a week. Bring to room temperature for serving.
- For tips, step-by-step photos, and extra details, be sure to read the full post above before starting. It’s packed with helpful info to answer common questions!

