If you’ve ever dreamed of a cheesecake that’s both beautiful and irresistibly creamy, you’re in for a treat. This Basque cheesecake recipe is stunningly simple yet decadently delicious—a dessert that will steal the show every time!
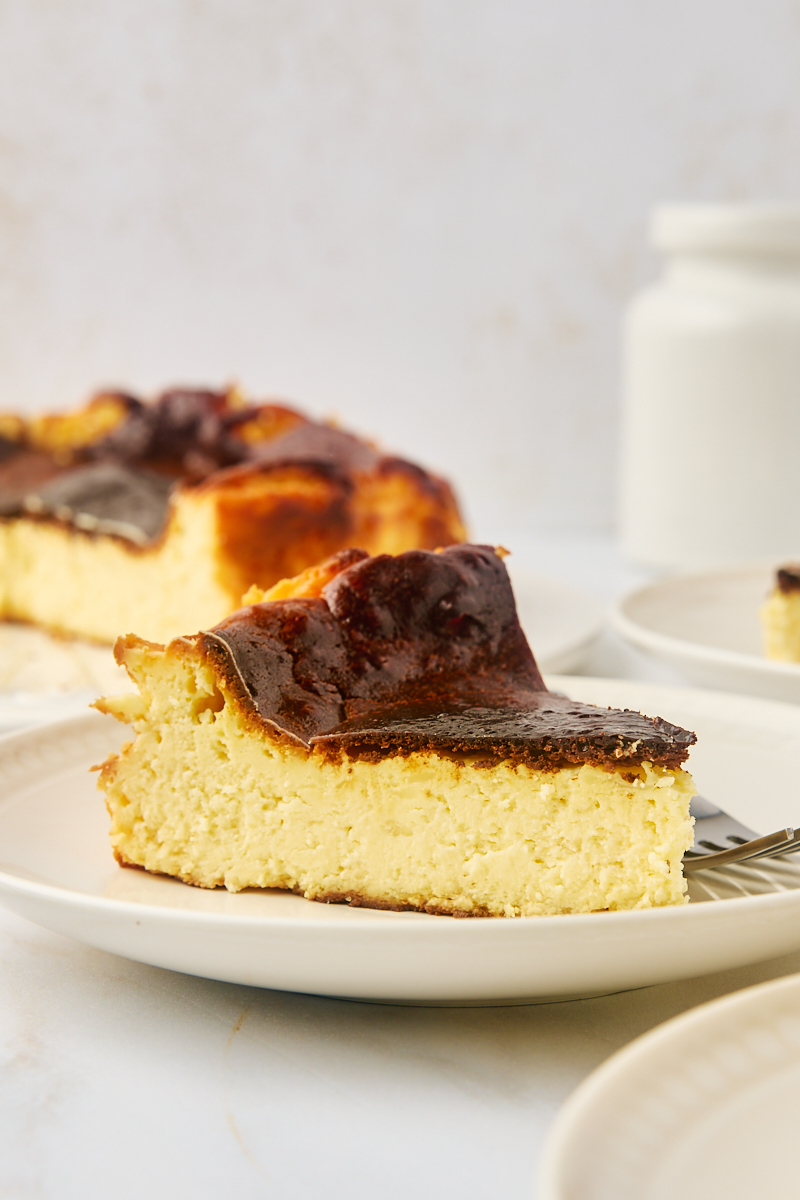
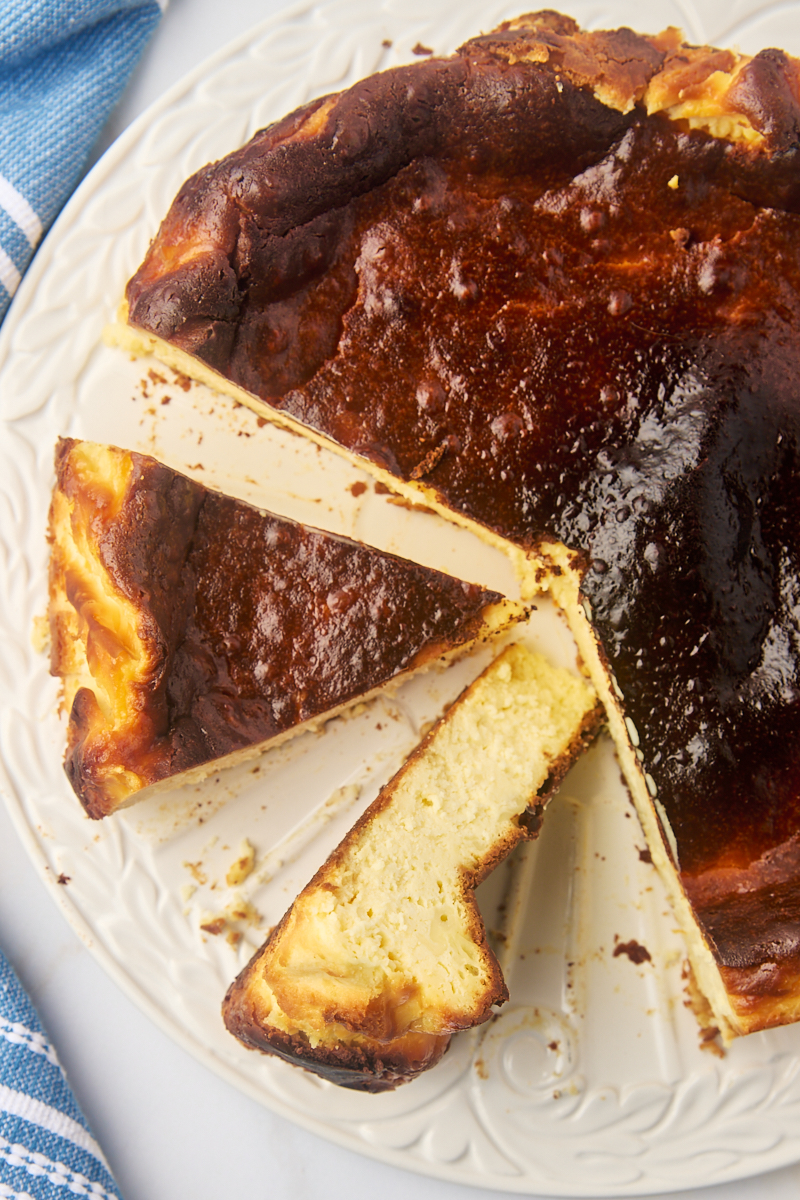
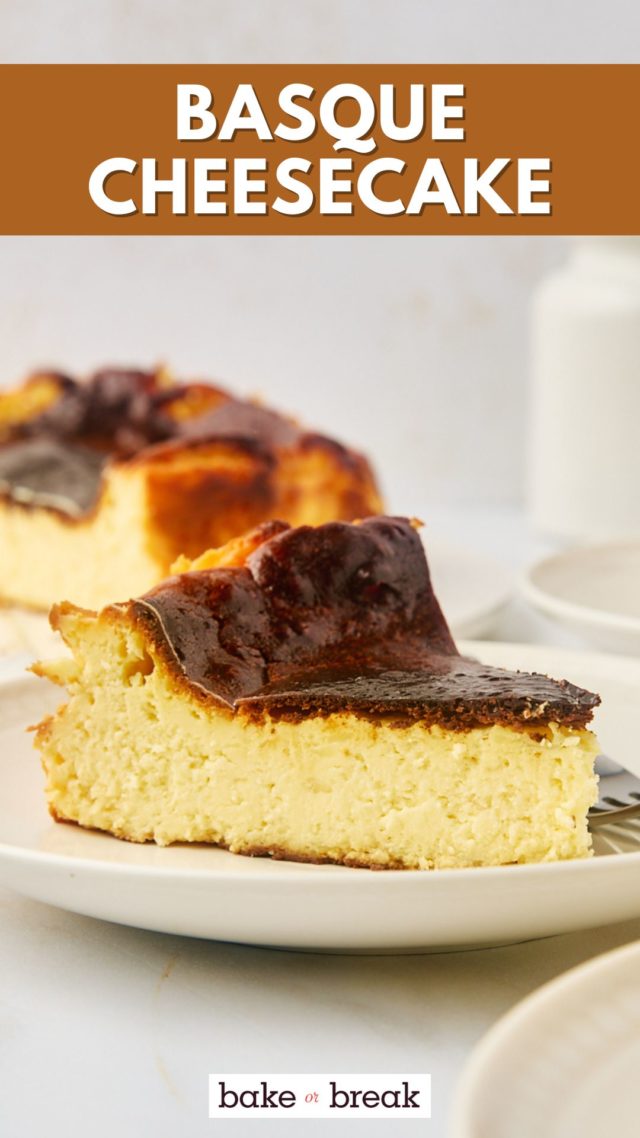
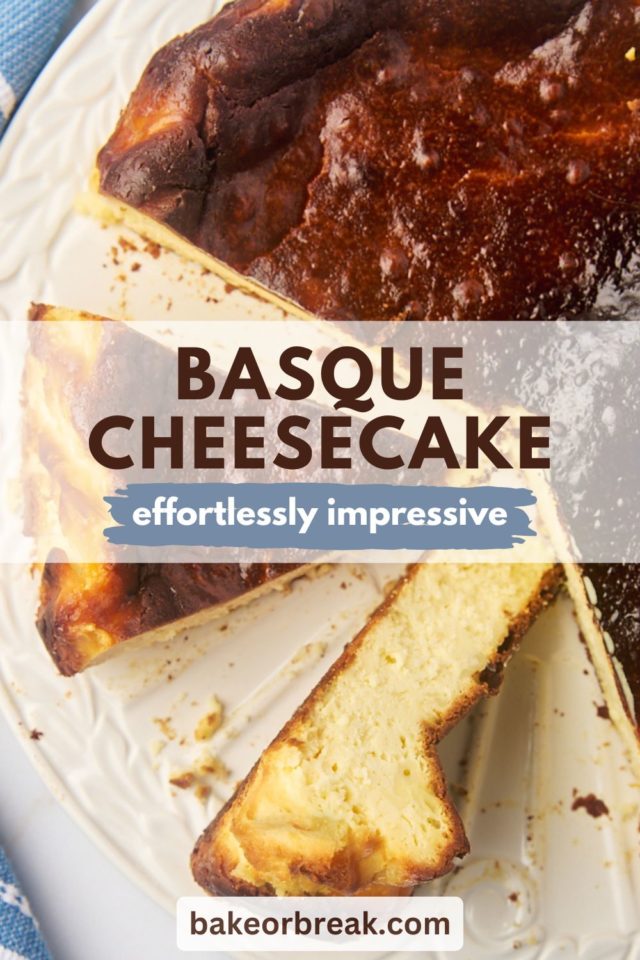
Do you want a cheesecake that’s effortlessly impressive and oh-so-creamy? Then Basque cheesecake is the one for you! With its signature caramelized top and luxuriously soft center, this dessert is truly one of a kind. Unlike traditional cheesecakes, it embraces imperfection—no need for a water bath or worrying about cracks. Just a beautifully browned top and a creamy, dreamy interior that will have everyone asking for seconds.
Why You’ll Love This Basque Cheesecake Recipe
- No water bath required: Unlike many cheesecake recipes, this one doesn’t require any complicated water bath setup. The lack of a water bath allows the cheesecake to rise quickly and develop natural cracks, which add to its charm.
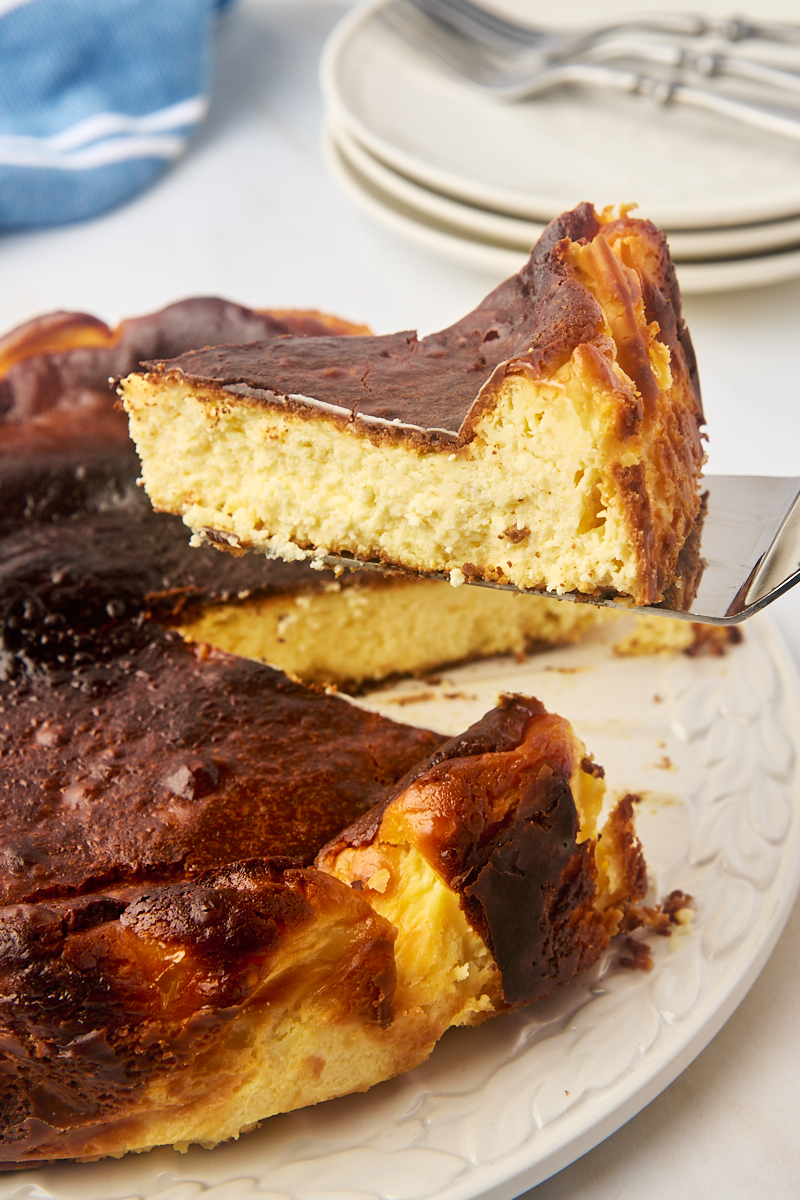
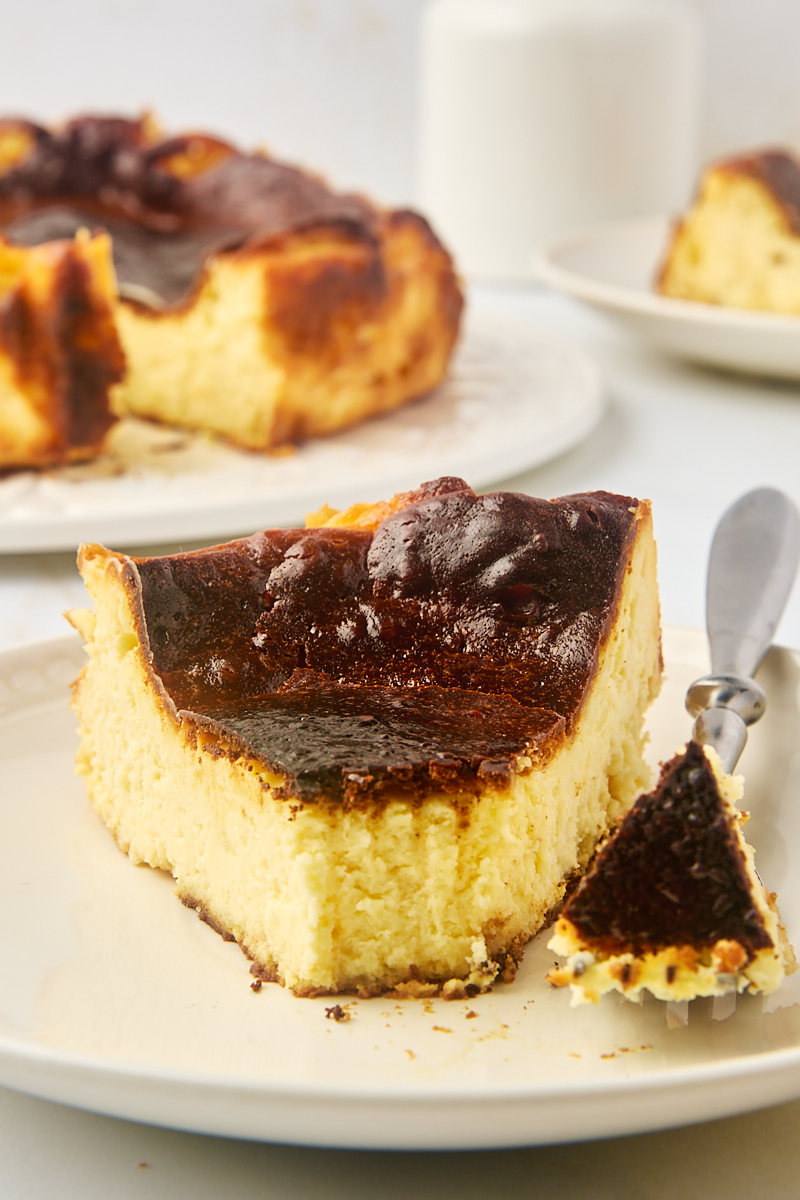
- Rich and creamy texture: The inside is incredibly creamy, almost like a custard, which contrasts beautifully with the slightly bitter, caramelized top.
- Foolproof and rustic: Forget about perfectly smooth tops or worrying about cracks. The crinkles and the burnt look are all part of the charm!
- Minimal ingredients: You only need a handful of baking staples to create this show-stopping dessert.
A Little Background on Basque Cheesecake
Basque cheesecake, also known as burnt Basque cheesecake or San Sebastián cheesecake, originated in the Basque region of Spain. It’s become famous for its no-fuss preparation and unique look, with a deeply browned top that contrasts beautifully with the silky, rich interior. This cheesecake is baked at a high temperature, which caramelizes the sugars on top to create that signature burnt, crackly crust. The intense heat also helps to create a creamy, almost custard-like center, giving it a unique contrast of textures.
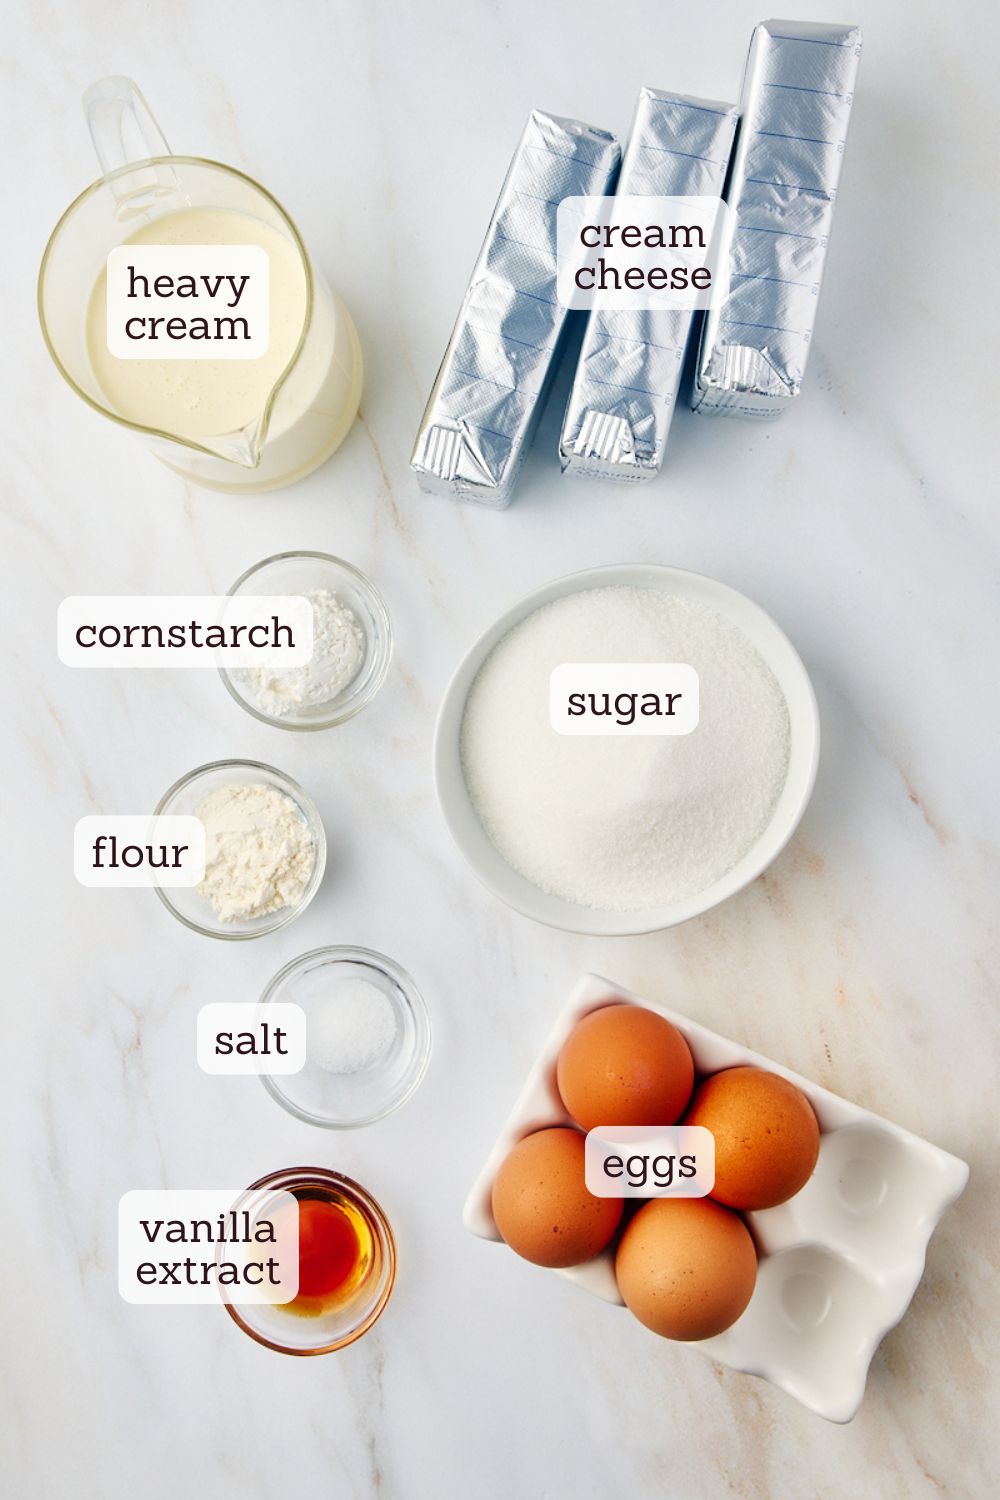
What You’ll Need
- Cream cheese – The star of the show! Make sure it’s softened so it mixes smoothly with the other ingredients. Use full-fat cream cheese for the best flavor and texture.
- Granulated sugar
- Vanilla extract – Use a good quality store-bought or homemade vanilla extract.
- Salt
- Eggs – Set these out with the cream cheese to allow them to come to room temperature.
- Heavy cream – You can use either heavy cream or heavy whipping cream without altering the texture or flavor significantly.
- All-purpose flour – Just a small amount helps the cheesecake set without being overly dense.
- Cornstarch – This is optional but gives the cheesecake a firmer texture.
How to Make Basque Cheesecake
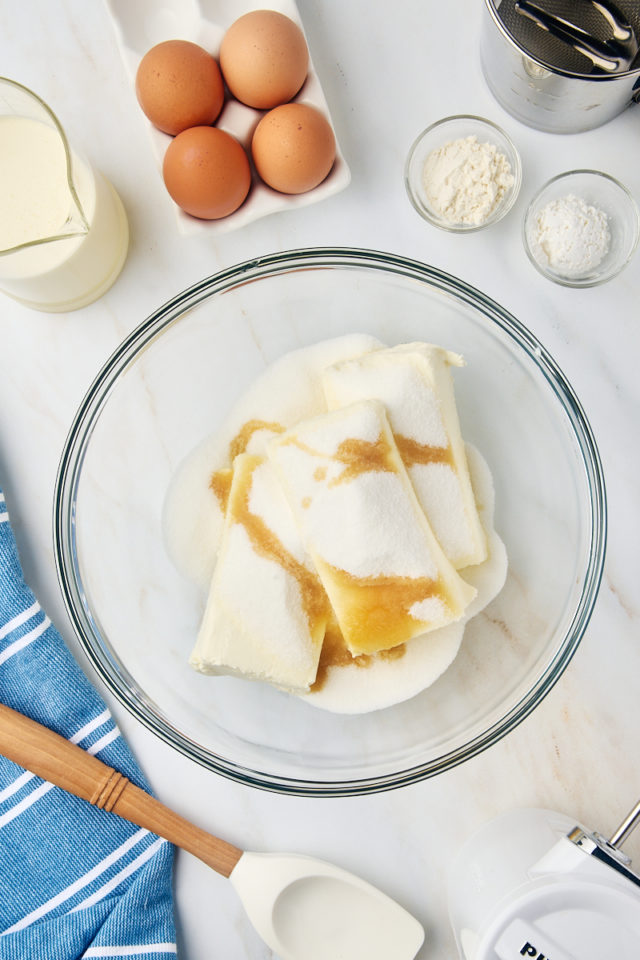
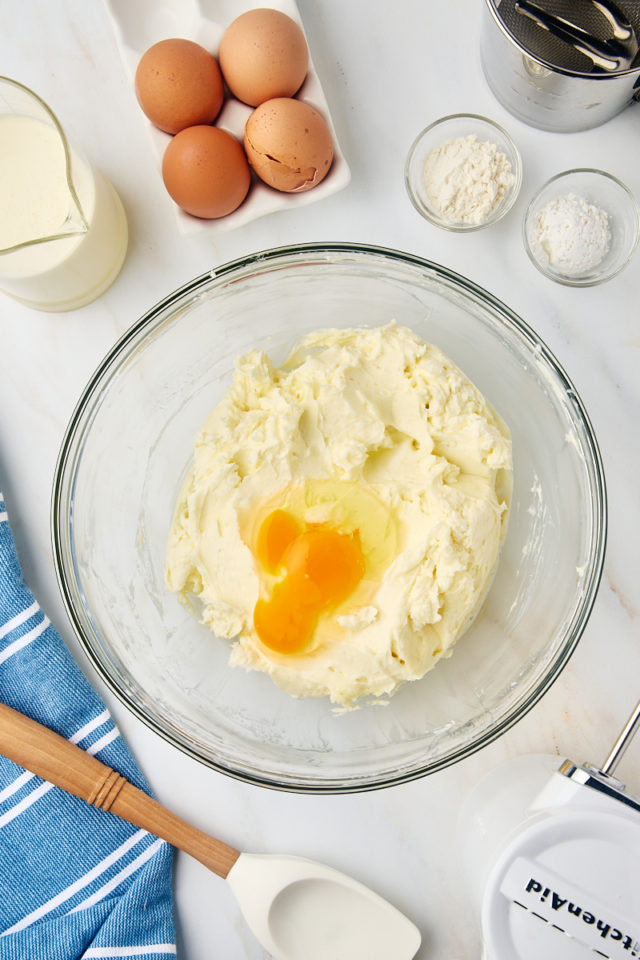
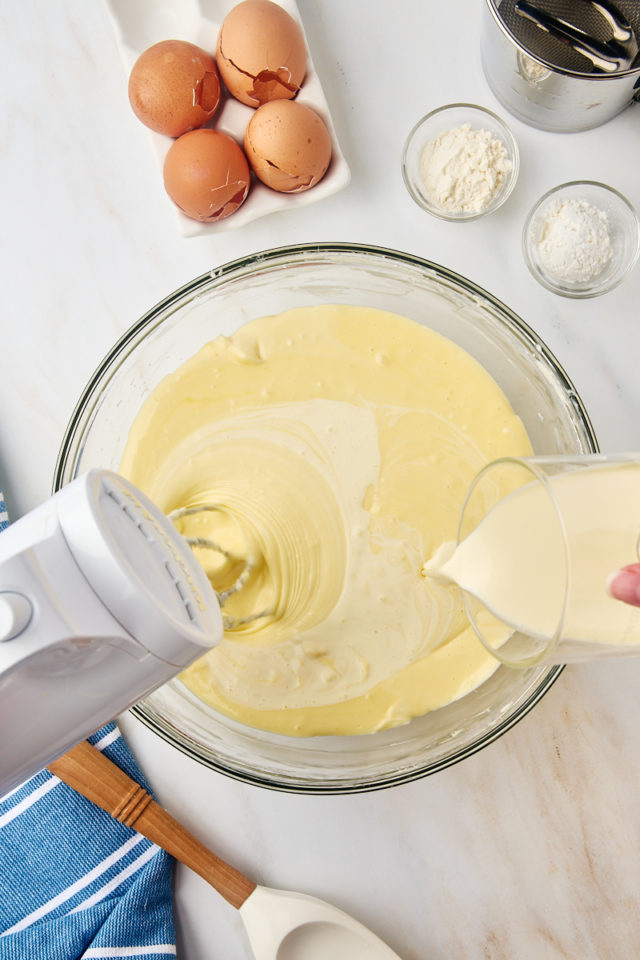
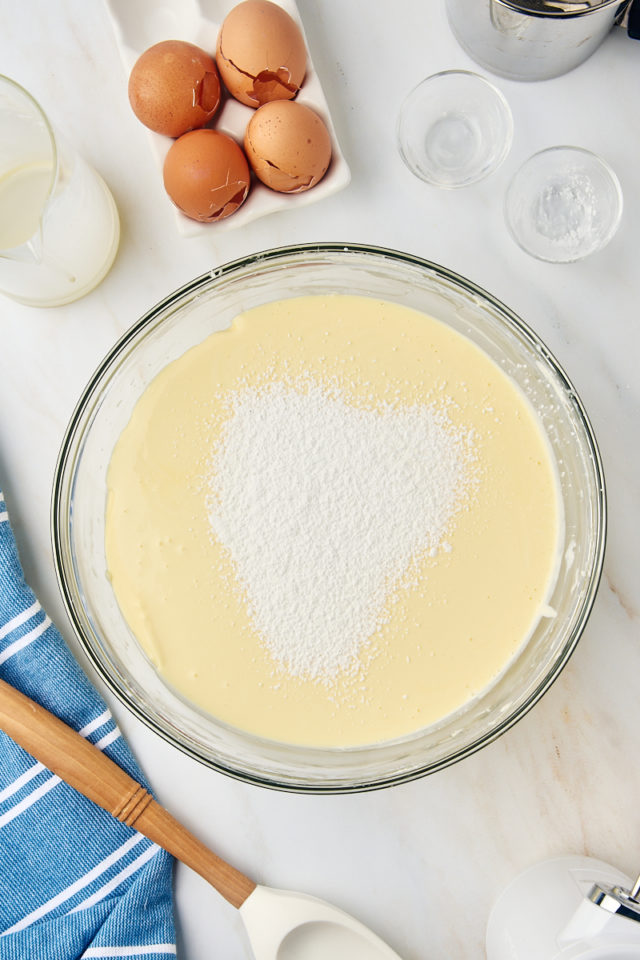
- Prepare for baking. Heat the oven to 400°F. Line a 9-inch springform pan with parchment paper, making sure the paper comes up above the sides to catch any overflow and create those signature rustic edges.
- Mix the ingredients. Beat the cream cheese, sugar, salt, and vanilla extract until smooth. Add the eggs one at a time, mixing well after each. Next, gradually pour in the heavy cream, mixing slowly to keep the batter smooth. Finally, sift in the flour and cornstarch, and fold gently until combined.
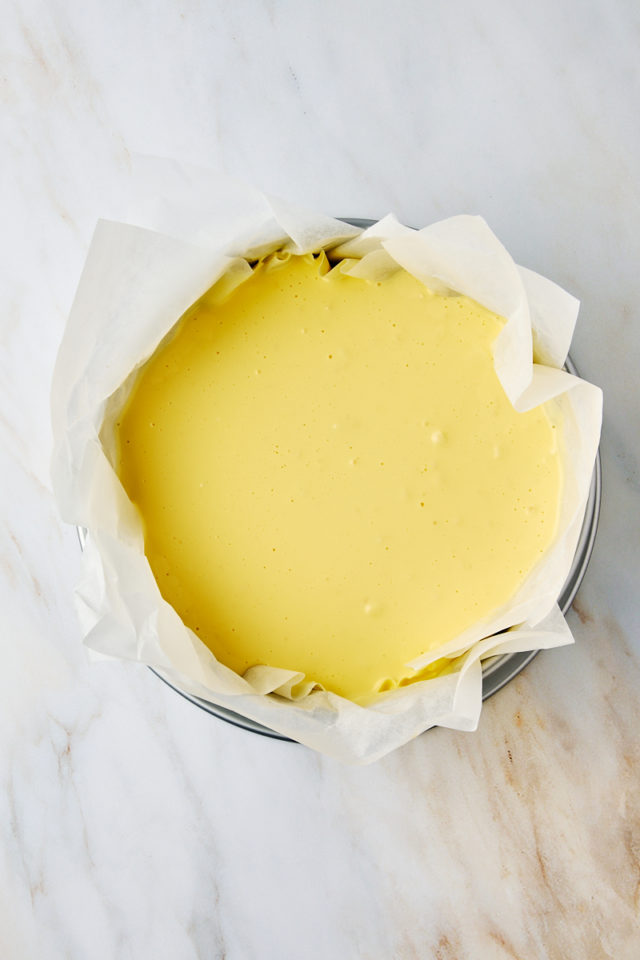
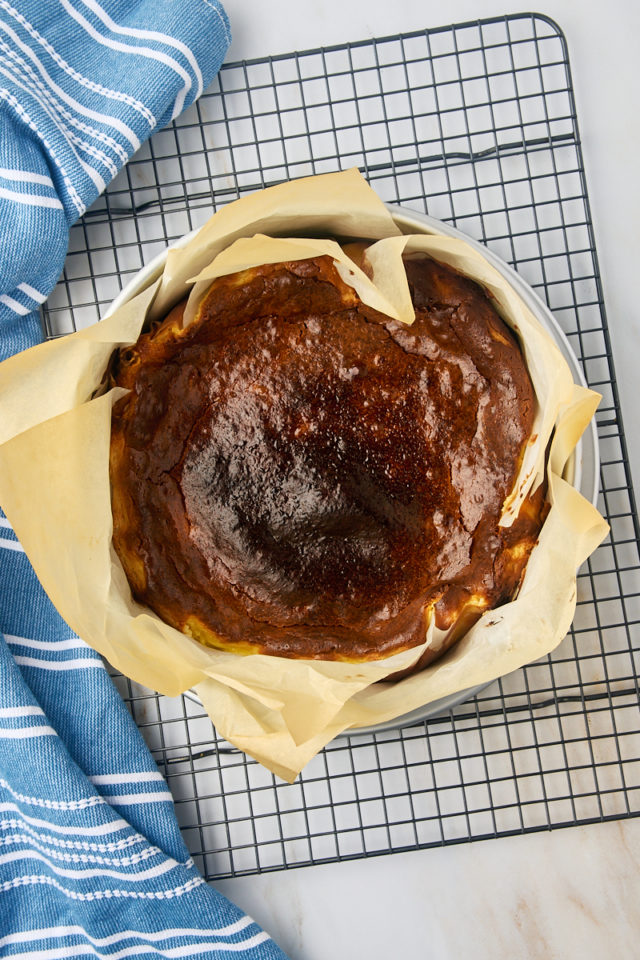
- Bake. Pour the cheesecake batter into your lined pan. Bake for 60-70 minutes, or until the top is deeply golden and the center is still a bit jiggly.
- Cool and chill. Let the cheesecake cool to room temperature, then refrigerate for at least 4 hours or overnight for the best texture.
Tips for Success
- Line the pan. Use two criss-crossing sheets of parchment paper to line the pan completely and rise above the rim by 2-3 inches. You need that height because the cheesecake will rise during baking. Let the paper naturally wrinkle and fold as it goes up the sides. It’s okay if it’s not smooth—those wrinkles will add to the charm of the cheesecake’s rustic look.
- Use room temperature ingredients. Make sure your cream cheese, eggs, and heavy cream are at room temperature. This helps everything blend smoothly, giving you the creamiest cheesecake.
- Don’t over-mix. Over-mixing can incorporate too much air, leading to cracks or a less creamy texture. Mix just until each ingredient is incorporated.
- Place the pan on a rimmed baking sheet. This prevents any potential leaks from making a mess in your oven and also makes it easier to get the cheesecake in and out of the oven.
- Don’t over-bake. When the cheesecake is done, the center should still be slightly jiggly. This ensures that the interior remains creamy once cooled, creating a texture that’s almost like a cross between cheesecake and custard.
- Let it cool slowly. Once out of the oven, let the cheesecake cool to room temperature before refrigerating. This helps avoid dramatic temperature changes that can cause splitting.
Variations and Serving Suggestions
- Flavor additions – Add some lemon zest for a bright, citrusy twist, or a teaspoon of almond extract for a subtle nutty flavor that pairs beautifully with the creamy texture.
- Toppings – Serve with fresh berries, a drizzle of caramel or chocolate sauce, or a dollop of whipped cream. The burnt top pairs beautifully with both fruity and sweet elements.
How to Store
- Refrigerator: Store the cheesecake covered in the refrigerator for up to 4-5 days. The flavor gets even better after a day or two!
- Freezer: You can freeze this cheesecake for up to 2 months. Wrap slices individually in plastic wrap and store in an airtight container. To serve, thaw overnight in the refrigerator.
More Cheesecake Recipes
Basque Cheesecake
Ingredients
- 24 ounces (680 g) cream cheese, at room temperature
- 1 cup (200 g) granulated sugar
- 1 teaspoon vanilla extract
- ¼ teaspoon salt
- 4 large eggs, at room temperature
- 1 ½ cups (360 ml) heavy cream, at room temperature
- 1 tablespoon all-purpose flour
- 1 tablespoon cornstarch
Recommended Products
Instructions
- Preheat to 400°F (200°C). Line a 9-inch springform pan with parchment paper, making sure the paper goes up the sides and overhangs by a few inches for easy removal and to prevent sticking. (Use two pieces criss-crossing for full coverage.)
- In a large bowl, beat the softened cream cheese, sugar, vanilla, and salt together until smooth and creamy. (Use an electric mixer on medium speed.)
- Add the eggs one at a time, mixing well after each addition.
- Slowly pour in the heavy cream, and mix until the batter is smooth and well combined.
- Sift the flour and cornstarch over the batter and gently fold it in.
- Pour the cheesecake batter into the prepared pan and tap the pan lightly on the counter a few times to displace any bubbles. Bake for 60–70 minutes, or until the top is a deep golden brown and the center has a slight jiggle.*
- Let the cheesecake cool to room temperature in the pan. Then, refrigerate for at least 4 hours or overnight for the best texture.
- Slice and serve cold or at room temperature.
Notes
- *I recommend placing the pan on a rimmed baking sheet in case there are spills and for ease of transferring in and out of the oven.
- Cover and store in the refrigerator for 4-5 days.
- For tips, step-by-step photos, and extra details, be sure to read the full post above before starting. It’s packed with helpful info to answer common questions!



2 Comments on “Basque Cheesecake”
I just made this for Thanksgiving dessert and everyone loved it! I followed the recipe exactly and it was done in 50 minutes in my oven. I made a caramel sauce with cream and dipping caramel and drizzled on some slices and cut fresh strawberries and added sugar and water to make a sauce to serve over slices also. Was a huge hit.easy recipe and tasted great.will never go back to regular cheesecake again. Only this one.
I’m so glad you enjoyed the cheesecake, Patricia! Your toppings sound like perfect ways to dress it up!