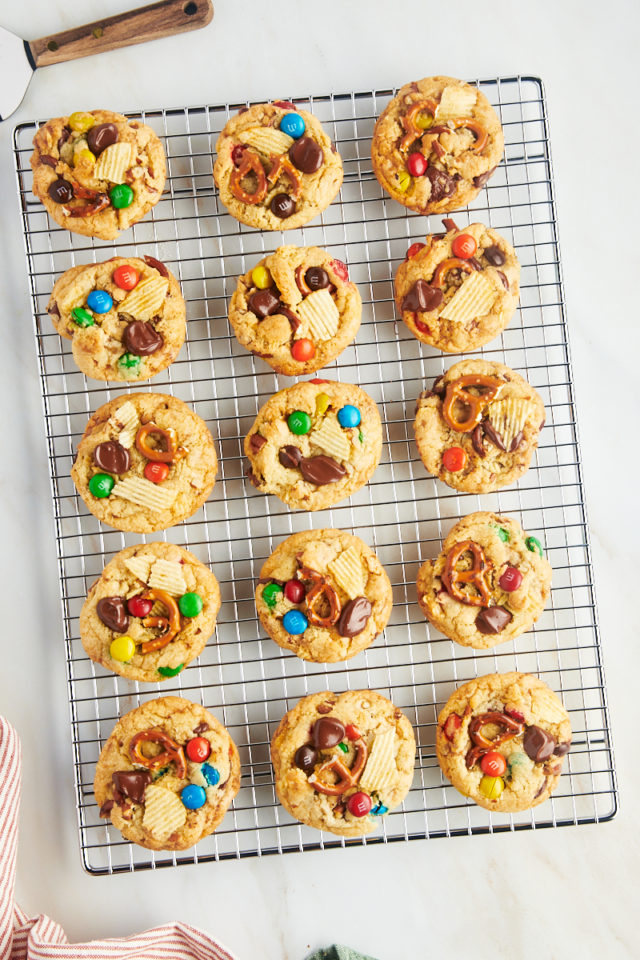
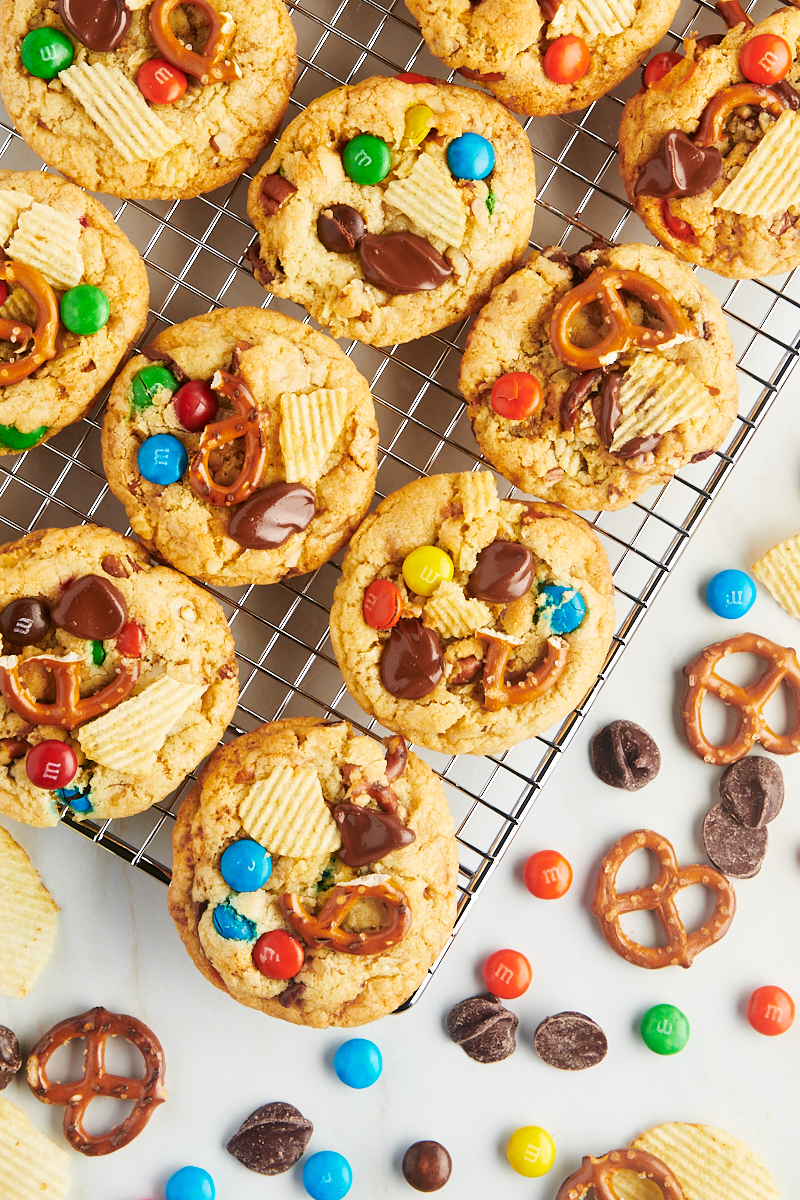
If you like your cookies loaded with mix-ins, you’ll love these kitchen sink cookies! With chocolate chips, M&Ms, pretzels, potato chips, nuts, and toffee, there’s a little bit of sweet and salty in every bite.

Kitchen sink cookies (and these kitchen sink brownies and kitchen sink crispy treats) get their name from the idea that they have everything in them but the kitchen sink. While that might be a slight exaggeration, this recipe is loaded with all the good stuff. With contrasting textures and a balance of sweet and salty flavors, kitchen sink cookies are impossible to resist.
Why You’ll Love These Kitchen Sink Cookies
- Easy to make. If you can make chocolate chip cookies, you can make these kitchen sink cookies! This is a simple cookie recipe perfect for beginning bakers.
- Customizable. One of the best parts about kitchen sink cookies is the potential for customization. Feel free to swap out any of the mix-ins with whatever you have in your pantry and make them your own.
- Contrasting textures and flavors. The combination of crunchy, chewy, and crispy textures paired with sweet and salty flavors makes these cookies a delight.
What You’ll Need
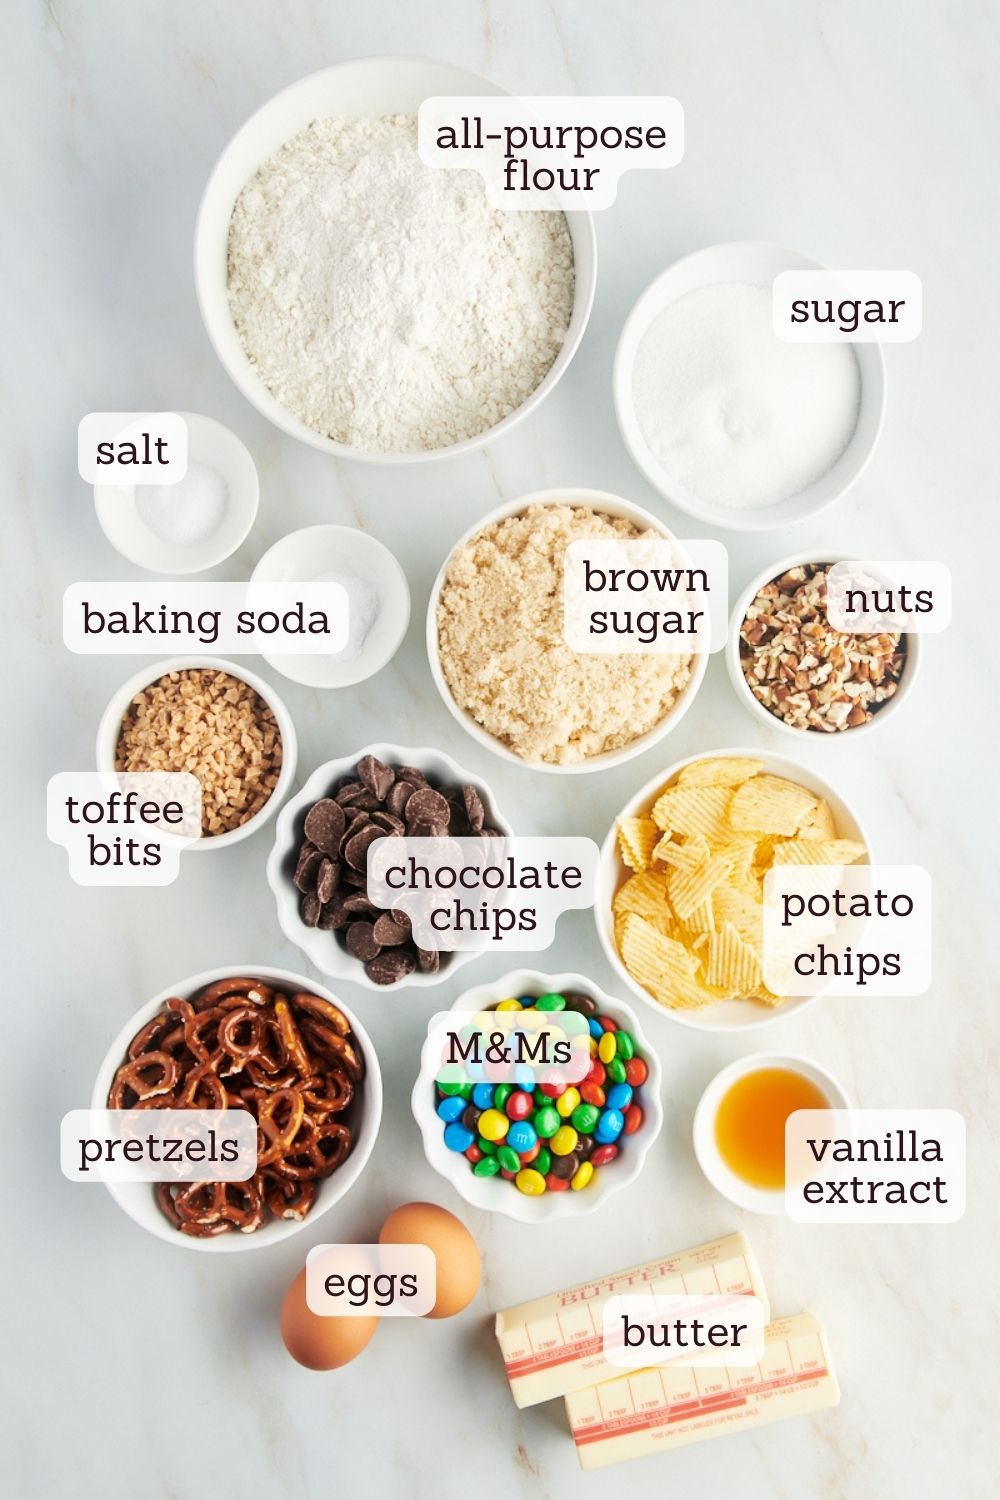
Scroll down to the recipe card to find the ingredient quantities and recipe instructions.
- All-purpose flour – Here’s how to measure flour for baking.
- Baking soda
- Salt
- Unsalted butter – Unsalted butter puts you in control of the flavor of these cookies. Learn more: Unsalted or Salted Butter: Which is Better for Baking?
- Light brown sugar – Here’s the difference between light brown sugar vs. dark brown sugar.
- Granulated sugar
- Eggs – I recommend baking with large eggs.
- Vanilla extract – I like to use my homemade vanilla extract for baking, but store-bought pure vanilla extract (not imitation) is just fine, too.
- Mix-ins – The cookies pictured here were made with semisweet chocolate chips, M&M candies, pretzel pieces, potato chip pieces, chopped nuts, and toffee bits. See below for more mix-in ideas.
How to Make Kitchen Sink Cookies
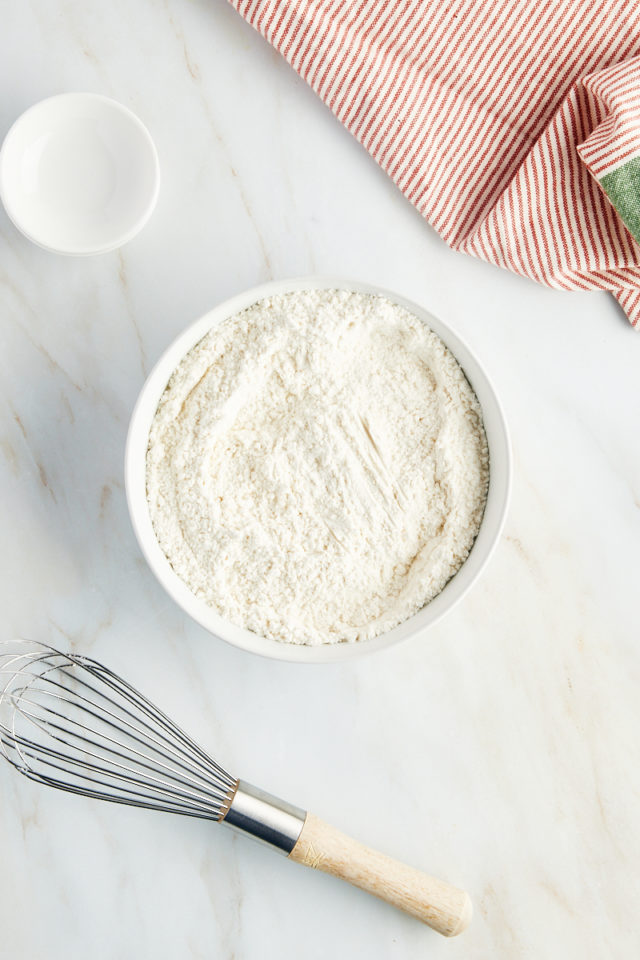
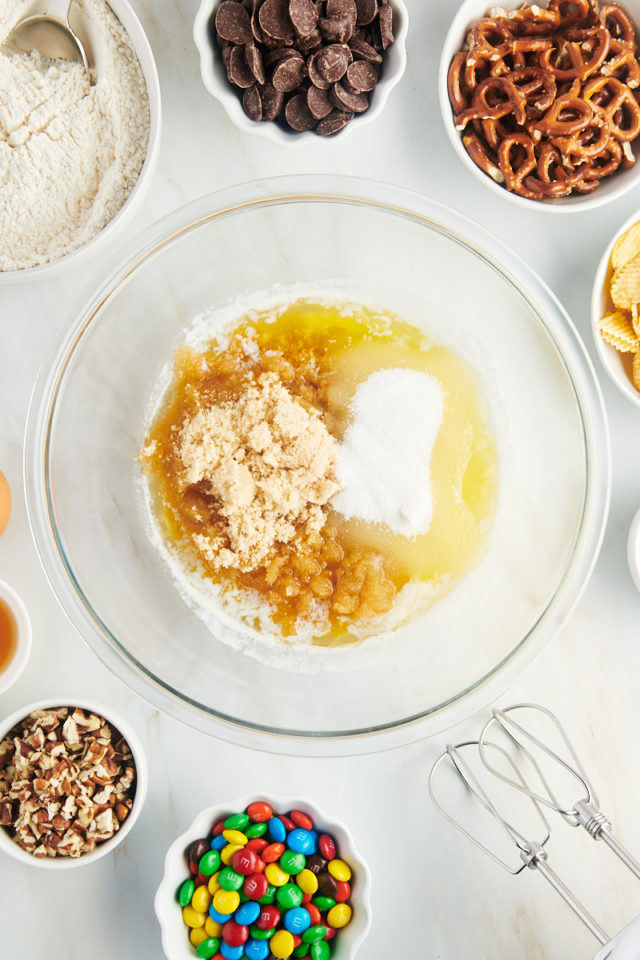
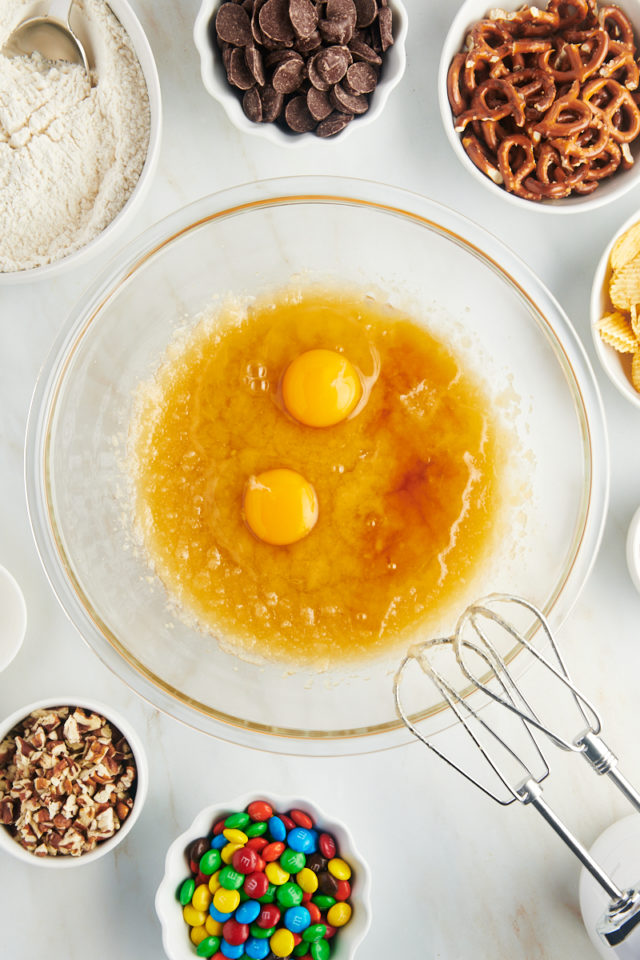
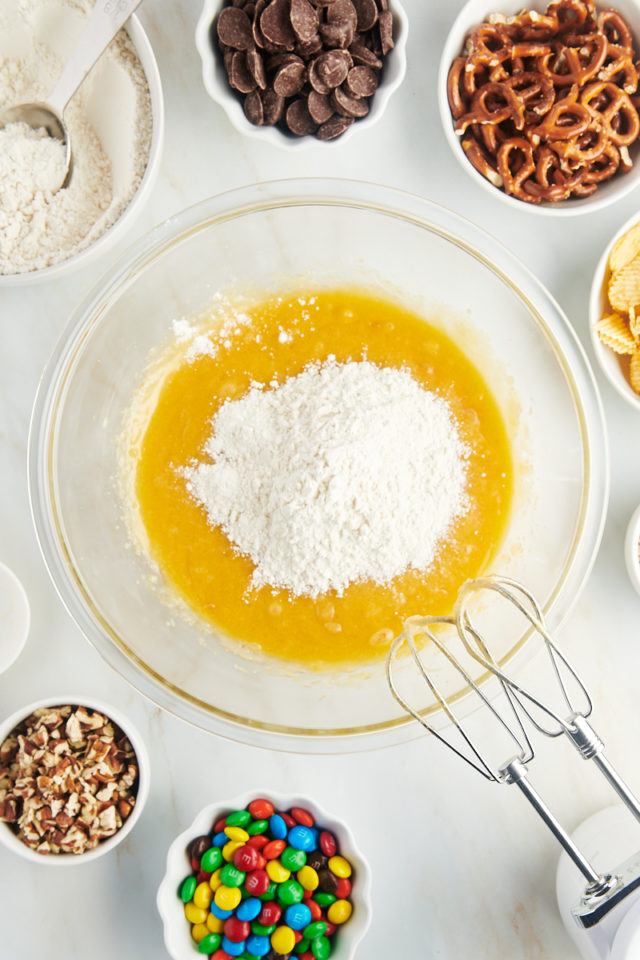
- Mix the dry ingredients. Whisk the flour, baking soda, and salt together in a mixing bowl.
- Mix the wet ingredients. Cream the butter and sugars with an electric mixer, then beat in the eggs and vanilla.
- Combine. Reduce the mixer speed to low and slowly mix the dry ingredients into the wet ingredients.
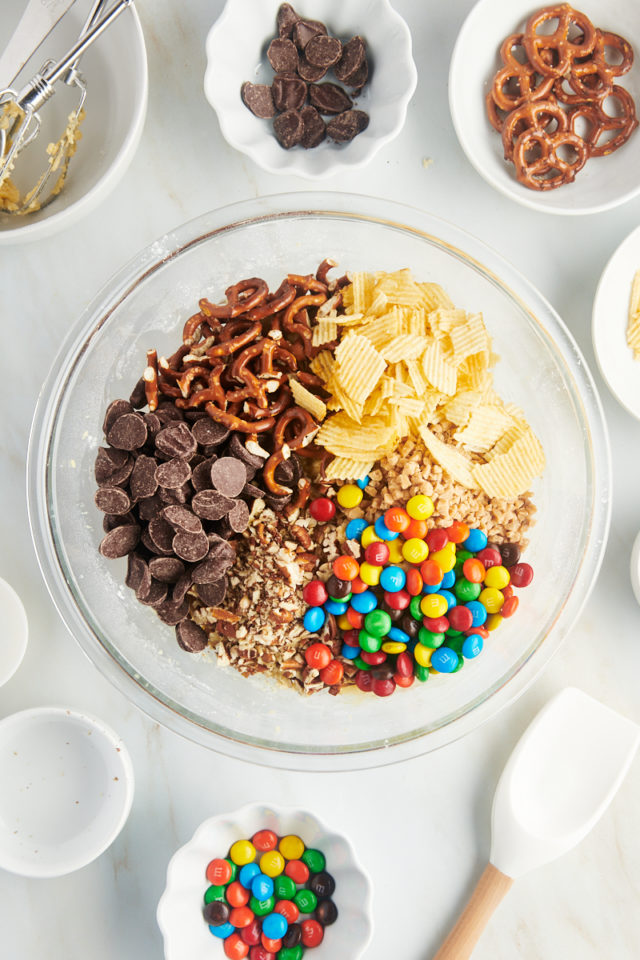
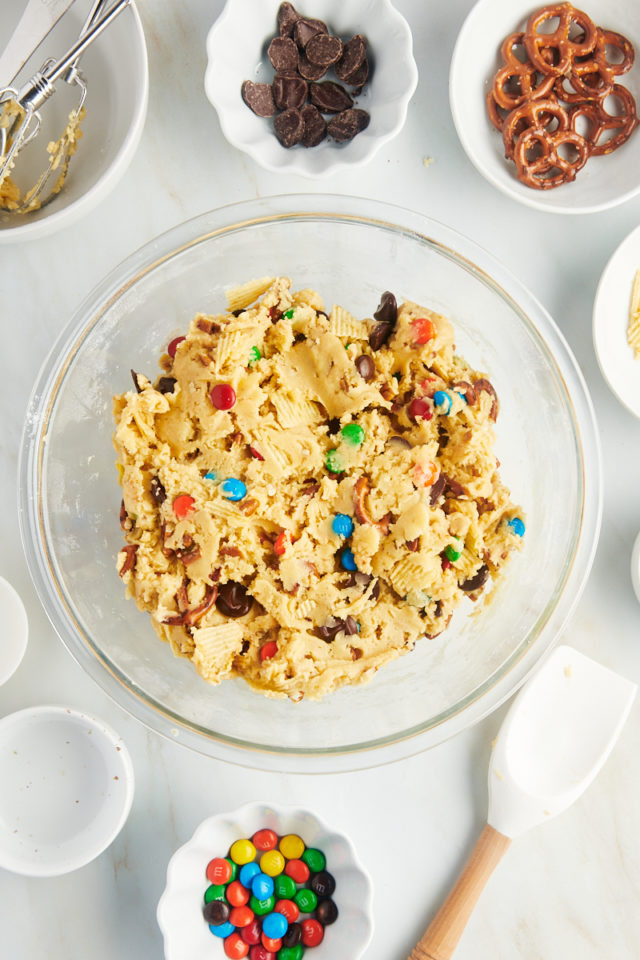
- Add the mix-ins. Fold them into the cookie dough; you can reserve some for adding to the cookies after they bake.
- Chill. Cover the dough and refrigerate for at least 2 hours.
- Prepare. Preheat your oven to 350°F and line baking sheets with parchment paper or silicone liners.
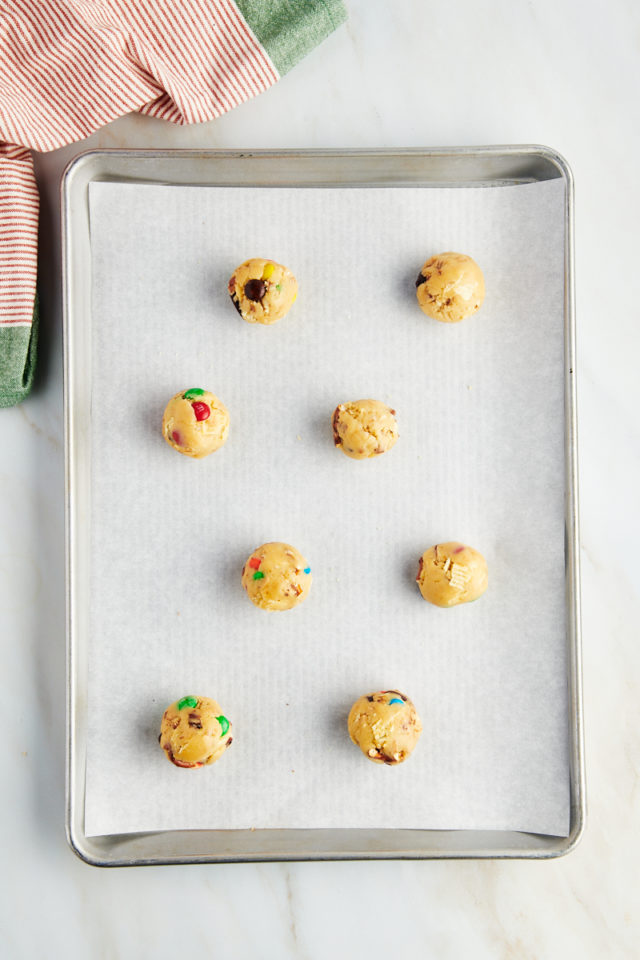
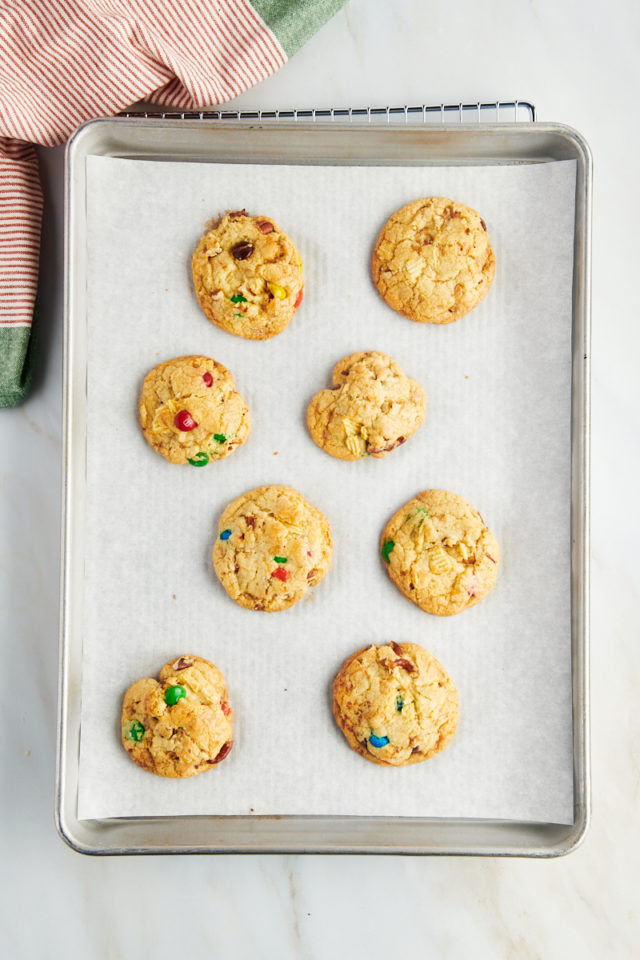
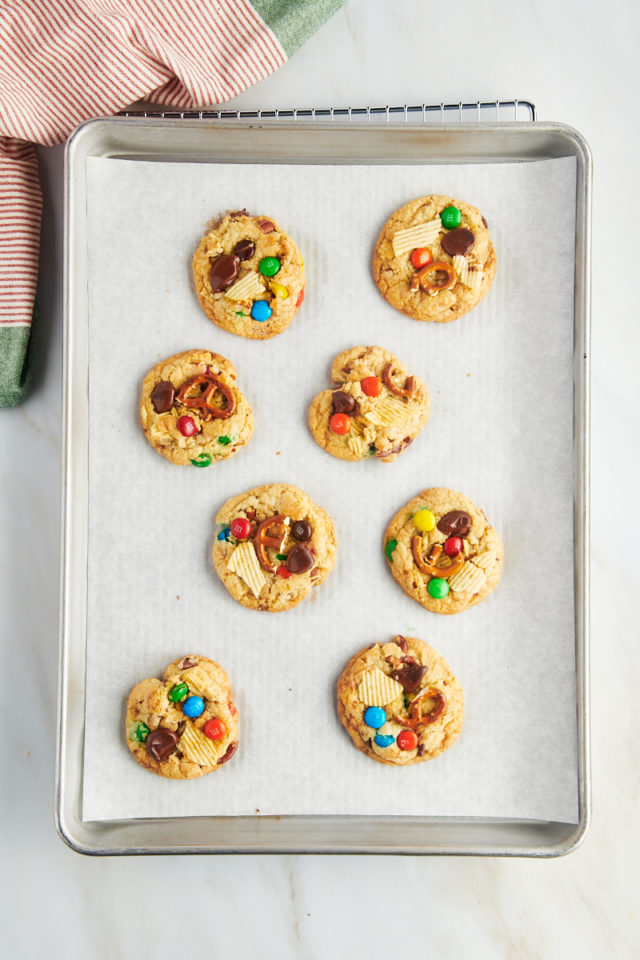
- Form the cookies. Roll 3-tablespoon portions of dough into balls (I use a cookie scoop for easy portioning) and place them on the baking sheets.
- Bake. Place one pan at a time in the oven and bake for 14 to 16 minutes.
- Cool. Set the pan on a wire rack and press any reserved mix-ins onto the cookies. After 5 minutes, transfer the cookies directly to the wire rack to finish cooling.
Tips for Success
- Let the butter cool a bit. Don’t add it to the bowl fresh out of the microwave. If the butter is piping hot, it has the potential to cook the eggs. You want the butter melted but not hot.
- Don’t over-mix the dough. Over-mixing can lead to tough cookies. Mix just until there are a few small streaks of flour left in the dough.
- Chill the dough. Chilling allows the flavors to develop and the dough to firm up, making it easier to scoop into balls and keeping it from spreading on the pan.
- Don’t over-bake. The edges should be lightly golden brown, but the center may still look slightly under-baked. This is how you ensure that perfect chewy texture! The cookies will continue to set after you pull them out of the oven.
More Mix-In Ideas
As long as you keep the same proportions of mix-in-to-dough, you can play around with the additions to this kitchen sink cookie recipe. Here are some more ideas for inspiration:
- Chopped candy bars
- Mini Reese’s cups or Reese’s pieces
- Cereal
- Cookies (Oreos, Nutter Butters, etc.)
- Butterscotch, white chocolate, or peanut butter chips
- Caramel bits
- Chopped chocolate bars
- Sprinkles
- Dried fruit

How to Store
Store these kitchen sink cookies in an airtight container at room temperature for up to 5 days.
Can I Freeze This Recipe?
You can freeze kitchen sink cookies either before or after baking. To freeze before baking, prepare the dough as directed and freeze the balls on a parchment-lined baking sheet. Once they’re frozen solid, transfer them to an airtight container or freezer bag and freeze for up to 3 months. Bake from frozen, adding a few minutes to the baking time.
To freeze after baking, let the cookies cool completely, then transfer them to an airtight container or freezer bag and store for up to 3 months. Let them thaw at room temperature or pop them in the microwave for a few seconds to warm them up.

More Crowd-Pleasing Cookie Recipes

Kitchen Sink Cookies
Ingredients
- 3 cups (360 g) all-purpose flour
- 1 teaspoon baking soda
- 1 teaspoon salt
- 1 cup (226 g) unsalted butter, melted and slightly cooled
- 1 ⅓ cups (267 g) firmly packed light brown sugar
- ⅔ cup (133 g) granulated sugar
- 2 large eggs
- 1 tablespoon vanilla extract
- 1 cup (170 g) chocolate chips
- 1 cup M&M candies
- 1 cup pretzel pieces
- 1 cup potato chip pieces
- ½ cup chopped nuts
- ½ cup toffee bits
Recommended Products
Instructions
- Whisk together the flour, baking soda, and salt. Set aside.
- Using an electric mixer on medium speed, beat the cooled butter, brown sugar, and sugar until thoroughly combined. Mix in the eggs and vanilla.
- Reduce mixer speed to low. Gradually add the flour mixture, mixing just until combined or a few small streaks of flour remain.
- Stir the add-ins into the dough. If you like, reserve some of the add-ins for topping the cookies after they've baked.
- Cover and chill the dough for 2 hours up to overnight.
- Preheat the oven to 350°F (175°C). Line baking sheets with parchment paper or silicone liners.
- Divide the dough into 3-tablespoon portions, roll into balls, and place on the prepared pans, leaving 2 inches between the cookies.
- Bake one pan at a time for 14 to 16 minutes or until the cookies are golden brown. Take care not to over-bake.
- Remove the pan from the oven and place on a wire rack. If you reserved any add-ins, press those on top of the warm cookies.
- After the cookies have cooled on the pans for 5 minutes, transfer them from the pans directly onto a wire rack to cool completely.
Notes
- You can use other add-ins; just keep the total amount around 5 cups. Try adding other flavor baking chips, caramel bits, crunchy cookie pieces, cereal, caramel bits, oats, chopped candy bars, dried fruits, or anything else you’d like.
- Store in an airtight container at room temperature up to 5 days. Freeze unbaked cookie dough balls or baked and cooled cookies in a freezer-safe container up to 3 months.

