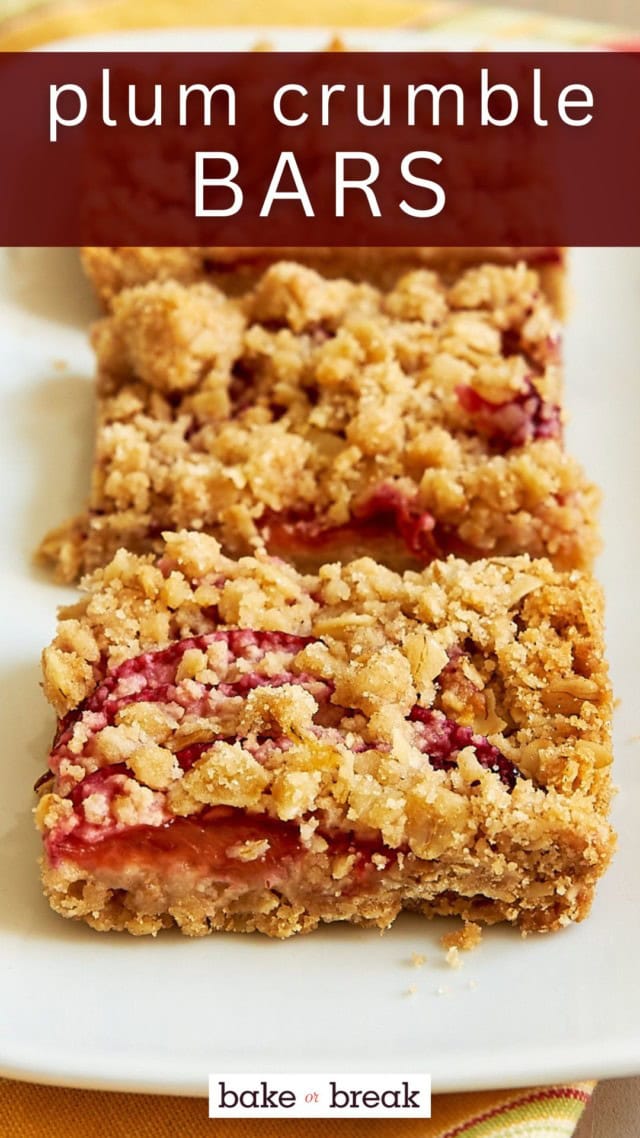
A buttery oat crumble meets sweet, juicy plums in these easy plum crumble bars. Perfect for summer snacking or a simple dessert!

Poor plums. More often than not, I think they get lost in the summer fruit shuffle. We get so excited about berries and cherries and peaches. And there sit all those lovely plums, just wishing someone would look their way. With these bars, you now have the perfect excuse to grab a few and get baking!
We start with a simple, buttery, oat-filled crust. There’s a hint of cinnamon in there, too, because plums just love cinnamon. You can mix it with a fork or a pastry blender, but I tend to mix this kind of crust with my fingers. It’s just simpler and quicker, really. There’s no separate crumb topping to be made, as the crust mixture also serves as the crumb topping.
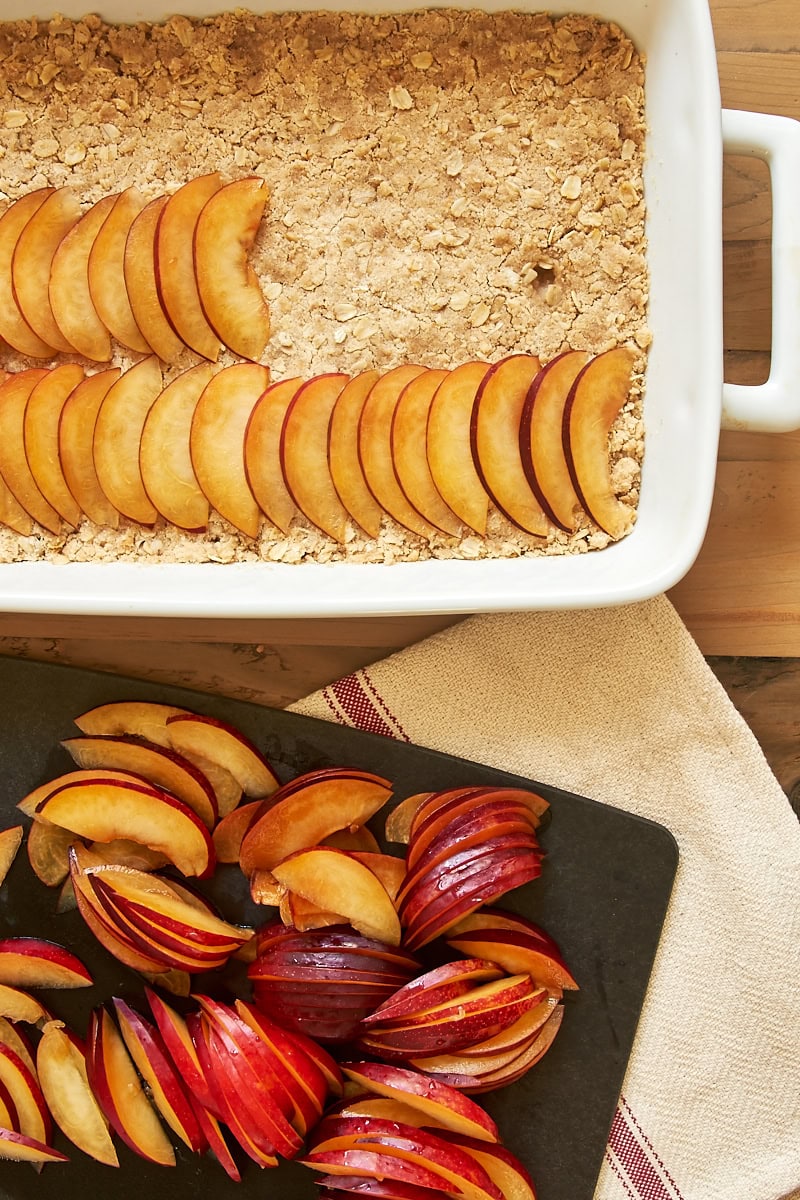
Between all that crust and the crumb are the plums. The only prep work for them is pitting and slicing. There’s no need to peel them. Leaving the skin intact lets you enjoy all of their sweet, tangy flavor. Then just layer them over the crust. Most any type of plum will work in this recipe. The bars pictured here were made with red plums. I tend to use those more than other varieties, but your favorite variety will work just fine.
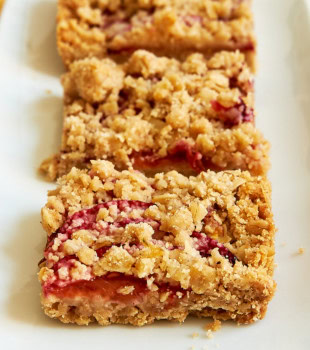
The lovely flavor of the plums combines with that buttery, oat-y, cinnamon-y crust and crumb for an absolutely delightful treat. These bars are just the right amount of sweet and a perfect late summer dessert. And as simple as they are to make, you can enjoy them a few times during plum season!

How to Store
Store leftover bars in an airtight container at room temperature for up to 2 days or in the refrigerator for up to 5 days. For longer storage, wrap well and freeze for up to 2 months. Thaw in the refrigerator or at room temperature before serving.
Plum Crumble Bars
Ingredients
- 2 cups (240 g) all-purpose flour
- 1 ½ cups (149 g) old-fashioned rolled oats
- ½ cup (100 g) granulated sugar
- ½ cup (100 g) firmly packed light brown sugar
- 1 teaspoon vanilla extract
- 1 teaspoon ground cinnamon
- ½ teaspoon baking powder
- ¼ teaspoon salt
- ¾ cup (170 g) unsalted butter, cold and cut into 1/2-inch cubes
- 3-4 medium plums, pitted and sliced thinly
Instructions
- Preheat oven to 350° (175°C).
- Combine the flour, oats, sugar, brown sugar, vanilla, cinnamon, baking powder, and salt in a large bowl. Add the butter, and mix with a pastry blender, a fork, or your fingers until combined. The mixture will be crumbly but should hold together when pinched.
- Set aside 1 cup of the crust mixture.
- Transfer the remaining crust mixture to a 9”x 13”x 2” baking pan. Press firmly and evenly into the bottom of the pan.
- Bake the crust for 10 minutes. Then remove from the oven.
- Layer the plums over the partially baked crust, overlapping each slice a bit. Sprinkle the remaining crust mixture over the plums.
- Bake 35 to 40 minutes, or until the crust is golden brown. Cool completely before cutting into bars.
Notes
- Plums: You’ll need 3 to 4 medium plums, depending on size. Slice them thinly so they bake evenly and soften nicely.
- Butter: Cold butter helps create the crumbly texture. Cut it into cubes and work it in until the mixture holds together when pinched.
- Crust & Topping: The same mixture is used for both, making this recipe extra simple—just remember to set aside some for the topping before baking the crust.
- Store in an airtight container at room temperature up to 2 days or in the refrigerator up to 5 days.
This recipe was developed in collaboration with Go Bold with Butter.


8 Comments on “Plum Crumble Bars”
I always try to devote at least one or two sweet treats to plums each summer. I’m behind this year, though, and these bars look so good! I do have some plums in the fridge…
I’m lucky enough to have my own Italian plum tree. They are my favorite plum for baking. I have to confess they tend to get left behind because I’m so burnt out from all the other fare and all the summer plant care but I do get excited when I see them getting all purple and ripening. Perfect timing, Jennifer (as always!) Thanks!!
Just 3 plums for a 9×13 that does not sound like much, maybe your plums are a LOT bigger than what I buy. Is this correct?
Three plums should be plenty unless they’re especially small. If you slice them thinly, you’ll essentially make a row of each plum’s overlapping slices on top of the crust. Of course, if you prefer more plums, then you can certainly use more.
Well, I used peaches instead (I know, sorry you poor plums) and the recipe was a hit. Thanks!
I used about 15 plums and felt like I could have used more.
The topping was very dry and crumbly. Not a hit with my family, sorry to say.
Hi, this looks fab. Can you tell me if I should grease the pan before adding in the crust?
Hi, Alison. With that much butter in the crust, you shouldn’t need to grease the pan.