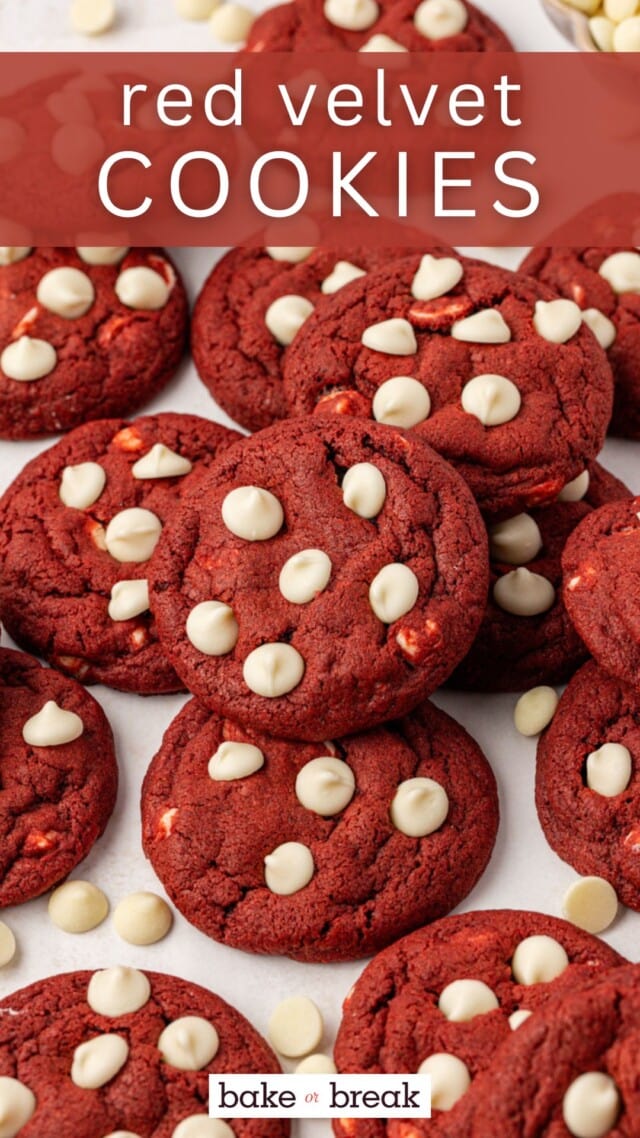
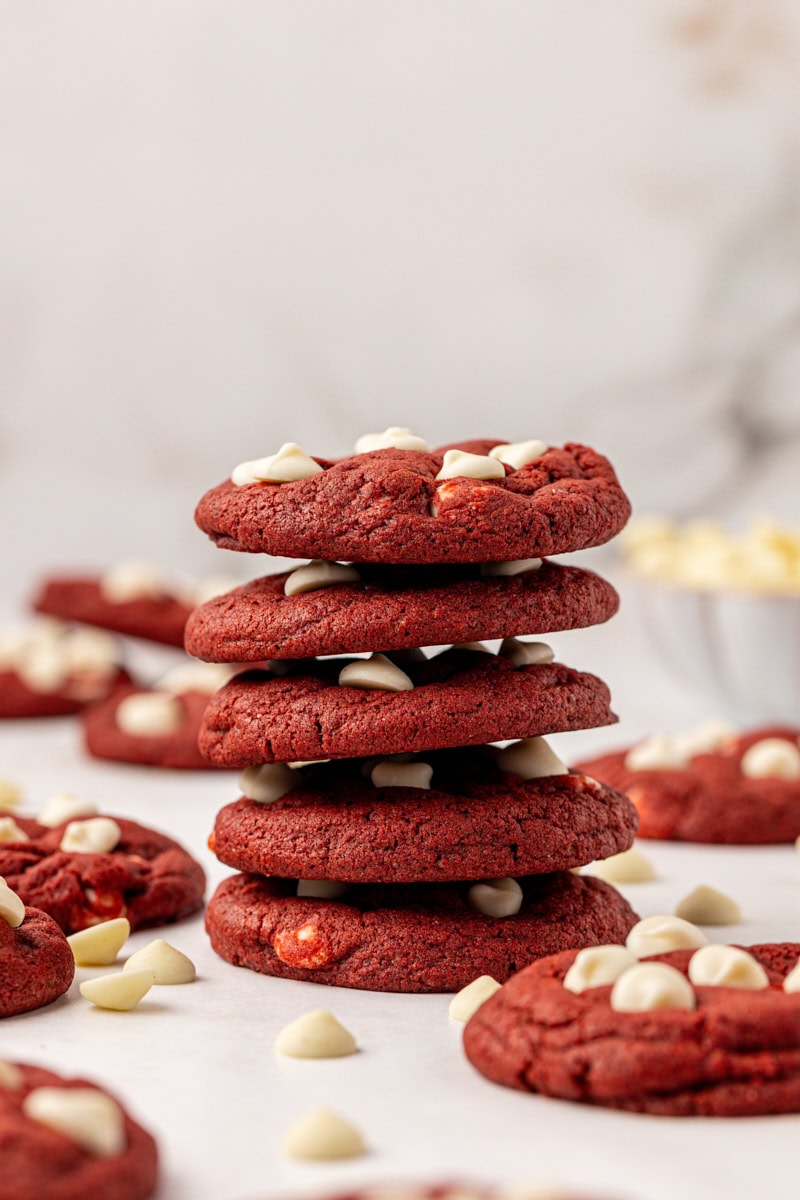
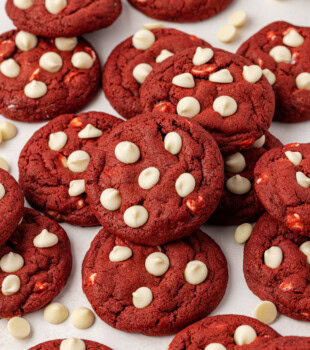
These chewy red velvet cookies are a festive twist on a classic! Soft, rich, and studded with white chocolate chunks, they’re perfect for holiday cookie trays or anytime you’re craving something sweet and colorful.
When you want a cookie that feels just a little extra special, red velvet always delivers. These chewy red velvet cookies capture everything you love about the classic cake, with a hint of cocoa, a touch of tang, and that signature color, all in an easy drop cookie form. With white chocolate chunks for a creamy contrast, they’re a beautiful and delicious addition to your holiday baking lineup.
Why You’ll Love These Red Velvet Cookies
- Festive and fun. That deep red hue makes them perfect for Christmas, Valentine’s Day, or any celebration.
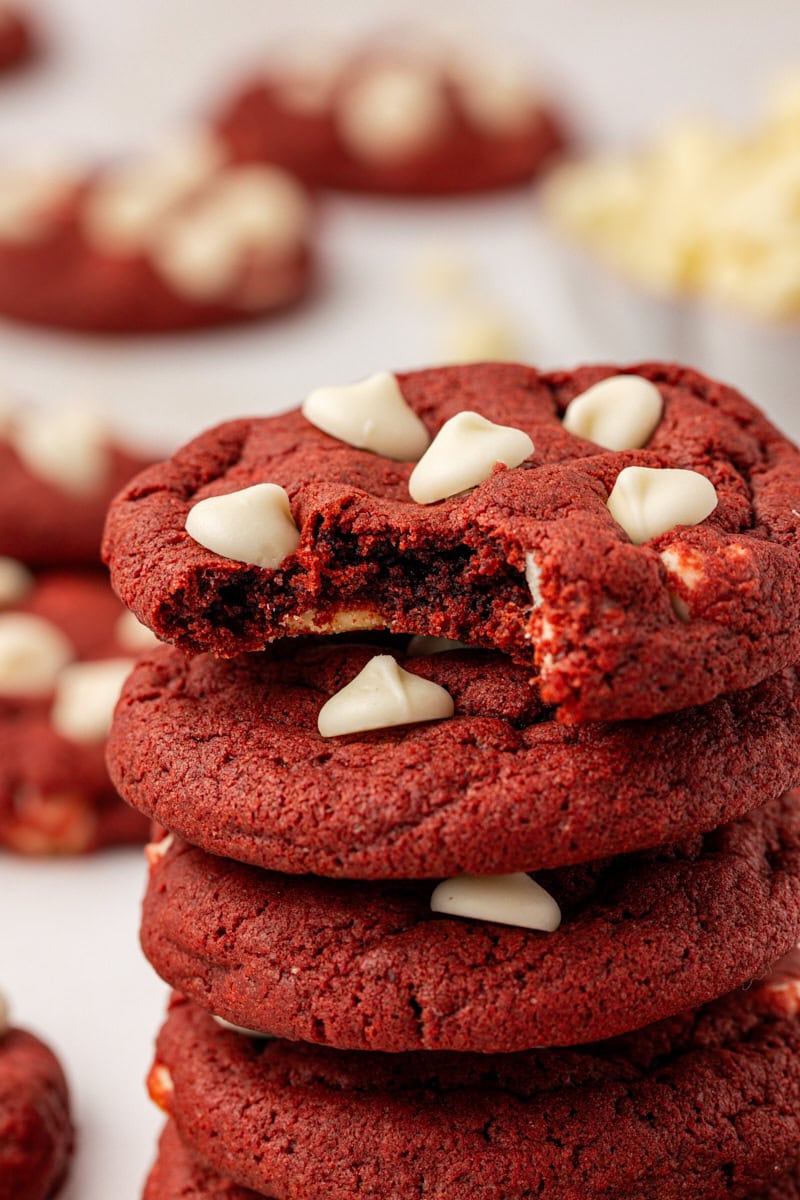
- Soft and chewy. The texture is like the best chocolate chip cookie — dense and tender, not cakey.
- No-fuss recipe. Just a quick chill for best results, then scoop and bake.
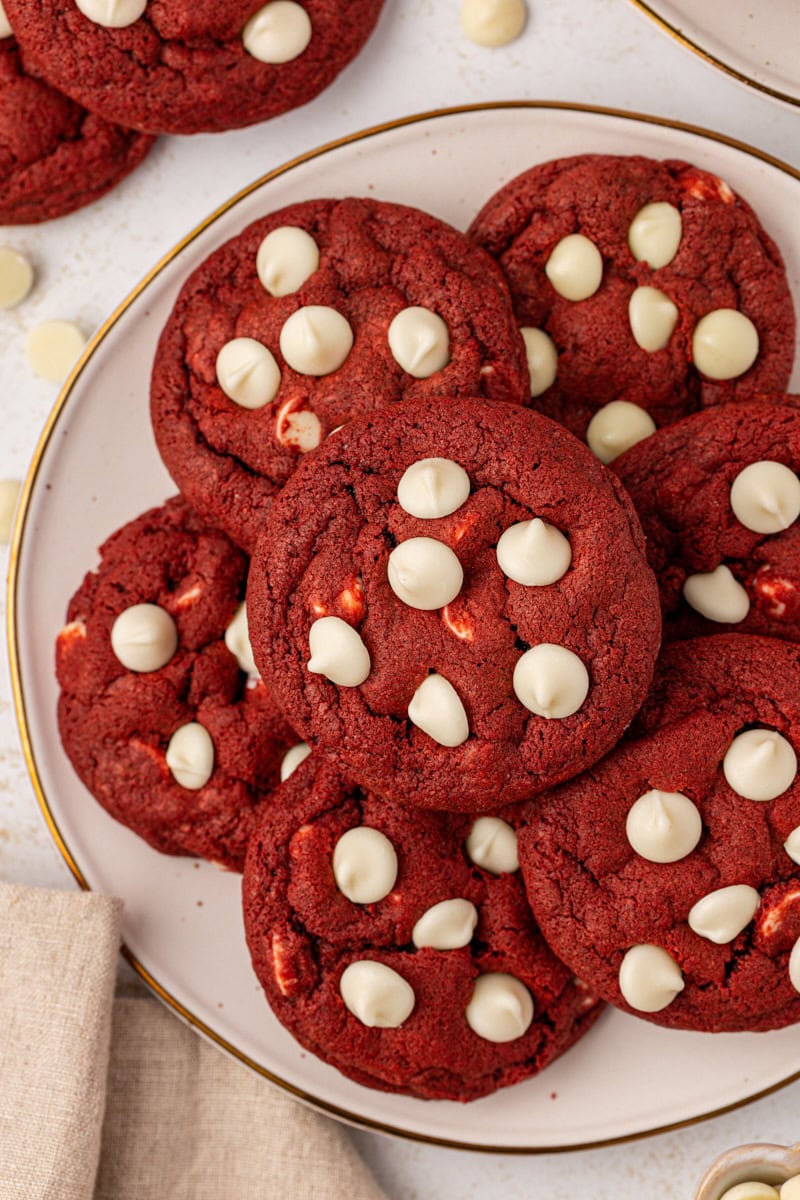
- Sweet contrast. White chocolate chunks balance the cocoa and add lovely creamy pockets in every bite.

Key Ingredients
Here’s a quick look at the main ingredients that make these red velvet cookies so, so good.
- Natural cocoa powder – Gives a mild chocolate flavor that keeps the red color vibrant.
- Brown sugar – Adds moisture and chew for the perfect texture.
- Vinegar – A small amount enhances the red velvet flavor and balances the sweetness.
- White chocolate chips – Creamy, rich, and just right for festive contrast.
A Note on Color
Red velvet cookies naturally vary in shade depending on the cocoa and food coloring you use. Natural cocoa tends to keep the color bright and clear, and gel coloring gives the most control without thinning the dough. Even if your dough looks a little darker or lighter than mine, don’t worry! The white chocolate still pops beautifully once baked.
How to Make Red Velvet Cookies
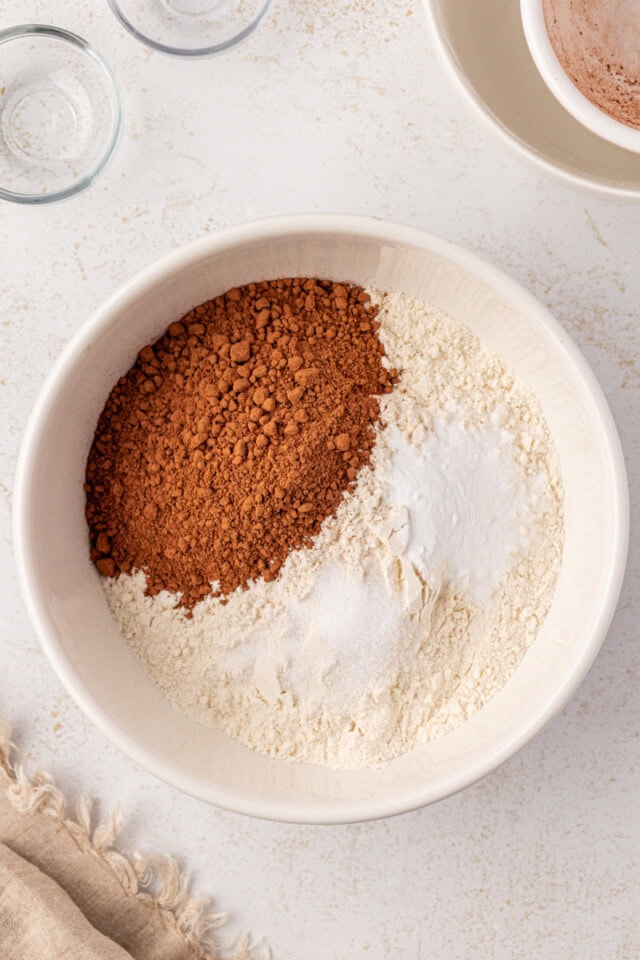
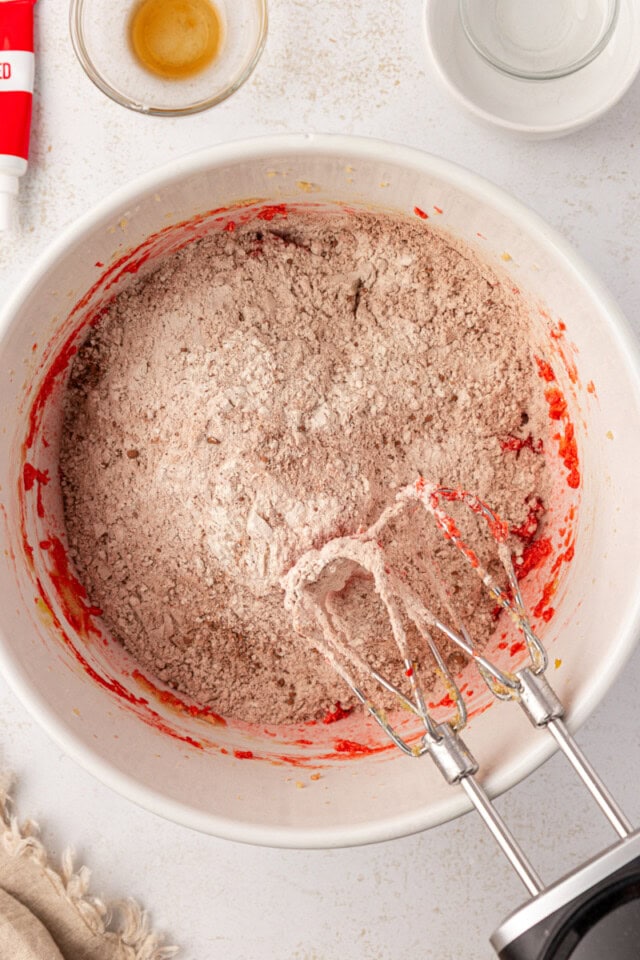
Mix the dry ingredients.
Whisk together the flour, cocoa powder, baking soda, and salt. It’s a small amount of cocoa, but it’s enough to give the cookies a subtle chocolate flavor and that signature red velvet base.
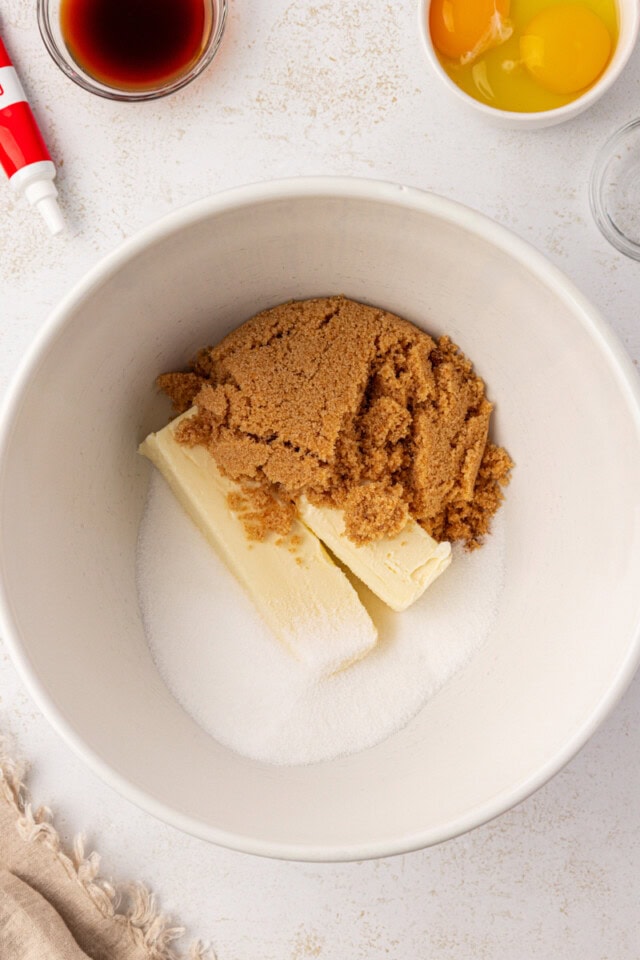
Cream the butter and sugars.
Beat the butter, brown sugar, and granulated sugar until fluffy and lighter in color. This step adds air to the dough and sets you up for chewy (not cakey) cookies. Scrape the bowl as needed so everything blends evenly.
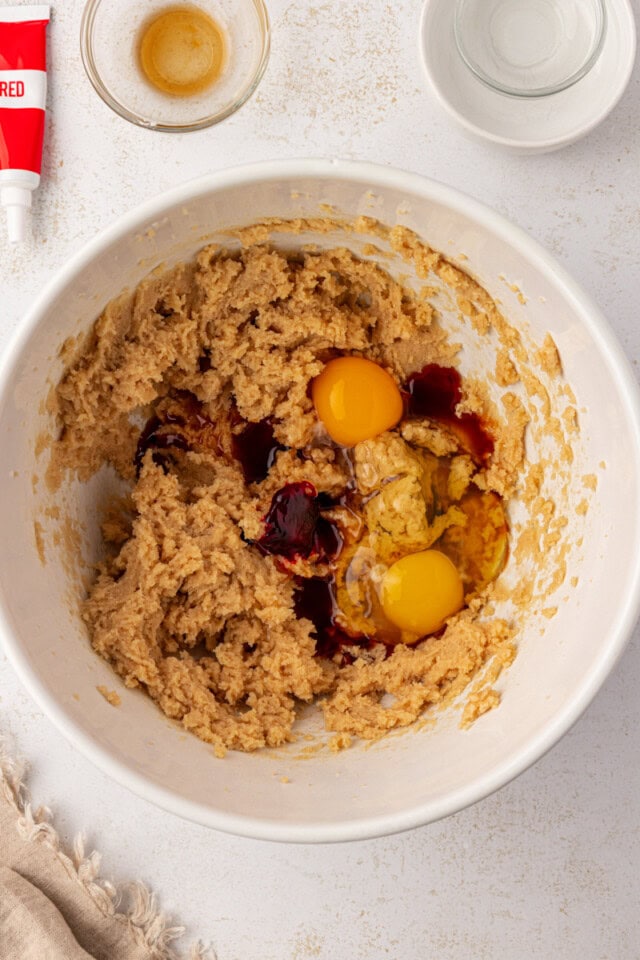
Add the wet ingredients.
Beat in the egg, egg yolk, vanilla, vinegar, and food coloring until smooth. The extra yolk gives a little richness and helps the cookies stay soft. Start with a teaspoon of gel food coloring and adjust from there. It goes a long way!
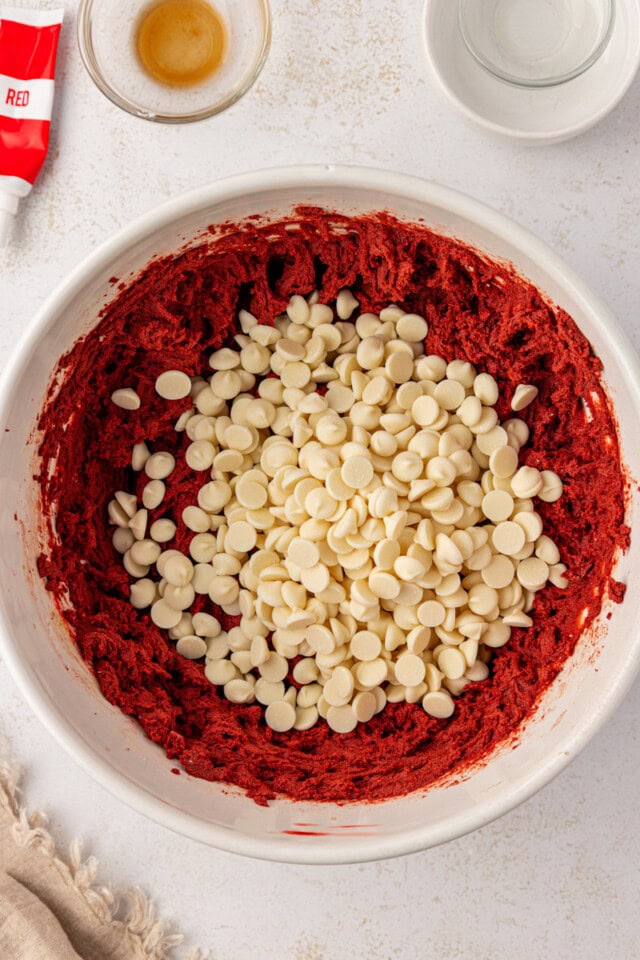
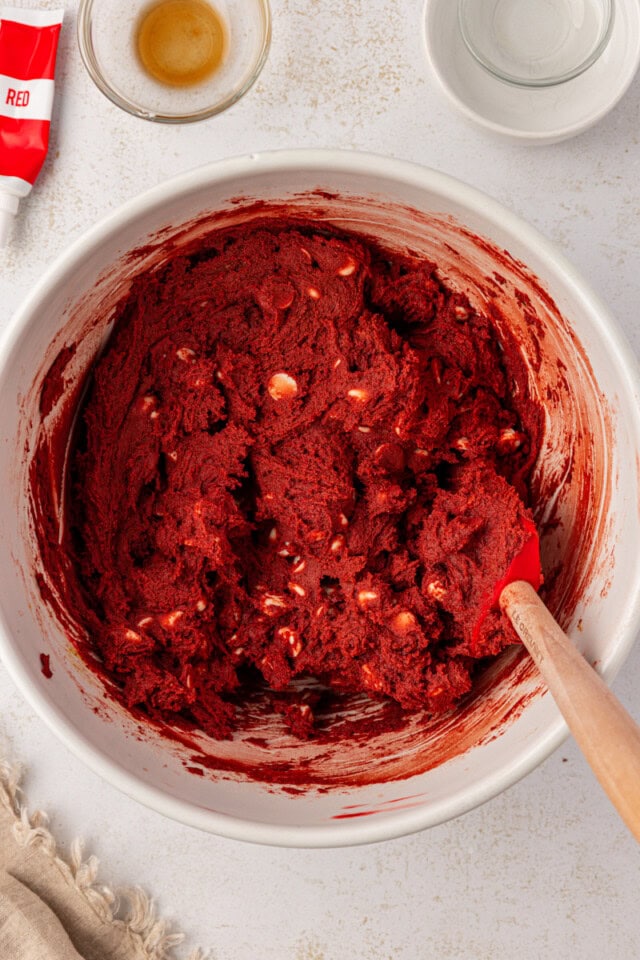
Combine and chill.
Add the dry ingredients gradually on low speed, then stir in the white chocolate chunks. The dough should be thick but easy to scoop. Chilling for 30–60 minutes helps prevent excess spreading and gives a slightly thicker, chewier texture. You can chill the dough before or after scooping, whichever fits your baking flow.
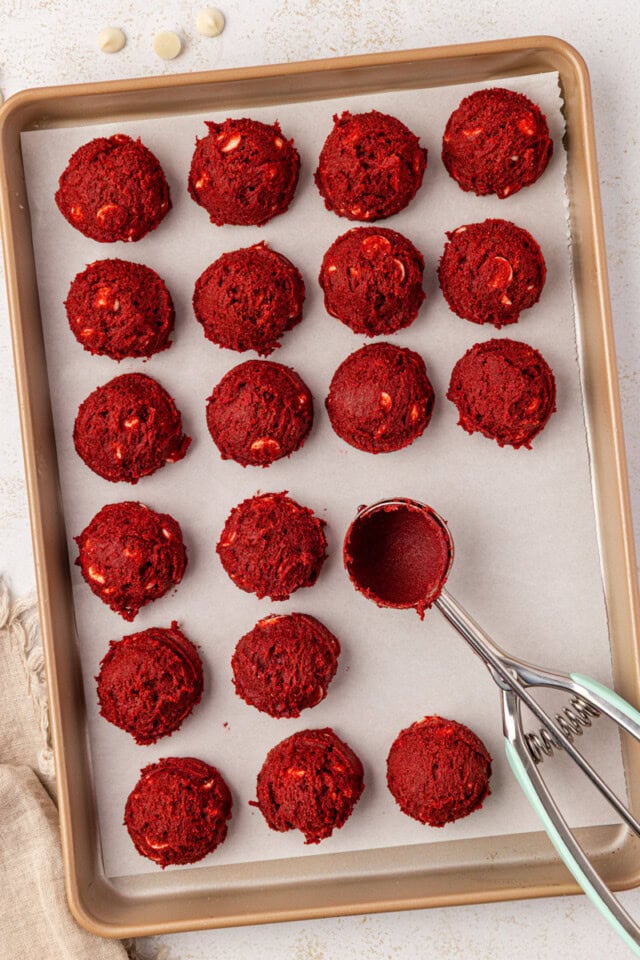
Scoop and bake.
Use about 1½ tablespoons of dough per cookie, spacing them 2 inches apart on lined pans. Bake at 350°F for 9–11 minutes, until the edges are set but the centers still look soft. A minute or two can make the difference between chewy and crisp, so lean toward slightly underbaked if you like a gooier center.
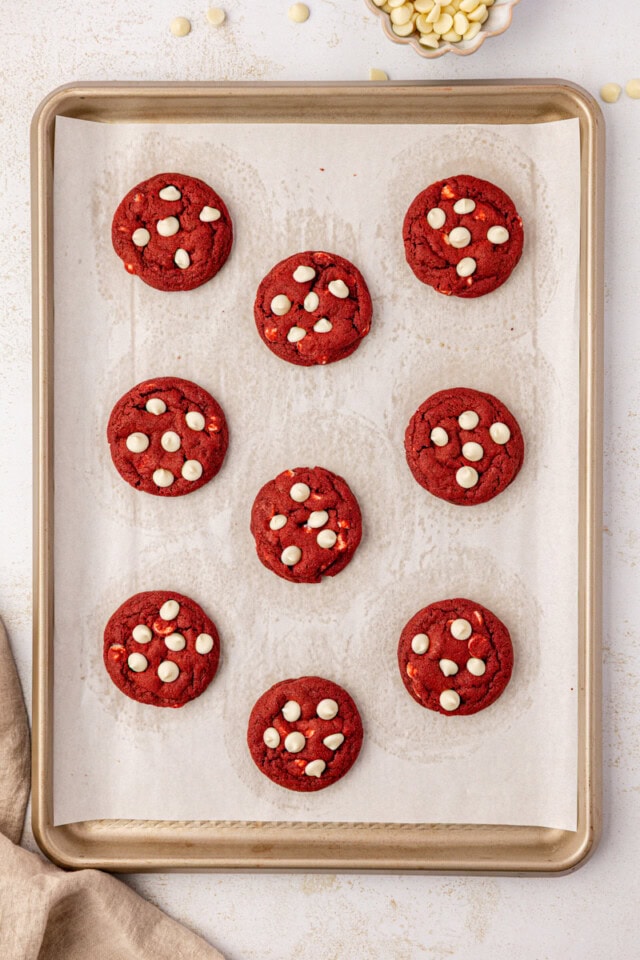
Finish and cool.
Press a few extra white chocolate chunks on top of the cookies right out of the oven for a polished look. Let them cool on the pans for 5 minutes before transferring to a rack. They’ll finish setting up as they cool.

Tips for Success
- Weigh your flour if possible. Too much flour can make the cookies thick and dry instead of chewy.
- Use natural cocoa, not Dutch-process. It keeps the flavor lighter and the red color more vibrant.
- If using liquid food coloring instead of gel, you may want to reduce other moisture slightly to keep the dough from getting too soft.
- Mix just until combined. Over-mixing after adding the flour can toughen the dough.
- Want thicker cookies? Chill the dough toward the longer end of the range.
- Play with size. Slightly smaller cookies bake more evenly and stay chewy longer; larger ones make beautiful bakery-style rounds.
- Don’t over-bake. They should look a little soft in the center when you pull them from the oven.
- Press a few extra white chocolate chips on top before or right after baking for bakery-style looks.
Simple Flavor Variations
- Swap the chocolate: Dark or semisweet chocolate chunks make these a little less sweet and more chocolate-forward.
- Add warmth: A pinch of cinnamon (¼ to ½ teaspoon) gives them a cozy holiday twist.
- Finishing touch: A light sprinkle of flaky salt on top is really nice with the white chocolate.
How to Store
Once the cookies have fully cooled, store them in an airtight container at room temperature. They’ll stay soft and chewy for about 4 days, and the flavor even deepens a little on day two.
For longer storage, freeze either baked cookies or the dough:
- To freeze baked cookies: Layer them between sheets of parchment in a freezer-safe container or zip-top bag up to 2 months. They thaw quickly at room temp, or you can warm them for a few seconds in the microwave to soften the centers again.
- To freeze dough: Scoop onto a parchment-lined pan and freeze until solid, then transfer to a freezer bag and store up to 2 months. Bake from frozen, adding 1–2 extra minutes as needed.
If you’re planning a cookie tray or gift box, the baked cookies freeze especially well. Just thaw and refresh right before using for the best texture.
A Sweet Splash of Holiday Color
Whether you’re baking for a cookie swap, filling a holiday tray, or just want a little something festive, these chewy red velvet cookies are guaranteed to stand out. They’re easy to make, gorgeous to look at, and even better to eat.
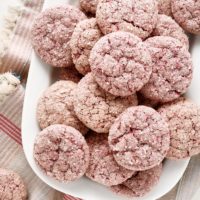
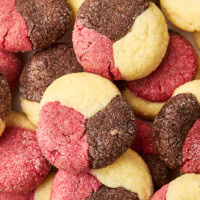
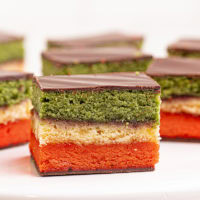
More Colorful Cookies

Red Velvet Cookies
Ingredients
- 2 ¼ cups (270 g) all-purpose flour
- ¼ cup (21 g) natural unsweetened cocoa powder
- 1 teaspoon baking soda
- ½ teaspoon salt
- ¾ cup (170 g) unsalted butter, softened
- ¾ cup (150 g) firmly packed light brown sugar
- ½ cup (100 g) granulated sugar
- 1 large egg
- 1 large egg yolk
- 2 teaspoons vanilla extract
- ½ teaspoon white vinegar or apple cider vinegar
- 1 to 1 ½ teaspoons red gel food coloring, adjust to preference
- 1 to 1 ½ cups (170 to 225 g) white chocolate chips or chunks
Recommended Products
Instructions
- In a medium bowl, whisk together the flour, cocoa powder, baking soda, and salt.
- In a large bowl, beat the butter, brown sugar, and granulated sugar on medium speed with an electric mixer until fluffy and well combined (about 2 minutes).
- Beat in the egg, egg yolk, vanilla, vinegar, and food coloring until smooth.
- With the mixer on low speed, gradually mix in the dry ingredients just until incorporated. Stir in the white chocolate chips/chunks. (Save a few for topping the cookies if you like.)
- Chill the dough for 30-60 minutes. (You can chill before or after scooping.)
- Preheat oven to 350°F (175°C). Line baking sheets with parchment paper.
- Scoop dough (about 1 1/2 tablespoons each, #40 scoop) onto prepared pans, spacing about 2 inches apart.
- Bake 9–11 minutes, or until the edges are set and the centers look just slightly underbaked. If desired, press a few extra chocolate chips on top when they come out of the oven.
- Cool on the pans for 5 minutes, then transfer to a wire rack to cool completely.
Notes
- Natural cocoa powder is recommended rather than Dutch-process. It gives a classic red velvet flavor and keeps the color bright.
- Chilling helps the cookies bake up thicker and chewier. A longer chill will give you slightly thicker cookies with a softer center.
- Color may vary depending on cocoa and gel coloring. Lighter or deeper shades are both normal.
- Storage: Store in an airtight container at room temperature for about 4 days, or freeze baked cookies or dough balls for up to 2 months. Bake dough from frozen, adding 1–2 minutes if needed.


