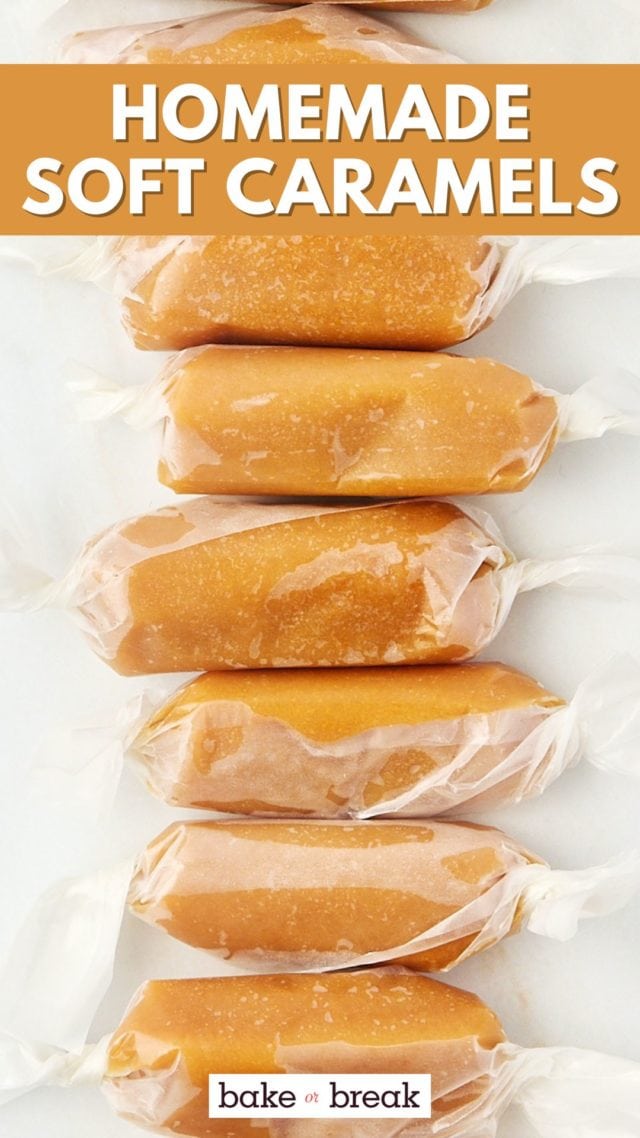
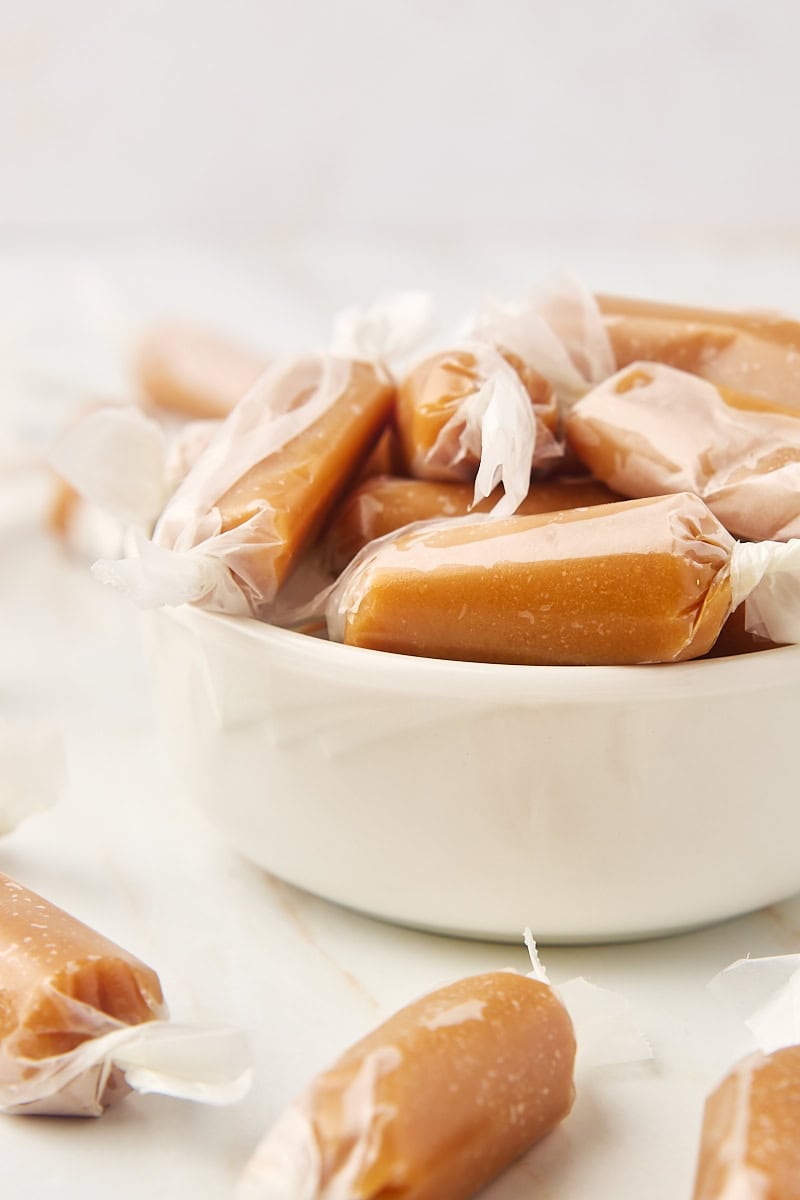
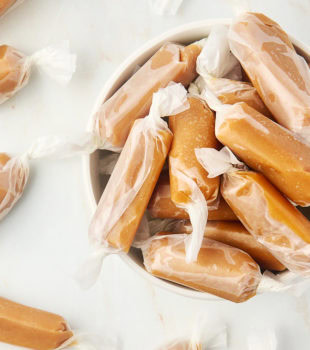
With just a handful of ingredients, you’ll have melt-in-your-mouth homemade caramels in no time. They’re irresistibly delicious and perfect for sharing!
There’s something undeniably comforting about homemade caramels. With their rich, buttery flavor and perfectly chewy texture, these sweet treats are the perfect balance of indulgent and satisfying. This easy recipe uses simple ingredients to create smooth, melt-in-your-mouth caramels that are sure to impress. Whether you’re wrapping them up for gifts or just looking for a sweet homemade treat, you’ll love how simple and delicious these caramels are to make.
Why You’ll Love This Caramels Recipe
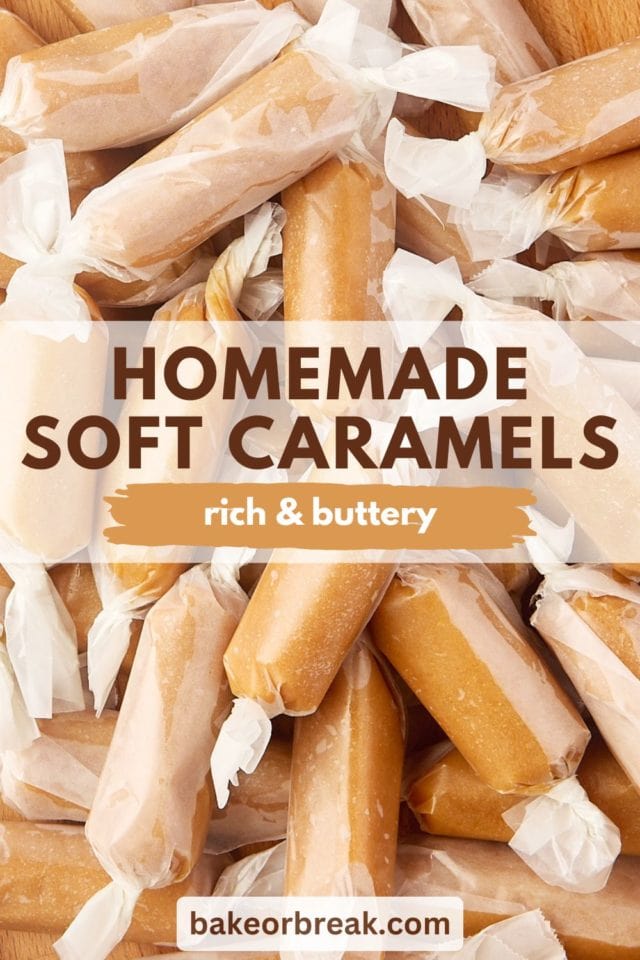
- Rich and buttery. These caramels are perfectly soft and chewy with a rich, buttery flavor that melts in your mouth.
- Simple ingredients. Like my favorite caramel sauce, these soft caramels come together without any hard-to-find ingredients.
- Perfect for gifting. These homemade caramels are a crowd-pleaser and make excellent gifts, especially during the holidays.
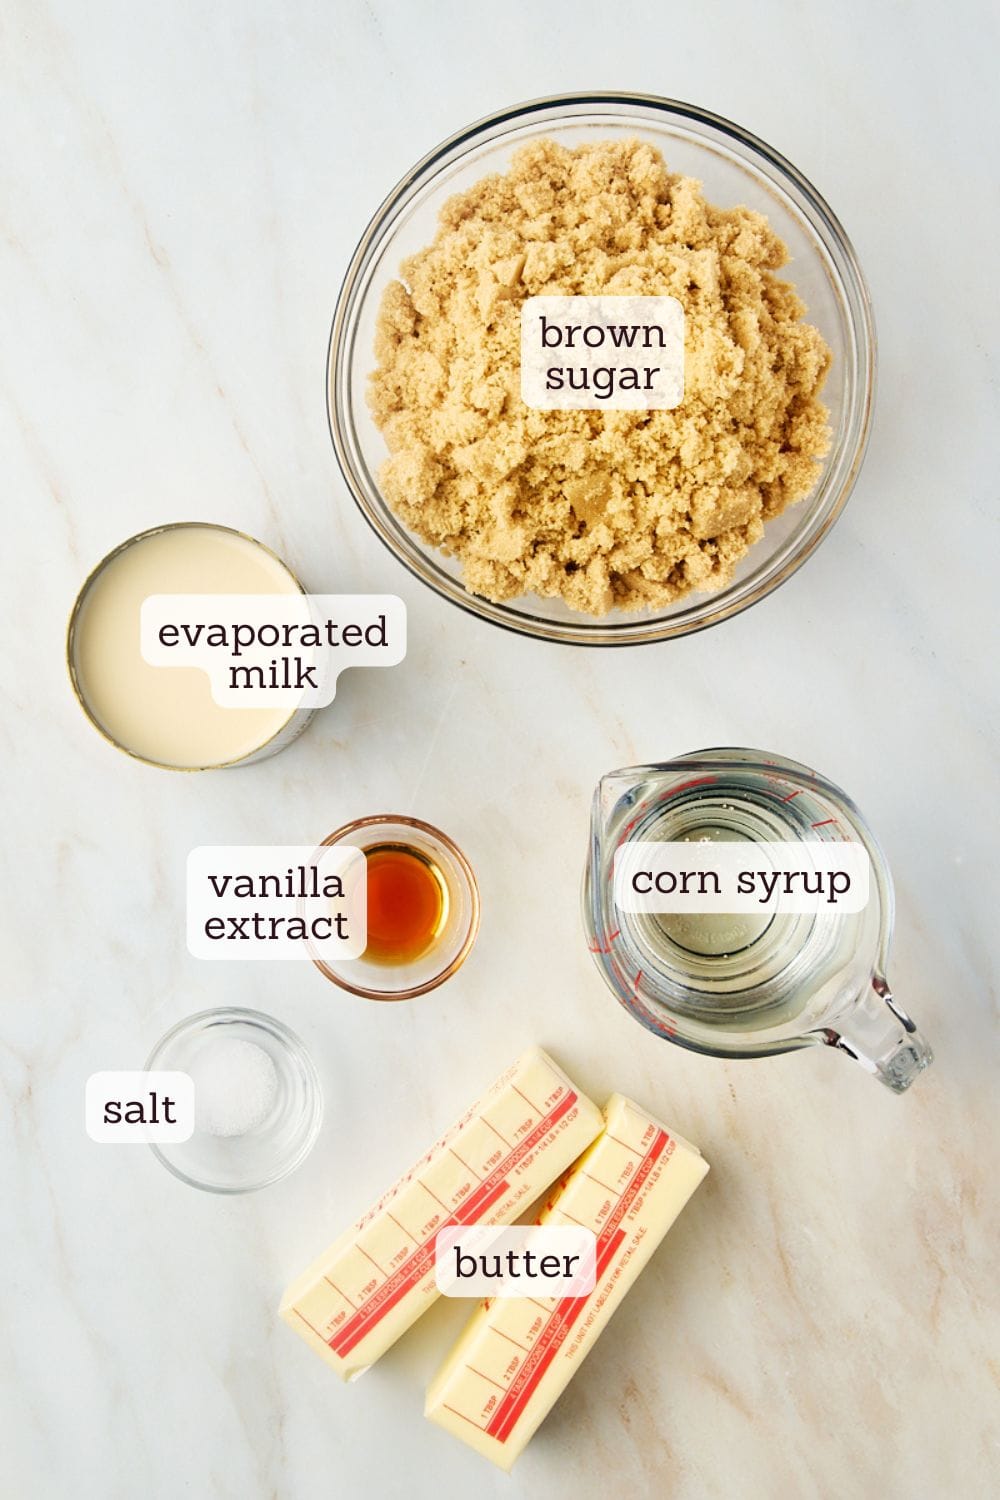
What You’ll Need
See the recipe card below for ingredient quantities and full instructions.
- Unsalted butter – The base of the caramel, butter adds richness and a smooth, creamy texture. It also gives the caramels a distinct, buttery flavor that enhances the overall sweetness. I prefer using unsalted butter so I can control the amount of salt in the recipe. Learn more: Unsalted vs Salted Butter
- Light brown sugar – Brown sugar provides sweetness and depth of flavor, contributing to the caramels’ signature rich taste. The molasses in the brown sugar also yields a slightly softer texture and a deeper color.
- Light corn syrup – This helps prevent crystallization, ensuring the caramels remain smooth and chewy rather than grainy. It also adds a bit of shine to the finished product. While I’ve only made this recipe with corn syrup, you can likely substitute golden syrup, brown rice syrup, agave syrup, honey, or maple syrup with variations in texture and flavor.
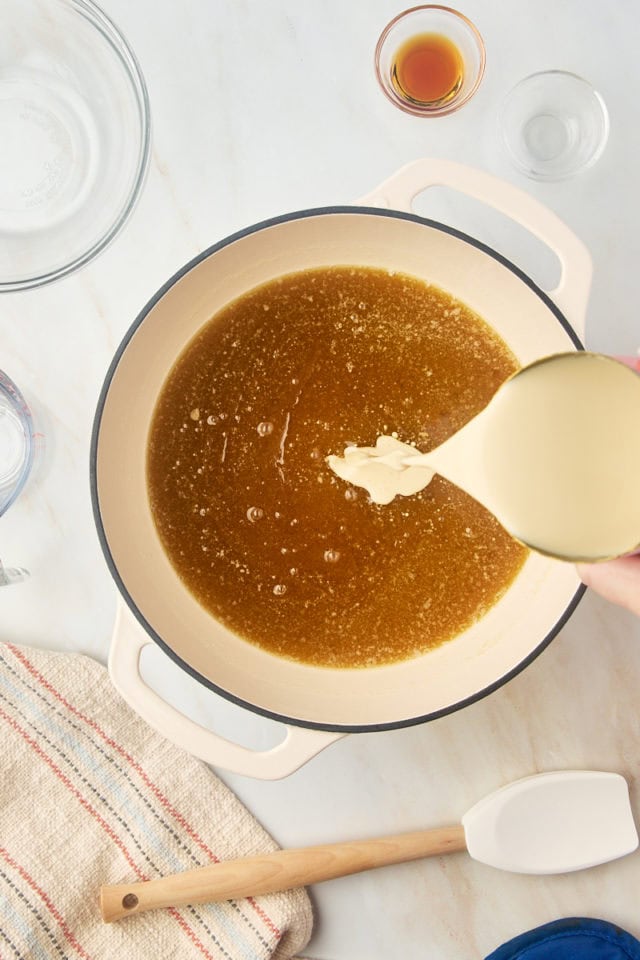
- Evaporated milk – We’re using evaporated milk here to add creaminess and richness without thinning the caramel too much.
- Vanilla extract – Just a small amount rounds out the flavors by adding warmth and a subtle complexity to the sweetness of the caramel.
- Salt – This balances the sweetness, enhancing the flavors and making the caramels more nuanced.
How to Make Homemade Caramels
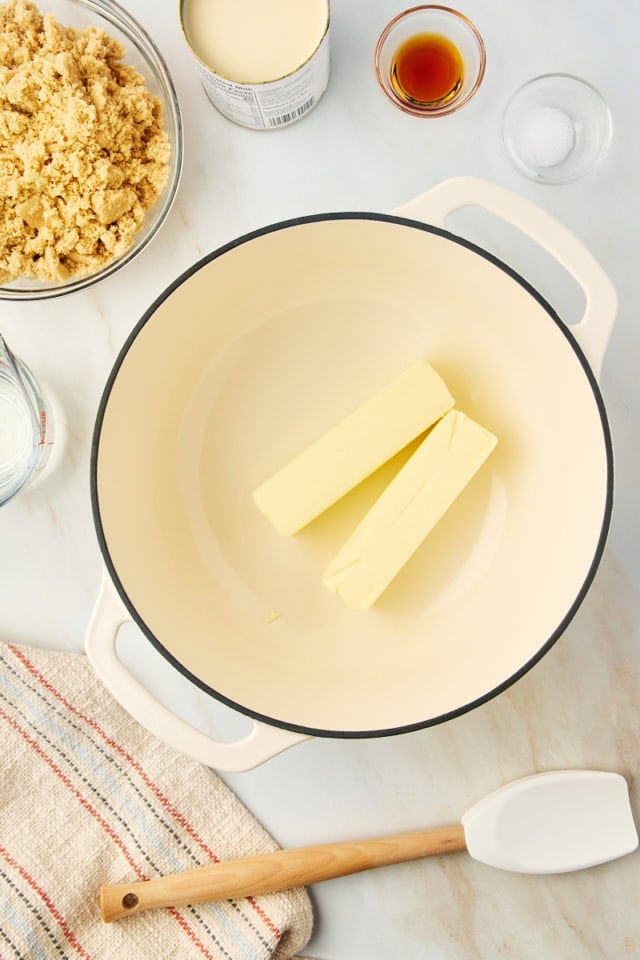
- Prep your pan. Line an 8-inch square pan with parchment paper, leaving an overhang to help you remove your caramel from the pan when it’s set. Lightly butter the paper.
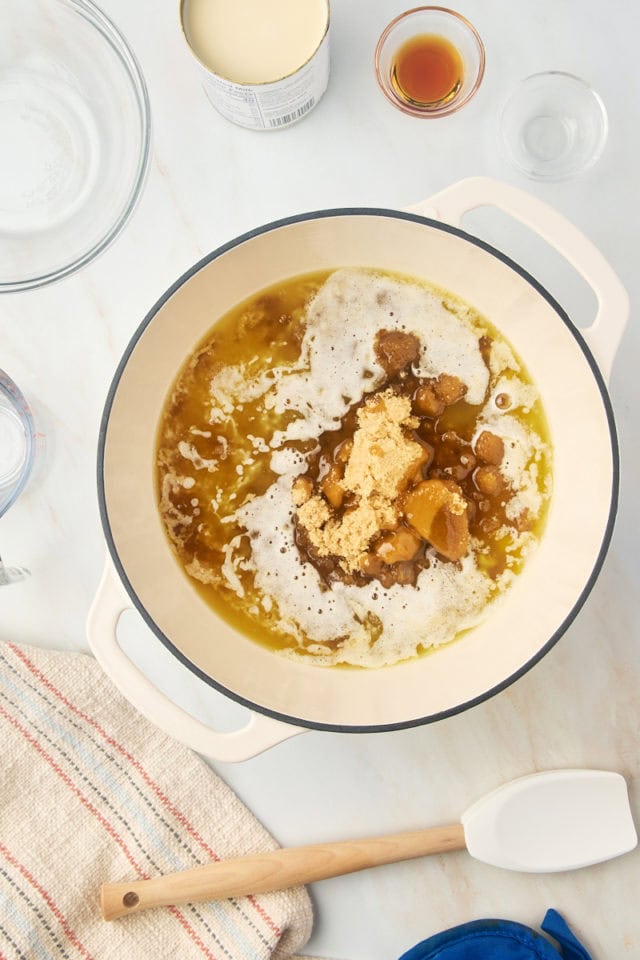
- Start cooking. Melt the butter in a large heavy-bottomed saucepan over medium heat, and then stir in the brown sugar, corn syrup, and salt until combined.
- Add the milk. Gradually stir in the evaporated milk, stirring constantly.
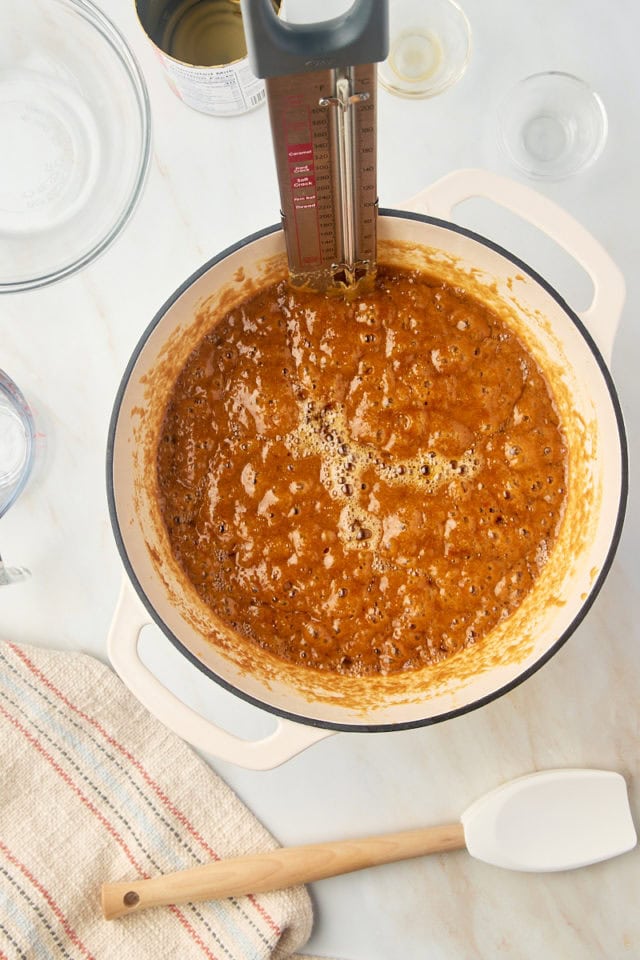

- Continue cooking. Bring the mixture to a boil, and then reduce the heat to medium-low and cook, stirring frequently, until the mixture reaches 235-240°F. (See my notes on visual cues below.)
- Add vanilla. Remove the pot from the heat, and stir in the vanilla.
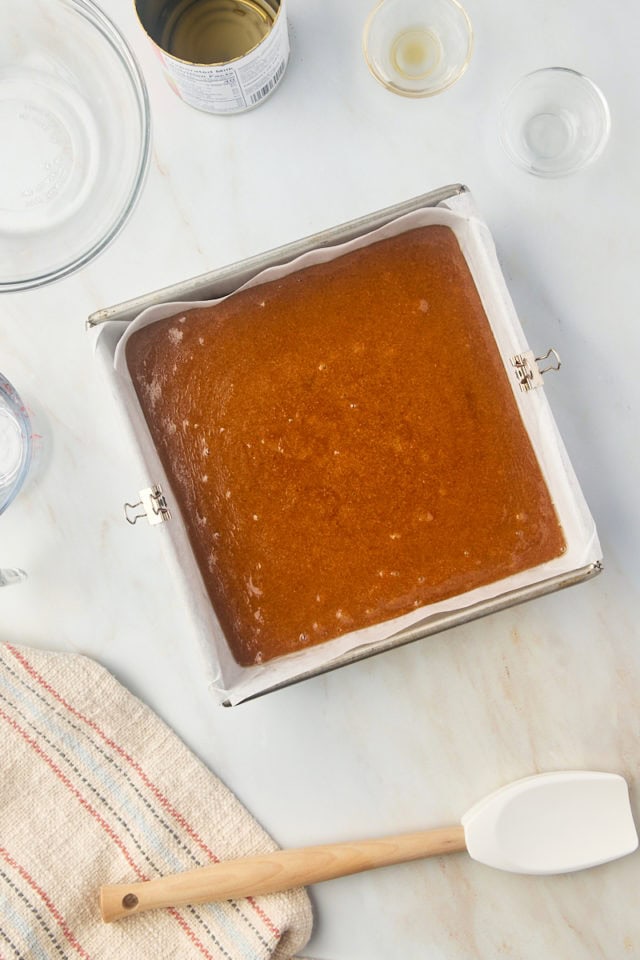
- Transfer to the pan. Carefully pour the hot caramel into the prepared pan. Let it cool completely.
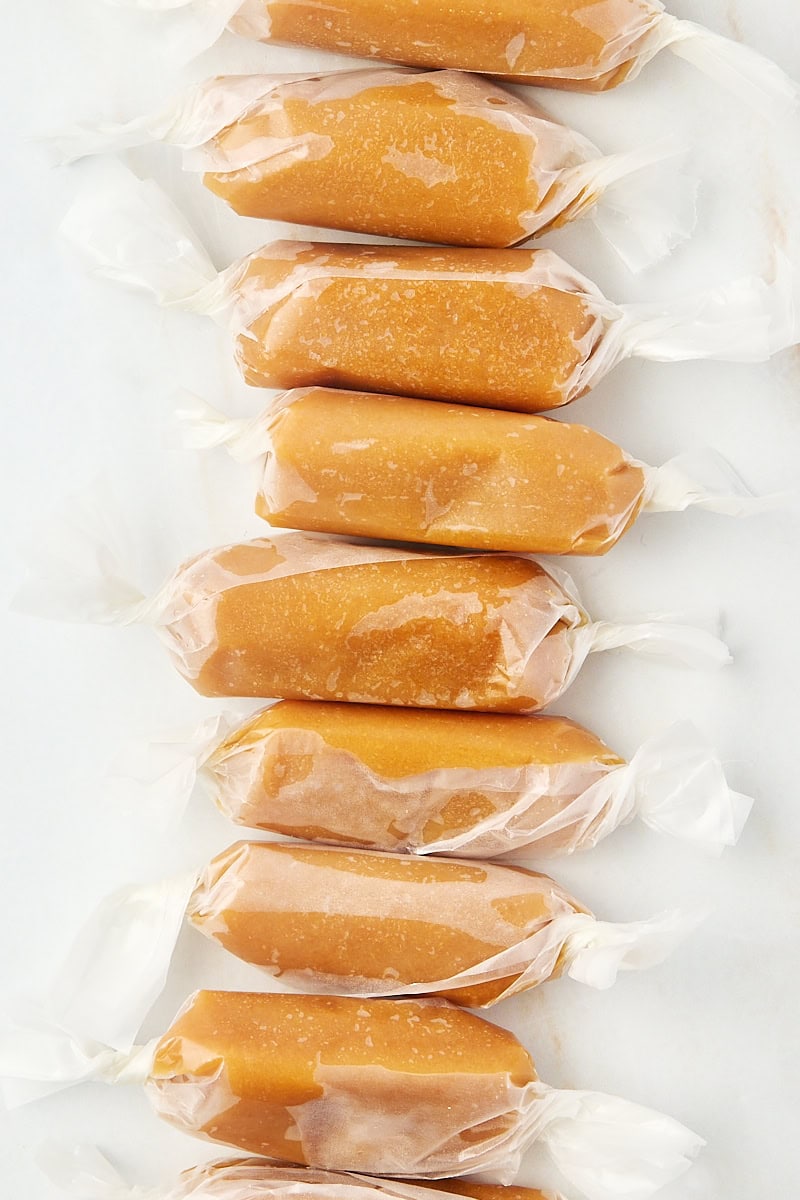
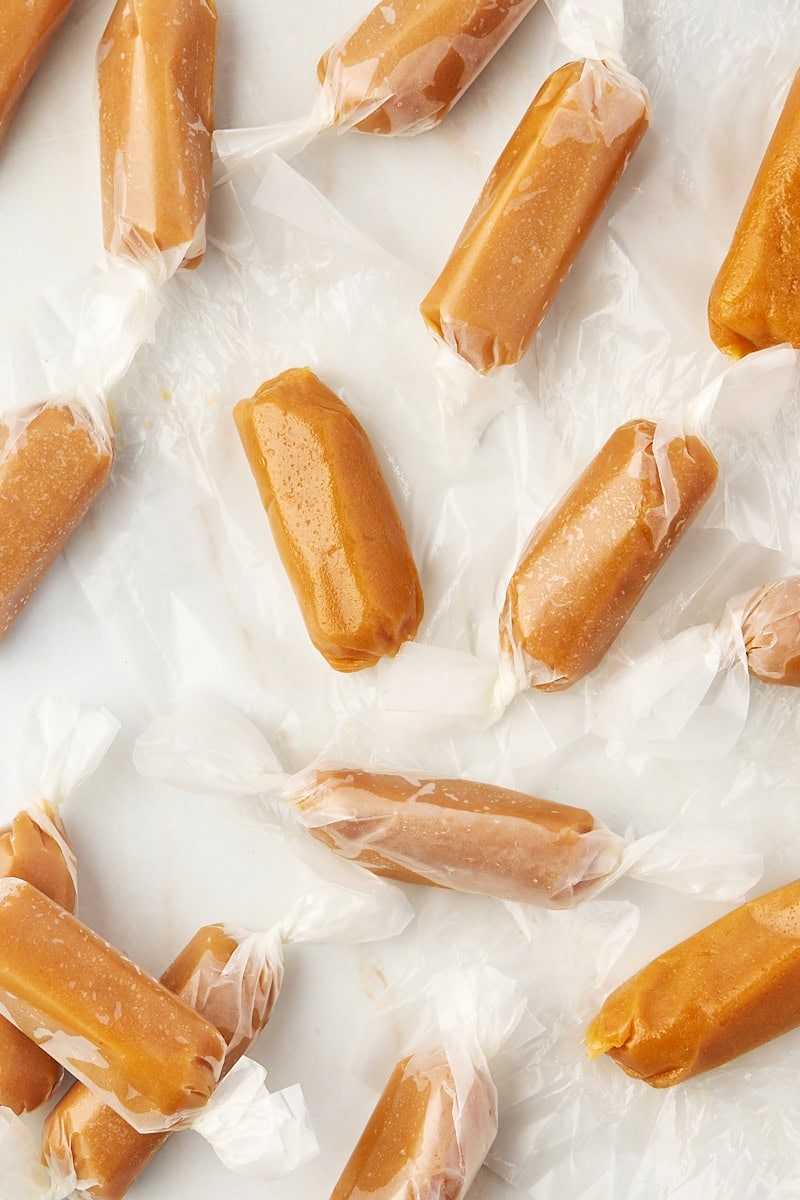
- Cut. Lift the caramel out of the pan and cut into small squares or rectangles. Wrap the caramel candies individually in wax paper or parchment paper.

Visual Cues for Making Caramels
- Color. The mixture will start off light and gradually darken to a rich, golden-brown as it cooks. By the time it reaches 235-240°F (soft ball stage), it should have a deep caramel color, like a light amber.
- Bubbling. As the mixture begins to boil, you’ll notice large bubbles forming. As the caramel thickens, the bubbles will become smaller and more uniform, and the mixture will look thicker. An overly aggressive boil can lead to burning or uneven cooking, so adjust the heat as needed to maintain a steady, controlled boil. Medium to medium-low heat is ideal once it starts boiling. Remember, you’re aiming for a gentle boil.
- Texture. The caramel will start off runny but will gradually thicken as it cooks. By the time it’s ready, it should be thick enough that stirring leaves visible trails or lines that briefly hold their shape before smoothing out.
- Stirring resistance. You’ll feel more resistance as you stir as the caramel thickens. It should still be smooth and easy to stir, but there will be a noticeable difference compared to when you first started.
Tips for Success
- Use a large enough saucepan. I recommend using a medium to large heavy-bottomed saucepan (about 3 to 4 quarts). This size allows room for the mixture to bubble up as it cooks, preventing it from boiling over and allowing room for stirring without spilling. A heavy-bottomed pan is important because it distributes heat more evenly, reducing the risk of burning or scorching the caramel.
- Stir constantly. Keep stirring the mixture consistently to avoid burning or scorching, especially as it thickens near the end.
- Use a candy thermometer. Caramel is temperature-sensitive, so using a candy thermometer ensures accuracy. Cooking to the right temperature (235-240°F) is key to achieving the perfect texture. If you don’t have a candy thermometer, use the cold water test. Drop a small amount of the caramel mixture into a glass of cold water. If it forms a soft, pliable ball that flattens when pressed between your fingers, it’s ready! If the caramel dissolves or is too soft, cook it a little longer and test again.
- Don’t rush the process. Caramel needs time to develop its rich flavor and proper consistency, so have patience. Cook it slowly over medium heat to avoid burning and to allow the sugars to caramelize evenly.
- Avoid humidity. Humid weather can affect caramel-making, leading to a stickier texture. If possible, make caramels on a dry day and store them in a cool, dry place.
- Get clean cuts. For clean cuts, let the caramels cool completely before slicing. Using a lightly buttered or oiled knife or bench scraper can help cut through the sticky caramel more smoothly. If they’re too soft to cut, place them in the refrigerator for 10-15 minutes. For evenly sized caramels, use a ruler to measure and score before cutting.
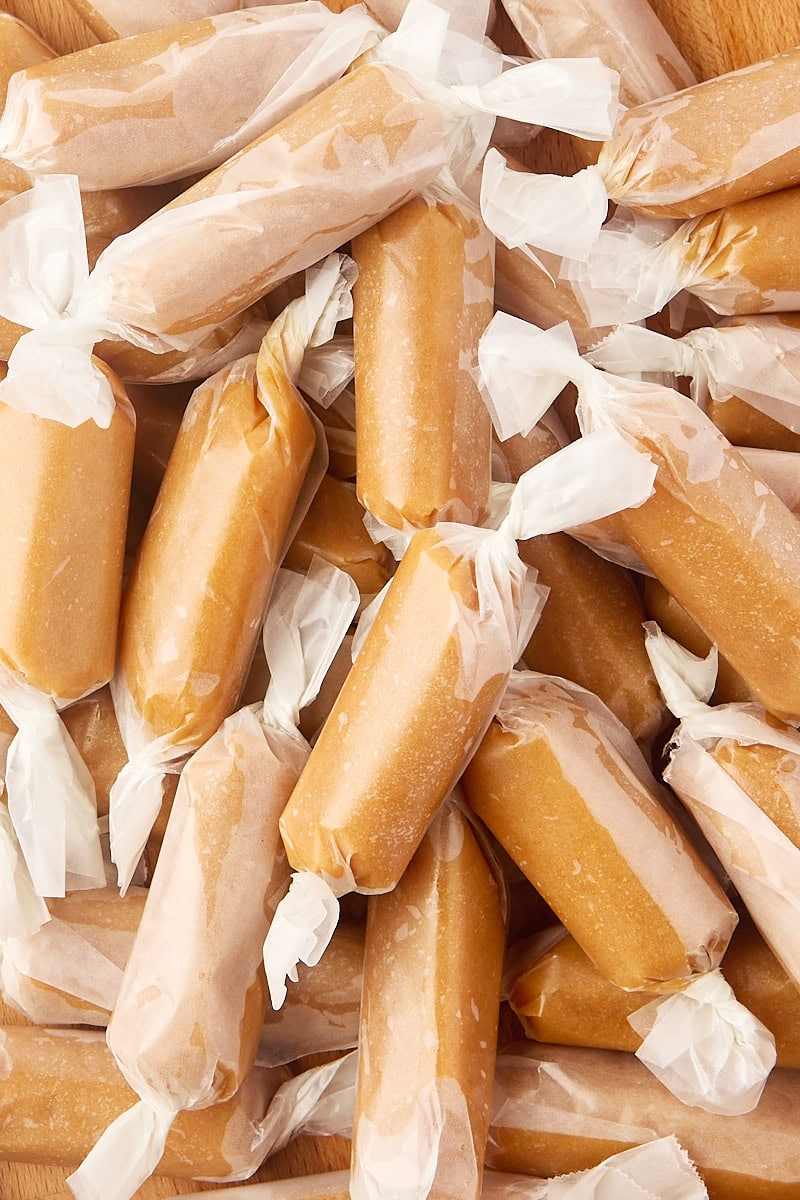
- Wrap the caramels. Individually wrapping the caramels in wax paper or parchment prevents them from sticking together and makes for a simple packaging for sharing.
Variations
- Salted. After pouring the caramel into the pan, sprinkle the top with coarse sea salt for a sweet and salty combination.
- Spiced. Stir a pinch of cinnamon, nutmeg, or even ginger into the mixture as it cooks to give the caramels a warm, spiced flavor—perfect for fall!
- Chocolate-dipped. Once the caramels are cut and set, dip them halfway into melted chocolate and place them on parchment paper to cool and set.
- More flavor. Experiment with flavor extracts like almond, maple, or even a splash of bourbon for a fun twist.
How to Store
- Room temperature: Wrap each caramel individually in wax paper, parchment paper, or pre-cut candy wrappers to prevent them from sticking together. Store the wrapped caramels in an airtight container at room temperature. They should stay fresh for up to 2 weeks.
- Refrigerator: You can extend your homemade caramels’ shelf life by storing the container in the refrigerator up to 3 weeks. Bring the caramels to room temperature for the best texture.
- Freezer: After wrapping your caramel candies, place them in an airtight, freezer-safe container or bag. Properly stored, they should keep up to 3 months in the freezer. Thaw at room temperature.
More Candy Recipes
Get the Recipe:
Homemade Caramels
These easy homemade caramels are rich, buttery, and perfectly chewy. Made with simple ingredients and a foolproof method, they’re the perfect treat for gifting or indulging!
Ingredients
- 1 cup (226 g) unsalted butter
- 2 ¼ cups (450 g) firmly packed light brown sugar
- 1 cup (240 ml) light corn syrup
- 1 12 ounce (354 ml) can evaporated milk
- 1 teaspoon vanilla extract
- ¼ teaspoon salt
Recommended Products
Instructions
- Line an 8×8-inch baking dish with parchment paper, leaving some overhang for easy removal. Lightly butter the paper.
- In a large, heavy-bottomed saucepan, melt the butter over medium heat.
- Add the brown sugar, corn syrup, and salt to the melted butter. Stir to combine.
- Gradually stir in the evaporated milk, adding about 1/4 cup (60ml) at a time. (Take about 3-5 minutes to do this to maintain the temperature and make a smooth mixture.) Continue stirring constantly to prevent burning, especially once the mixture starts to thicken.
- Bring the mixture to a boil, then reduce heat to medium-low. Attach a candy thermometer and cook the mixture, stirring frequently, at a gentle boil until it reaches soft ball stage (235-240°F/113-116°C). This should take about 12-15 minutes but will vary depending on your stove.*
- Once the caramel reaches the desired temperature, remove the pan from the heat and stir in the vanilla extract.
- Pour the hot caramel into the prepared baking dish. Let it cool completely at room temperature for 2-3 hours or until set.
- Once cooled, use the parchment overhang to lift the caramel from the pan. Cut into small squares or rectangles, and wrap each caramel in wax paper or parchment paper.
Notes
- *To check if your caramel has reached the soft ball stage without a thermometer, use the cold water test. Drop a small amount of the caramel mixture into a glass of cold water. If it forms a soft, pliable ball that flattens when pressed between your fingers, it’s ready. If the caramel dissolves or is too soft, cook it a little longer and test again.
- Store wrapped caramels in an airtight container at room temperature up to 2 weeks.
- For tips, step-by-step photos, and extra details, be sure to read the full post above before starting. It’s packed with helpful info to answer common questions!
Show off your baking masterpiece!Snap a pic, tag @bakeorbreak, and use #bakeorbreak on Instagram. Can’t wait to see your creation!


7 Comments on “Homemade Caramels”
Can I use this recipe to make millionaire?
Hi, Angie! I don’t think it would be the right consistency. I’d recommend using the caramel in my millionaire shortbread recipe.
I followed recipe to a T, triple-checked it again to make sure. They have been sitting in a cool spot untouched for almost 6 hours and not set up yet. Any idea why? Frustrating to loose all the ingredients and time!
I’m so sorry to hear that the caramels didn’t set properly—it’s definitely frustrating when a recipe doesn’t work out after all that time and effort! The most likely reason is that the caramel mixture didn’t quite reach the right temperature during cooking. It’s important to cook the caramel to 235°F–240°F (soft ball stage) for it to set properly. If the temperature is even slightly lower, the caramels may remain too soft.
If you don’t have a candy thermometer, the cold water test can help ensure the mixture has reached the right stage. Also, factors like stove temperature or using a thinner pan can sometimes affect the cooking process.
If you’d like to troubleshoot further, feel free to share more details, like whether you used a thermometer or noticed anything unusual while cooking. I’d love to help so this recipe works perfectly for you next time!
You haven’t lost the ingredients, you can always use it as a caramel sauce or as a last resort heat it back up using a double broiler method and cook it a little longer then cool again.. I’ve never done this with caramel but I have with homemade fudge. I would try it before I considered it a loss.
I tried the recipe 3 times in a row. The caramel doesn’t set which leads me to believe there is a typo in the recipe. I have a candy thermometer, followed the directions to the T and its not even close to working. The last time I went to 150 just in case, still didnt work.
Hi, Jenn! I’m sorry you’ve had trouble! That’s frustrating, especially after multiple tries. Just to clarify, these caramels need to reach 235–240°F (soft-ball stage) to set properly. If the mixture only reached 150°F, it would definitely stay runny.
If you were cooking by temperature, I’d also recommend double-checking that your thermometer is accurate (the boiling-water test can help) and that it’s reading in Fahrenheit, not Celsius. I’ve made this recipe many times with consistent results at the soft-ball stage, so there isn’t a typo in the temperature. I hope that helps if you decide to try again.