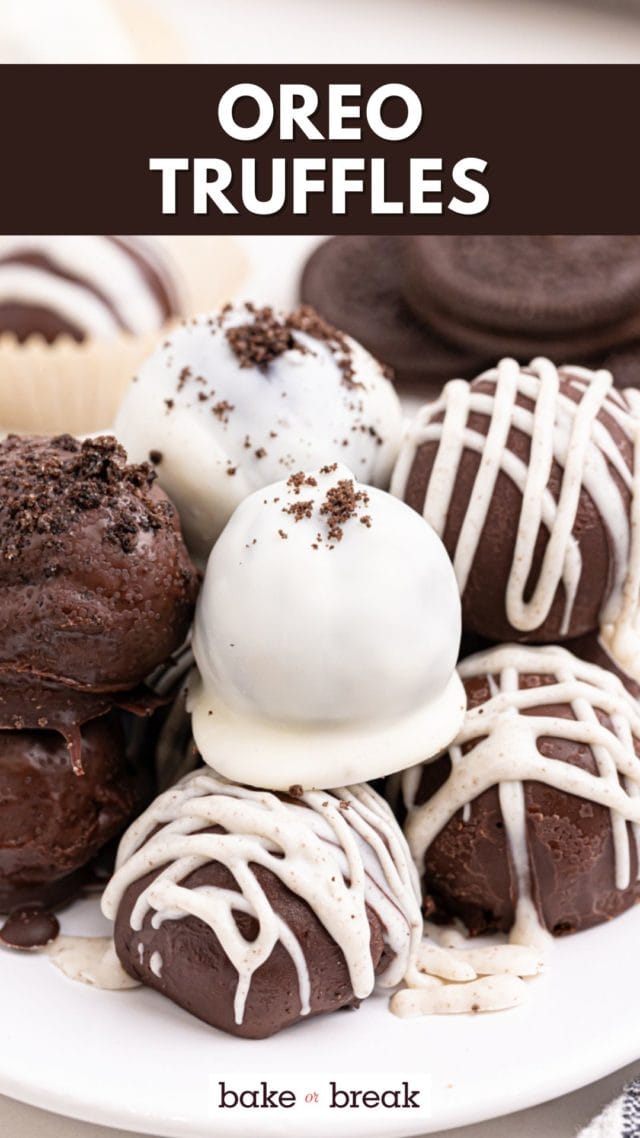
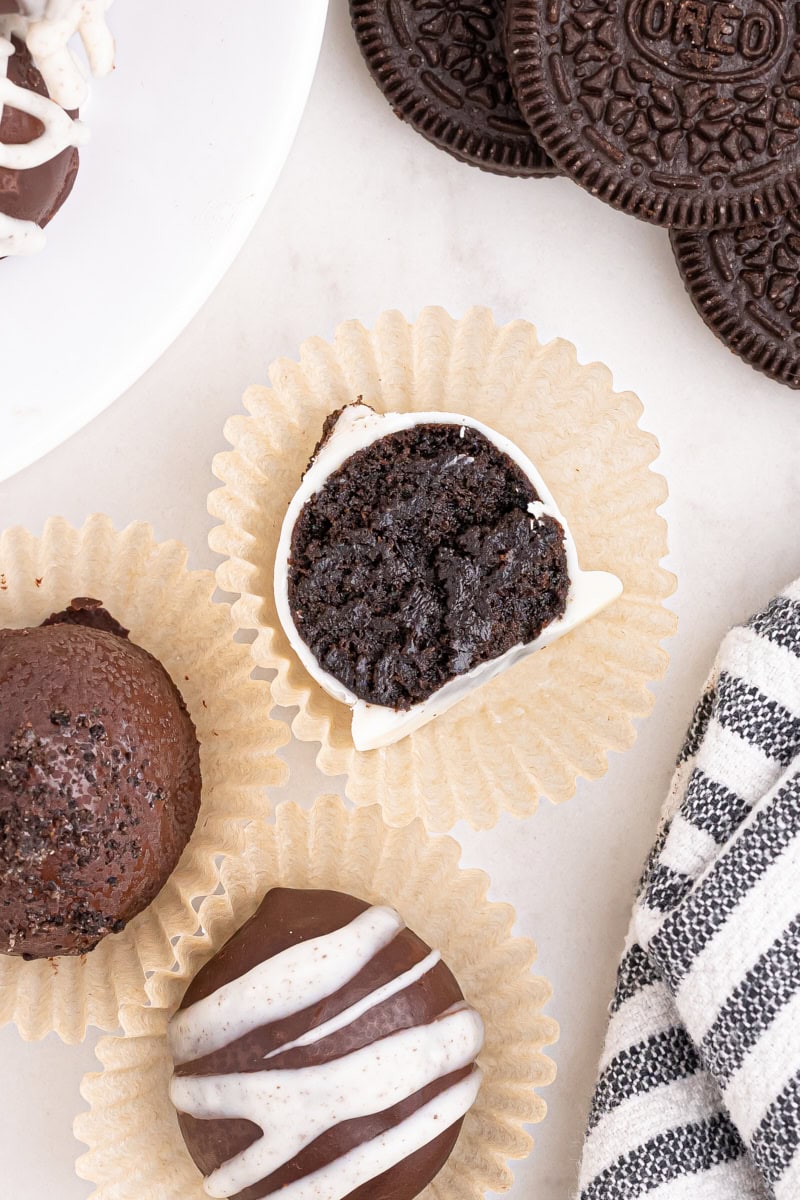
These Oreo truffles are indulgently rich, easy to make, and perfect for any occasion. With just a few simple ingredients, you’ll create a sweet treat that everyone loves!
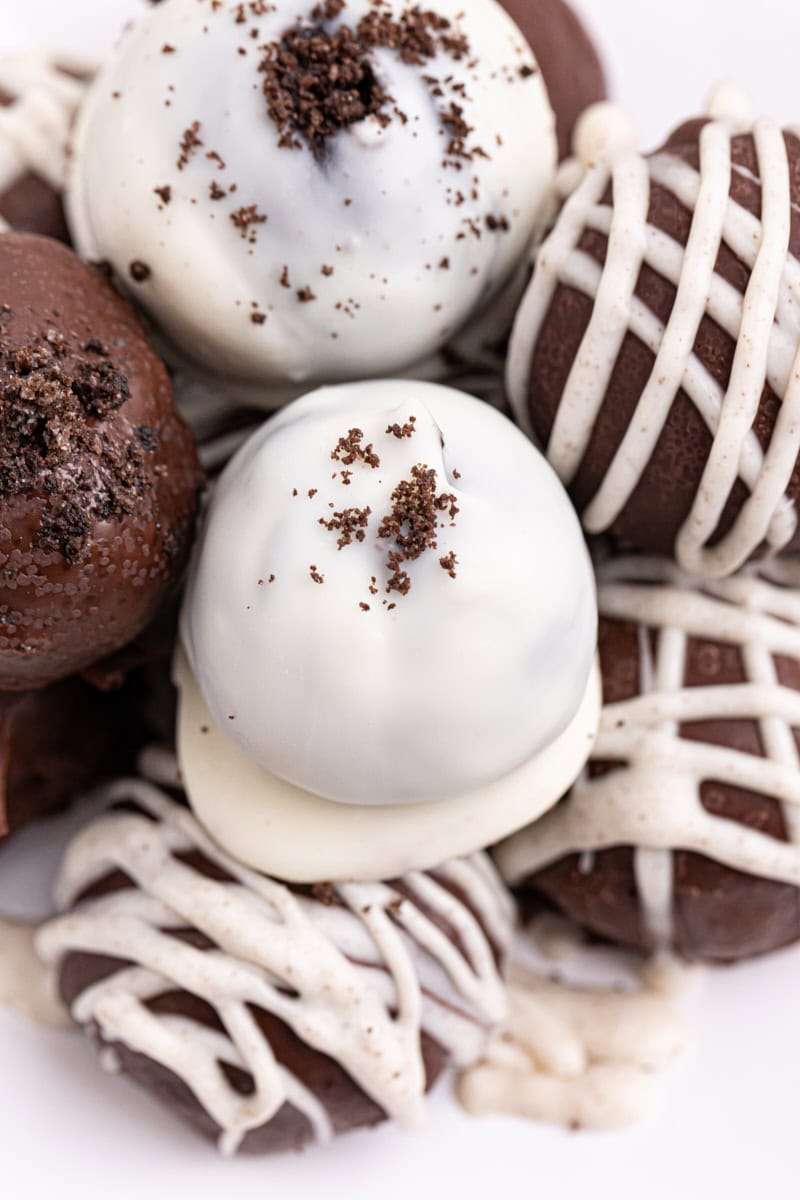
Oreo truffles, or Oreo balls, are a classic no-bake treat that combines the best of two worlds: the creamy richness of cheesecake and the beloved chocolatey crunch of Oreos. Whether you’re looking for an easy dessert to serve at a party or a sweet homemade gift, these Oreo truffles are always a hit. Best of all, they’re incredibly simple to make, with just a few ingredients that transform into delightful bite-sized confections.
Why You’ll Love This Oreo Truffles Recipe
- Easy to make. With just six ingredients and no baking involved, this is a straightforward recipe that yields impressive results.
- Customizable. You can easily swap chocolates or add different toppings to make these truffles fit any occasion or preference.
- Crowd-pleaser. Who doesn’t love a treat that tastes like a blend of cheesecake and Oreos? These are perfect for parties, holidays, or even as an edible gift.
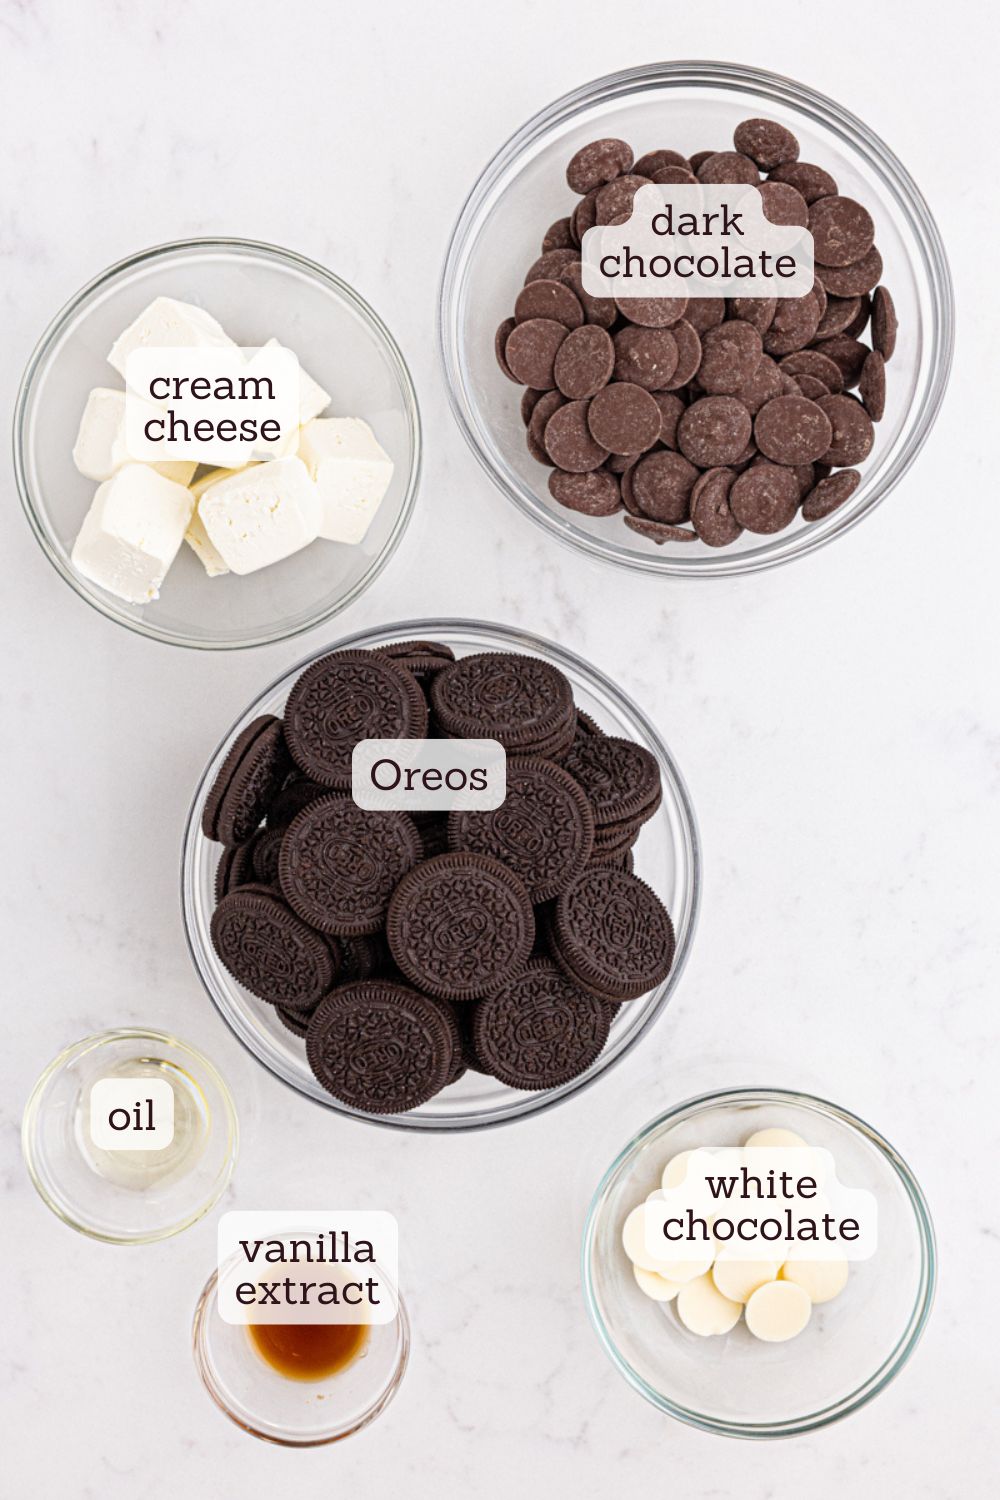
What You’ll Need
Scroll to the recipe card below for ingredient quantities and full instructions.
- Oreo cookies – The classic Oreos work best, but feel free to use another brand or even a flavored variety if you like. I don’t recommend using Double-Stuf.
- Cream cheese – Let it come to room temperature for easy mixing. Full-fat cream cheese yields the creamiest truffles.
- Vanilla extract – Just a touch to enhance the flavor.
- Dark and white chocolate – Use good quality chocolate for melting, as it will give you the smoothest coating.
- Oil – A small amount of neutral oil, like vegetable oil or coconut oil, helps the chocolate coating stay smooth and shiny.
How to Make Oreo Truffles
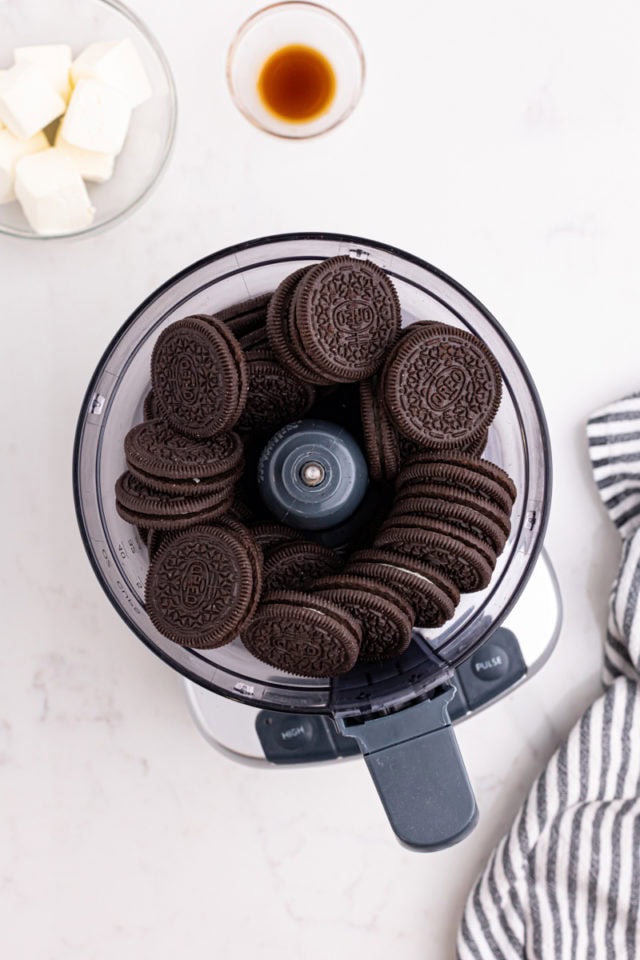
- Prepare the Oreos. Line a baking sheet with parchment paper. Pulse the Oreos in a food processor until finely crushed. (If you don’t have a food processor, place the cookies in a zip-top bag and crush them with a rolling pin until you have fine crumbs.) Set aside about a tablespoon of crumbs for garnish.
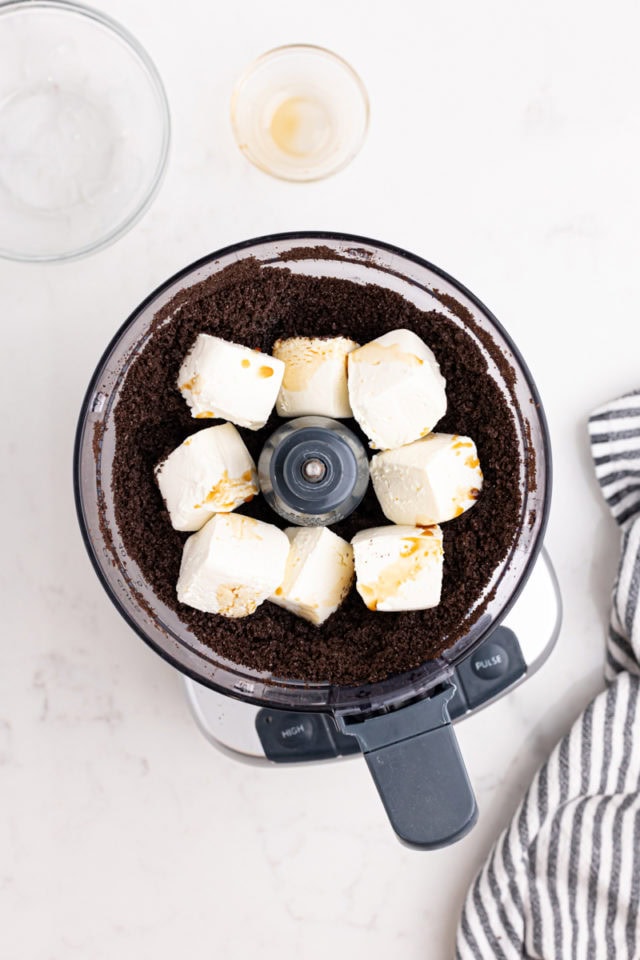
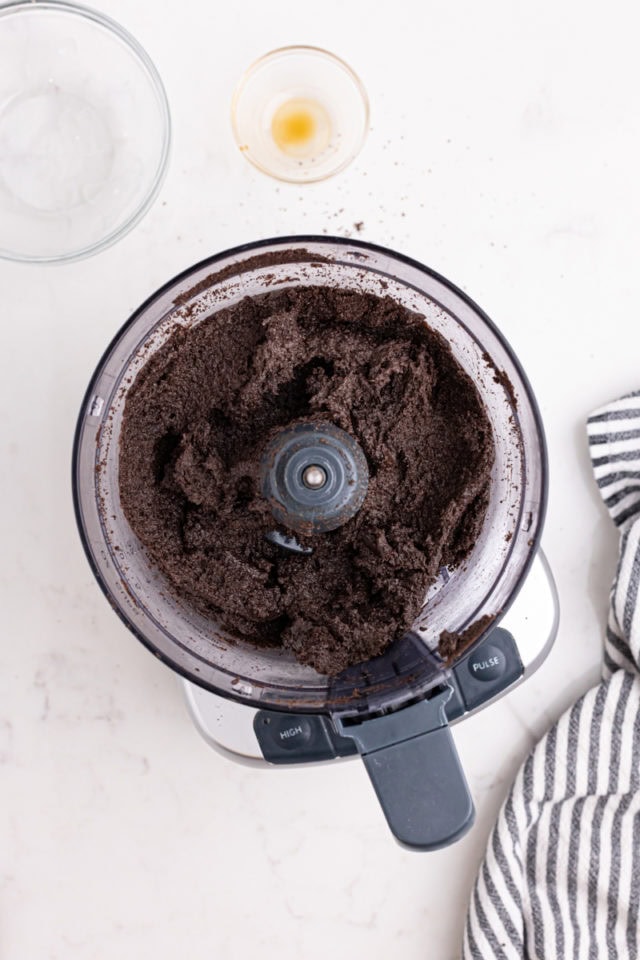
- Mix the truffle base. Add the softened cream cheese and vanilla extract, and pulse until fully combined. The mixture should be wet but hold its shape.
- Chill. Cover and refrigerate for about 15 minutes to make it easier to handle.
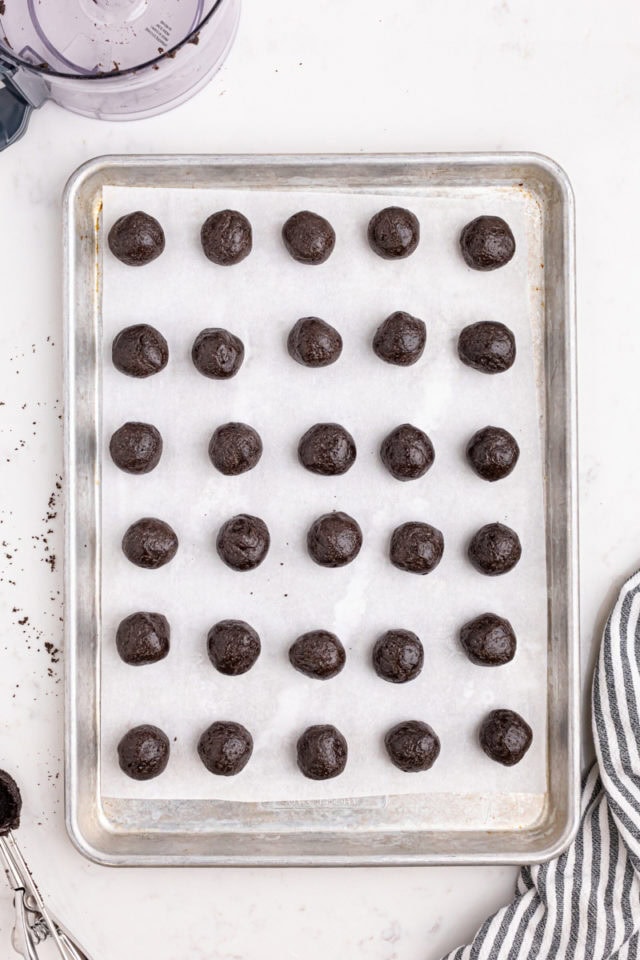
- Form the truffles. Using about a tablespoon of the mixture at a time, roll between your hands to form smooth 1-inch balls. Place each ball on the lined baking sheet.
- Freeze. Once all the balls are rolled, freeze them for 15-20 minutes to firm them up before dipping in chocolate.
- Melt the chocolate. Melt the chocolate with oil in a double boiler over low heat or in short bursts in the microwave, stirring until smooth. If you’re using another type of chocolate, repeat with it and the remaining oil.
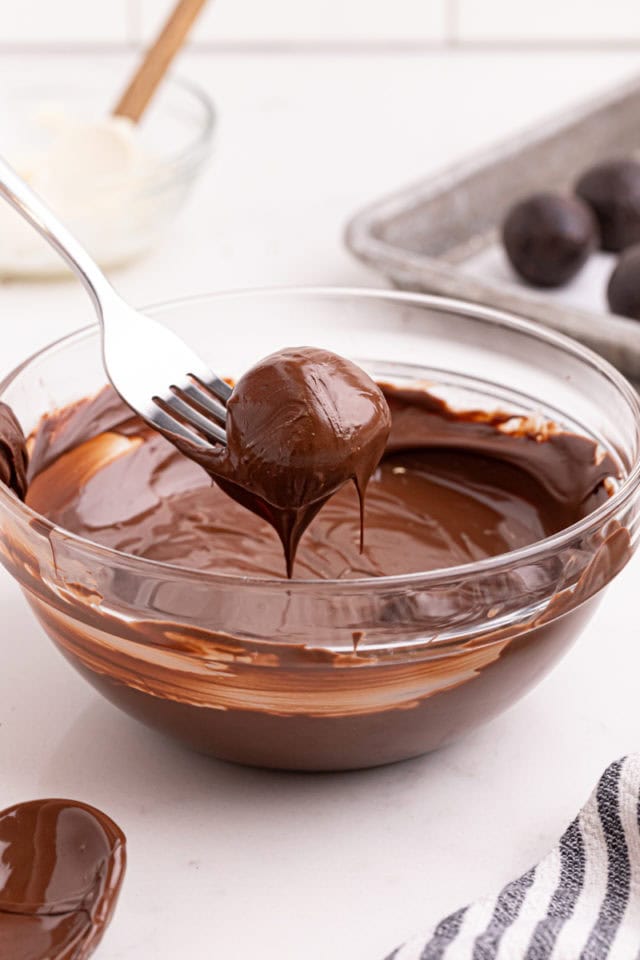
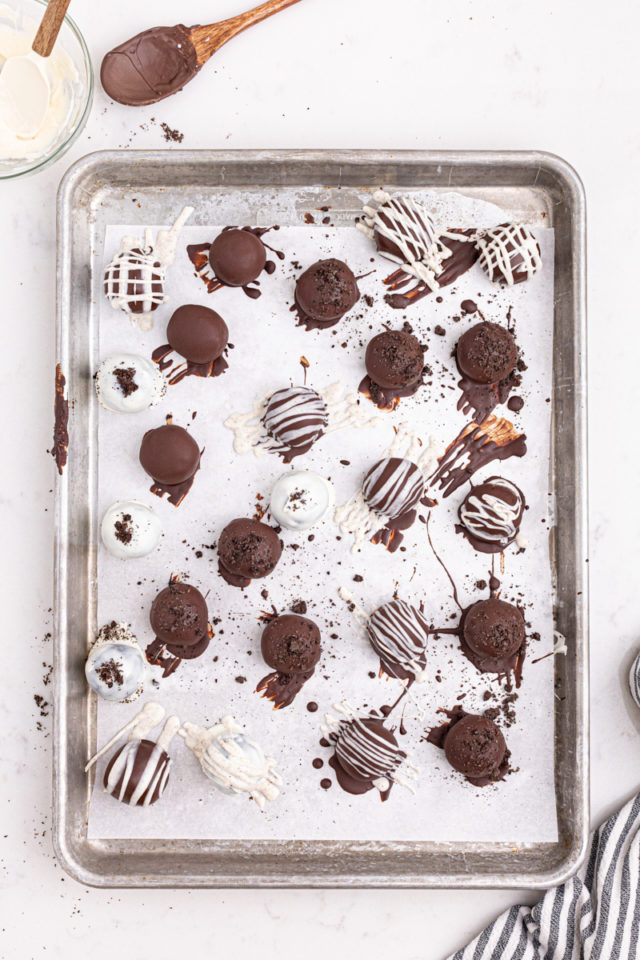
- Dip the truffles. Dip each truffle into the melted chocolate, making sure it’s fully coated. Tap off any excess and place it back on the parchment-lined sheet. Add toppings like sprinkles or extra Oreo crumbs immediately after dipping in chocolate.
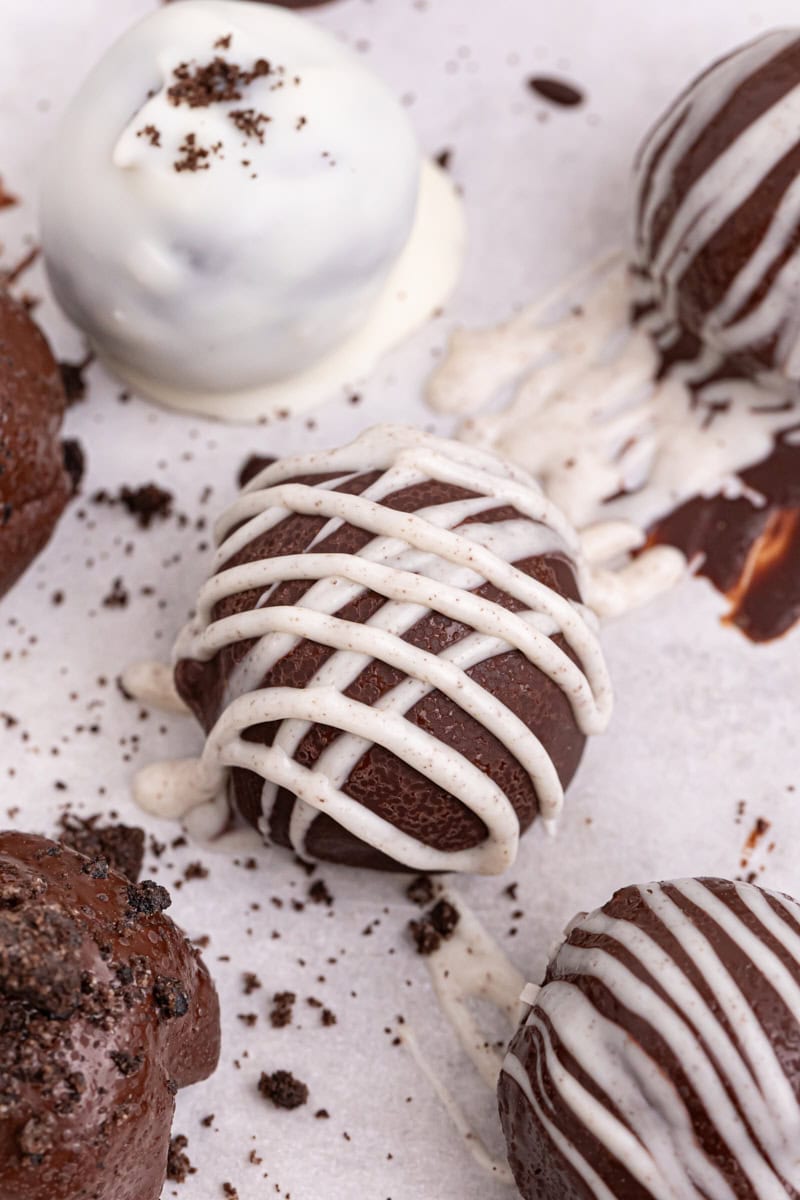
- Set: Let the chocolate coating set completely at room temperature before serving or storing. If you want to drizzle with more chocolate, wait until the initial coating is set.
Tips for Success
- Crush the Oreos well. Make sure the Oreos are finely crushed. Larger pieces can make the truffles difficult to roll smoothly. Using a food processor will give you the best results, but if you’re using a zip-top bag and rolling pin, make sure to get the crumbs as fine as possible.
- Use room temperature cream cheese. Make sure the cream cheese is fully softened to room temperature. This helps it mix more smoothly with the Oreo crumbs, avoiding lumps.
- Chilling is key. Briefly placing the truffles in the freezer before dipping helps them hold their shape, making it much easier to coat them evenly in chocolate. Keep in mind that 15 minutes is enough. If the truffles are frozen solid, the drastic temperature change can cause the chocolate to crack.
- Use good quality chocolate. Opt for high quality chocolate or melting wafers for a smooth, professional-looking finish. Lower-quality chocolate can have a waxy finish and might not set as well. Avoid chocolate chips, as they don’t melt as smoothly due to added stabilizers.
- Make your chocolate smooth. Adding a little bit of neutral oil to the chocolate helps create a smooth, shiny coating that doesn’t seize up while dipping. Using a candy thermometer can also help ensure the chocolate stays at an ideal temperature for dipping, ideally between 88°F and 91°F (31°C to 33°C) for dark chocolate, and 84°F to 87°F (29°C to 31°C) for white chocolate.
- Use a fork for dipping. Use a fork to dip the truffles into the melted chocolate, letting the excess chocolate drip through the prongs for a smoother finish.
- Work quickly. Melted chocolate can begin to harden if it sits too long, so it’s best to work quickly when dipping the truffles.
- Decorating tips. If you’re adding toppings, do it right after dipping each truffle, as the chocolate will set quickly on the cold truffles. Wait until the chocolate has set on the truffles before adding another type of chocolate drizzle.
Variations
- Different flavors. Use flavored Oreos like mint or peanut butter for a fun twist.
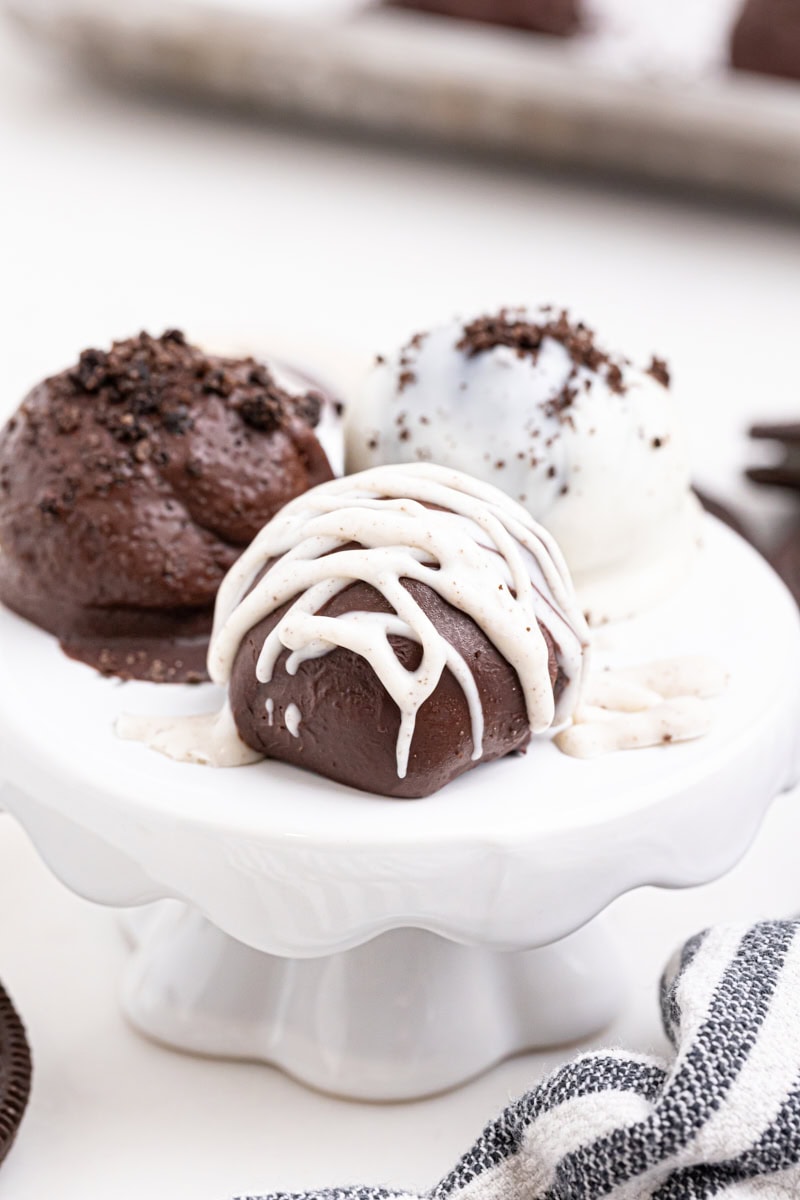
- Holiday-themed. Use holiday-themed Oreos or add seasonal decorations, such as colored sprinkles or candy melts, to make the truffles festive for different times of the year.
- Chocolate coating. Use milk chocolate instead of dark or a combination for a sweeter flavor.
- Toppings. Decorate with sprinkles, crushed nuts, or drizzle with colored candy melts to match a theme.
How to Store
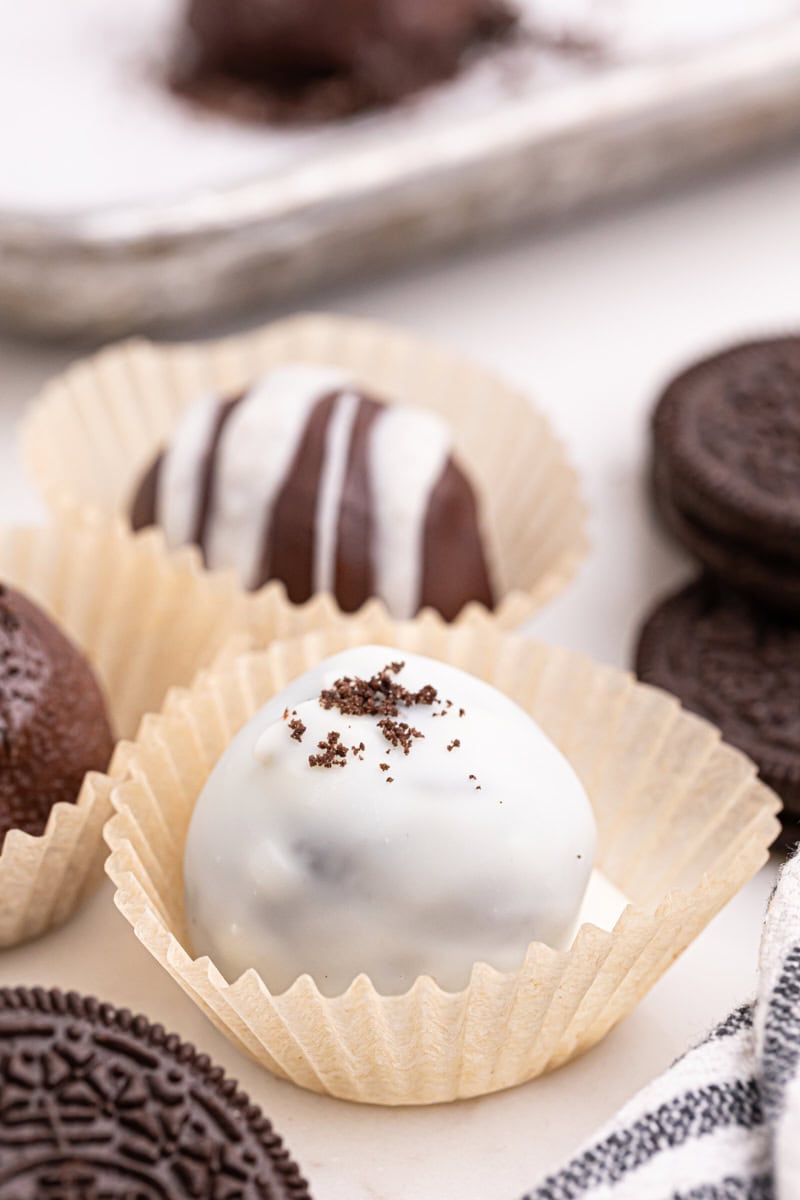
- Refrigerator: Store your Oreo truffles in an airtight container in the refrigerator for up to two weeks. Let them sit at room temperature for a few minutes before serving for a more enjoyable texture. They can sit at room temperature for up to 2 hours, but it’s best to keep them chilled to maintain their shape and freshness.
- Freezer: You can also freeze the truffles for up to 3 months; just let them thaw in the refrigerator before serving.
More Oreo Treats
Get the Recipe:
Oreo Truffles
These Oreo truffles are a simple no-bake treat made with just a few ingredients. Rich, creamy, and coated in chocolate, they're sure to be a favorite!
Ingredients
- 14.3 ounces (405 g) Oreo cookies, 36 cookies
- 8 ounces (226 g) cream cheese, softened
- ½ teaspoon vanilla extract
- 12 ounces (340 g) dark chocolate and/or white chocolate, chopped*
- ½ teaspoon oil, a neutral oil like vegetable or coconut oil
Recommended Products
Instructions
- Line a baking sheet with parchment paper.
- Place the Oreos, including the filling, in a food processor and pulse until finely crushed. If you don't have a food processor, place them in a large zip-top bag and crush them with a rolling pin. You should have fine crumbs with minimal chunks. Set aside a tablespoon of dry crumbs to use as toppings later if desired.
- Add the softened cream cheese and vanilla to the Oreo crumbs. Pulse in the food processor until fully combined. The mixture will be wet but hold its form.
- Cover the bowl with plastic wrap and refrigerate for about 15 minutes. This will make it easier to roll the mixture into balls.
- Using a tablespoonful of the mixture at a time, roll between your hands to form a smooth ball (about 1-inch diameter). Place each ball on the lined baking sheet.
- Once all the balls are rolled, place the baking sheet in the freezer for at least 15-20 minutes. Chilling helps the balls hold their shape when dipping in chocolate.
- Melt the dark chocolate with the oil in a double boiler over low heat or in short bursts in the microwave, stirring frequently until completely smooth and melted. Avoid overheating to prevent the chocolate from seizing. Repeat for the white chocolate, if using. (If using more than one kind of chocolate, divide the oil as needed.)
- Remove the truffles from the freezer. One at a time, place a truffle on the fork and spoon the melted chocolate over the truffle until fully coated, tap off the excess, and gently use a knife to transfer from the fork to the lined sheet pan.
- If desired, sprinkle with toppings before the chocolate is set. If adding a chocolate drizzle, do that after the coating has set.
- Once all the truffles are dipped and decorated, allow the chocolate to set at room temperature before serving or storing.
Notes
- *Use whatever ratio of chocolates you like or just use one type. I prefer to coat more of the truffles in dark chocolate with a few coated or drizzled with white chocolate, but just go with your preferences. If using different chocolates, divide the oil between them as appropriate.
- Store in an airtight container in the refrigerator up to 2 weeks.
- For tips, step-by-step photos, and extra details, be sure to read the full post above before starting. It’s packed with helpful info to answer common questions!
Show off your baking masterpiece!Snap a pic, tag @bakeorbreak, and use #bakeorbreak on Instagram. Can’t wait to see your creation!

