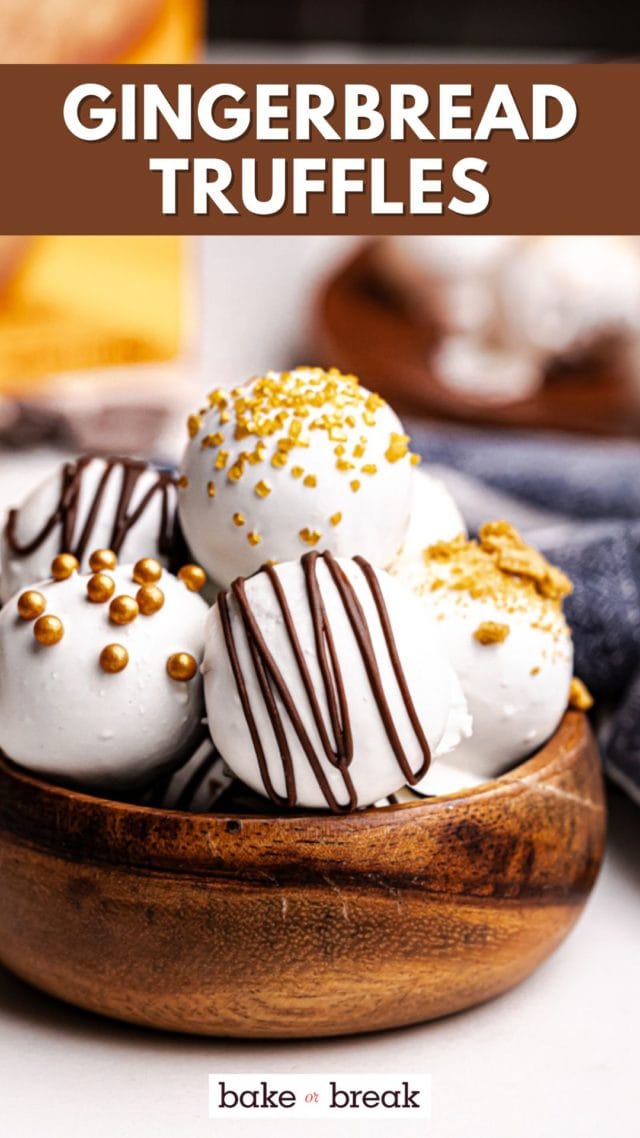
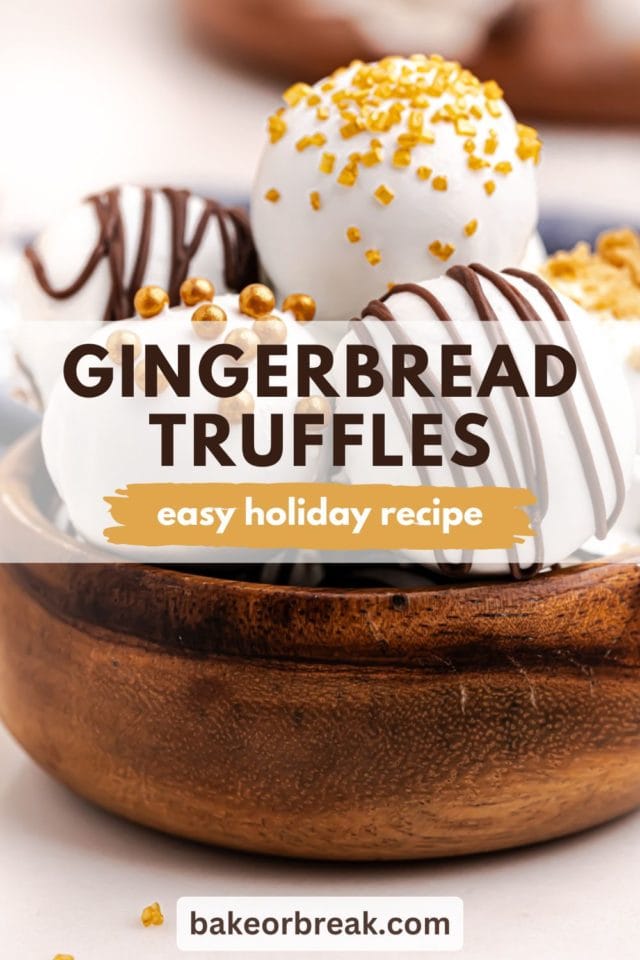
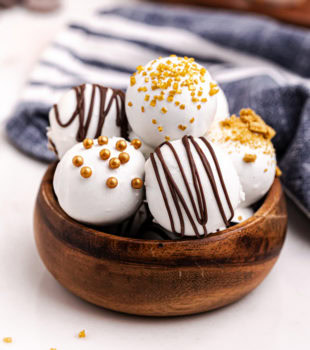
Indulge in the festive flavors of the season with these rich and creamy gingerbread truffles. With the warm spices of gingerbread wrapped in a luscious chocolate coating, they’re the perfect treat for holiday gatherings or gifting!
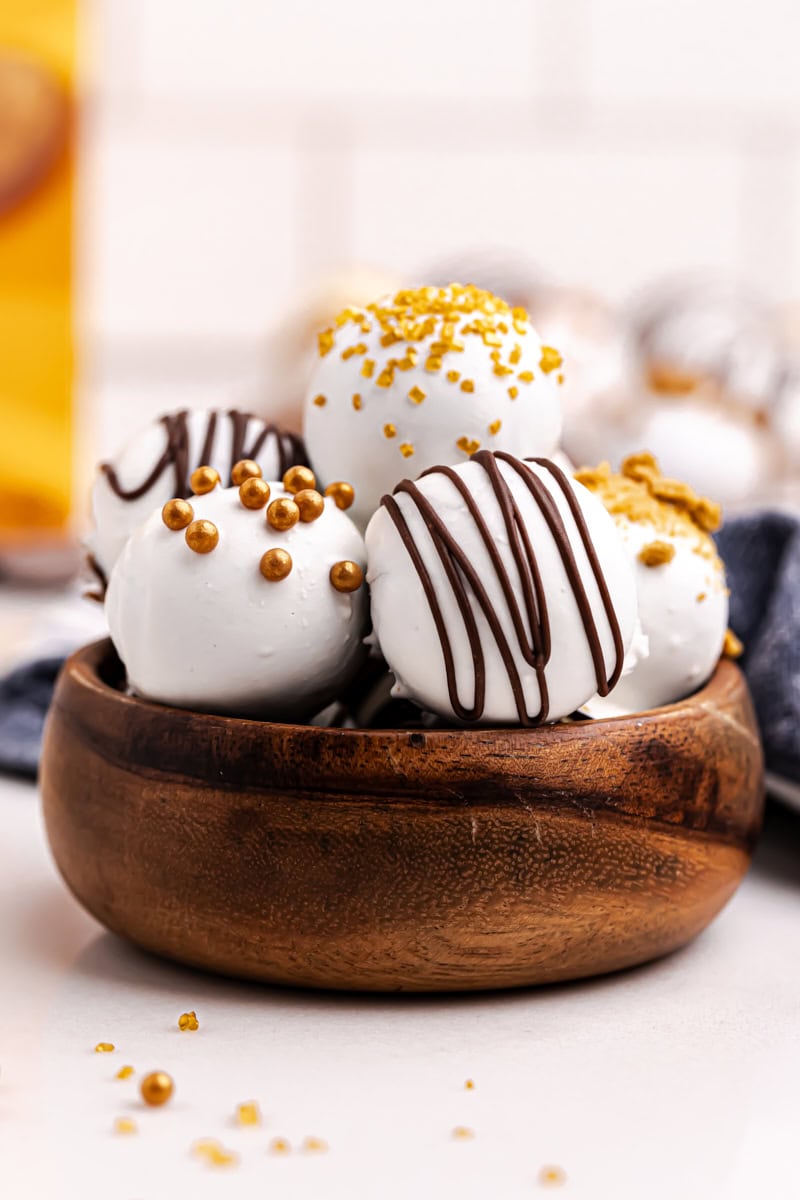
If you’re looking for a holiday treat that’s as easy as it is impressive, these gingerbread truffles are just the thing! They’re packed with the warm, spiced flavors of gingerbread and coated in smooth, luscious chocolate. Whether you’re whipping up a batch for a party, a homemade gift, or just because you’re craving something sweet, these no-bake truffles are a guaranteed hit. Plus, they’re so simple to make that anyone can give them a try, no matter their baking experience!
Why You’ll Love These Gingerbread Truffles
- Classic holiday flavors. The combination of gingersnap cookies, molasses, and warm spices captures the essence of the holiday season.
- No-bake simplicity. These truffles come together without ever turning on the oven.
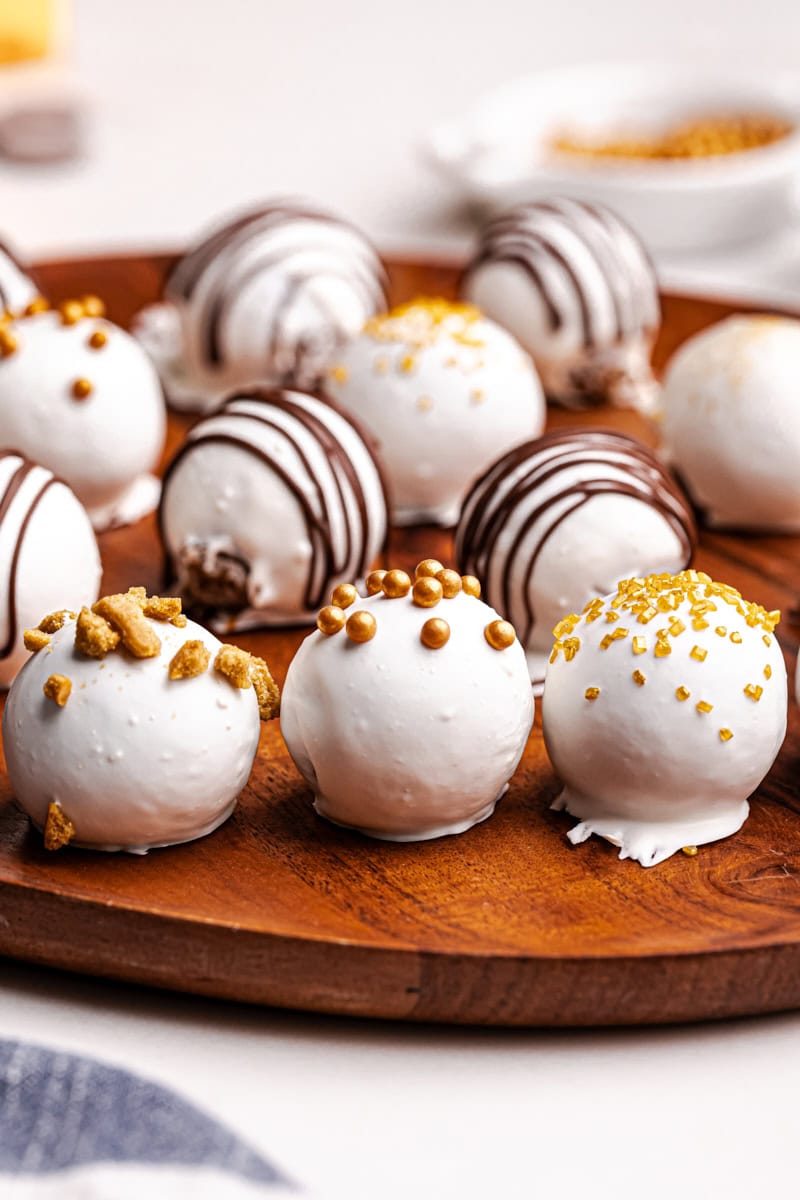
- Versatile decoration. Add your own creative touch with crushed cookies, festive sprinkles, or edible glitter.
- Make-ahead friendly. Perfect for prepping in advance for holiday celebrations or gifting.
What You’ll Need
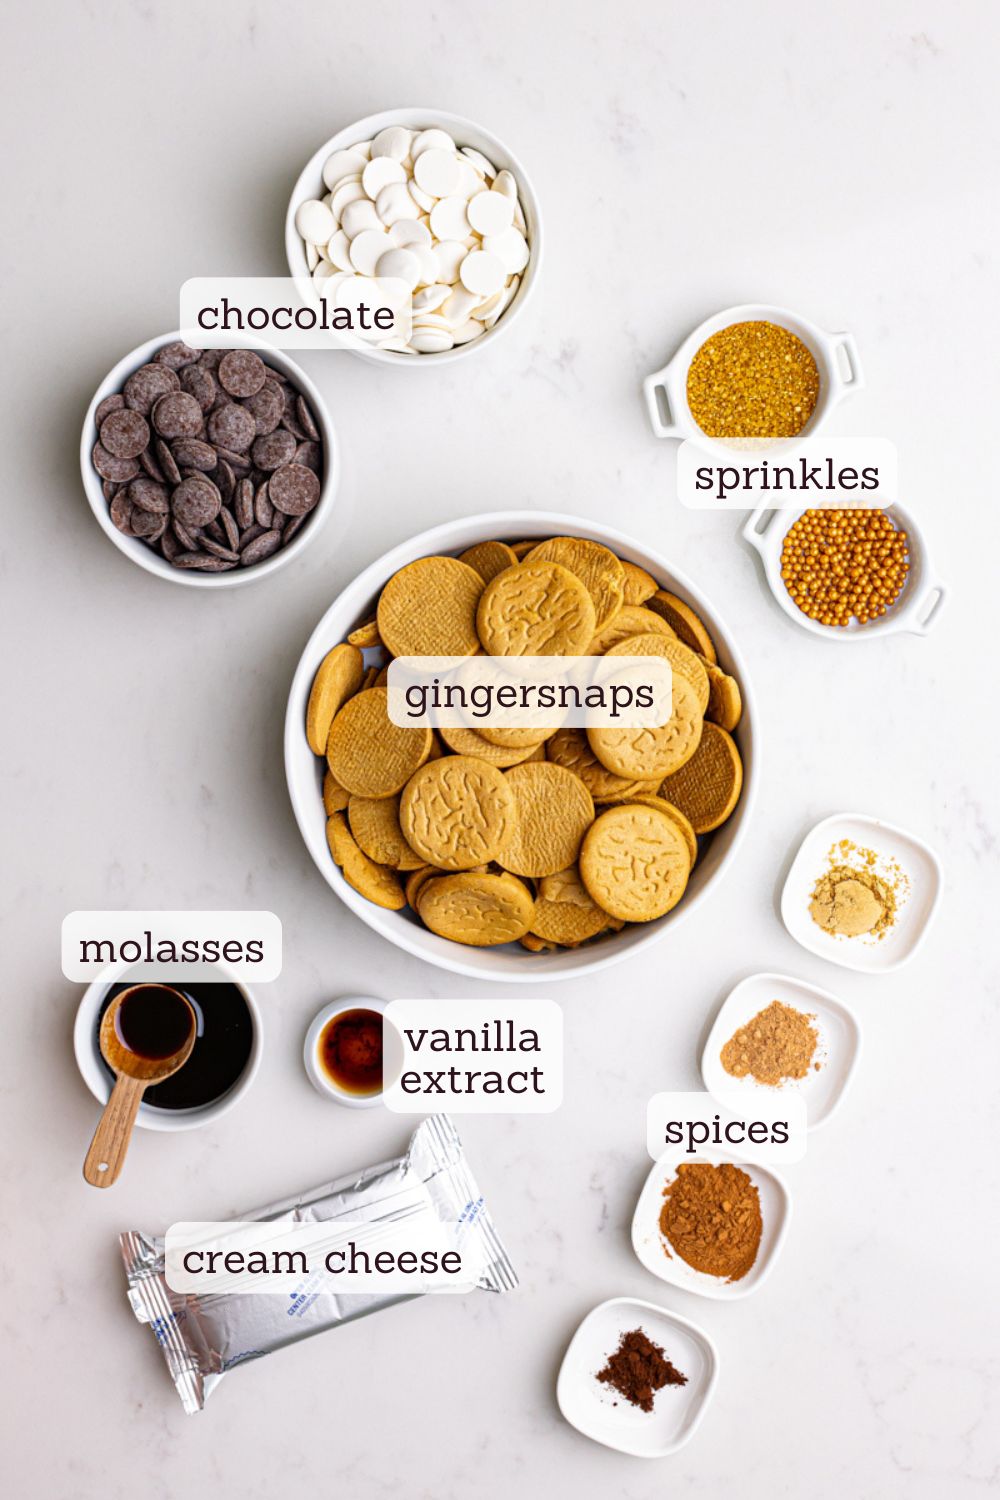
- Gingersnap cookies: The base of these truffles, providing both flavor and structure.
- Cream cheese: Adds richness and helps bind the ingredients together. Cut it into cubes and let it come to room temperature for mixing. Full-fat cream cheese works best.
- Molasses: A key ingredient for that authentic gingerbread taste.
- Spices: Ground ginger, cinnamon, nutmeg, and cloves bring warmth and depth.
- Vanilla extract: Enhances the overall flavor profile. Use a good quality store-bought or homemade vanilla extract.
- Chocolate: Use white or dark chocolate for coating, depending on your preference.
- Optional garnishes: Crushed gingerbread cookies, sprinkles, or edible glitter add a festive finishing touch.
How to Make Gingerbread Truffles
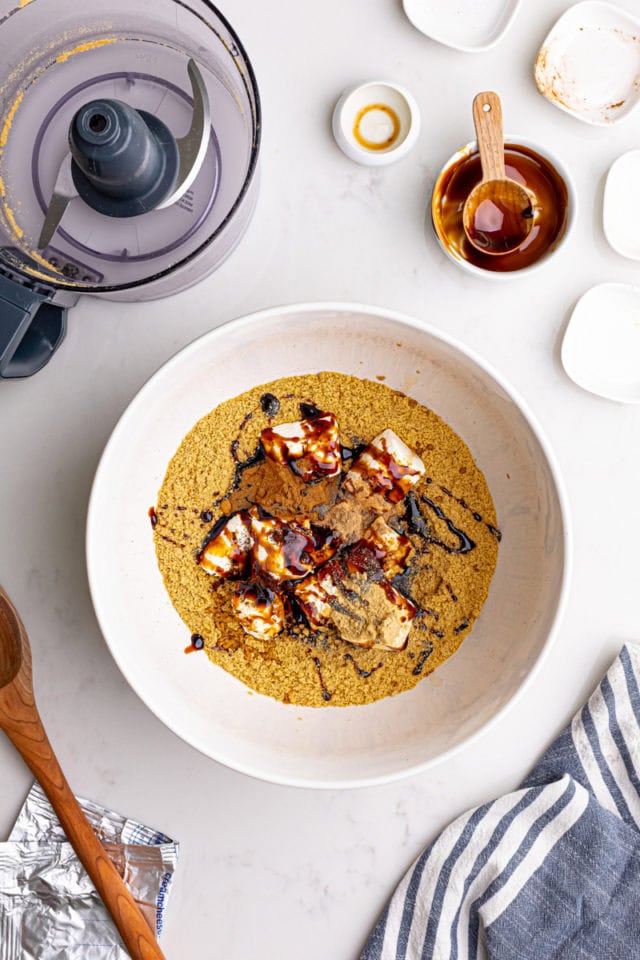
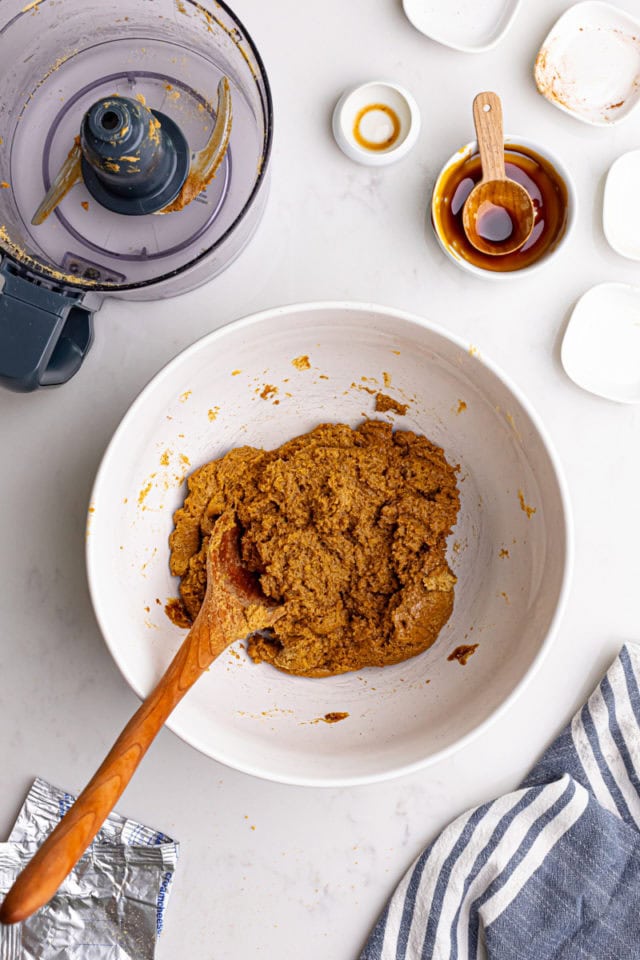
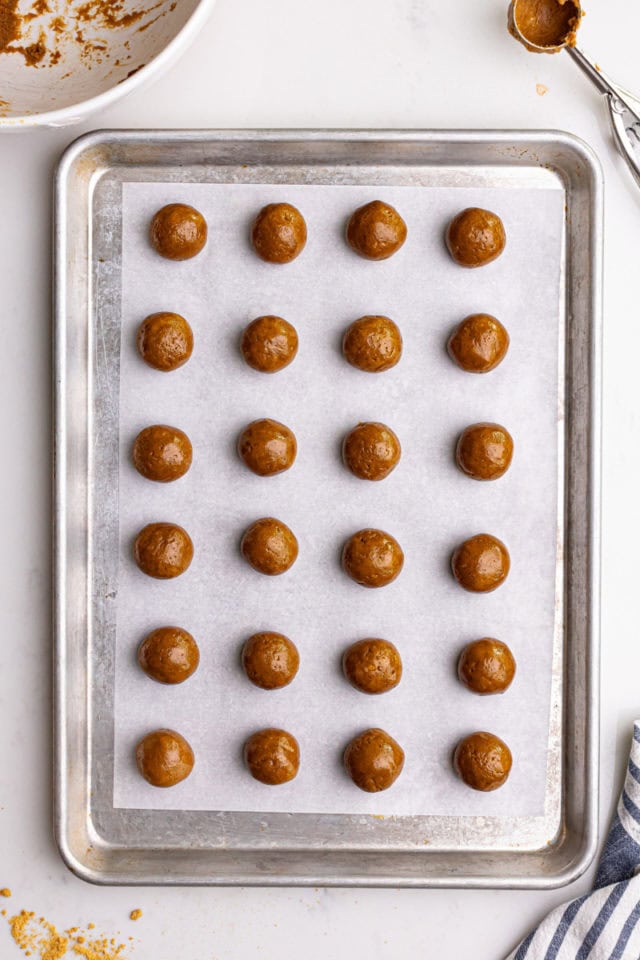
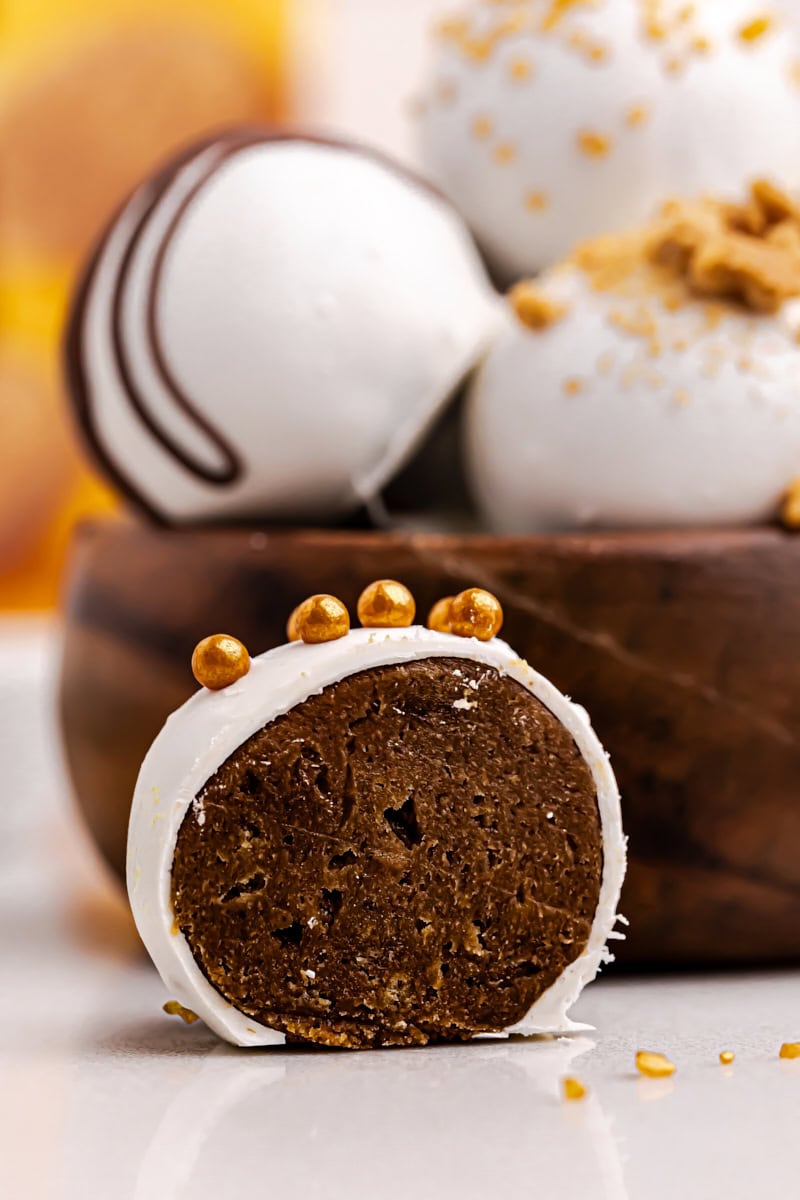
- Make the filling. Combine the cookie crumbs, cream cheese, molasses, spices, and vanilla until smooth and dough-like.
- Chill the mixture. Refrigerate for 15 minutes to make the dough easier to handle.
- Shape the truffles. Roll tablespoon-sized portions of the mixture into balls and place them on a parchment-lined baking sheet.
- Freeze the truffles. Freeze for 30 minutes to firm them up before coating.
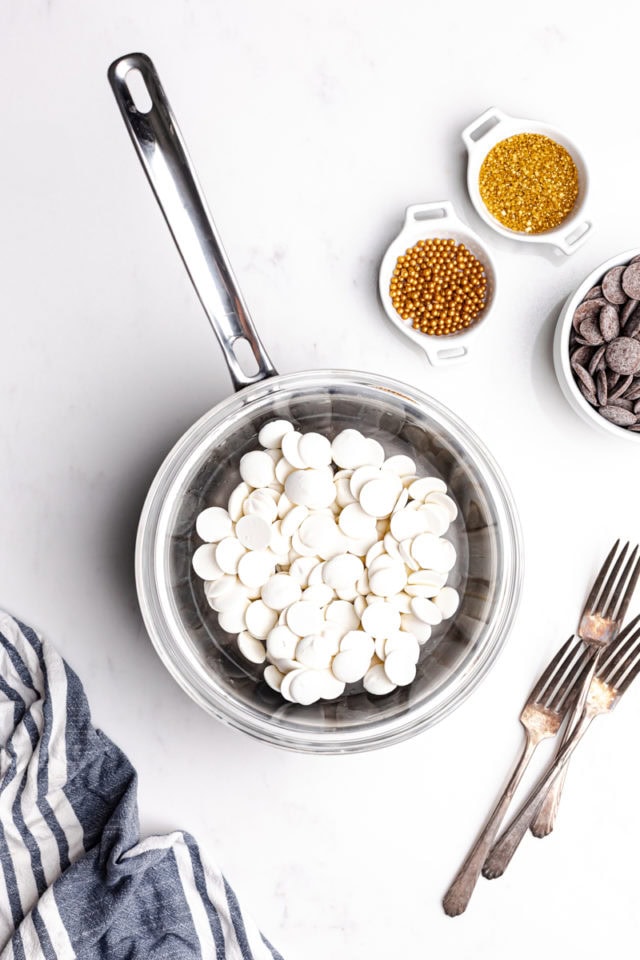
- Melt the chocolate. Melt chocolate in a double boiler or in 30-second microwave intervals, stirring between each.
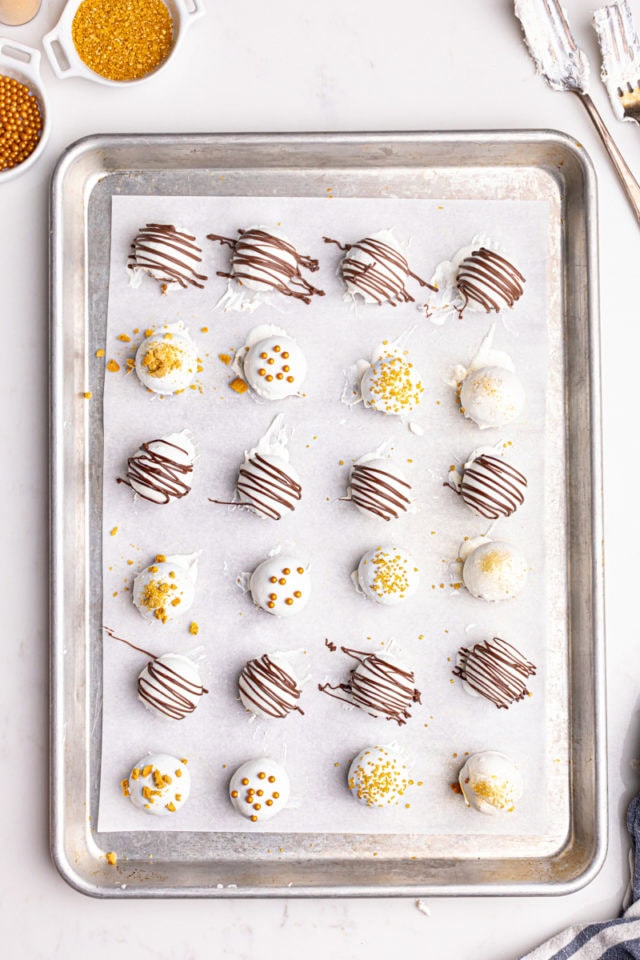
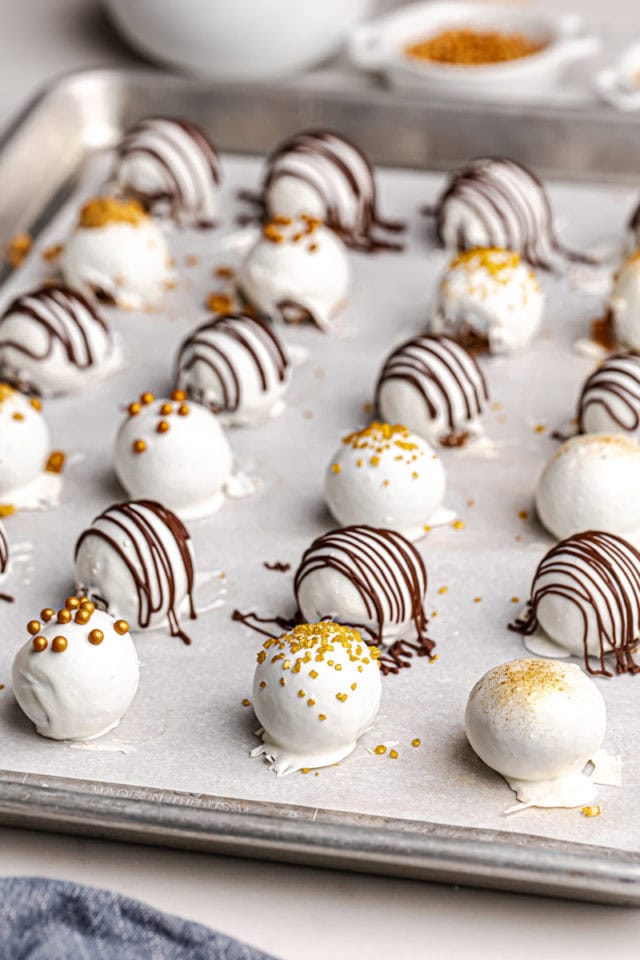
- Dip and decorate. Dip each truffle in the melted chocolate, ensuring an even coating. Decorate immediately with garnishes of your choice.
- Set the truffles. Refrigerate until the chocolate is fully set, about 30 minutes.
Tips for Success
- Make fine crumbs. A food processor makes quick, thorough work of turning the cookies into fine crumbs. If you don’t have a food processor, place the cookies in a zip-top bag and use a rolling pin to crush them well. Make sure no large pieces remain.
- Use high-quality chocolate. It will give your truffles the best flavor and smoothest coating. Opt for chocolate discs, bars, or melting wafers instead of chocolate chips, which have stabilizers that make them more difficult to melt.
- Too sticky? If the mixture is too sticky to roll, refrigerate it a bit longer or lightly dust your hands with powdered sugar or wear disposable gloves.
- Use a scoop. This makes portioning more efficient and helps make sure your truffles are all the same size.
- Dipping tools. Use a fork, a truffle dipper, or even just a toothpick to help you dip the truffles into the chocolate easily.
- Work in small batches. When dipping into the chocolate, work with a few truffles at a time to keep them from softening too much. Keep unused truffles in the freezer while dipping the others to maintain firmness.
- Allow to set. After dipping the truffles, set them back on the baking sheet or on a wire rack to set. Either works, but the wire rack will create a smoother bottom.
Variations and Topping Ideas
- Milk chocolate coating. Swap white or dark chocolate for milk chocolate for a sweeter flavor.
- Spiked truffles. Add a splash of rum or bourbon to the filling for a grown-up twist. Try adding 1 to 2 teaspoons, keeping in mind that adding too much liquid may make the filling too soft or difficult to shape.
- Nutty garnish. Sprinkle chopped nuts on top for added texture and flavor.
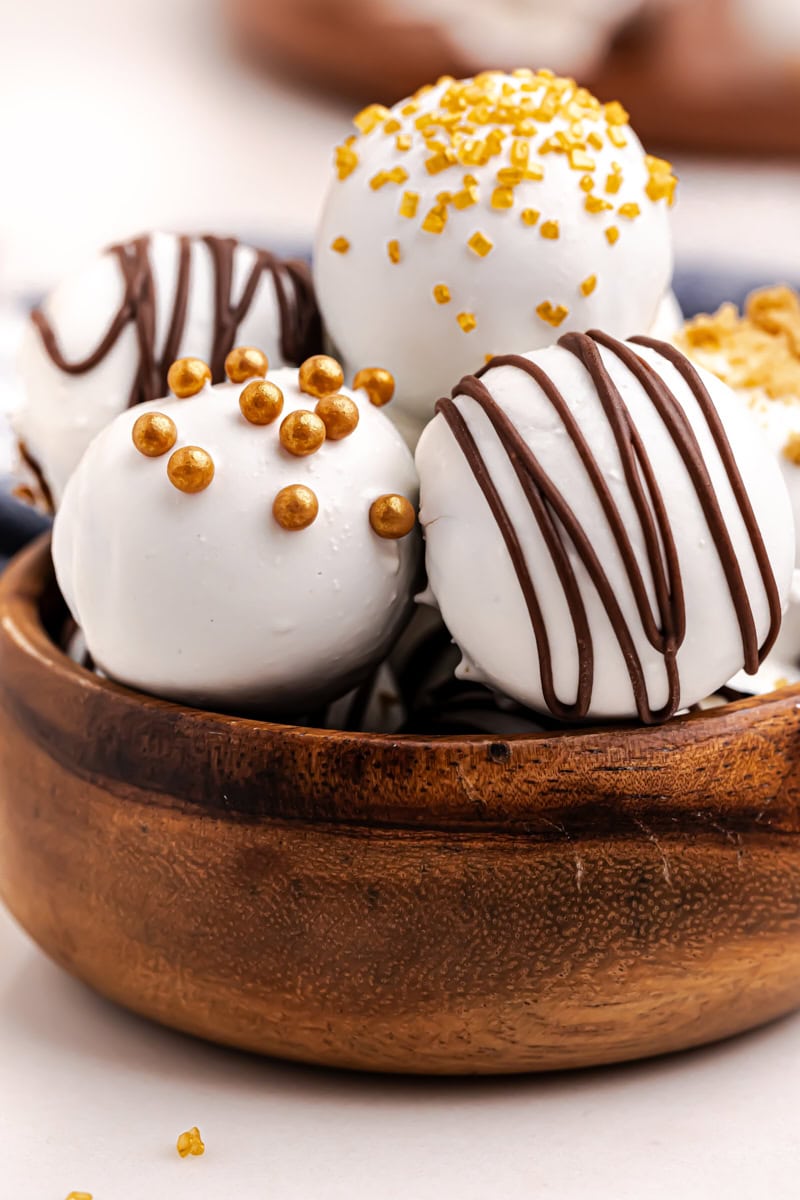
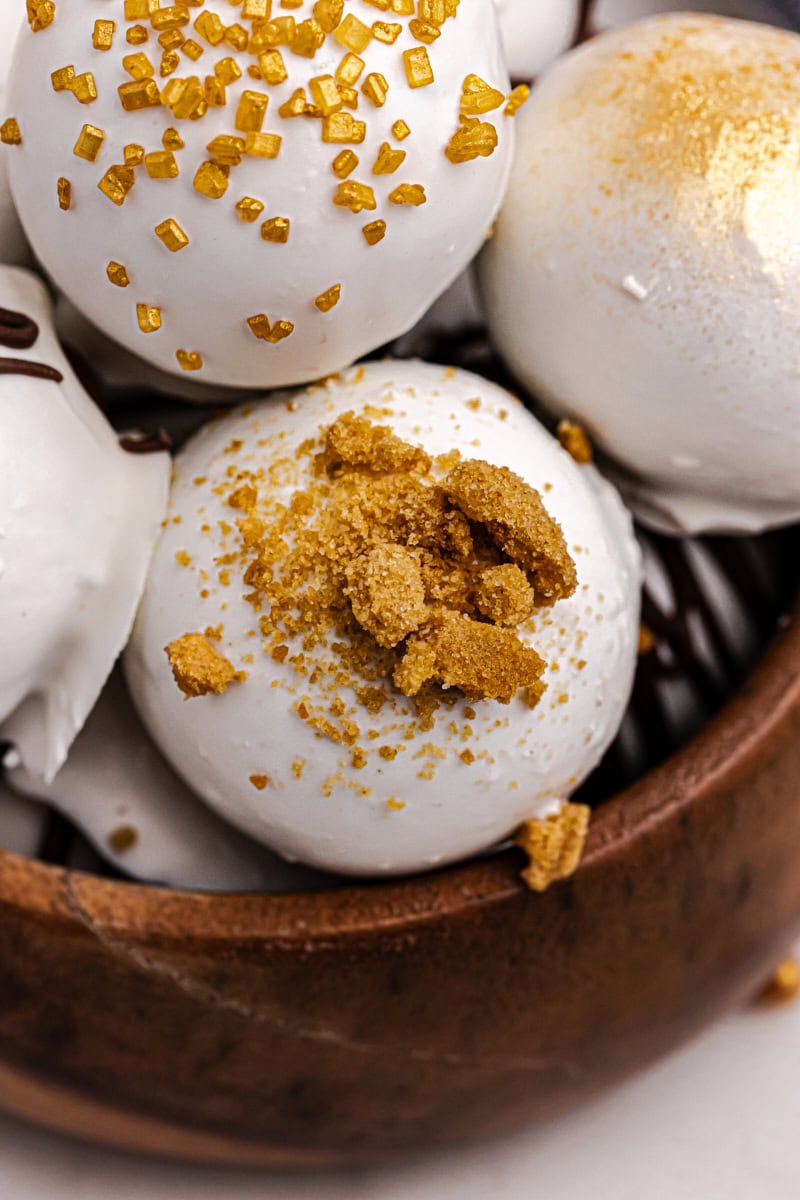
- More cookies. Sprinkle crushed gingerbread cookies over the truffles for added texture and flavor.
- Festive sprinkles. Use red and green sprinkles for Christmas, gold or silver sprinkles for New Year’s, or themed colors for other holidays. Colored sparkling sugar is a fun choice, too.
- Drizzled chocolate. Melt a contrasting color of chocolate (e.g., white chocolate over dark chocolate-coated truffles) and drizzle it over the truffles using a piping bag or fork. Be sure to let the first layer of chocolate set before adding a drizzle.
- Candied ginger. Place a small piece of candied ginger on top of each truffle for a sophisticated touch.
How to Store
- Refrigerator: Store in an airtight container for up to a week. Let them sit at room temperature for 10-15 minutes after refrigeration for optimal texture and flavor.
- Freezer: Place your gingerbread truffles in a single layer on a lined baking sheet and freeze until solid (2-3 hours). If you want to add extra protection, place each truffle in cupcake liner or wrap individually. Then transfer to an airtight, freezer-safe container or resealable bag. If possible, avoid freezing truffles with delicate decorations like sprinkles or glitter, as these may lose their appearance when thawed. Properly stored, they should keep in the freezer up to two months. Let thaw in the refrigerator before serving.
- Packaging: There are plenty of festive ways to package these truffles for gifting! Be sure to include a tag or label with storage instructions and an ingredient list.
- Use small decorative boxes or tins lined with parchment paper to keep truffles from sticking.
- Arrange truffles in mini cupcake liners to create a polished look and prevent them from touching.
- Wrap individual truffles in foil or cellophane for gifting, adding a festive ribbon for extra charm.
More No-Bake Confections
Get the Recipe:
Gingerbread Truffles
These no-bake gingerbread truffles combine spiced cookie crumbs, cream cheese, and molasses for a rich and festive treat. Perfect for holiday gatherings or homemade gifts!
Ingredients
- 16 ounces (454 g) gingersnap cookies
- 8 ounces (226 g) cream cheese, softened and cut into cubes
- 2 tablespoons molasses
- 1 teaspoon ground ginger
- 1 teaspoon ground cinnamon
- ½ teaspoon ground nutmeg
- ¼ teaspoon ground cloves
- 1 teaspoon vanilla extract
- 10 ounces (284 g) white or dark chocolate (melting wafers or high-quality chocolate bars)
- crushed gingerbread cookies, sprinkles, edible glitter, for optional garnish
Recommended Products
Instructions
- Crush the gingersnap cookies into fine crumbs using a food processor, or place them in a zip-top bag and crush with a rolling pin.
- In a mixing bowl, combine the cookie crumbs, softened cream cheese, molasses, ginger, cinnamon, nutmeg, cloves, and vanilla. Mix until a smooth, dough-like consistency forms.
- Refrigerate for 15 minutes to set up enough to roll into balls.
- Using a tablespoon of the mixture at a time, roll into balls between your palms. Place on a baking sheet lined with parchment paper or wax paper.
- Freeze the truffle balls for 30 minutes to firm up.
- In a microwave-safe bowl, melt the chocolate in 30-second intervals, stirring after each interval until smooth. (Add 1-2 teaspoons of vegetable oil or coconut oil if desired for a shinier coating.)*
- Using a fork or truffle dipper, dip each truffle into the melted chocolate, ensuring it’s fully coated. Gently tap off the excess chocolate and return the truffle to the parchment-lined sheet or place on a wire rack.
- Decorate immediately with crushed cookies, sprinkles, or glitter before the chocolate sets.
- Let the truffles set in the refrigerator for at least 30 minutes before serving.
Notes
- *For a shinier and more stable coating, consider tempering the chocolate if you’re not using melting wafers. To temper, melt two-thirds of the chocolate over a double boiler, stirring until smooth. Remove from the heat and stir in the remaining chocolate until fully melted, ensuring the temperature falls to about 88-90°F (31-32°C) for dark chocolate or 86-88°F (30-31°C) for white chocolate before using.
- Store in an airtight container in the refrigerator up to a week.
- For tips, step-by-step photos, and extra details, be sure to read the full post above before starting. It’s packed with helpful info to answer common questions!
Show off your baking masterpiece!Snap a pic, tag @bakeorbreak, and use #bakeorbreak on Instagram. Can’t wait to see your creation!

